This page starts with real objects on a table: how to look at them, trace their edges and add a shadow. Then come 20 objects, 12 with full tutorials and 8 with mini steps to read aloud.
What Is Object Drawing for Kids?
Object drawing for kids is drawing a real, still object while looking at it. A cup, a shoe or a toy on the table works well. Object drawing is also called still-life drawing, observational drawing or drawing from life. The child draws the object in front of them, not one from memory.
Tate defines still life as art whose subject is “anything that does not move”. A still life can show man-made or natural objects, such as cut flowers, fruit and vegetables. Fruit appears in our food to draw for kids list, and blooms in easy flowers for kids to draw. Tate also notes that modern artists such as Paul Cézanne used simple still-life arrangements as a relatively neutral basis for formal experiment.
For subjects sorted by theme, see our drawing ideas for kids. A full guide to observational drawing for kids is planned.
How Do You Teach a “Draw What’s on the Table” Lesson?
You teach a “draw what’s on the table” lesson by setting out two or three familiar objects, naming their shapes together, then drawing one object slowly. The North Carolina Museum of Art (NCMA) runs this kind of observation lesson for pre-K children. At home, we suggest ten minutes for a first try.
Set Up a Small Still Life
In its pre-K lesson, Drawing from Observation, the NCMA has children draw everyday classroom objects in a small sketchbook, using magnifying glasses to see more. The National Gallery of Art (NGA), in a lesson for grades 6 to 12, sets up a still life of two or more familiar objects from the classroom or home.
At home, pick objects with clear shapes: a mug, a block, an orange or a tissue box. Put them on a plain cloth at your child’s eye level.
A 10-Minute Plan
The timings below are our suggestion for kids 4 to 10, adapted from the NCMA and NGA lessons.
- Name the shapes for 1 minute. The NCMA asks children to look for simple shapes, such as the rectangle of a sketchbook cover.
- Scribble the whole table for 2 minutes. The NGA times its scribble warm-up at under two minutes.
- Draw one object slowly for 5 minutes, looking up often.
- Look again with a magnifying glass and add one small detail.
- Talk about which shape was hardest to see.
The NCMA also tells teachers to reassure children that a drawing does not have to look just like the object.
The Hidden Cup Handle
Children tend to draw what they know about an object, not only what they see. Pillow and Flavell (1985) describe a 1972 study by Freeman and Janikoun with a cup turned so its handle was out of view. Children told to draw “exactly what you can see from where you are sitting” still drew the handle.
Psychologists call this intellectual realism. Pillow and Flavell suggest the handle may be drawn because it tells other people the picture is a cup. A hidden handle in your child’s drawing is common. Turn the cup slowly and ask, “Where did the handle go?”
How Does Contour Line Drawing Work for Kids?
Contour line drawing for kids works by following the edges of an object with one slow, continuous line. The NGA describes contour drawing as using “continuous long lines to convey an object’s shape”. The Andy Warhol Museum’s K-12 still-life lesson starts with simple contour drawings of onions.
Slow Contour
Your child rests their eyes on the rim of a cup and moves the pencil only as fast as the eyes travel along the edge. The NGA adds one tip: try not to go over a line too many times, because repetition makes it scratchy.
The Warhol Museum’s still-life lesson uses Andy Warhol’s 1950s drawing Five Views of an Onion as its example. It also notes that Warhol did not use an eraser and just started a new drawing. Kids can try that rule too.
Blind Contour Game
In a blind contour drawing, as the Warhol Museum lesson describes it, your child keeps their eyes on the object. The pencil moves slowly, without lifting and without looking at the paper. Try it with a stuffed toy for 1 minute. A wobbly result is the point, which takes the pressure off “getting it right”.
How Do Cups, Boxes and Balls Become Simple 3D Forms?
Cups, boxes and balls become 3D forms when a flat shape gets depth: a cup is a cylinder, a box is a block, and a ball is a sphere. The J. Paul Getty Museum explains that shapes are flat, with length and width. Forms add depth, and “Balls, cylinders, boxes, and pyramids are forms.”
In a letter of 15 April 1904 to Emile Bernard, Paul Cézanne advised dealing with nature “by means of the Cylinder, the sphere and the cone”.
Cup as a Cylinder
Brigham Young University, Idaho’s college drawing course explains a drawn cylinder as two ellipses joined by side lines. An ellipse is a circle that has been foreshortened, or seen at a slant. For a cup, your child draws a flat oval for the rim and two straight lines down from its ends. A downward curve joins the bottom ends, and a C-shape on one side becomes the handle.
Box With a Top and a Side
A box starts as a square or rectangle for the front face. Your child adds a slanted top shape above it and a thin side shape on the right. With three faces showing, a tissue box or cereal box looks solid.
Ball as a Sphere
A ball starts as a circle, a shape the AAP lists among typical milestones at 3 to 4 years. Shading turns the circle into a sphere, as the next section shows.
How Can Kids Show Light and Shadow on an Object?
Kids show light and shadow by pressing lightly where light hits an object and harder where it turns away. The NGA lesson puts it as “light pressure in highlighted areas and heavy pressure for shadows.” The Springfield Museum of Art adds that shading gives a drawing dimension through lighter and darker values.
The Springfield Museum of Art shading lesson names six terms: highlight, light, shadow, core shadow, reflected light and cast shadow. In our view, kids 4 to 6 need only three: highlight, shadow and cast shadow. The highlight is the spot where light bounces straight off the object. A cast shadow forms when the object blocks the light.
Try a home version of the museum’s sphere exercise:
- Shine a lamp or flashlight on the ball from one side.
- Draw a circle and leave a small white highlight on the lit side.
- Shade the side away from the lamp, pressing harder near the edge.
- Add a dark oval on the table beside the ball for the cast shadow.
Which Easy Objects Have Step-by-Step Tutorials?
Twelve easy objects on this page have full tutorials, from a basketball and a teddy bear to a house and a castle. Each tutorial breaks the drawing into 4, 6 or 8 numbered steps, like every guide in our drawing tutorial library. All 12 list a pencil, an eraser, a black marker and crayons under “You need”.
The American Academy of Pediatrics (AAP) lists drawing circles and squares among typical milestones at 3 to 4 years, and copying a triangle at 4 to 5. So a ball makes a natural first object, and a house roof a good next one. The ages below are our suggestion. Step counts were checked in November 2026.
| Object | Steps | First shape | Suggested age |
|---|---|---|---|
| Scarf | 4 | thick U-shaped loop | 4+ |
| Diamond | 4 | flat top, slanted sides | 5+ |
| Basketball | 6 | big circle | 4+ |
| Soccer ball | 6 | big circle | 6+ |
| Volleyball | 6 | big circle | 6+ |
| Teddy bear | 6 | round head, round ears | 4+ |
| Robot | 6 | rounded square head | 5+ |
| Crayon | 6 | tall thin rectangle | 4+ |
| Book | 6 | two open pages | 5+ |
| Shoe | 6 | long flat sole | 6+ |
| House | 6 | big square | 4+ |
| Castle | 8 | square wall | 7+ |
Basketball
The basketball tutorial adds four lines inside one circle.
- Draw a big circle with one straight line across and one straight line down the middle.
- Add a curved line on each side, bending in toward the middle.
- Color the ball orange and keep the black lines dark.
-
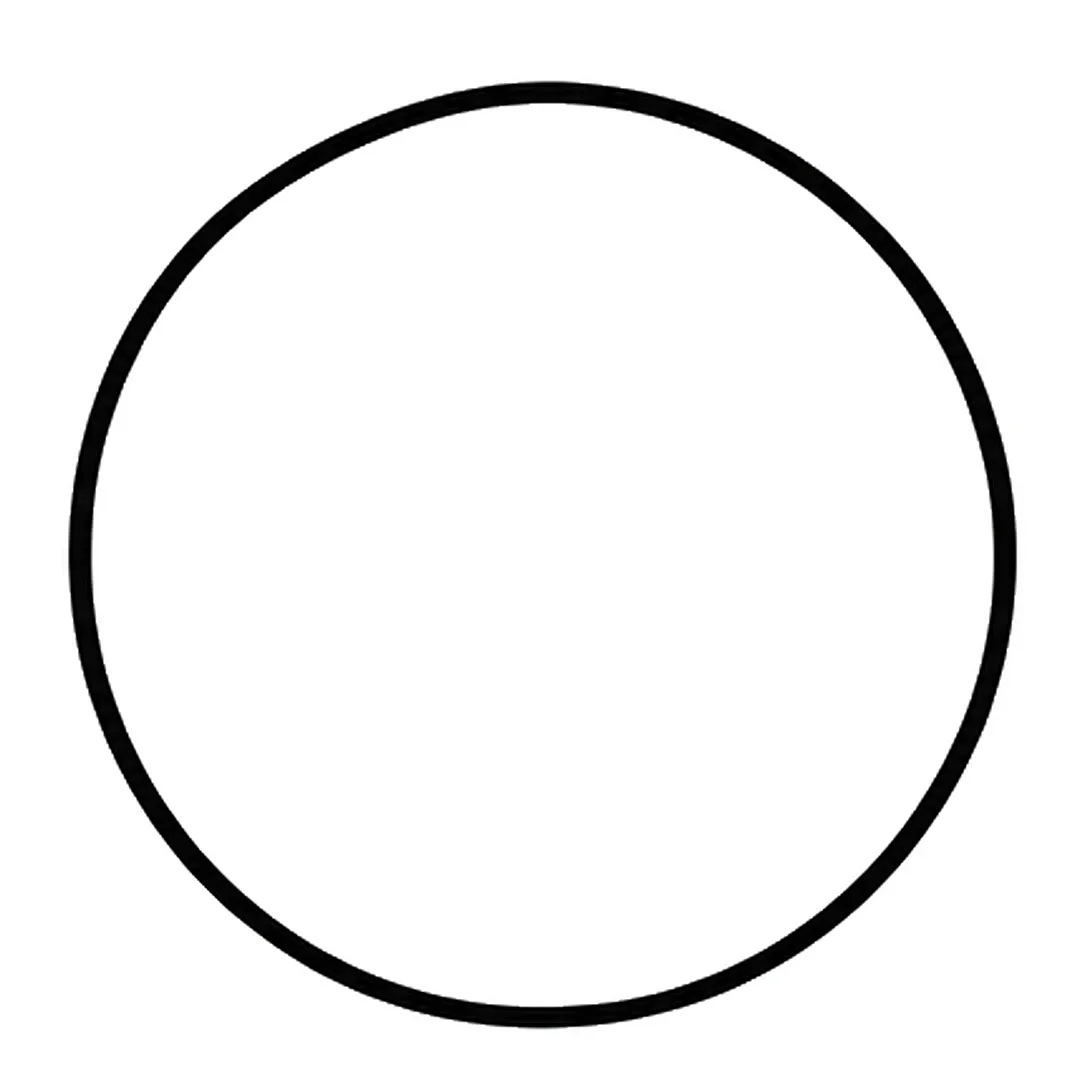
Step 1: Draw a big circle.
-
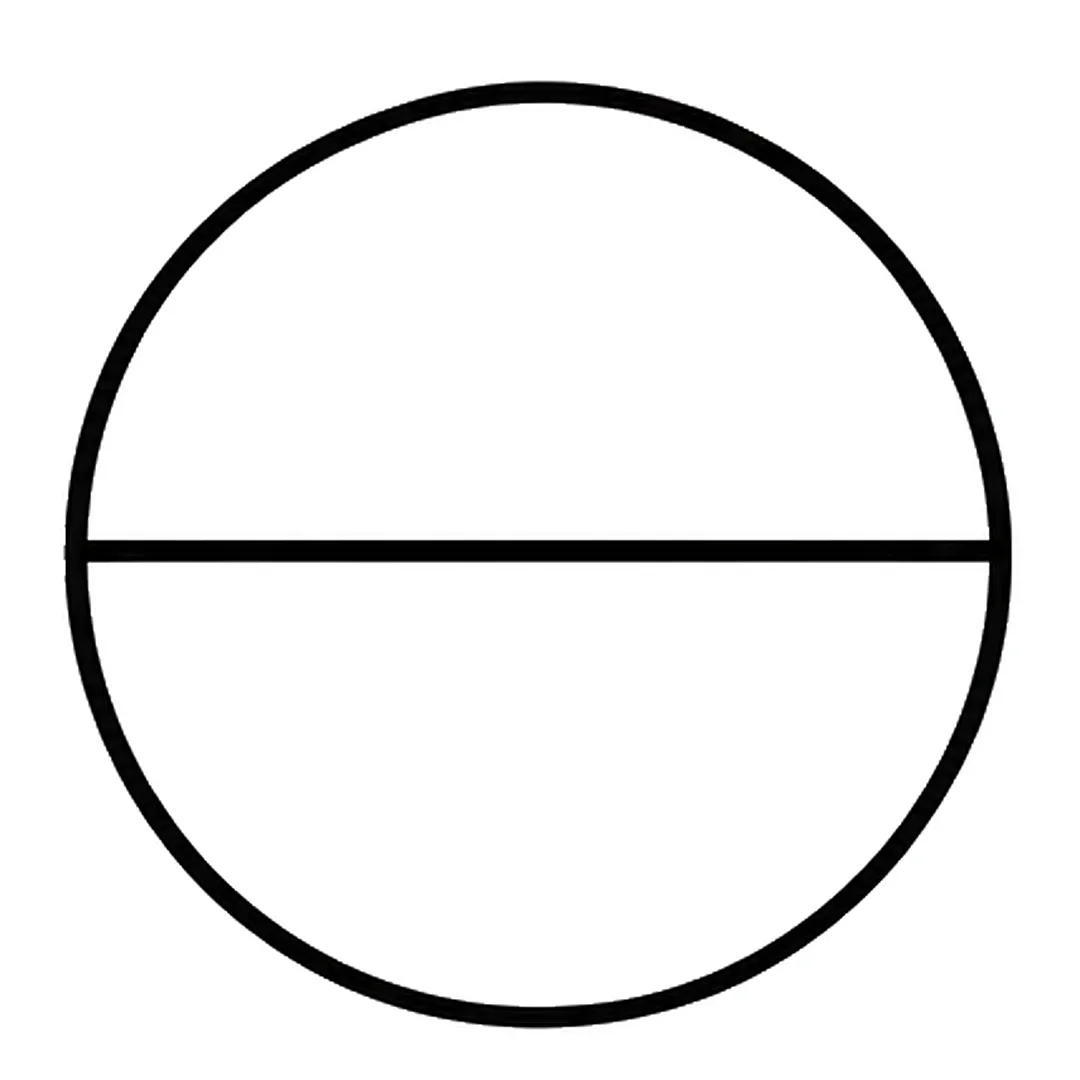
Step 2: Add one straight line across the middle, from the left edge to the right edge.
-
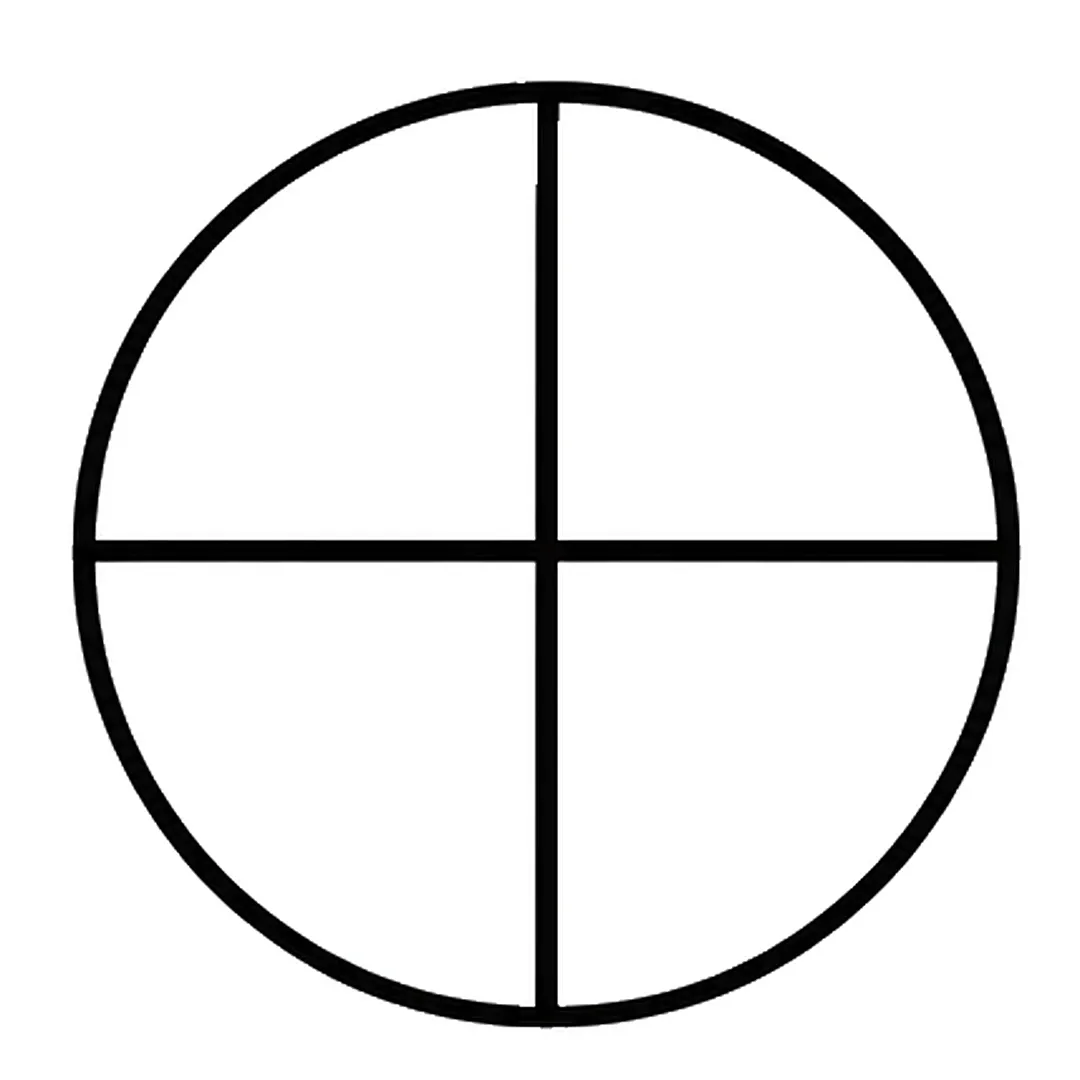
Step 3: Draw one straight line down the middle, from top to bottom, crossing the first line.
-
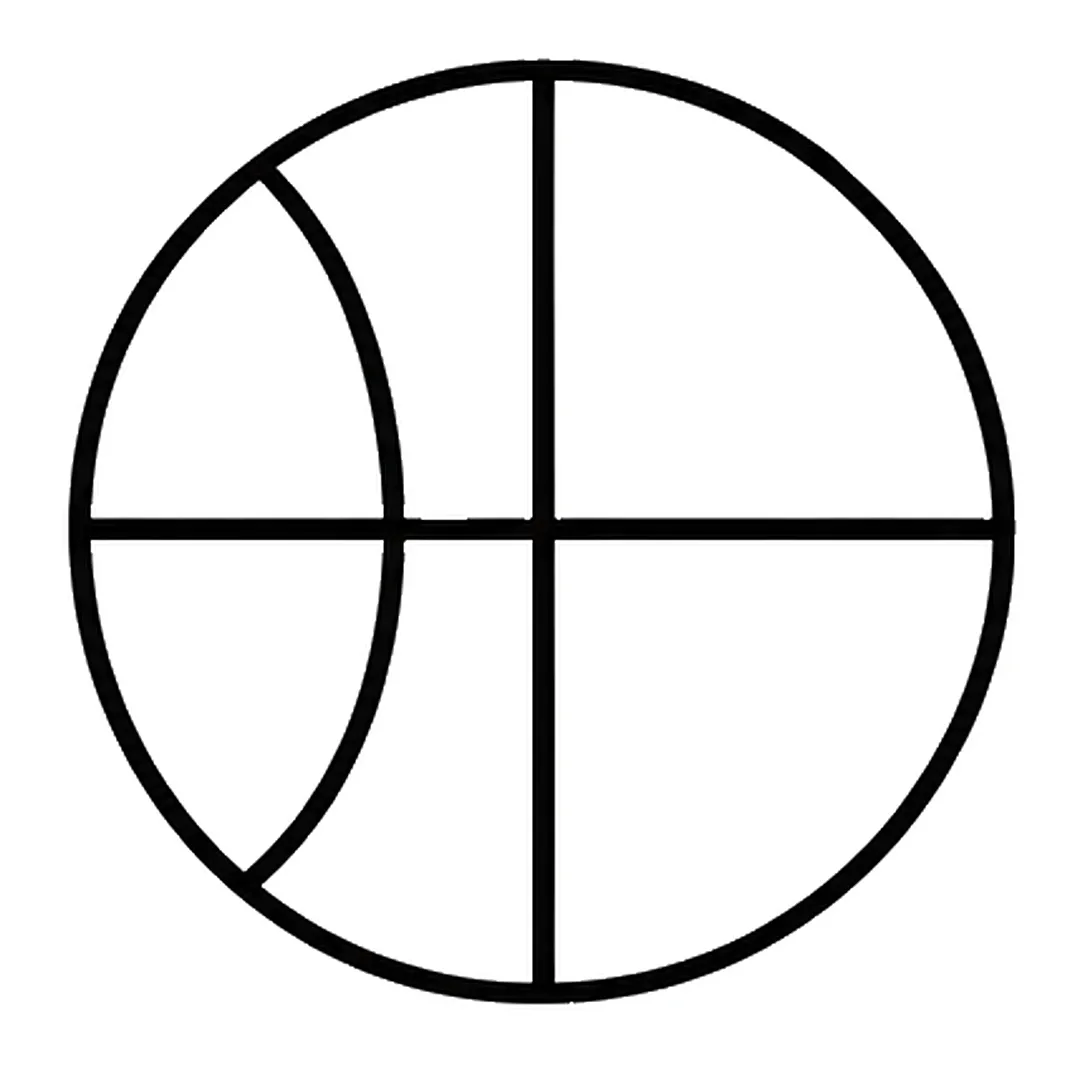
Step 4: Add a curved line on the left side that bends in toward the middle.
-
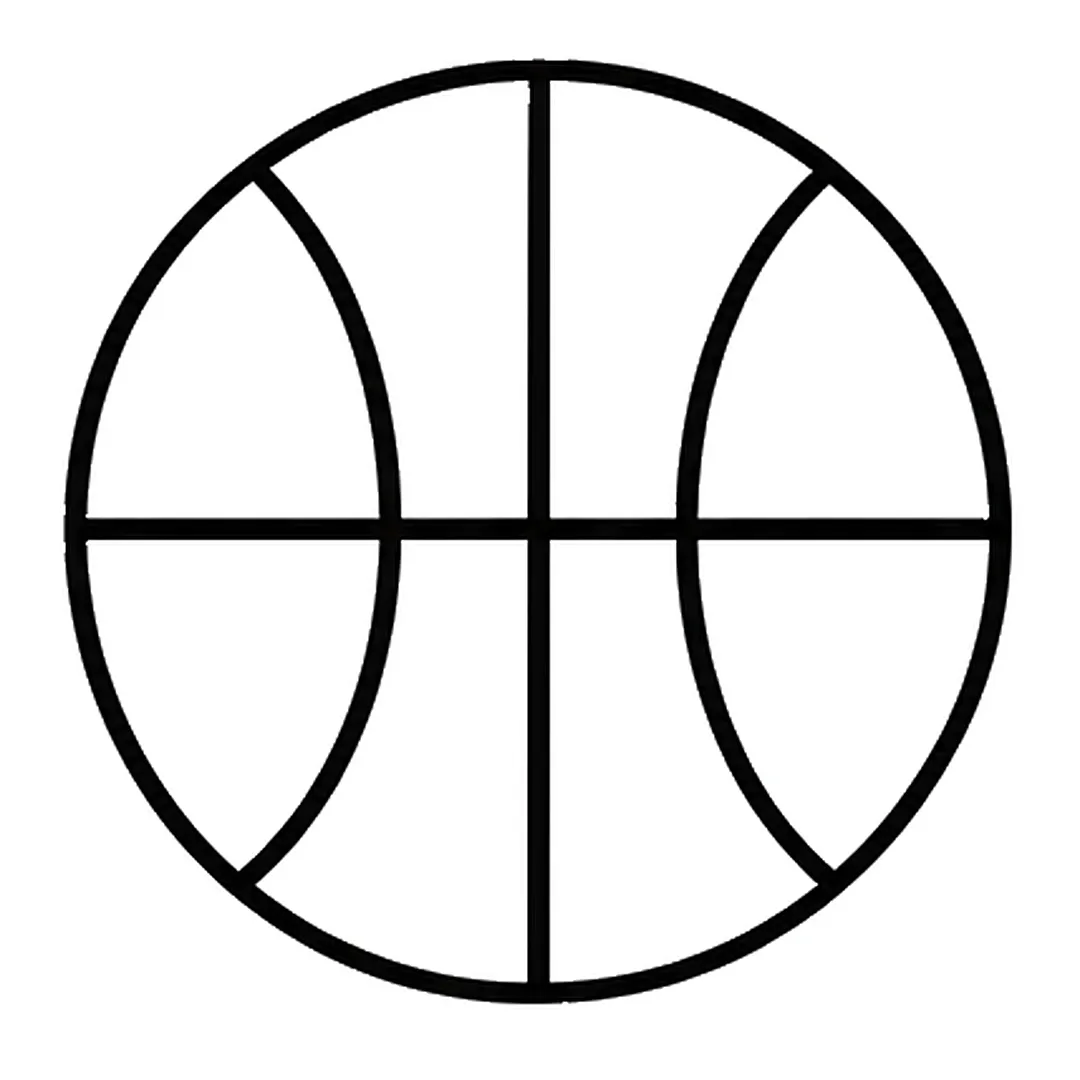
Step 5: Draw a matching curved line on the right side that bends in toward the middle.
-
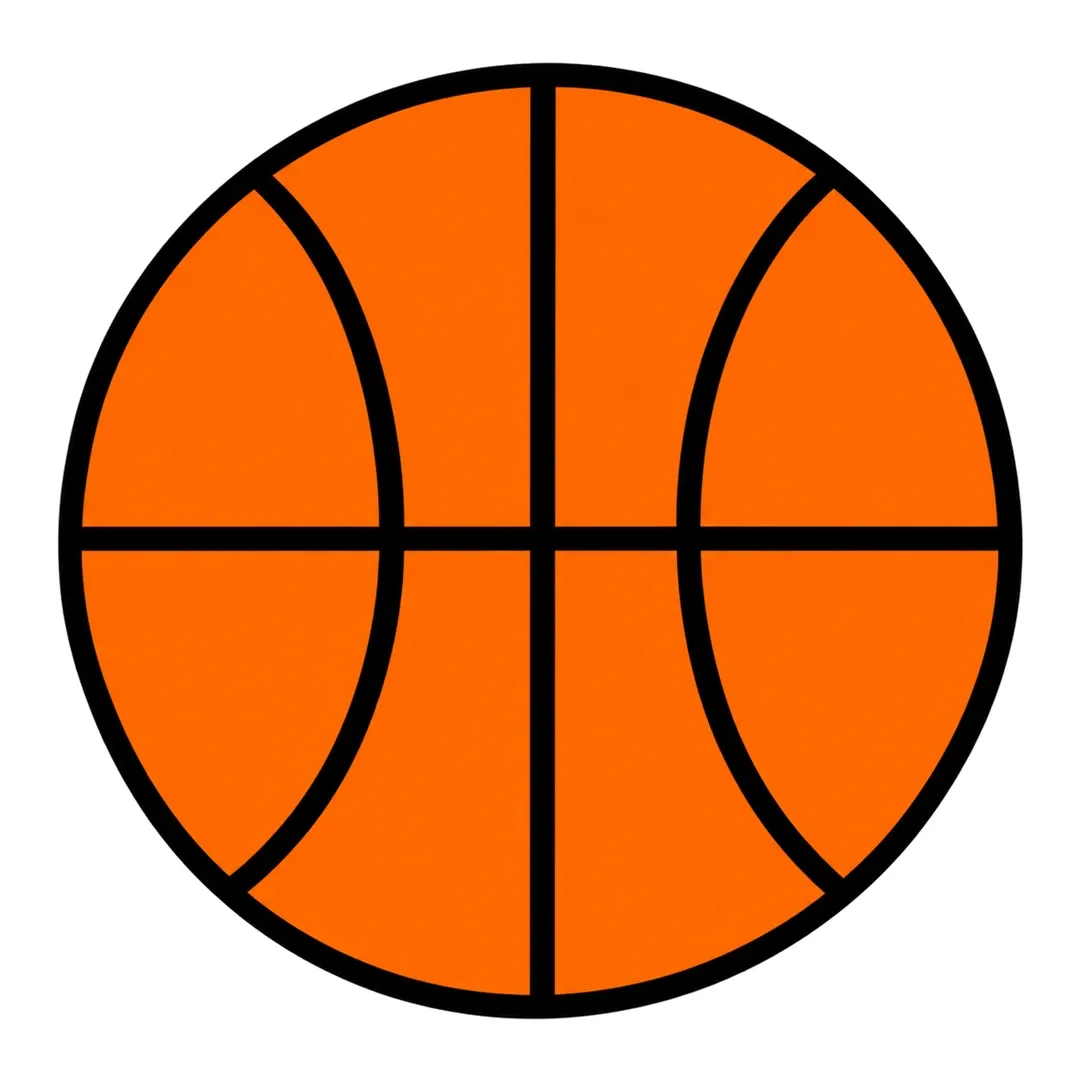
Step 6: Color the whole ball orange. Keep the black lines dark so they show.
Soccer Ball
The soccer ball tutorial grows a pentagon pattern from the middle out.
- Draw a big circle with a small pentagon in the middle, one point up.
- Run five lines from the pentagon corners to the edge, and add five half pentagons where they end.
- Join the half pentagons with five curves just inside the edge, then color the pentagons black.
-
Step 1: Draw a big circle.
-
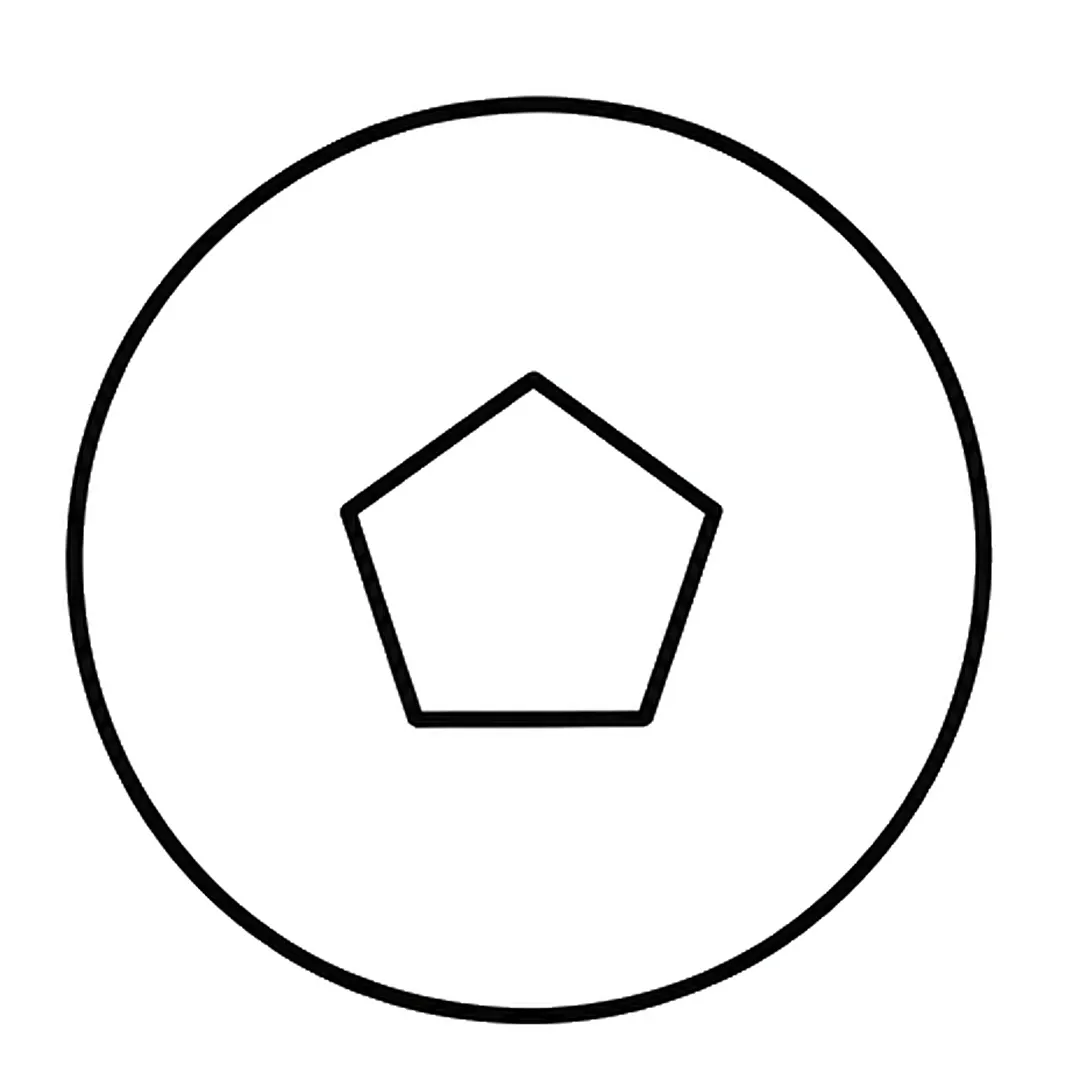
Step 2: Add a small pentagon in the middle, with one point at the top.
-
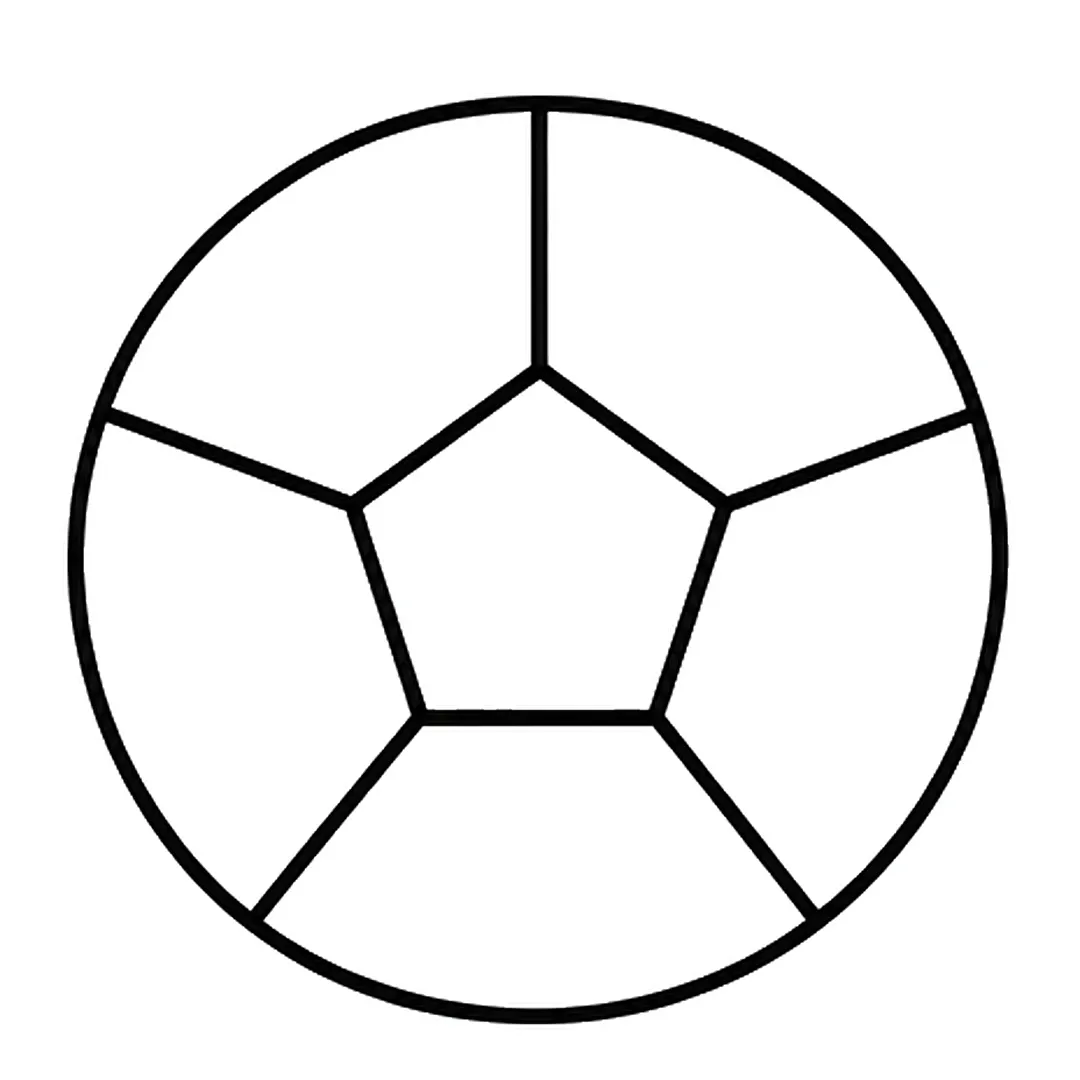
Step 3: Draw five straight lines from the pentagon corners out to the edge of the circle.
-
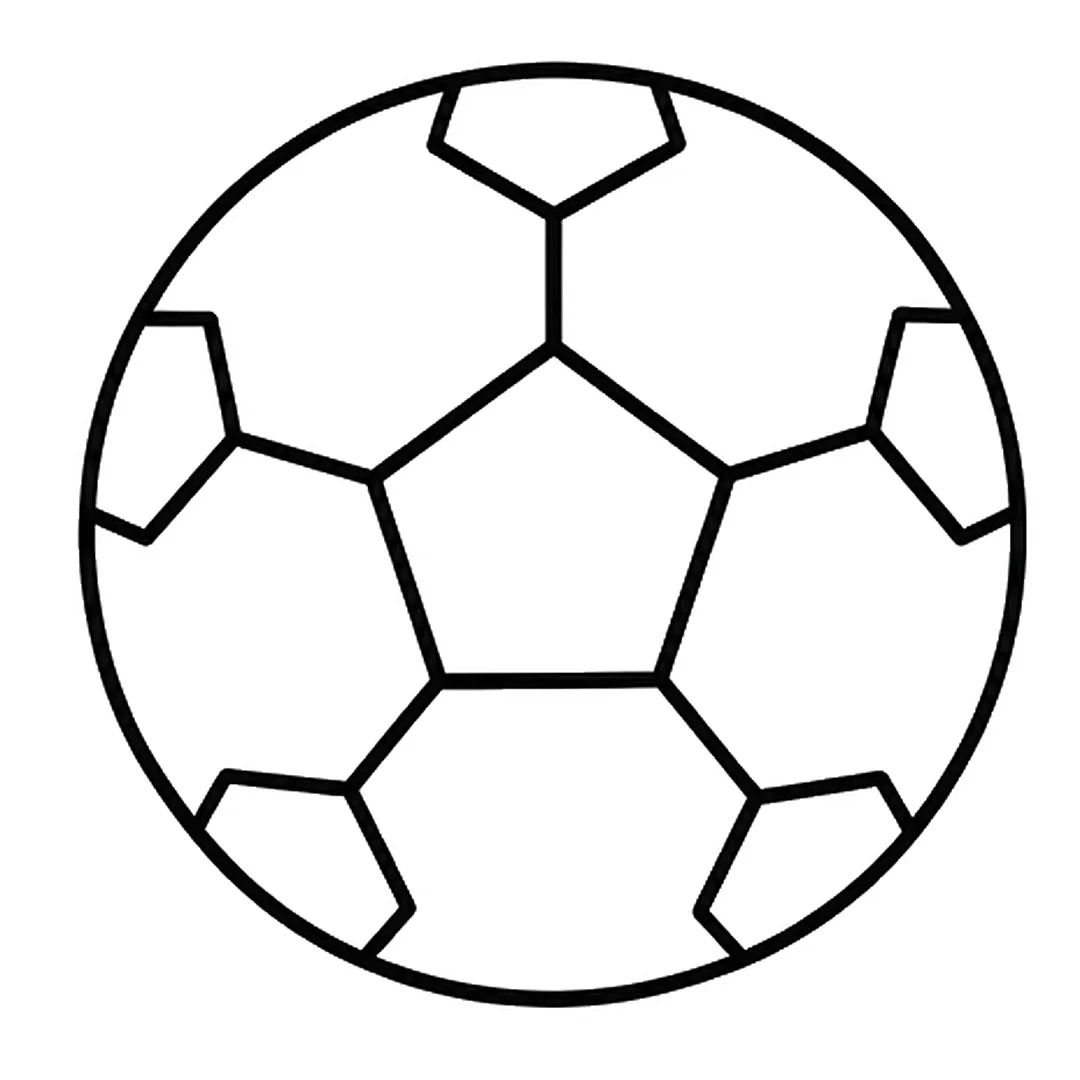
Step 4: Add five half pentagons at the edge where the lines end. Erase the line ends inside them.
-
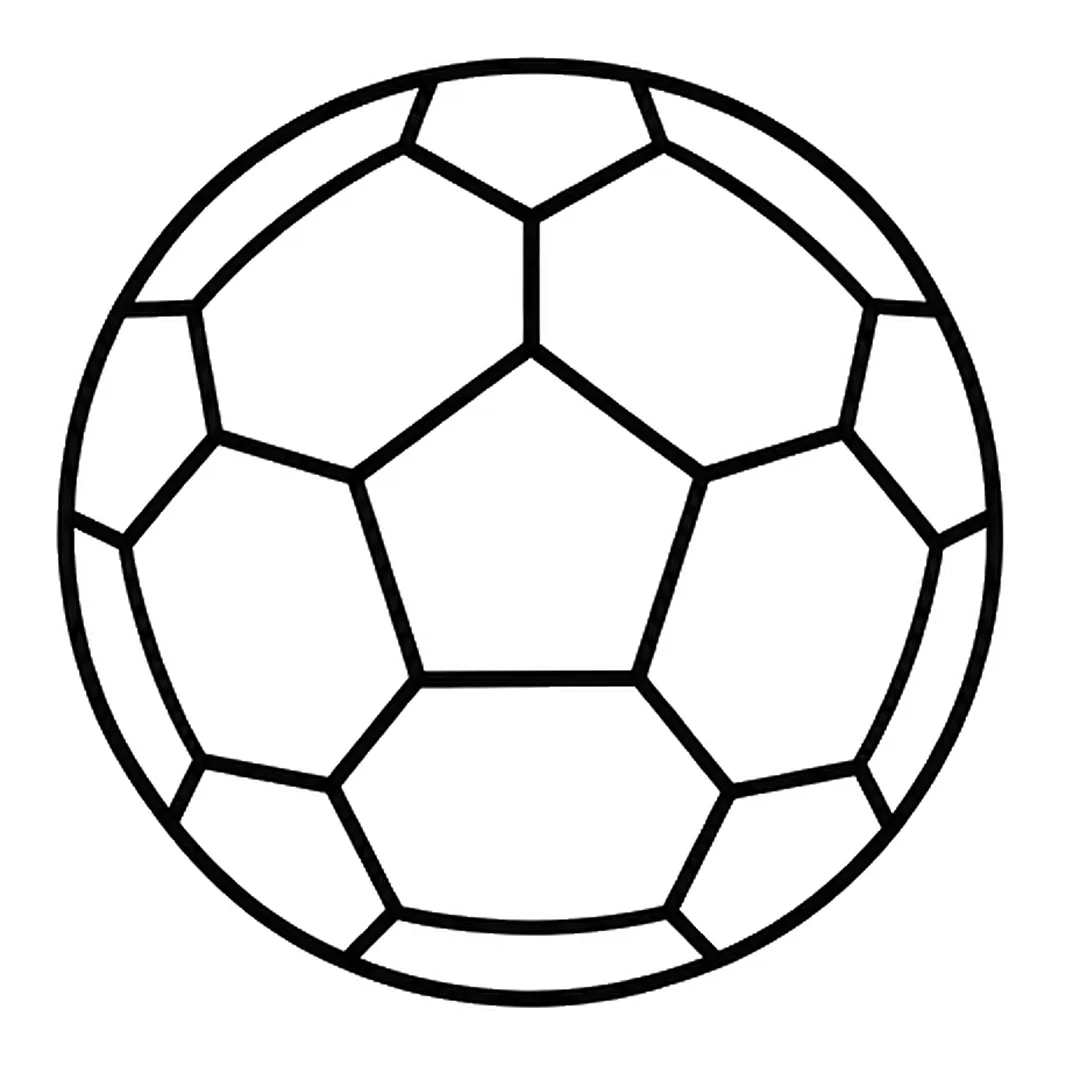
Step 5: Draw five curved lines just inside the edge, from one half pentagon to the next.
-
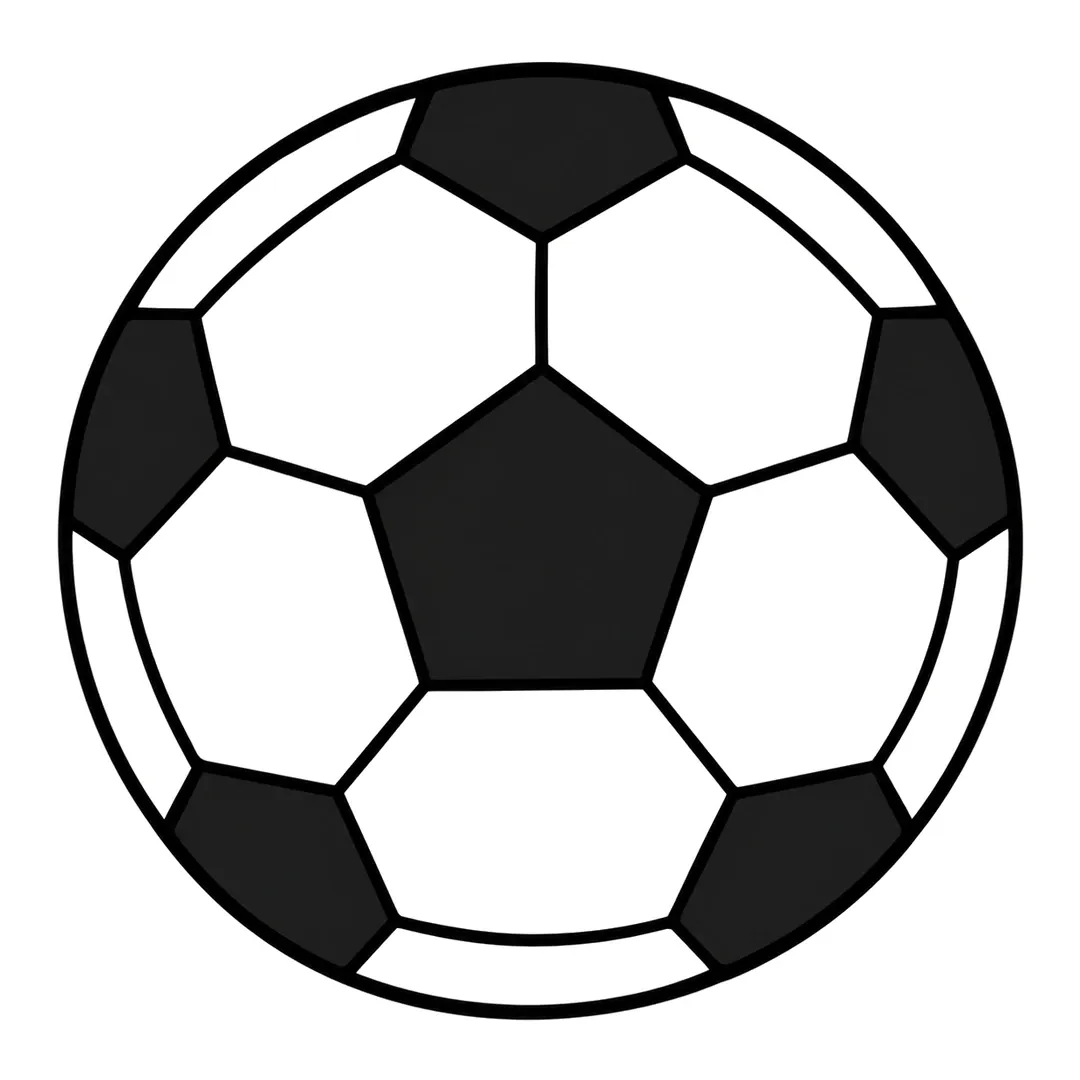
Step 6: Color the middle pentagon and the five edge shapes black. Leave the rest of the ball white.
Volleyball
The volleyball tutorial builds its panels from curves, so it doubles as curve practice.
- Draw a big circle and two matching curves from the top toward the bottom left.
- Add a curve from the upper right to the bottom, with two curves branching off it, and a curved band across the bottom.
- Color some panels yellow and some blue, and leave three white.
-
Step 1: Draw a big circle.
-
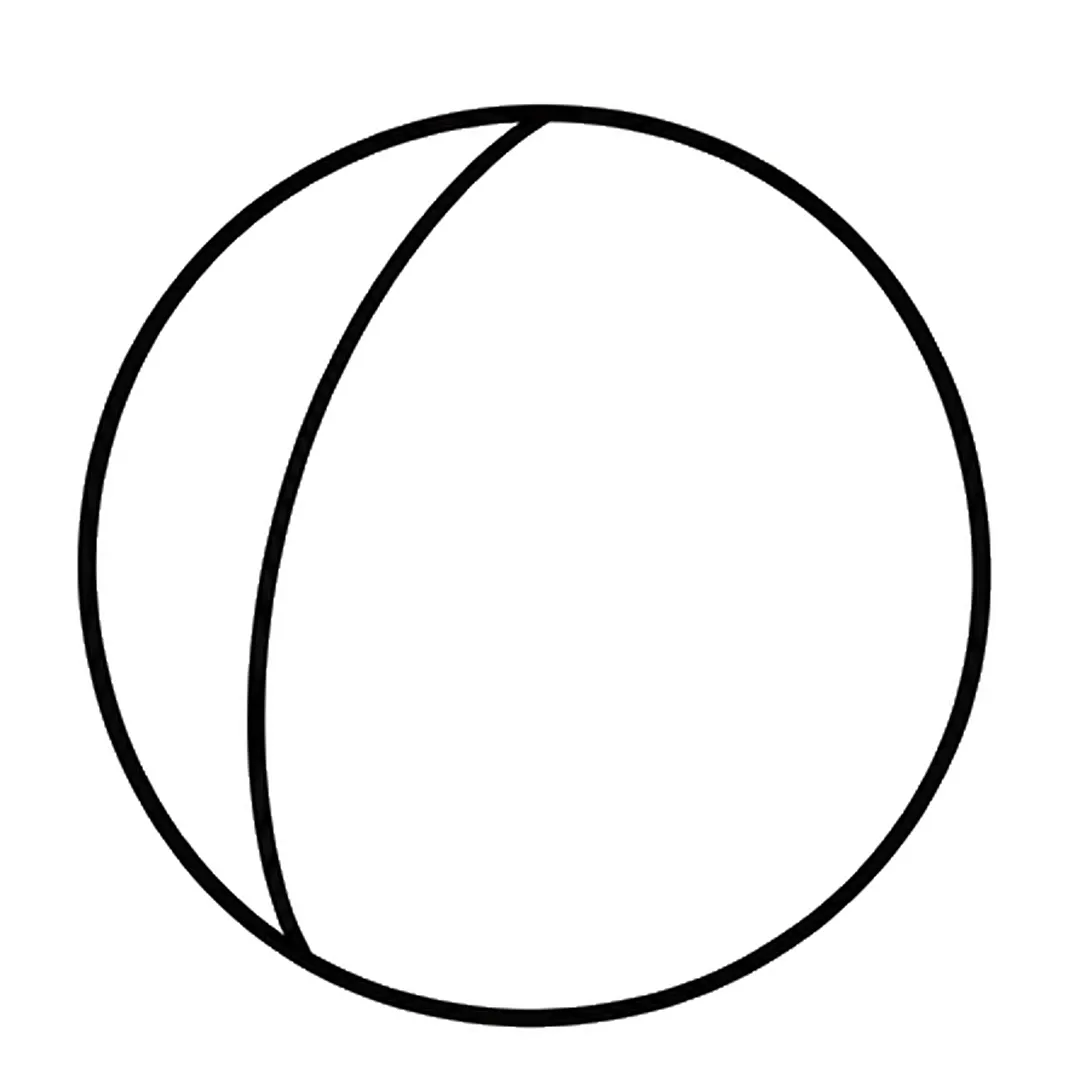
Step 2: Add one curved line from the top of the circle down to the bottom left.
-
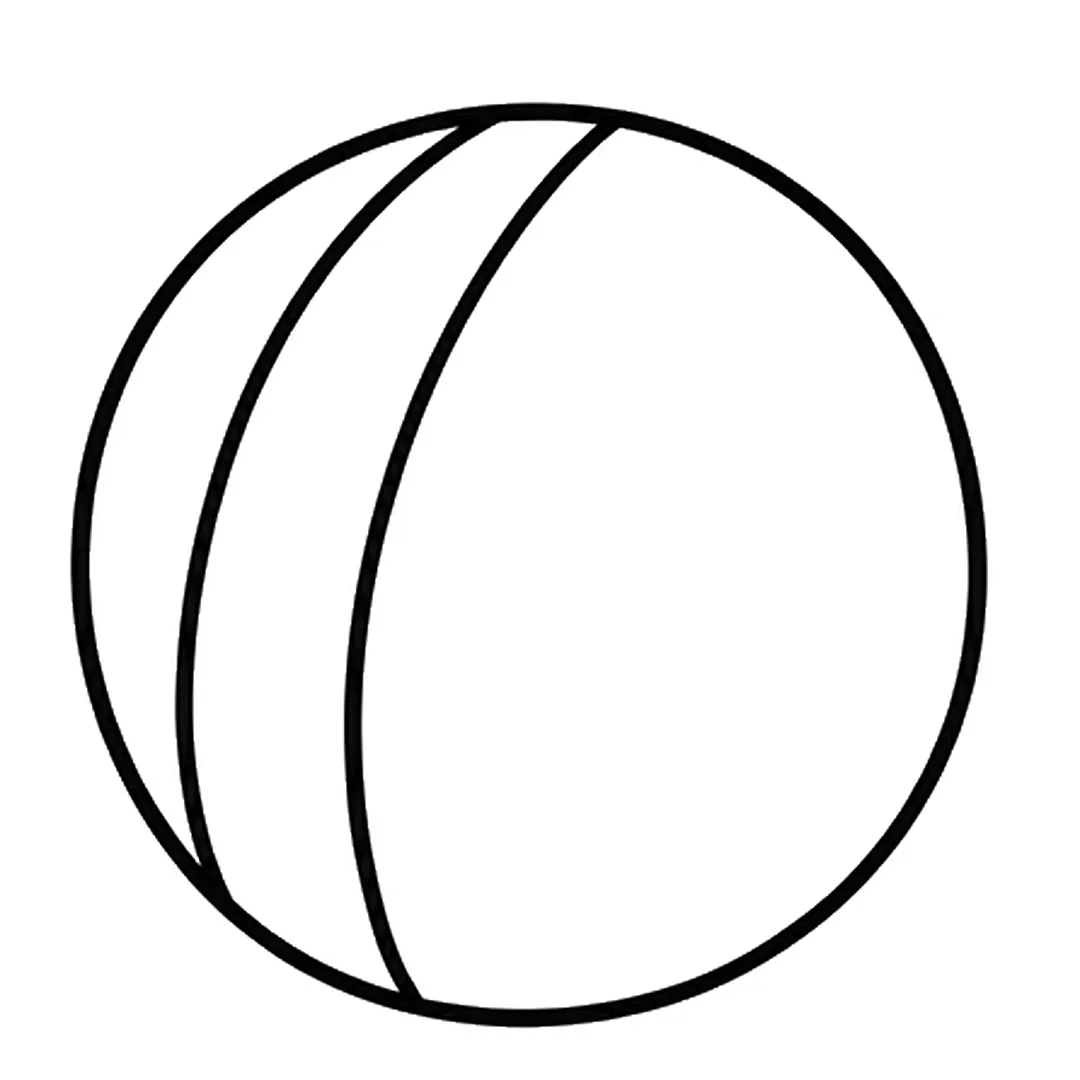
Step 3: Draw a second curved line on the left, the same shape as the first.
-
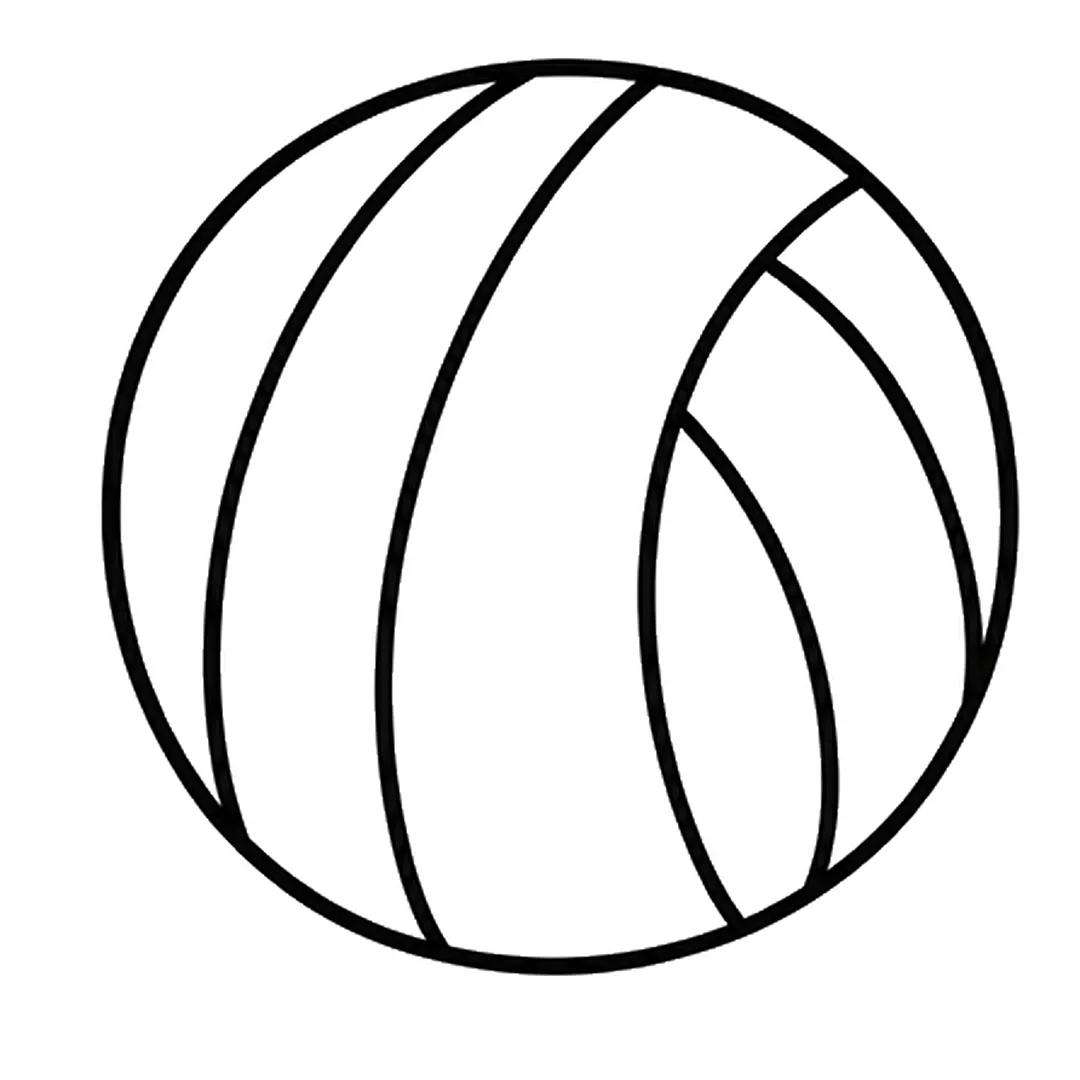
Step 4: Add a curve from the upper right edge to the bottom. Branch two curves off it to the right.
-
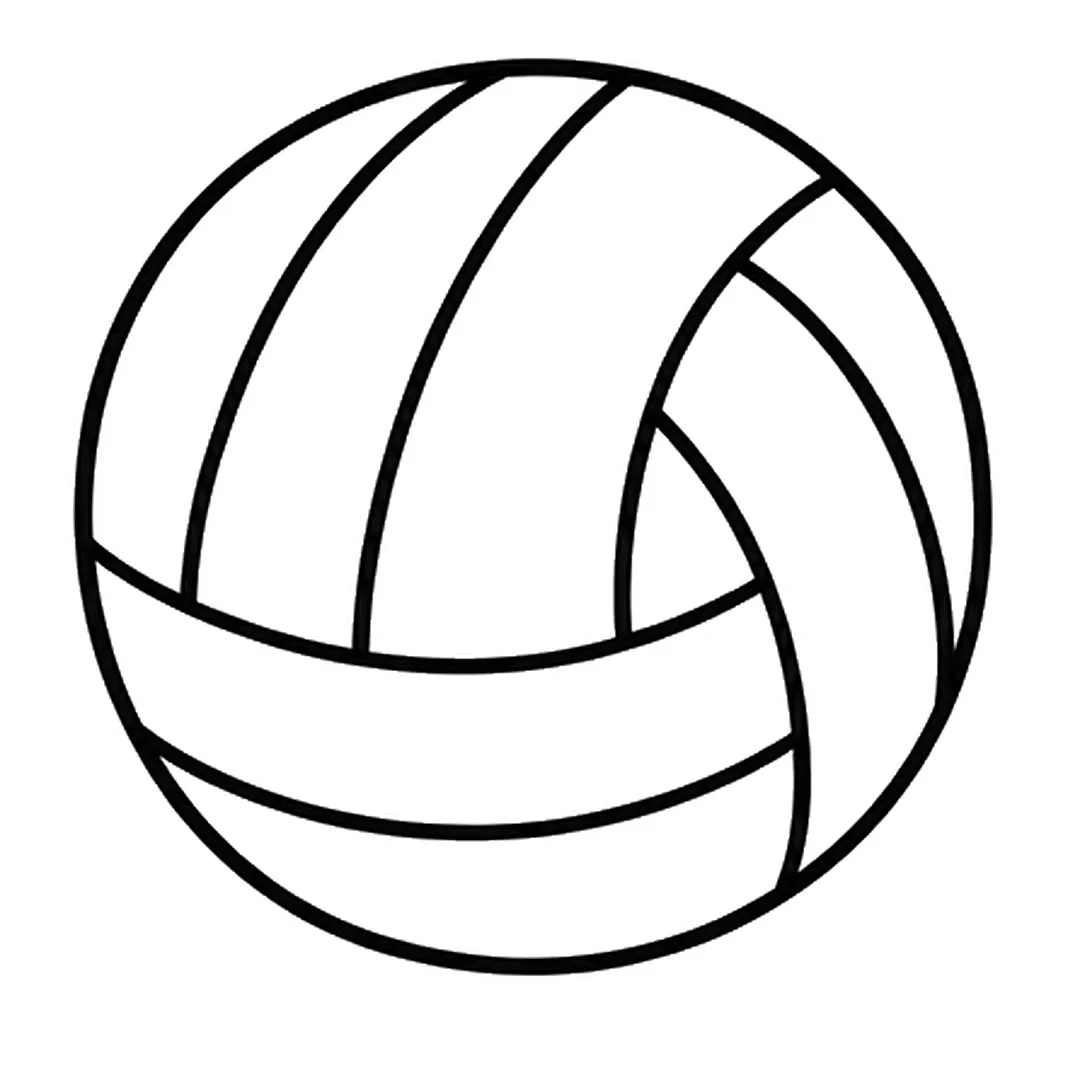
Step 5: Draw a curved band of two lines across the bottom. Erase the old lines inside and under it.
-
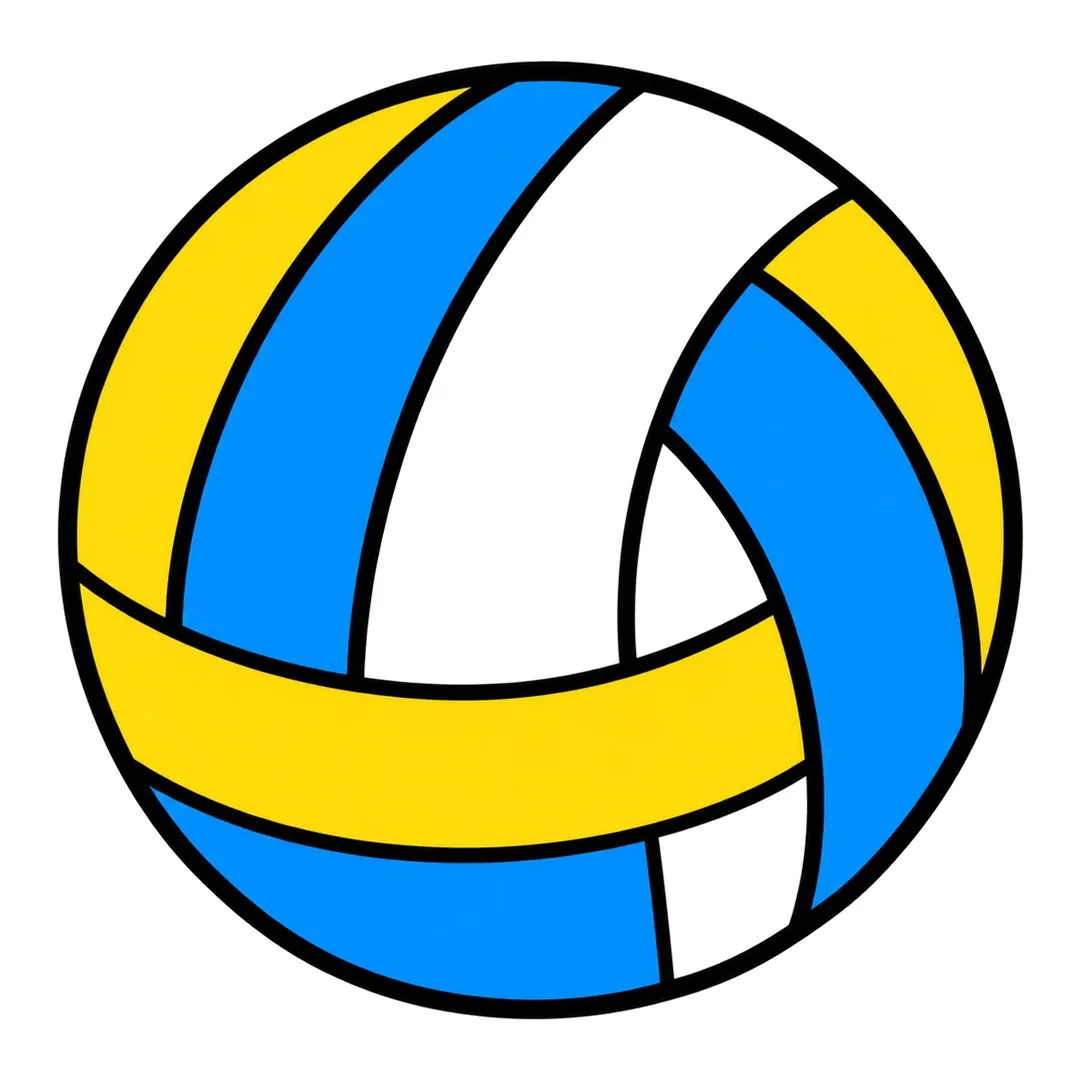
Step 6: Add a line under the band. Color the band and two panels yellow, three blue. Leave three white.
Teddy Bear
A real teddy bear can sit on the table as a model for the teddy bear tutorial.
- Draw a wide round head with two round ears, then the eyes and an oval muzzle.
- Add a big round body, two round arms and two sitting legs with oval foot pads, then color the bear brown.
-
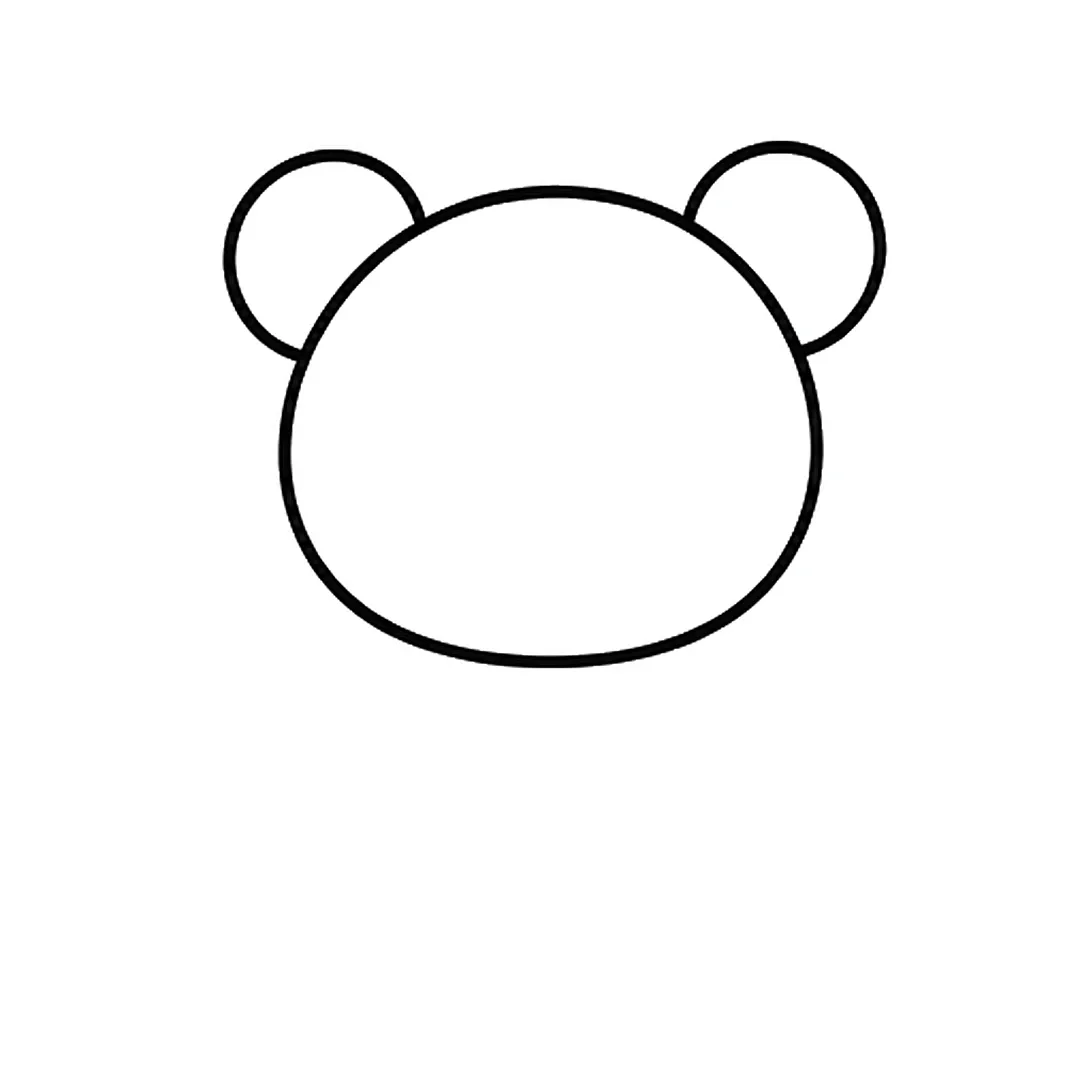
Step 1: Draw a wide round head with two round ears on top.
-
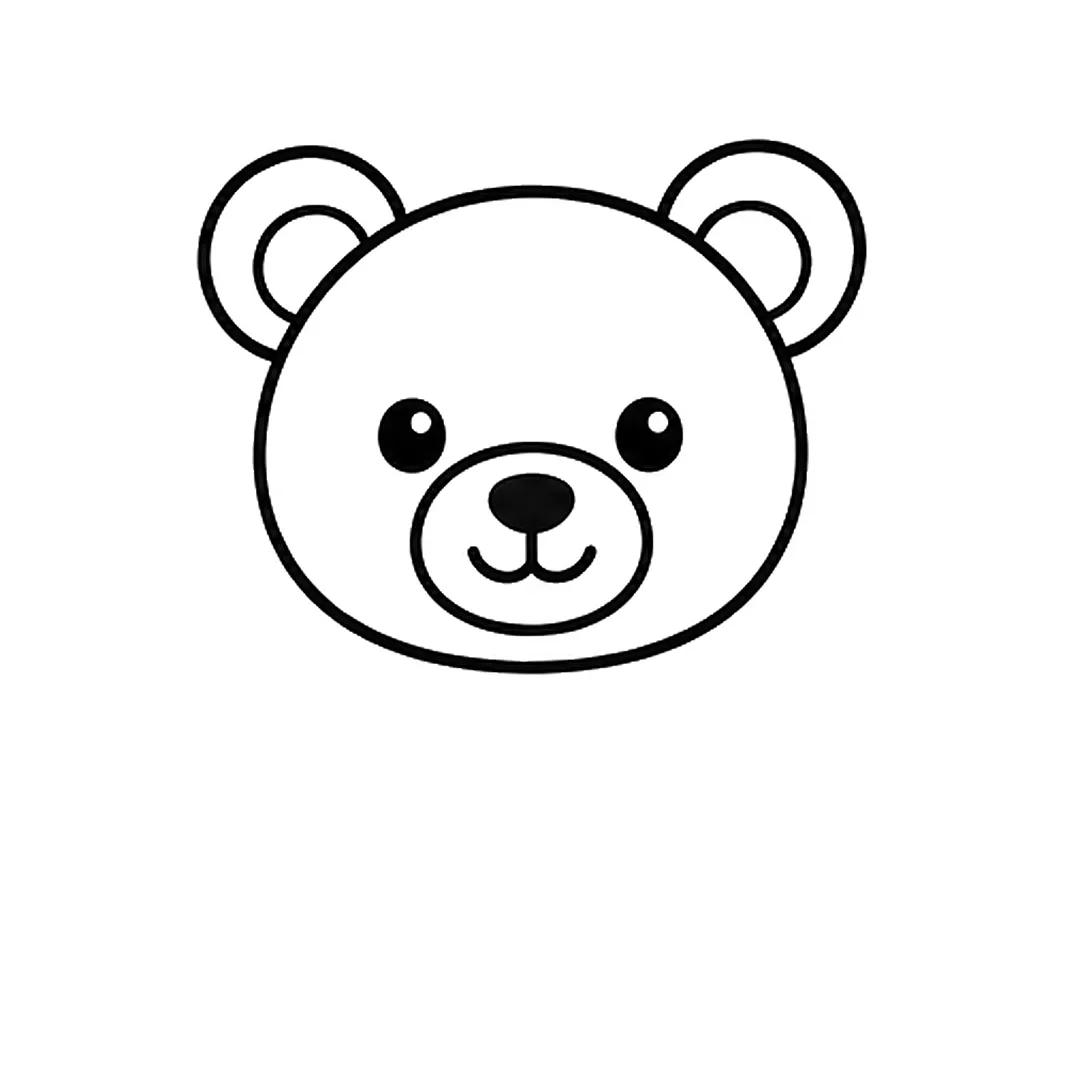
Step 2: Add a small circle in each ear, two eyes, and an oval muzzle with a nose and a smile.
-
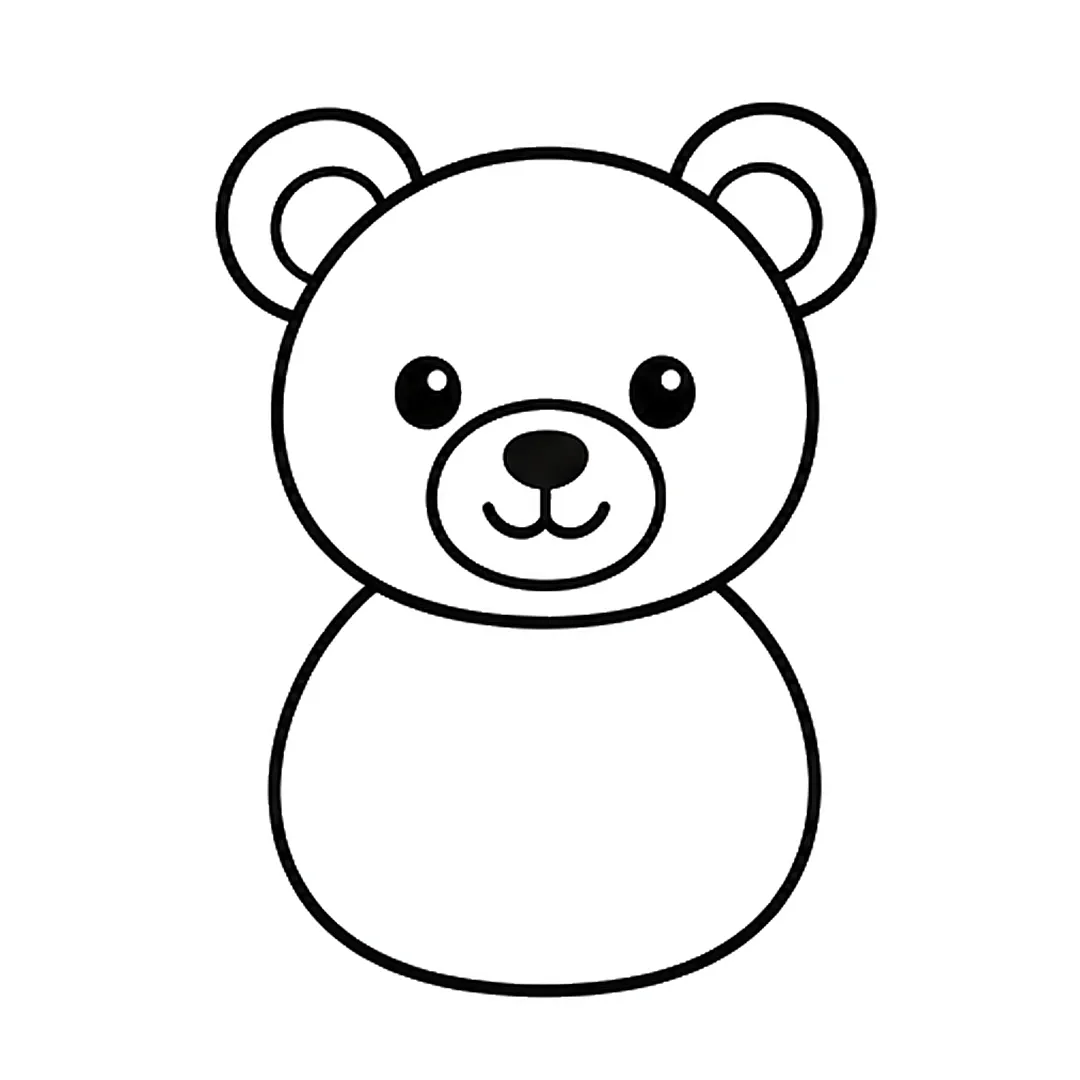
Step 3: Draw a big round body under the head.
-
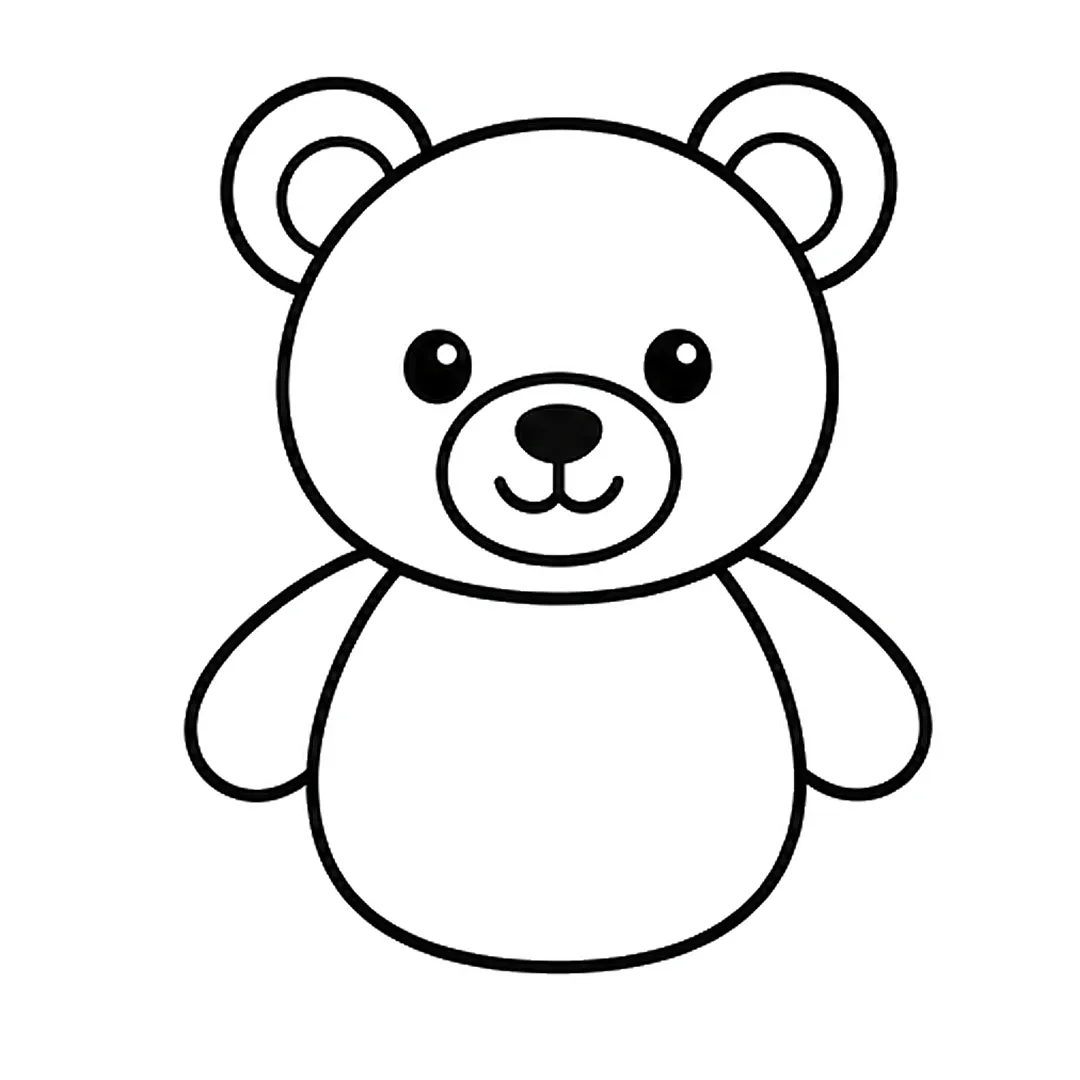
Step 4: Add two round arms on the sides. Erase the old body sides and redraw them a little narrower.
-
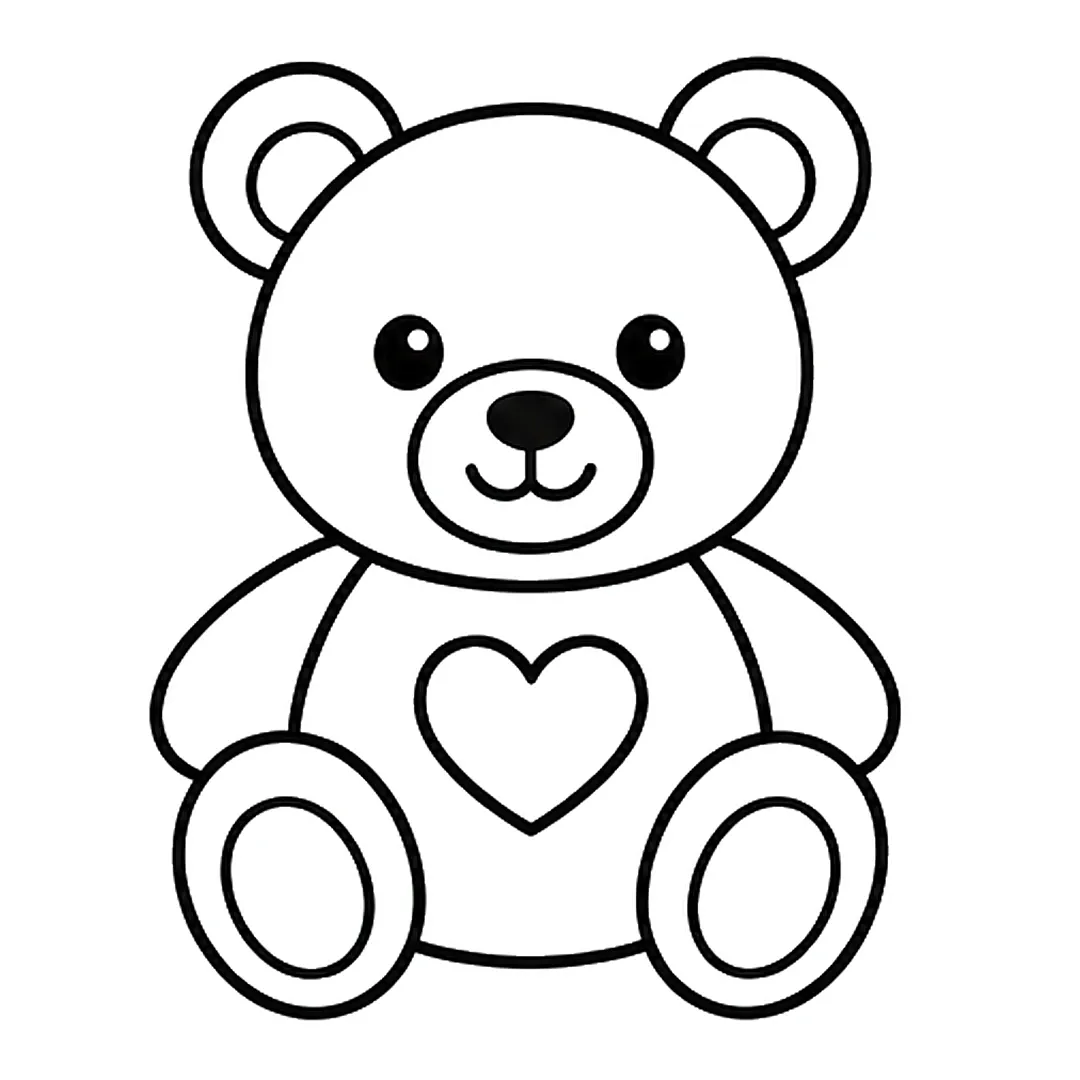
Step 5: Draw two sitting legs with oval foot pads and a heart. Erase the body and arm lines inside the legs.
-
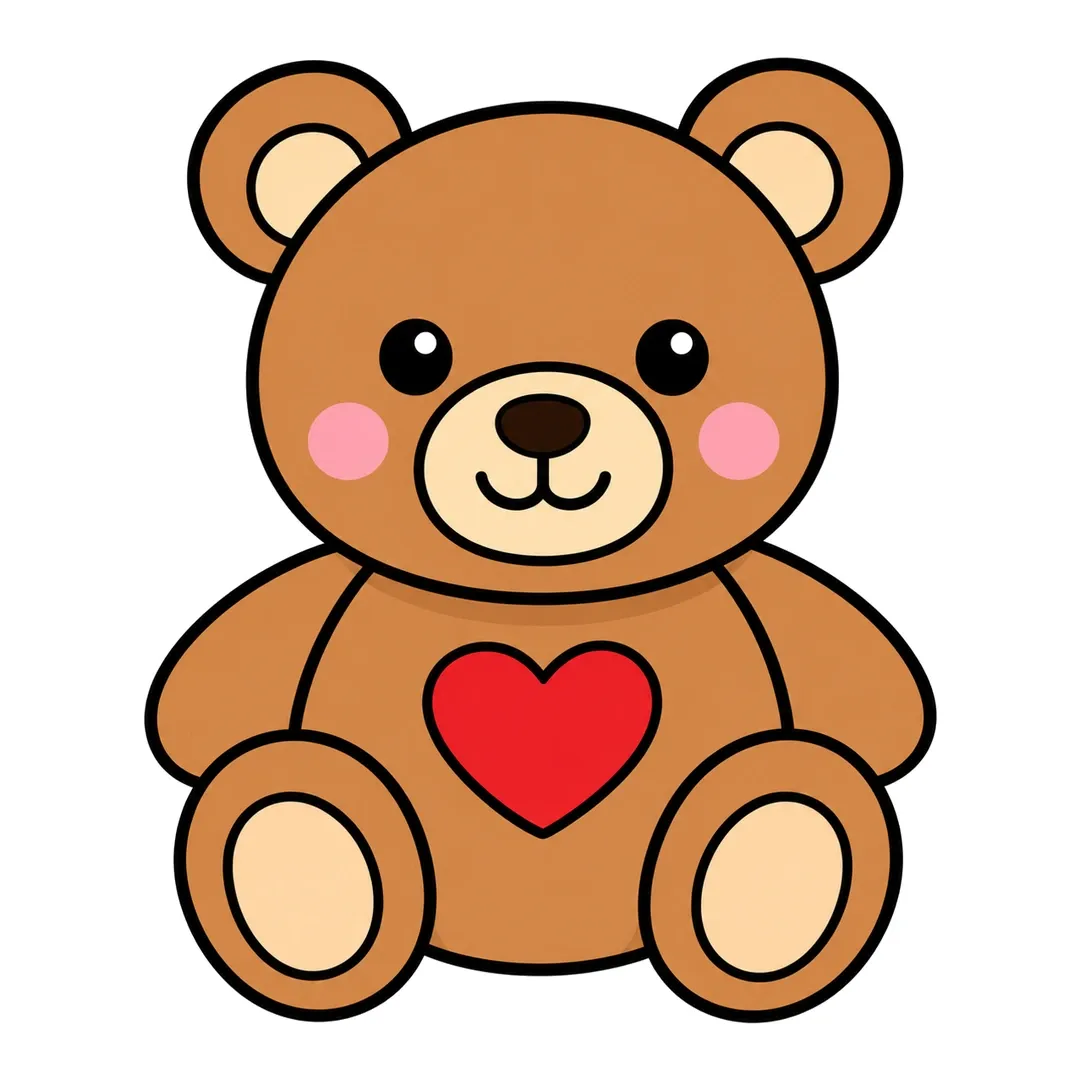
Step 6: Color the bear brown, inner ears, muzzle and foot pads tan, and the heart red. Add two pink cheeks.
Robot
The robot tutorial stacks two rounded squares and adds bendy, segmented arms.
- Draw a rounded square head with an antenna, two big round eyes and a five-cell mouth.
- Add a short neck and a rounded square body with a square chest screen.
- Draw bendy arms with round claws and short legs with wide feet, then color it.
-
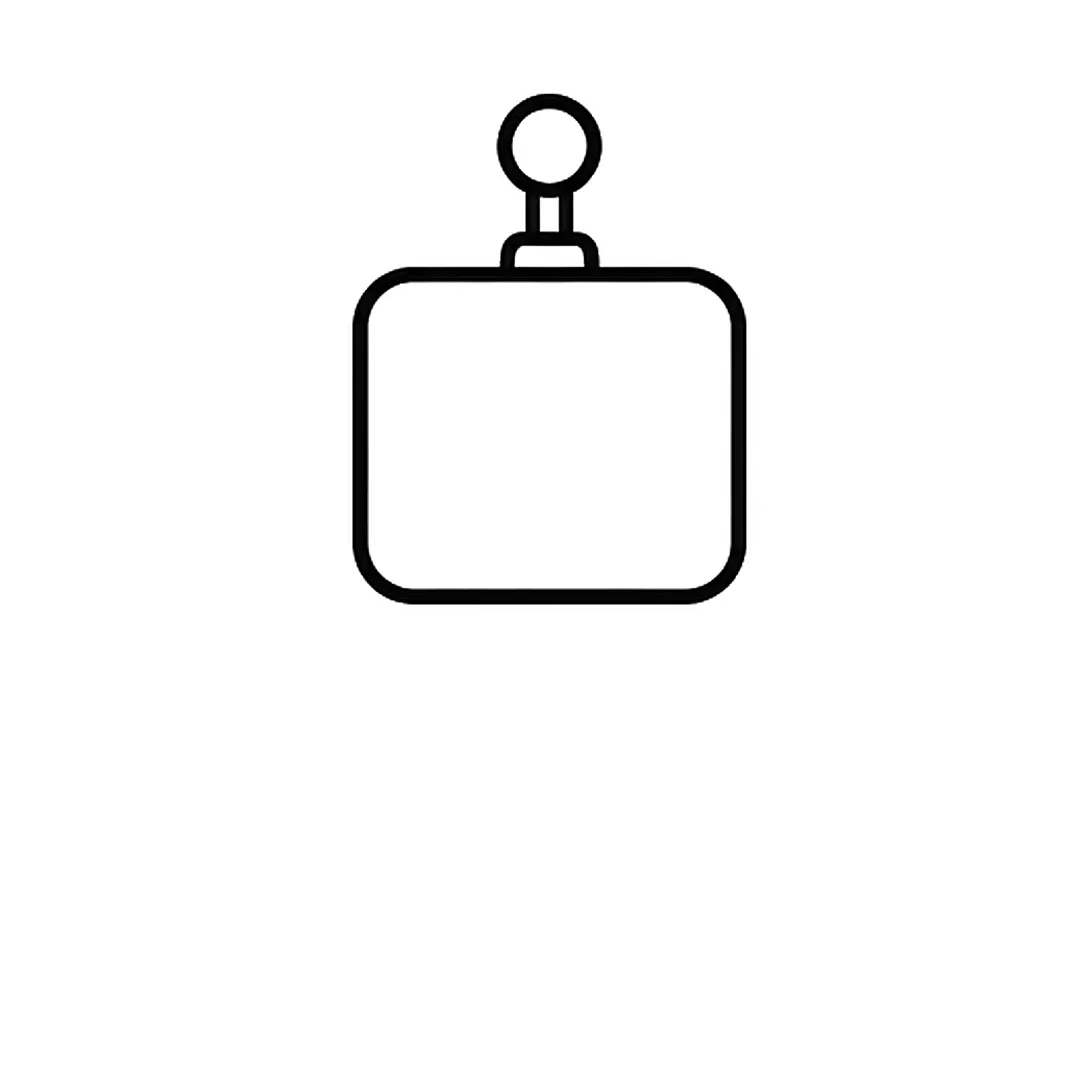
Step 1: Draw a rounded square head with a short antenna and a round ball on top.
-

Step 2: Add two big round eyes with black pupils and a long mouth split into five cells by four lines.
-

Step 3: Draw a short neck and a rounded square body under the head, with a square screen on the chest.
-

Step 4: Add two bendy arms with three segment lines each, curving out from the shoulders to round claws.
-
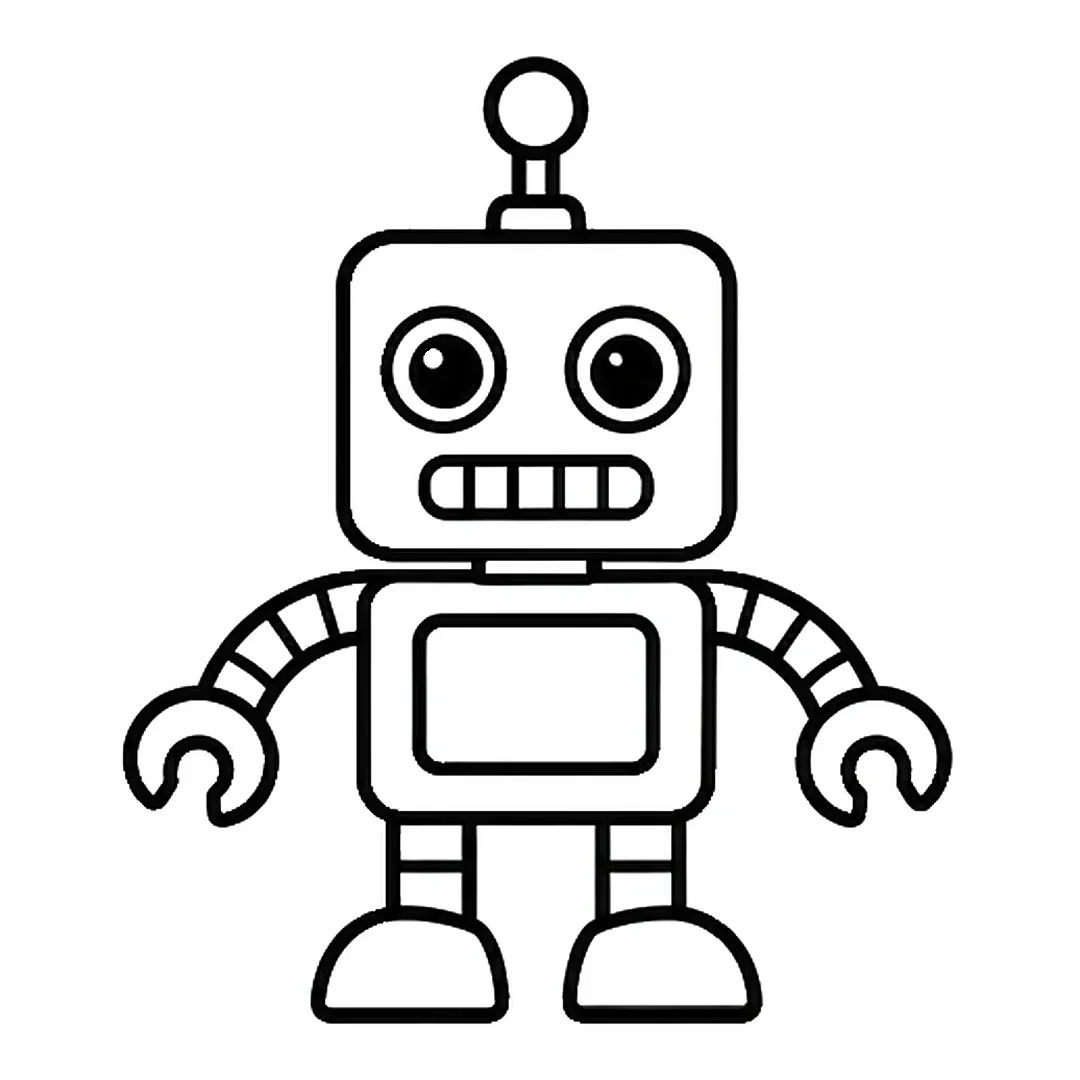
Step 5: Draw two short legs with one line across each one and wide rounded feet.
-

Step 6: Color it light gray, ball red, eye rings and screen blue, mouth and feet gray, soles dark gray.
Crayon
The crayon tutorial sets a cone tip on a long body and gives the wrapper a smiling face.
- Start with a tall, thin upright rectangle and put a pointed cone tip on its top edge.
- Add two lines across the body, a face and a zigzag stripe, then color it in three blues.
-
Step 1: Draw a tall thin rectangle standing upright.
-
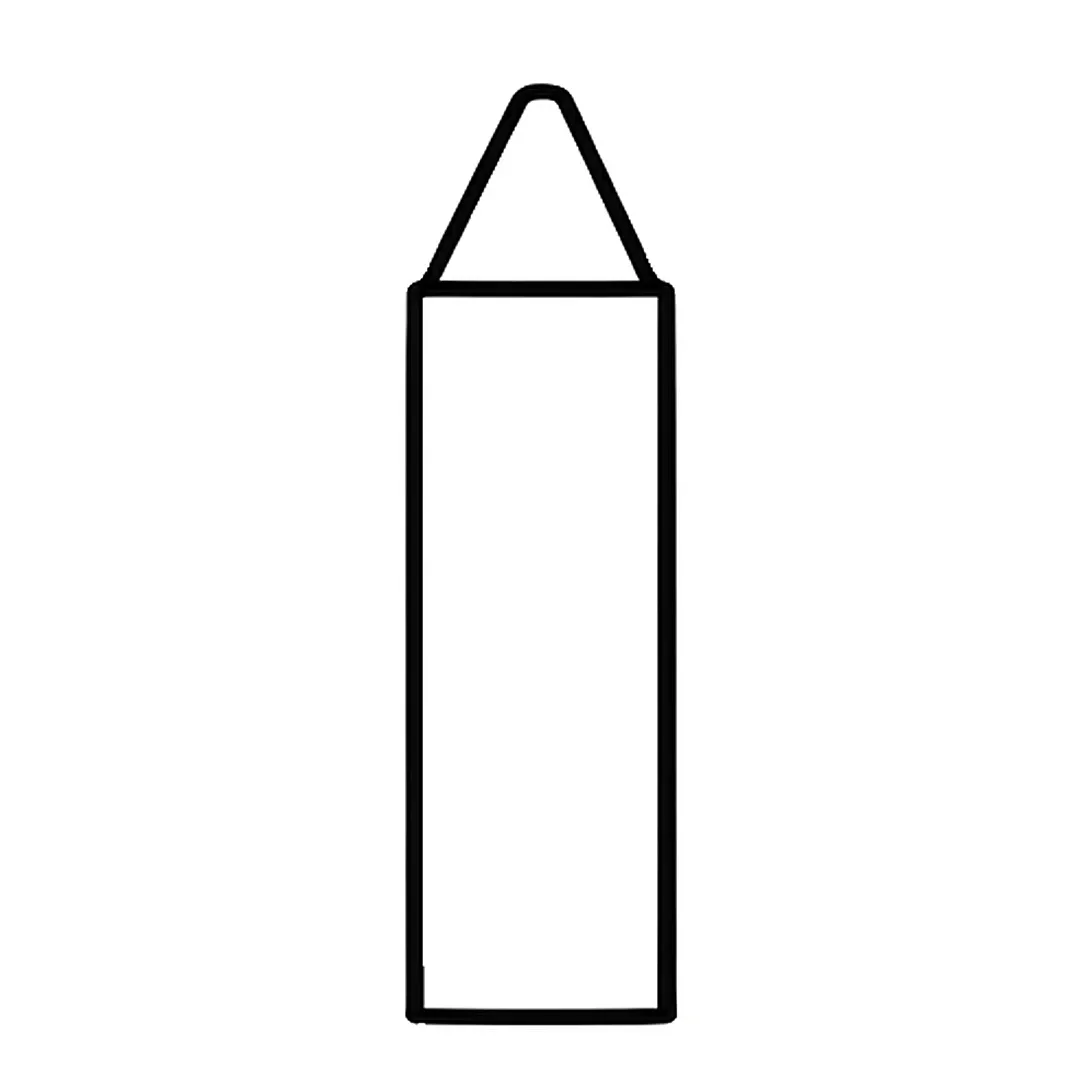
Step 2: Add a pointed cone tip with a rounded top on the top edge of the rectangle.
-
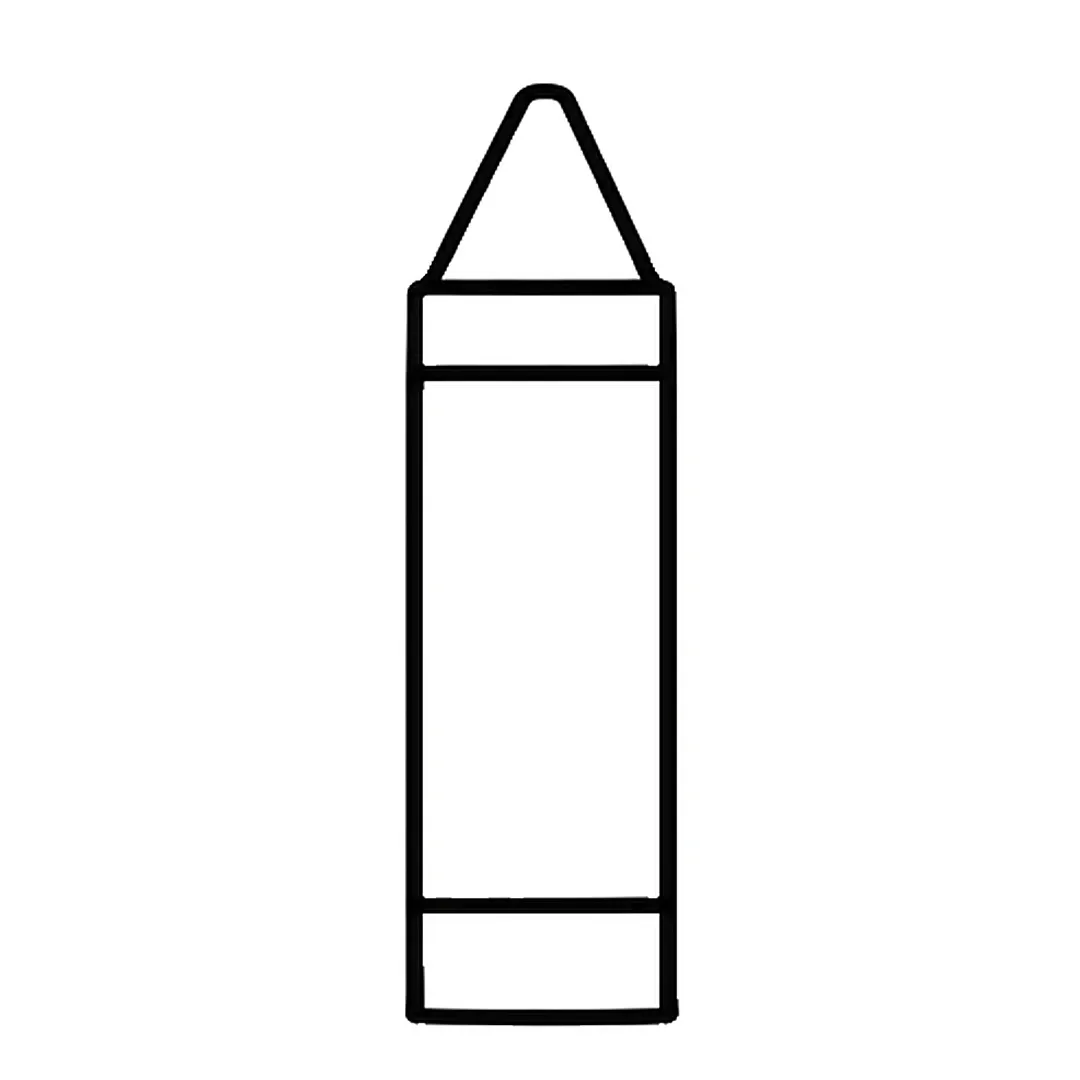
Step 3: Draw two straight lines across the body, one near the top and one near the bottom.
-
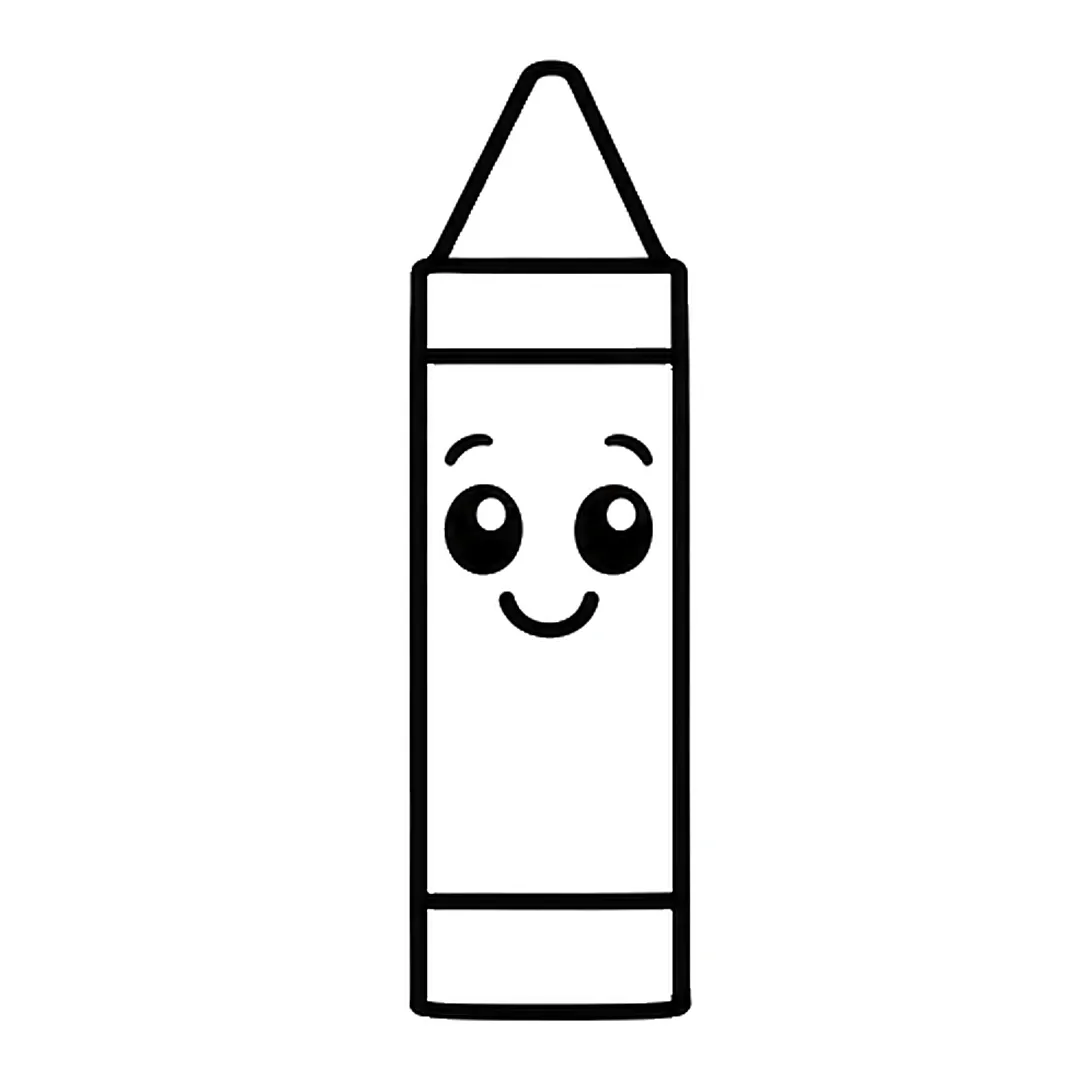
Step 4: Add a face on the wrapper: two eyebrows, two black eyes with white shine dots and a smile.
-
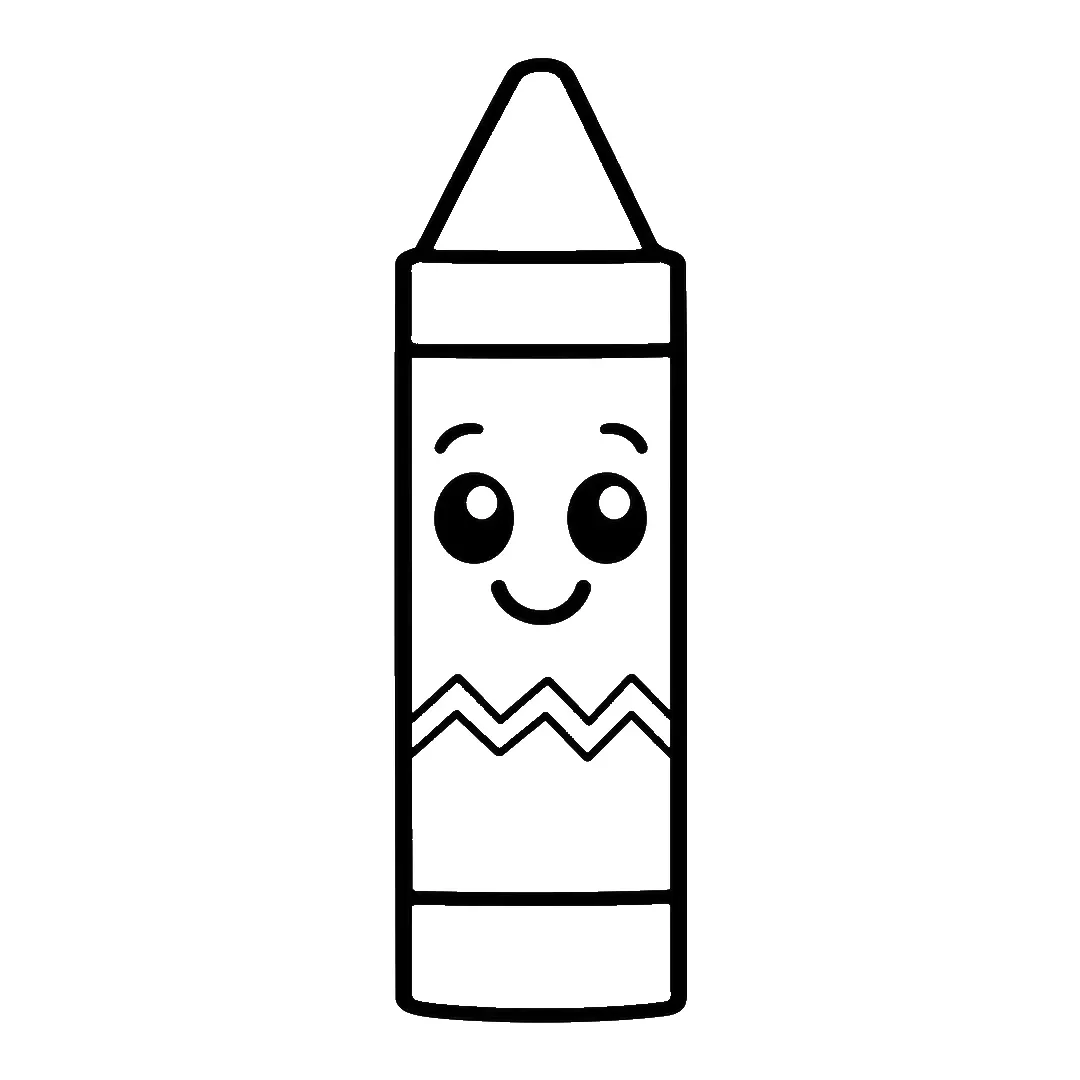
Step 5: Draw a zigzag stripe under the face with two thin zigzag lines going all the way across.
-
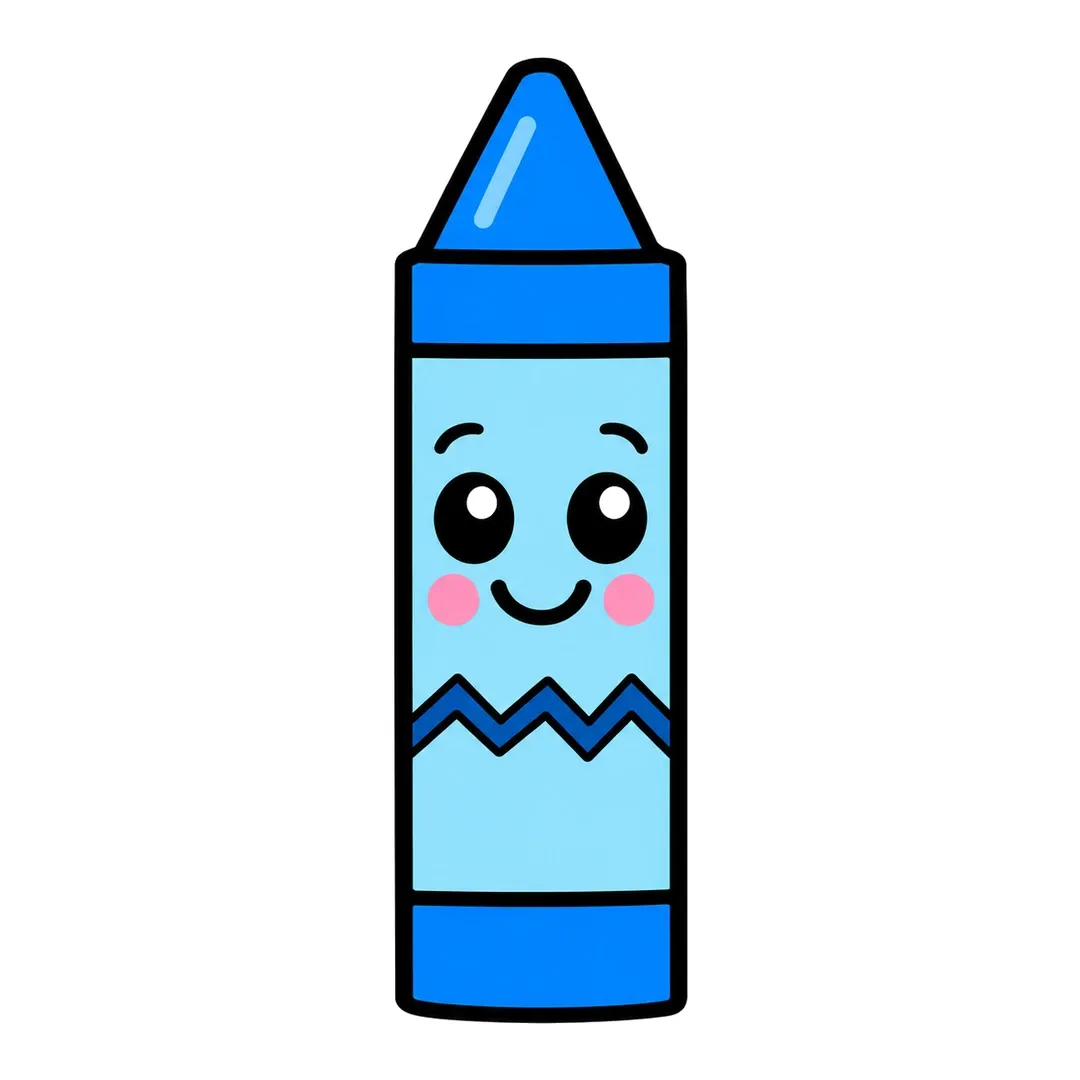
Step 6: Color the tip and bands blue, wrapper and a tip stripe light blue, zigzag dark blue. Add pink cheeks.
Book
Open a real picture book next to the book tutorial to compare the curved pages.
- Draw two open pages with curved tops and bottoms and a thin cover edge around them.
- Add four short text lines on each page and a ribbon bookmark, then color the cover red.
-
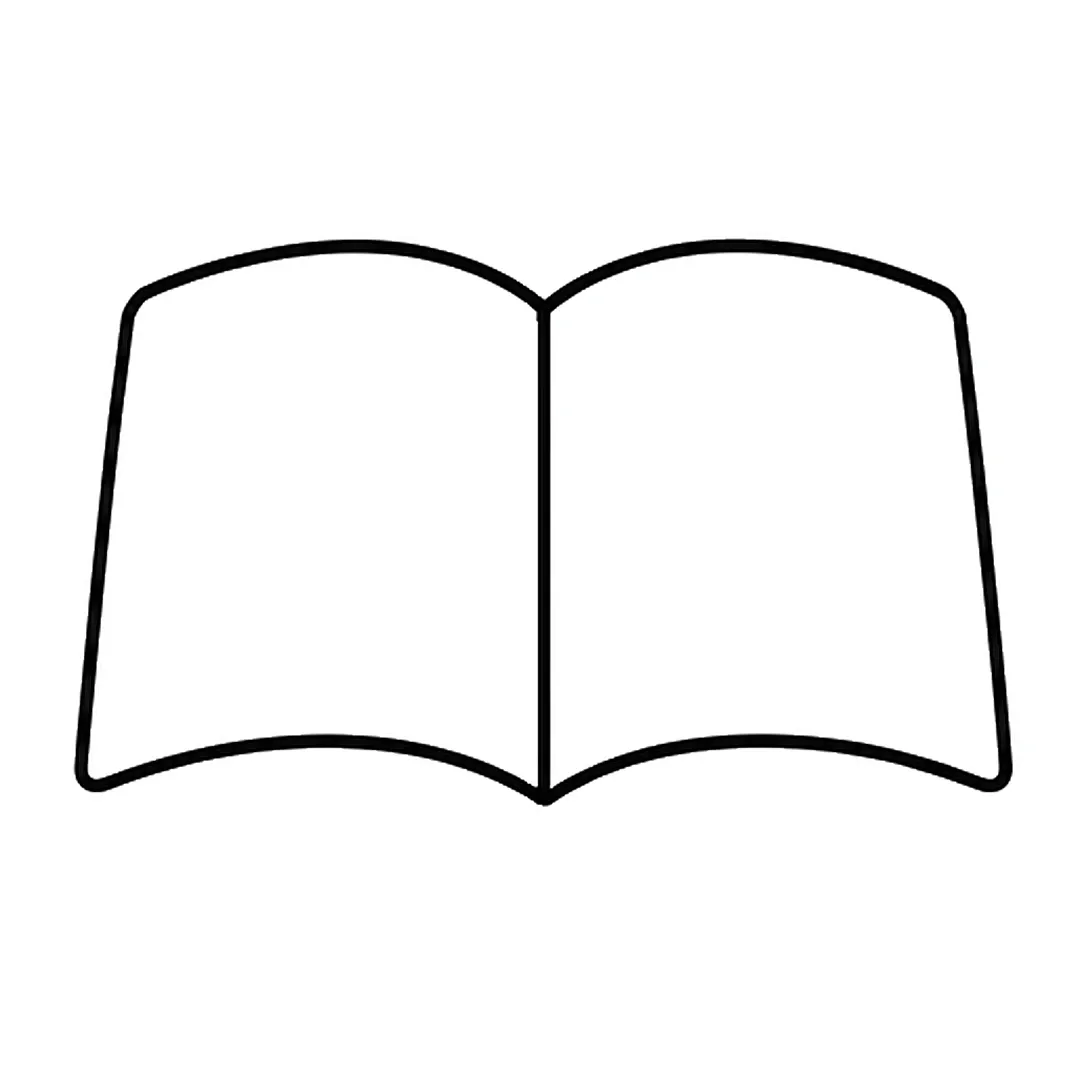
Step 1: Draw two open pages with curved tops and bottoms that meet at a straight line in the middle.
-
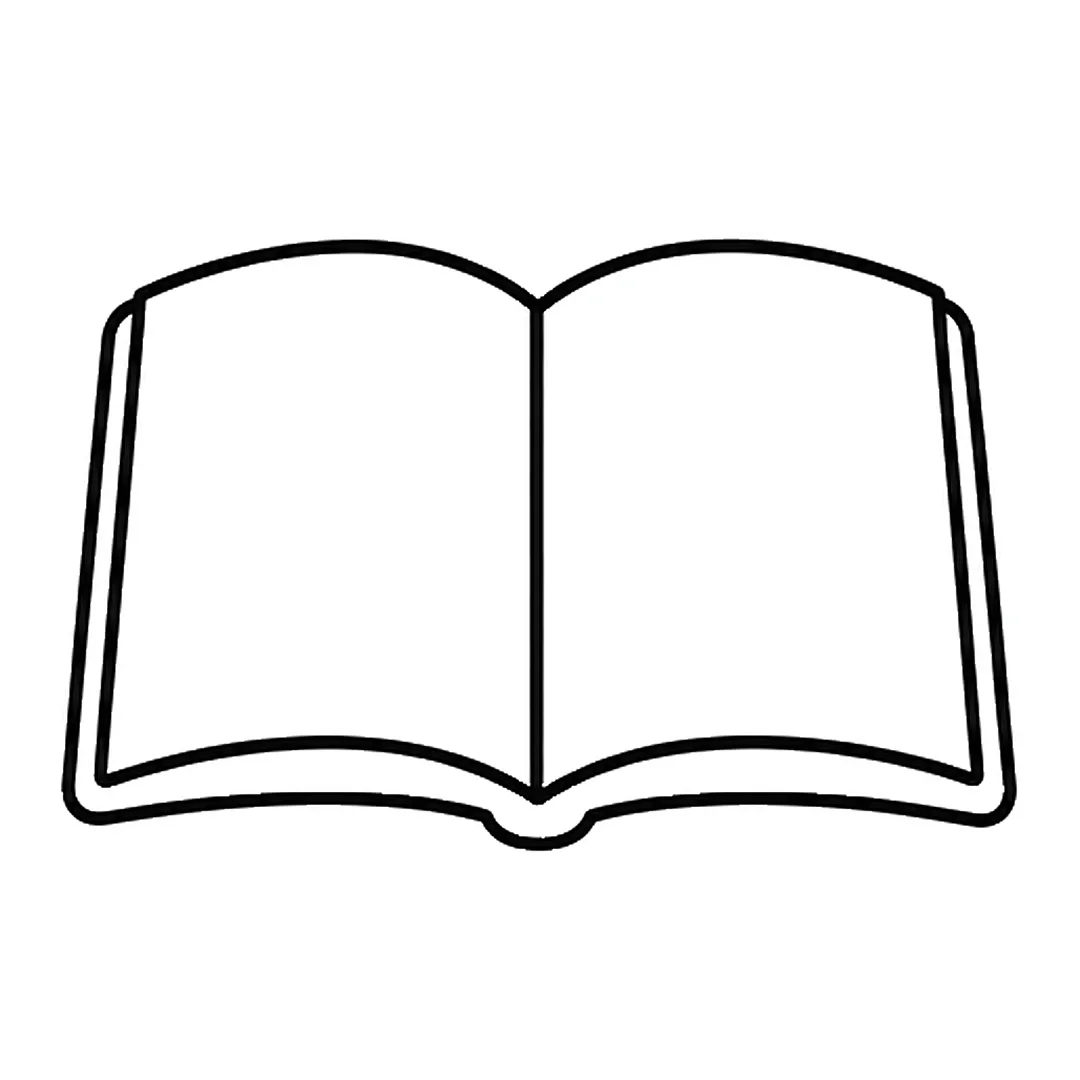
Step 2: Add a thin cover edge around the sides and bottom, with a small round bump under the middle.
-
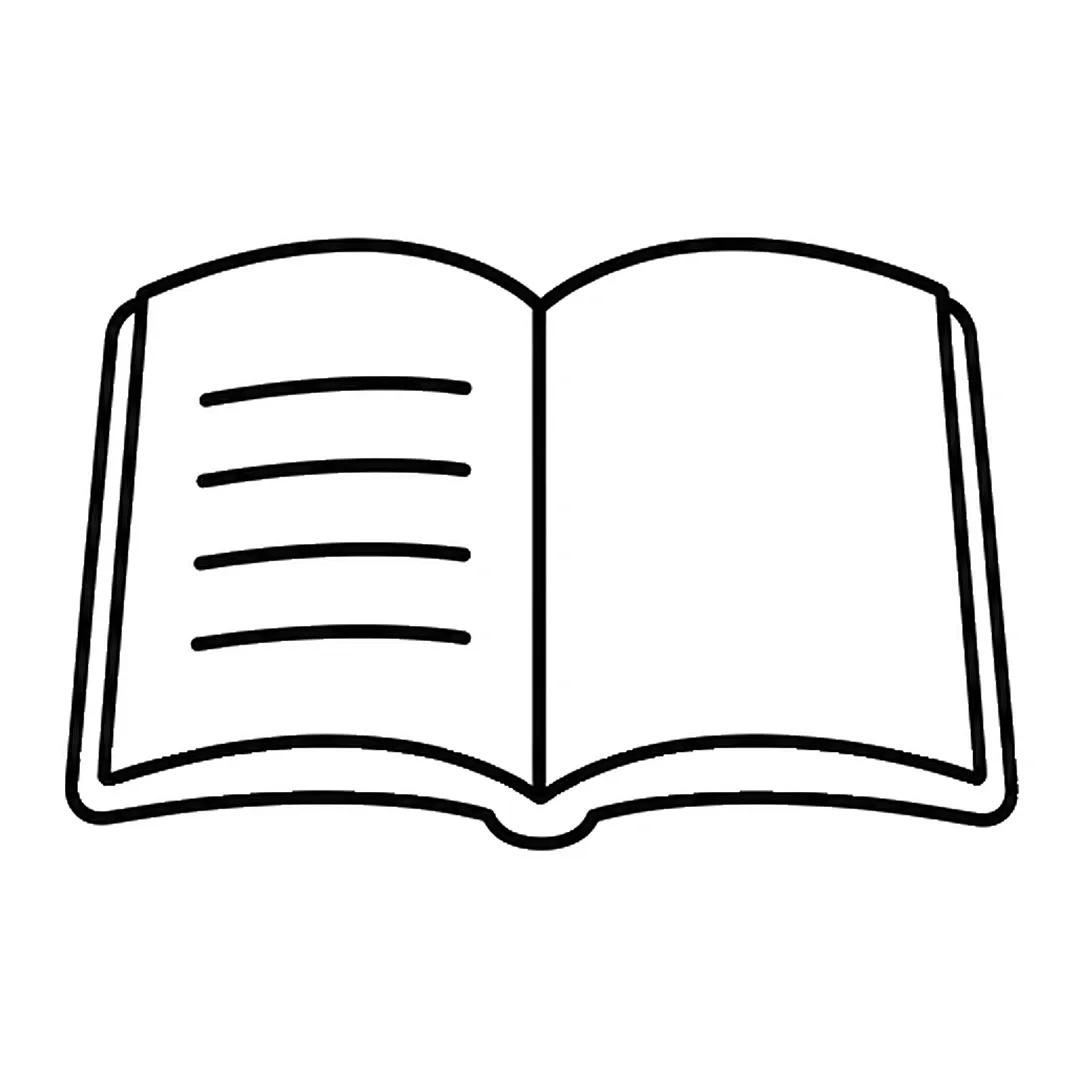
Step 3: Draw four short text lines across the left page, one under the other.
-
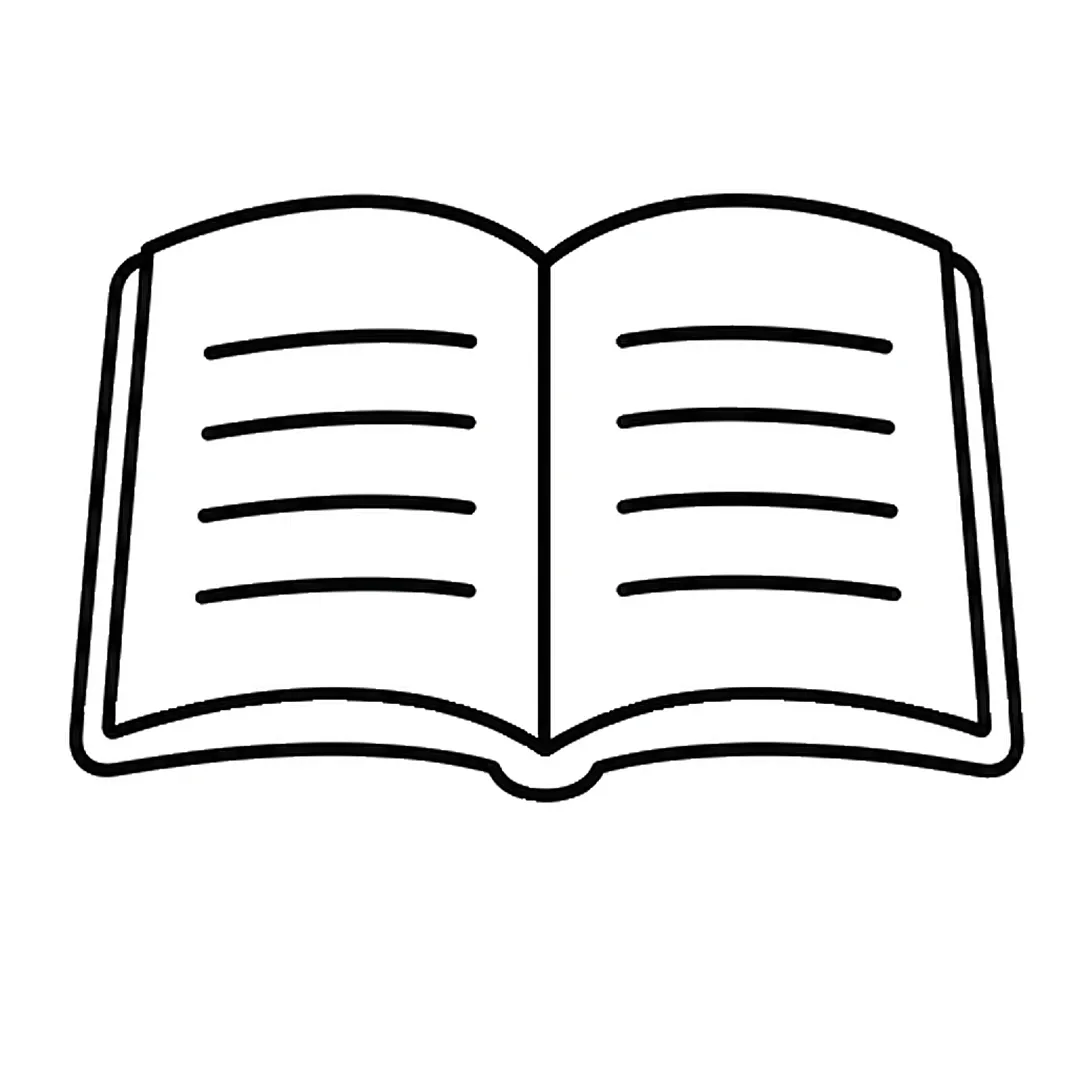
Step 4: Add four matching text lines on the right page.
-
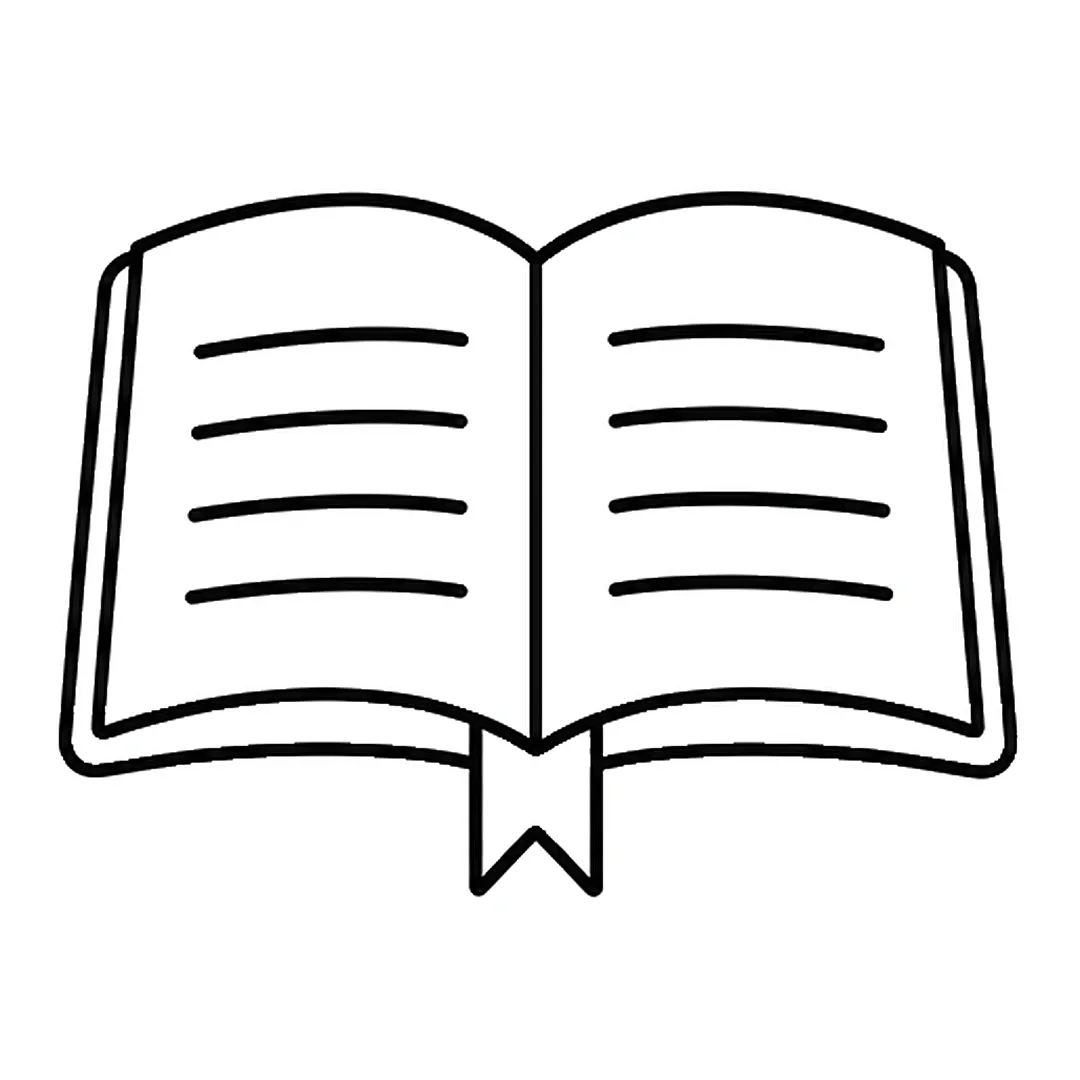
Step 5: Draw a ribbon bookmark with a notched end under the middle. Erase the small bump there first.
-

Step 6: Color the cover red, the pages cream, the text lines dark gray and the bookmark yellow.
Shoe
The shoe tutorial shows a striped sneaker from the side, built up from one long sole.
- Draw a long flat sole that turns up at the toe, then the upper with a low ankle dip.
- Add a toe cap line, a heel tab, a tongue, four lace holes and four slanted laces.
- Draw a curved side stripe, then color the shoe red and the stripe blue.
-
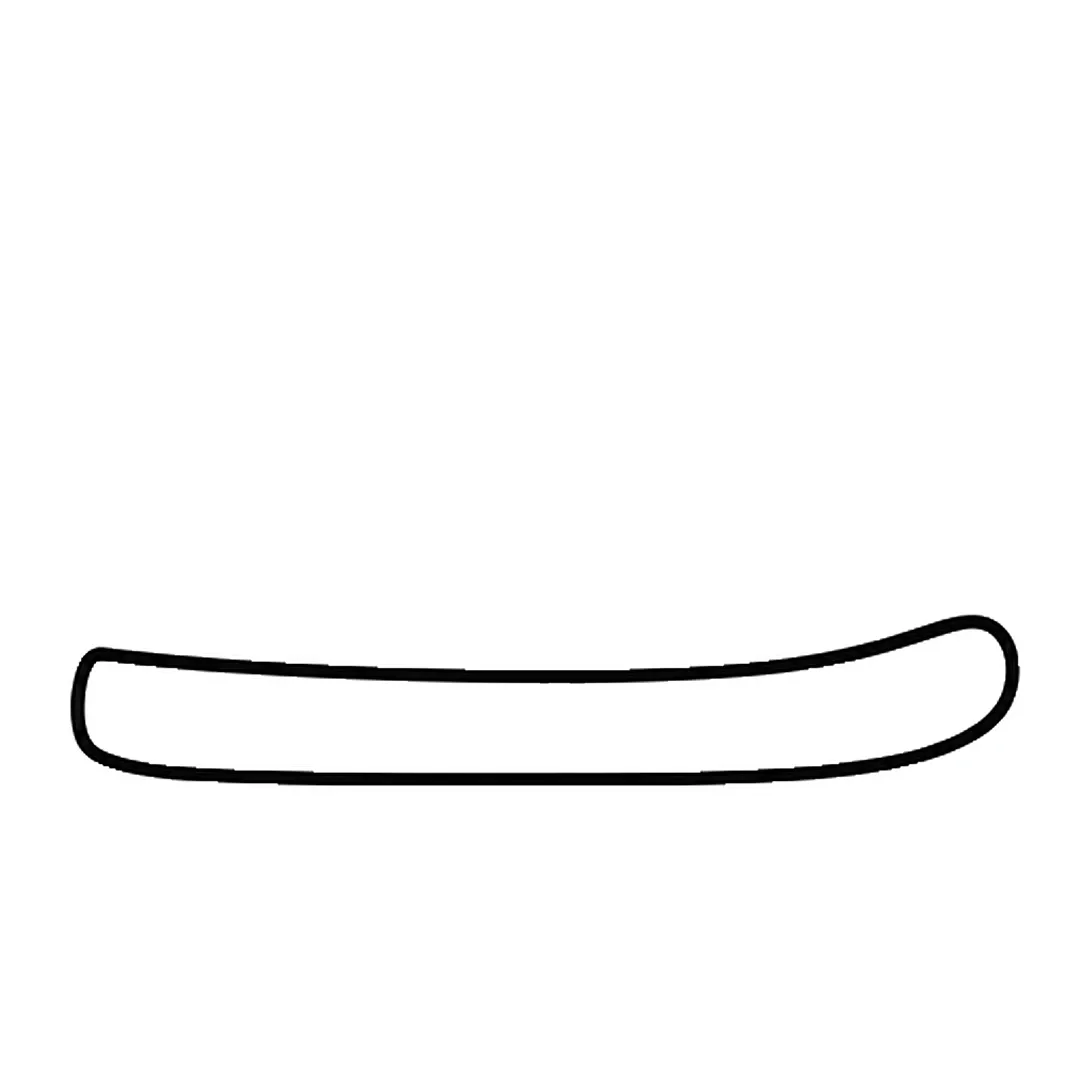
Step 1: Draw a long flat sole with rounded ends that turns up a little at the toe on the right.
-
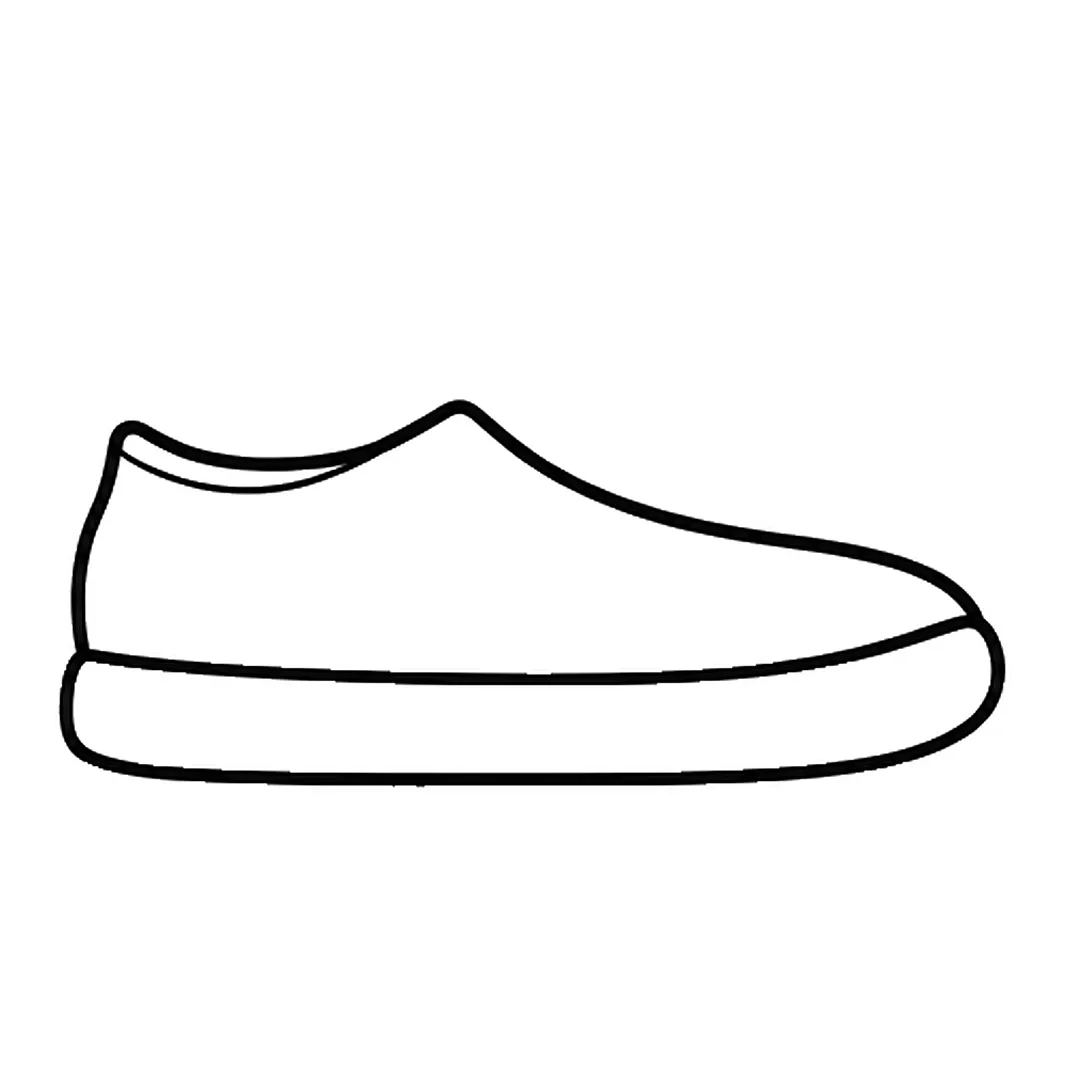
Step 2: Add the shoe upper on the sole, with a low dip for the ankle and a thin collar line inside it.
-
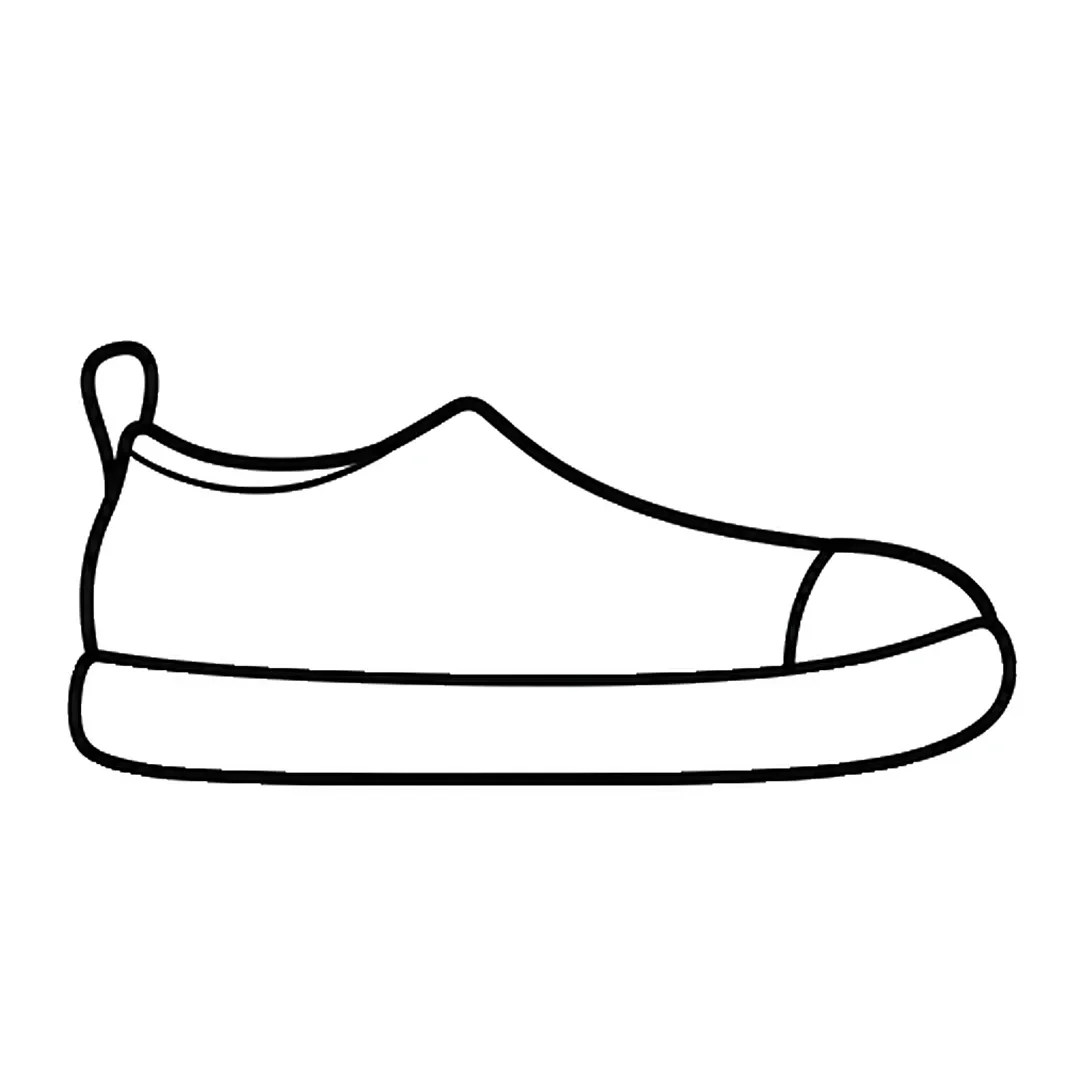
Step 3: Draw a curved toe cap line at the front and a small loop heel tab at the back.
-
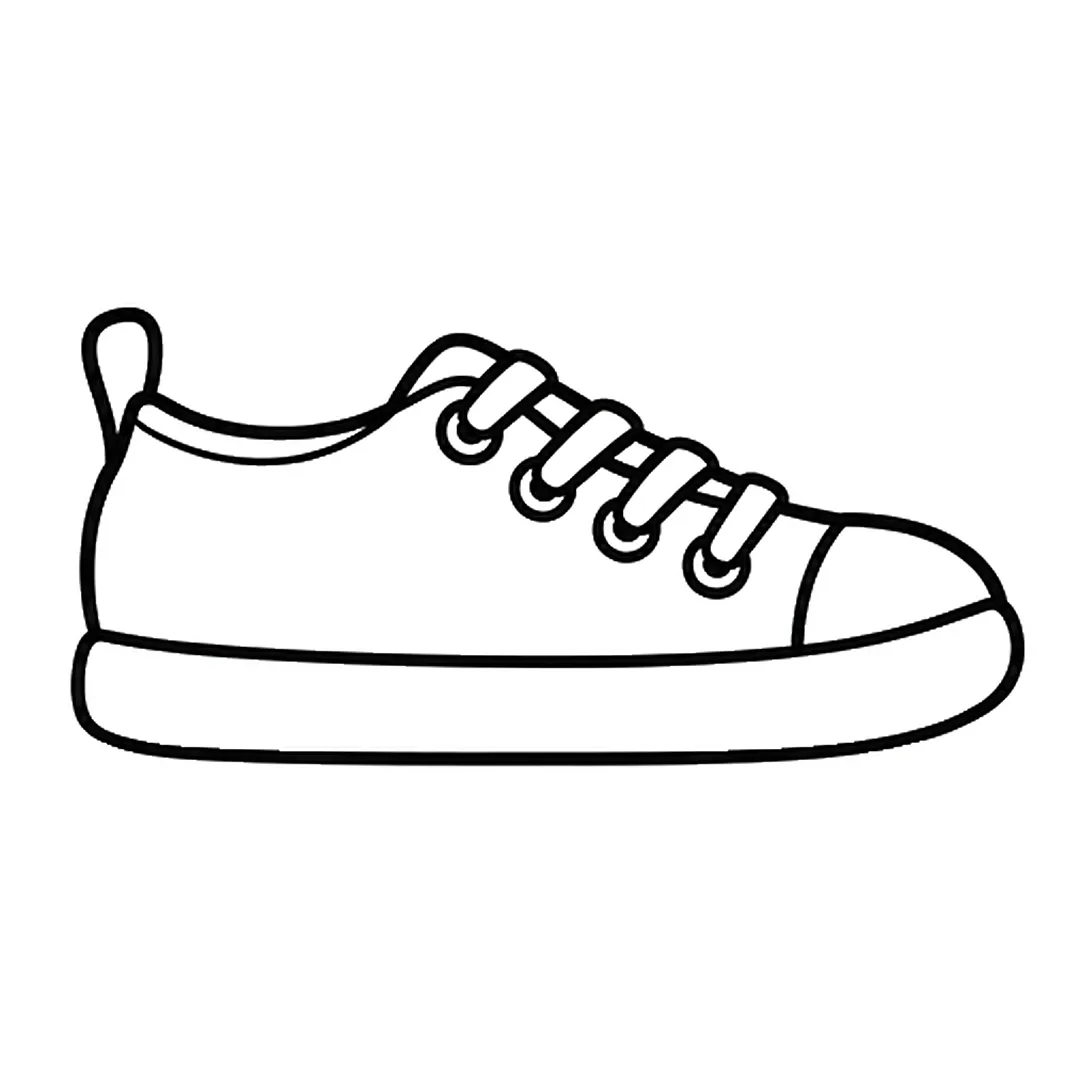
Step 4: Add a raised tongue, four lace holes and four slanted laces. Erase the top line inside each lace.
-
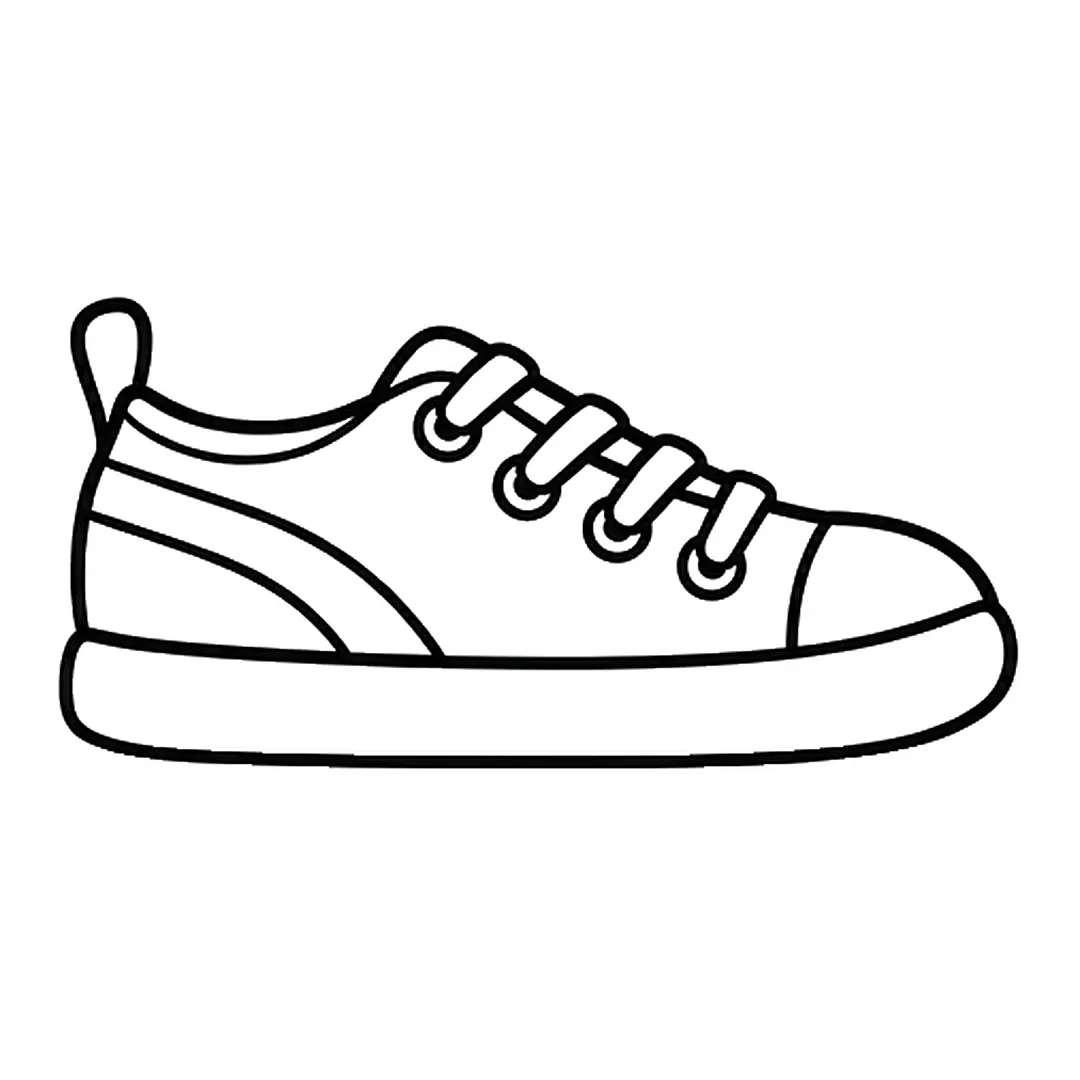
Step 5: Draw two curved lines that make a stripe from the back of the shoe down to the sole.
-
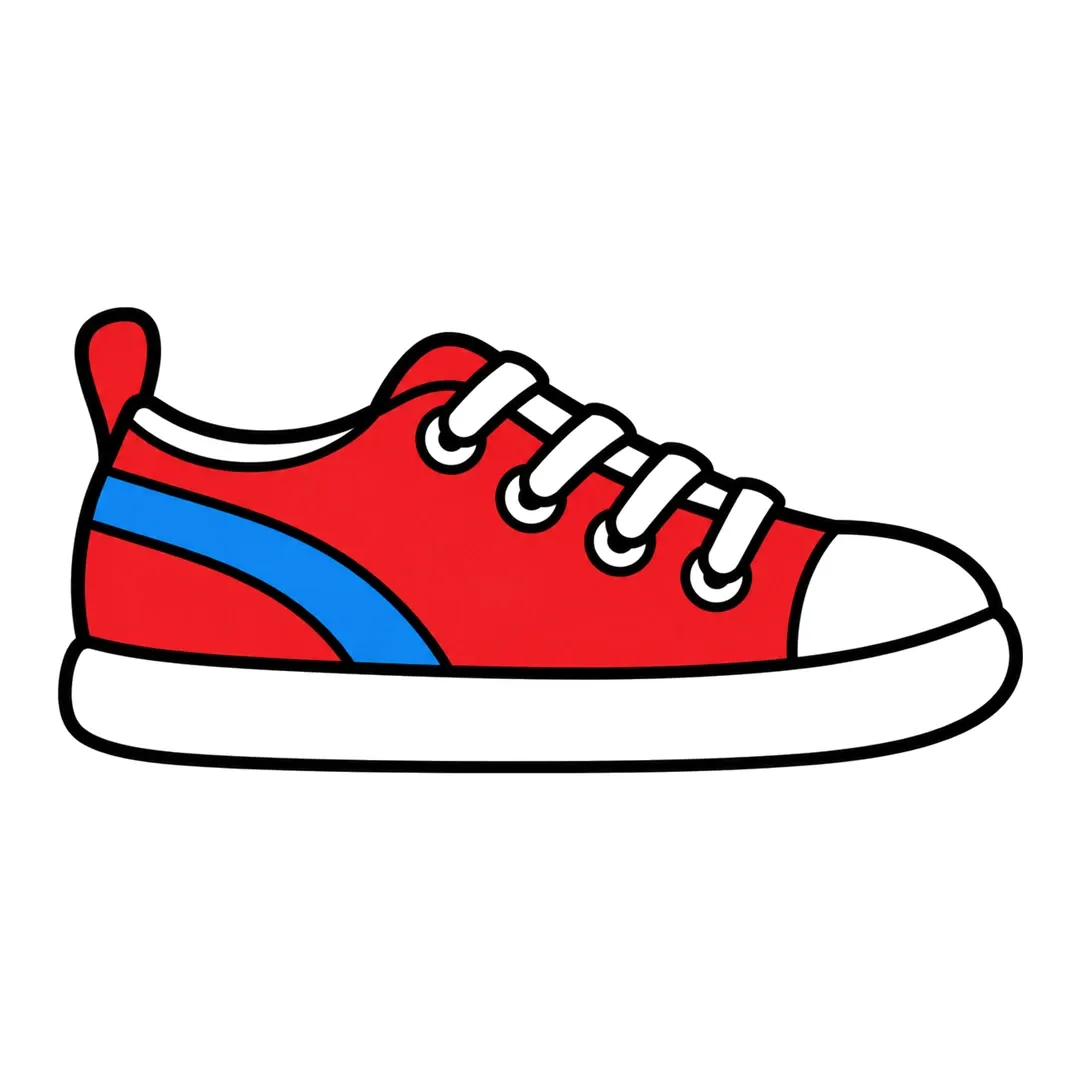
Step 6: Color the shoe and heel tab red, stripe blue. Leave the sole, toe cap, collar, laces and holes white.
Scarf
The 4-step scarf tutorial suits a child who wants a quick finish.
- Draw a wide curved loop like a thick U.
- Add two long hanging ends, the right one longer.
- Draw stripes and fringe on both ends, then color the scarf red with white stripes.
-
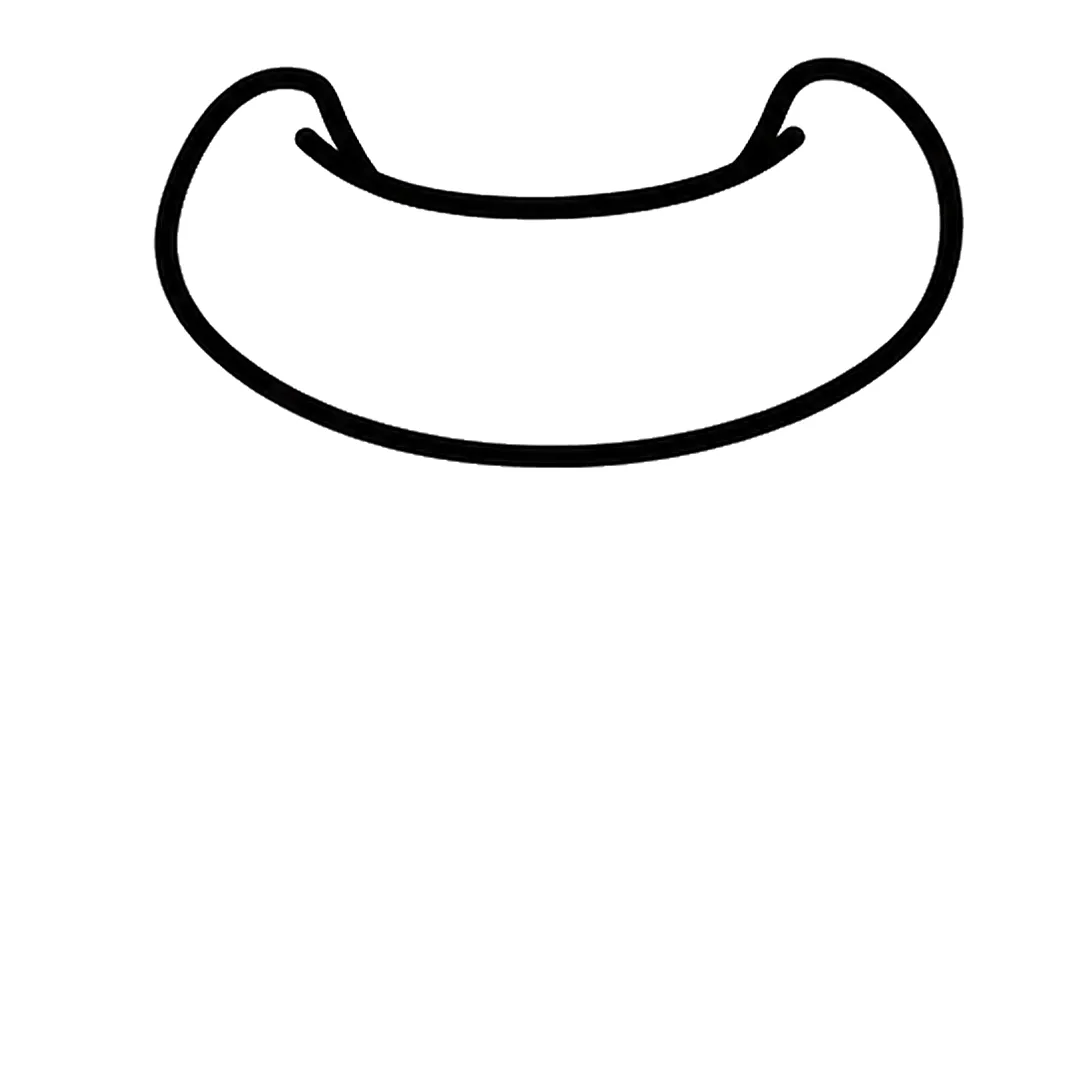
Step 1: Draw a wide curved loop like a thick U, with a round bump and a small hook at each top end.
-
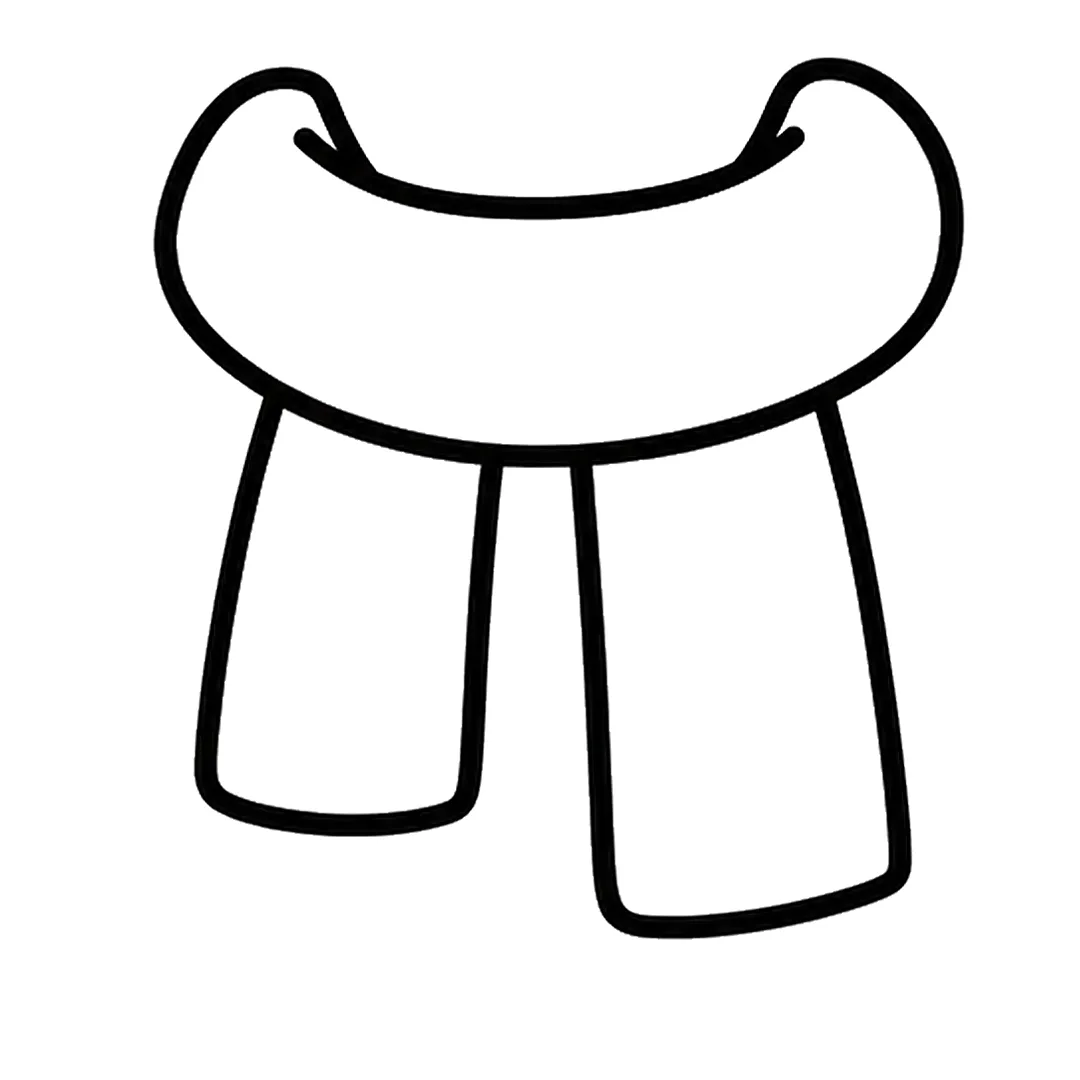
Step 2: Add two long ends that hang from under the loop. Make the right end longer than the left.
-
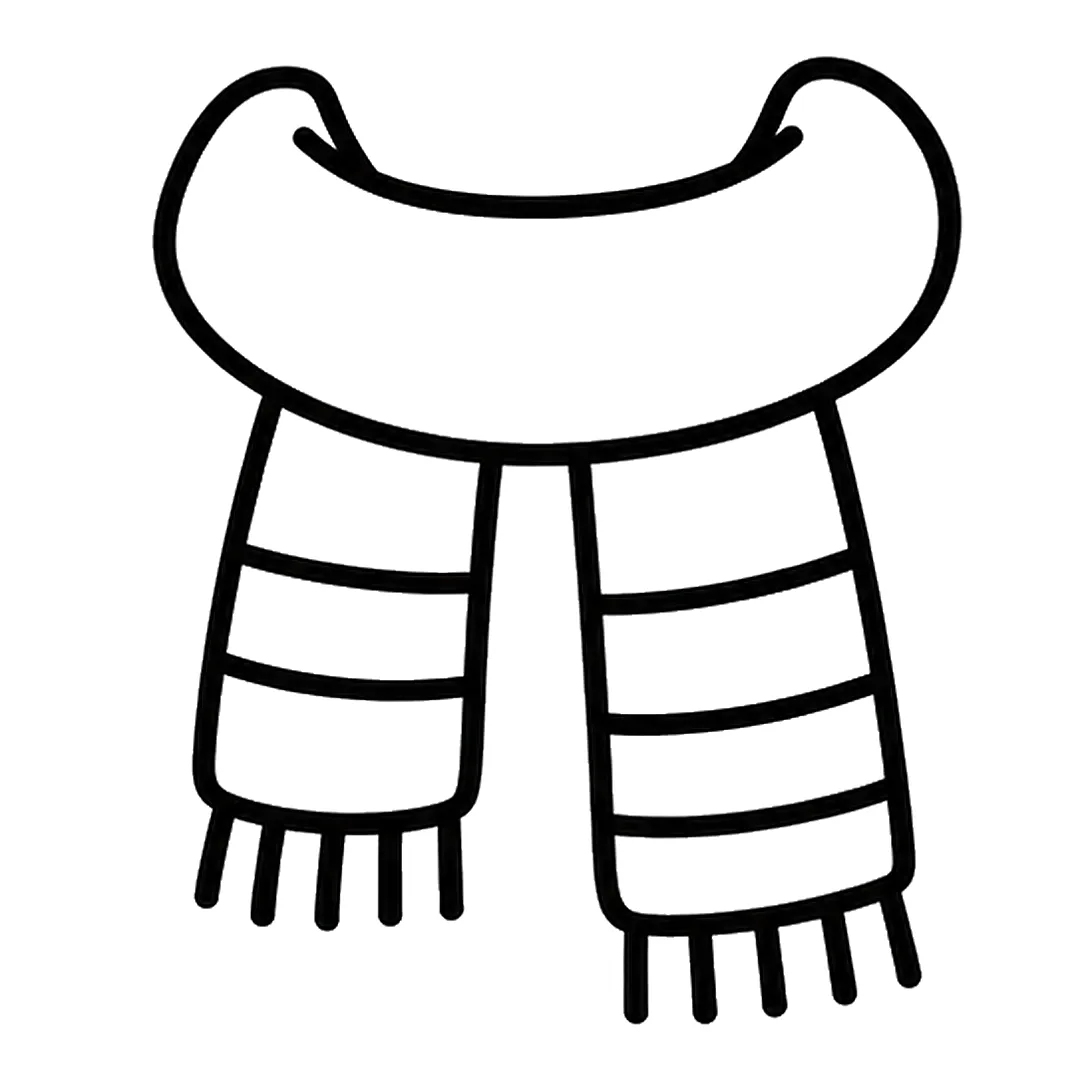
Step 3: Draw two stripe lines on the left end and three on the right. Add five fringe lines under each.
-
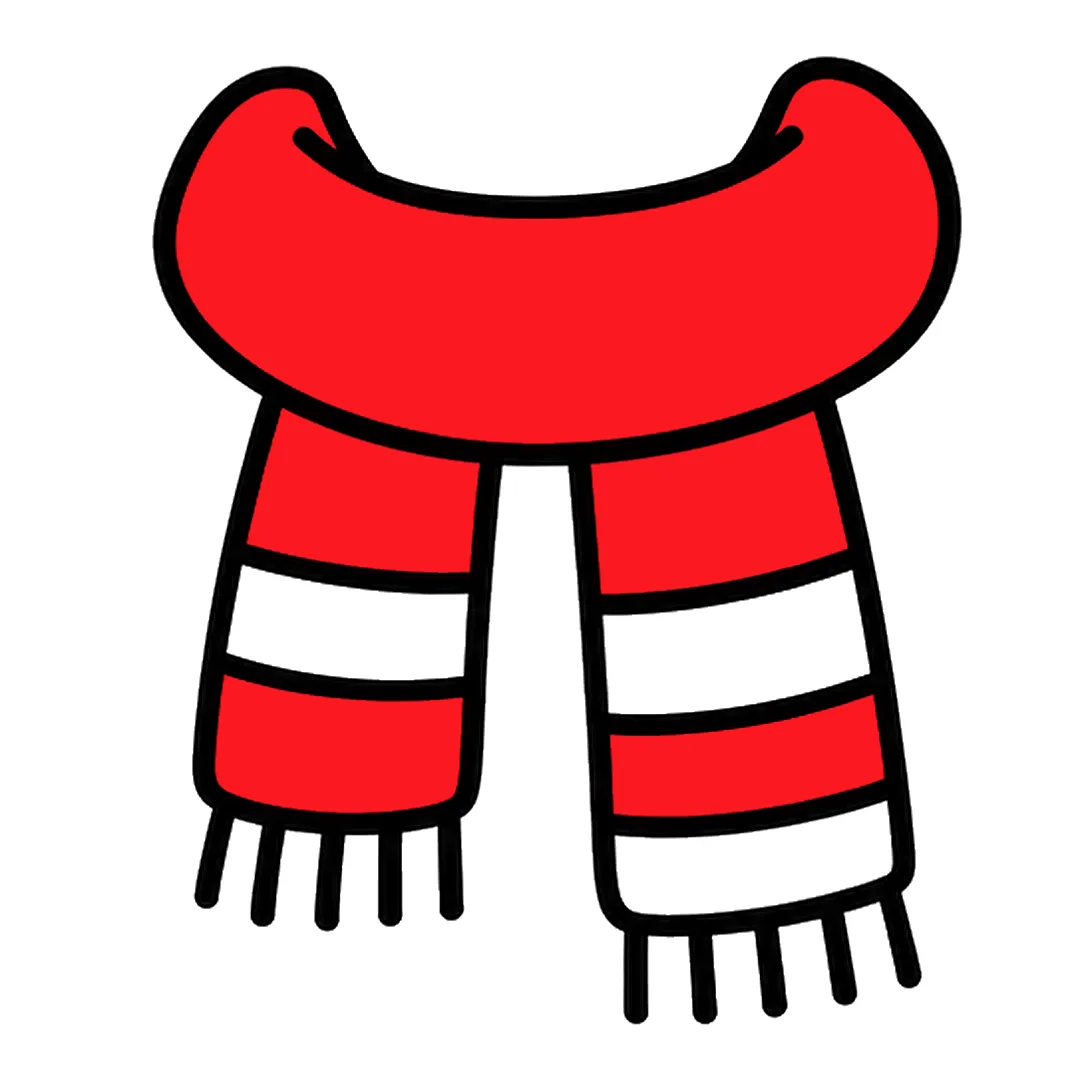
Step 4: Color the loop and ends red. Leave one white stripe on the left end and two on the right.
House
The house tutorial puts a triangle roof on a square and lists a ruler as optional.
- Start with a big square for the walls, then a triangle roof that overhangs both sides a little.
- Add a tall door, two square windows with crosses and a chimney with three smoke puffs, then color it.
-
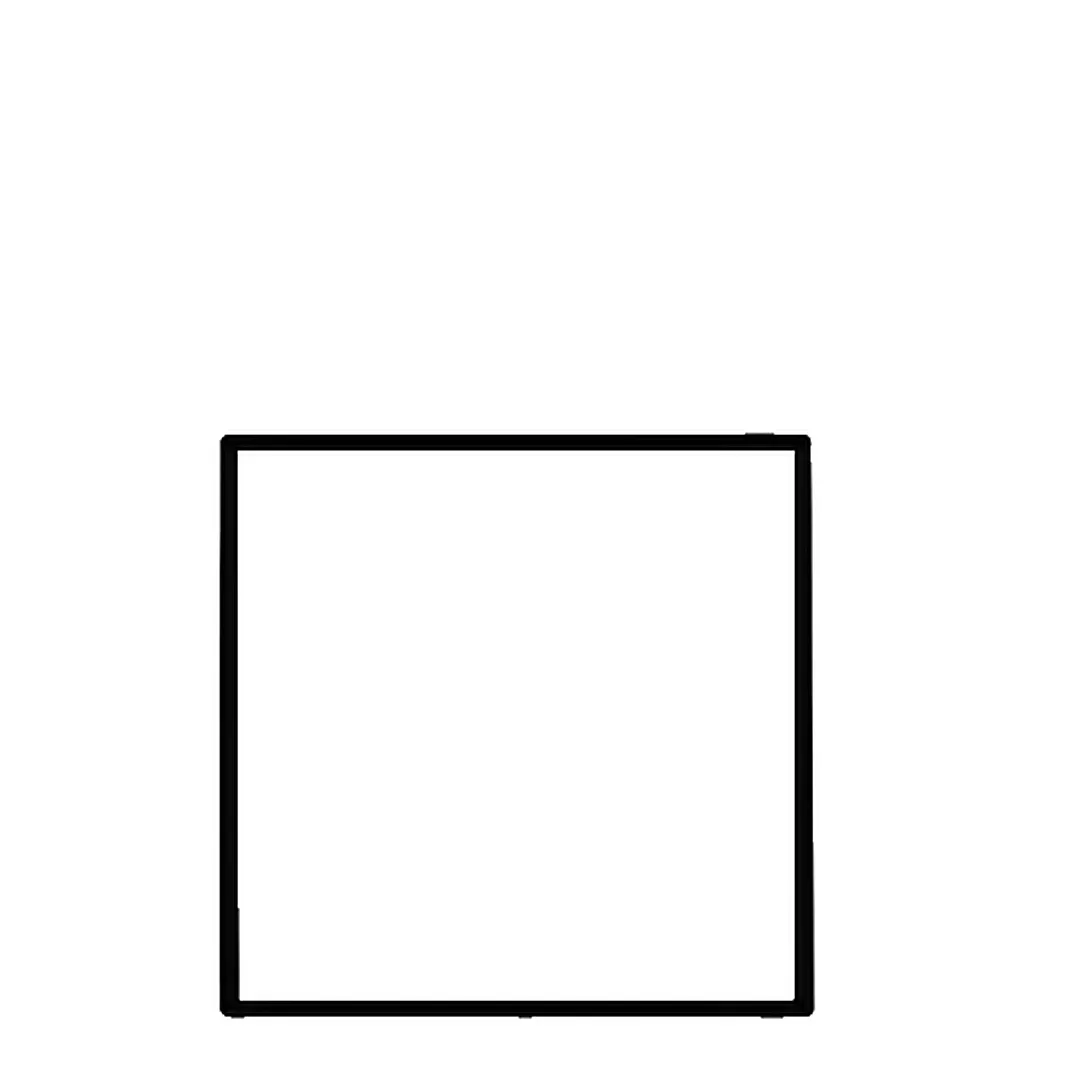
Step 1: Draw a big square for the walls.
-
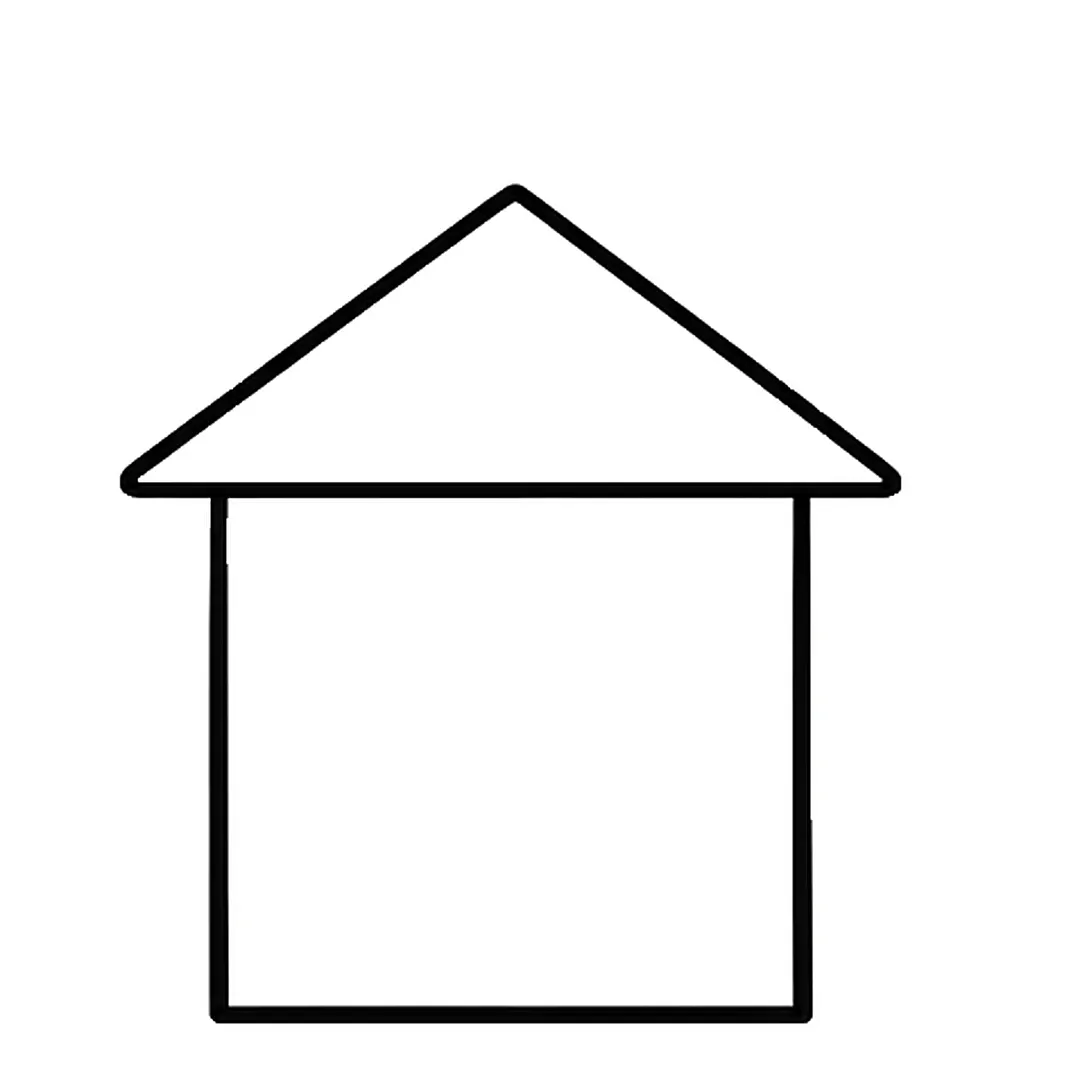
Step 2: Add a triangle roof on top that sticks out a little on both sides.
-
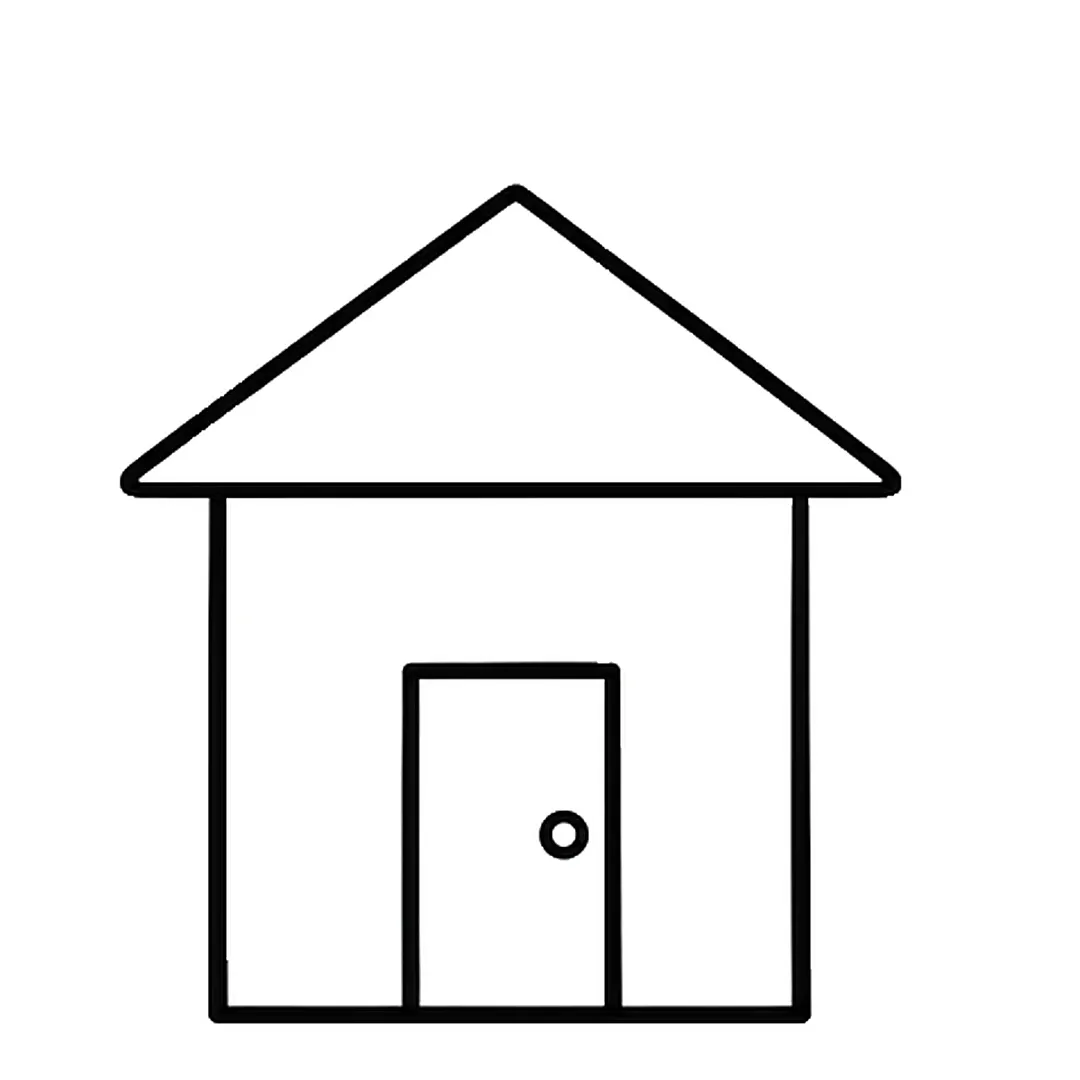
Step 3: Draw a tall door in the bottom middle with a small round knob.
-
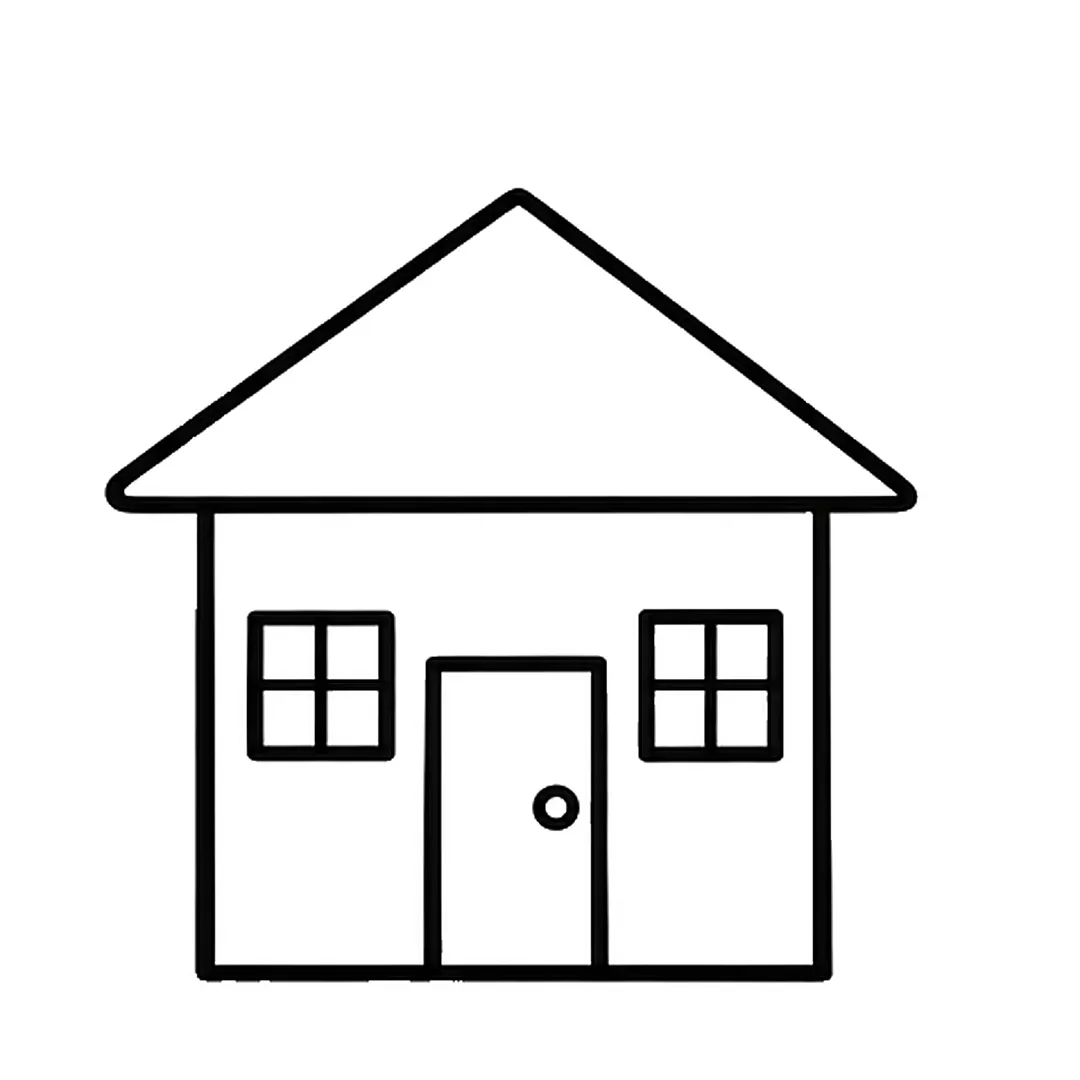
Step 4: Add two square windows, one on each side of the door, each with a cross.
-
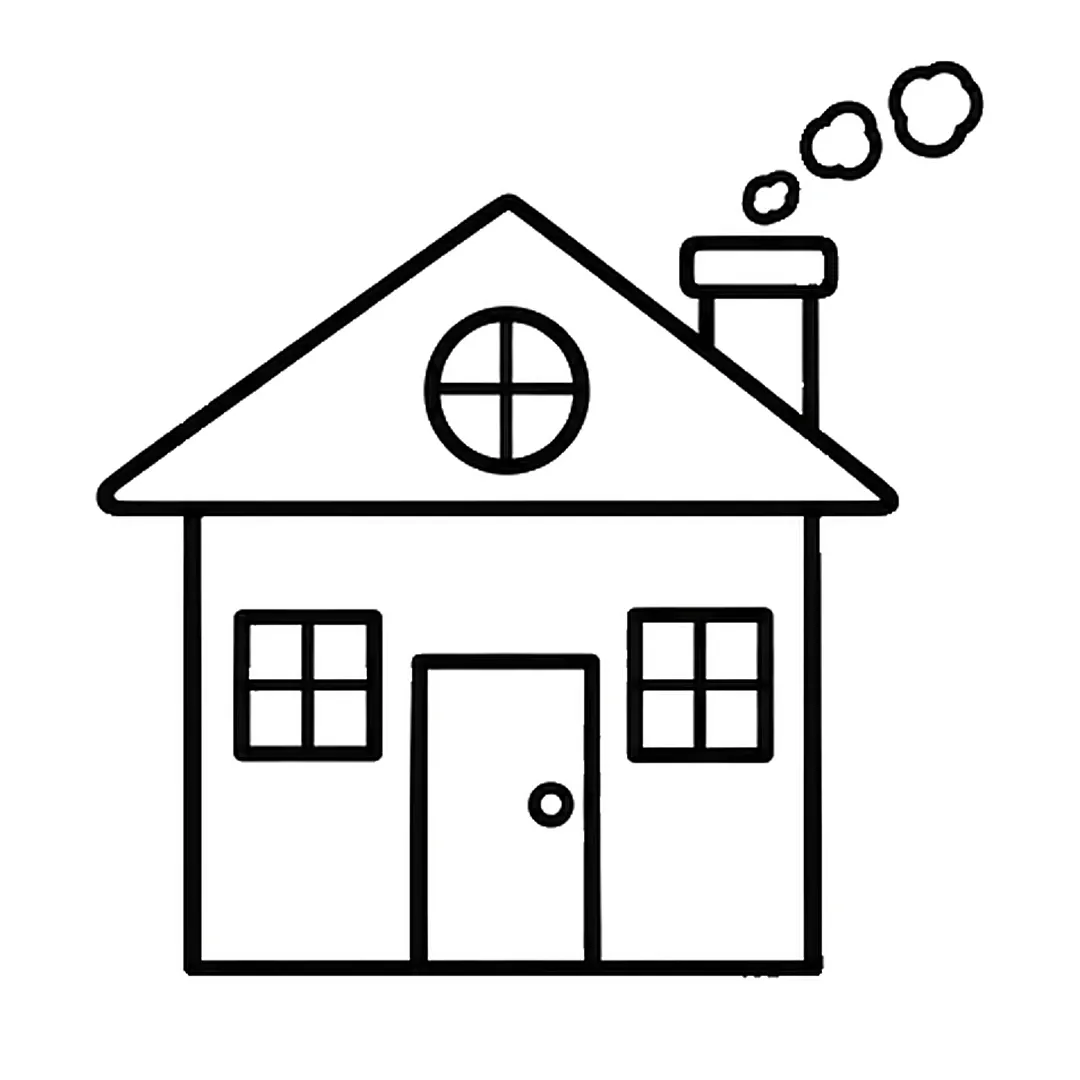
Step 5: Draw a chimney with three puffs of smoke and a round window in the roof.
-
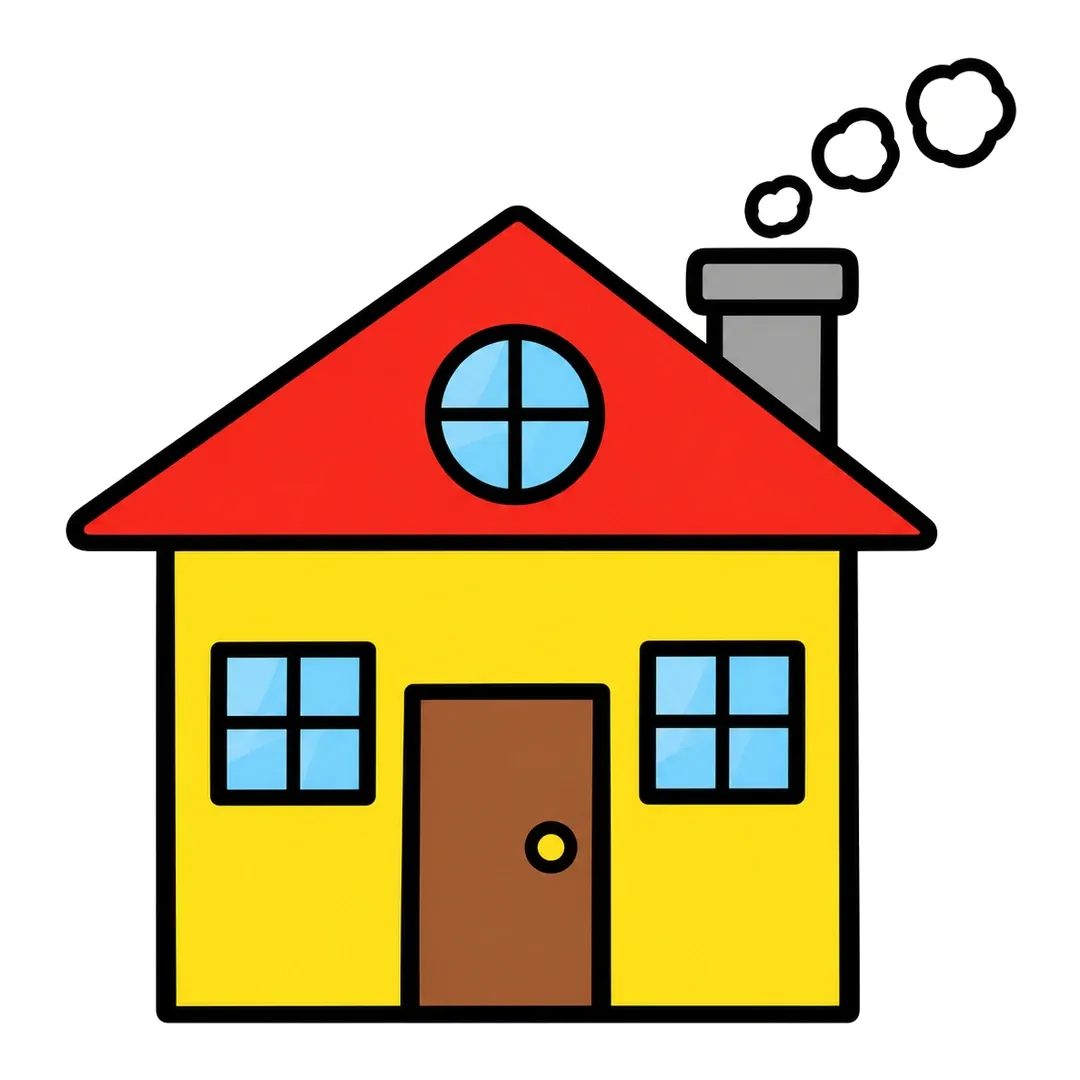
Step 6: Color the walls yellow, the roof red, the door brown, the windows light blue and the chimney gray.
Castle
At 8 steps, the castle tutorial is the longest here, with round towers and cone roofs.
- Draw a square wall with a tall round tower over each side.
- Top each tower with a pointed cone roof, then notch square gaps into the top of the wall.
- Add an arched door and a triangle flag on each roof tip, then color it.
-
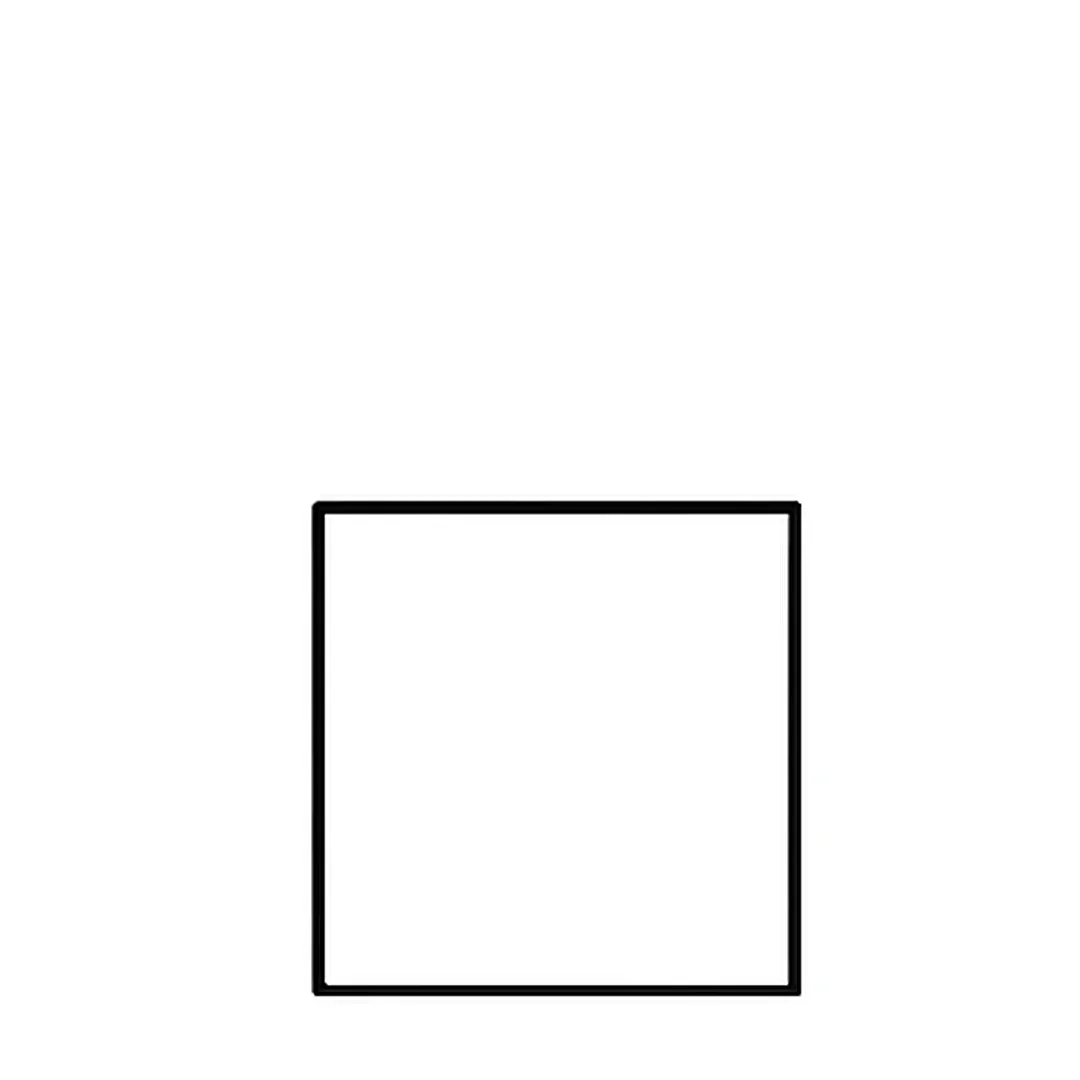
Step 1: Draw a square near the bottom middle of the page for the castle wall.
-
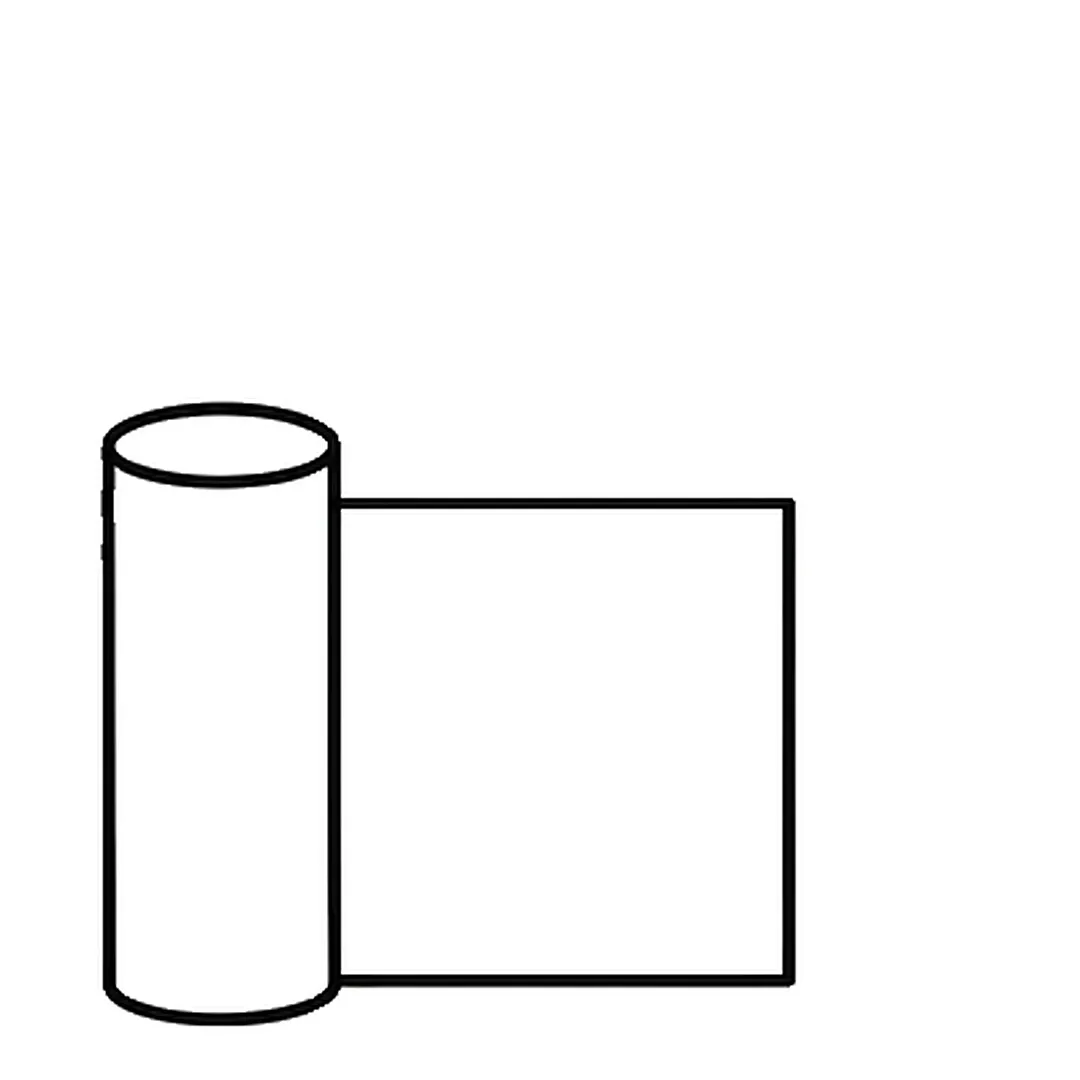
Step 2: Add a tall round tower with an oval top over the wall's left edge. Erase the wall line inside it.
-
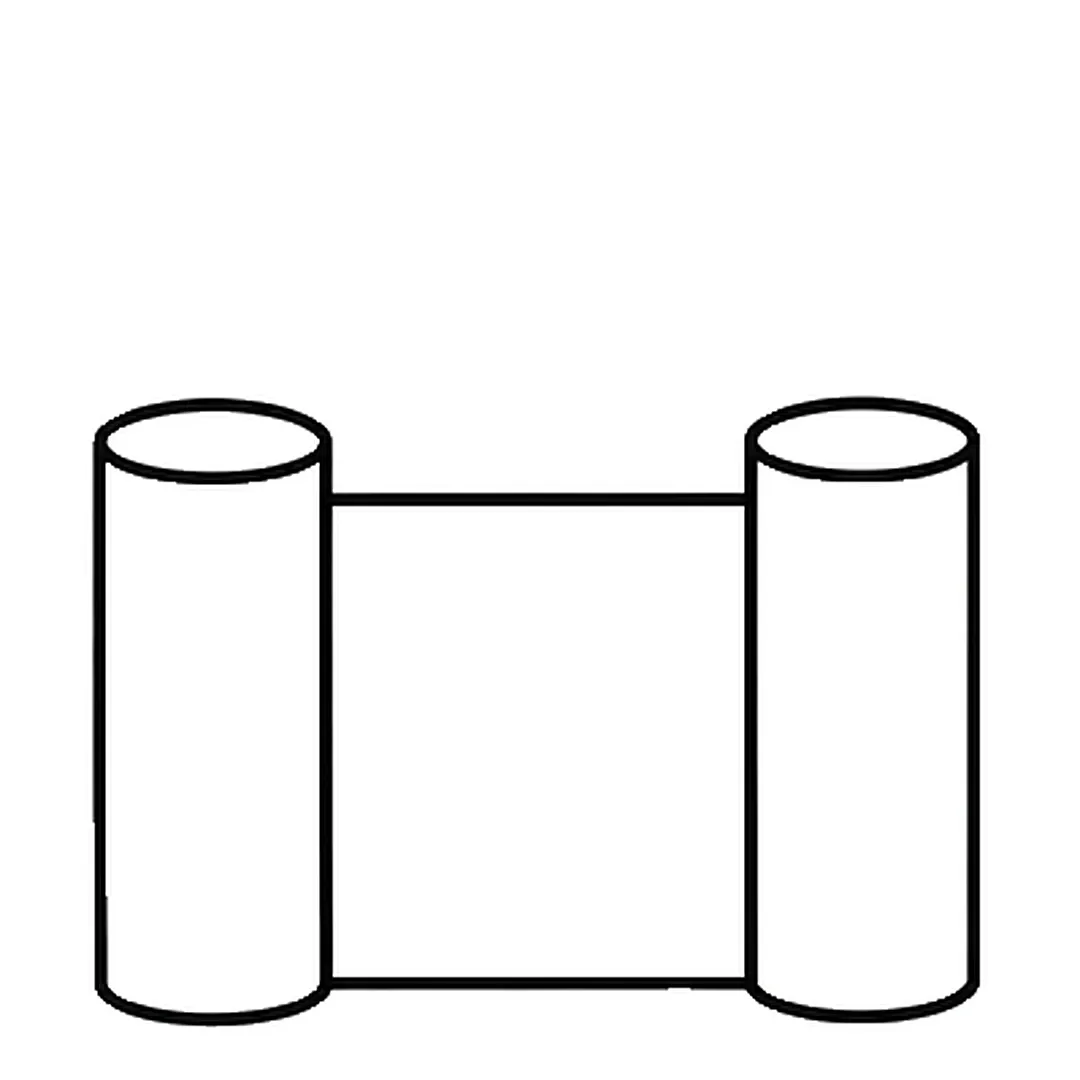
Step 3: Add the same tower over the wall's right edge. Erase the wall line inside this tower too.
-
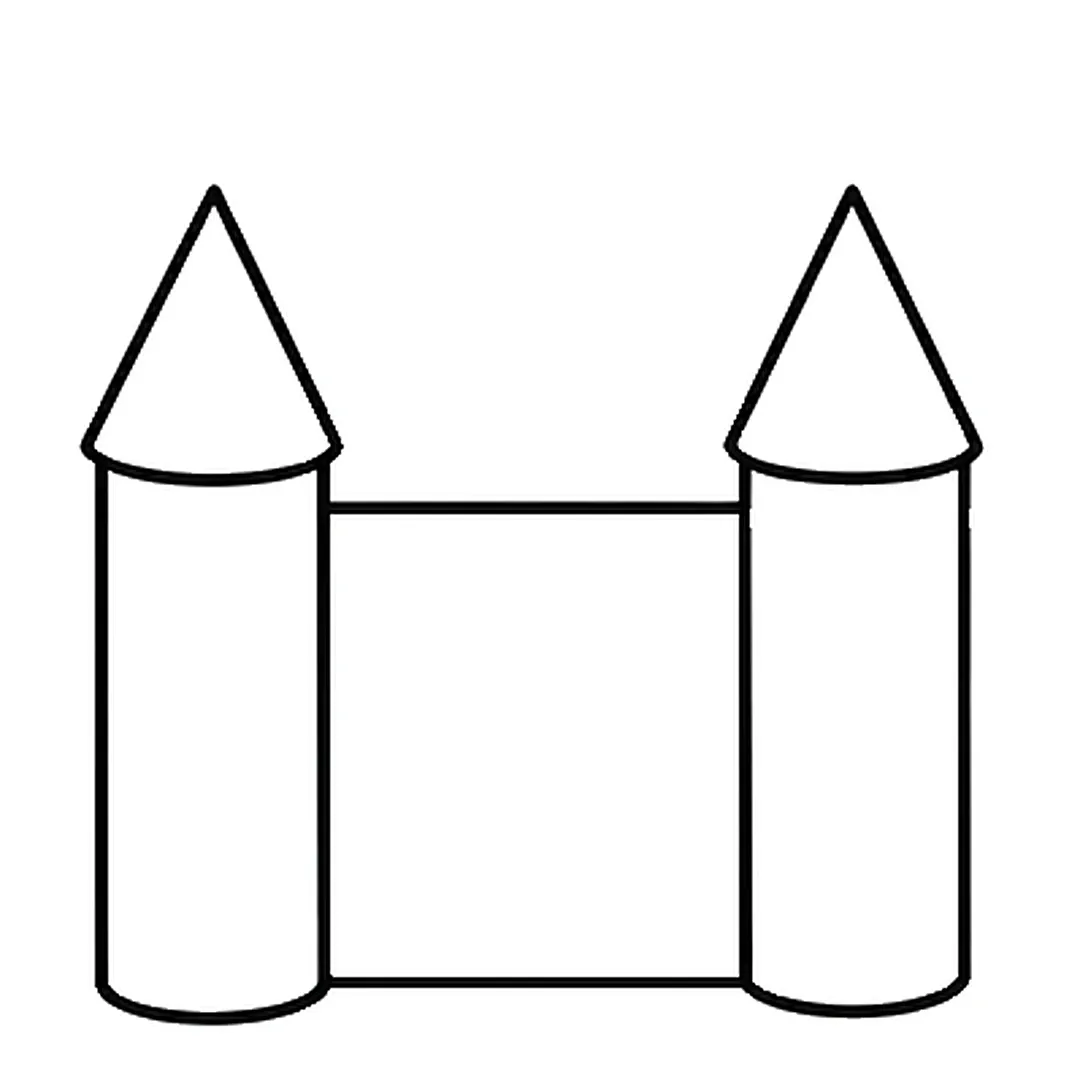
Step 4: Draw a pointed cone roof on each tower. Erase the top curve of each oval under the roof.
-
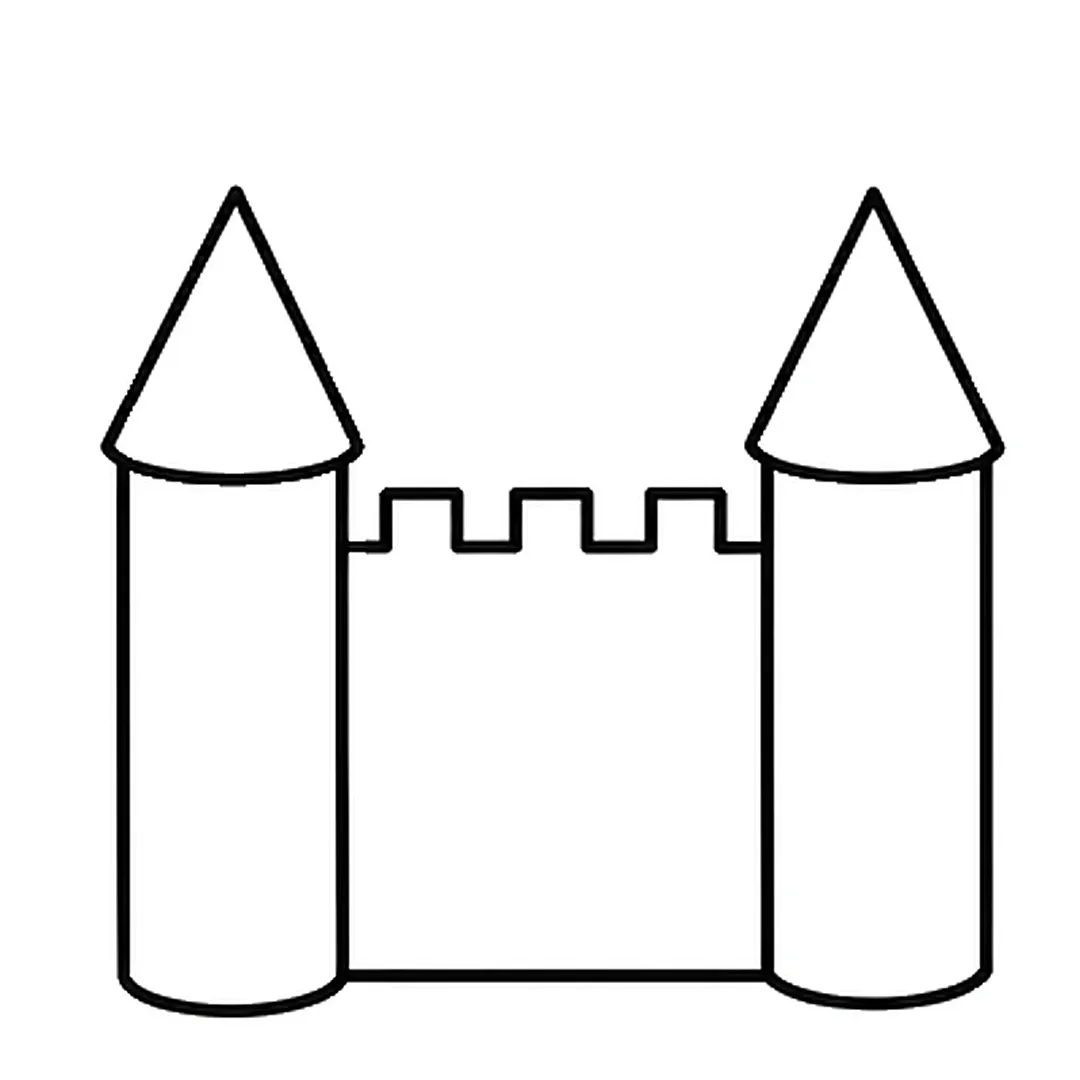
Step 5: Draw square notches into the wall top so three raised blocks stay. Erase the top line in the gaps.
-
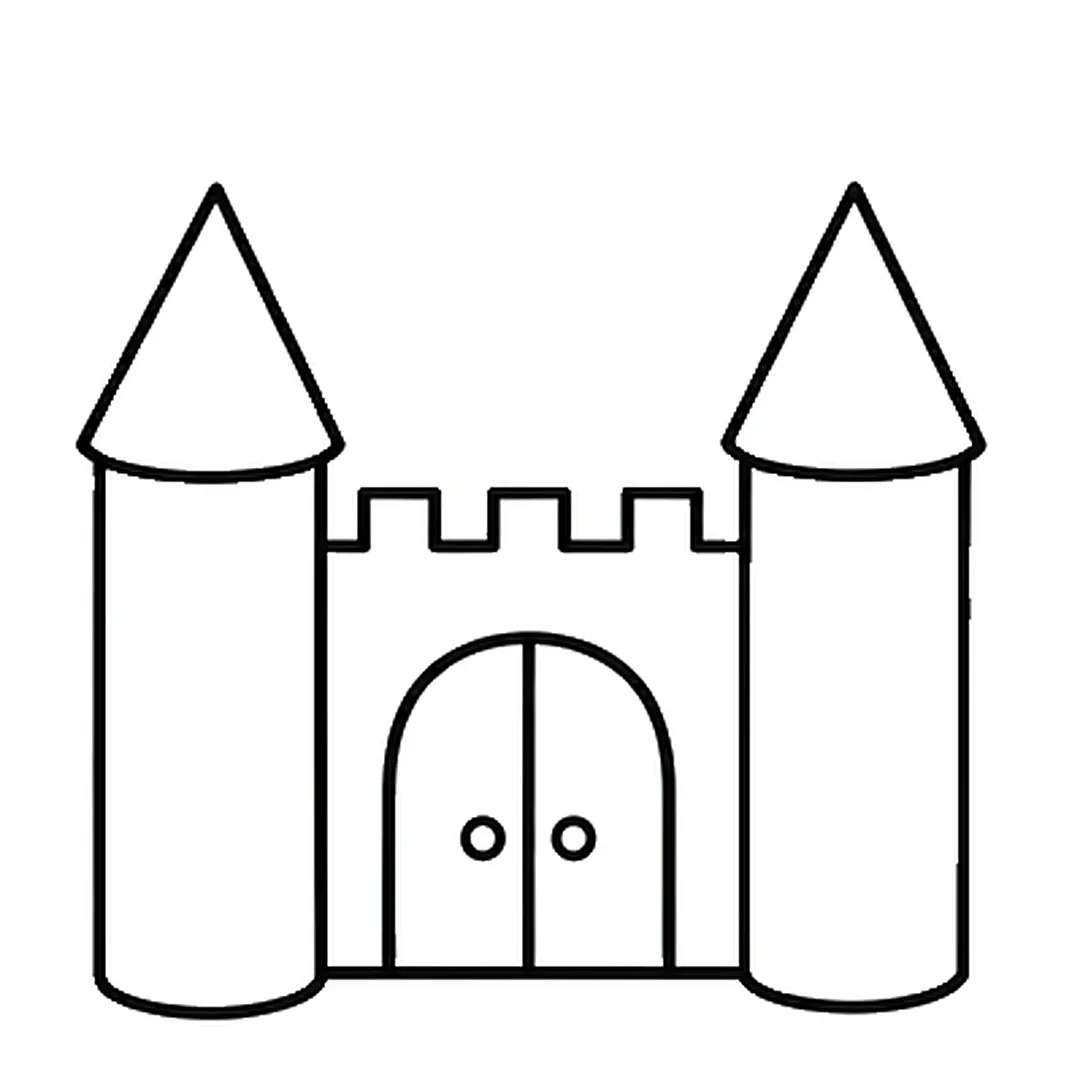
Step 6: Draw a big arched door at the bottom of the wall, a line down its middle and two small round knobs.
-
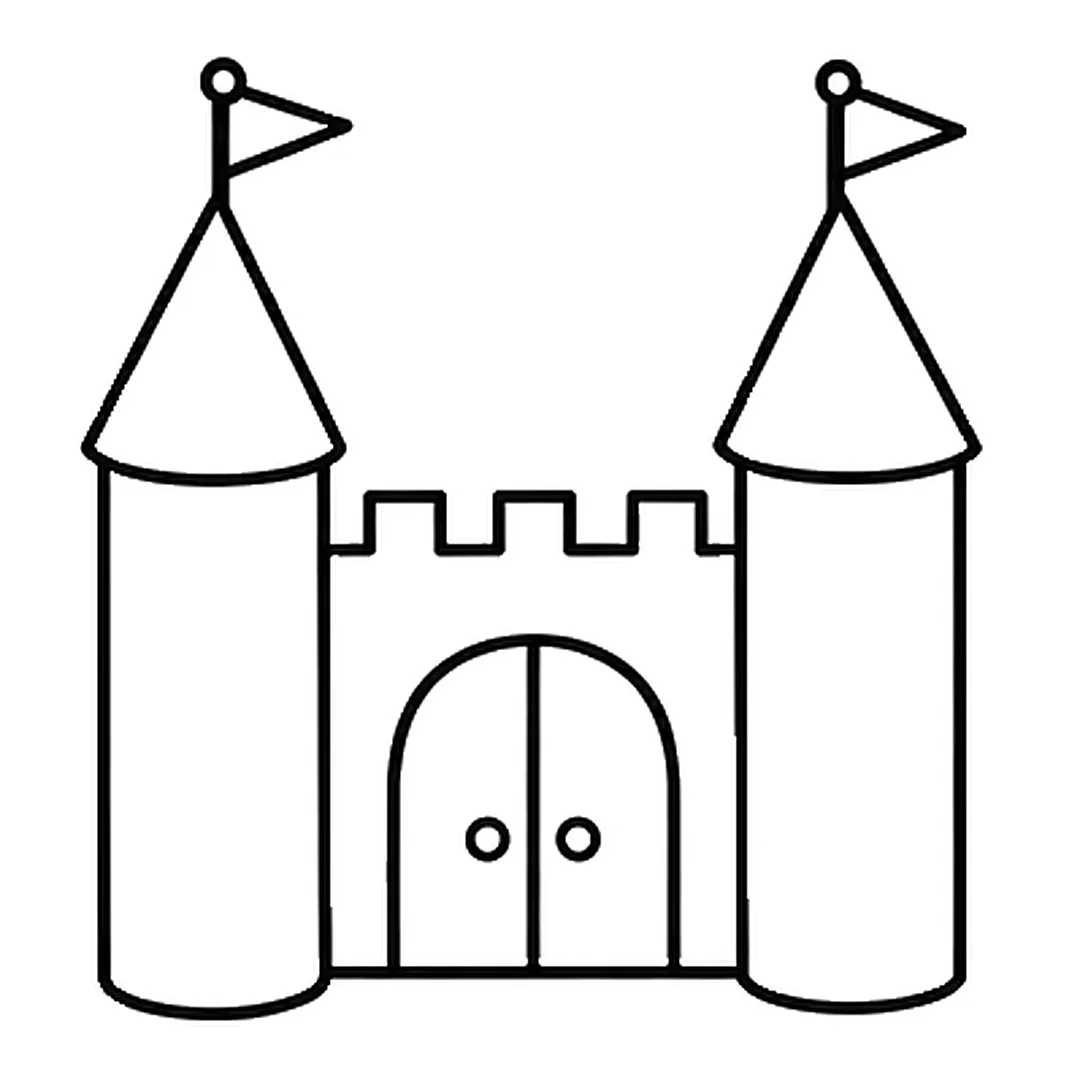
Step 7: Add a short pole with a white ball on top to each roof tip and a triangle flag pointing right.
-
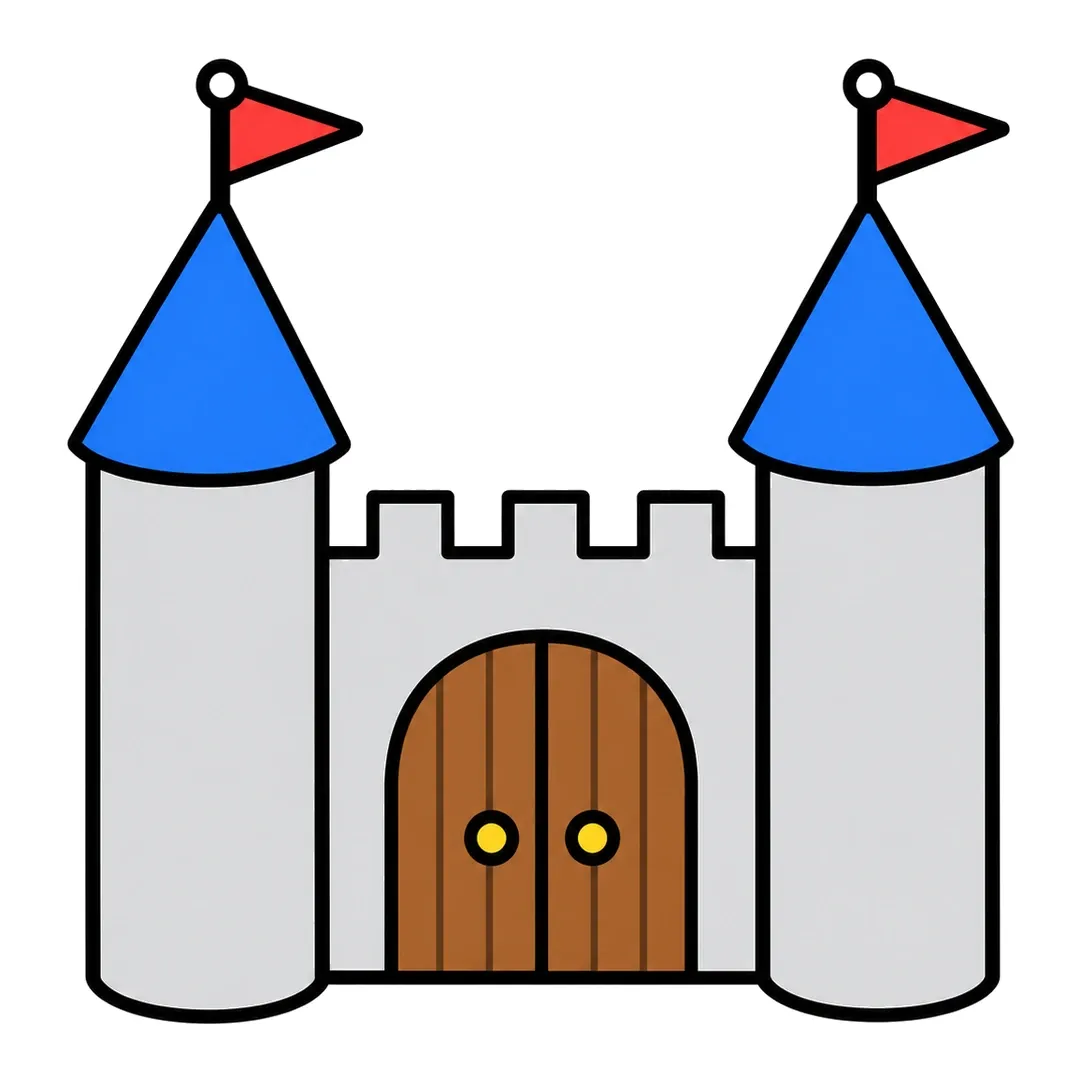
Step 8: Color it light gray, roofs blue, flags red, knobs yellow, balls white, door brown, lines dark brown.
Diamond
The 4-step diamond tutorial uses only straight lines to split one shape into facets.
- Start with a flat top, then two short slanted sides and two long sides that come to a bottom point.
- Add a line from the left corner to the right corner, a V to its center and three lines down to the tip, then color the facets in two blues.
-
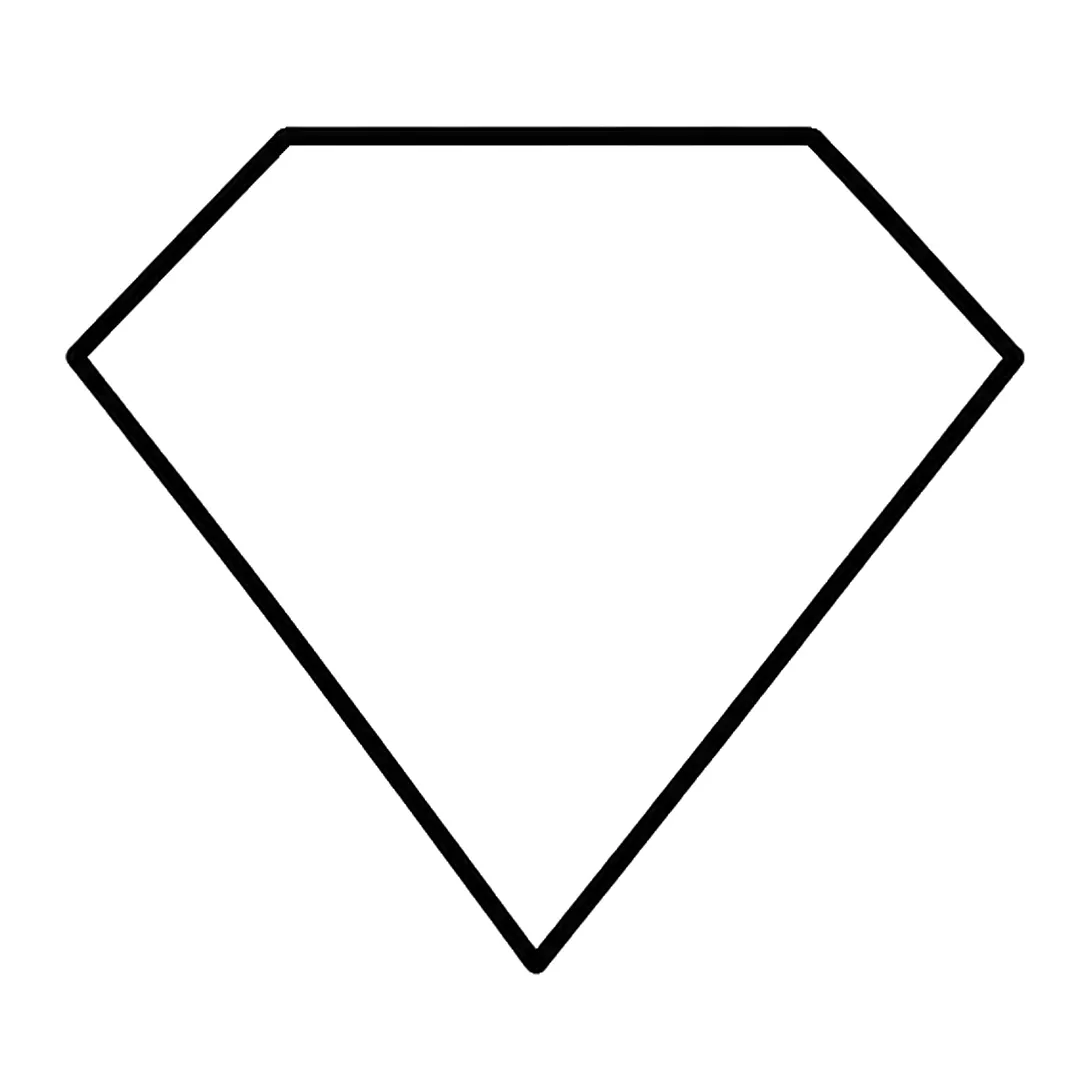
Step 1: Draw a flat top, two short slanted sides and two long sides that meet in a point at the bottom.
-
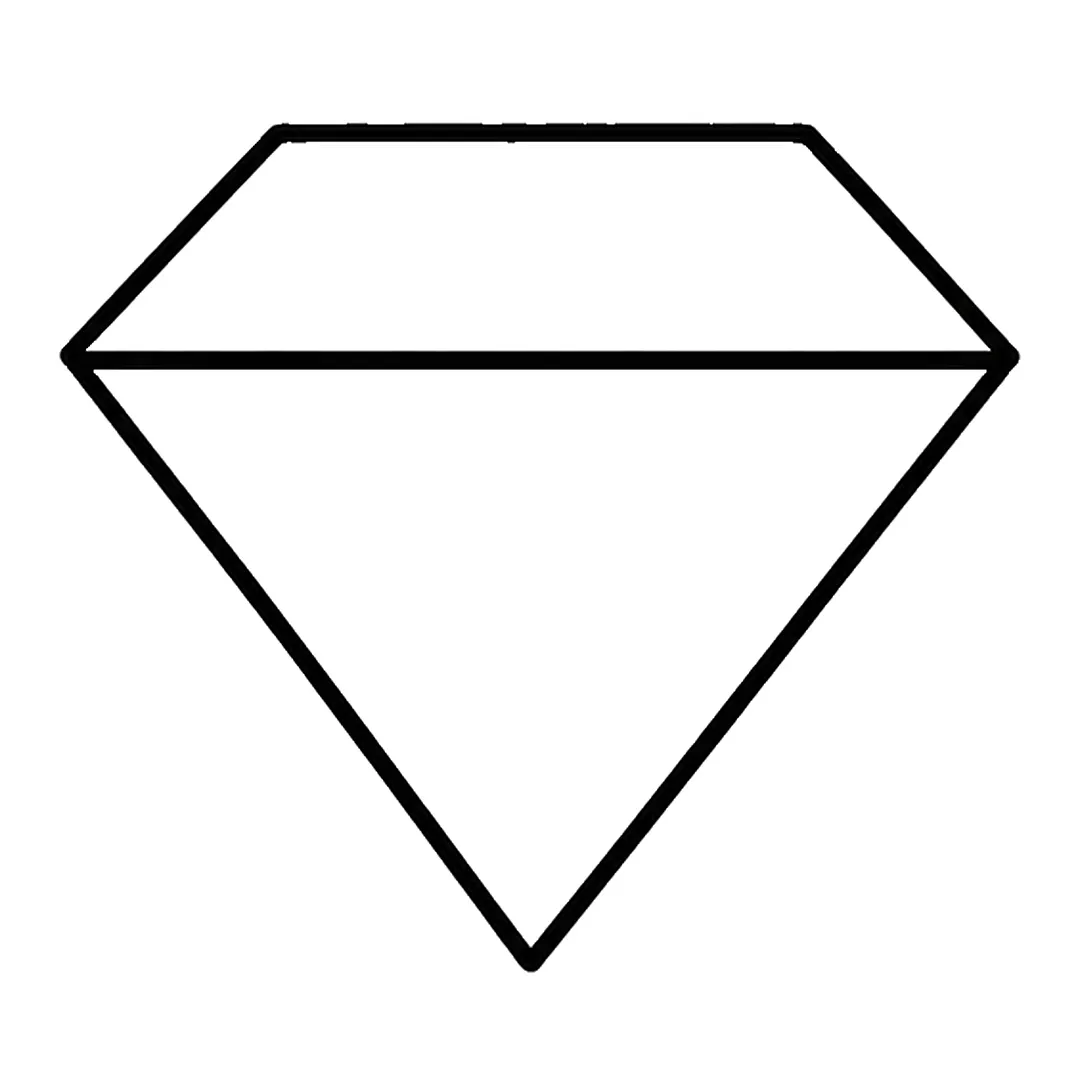
Step 2: Add one straight line across the diamond, from the left corner to the right corner.
-
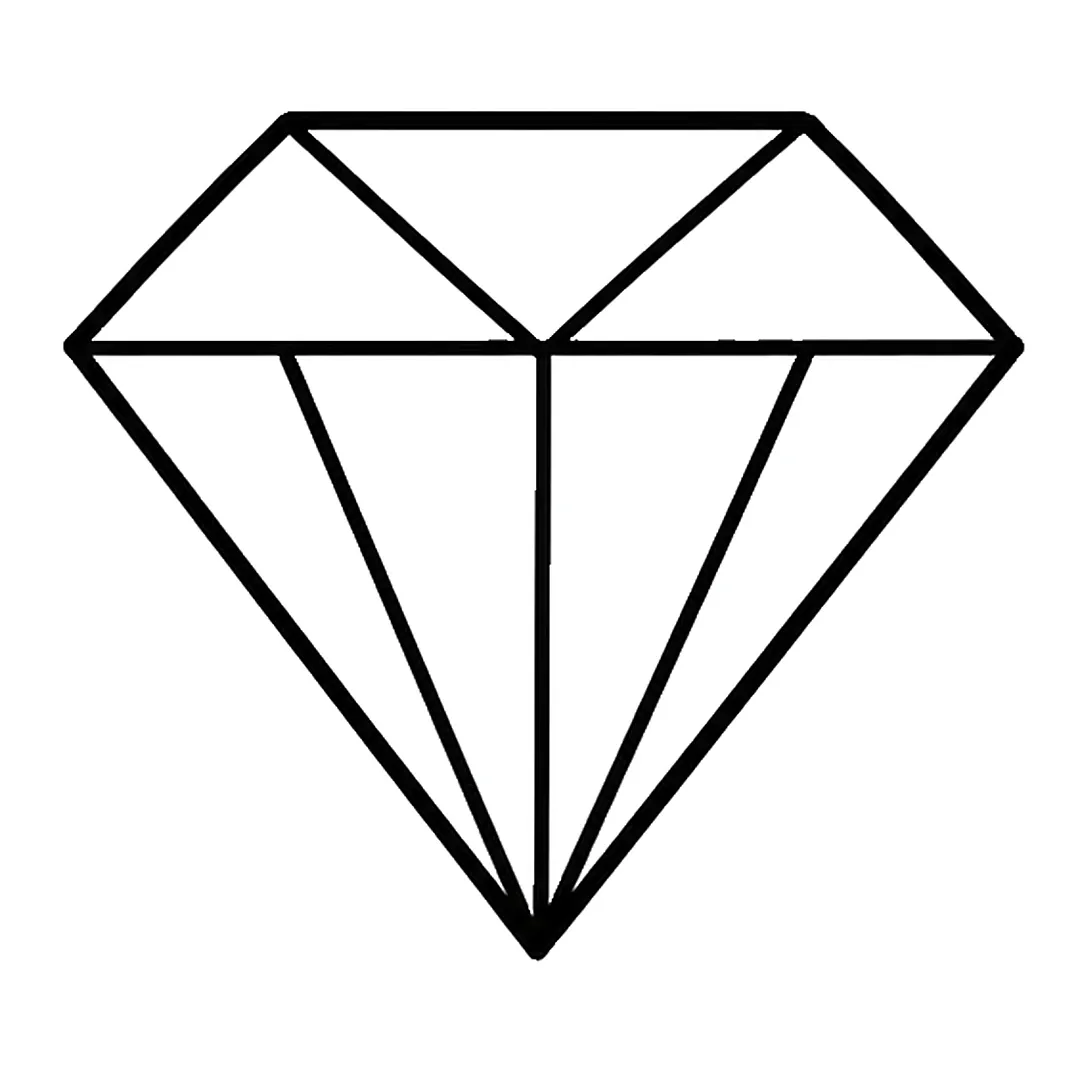
Step 3: Draw a V from the top corners to the center of the across line. Add three lines from it to the tip.
-
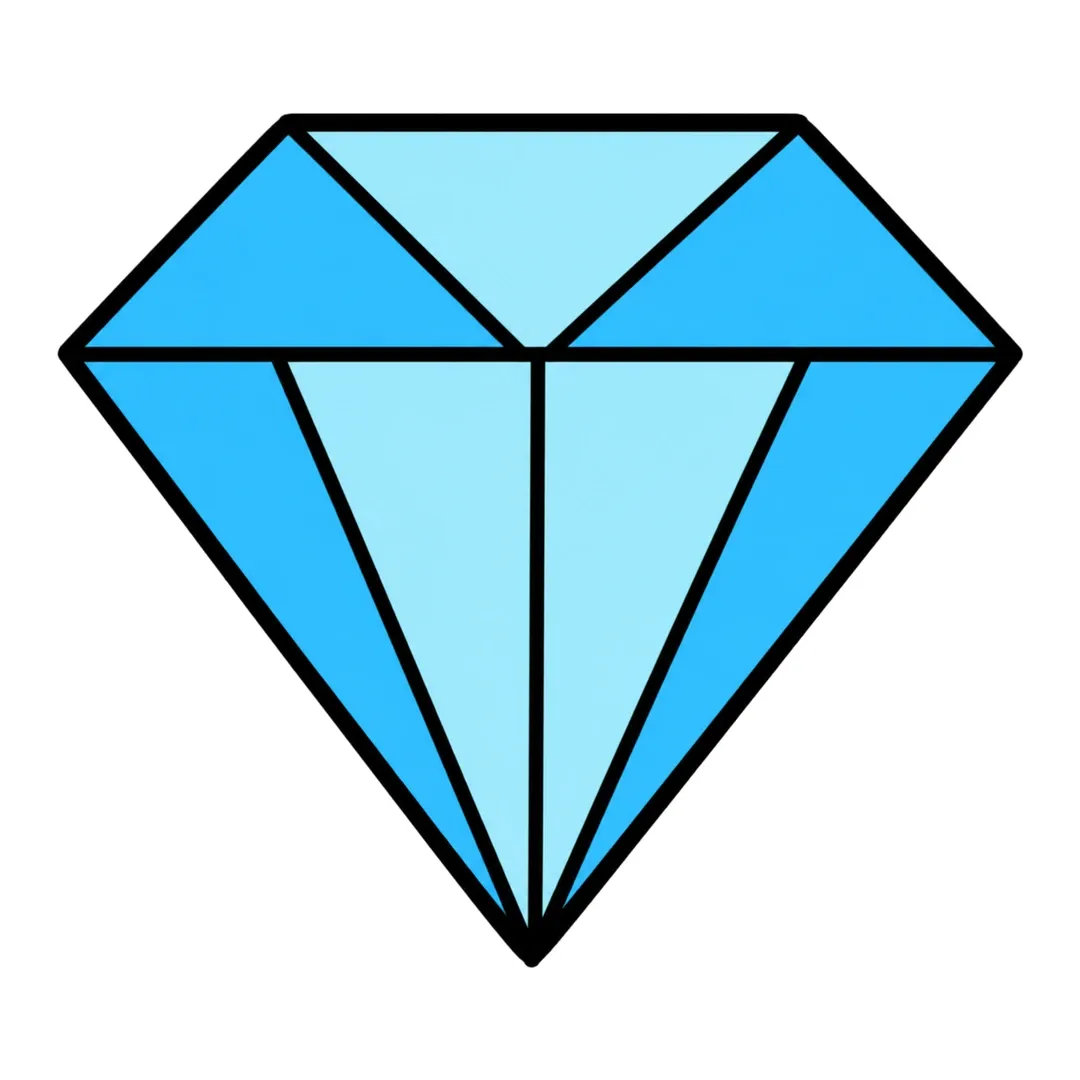
Step 4: Color the top middle and two bottom middle facets light blue. Color the four side facets blue.
Which Everyday Objects Can Kids Draw Without a Tutorial?
Kids can draw a pencil, an alarm clock, a desk lamp, a backpack, a light bulb and a water bottle without a tutorial. Each one breaks into two or three shapes. With the cup and the box above, that makes 8 objects found at home or in a classroom.
- Pencil: Draw a long thin rectangle lying flat. Add a cone with a dark tip at one end and a rounded eraser at the other.
- Alarm clock: Draw a big circle with two small half circles on top for bells. Write 12, 3, 6 and 9, then add two hands.
- Desk lamp: Draw a flat oval base and two straight arm pieces that meet at a bend. Put a cone-shaped shade on top.
- Backpack: Draw a tall rounded rectangle with a smaller rounded pocket on the front. Add a zipper line, a top loop and two straps.
- Light bulb: Draw a circle sitting on a small rectangle. Add three lines across the rectangle and short rays around the glass.
- Water bottle: Draw a tall rectangle with a curved bottom, the same cylinder idea as the cup. Add a short cap and a label band. A bottle tutorial is planned.
The cup, box, clock and light bulb also appear in our Everyday Things and Toys Drawing Pack. Its 29 drawings each come with step, tracing, coloring and draw-and-write pages.
Where Can You Get Printable Object Drawing Sheets?
You can get a free printable step sheet for each of the 12 object tutorials above, sent by email from the form on the tutorial page. Every step sheet is one page, black and white, US Letter, so it prints on a home or school printer.
The free 44-page drawing book, “20 Easy Drawings for Kids”, also arrives by email, and the step sheets page explains how the free sheets work. For a themed set, the shop has the Everyday Things and Toys pack. Its page says most kids aged 4 to 10 can follow the steps.