
How to Draw a Snowflake (Easy Step-by-Step for Kids)
To draw a snowflake, start with three straight lines that cross in the middle to make six arms. Add a V near the tip of each arm and a second V halfway down. Finish with a hexagon in the center and a small circle at each tip.
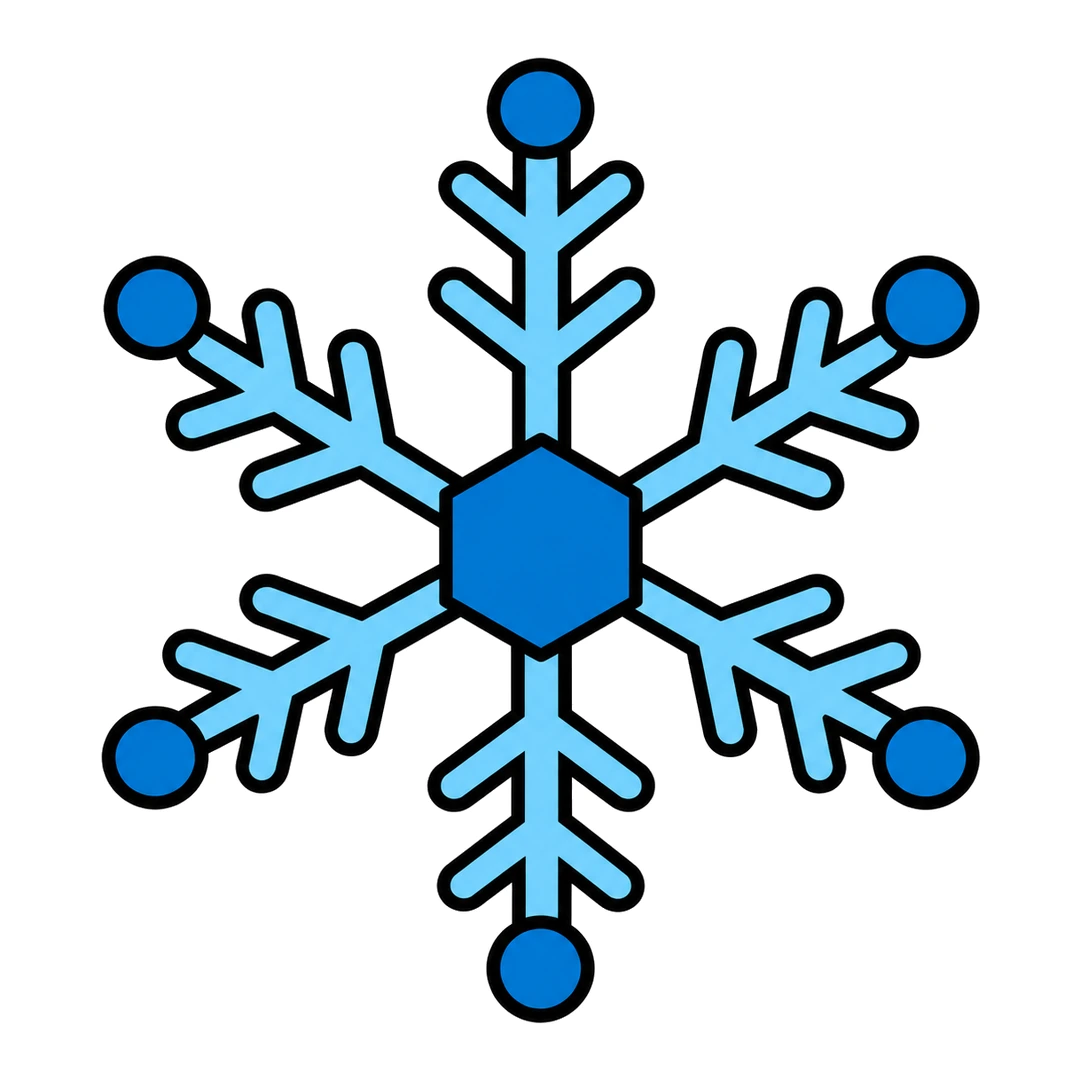
- Steps
- 6 easy steps
- You need
- Pencil
- Ruler (optional)
- Eraser
- Black marker
- Light blue and dark blue crayons

Teaching this to a class?
Show one step at a time on the board and wait for the class before the next. The directed drawing for kids page explains how to run it.
How to draw a snowflake step by step
-
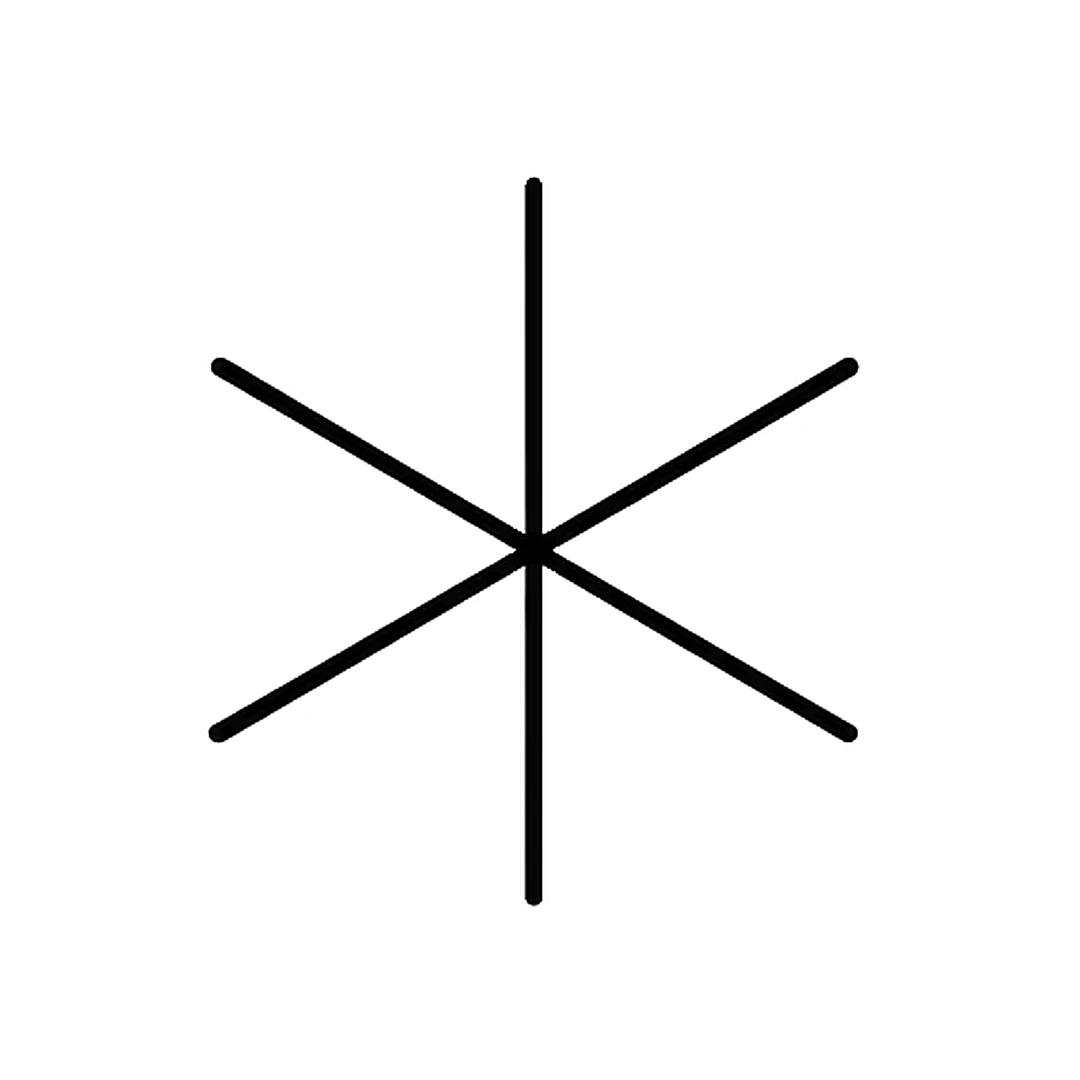
Step 1 of 6: Draw three straight lines that cross in the middle, making six arms.
-
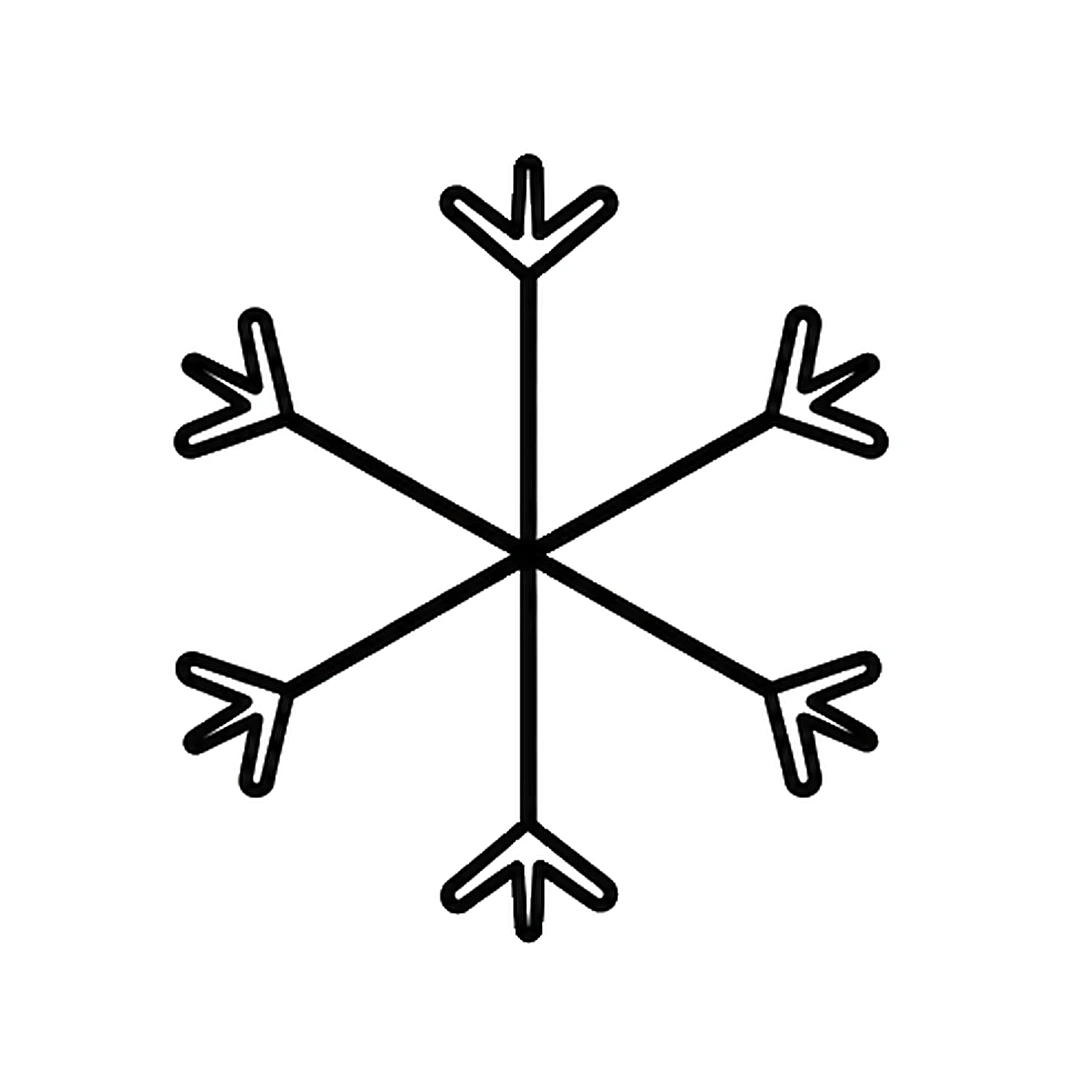
Step 2 of 6: Add a small V-shaped branch near the tip of each arm.
-
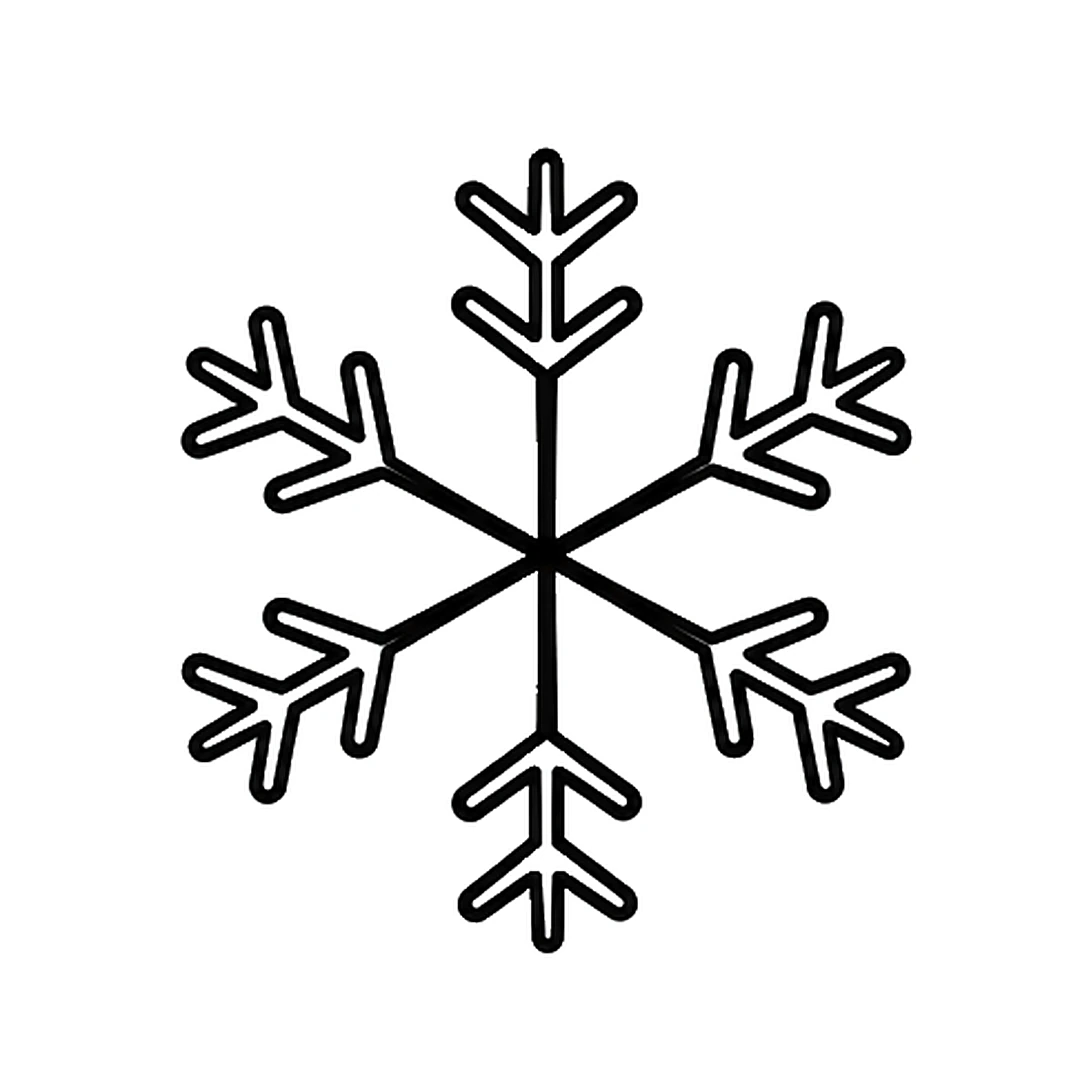
Step 3 of 6: Add a second V-shaped branch halfway down each arm.
-
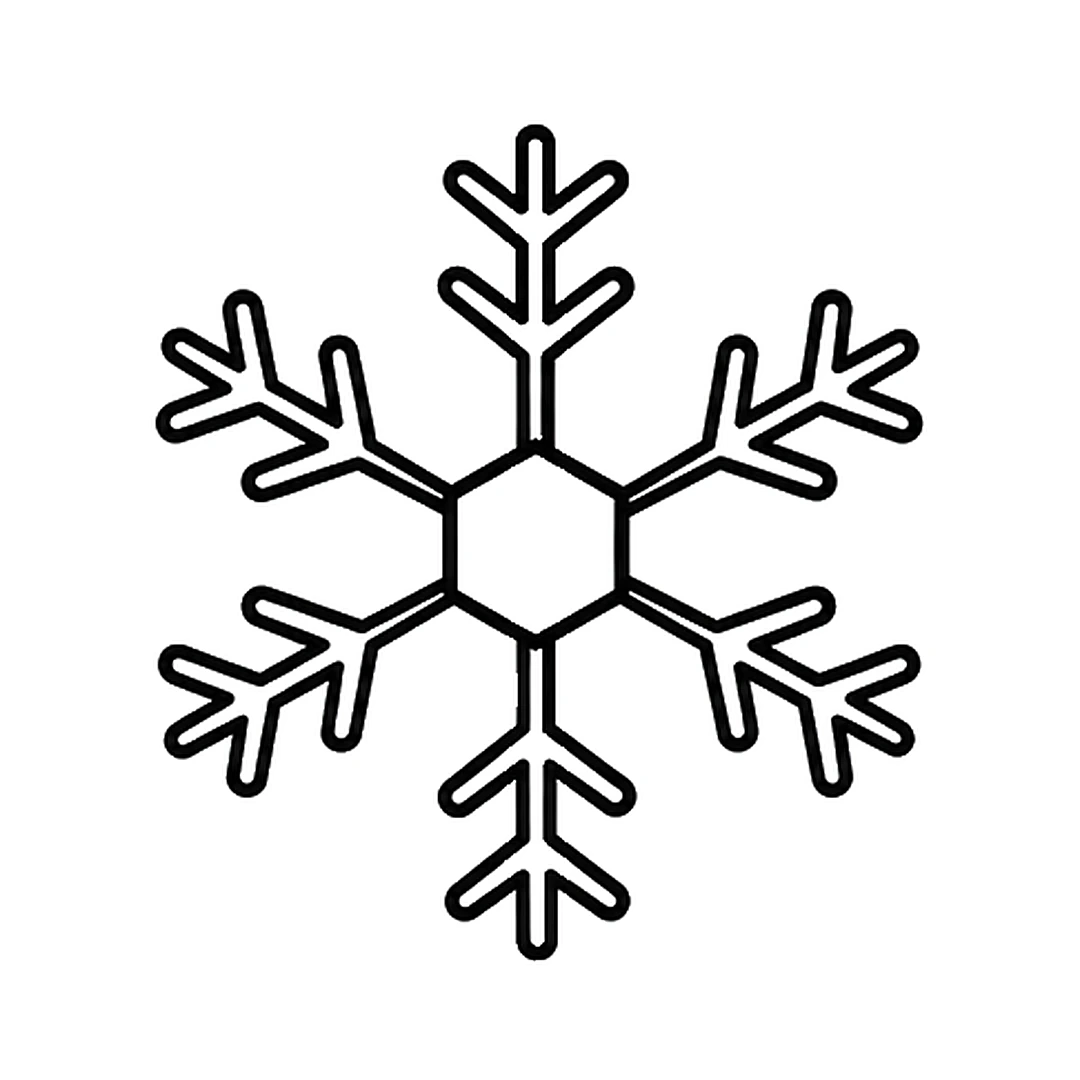
Step 4 of 6: Draw a small six-sided hexagon around the center.
-
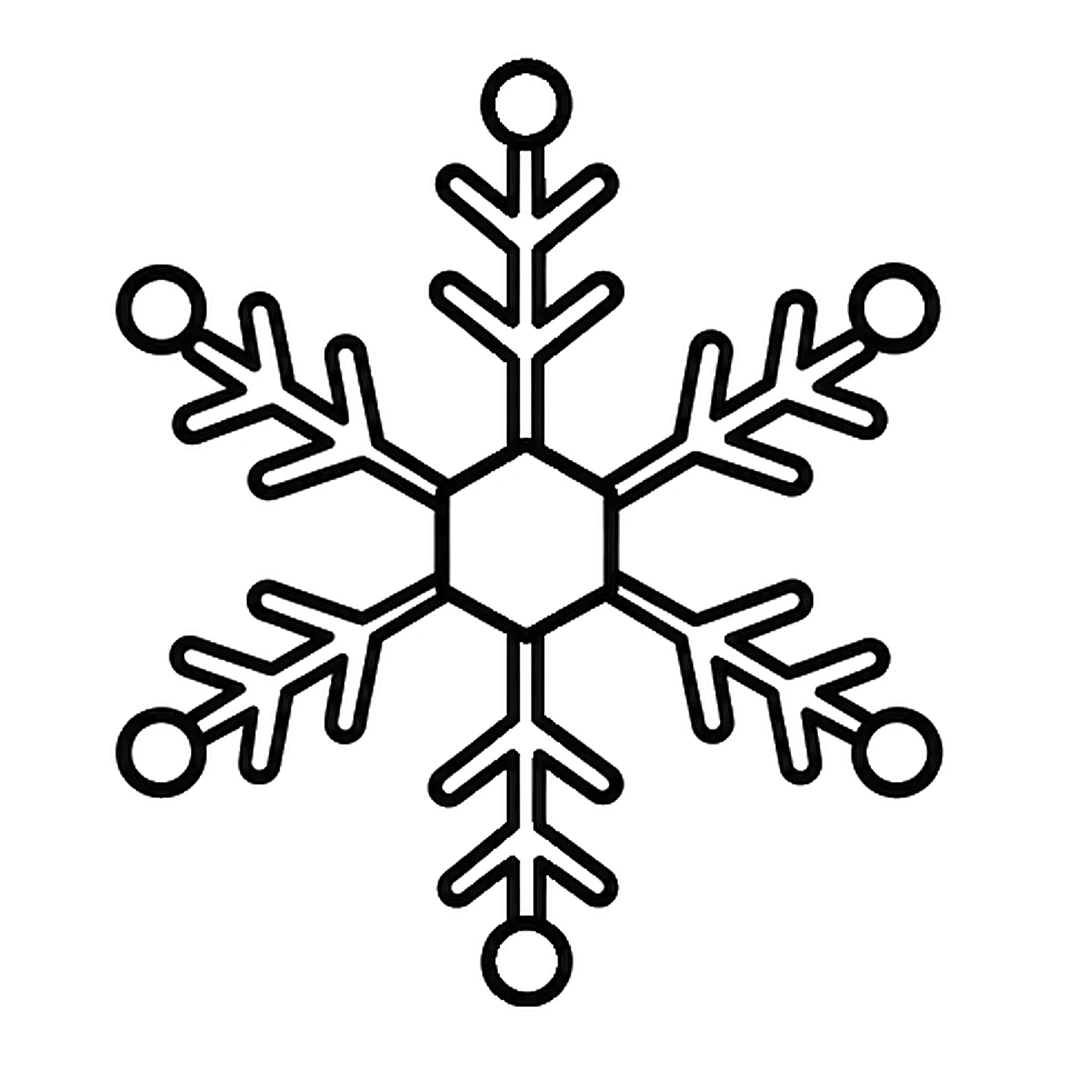
Step 5 of 6: Add a small round circle at the end of each arm.
-
Step 6 of 6: Color the arms and branches light blue, and the center and tips dark blue.
Tips for little artists
Tip: Press lightly with the pencil first. Trace the lines you like with the marker, then erase the rest.
Tip: Draw the first line straight up and down. Then add the other two lines slanted, like a big letter X across it.
Tip: Finish one branch on every arm before starting the next branch. That keeps all six arms the same.
Make it yours
Sparkly snowflake
Add small dots of glitter glue on the tips, or draw tiny stars around the snowflake.
Snowflake garland
Draw five snowflakes in a row, cut them out and tape them to a string.
Snowy night
Color a dark blue sky and draw white snowflakes of different sizes all over it.
Common mistakes and easy fixes
The arms are different lengths
Draw a light pencil circle first. Make every arm end on that circle, then erase it.
The snowflake has eight arms
Use three lines, not four. Three crossing lines make the six arms a real snowflake has.
The branches point different ways
Make every V open toward the tip of its arm, like the feathers on an arrow. Then all six arms match.
Fun facts about the snowflake
Six-sided snowflakes get their shape from how water molecules arrange themselves as they freeze. (Source: UCAR Center for Science Education)
A snowflake starts when a very cold water droplet freezes onto a bit of pollen or dust in the sky. (Source: NOAA)
Some snowflakes are a single ice crystal. Others are made of as many as 200 ice crystals stuck together. (Source: UCAR Center for Science Education)
Questions grown-ups ask
How do you draw a snowflake easy?
Draw three lines that cross in the middle to make six arms. Add a V near the end of each arm and a small circle at each tip. The 6 steps above add more detail.
How do you draw a simple snowflake?
Draw a big star of six lines and add one small V near the end of each arm. That simple shape already looks like a snowflake.
How do you draw a snowflake step by step?
Start with six arms, then add V branches near the tips and halfway down. Draw a hexagon center and round tips, then color it blue.
If your arms came out a little uneven, that's fine. Every snowflake you draw can look different. More easy drawings for kids are on the home page.