How to Draw a Pumpkin (Easy Step-by-Step for Kids)
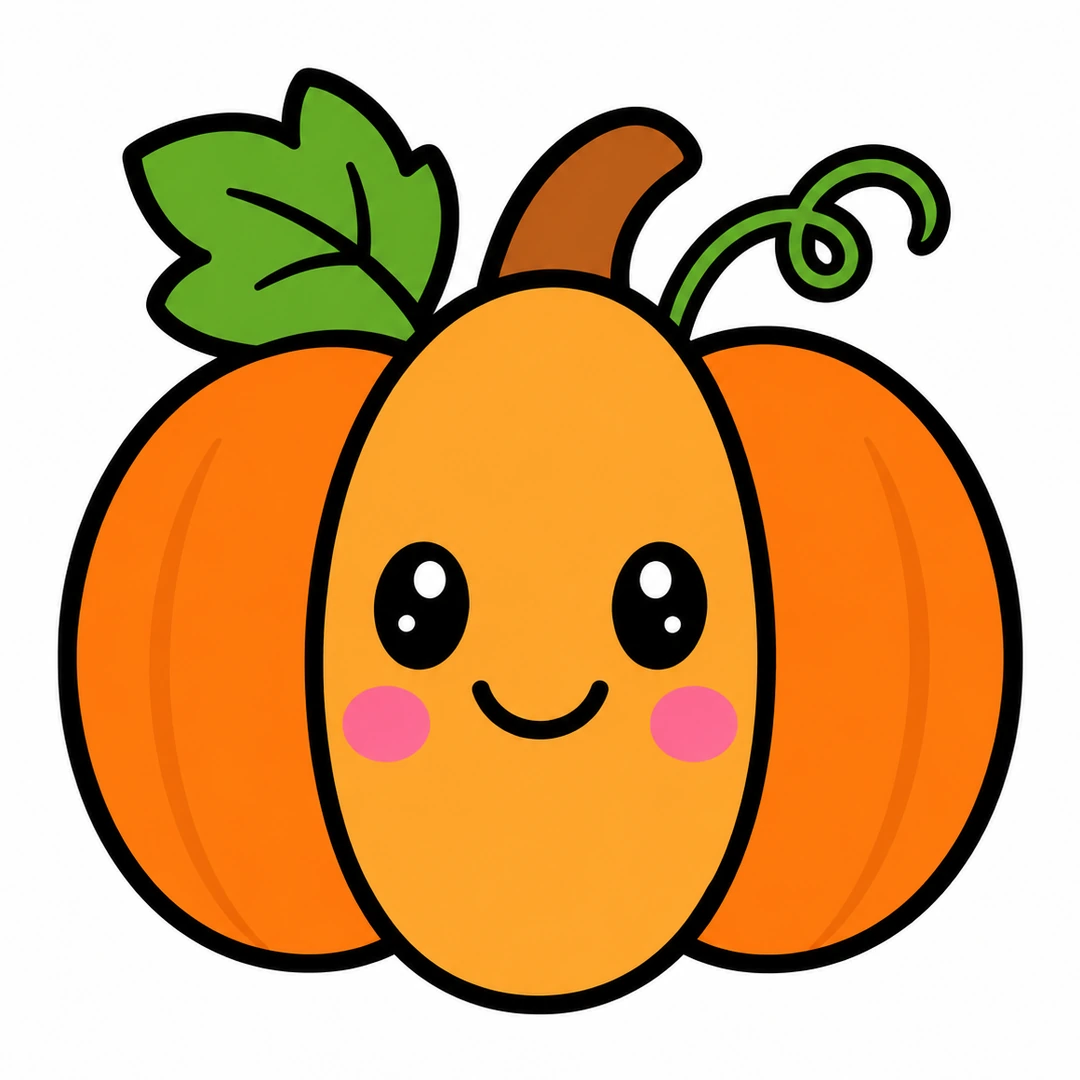
To draw a pumpkin, start with a tall oval in the middle of the page. Add one wide section on each side, tucked behind it. Add a stem, a leaf, a curly vine and a smiling face.
- Steps
- 6 easy steps
- You need
- Pencil
- Eraser
- Black marker
- Orange, brown and green crayons

Teaching this to a class?
Show one step at a time on the board and wait for the class before the next. The directed drawing for kids page explains how to run it.
How to draw a pumpkin step by step
-

Step 1 of 6: Draw a tall oval in the middle of the page.
-
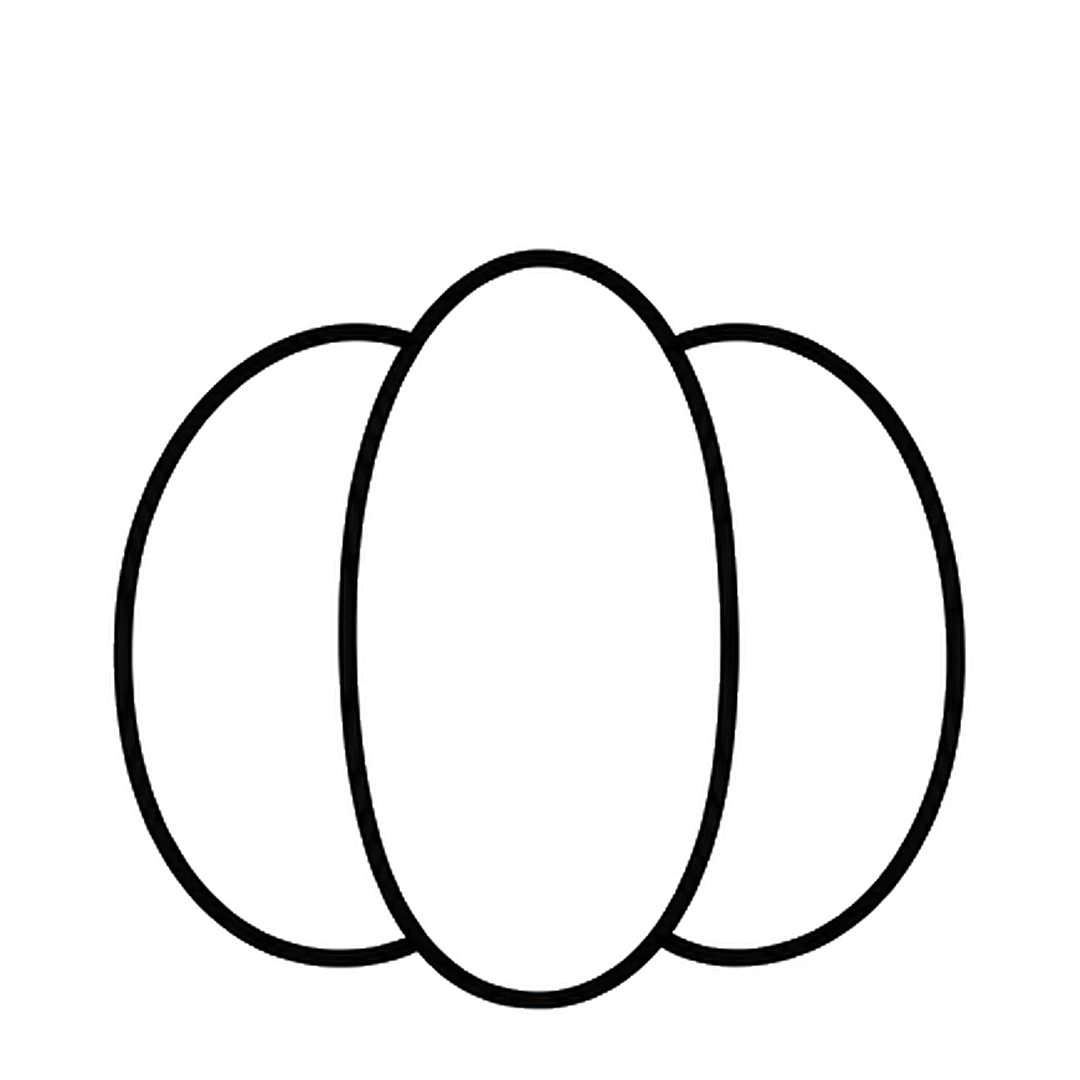
Step 2 of 6: Add a wide rounded section on each side, tucked behind the oval.
-
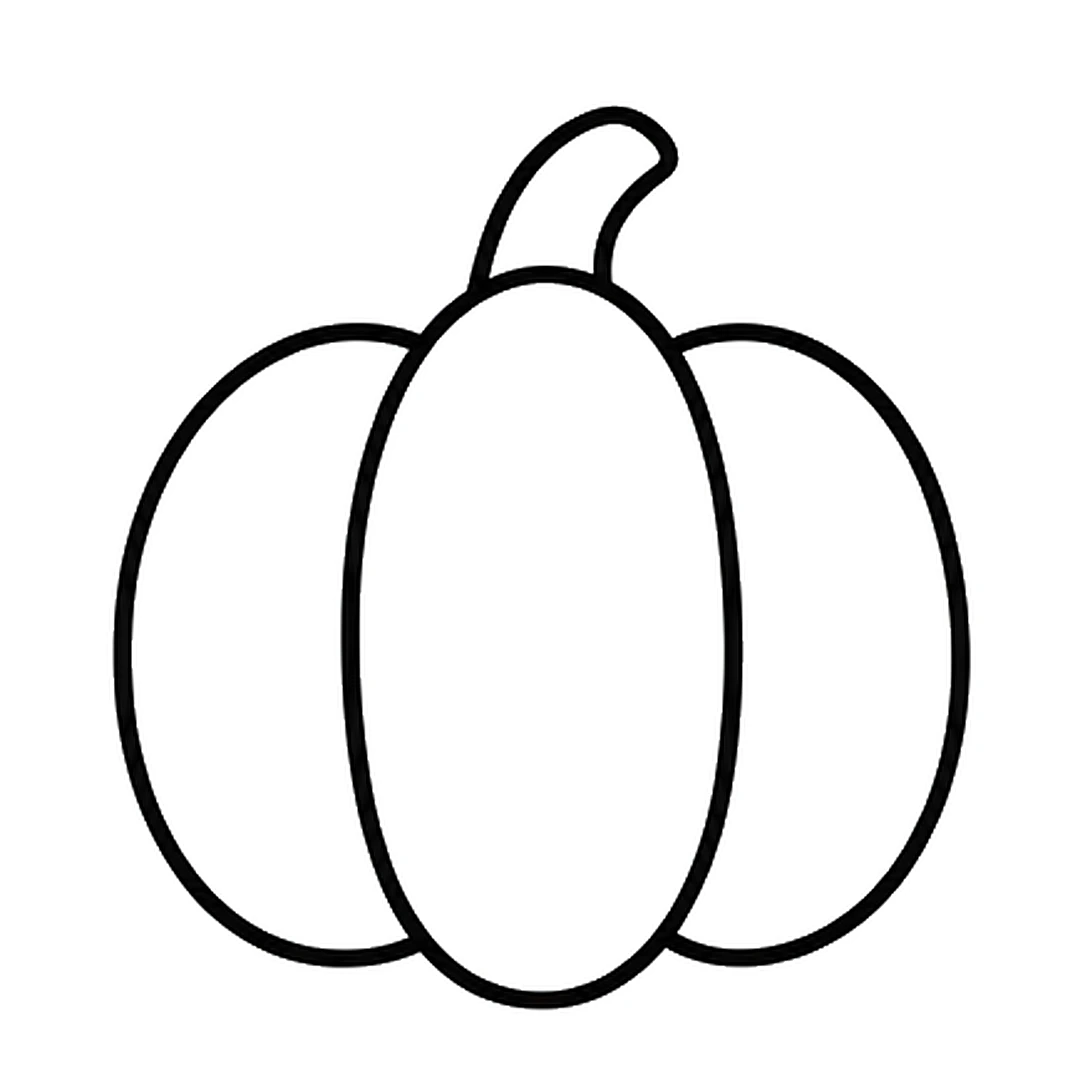
Step 3 of 6: Draw a short, curved stem on top.
-
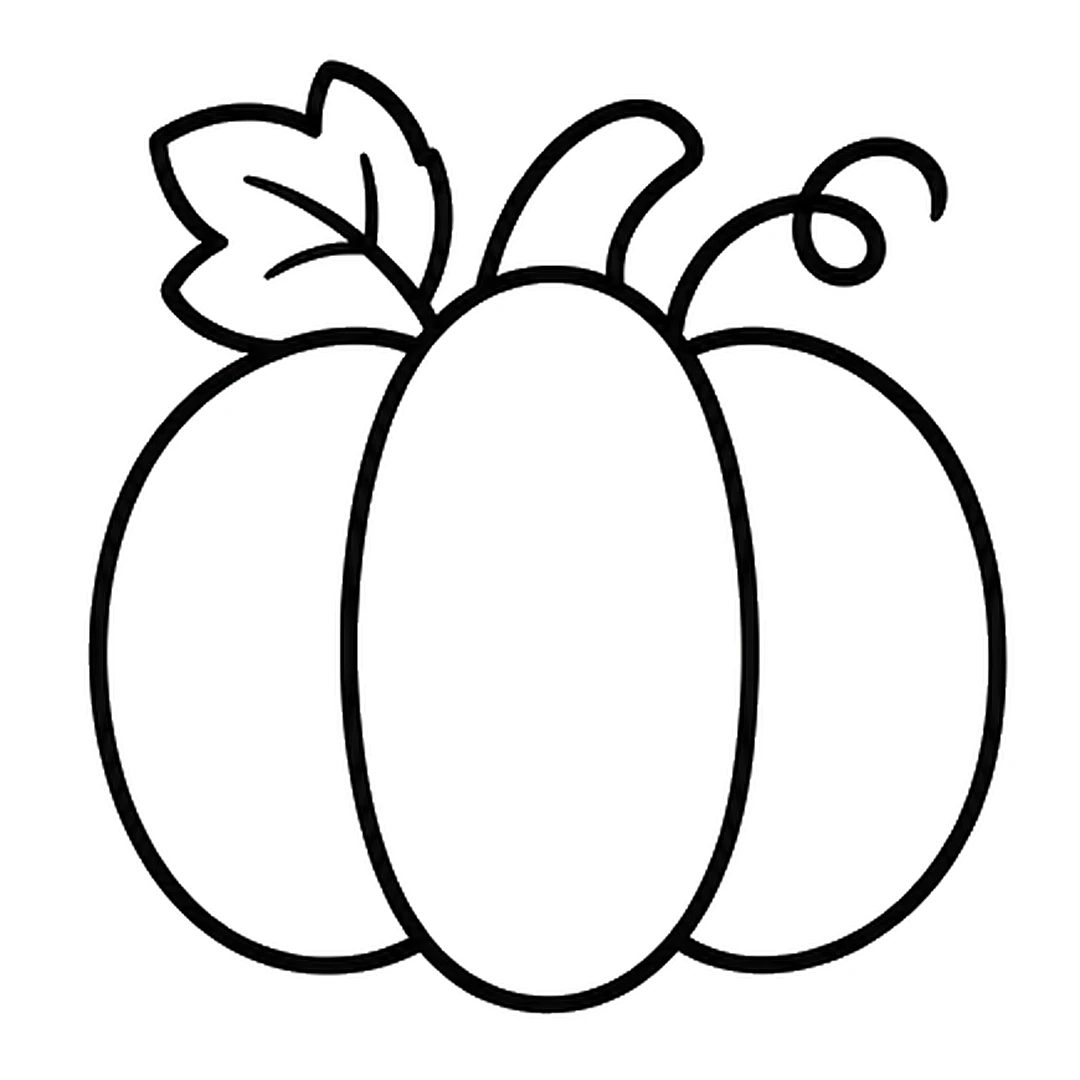
Step 4 of 6: Add a leaf on the left of the stem and a curly vine on the right.
-
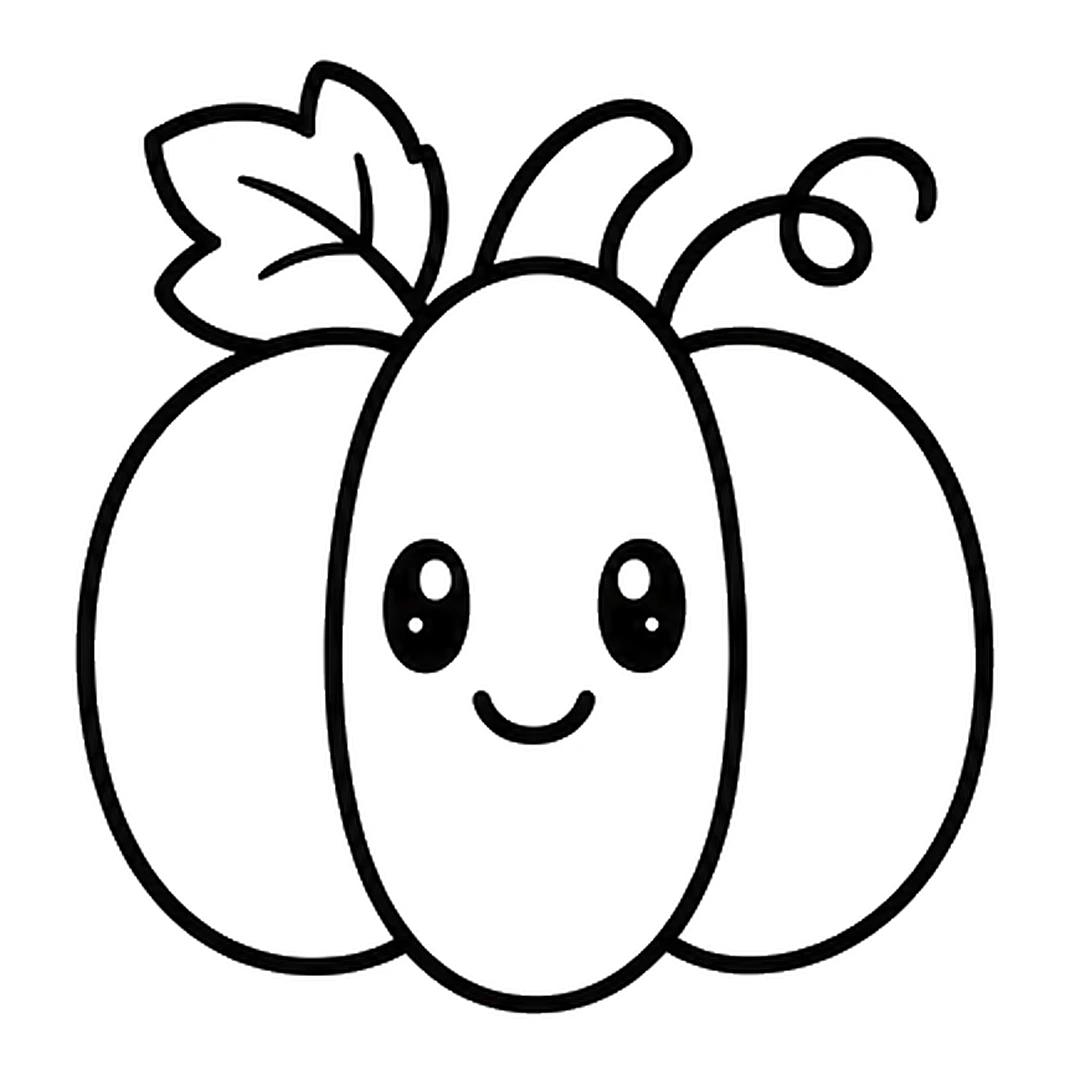
Step 5 of 6: Draw two big round eyes and a small smile on the middle section.
-
Step 6 of 6: Color the pumpkin orange, the stem brown, the leaf and vine green, and add pink cheeks.
Tips for little artists
Tip: Press lightly with the pencil first. Trace the lines you like with the marker, then erase the rest.
Tip: Each new section needs only its outside curve. The section in front already covers the rest.
Tip: Use two shades of orange. Color the middle section lighter, and the pumpkin looks round.
Make it yours
Jack-o'-lantern
Draw two triangle eyes, a triangle nose and a zigzag smile on the middle oval. Color the face yellow so it looks lit.
Plain fall pumpkin
Skip the face and draw a few curved lines down each section for ridges.
Pumpkin patch
Draw three pumpkins of different sizes on a ground line, with curly vines between them.
Common mistakes and easy fixes
The pumpkin looks like a ball
Let each section bulge out past the one in front. The bumps on the outline make it read as a pumpkin.
Lines run across the sections
Stop each new curve where it meets the section in front. Erase any pencil line that crosses over.
The stem floats above the pumpkin
End both stem lines right at the top edge of the middle oval, so the stem looks attached.
Fun facts about the pumpkin
Pumpkins belong to the same plant family as squash, cucumbers, melons and gourds. (Source: University of Illinois Extension)
The curly vine in step 4 is a tendril. Pumpkin vines have tendrils, which are coiled, modified leaves. (Source: New Mexico State University Extension)
Beta-carotene, a natural plant compound, gives pumpkins their bright orange color. (Source: USDA)
People first grew pumpkins for their seeds, not for the orange flesh. (Source: New Mexico State University Extension)
Questions grown-ups ask
How do you draw a pumpkin face?
Draw the pumpkin first, then put the face on the middle oval. Triangle eyes, a triangle nose and a zigzag mouth make a classic jack-o'-lantern. Round eyes and a small smile make a friendly one.
How do you draw a simple pumpkin?
Draw one tall oval, then add one curved section on each side behind it. Put a short stem on top and color the pumpkin orange. The leaf, the vine and the face are extras.
How do you draw a cartoon pumpkin?
Use thick outlines, flat bright colors and simple shapes, like the steps above. Big round eyes and a smile turn it into a cartoon character.
If the sections came out different sizes, that's fine. Real pumpkins are lumpy too. More easy drawings for kids are on the home page.