How to Draw a Bird (Easy Step-by-Step for Kids)
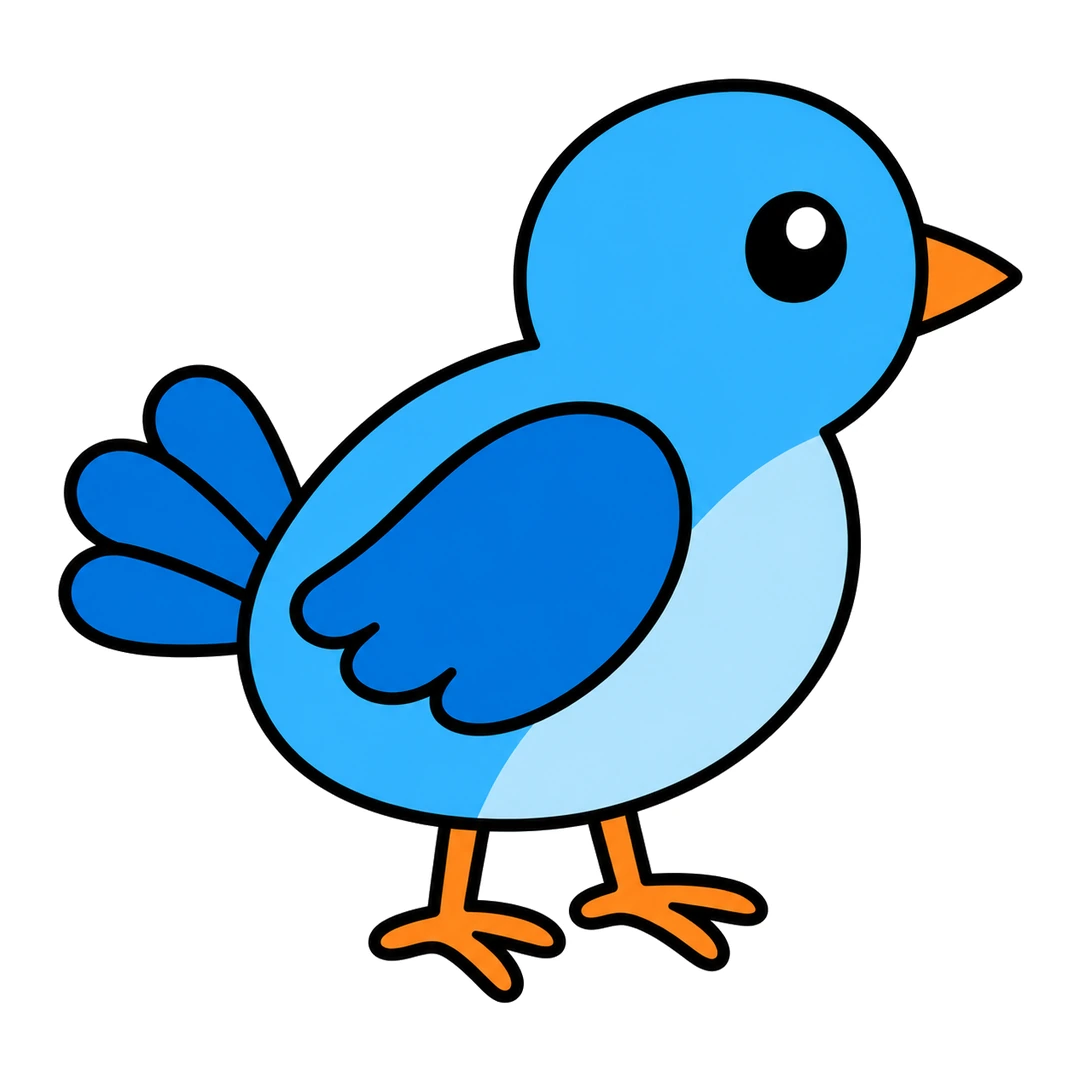
To draw a bird, start with a round head on top of a bigger oval body. Add an eye and a pointy beak, then a wing on the body. Finish with a tail of three feathers and two thin legs.
- Steps
- 6 easy steps
- You need
- Pencil
- Eraser
- Black marker
- Blue, light blue, dark blue and orange crayons

Teaching this to a class?
Show one step at a time on the board and wait for the class before the next. The directed drawing for kids page explains how to run it.
How to draw a bird step by step
-
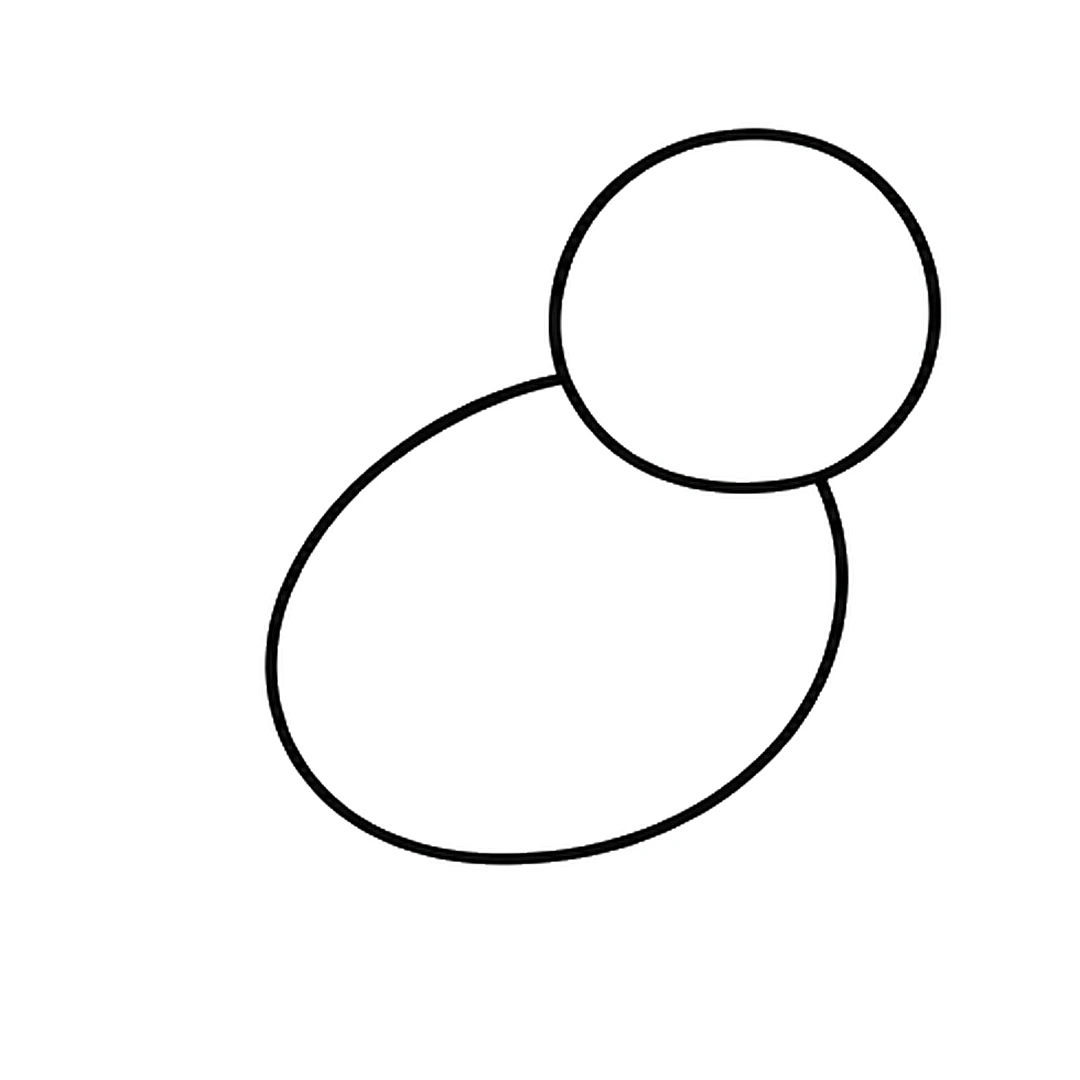
Step 1 of 6: Draw a round head on top of a bigger oval body.
-
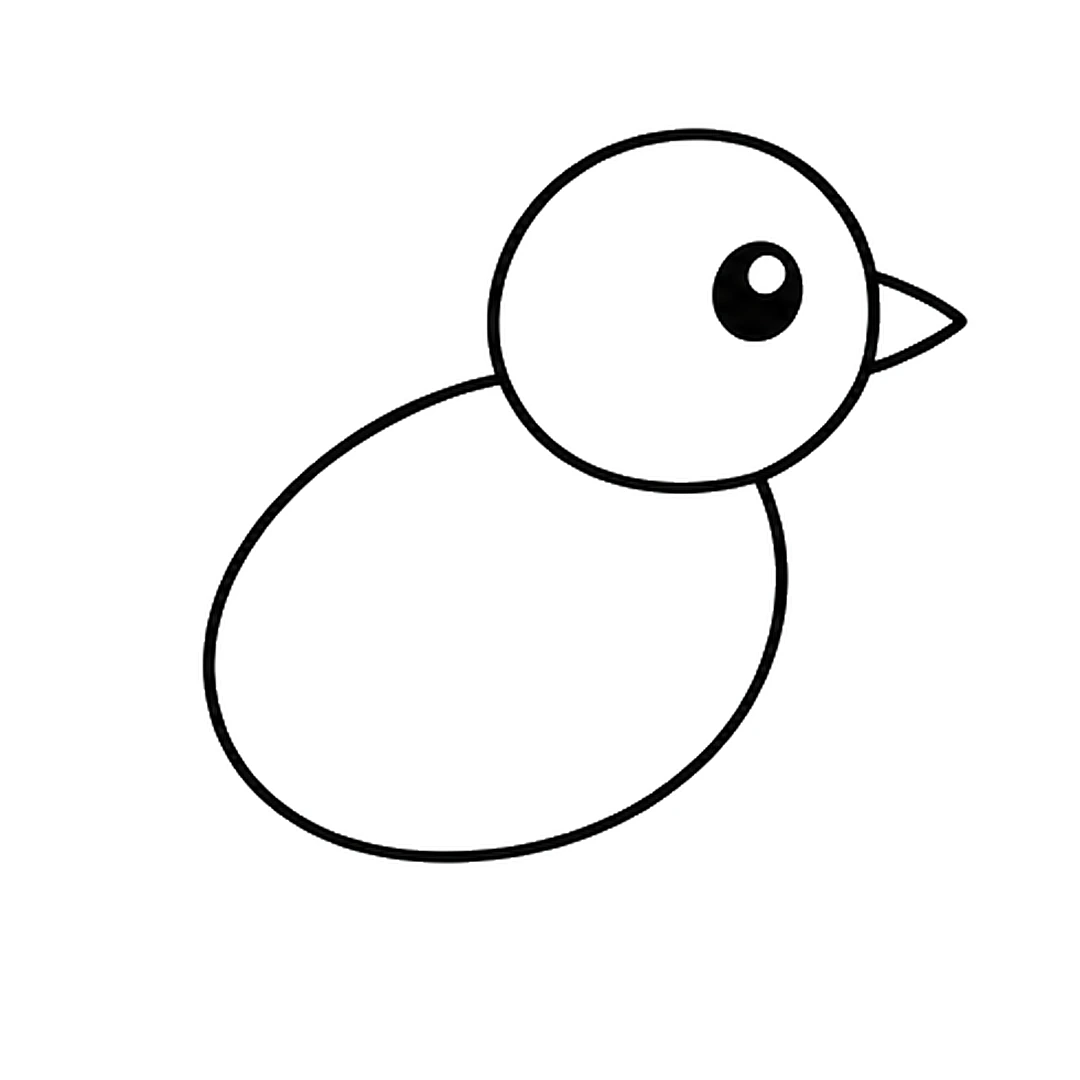
Step 2 of 6: Add a round eye with a shine dot and a small pointy beak.
-
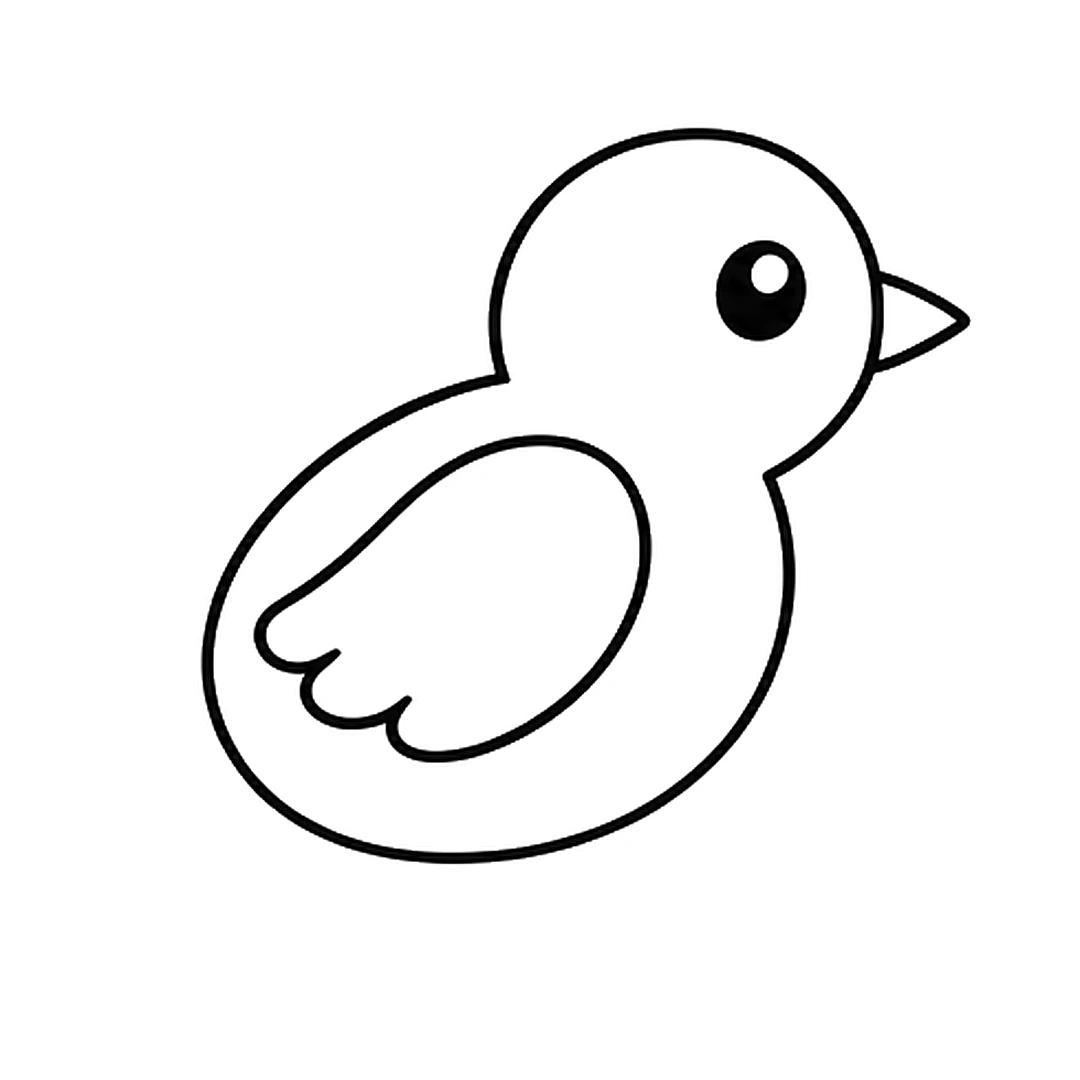
Step 3 of 6: Draw a wing with three bumps along the bottom, then erase the line where the head meets the body.
-
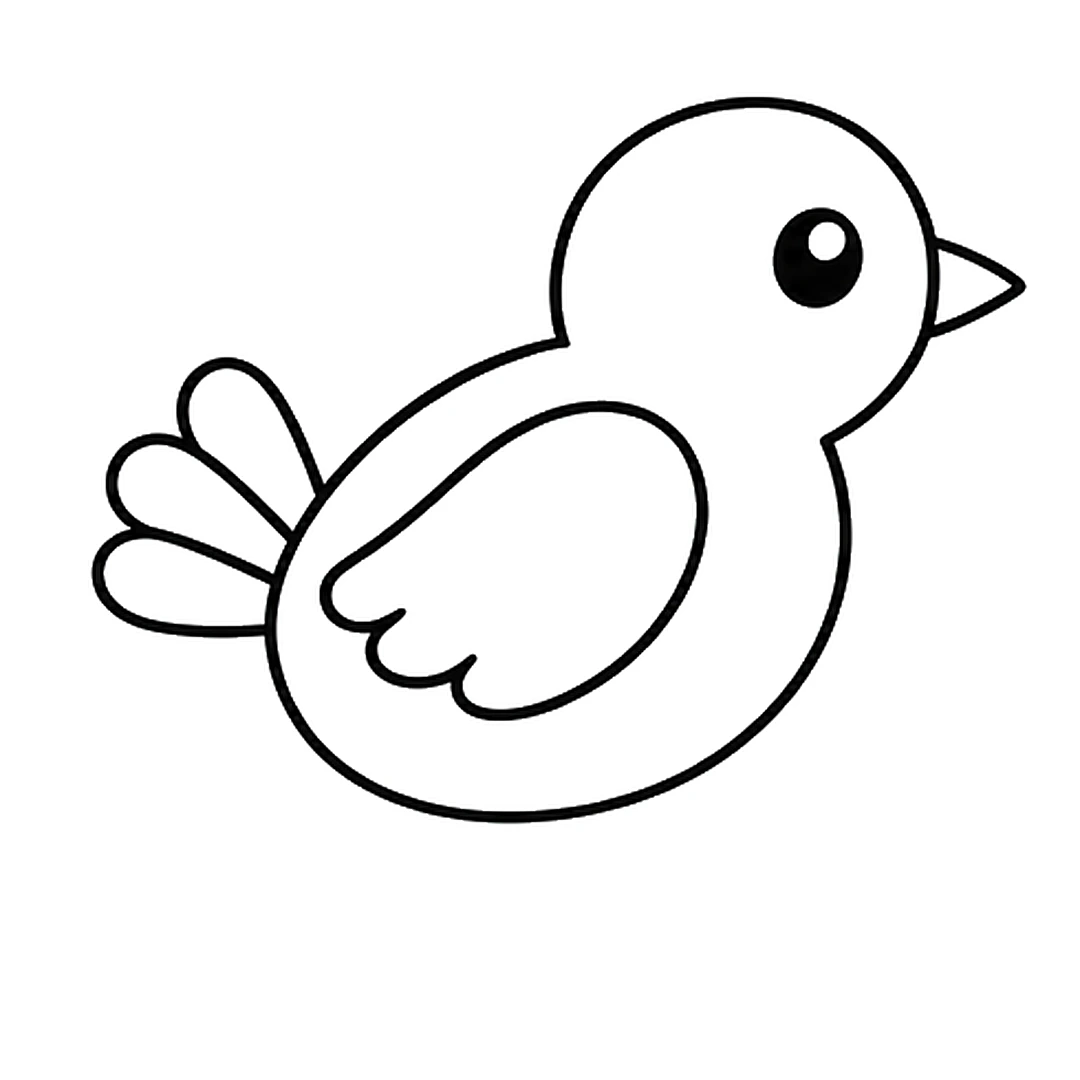
Step 4 of 6: Add a tail of three rounded feathers at the back.
-
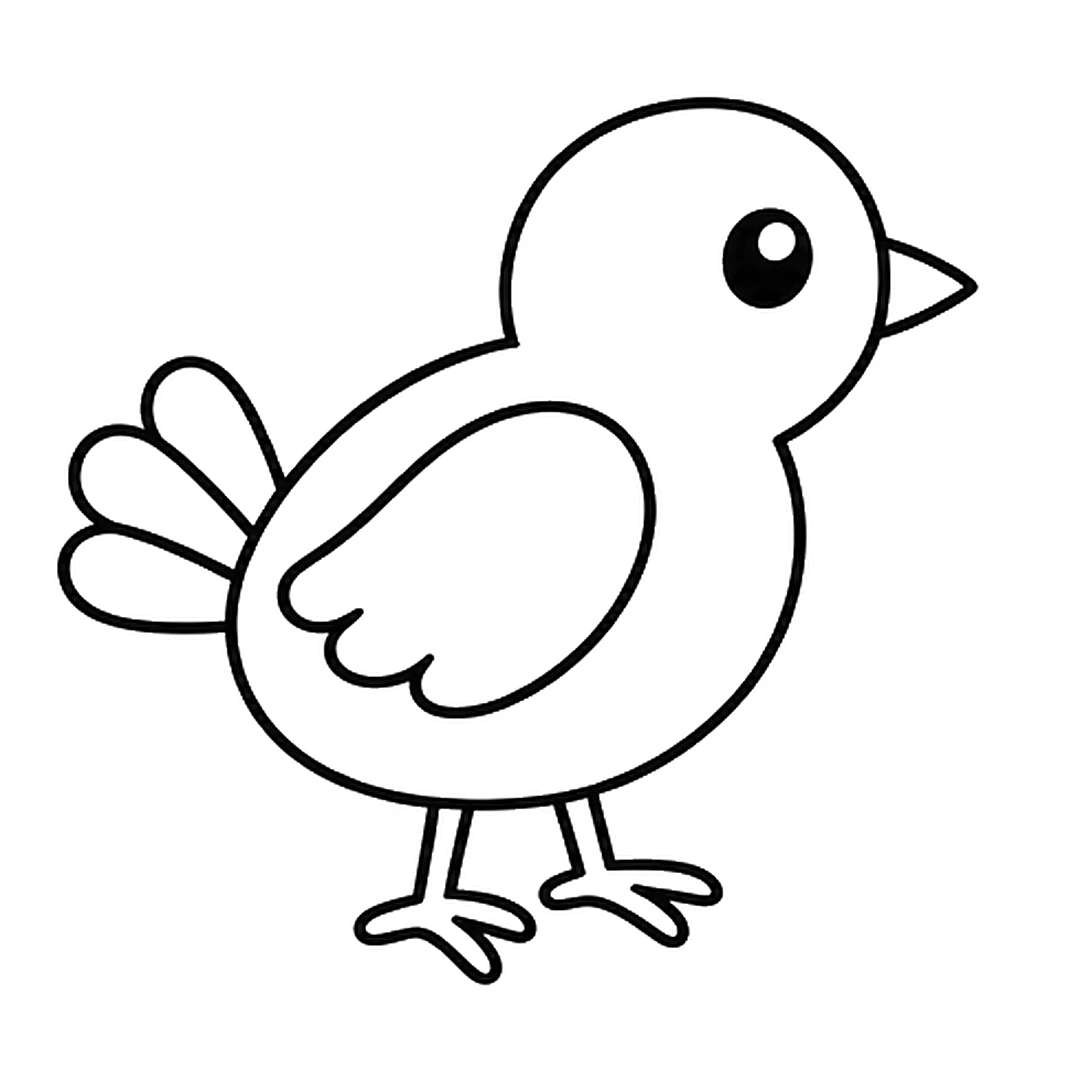
Step 5 of 6: Draw two thin legs under the body, each with a foot of three thin toes.
-
Step 6 of 6: Color the bird blue with a light blue belly, the wing and tail dark blue and the beak and legs orange.
Tips for little artists
Tip: Press lightly with the pencil first. Trace the lines you like with the marker, then erase the rest.
Tip: Put the beak on the side of the head away from the tail. Then the bird faces forward.
Tip: Color the front of the body light blue, from under the beak down to the bottom. That lighter part is the belly.
Make it yours
Red bird
Color the bird red and add a small pointed crest on top of the head.
Flying bird
Skip the legs and draw the wing stretched up above the body.
Bird on a branch
Draw a brown branch under the feet with two green leaves on it.
Common mistakes and easy fixes
The head sits in the middle
Place the head on the front top of the body, the side the beak points to.
The wing covers the whole body
Keep the wing inside the body line and leave room below it for the belly.
The legs are too thick
Draw each leg as two thin lines close together. Thin legs look like real bird legs.
Fun facts about the bird
Birds are the only living animals that have feathers. (Source: Britannica Kids)
The bee hummingbird is the smallest living bird. It is only about 2.5 inches long. (Source: Britannica Kids)
The ostrich is the largest living bird. Some male ostriches can stand 8 feet tall. (Source: Britannica Kids)
Questions grown-ups ask
How do you draw a bird easy?
Draw a round head on an oval body. Add an eye, a beak, a wing, a tail and two legs. The 6 steps above follow that order.
How do you draw a bird for kids?
Use simple shapes: a circle for the head, an oval for the body and a triangle for the beak. Add a bumpy wing, a three-feather tail and two thin legs.
How do you draw a bird step by step?
Start with the head and body, then the eye and beak, the wing, the tail and the legs. Color it last.
If the tail came out a little crooked, that's fine. Your bird is ready for its branch. More easy drawings for kids are on the home page.