
How to Draw a Christmas Tree (Easy Step-by-Step for Kids)
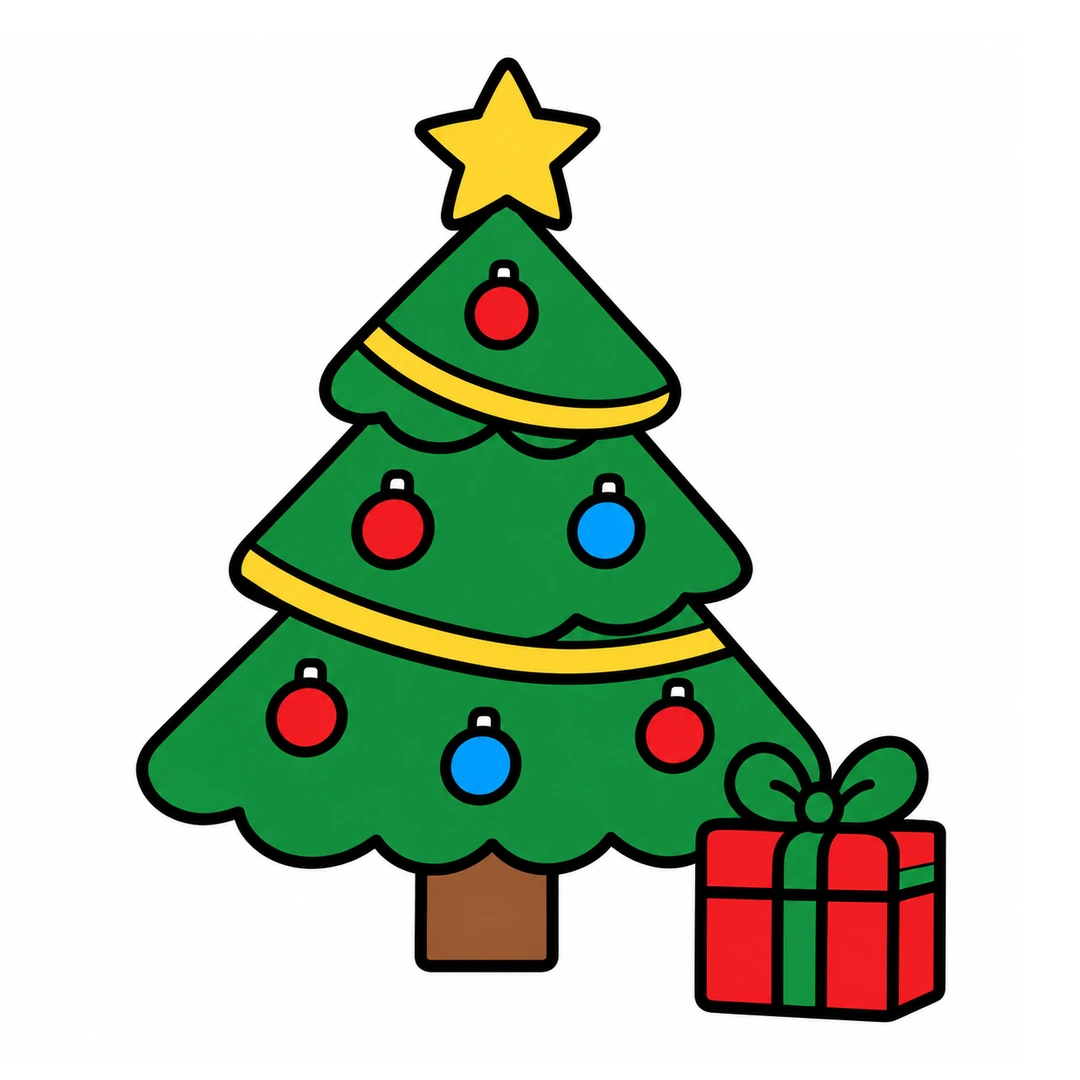
To draw a Christmas tree, start with a small trunk and one wide, wavy tier above it. Stack two smaller tiers on top and add a star. Then draw a garland, round ornaments and a present.
- Steps
- 6 easy steps
- You need
- Pencil
- Eraser
- Black marker
- Green, brown, yellow, red and blue crayons

Teaching this to a class?
Show one step at a time on the board and wait for the class before the next. The directed drawing for kids page explains how to run it.
How to draw a Christmas tree step by step
-
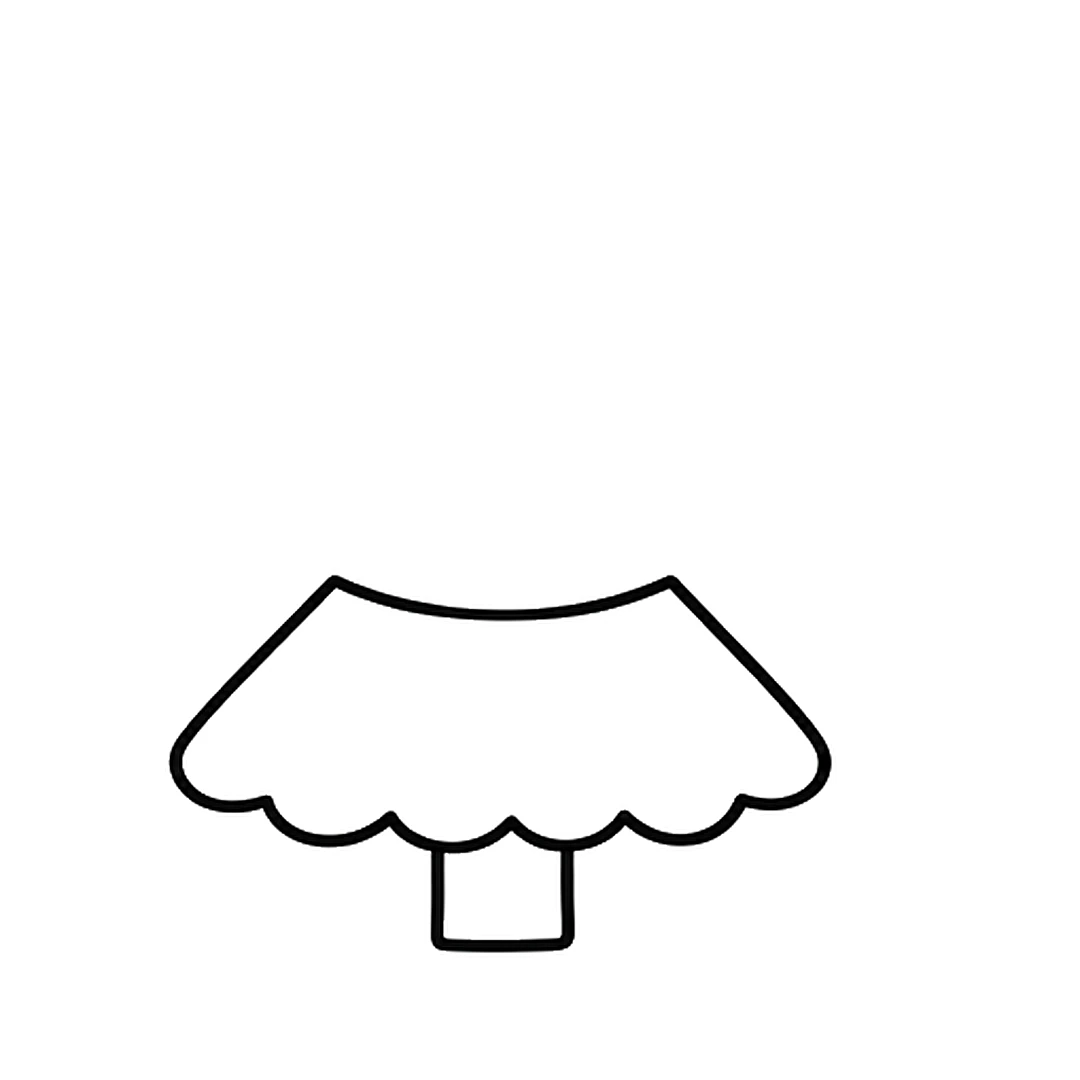
Step 1 of 6: Draw a small trunk and one wide tier above it with a wavy bottom edge.
-
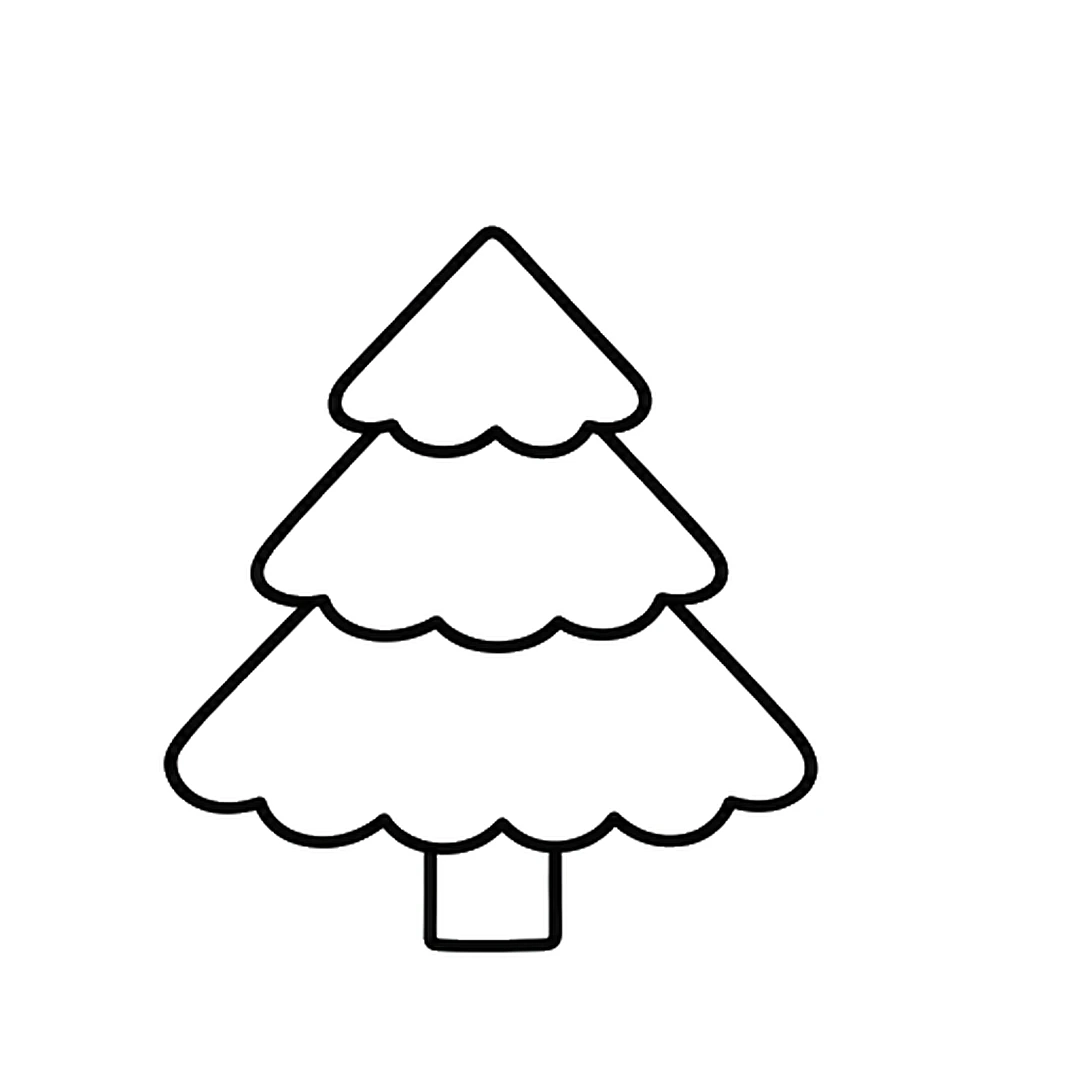
Step 2 of 6: Stack two smaller wavy tiers on top, so the tree comes to a point.
-
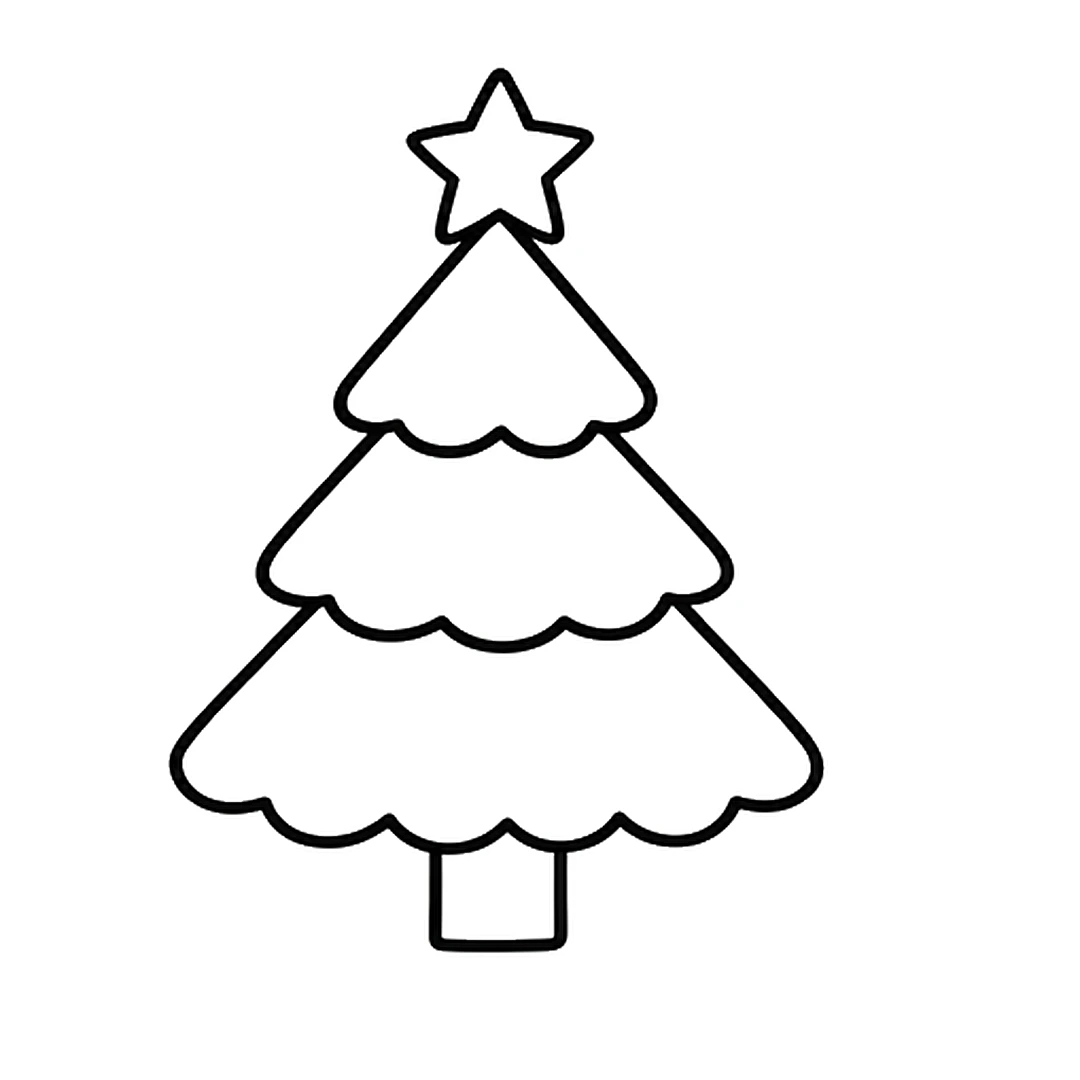
Step 3 of 6: Add a five-pointed star on the very top.
-
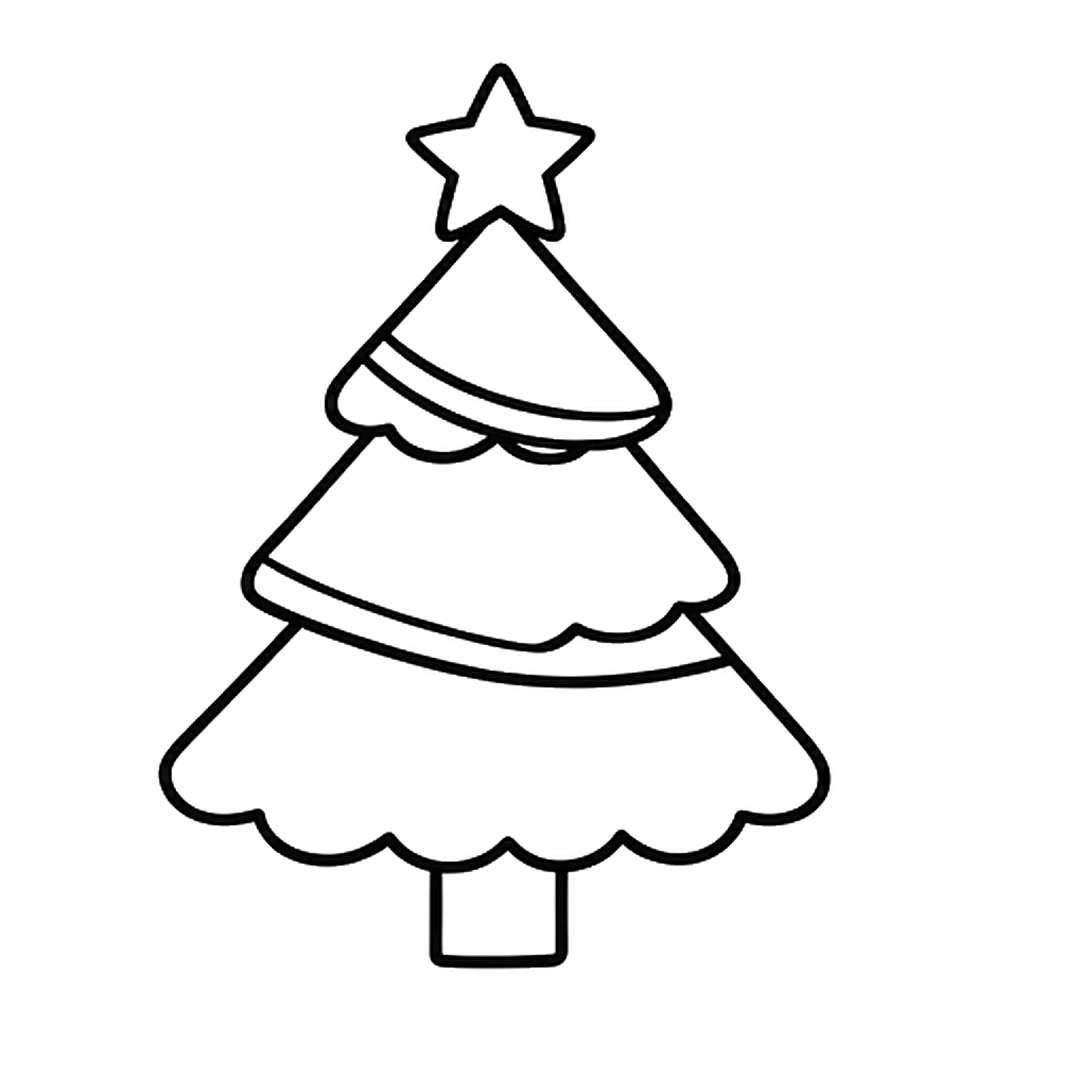
Step 4 of 6: Draw two curved garland bands across the tree.
-
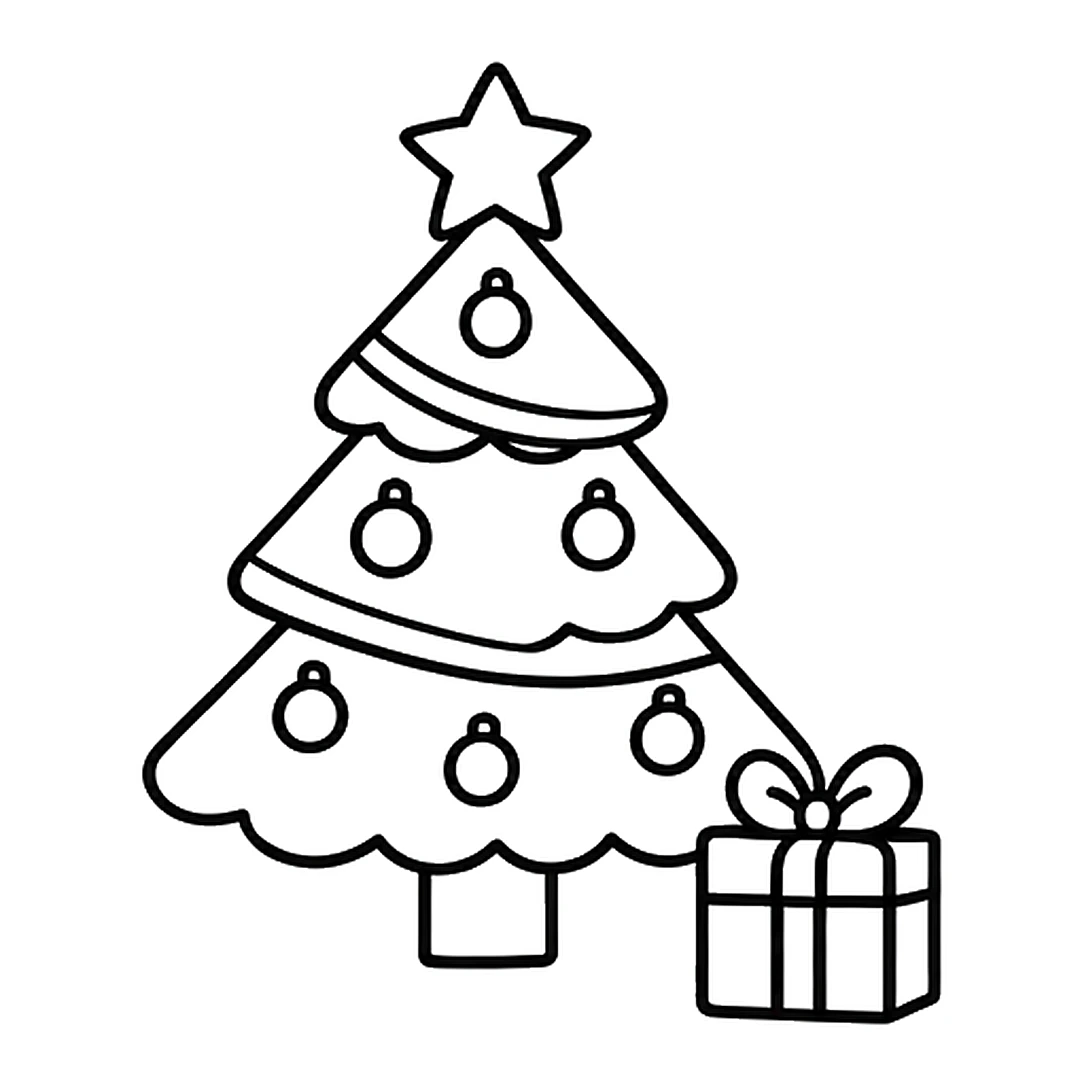
Step 5 of 6: Add six round ornaments and a present with a bow beside the trunk.
-
Step 6 of 6: Color the tree green, the trunk brown, the star and garland yellow, the ornaments red and blue, and the present red.
Tips for little artists
Tip: Press lightly with the pencil first. Trace the lines you like with the marker, then erase the rest.
Tip: Make each tier a little wider than the one above it. That is what gives the tree its pointy shape.
Tip: Draw the ornaments as small circles with a tiny cap on top. They look like real glass balls.
Make it yours
Snowy tree
Leave the top edge of each tier white and color the rest green, so it looks like snow on the branches.
Light-up tree
Swap the round ornaments for small teardrop bulbs along the garland, in bright mixed colors.
Family tree
Write one family member's name on each ornament before coloring. It makes a sweet holiday card.
Common mistakes and easy fixes
The tree looks like a stack of hats
Let each tier overlap the one below it. The wavy edge of the upper tier should cover the top of the lower one.
The star is too small to see
Draw the star about half as wide as the top tier. A star that size is easy to see and easy to color.
No room for the present
Start the trunk a little to the left of the middle of the page. That leaves space for a present on the right.
Fun facts about the Christmas tree
Real Christmas trees are conifers. Conifers are trees that grow cones with their seeds inside. (Source: NOAA National Centers for Environmental Information)
A farm-grown Christmas tree takes about 7 years on average to reach a typical height of 6 to 7 feet. (Source: National Christmas Tree Association)
For every real Christmas tree that is harvested, farmers plant 1 to 3 seedlings the next spring. (Source: National Christmas Tree Association)
Real Christmas trees are grown in all 50 U.S. states and in Canada. (Source: National Christmas Tree Association)
Questions grown-ups ask
How do you draw a Christmas tree for kids?
Draw a small trunk, then stack three wavy tiers above it, from wide to narrow. Add a star on top, a garland and some round ornaments. The 6 steps above show each part.
How do you draw a simple Christmas tree?
Use one tall triangle on a small square trunk and add a star on top. Dots of color make quick ornaments. The tiered version above takes only a few more lines.
How do you draw a Christmas tree with ornaments?
Draw the tree first, then add circles with a small cap on top for each ornament. Spread them out on every tier so the tree looks full and even.
If the tiers came out a little crooked, the tree still looks cozy. Real trees are never perfect either. More easy drawings for kids are on the home page.