How to Draw a Tree (Easy Step-by-Step for Kids)
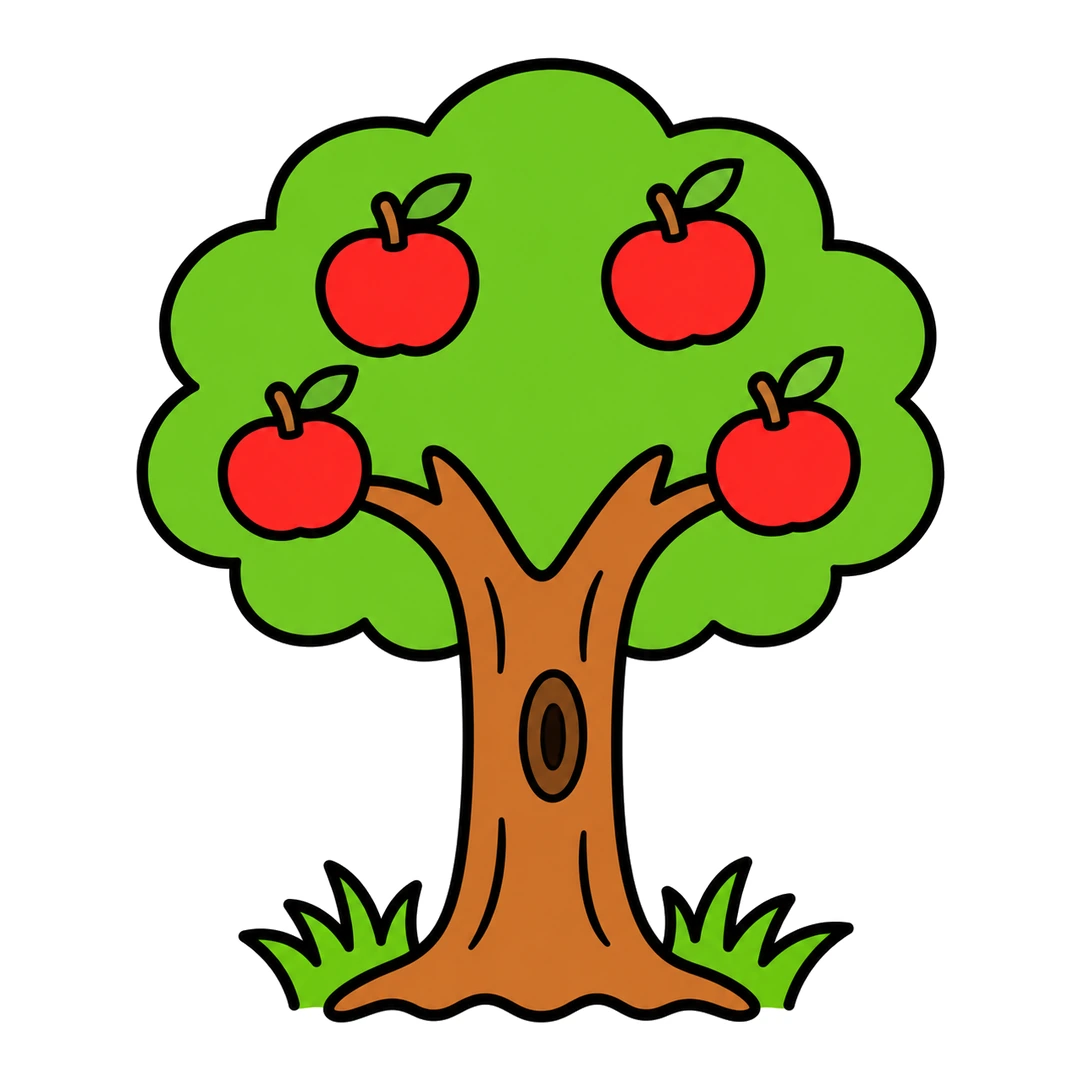
To draw a tree, start with a tall trunk that splits into two short branches. Add a big fluffy crown of leaves on top, then bark lines and a knot hole. Finish with four apples and grass at the bottom.
- Steps
- 6 easy steps
- You need
- Pencil
- Eraser
- Black marker
- Green, brown and red crayons

Teaching this to a class?
Show one step at a time on the board and wait for the class before the next. The directed drawing for kids page explains how to run it.
How to draw a tree step by step
-
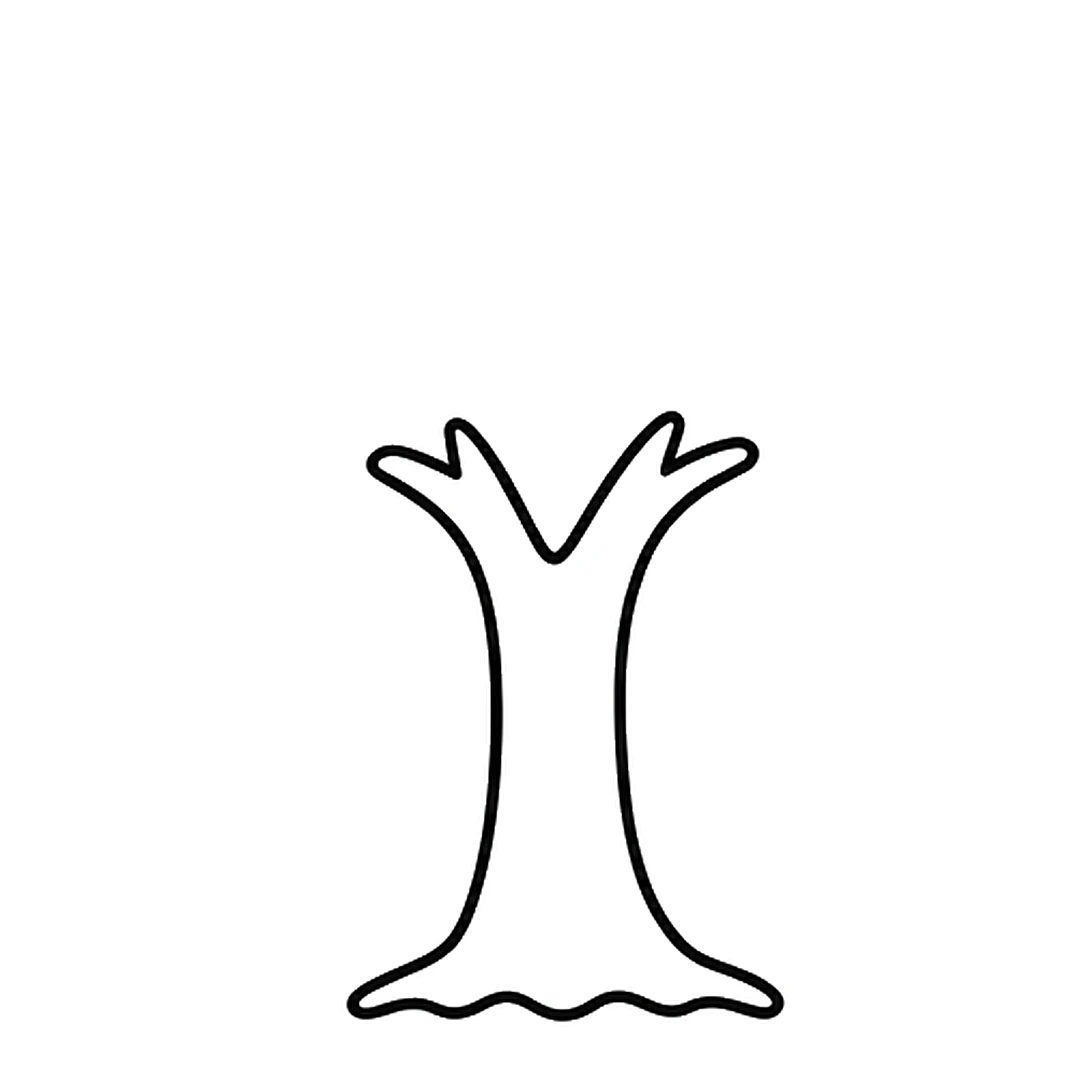
Step 1 of 6: Draw a tall trunk that splits into two short branches, with a wavy line at the bottom.
-
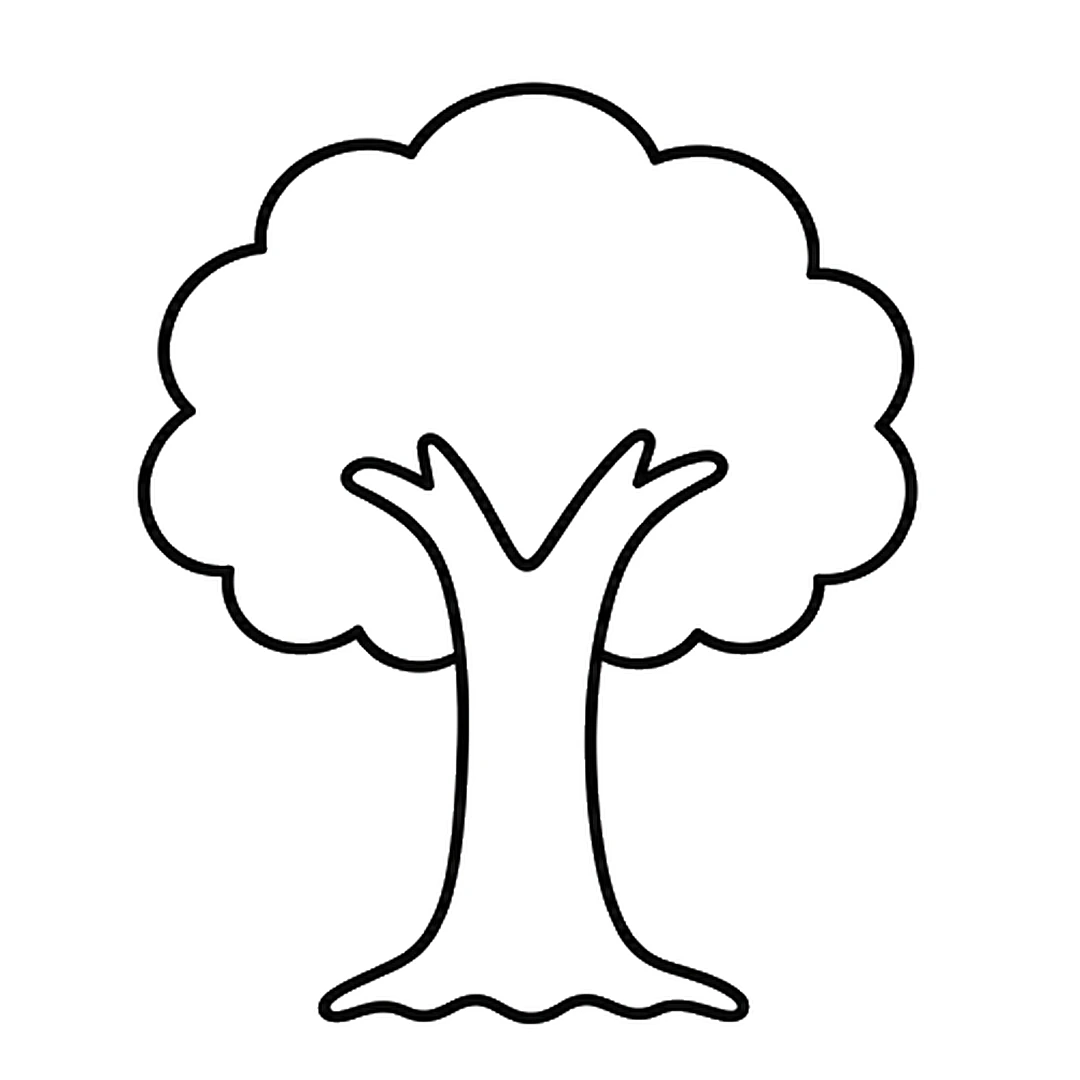
Step 2 of 6: Add a big fluffy crown on top, like a bumpy cloud.
-
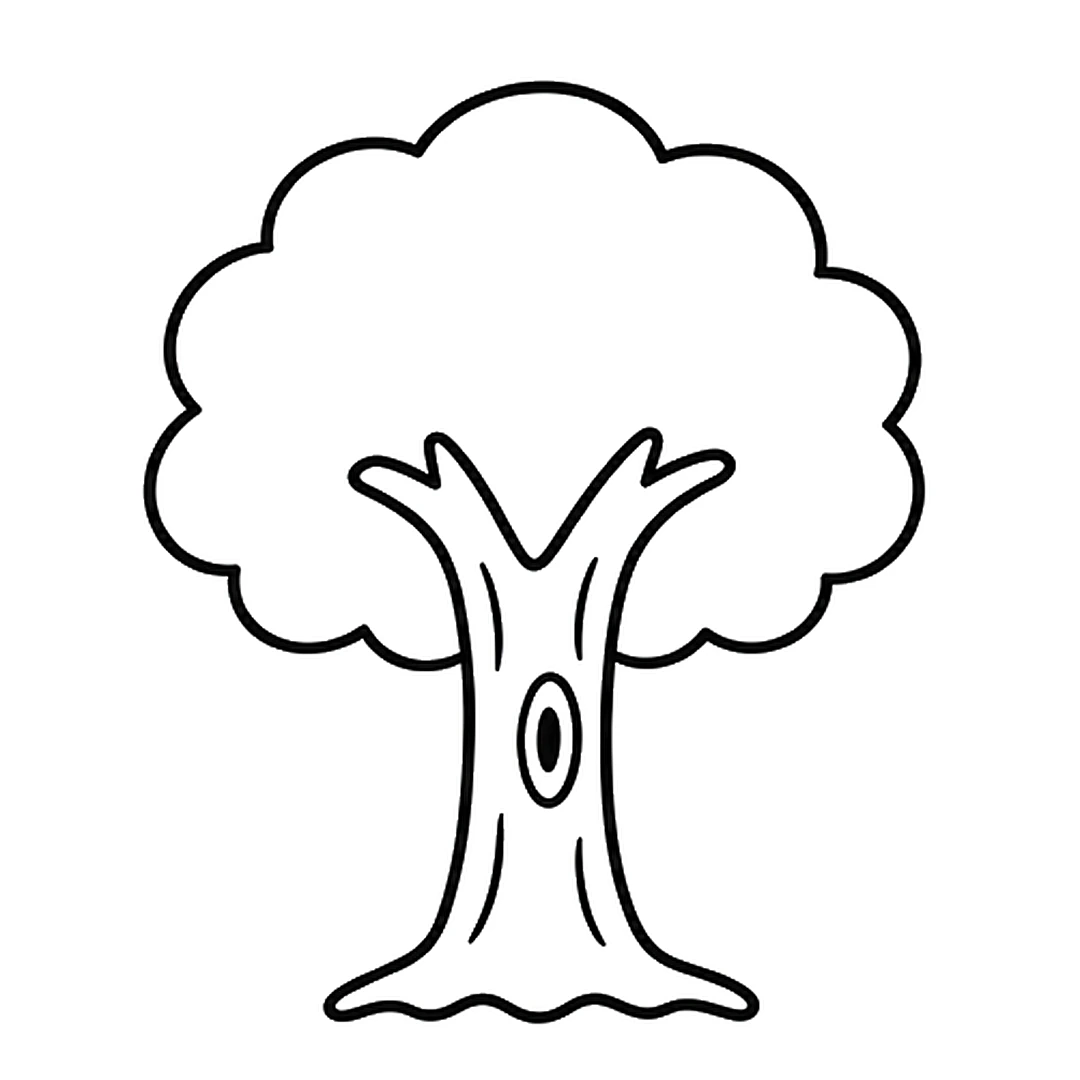
Step 3 of 6: Draw four curved bark lines and an oval knot hole on the trunk.
-
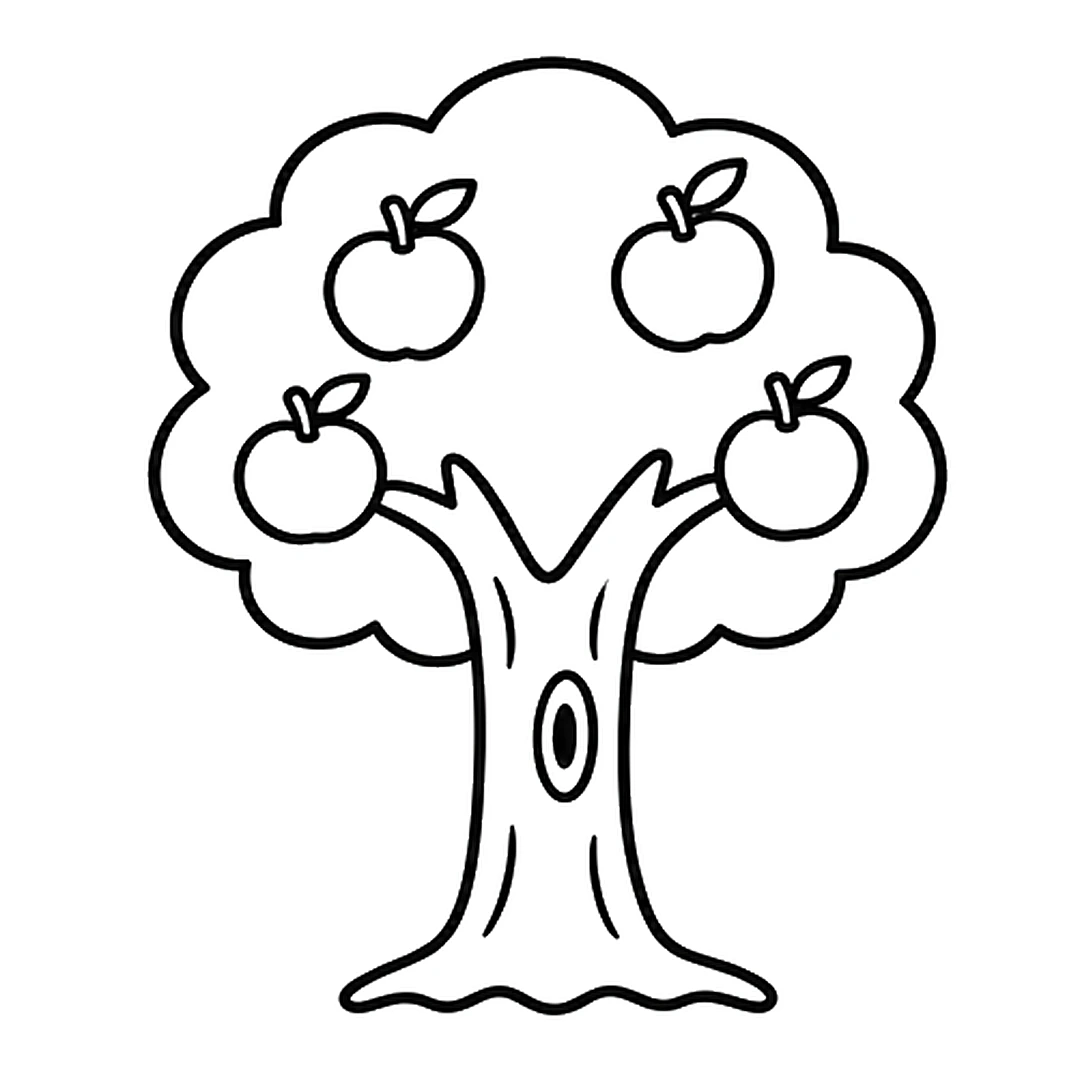
Step 4 of 6: Add four round apples in the crown, each with a stem and a small leaf.
-
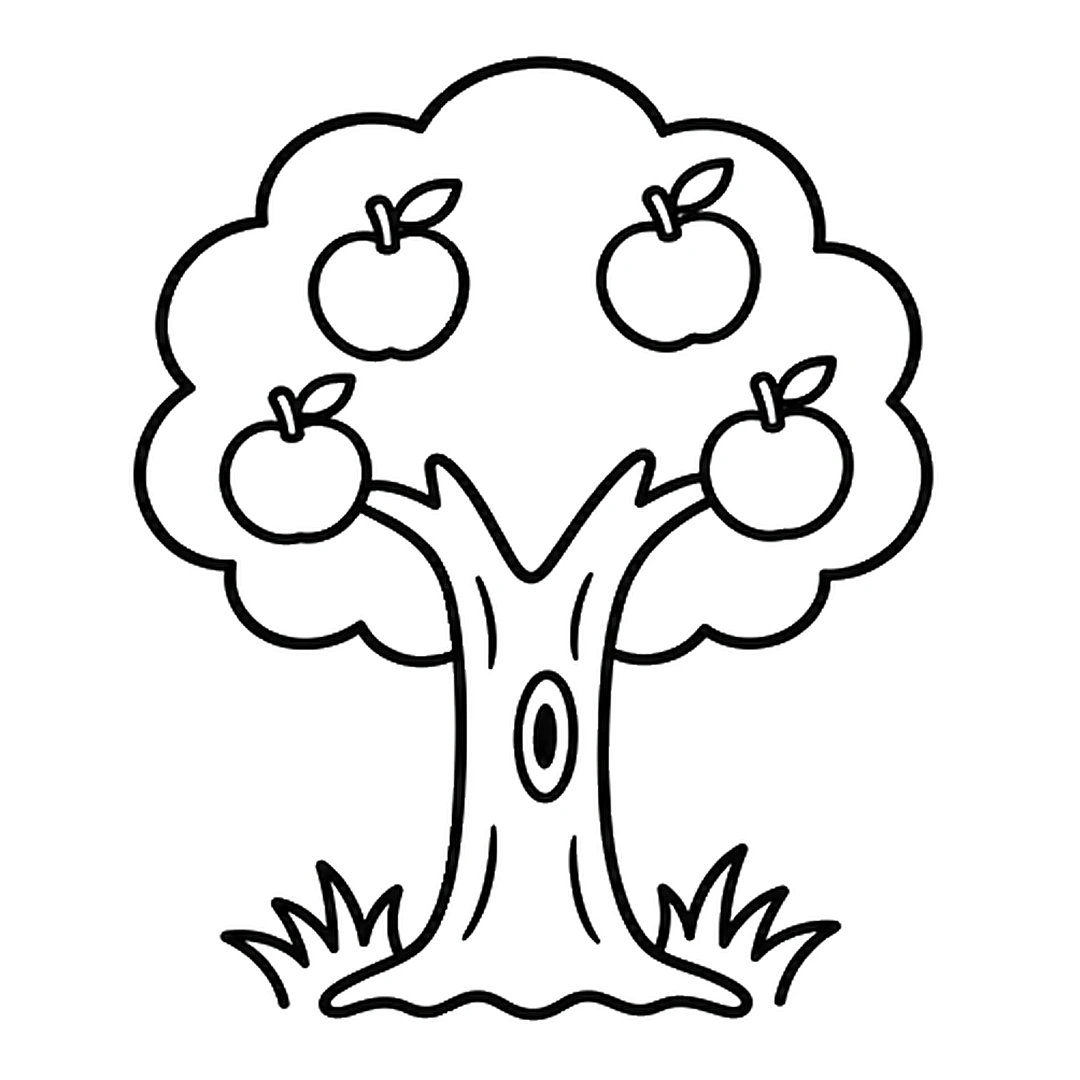
Step 5 of 6: Draw a tuft of spiky grass on each side of the trunk.
-
Step 6 of 6: Color the crown and grass green, the trunk brown and the apples red.
Tips for little artists
Tip: Press lightly with the pencil first. Trace the lines you like with the marker, then erase the rest.
Tip: Draw the crown with big bumps all the way around. Small bumps make the tree look like a bush.
Tip: Let the two branches reach up into the crown, so the tree looks like it holds the leaves.
Make it yours
Fall tree
Color the crown orange, red and yellow, and draw a few leaves falling to the ground.
Winter tree
Skip the crown and draw bare branches with bumpy snow on top. Leave the snow white.
Tree with a swing
Draw two lines down from one branch and a short flat seat at the bottom.
Common mistakes and easy fixes
The trunk looks like a stick
Make the trunk wider at the bottom than at the top. Let it flare out like roots.
The crown sits on top like a hat
Draw the crown around the branches, so they reach up inside the leaves.
The apples hang outside the crown
Keep every apple inside the crown line, with its stem pointing up.
Fun facts about the tree
A tree adds a new growth ring to its trunk every year. Counting the rings tells you about how old the tree is. (Source: Arbor Day Foundation)
Wood that grows in spring is lighter in color. Wood that grows later in summer is darker, so the rings show as light and dark bands. (Source: Arbor Day Foundation)
In very dry years, a tree can skip a growth ring. Scientists compare many trees to pin down a tree's age to within a year. (Source: NIST)
Questions grown-ups ask
What's the easiest tree to draw?
A round leafy tree is the easiest. It needs only a trunk with two branches and one fluffy cloud shape on top.
How do you draw a tree easy?
Draw a tall trunk with two short branches, then a big bumpy cloud on top. Add bark lines, apples and grass. The 6 steps above follow that order.
How do you draw a tree step by step?
Start with the trunk, then the crown, the bark lines, the apples and the grass. Color the crown green and the trunk brown last.
If your crown came out lumpy, that's fine. Your tree has its own shape. More easy drawings for kids are on the home page.