Martin Luther King Jr. Day falls on Monday, January 18, 2027, according to the U.S. Office of Personnel Management. The day is also called MLK Day, the King Holiday and the King Day of Service. This page uses symbols of Dr. King’s message, not portraits of him. For the rest of the season, see our winter drawing ideas for kids and the full list of holiday drawings for kids. In February, our Black History Month art projects page continues the theme.
What Are Easy MLK Day Art Activities for Kids?
The easiest MLK Day art activities are drawings of simple symbols: a cloud, a dove, a heart, a tree, joined hands and the child’s own face. Each one starts from a circle, an oval or a few lines. Six of the 11 ideas below link to a full tutorial; the other five have mini steps to read aloud.
The ages are our own suggestion, based on the shapes each drawing uses. Every idea works with paper and crayons alone.
1. Dream Cloud
A dream cloud gives an “I have a dream” wish a place to live, and our cloud tutorial builds it in 4 steps (suggested age: 3 and up).
- Draw a puffy cloud with five round bumps and a long flat bottom.
- Add two oval eyes and a small smile in the middle.
- Draw three teardrop raindrops under the cloud.
- Color the cloud light blue and the drops blue.
For MLK Day, turn the raindrops into dream drops. Your child writes or draws one wish in each drop, such as “friends at recess” or “everyone gets a turn.”
-

Step 1: Draw a puffy cloud with five round bumps over the top and sides and a long flat bottom.
-

Step 2: Add two oval eyes and a small smile in the middle. Fill the eyes black but leave a white shine dot.
-

Step 3: Draw three teardrop raindrops under the cloud. Put the middle drop a little lower than the others.
-

Step 4: Color the cloud light blue and the drops blue with a light blue shine mark. Keep the eye dots white.
2. Peace Dove With a Leafy Branch
A white dove carrying a branch gives kids a calm picture for a day about peace, and the dove tutorial splits it into 6 steps (suggested age: 5 and up).
- Draw a wide oval body tipped up a little, with a round head on its upper right.
- Add a big wing on the back with four round feathers.
- Draw a fan tail behind the body with four round feathers and three lines.
- Give the head a pointed beak and a black eye, leaving a tiny white shine dot.
- Lay a thin peace branch across the tip of the beak, with three leaves on it.
- Color the wing light gray, the beak orange, the stick brown and the leaves green.
Leave the body white so the dove stands out on blue or yellow paper. Older kids write “peace” along the stick.
-

Step 1: Draw a wide oval body, tilted up a little, and a round head on its upper right end.
-
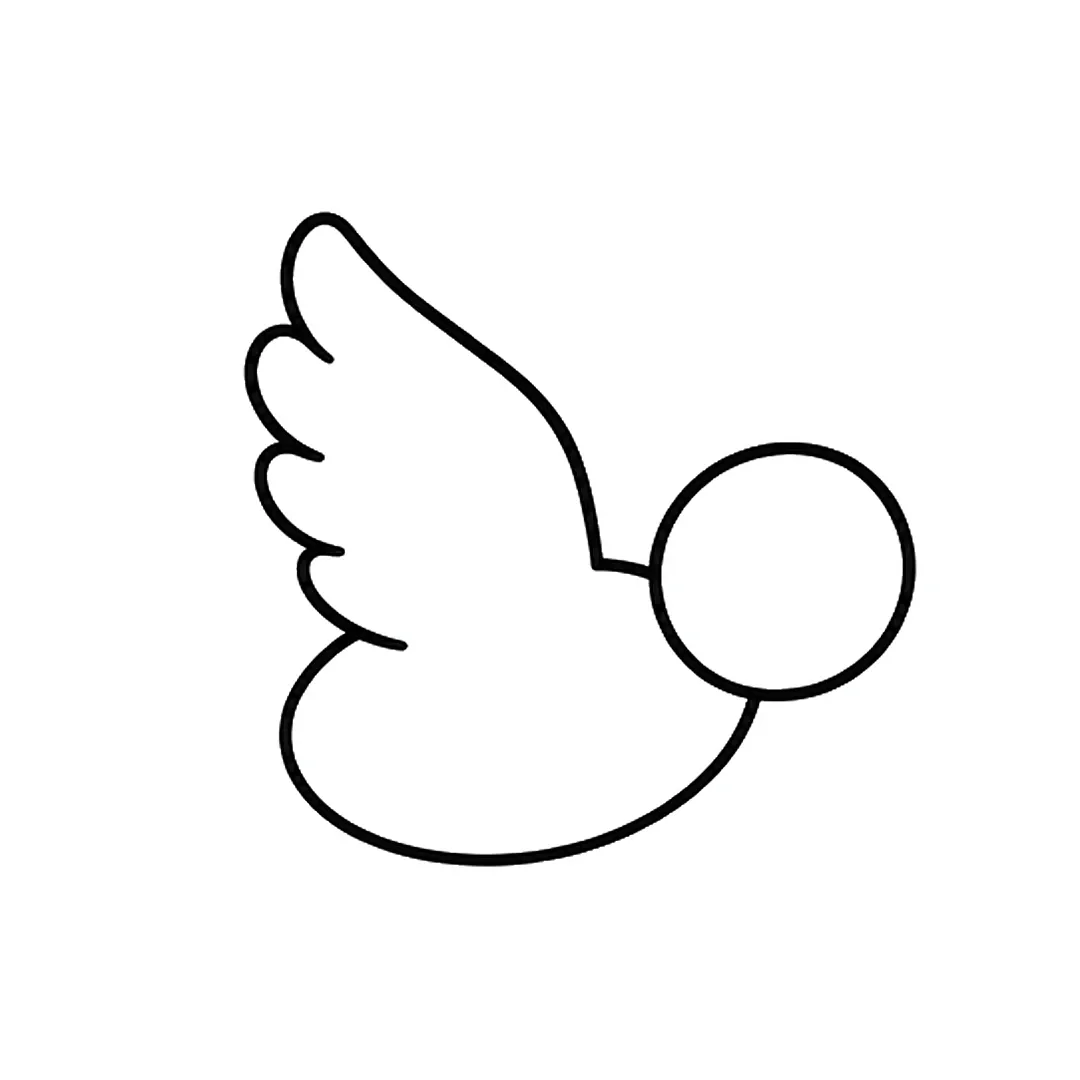
Step 2: Add a big wing on the back with four round feathers on its left. Erase the body line inside it.
-
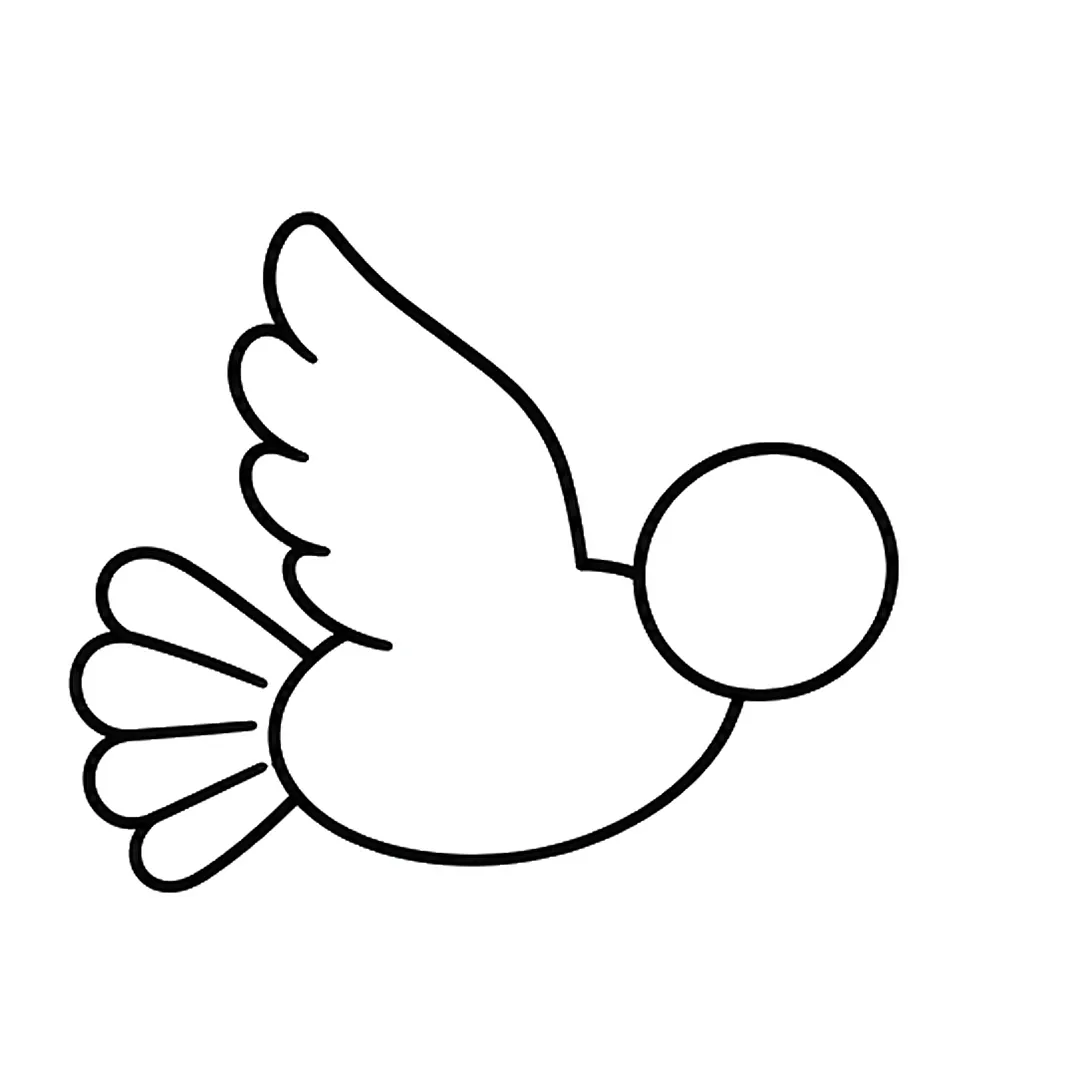
Step 3: Draw a fan tail behind the left end of the body with four round feathers and three lines.
-
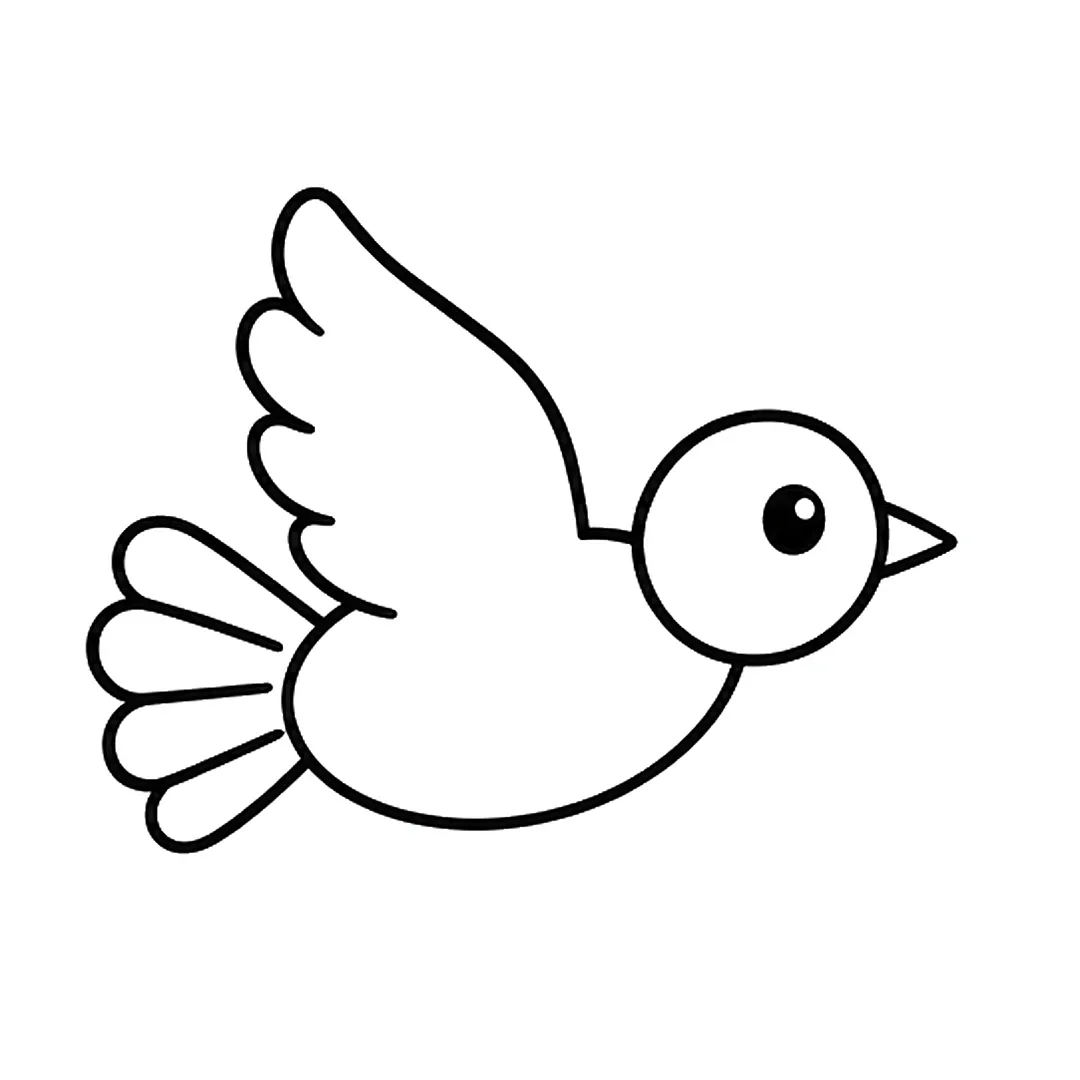
Step 4: Add a black eye with a white shine dot and a small pointed beak on the right side of the head.
-
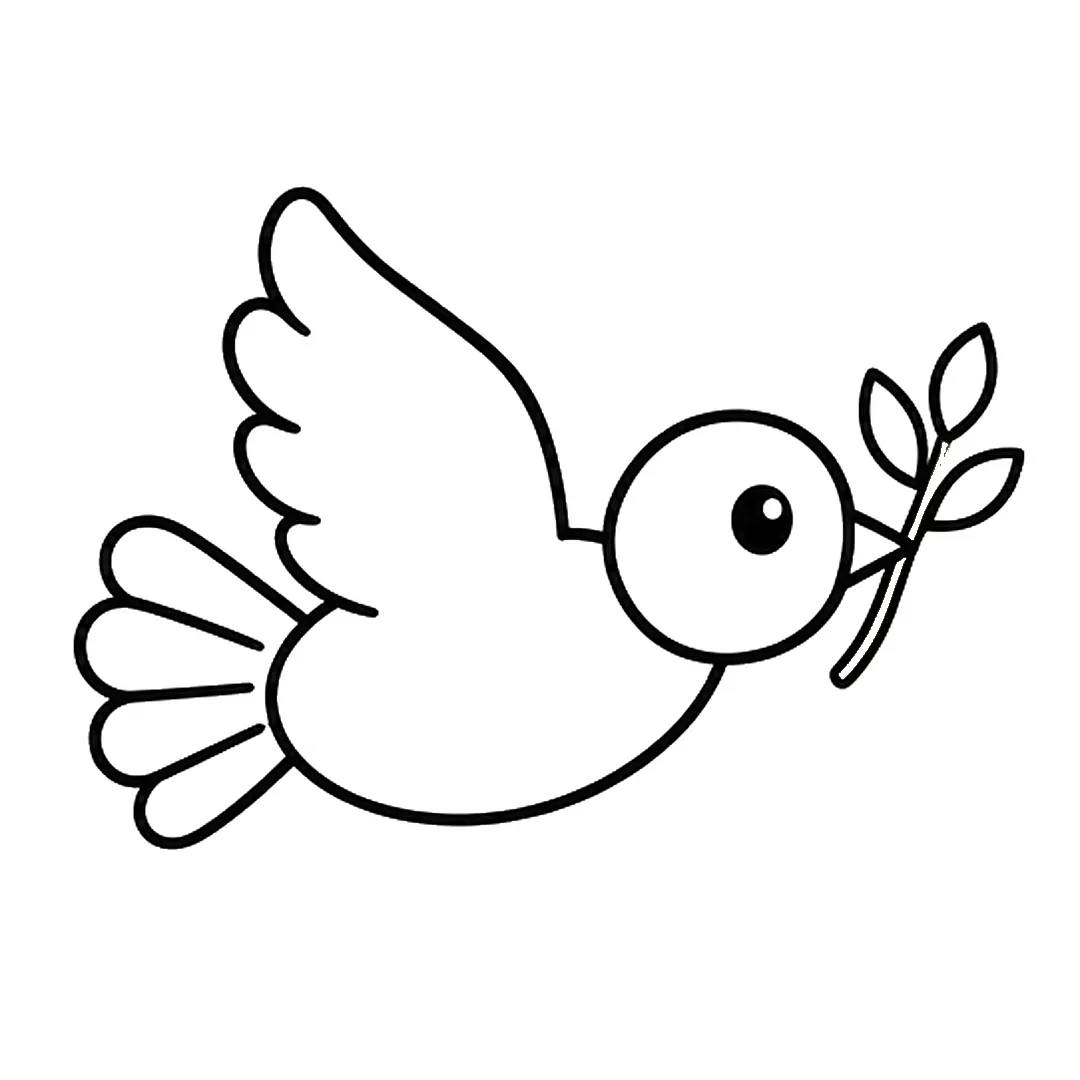
Step 5: Draw a thin stick across the beak tip with three leaves. Erase the beak tip inside the stick.
-
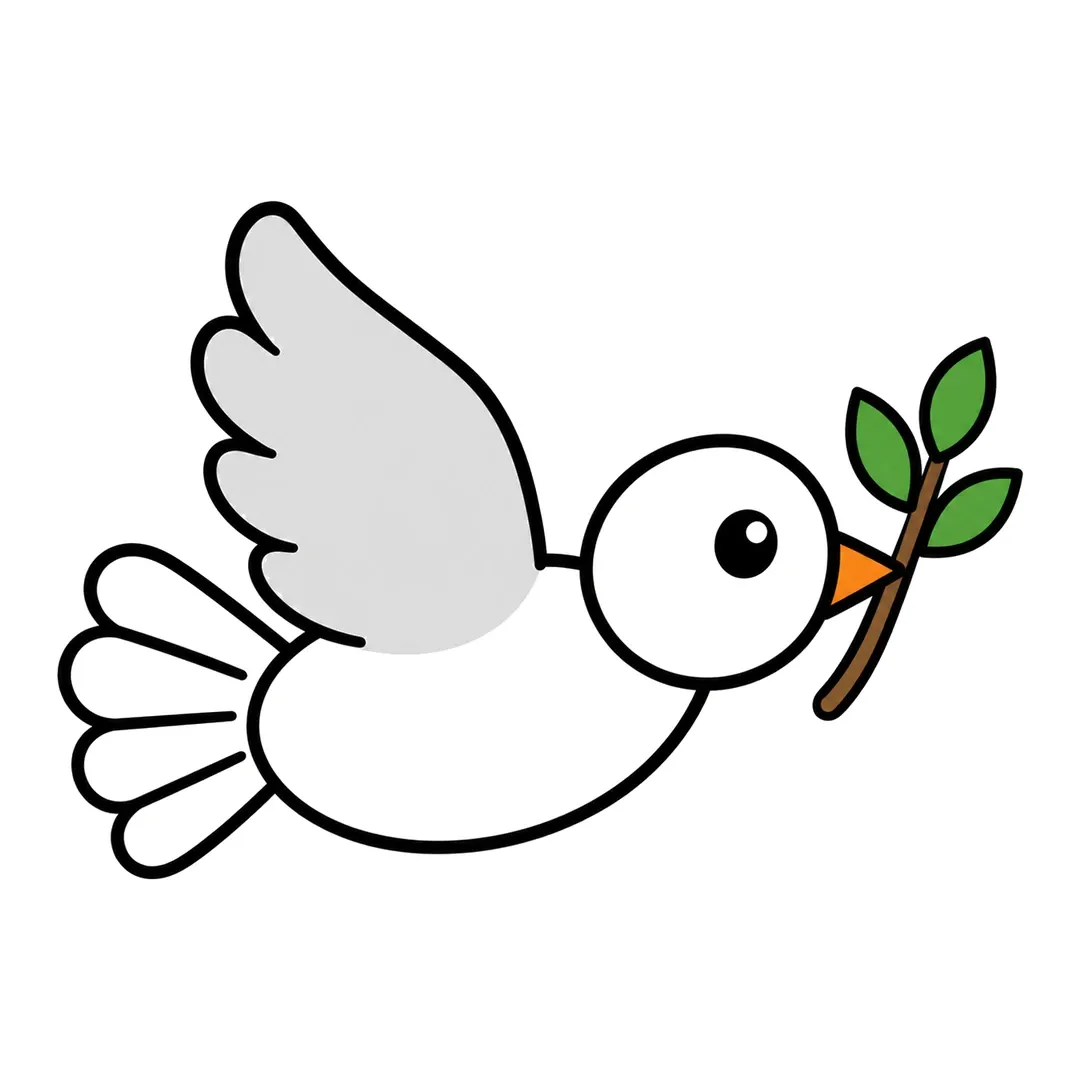
Step 6: Color the wing light gray, beak orange, stick brown, leaves green. Keep head, body and tail white.
3. Joined Hands in Many Skin Tones
Joined hands show Dr. King’s hope that children of every race would one day hold hands in friendship (suggested age: 4 and up).
- Trace your child’s hand twice, side by side, with the thumbs touching.
- Trace a friend’s or family member’s hand overlapping the edge.
- Color each hand a different skin-tone crayon.
- Draw a big heart around all the hands.
A skin-tone crayon set helps here, or your child can mix brown, peach and tan to match real skin.
4. Heart of Kindness
A heart is two curves meeting at a point, and the space inside holds a list of kind acts (suggested age: 3 and up).
- Draw two bumps at the top and bring both sides down to a point.
- Draw a smaller heart inside the first one.
- Write or draw one kind act in the space between, such as sharing crayons.
- Color the outer ring red and the inner heart pink.
Three-year-olds can fill the heart with dots of color while you write the kind act for them.
5. “My Dream” Self-Portrait
A self-portrait puts the child in the picture as the person with the dream, instead of copying a famous face (suggested age: 4 and up).
- Draw a circle for your head near the bottom of the page.
- Add eyes, a smile, hair and shoulders.
- Draw a big thought bubble above your head with three small circles rising up to it.
- Draw your dream for the world inside the bubble.
6. Dream Tree
A dream tree grows a wish on every branch, and the tree tutorial gives the trunk and crown in 6 steps (suggested age: 5 and up).
- Draw a tall trunk that splits into two short branches, with a wavy ground line.
- Add a big fluffy crown on top.
- Draw four curved bark lines and an oval knot hole.
- Add four round apples in the crown, each with a stem and a leaf.
- Draw spiky grass on both sides of the trunk.
- Color the crown and grass green, the trunk brown and the apples red.
For MLK Day, call the apples “dream fruit” and write one hope inside each one.
-
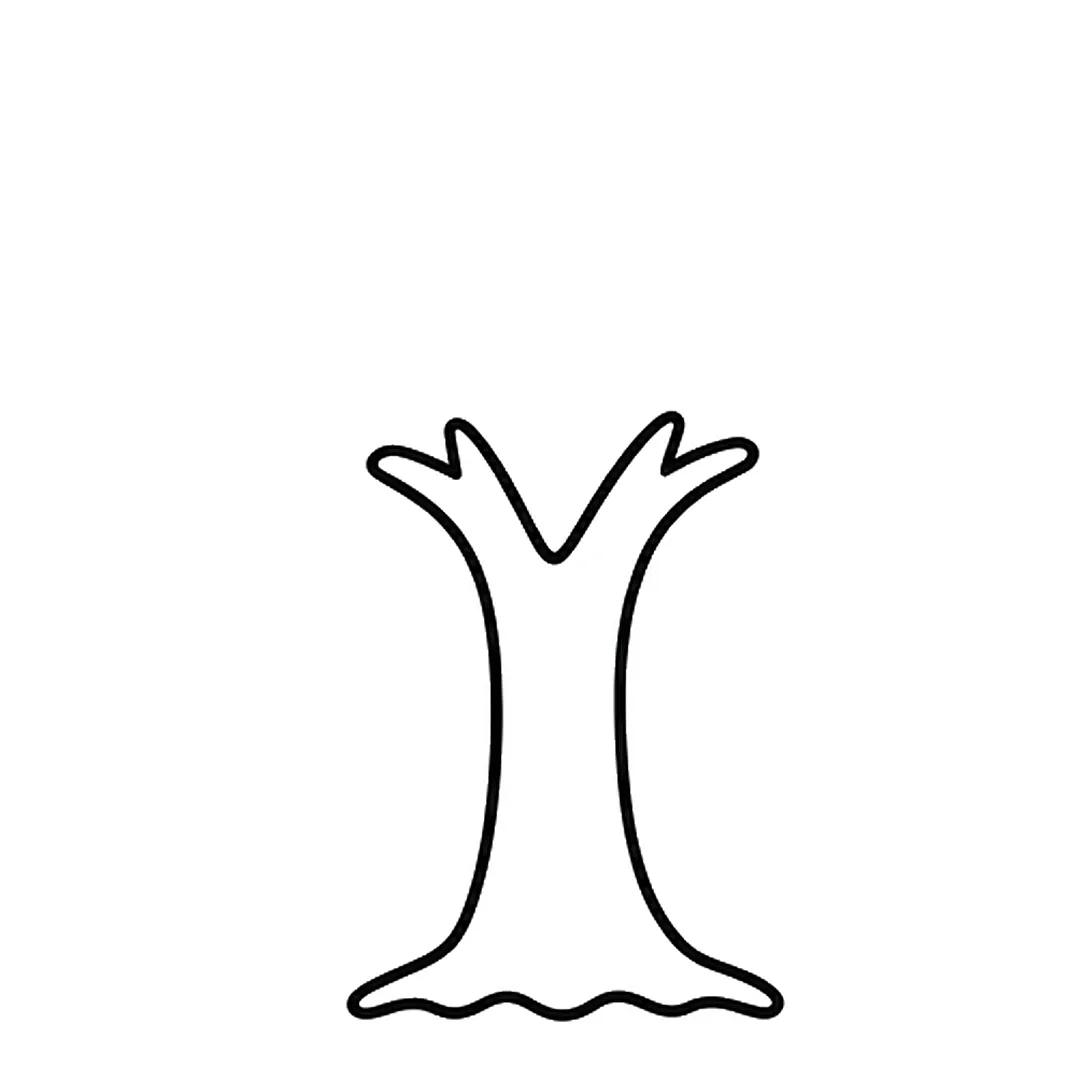
Step 1: Draw a tall trunk that splits into two short branches, with a wavy line at the bottom.
-

Step 2: Add a big fluffy crown on top, like a bumpy cloud.
-
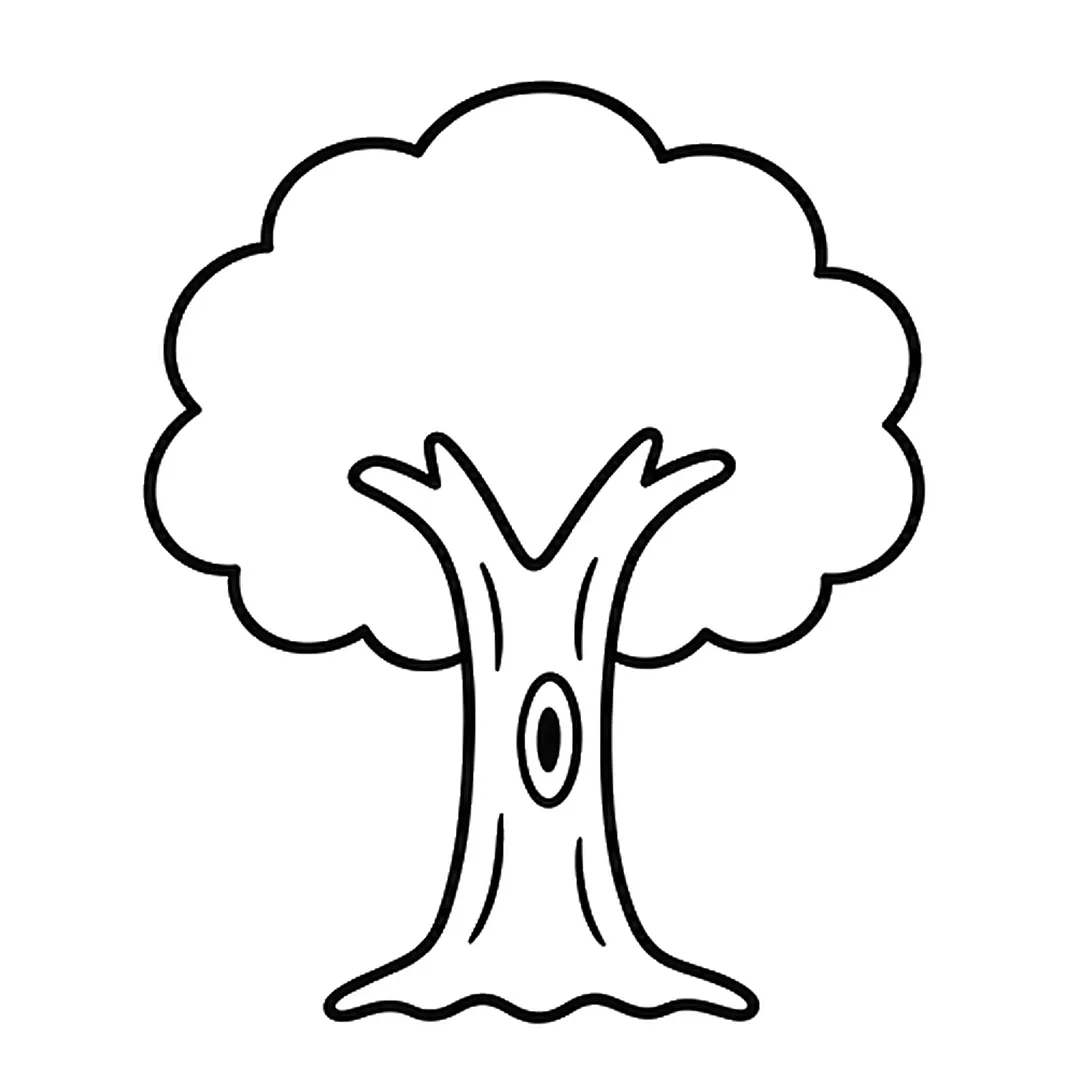
Step 3: Draw four curved bark lines and an oval knot hole on the trunk.
-
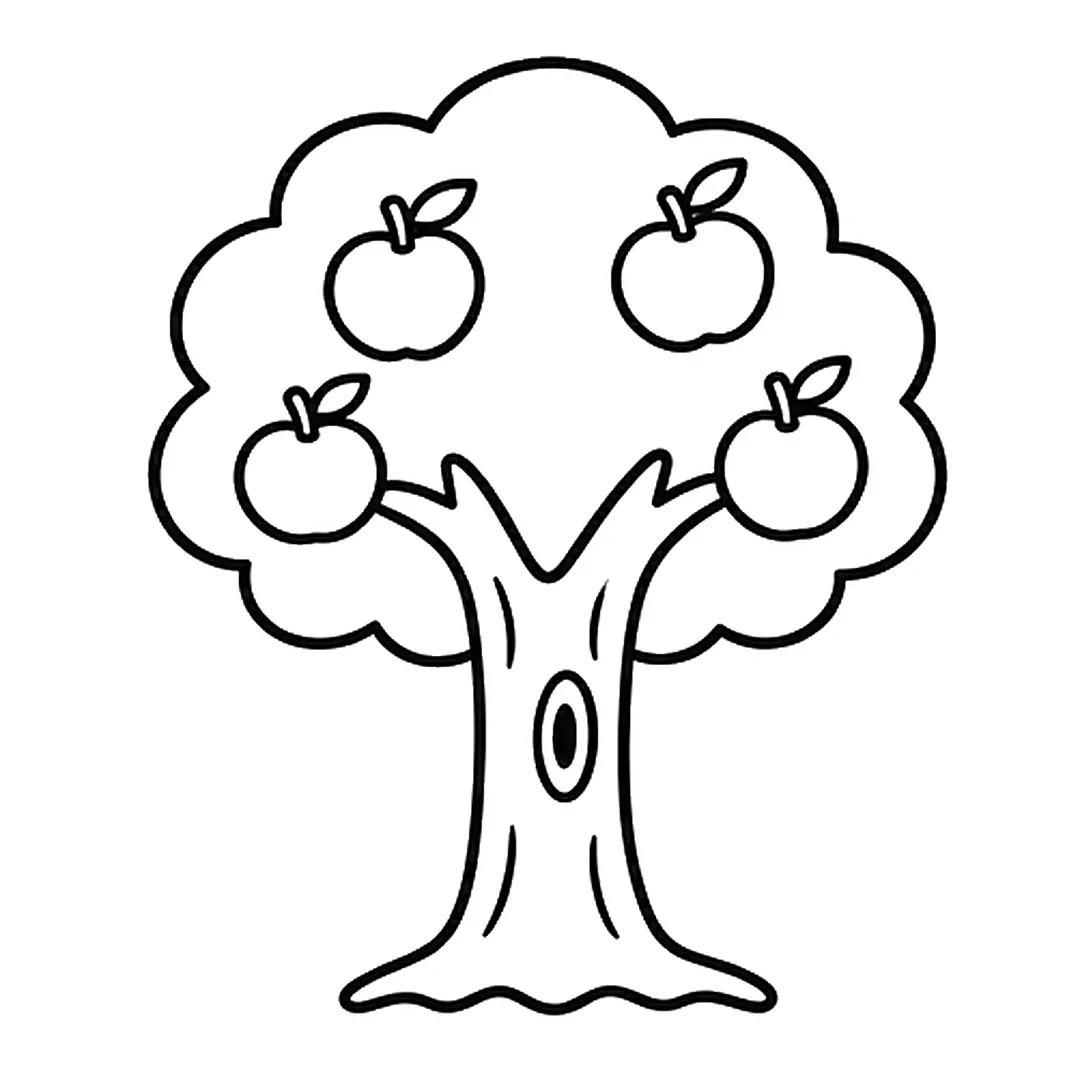
Step 4: Add four round apples in the crown, each with a stem and a small leaf.
-
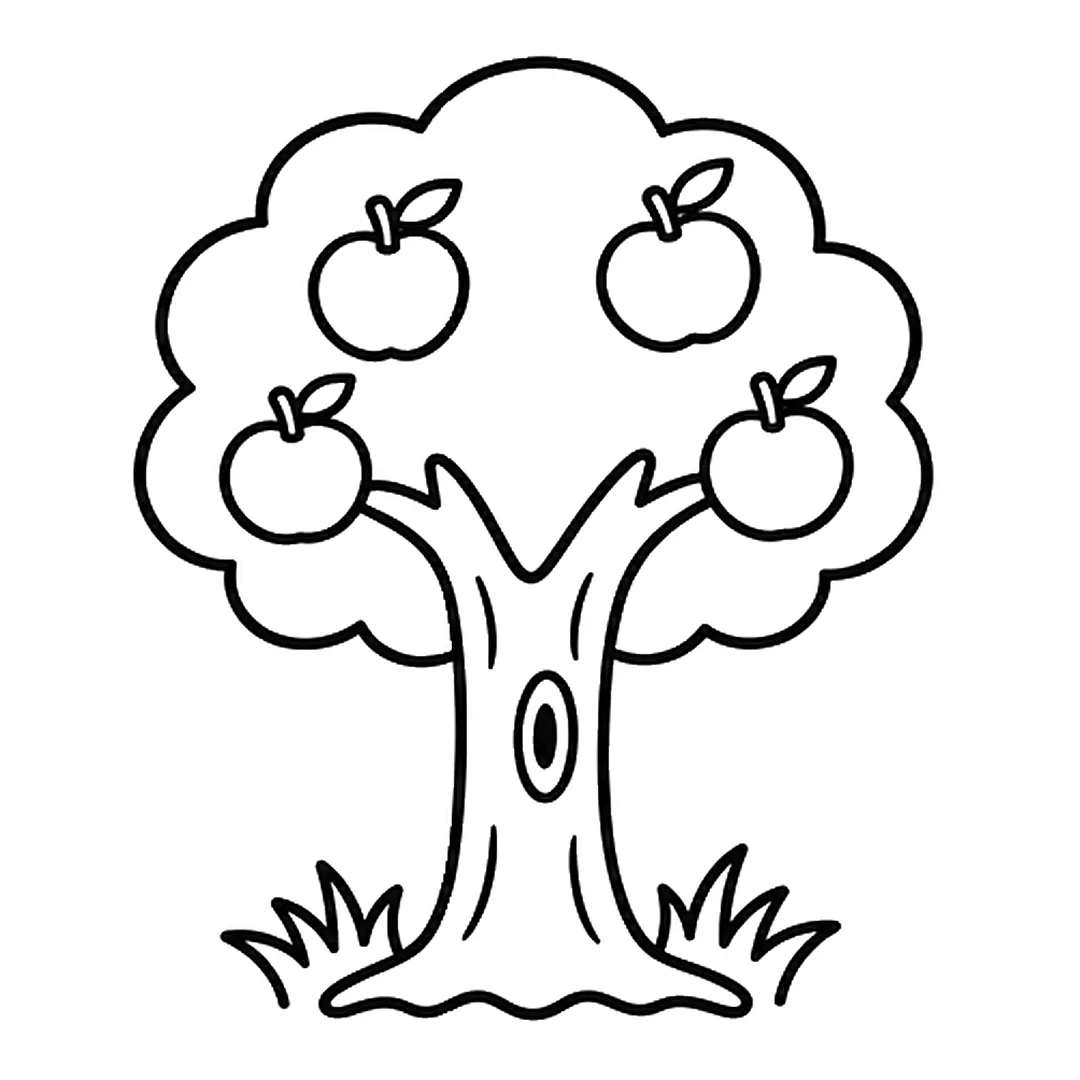
Step 5: Draw a tuft of spiky grass on each side of the trunk.
-
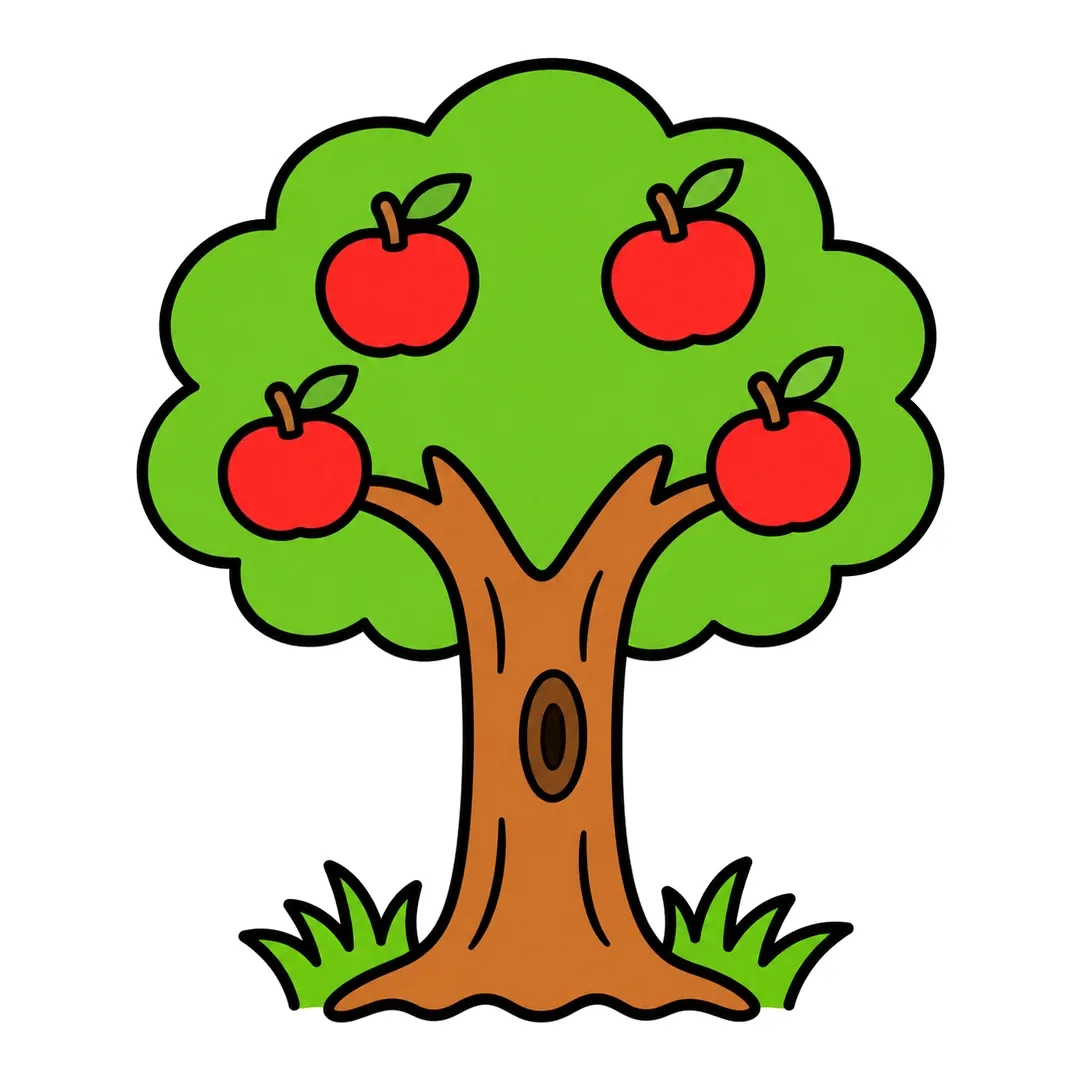
Step 6: Color the crown and grass green, the trunk brown and the apples red.
7. Earth as One Big Family
A smiling Earth carries the idea that people everywhere belong to one human family, and the Earth tutorial has 6 steps (suggested age: 4 and up).
- Draw a big circle for Earth.
- Inside the circle, draw a wavy patch of land on each side.
- Let two fluffy clouds overlap the edges of Earth, and erase the circle line behind each cloud.
- Add two round eyes and a small smile in the middle.
- Draw two small hearts at the top and three small stars around Earth.
- Color the oceans blue, the land green, the hearts red and the stars yellow, with pink cheeks.
Once Earth is colored, kids add a ring of small stick-figure friends holding hands around the circle.
-

Step 1: Draw a big circle for Earth.
-

Step 2: Add wavy land shapes inside the circle, on the left and on the right.
-

Step 3: Draw two fluffy clouds over the sides of the circle, then erase the lines behind them.
-

Step 4: Add two round eyes and a small smile in the middle.
-

Step 5: Draw two small hearts at the top and three small stars around Earth.
-
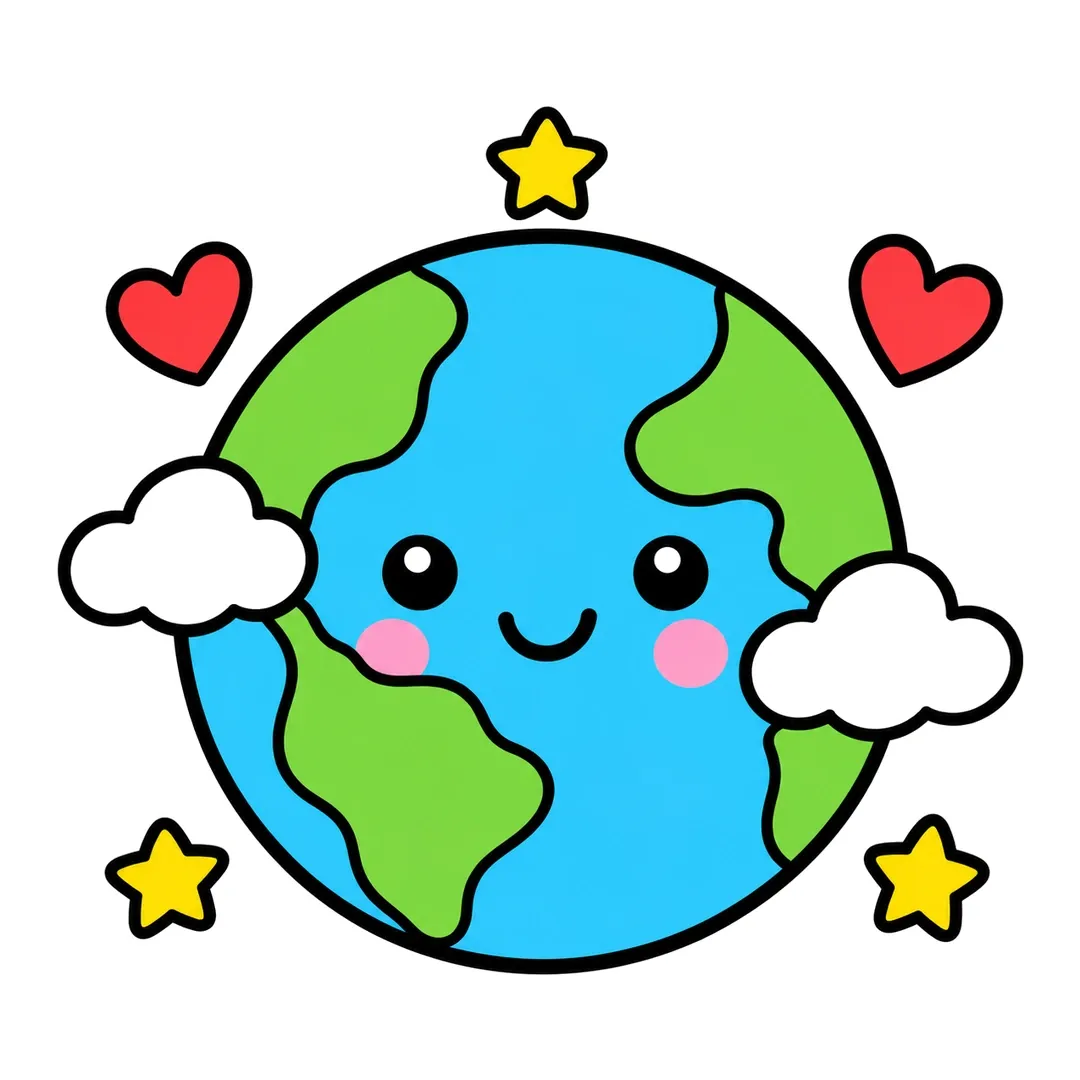
Step 6: Color the oceans blue, the land green, the hearts red, the stars yellow and add pink cheeks.
8. Dream Door House
A house with an open door invites kids to draw the kinder world they would like to walk into, and the house tutorial breaks it into 6 steps (suggested age: 5 and up).
- Draw a big square for the walls.
- Add a triangle roof that sticks out a little on both sides.
- Draw a tall door in the bottom middle with a small round knob.
- Add two square windows, each with a cross.
- Draw a chimney with three puffs of smoke and a round window in the roof.
- Color the walls yellow, the roof red, the door brown, the windows light blue and the chimney gray.
Write “DREAM” on a doormat under the door. Inside each window, your child draws one thing that makes a neighborhood fair and friendly.
-

Step 1: Draw a big square for the walls.
-
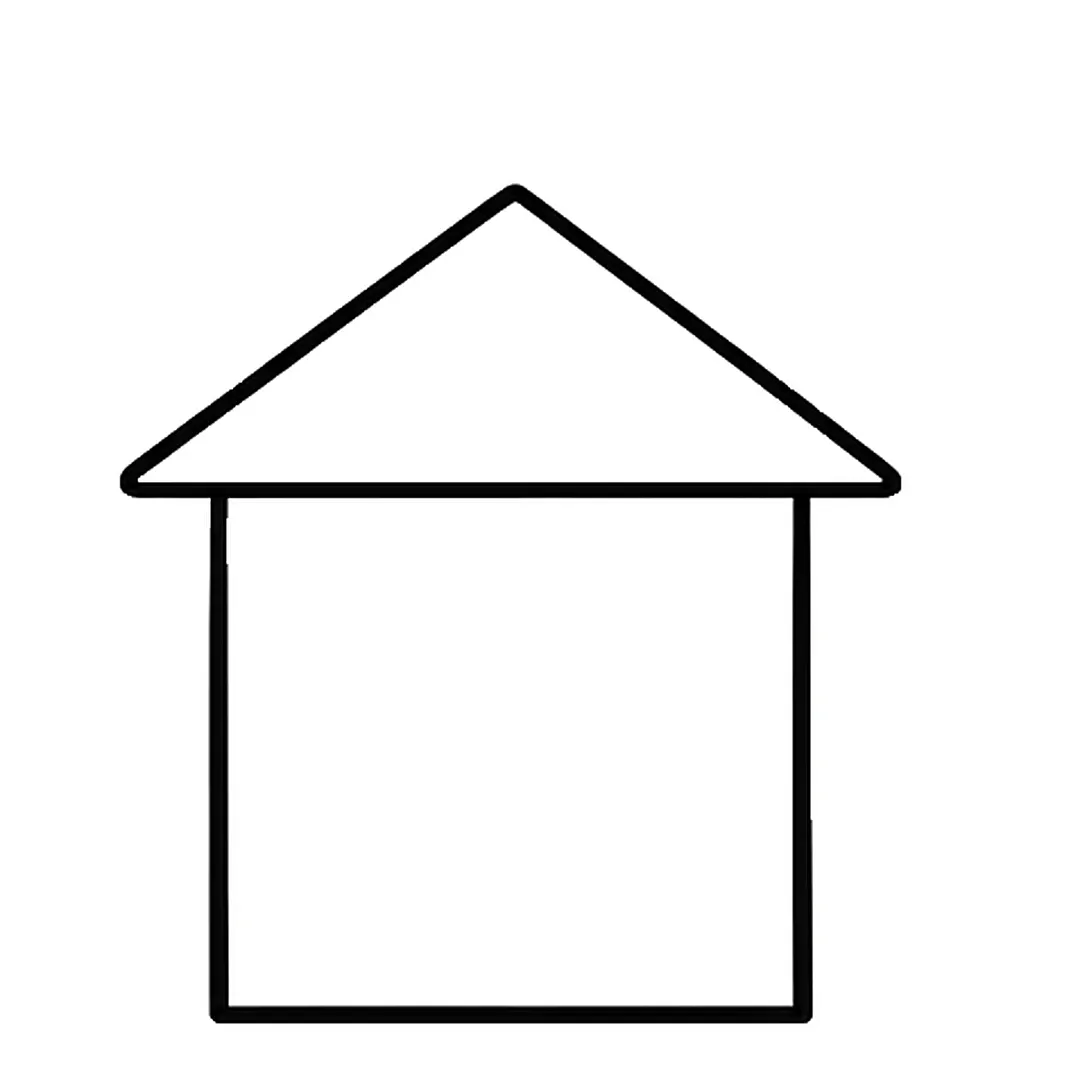
Step 2: Add a triangle roof on top that sticks out a little on both sides.
-
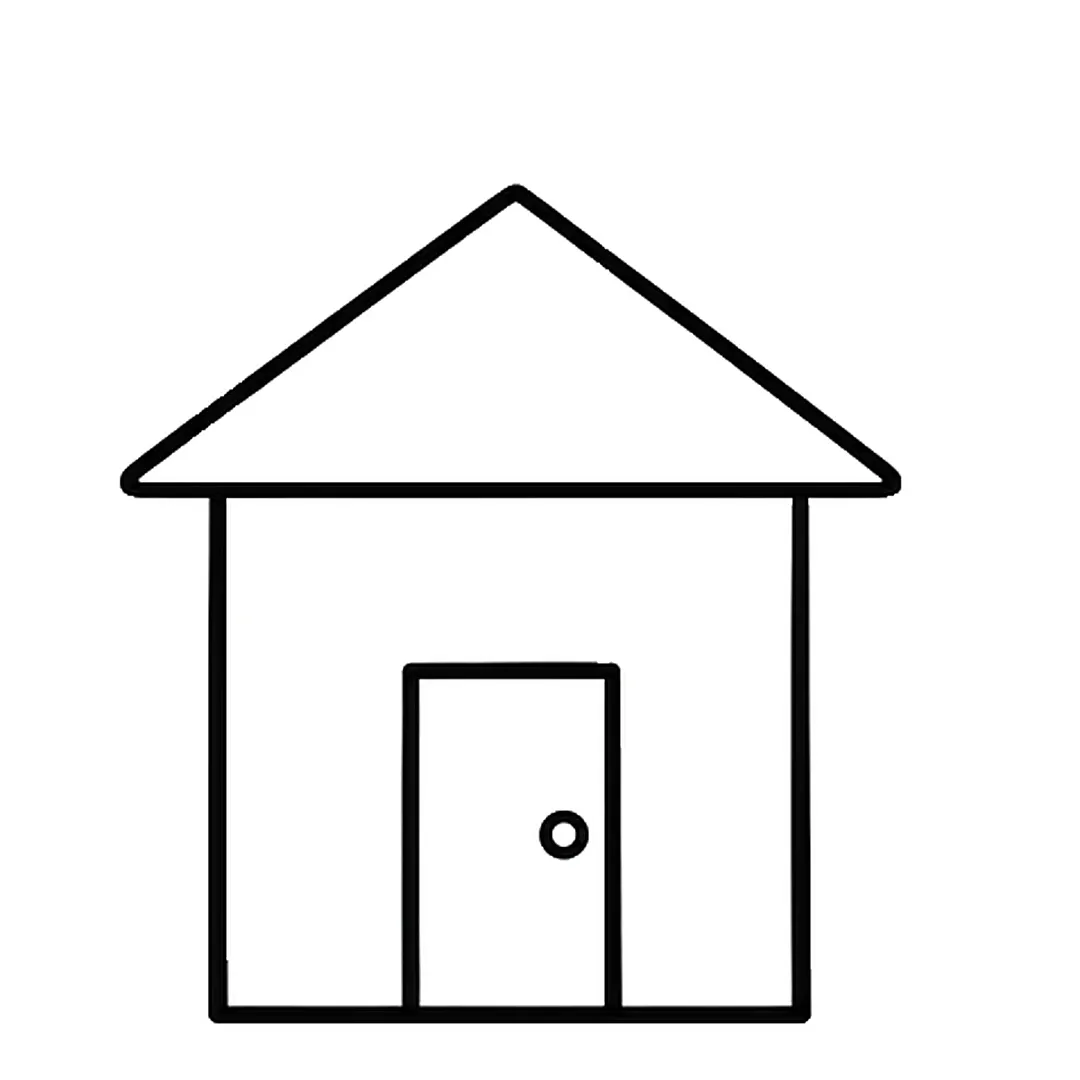
Step 3: Draw a tall door in the bottom middle with a small round knob.
-

Step 4: Add two square windows, one on each side of the door, each with a cross.
-

Step 5: Draw a chimney with three puffs of smoke and a round window in the roof.
-

Step 6: Color the walls yellow, the roof red, the door brown, the windows light blue and the chimney gray.
9. Friendship Birds on One Branch
Birds of different colors sitting side by side show friends who look different getting along, and the bird tutorial has 6 steps (suggested age: 5 and up).
- Draw a bigger oval body and set a round head on top of it.
- Give it a small pointy beak and a round eye with a shine dot.
- Draw a wing with three bumps, then erase the line between head and body.
- Add a tail of three rounded feathers.
- Draw two thin legs with three thin toes each.
- Color the body blue, the belly light blue, the wing and tail dark blue, and the beak and legs orange.
Repeat the bird three times along one long branch, each one in a new color.
-
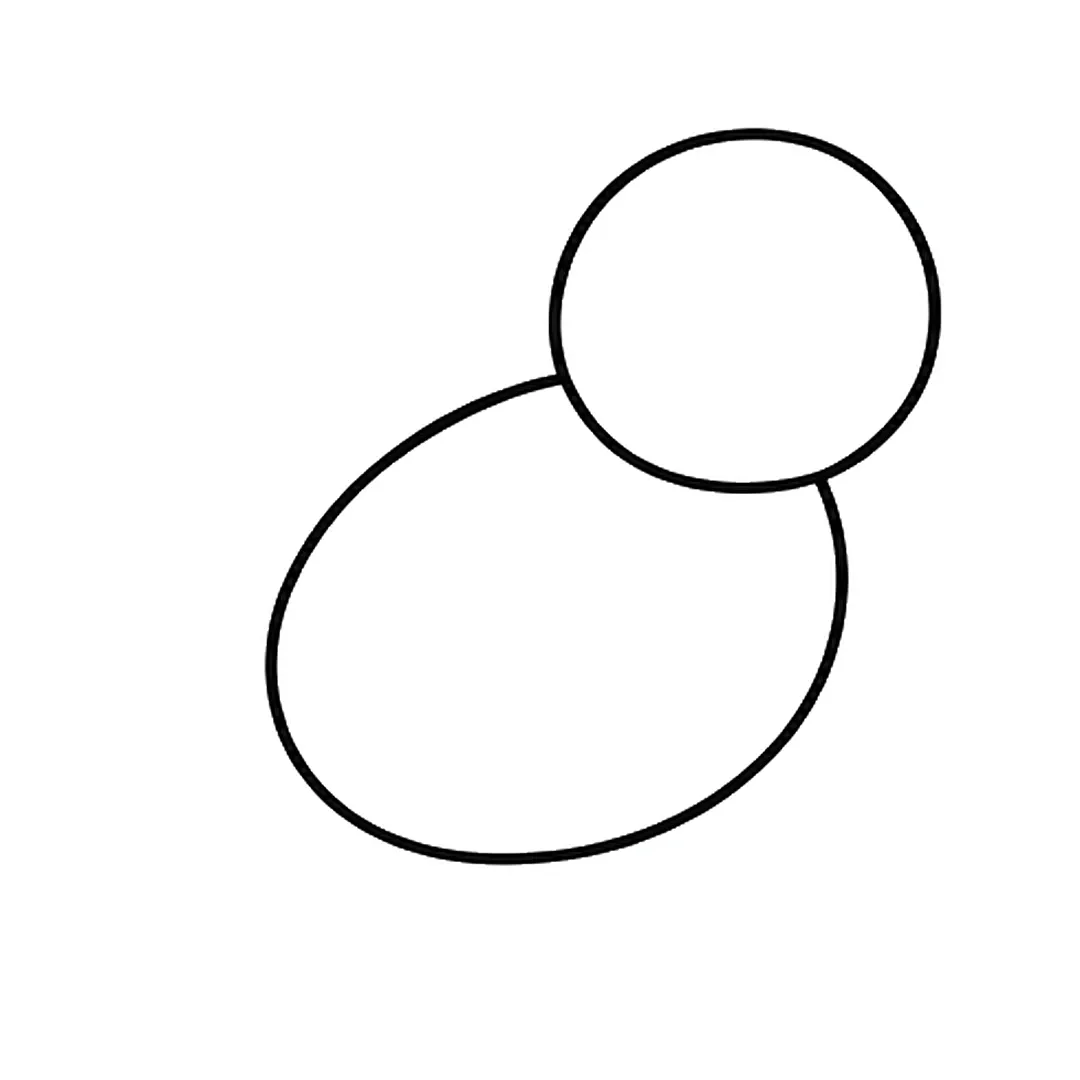
Step 1: Draw a round head on top of a bigger oval body.
-
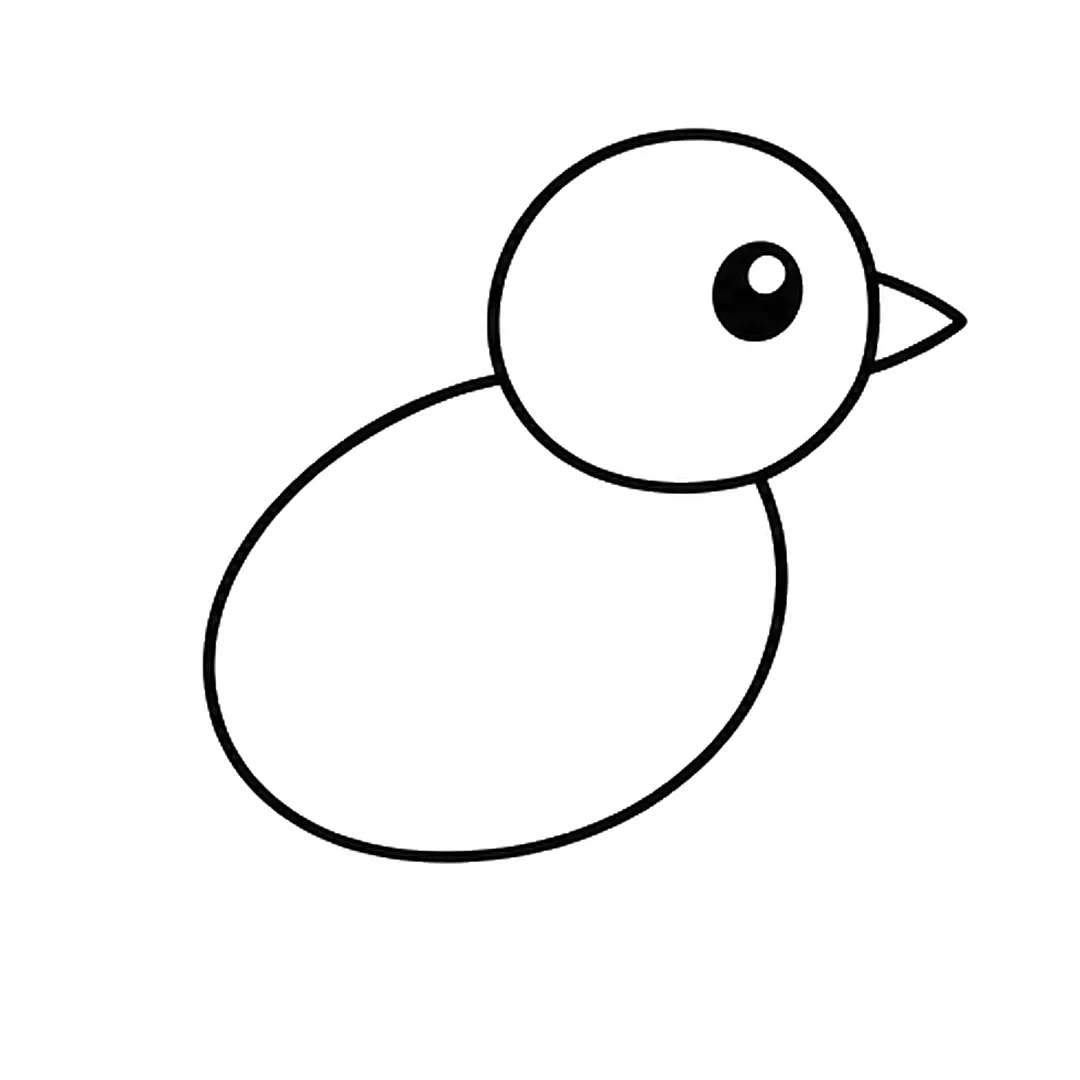
Step 2: Add a round eye with a shine dot and a small pointy beak.
-
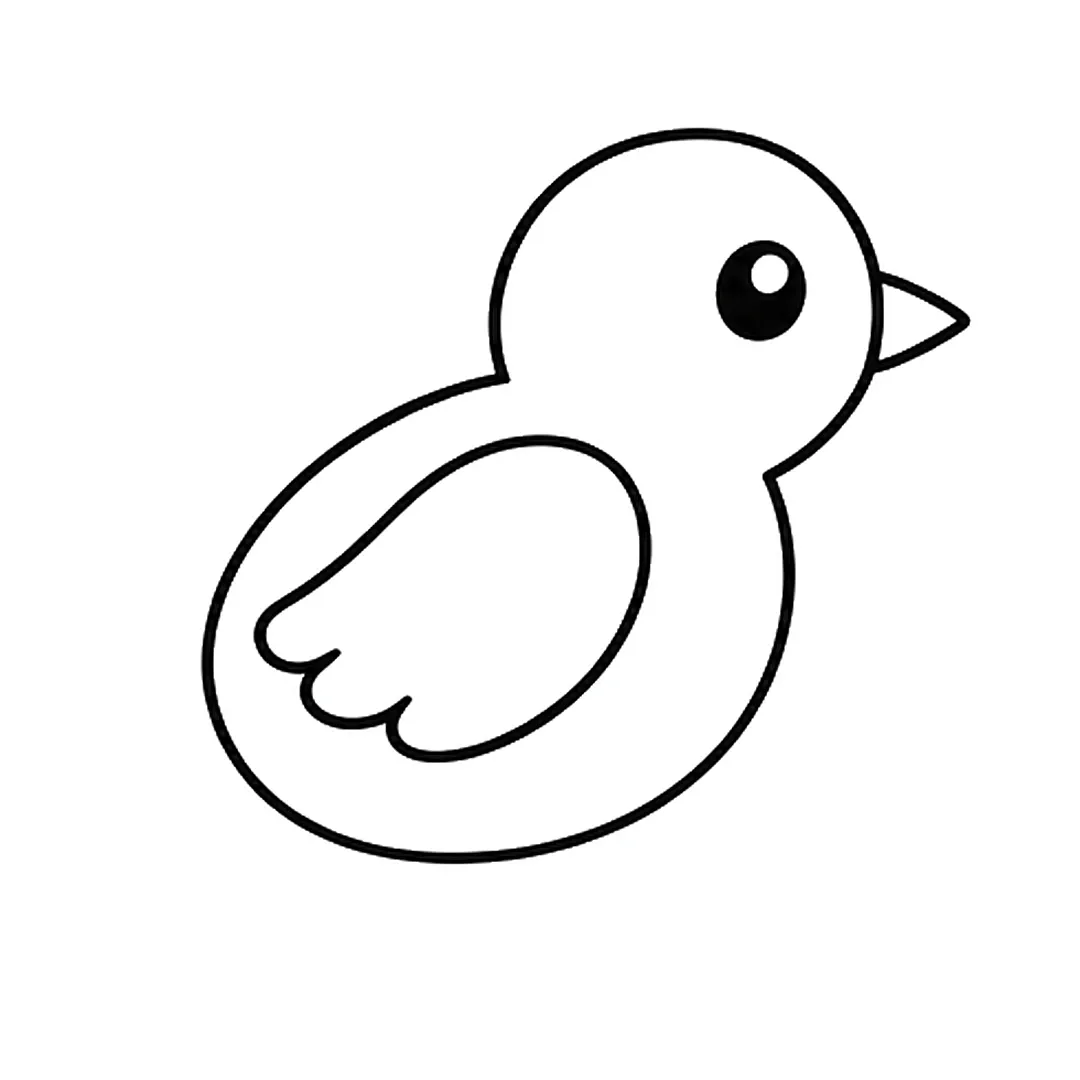
Step 3: Draw a wing with three bumps along the bottom, then erase the line where the head meets the body.
-
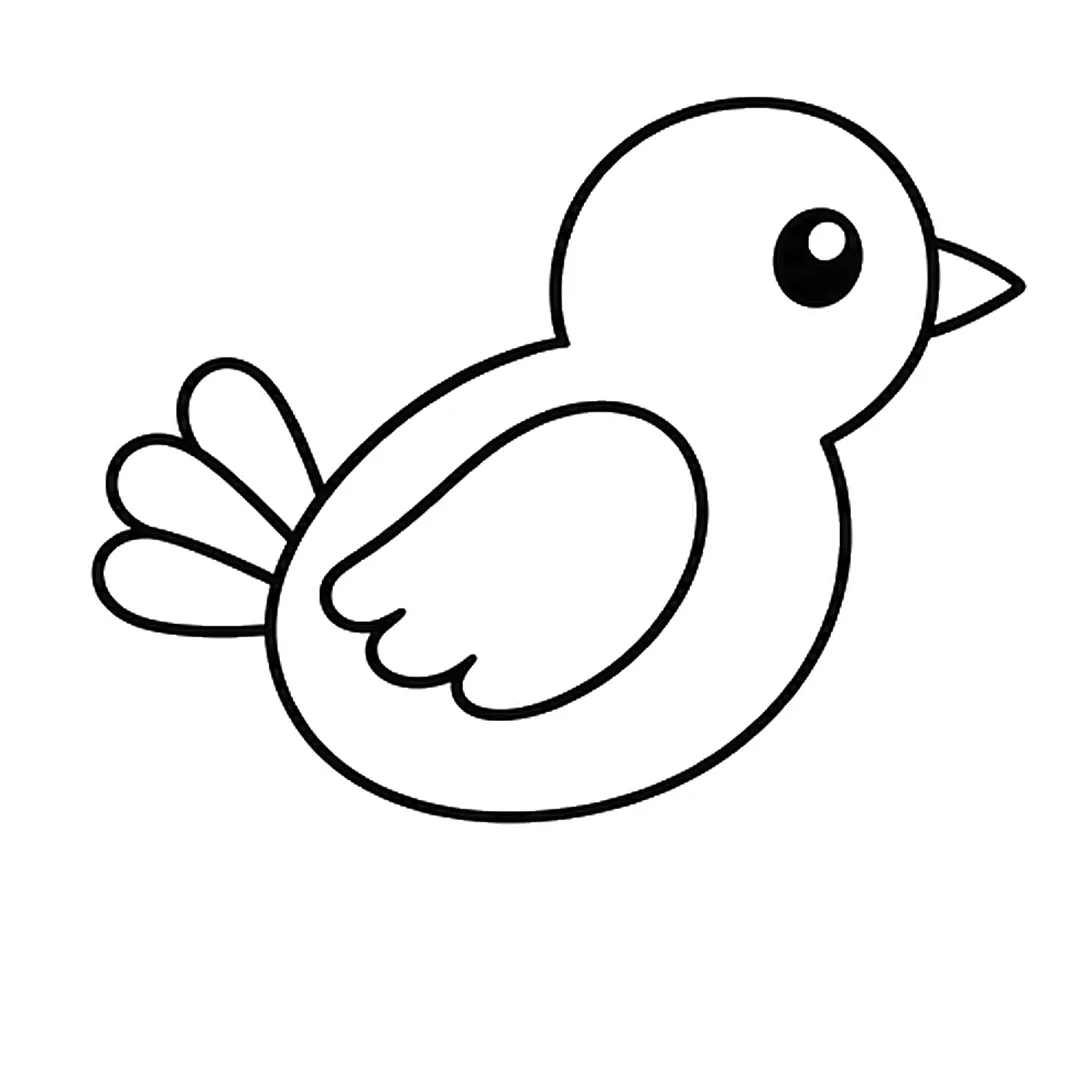
Step 4: Add a tail of three rounded feathers at the back.
-
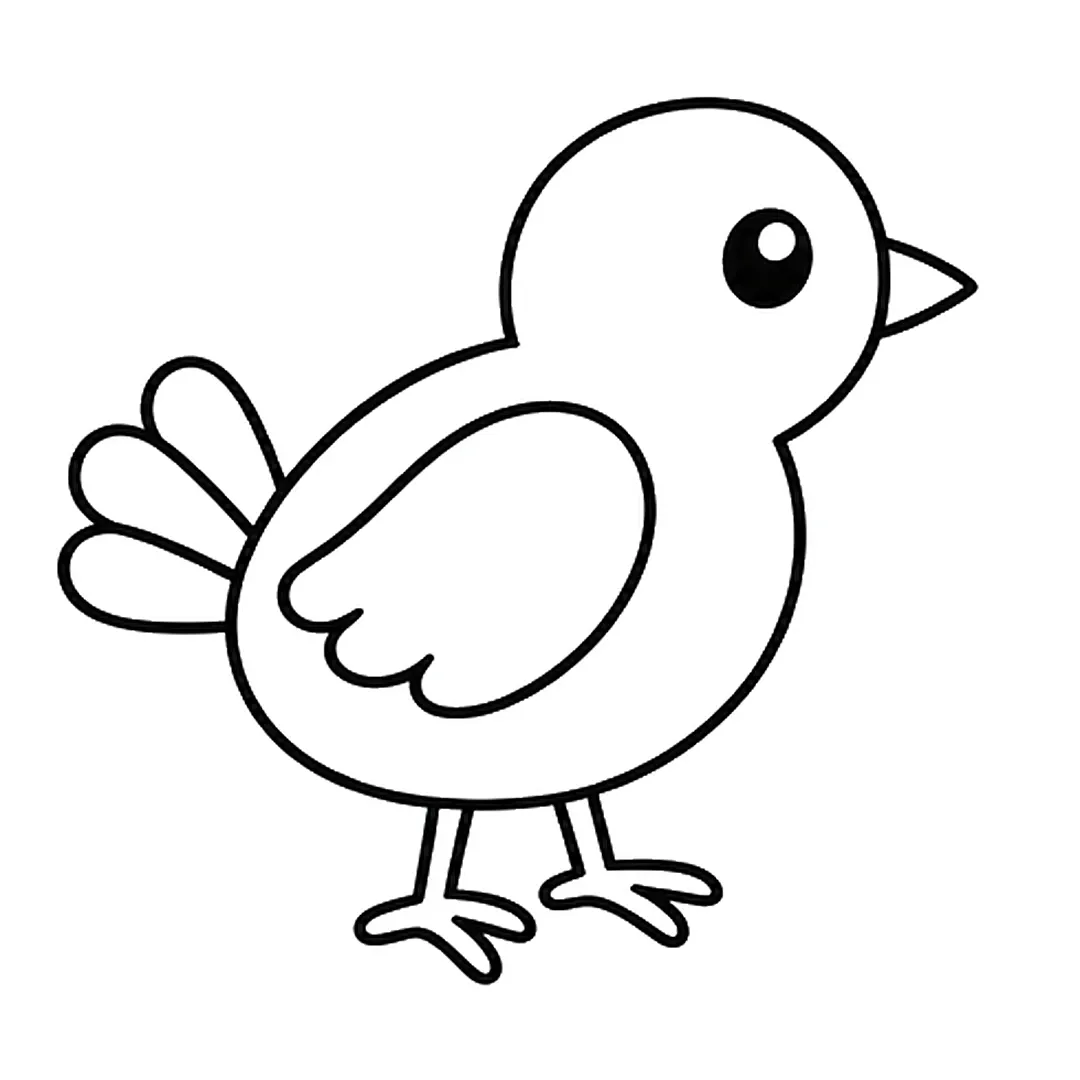
Step 5: Draw two thin legs under the body, each with a foot of three thin toes.
-
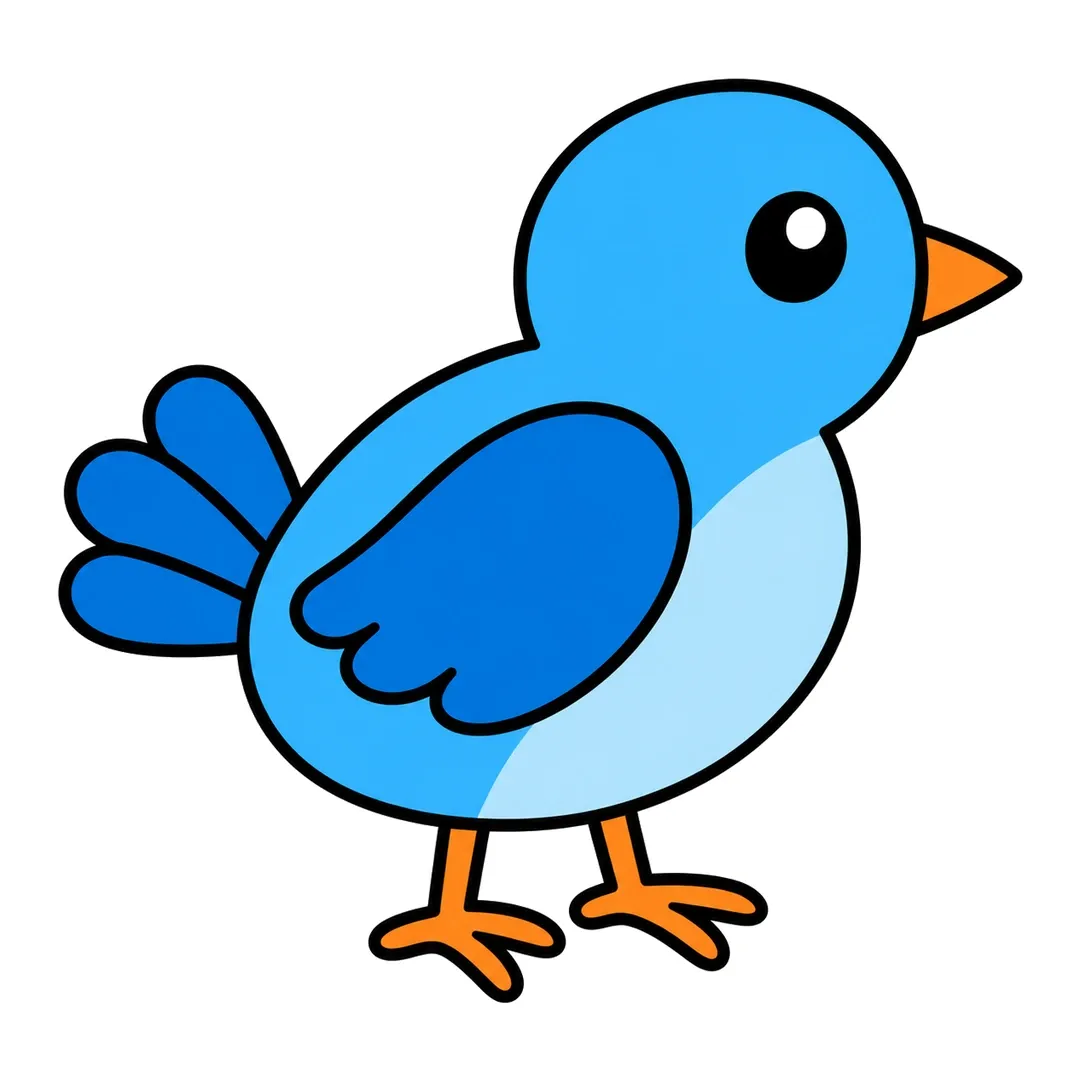
Step 6: Color the bird blue with a light blue belly, the wing and tail dark blue and the beak and legs orange.
10. Helping-Hands Service Card
A card with a hand holding a gift links the drawing to the King Day of Service (suggested age: 4 and up).
- Fold a sheet of paper in half like a greeting card.
- Trace one hand on the front and color it in.
- Draw a heart, an apple or a box resting on the palm.
- Write “Thank you” or “For you” across the top.
11. DREAM Block Letters
Bubble letters turn one word into a poster, and kindergartners can trace the letters you write first (suggested age: 5 and up).
- Write DREAM in big, light pencil letters across the page.
- Draw a rounded outline around each letter.
- Erase the pencil lines inside.
- Fill each letter with a pattern, such as stripes, dots or tiny hearts.
Six- to eight-year-olds can add a second line underneath, such as “I dream of a fair world.”
How Do You Explain Martin Luther King Jr. Day to Kids Through Art?
To explain Martin Luther King Jr. Day through art, give one or two plain sentences about Dr. King, then let the drawing carry the idea. Dr. King worked to make laws fair for Black Americans, and he used words and peaceful actions instead of violence. Kids then draw what a fair, kind world looks like to them.

What to Say to Young Kids
For children aged 3 to 8, try this: “Dr. King believed every person matters the same, whatever their skin color. He used words and peaceful marches to change unfair rules. Today we draw our own dreams for a kinder world.”
Older kids can hear more. Martin Luther King Jr. was born on January 15, 1929, in Atlanta, Georgia. The King Center says he drew on his Christian faith and Mahatma Gandhi’s peaceful teachings to lead a nonviolent movement. He believed people of every color are equal members of one human family.
The “I Have a Dream” Speech
On August 28, 1963, Dr. King gave his “I Have a Dream” speech at the Lincoln Memorial in Washington, D.C. The National Park Service notes that he was one of the organizers of the March on Washington. About 250,000 people came, according to the National Archives, and the march stayed calm and peaceful.
In the speech, Dr. King said he dreamed his four children would be judged “by the content of their character,” not by the color of their skin. He also spoke of Black and white children joining hands. Those two ideas sit behind the dream cloud and the joined-hands drawings.
How the Holiday Began
President Ronald Reagan signed the law creating the holiday (Public Law 98-144) on November 2, 1983. It set the day on the third Monday in January, and the first official holiday was on January 20, 1986. Congress later described the day as a time to reflect on racial equality and nonviolent social change.
How Can Kids Draw an “I Have a Dream” Picture?
Kids draw an “I Have a Dream” picture by finishing the sentence “I have a dream that…” and drawing the answer. A dream cloud, a thought bubble or a dream tree holds the words. Children under 5 draw while an adult writes; 5- and 6-year-olds write a word or two; 7- and 8-year-olds write a full sentence.

Three Dream Prompts
Offer three sizes of dream. Small, wide-open prompts work better than “draw world peace.”
- Me: “I have a dream that I always help a friend who is sad.”
- My school: “I have a dream that nobody plays alone at recess.”
- The world: “I have a dream that every child has food and a safe home.”
Dream Words for the Board
The CDC lists writing some letters of their own name among the 5-year milestones, so most kindergartners copy words rather than spell them. Post a short word bank: peace, kind, fair, friends, share, help, love, together, dream, hope. Preschoolers tell you their dream, and you write it under the picture as they watch.
What Can Kids Draw Instead of a Portrait of Dr. King?
Instead of a portrait, kids draw symbols that carry Dr. King’s message: a dove for peace, joined hands for friendship, a dream cloud for hope, a heart for kindness and a helping hand for service. Each symbol fits a simple shape a young child can manage, and it leaves room for the child’s own ideas.
Ask your child what each symbol means to them, and write their words on the back of the drawing.
What MLK Art Activities Work for Preschoolers?
The MLK art activities that work best for preschoolers are the dream cloud, the heart of kindness, the joined-hands tracing and the smiling Earth. Each starts with one round shape or a traced hand. The CDC lists drawing a circle, after an adult shows how, among the milestones most children reach by 3 years.
A CDC milestone is something 75% or more of children do by that age, so the ages below are typical ranges, not deadlines. If you have questions about your child’s development, talk with your child’s doctor.
| Age | Easiest ideas (our suggestion) | What helps |
|---|---|---|
| 3 years | Dream cloud, heart of kindness | You draw the shape first; they color and add dots |
| 4 years | Joined hands, Earth, “My Dream” self-portrait | They trace hands and draw a simple person |
| 5 to 6 years | Peace dove, dream tree, DREAM letters, house | Follow 6 steps with a pause after each |
| 7 to 8 years | Any idea plus a written sentence | Add details, patterns and full dream sentences |
For 3-year-olds, the CDC suggests instructions with 2 or 3 steps and an activity box with paper and crayons, so draw the cloud together and let them fill it with color. By 4 years, the CDC lists drawing a person with three or more body parts and holding a crayon between fingers and thumb. That fits the self-portrait: keep the face simple and let the dream bubble carry the idea.
How Can Teachers Run an MLK Directed Drawing in Kindergarten?
Teachers run an MLK directed drawing in kindergarten by telling a short story about Dr. King, then drawing the peace dove together one step at a time. Our suggested plan fits in 30 minutes. Kids spend about 12 minutes on the guided dove and the rest on talk, color and sharing.
The CDC lists paying attention for 5 to 10 minutes during activities such as arts and crafts among the 5-year milestones. So the plan switches tasks often and puts a short stretch in the middle of the dove. For general tips on the method, see our guide to directed drawing for kids.
- Talk (5 minutes): Share the three-sentence explanation above. Ask, “What is one unfair thing you have seen at school?”
- Warm up (3 minutes): Draw ovals and circles in the air, then on scrap paper.
- Draw the dove (12 minutes): Open the dove tutorial and click “Show steps on the board.” Draw each of the 6 steps on chart paper while kids copy, with a stretch after step 3.
- Add a dream (5 minutes): Kids write “peace” or one word from the word bank along the branch.
- Share (5 minutes): Each child holds up the dove and says one peaceful choice they can make.
For grades 1 and 2, add a second task: draw the dove flying over the Earth, then write one full “I have a dream that…” sentence on the page.
What Collaborative MLK Art Projects Can a Class Make Together?
Collaborative MLK art projects let every child add one piece to a single display, such as a dream tree, a hands-around-the-Earth circle or a dream quilt. Each child draws a small part, and the class puts the parts together on a wall or bulletin board. These four work for preschool to grade 2.
- Class dream tree: Draw one big trunk on brown paper. Each child cuts out a leaf or apple with a dream inside and glues it to a branch.
- Hands around the Earth: Draw a large Earth on the board. Kids trace and color their hands and write one way to help, and the hands form a ring around the planet.
- Dream quilt: Each child draws one idea from the list on a paper square. Tape the squares into a grid and draw marker “stitches” around the edges.
- Peace path: Kids trace one shoe and draw a kind act inside it. Tape the shoes along a hallway so visitors walk the path.
How Does MLK Day Art Connect to the Day of Service?
MLK Day art connects to the day of service when kids draw cards, posters or placemats for people in their community. The King Holiday and Service Act, signed on August 23, 1994, charged a federal commission with encouraging Americans to observe the holiday as a day of community service. Drawings turn that idea into something a child can give.
AmeriCorps, the federal agency for national service, leads MLK Day as the only federal holiday designated as a national day of service. In its MLK Day 2024 recap, AmeriCorps described volunteers sharing fresh food, fixing up local schools and putting together care packages. Kids can tuck a helping-hands card into a care package, draw a heart placemat for a community meal or tape a peace dove sign in a neighbor’s window. At work, adults can add drawings to a shared “dream wall” in the break room.
Which Supplies Suit MLK Day Drawings?
MLK Day drawings need paper, a pencil, an eraser, a black marker and crayons in several skin tones, plus blue, gray, green and red. All six linked tutorials list pencil, eraser, black marker and crayons. Scissors, glue and colored construction paper are optional for the class displays above.
The CDC suggests keeping crayons, paper, paint, child scissors and glue on hand and letting 5-year-olds try different supplies. For crayons, markers and paints, look for the ACMI AP seal. The Art & Creative Materials Institute says to check for the AP seal on products for kids in sixth grade or younger, and never to give that age group a product with the CL seal.
How Do You Print the Dove, Cloud and Dream Tree Steps?
To print the dove, cloud and dream tree steps, request the free step sheet PDF from the form on each tutorial page, and it arrives by email. The Earth, bird and house tutorials work the same way. Print one sheet per child, or find every sheet in our free printable step sheets for a classroom set.
Families who want more pictures for the long weekend can request our free 44-page book, 20 Easy Drawings for Kids, by email. Each drawing in our printable shop packs comes as four pages: steps, tracing, coloring, and draw and write. After January 18, the rest of the year’s themes sit in our drawing ideas for kids.