This page sorts 15 simple drawings by starting shape, beginning with the 4-step ones, and matches each shape to the age when many children copy it. For themes beyond simple ones, browse the full list of drawing ideas for kids.
What Makes a Drawing Simple for a Child?
A drawing is simple for a child when it starts from one basic shape and adds only a few details. On Easy Drawings for Kids, each tutorial breaks a drawing into 4, 6 or 8 numbered steps. The simplest drawings use 4 steps, start from a circle, heart or line, and use one to three crayon colors.
Three things make one drawing simpler than another:
- Starting shape: a circle or a line is easier than a triangle or an almond shape.
- Step count: 4 steps take less time and fewer decisions than 6 or 8.
- Color count: a one-color scarf is quicker to finish than a five-color Earth.
The table below sorts every drawing on this page by its starting shape.
| Starting shape | Drawings on this page | Steps in our tutorial |
|---|---|---|
| Circle | candy, basketball, Earth, spider, snake (round head) | 4 to 6 |
| U-shaped loop | scarf | 4 |
| Straight and slanted lines | diamond | 4 |
| Curved line | feather, lily | 4 to 6 |
| Heart | strawberry, wing | 4 to 6 |
| Oval | pumpkin, dove | 6 |
| Almond | eye | 6 |
| Triangle | mountain | 6 |
Which Simple Drawings Fit Each Age?
Simple drawings fit a child’s age when the starting shape is one the child can already copy. By about age 3, most children draw a circle when an adult shows them how, according to the CDC 3-year milestones. Squares usually follow between 3 and 5, and triangles between 4 and 6. Use each age as a rough guide.
The sources give slightly different ages:
| Shape | Typical age range | Source |
|---|---|---|
| Circle | by about 3 years, when an adult shows how | CDC 3-year milestones |
| Circle and square | 3 to 4 years (“draws circles and squares”) | AAP, HealthyChildren.org |
| Circle on their own | 3 to 4 years | UHB NHS Children’s Community Therapies |
| Cross and square | 4 to 5 years (“copies a cross, square”) | UHB NHS Children’s Community Therapies |
| Triangle | 4 to 5 years (“copies triangle”) | AAP, HealthyChildren.org |
| Triangle | starts to copy at 5 to 6 years | UHB NHS Children’s Community Therapies |
The UHB NHS advice sheet says these milestones are a guide only, and that pre-writing skills depend heavily on experience and opportunities to practise.
Circle Drawings for 3-Year-Olds
Circle drawings suit many 3-year-olds, because a circle is one of the first shapes children copy. For this age, CDC suggests an activity box with paper, crayons and coloring books, and drawing lines and shapes together. A basketball or a candy works well here. More picks for this age will be on the drawing for toddlers page.
Shape-Combo Drawings for 4-Year-Olds
Drawings that join two or three shapes suit many 4-year-olds. Tasmania’s Department for Education, summarizing art researcher Rhoda Kellogg, describes a design stage at around 3 to 4 years. Children then combine two, three or more basic shapes into patterns or into something they know. A spider (two circles plus lines) or a strawberry (a heart plus leaves) fits here. The drawing for preschoolers page will list more picks for this stage.
Triangle and Almond Drawings for 5- and 6-Year-Olds
Drawings that start from a triangle, an almond or a slanted-sided shape suit many 5- and 6-year-olds. A mountain, a diamond and an eye all ask for corners or points. The ages next to each drawing below are our suggestion, based on its starting shape.
What Are the Simplest Drawings to Start With?
The simplest drawings to start with are the five 4-step tutorials on this page: a candy, a scarf, a diamond, a feather and a strawberry. Each one starts from one shape or line, adds one or two details, and ends with color. A 4-step drawing is the shortest tutorial on our site.
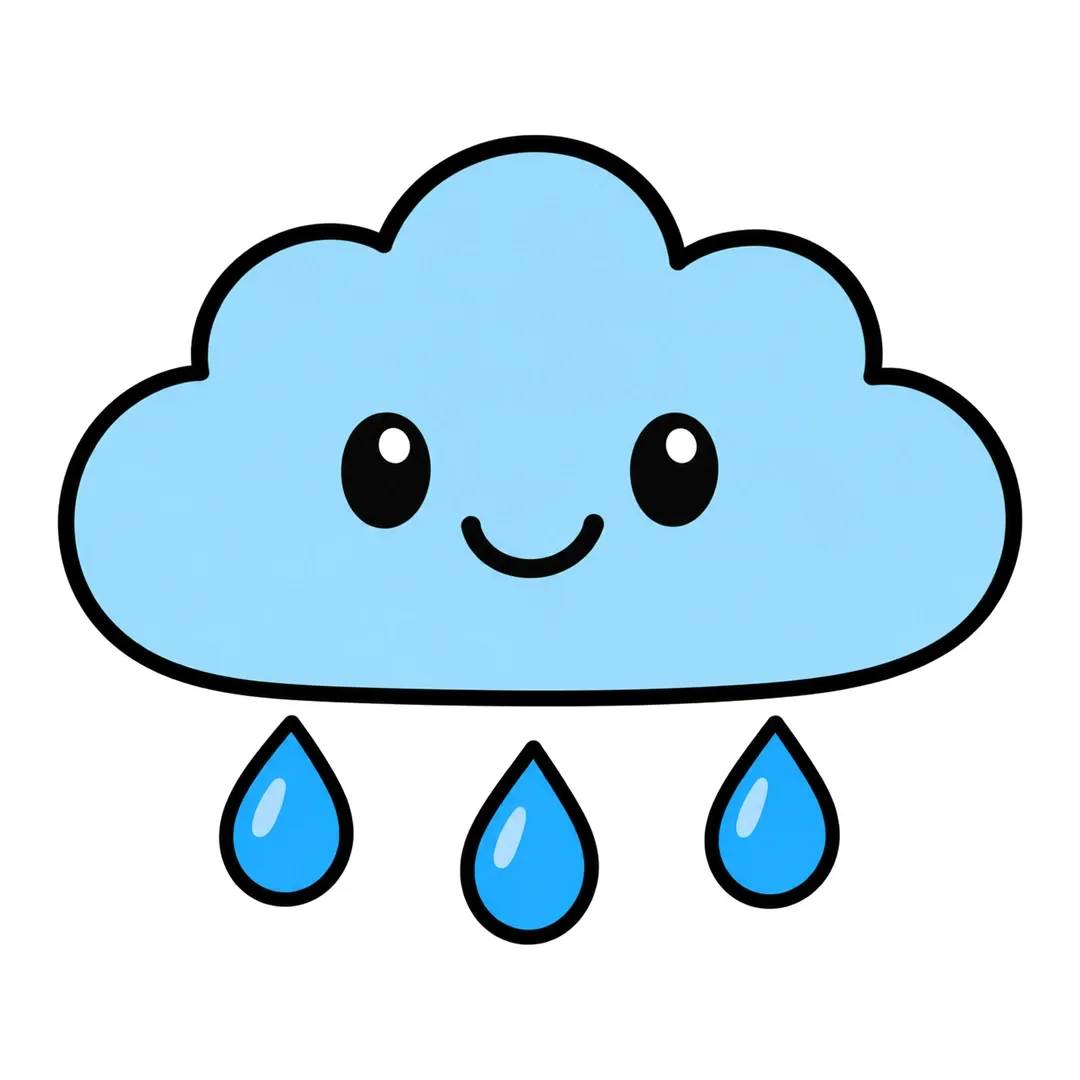
Another 4-step pick, how to draw a cloud, gives a puffy cloud a face and three raindrops. More ideas sit on our things to draw for kids page.
Candy
A wrapped candy starts from the shape most 3-year-olds can copy, so how to draw a candy is a good first drawing (age 3 and up, our suggestion).
Mini steps: Draw one big circle in the middle of the paper. Add a wavy wrapper end on each side, thin at the circle and wide at the edge. Sketch a light pencil spiral and three fold lines on each end. Color the candy red with a white stripe along the spiral, then color the ends pink.
-
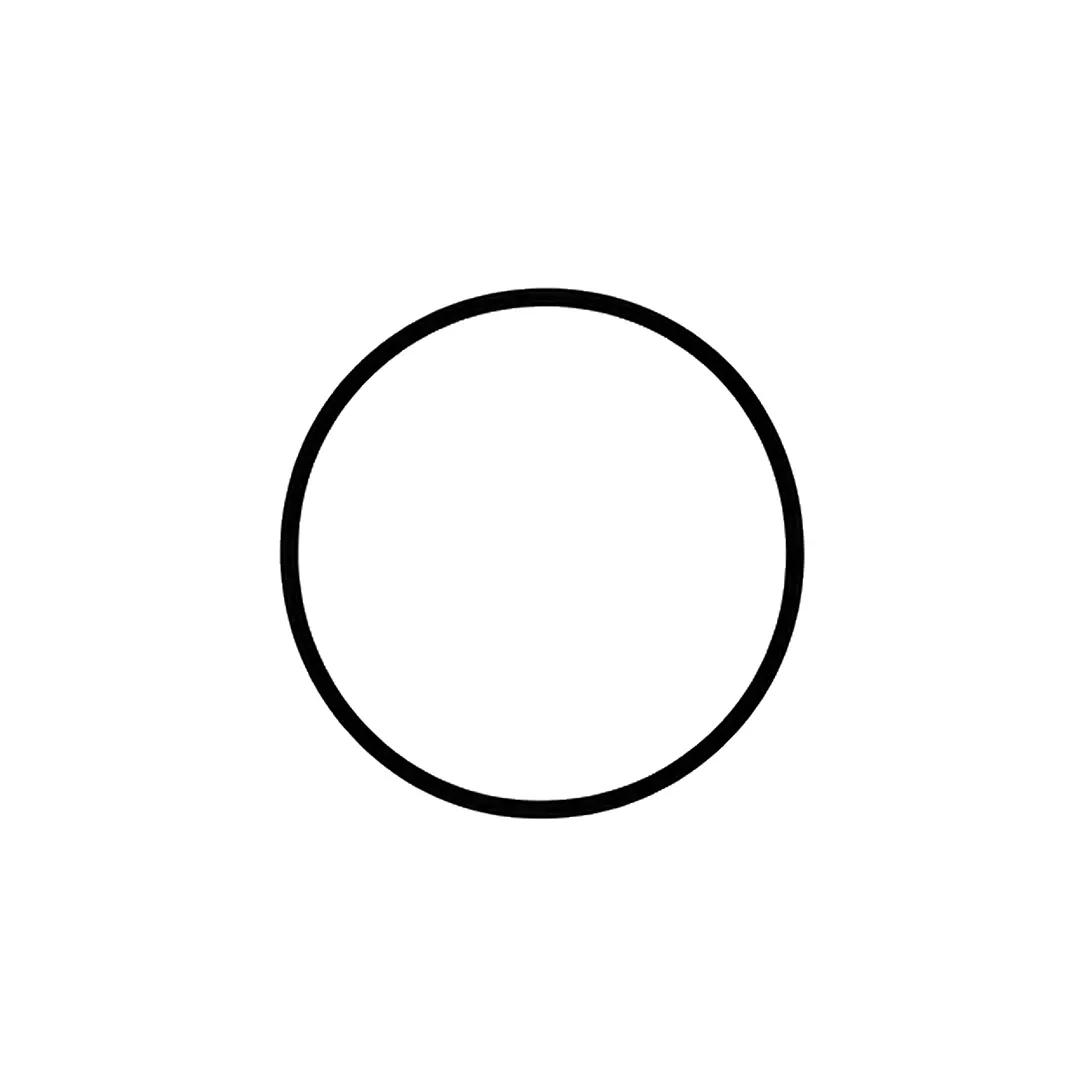
Step 1: Draw one big round circle in the middle of the paper for the candy.
-
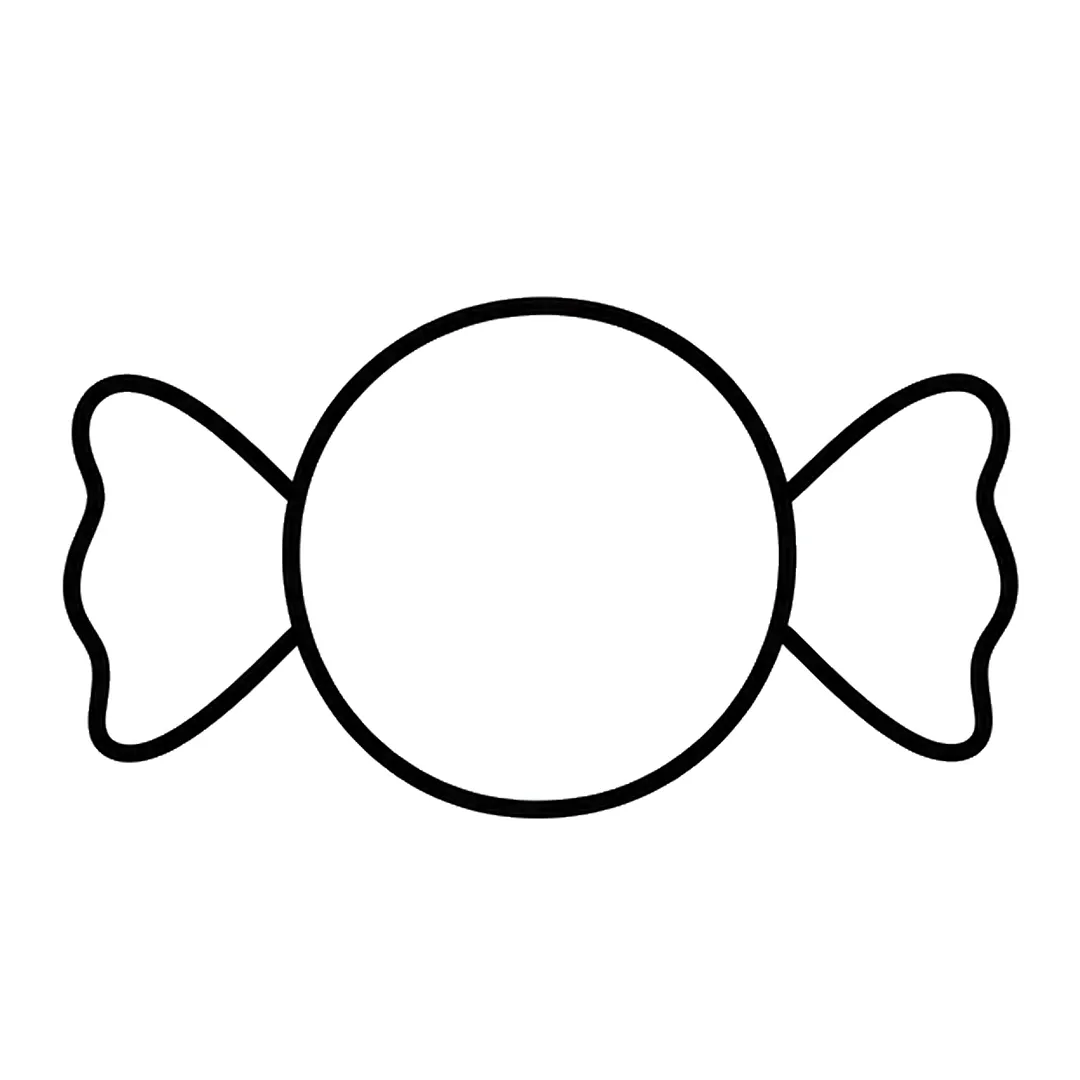
Step 2: Add a wrapper end on each side. Make it thin at the circle and wide at the end, with a wavy edge.
-
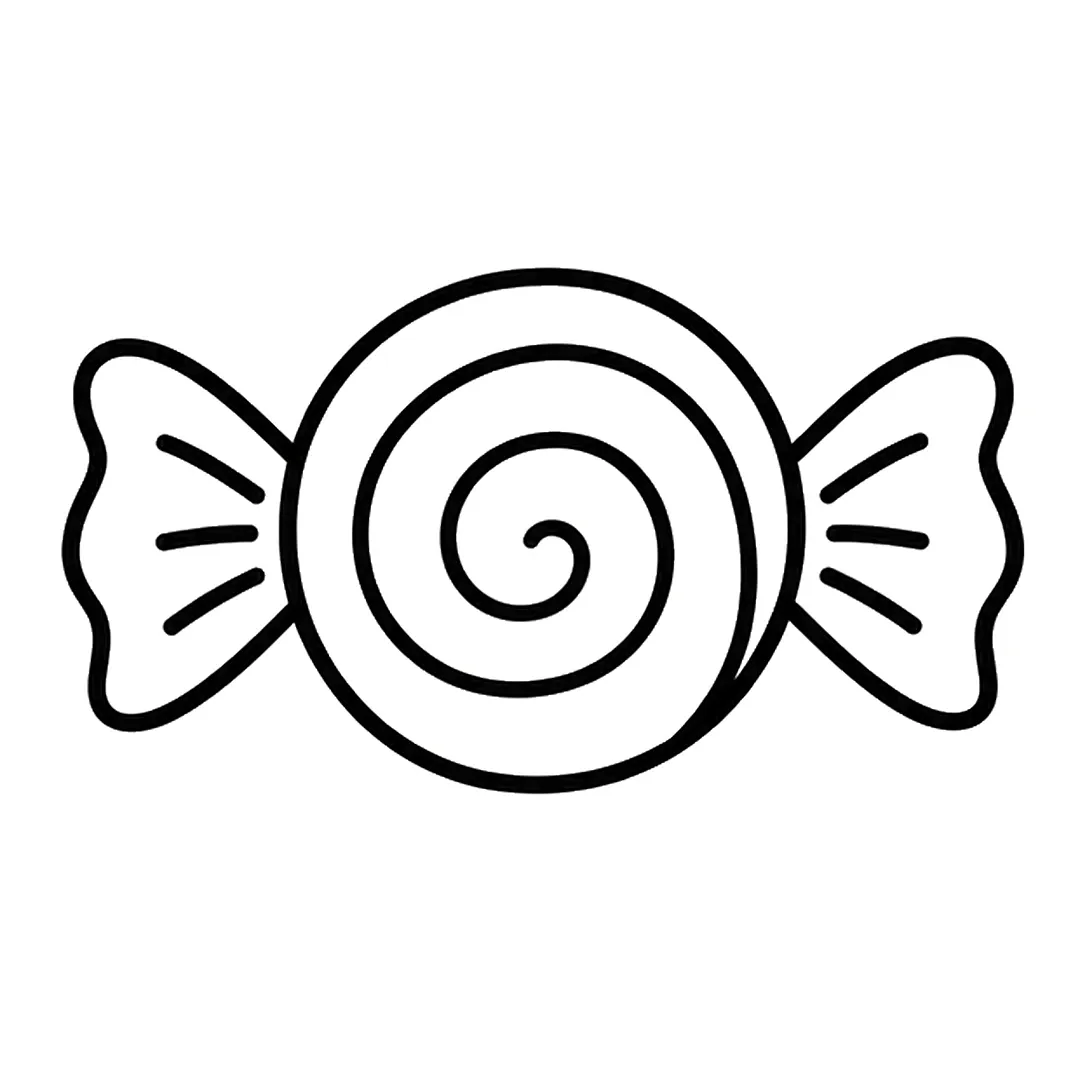
Step 3: Draw a light pencil spiral from the center to the bottom right edge, then three fold lines per end.
-
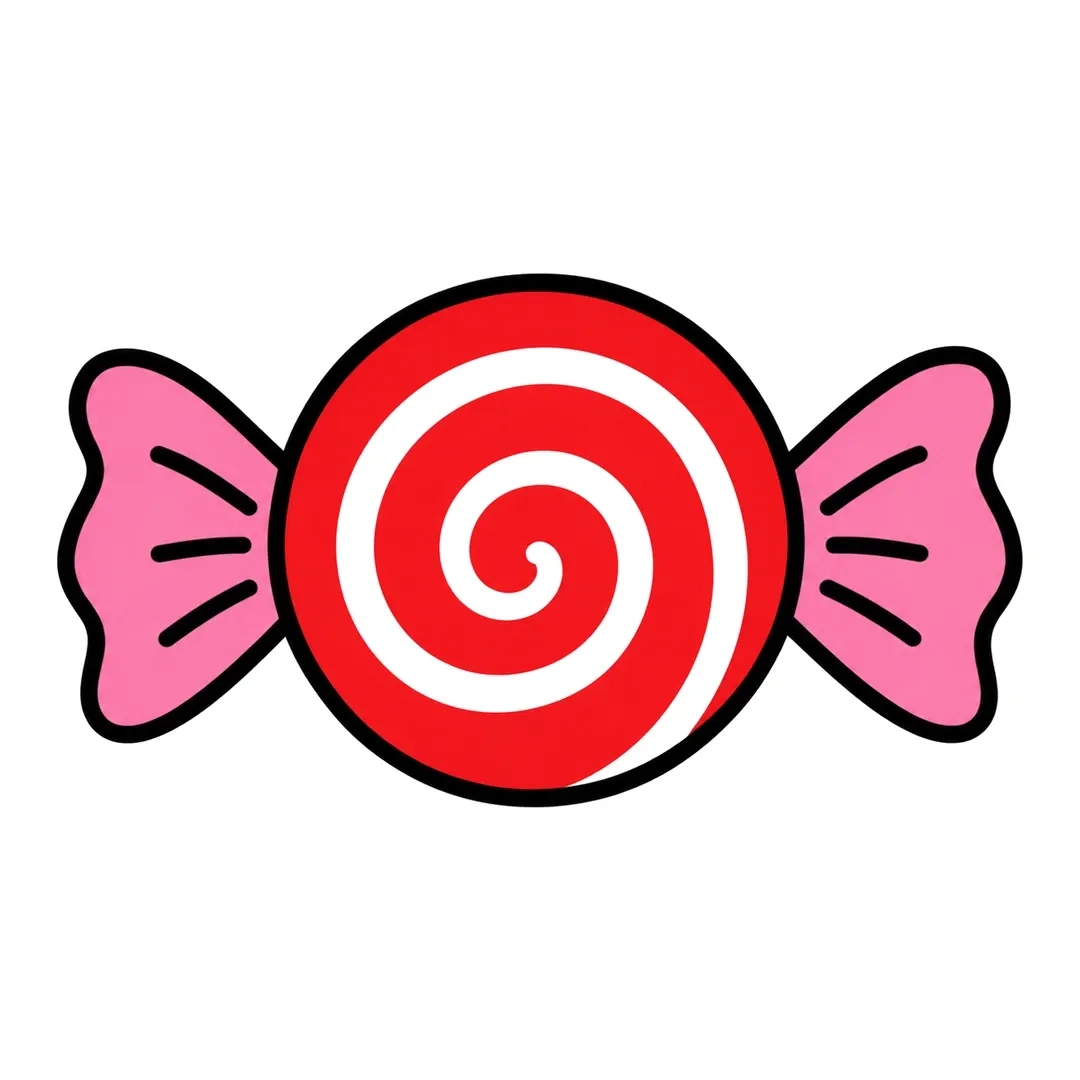
Step 4: Color the candy red with a wide white stripe on the pencil spiral. Erase it and color the ends pink.
Scarf
A scarf needs only one crayon, and how to draw a scarf builds it from a single U-shaped loop (age 4 and up, our suggestion).
Mini steps: Draw a wide loop like a thick letter U, with a bump and a small hook at each top end. Hang two long ends from under the loop, the right one longer. Add stripe lines on both ends and five fringe lines under each. Color everything red but leave a few stripes white.
-
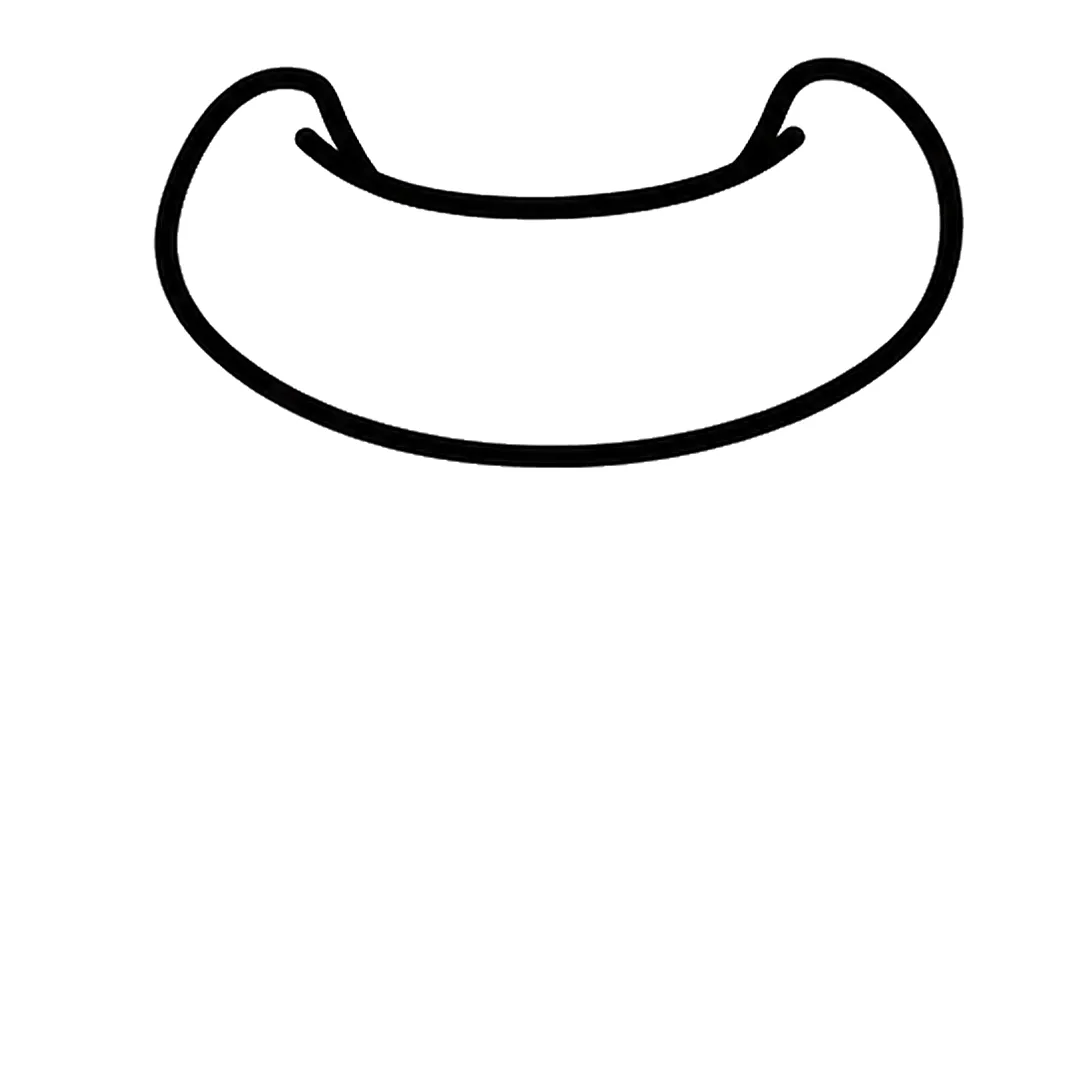
Step 1: Draw a wide curved loop like a thick U, with a round bump and a small hook at each top end.
-
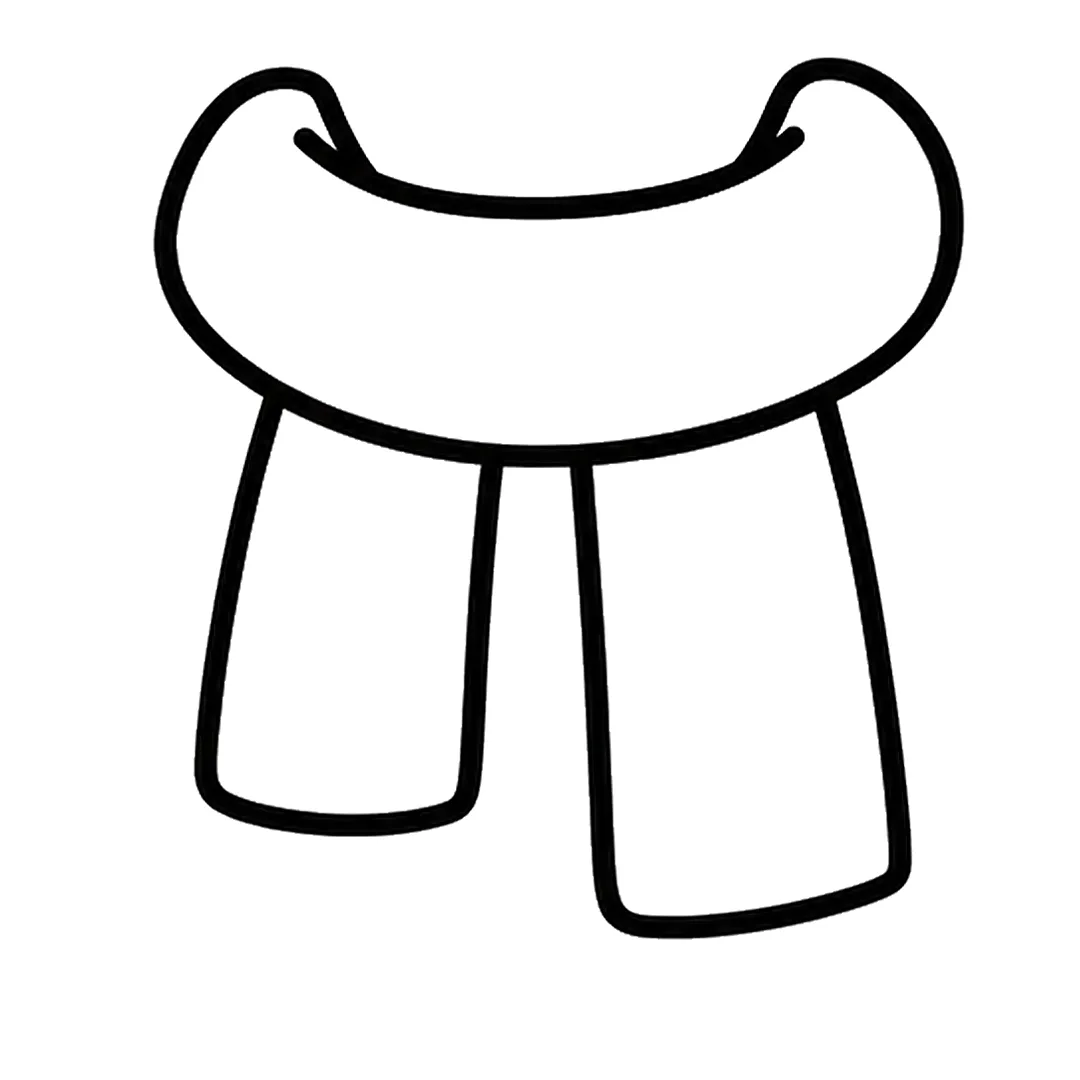
Step 2: Add two long ends that hang from under the loop. Make the right end longer than the left.
-
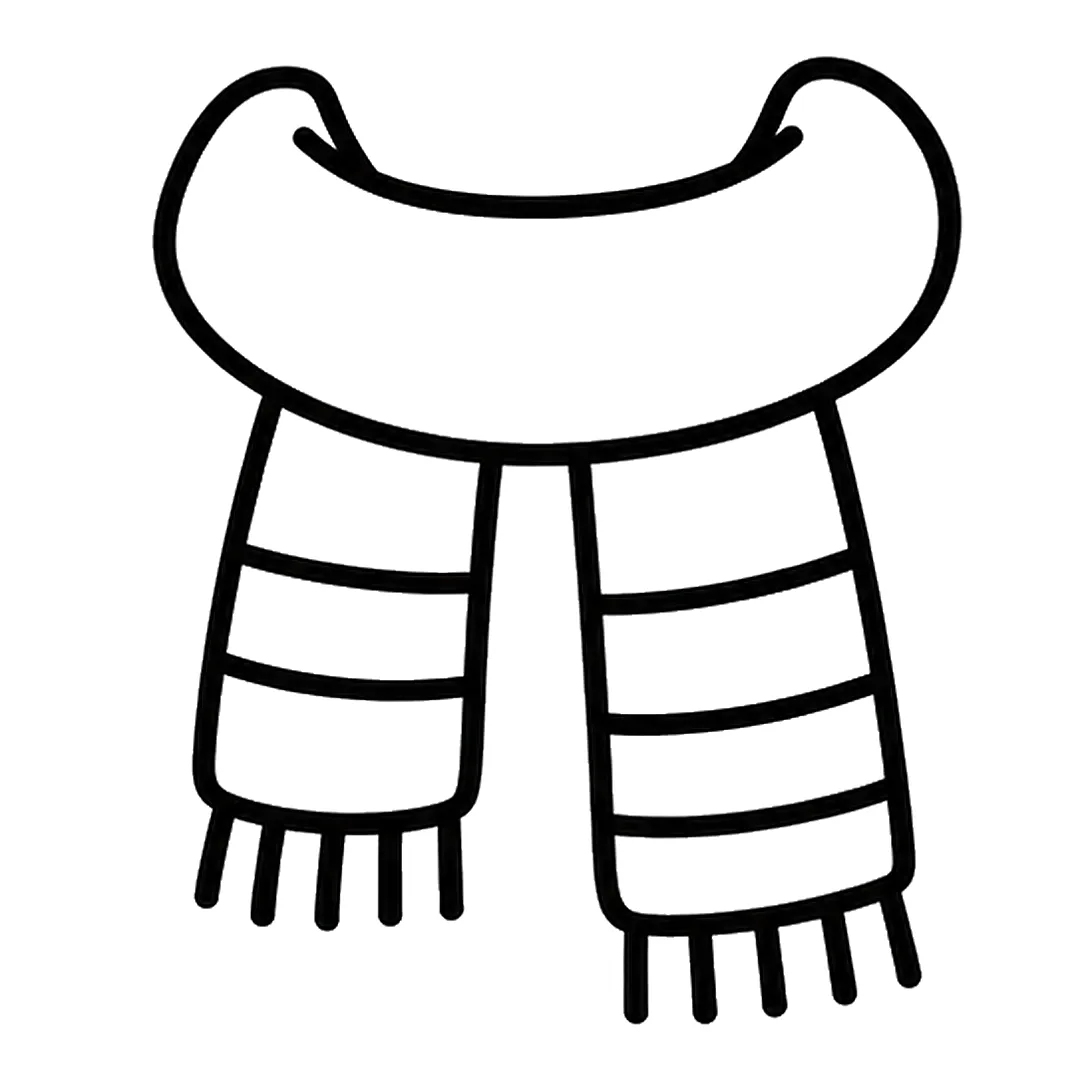
Step 3: Draw two stripe lines on the left end and three on the right. Add five fringe lines under each.
-
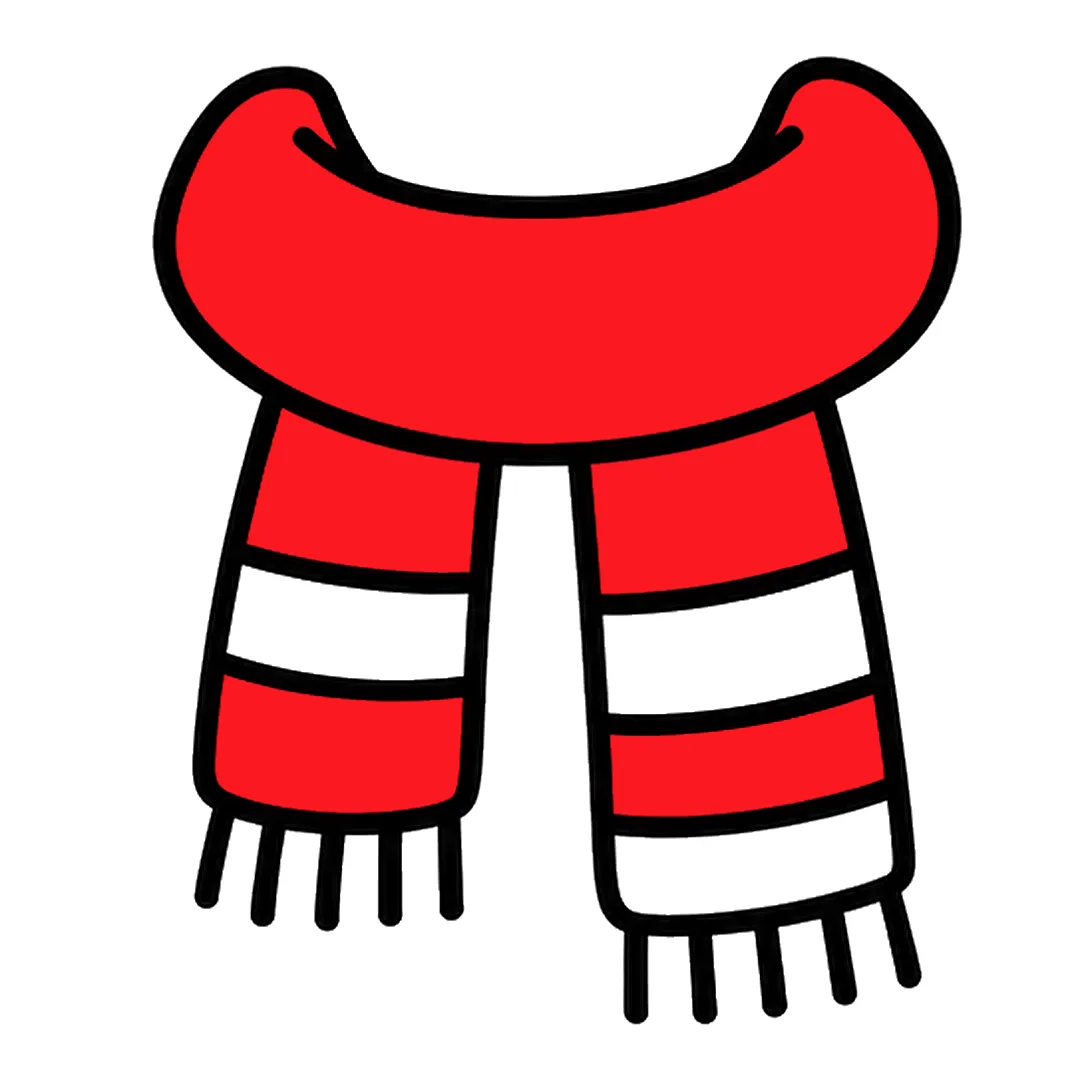
Step 4: Color the loop and ends red. Leave one white stripe on the left end and two on the right.
Diamond
A diamond is made only of straight and slanted lines, so how to draw a diamond gives a child corner practice in 4 steps (age 5 and up, our suggestion).
Mini steps: Draw a flat top, two short slanted sides and two long sides that meet in a point. Cross the shape with one straight line from corner to corner. Add a V from the top corners and three lines down to the tip. Color the facets in light blue and blue.
-
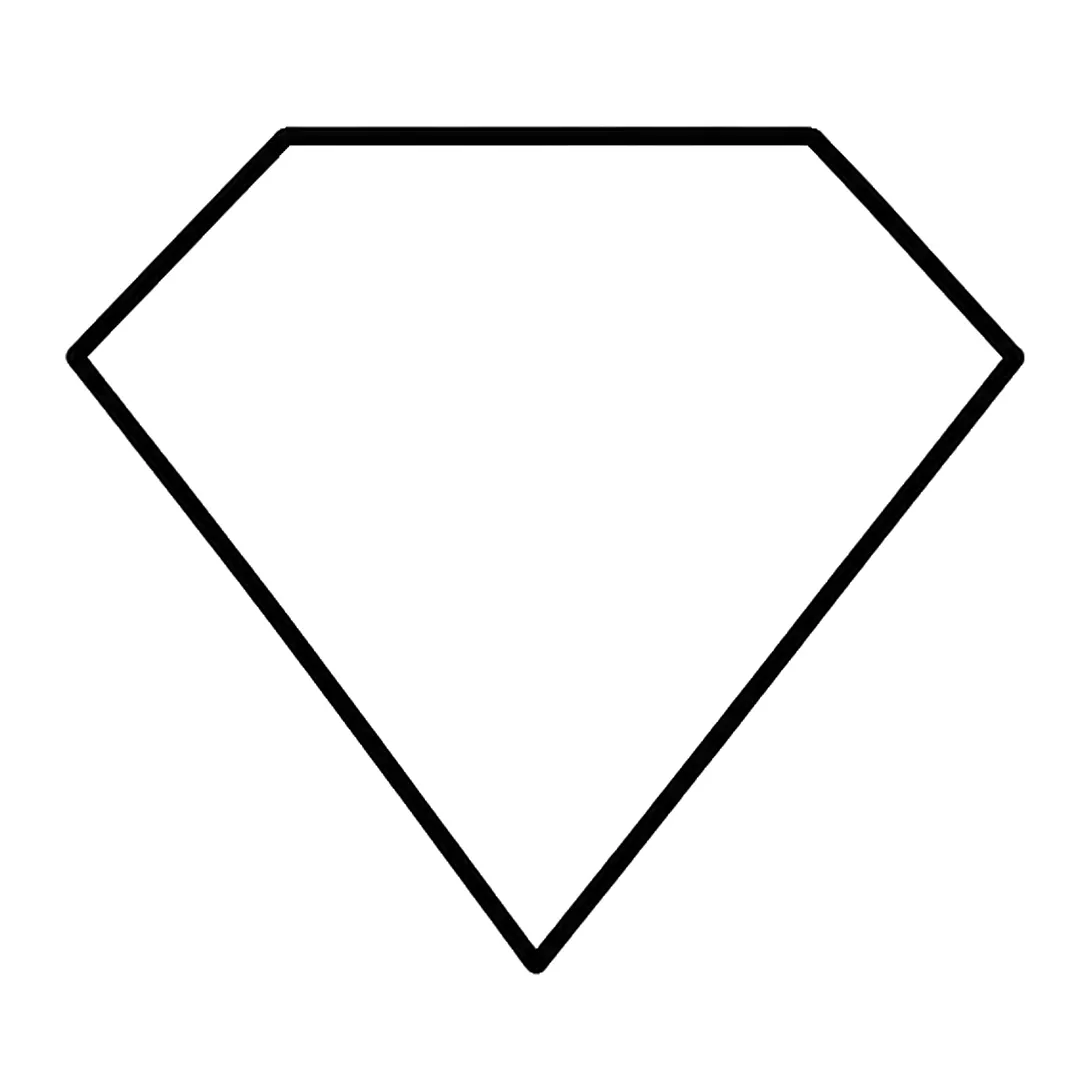
Step 1: Draw a flat top, two short slanted sides and two long sides that meet in a point at the bottom.
-
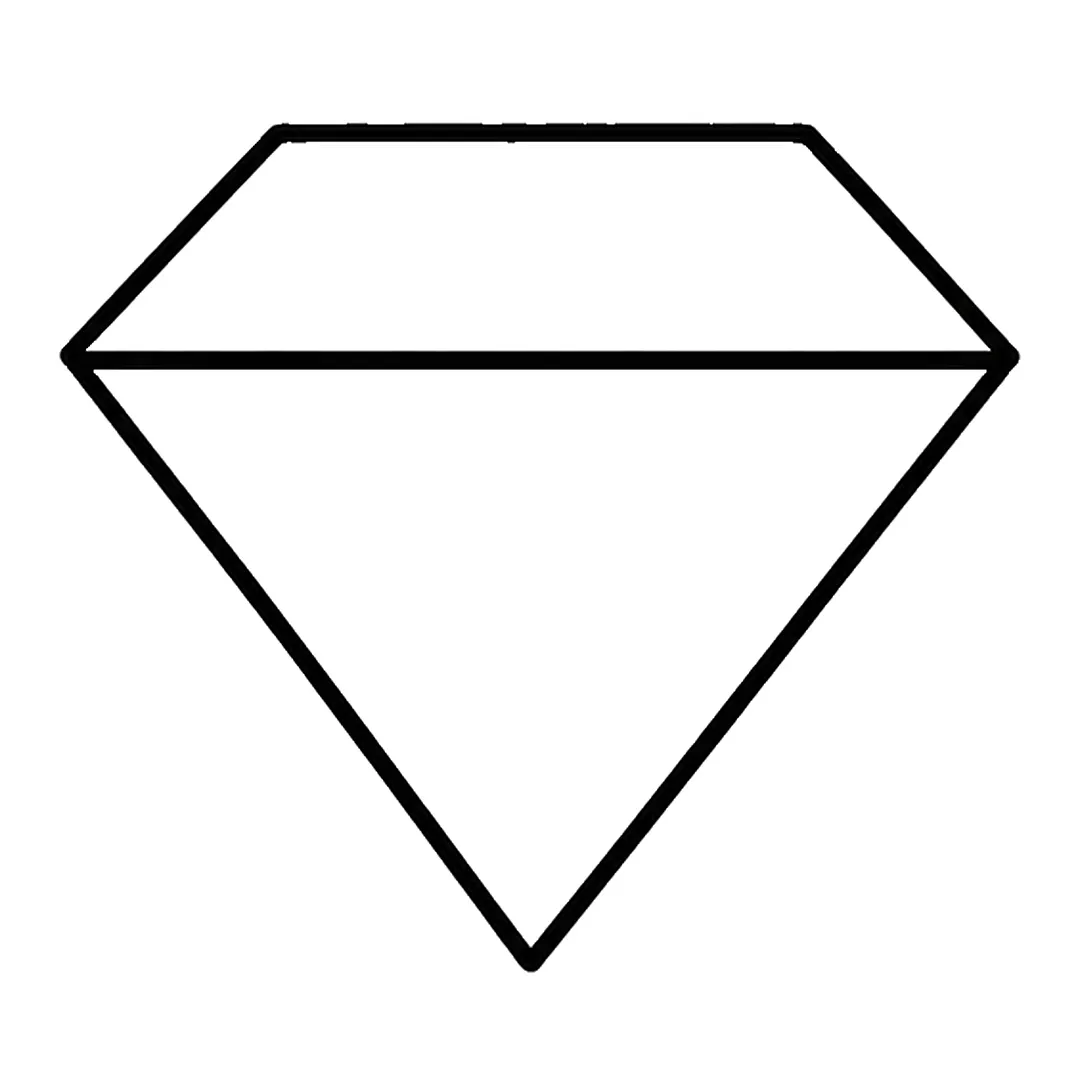
Step 2: Add one straight line across the diamond, from the left corner to the right corner.
-
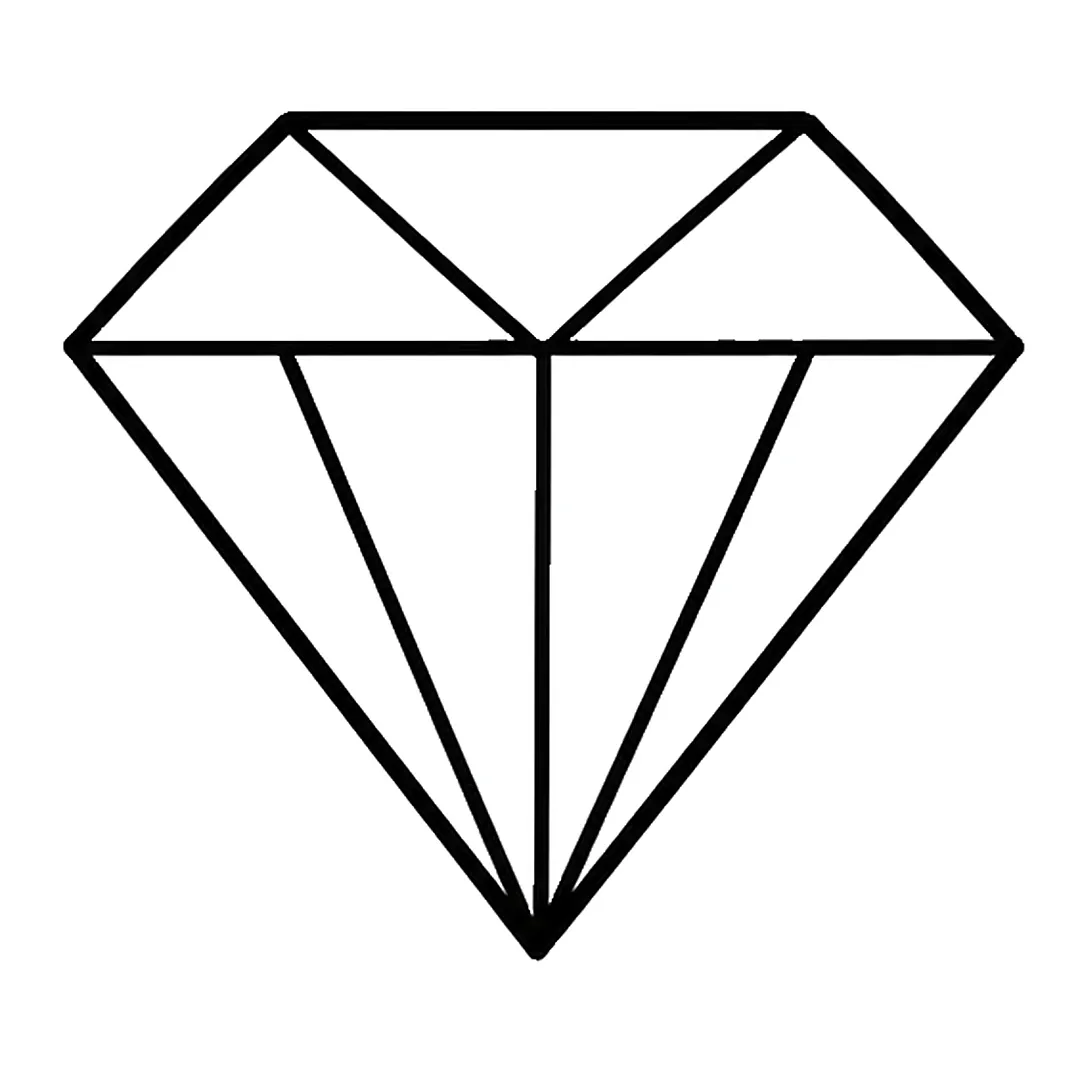
Step 3: Draw a V from the top corners to the center of the across line. Add three lines from it to the tip.
-
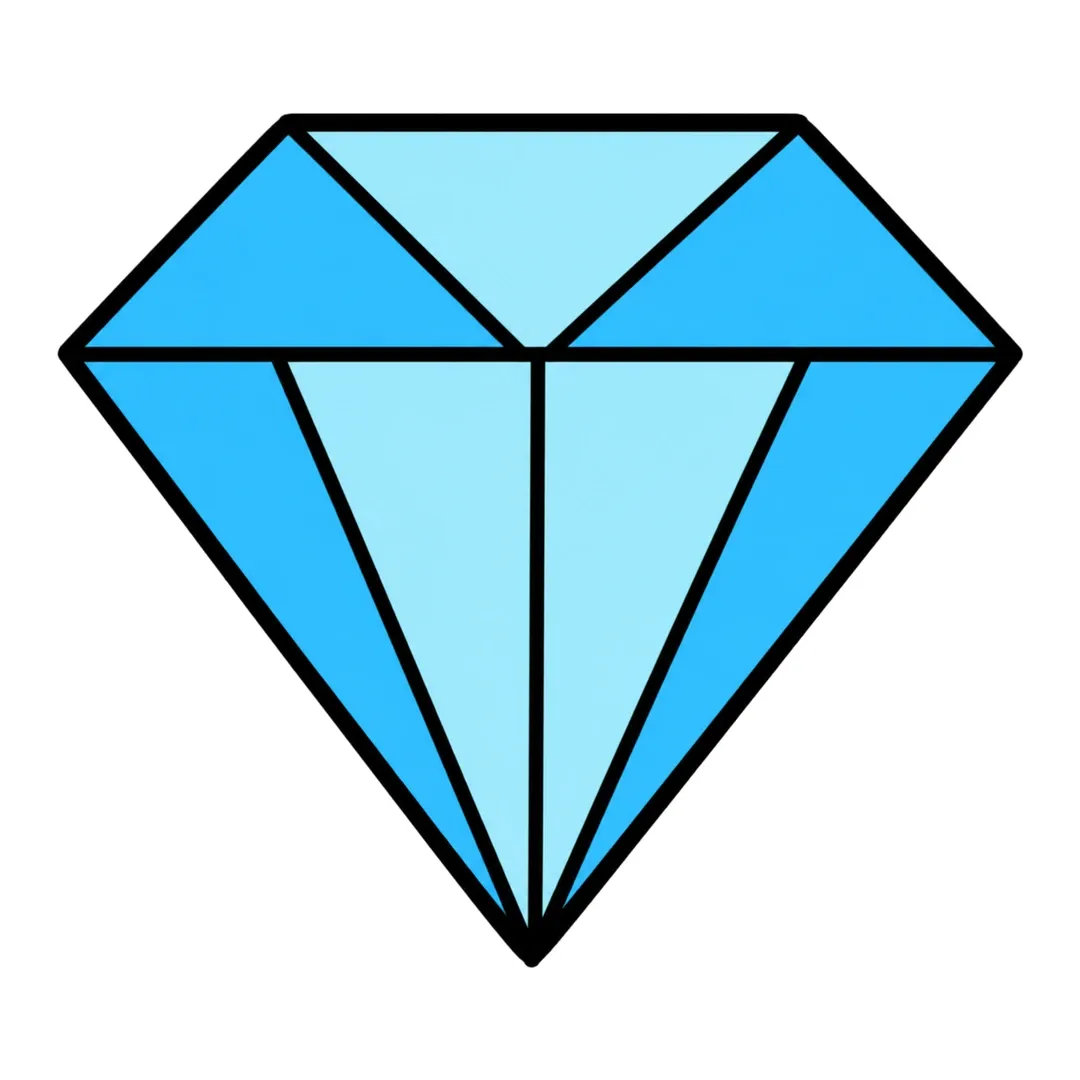
Step 4: Color the top middle and two bottom middle facets light blue. Color the four side facets blue.
Feather
A feather starts from one curved line, which makes how to draw a feather a calm drawing for a child who likes smooth strokes (age 4 and up, our suggestion).
Mini steps: Draw one long curved line from bottom left to top right, with a thin loop at the bottom. Wrap a long pointed leaf shape around the top part of the line. Cut three small notches into each side. Color the vane teal blue and the quill light brown.
-
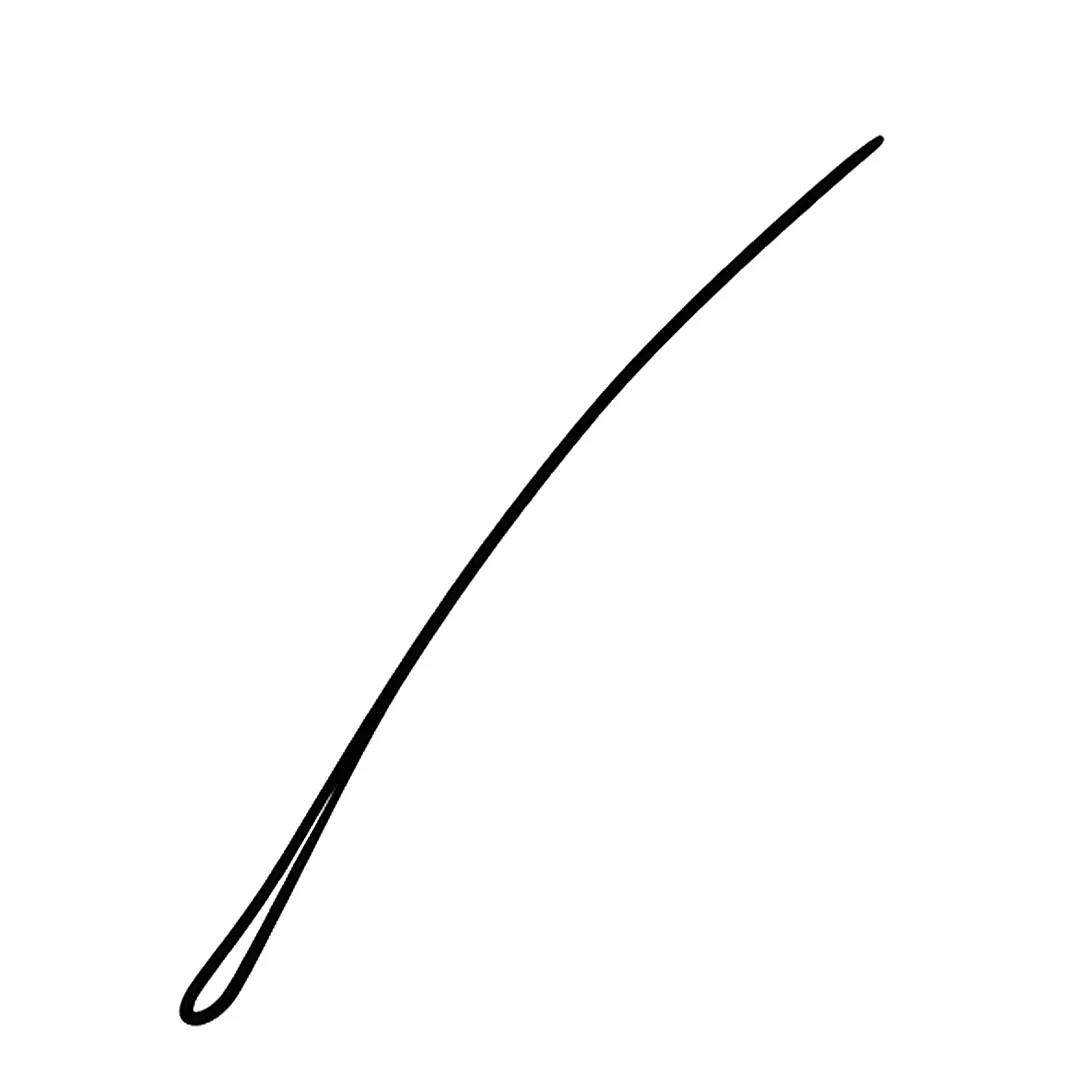
Step 1: Draw one long curved line from the bottom left to the top right, with a thin loop at the bottom.
-
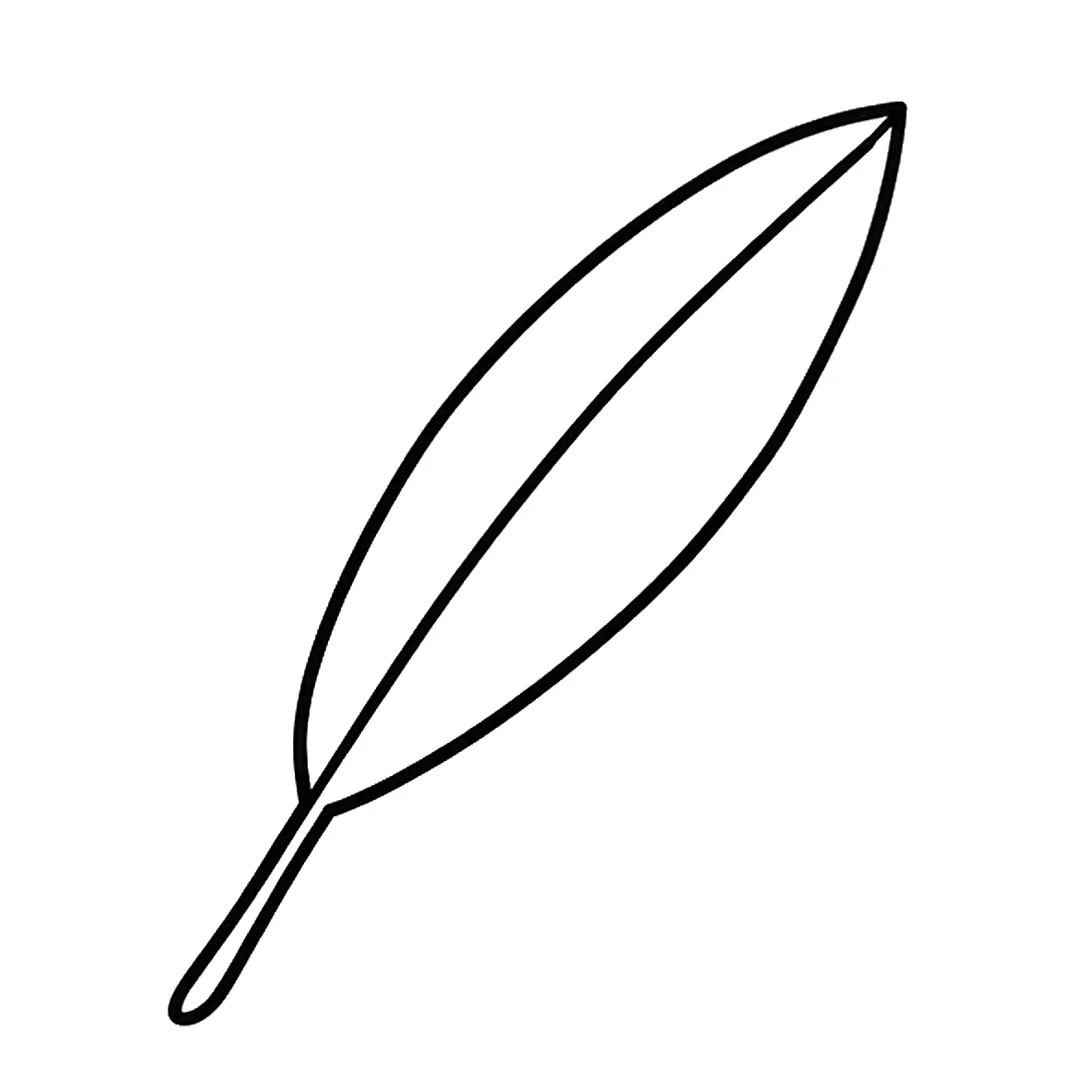
Step 2: Add a long pointed leaf shape around the top part of the line, with its tip at the line's top end.
-
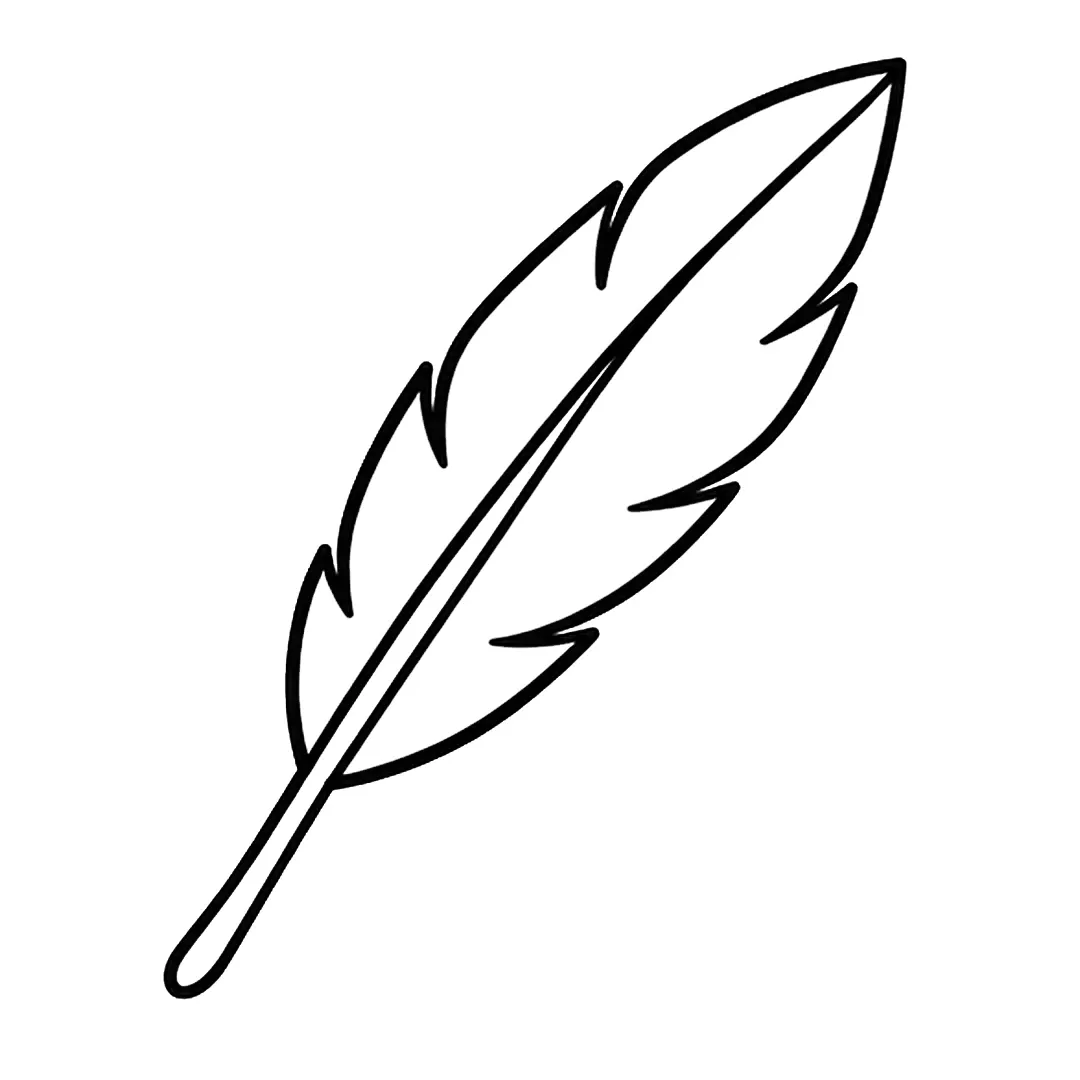
Step 3: Draw three pointed notches per side, erasing the edge there. Run the right quill line halfway up.
-
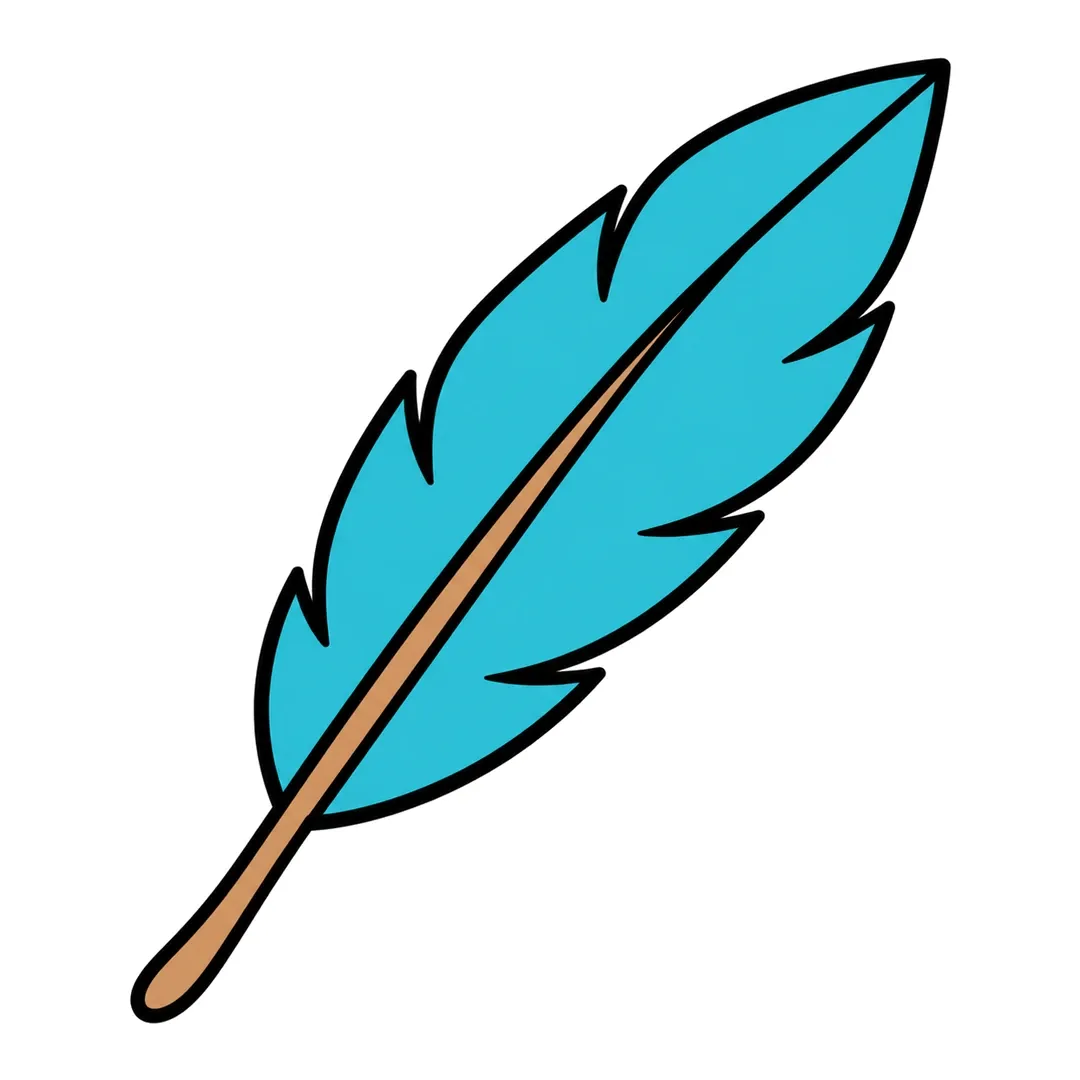
Step 4: Color the vane on both sides teal blue. Color the quill light brown, from the loop up to the middle.
Strawberry
A strawberry starts from one rounded heart, and how to draw a strawberry turns it into fruit with leaves and seeds (age 4 and up, our suggestion).
Mini steps: Start with one large, rounded heart for the berry. Crown it with five pointed leaves and a short curved stem. Sprinkle rows of tiny teardrop seeds across it, points facing up. Finish with red for the fruit, green on top and yellow seeds.
-
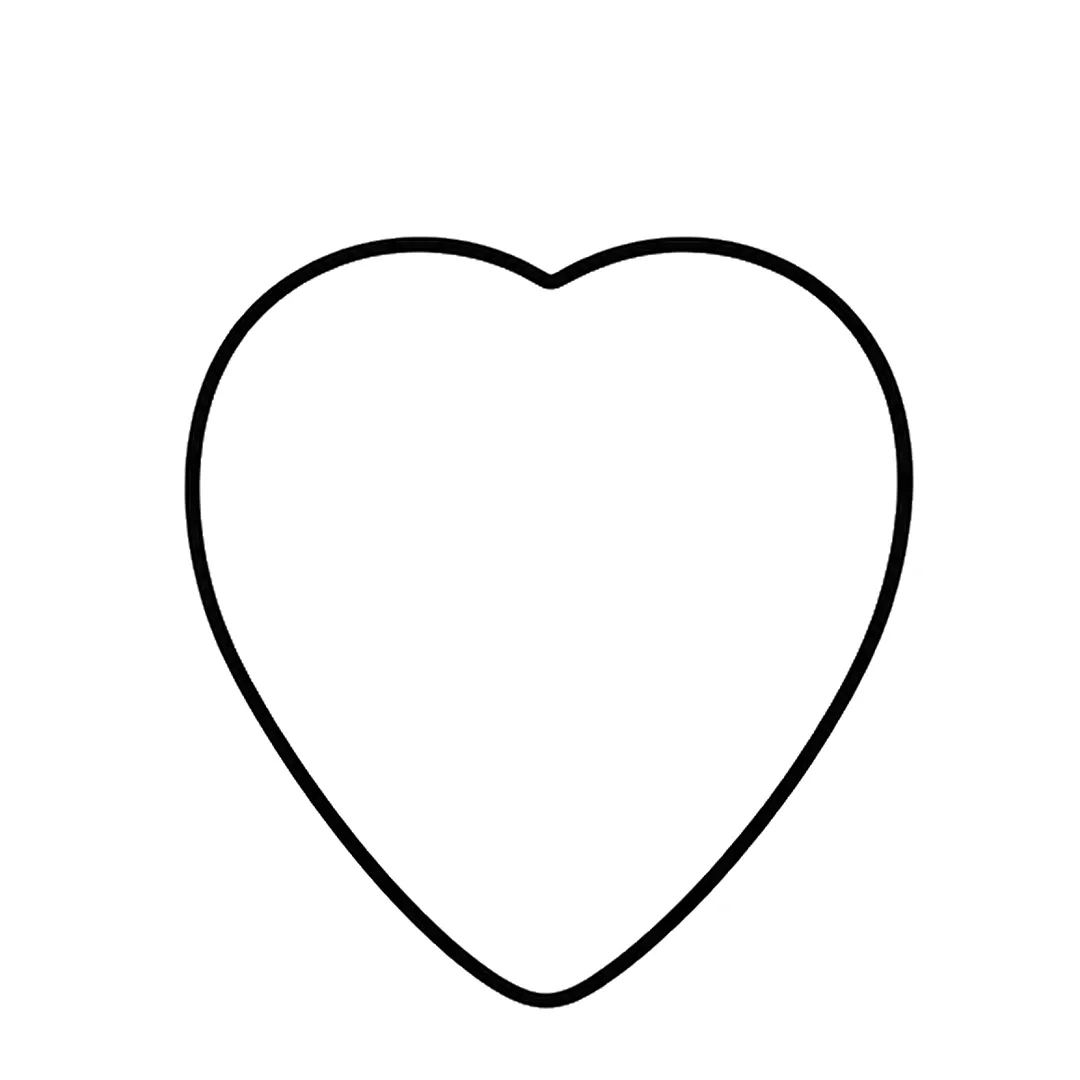
Step 1: Draw one big rounded heart shape with a small dip at the top and a soft point at the bottom.
-
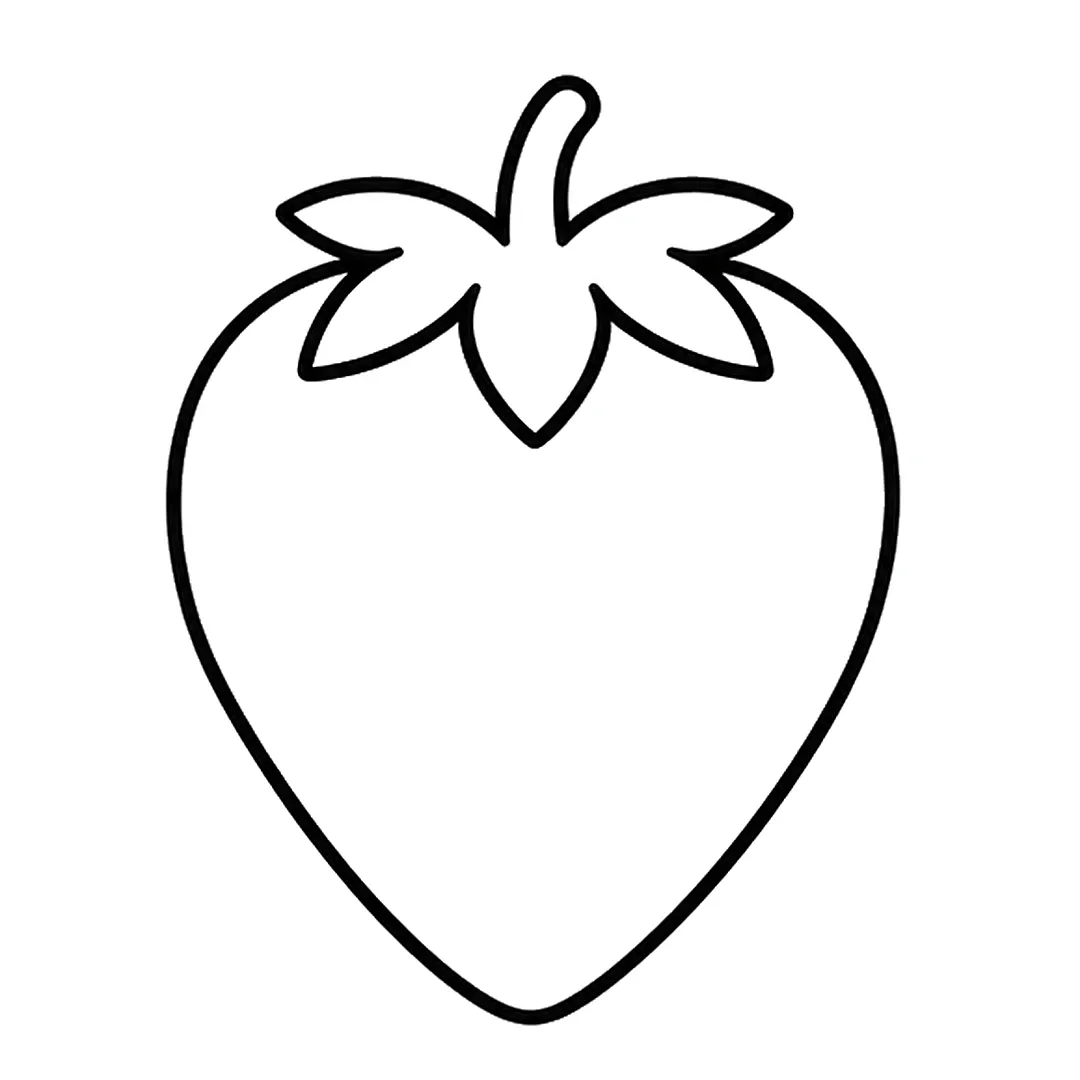
Step 2: Add five pointed leaves and a curved stem on top. Erase the berry line under the leaves.
-
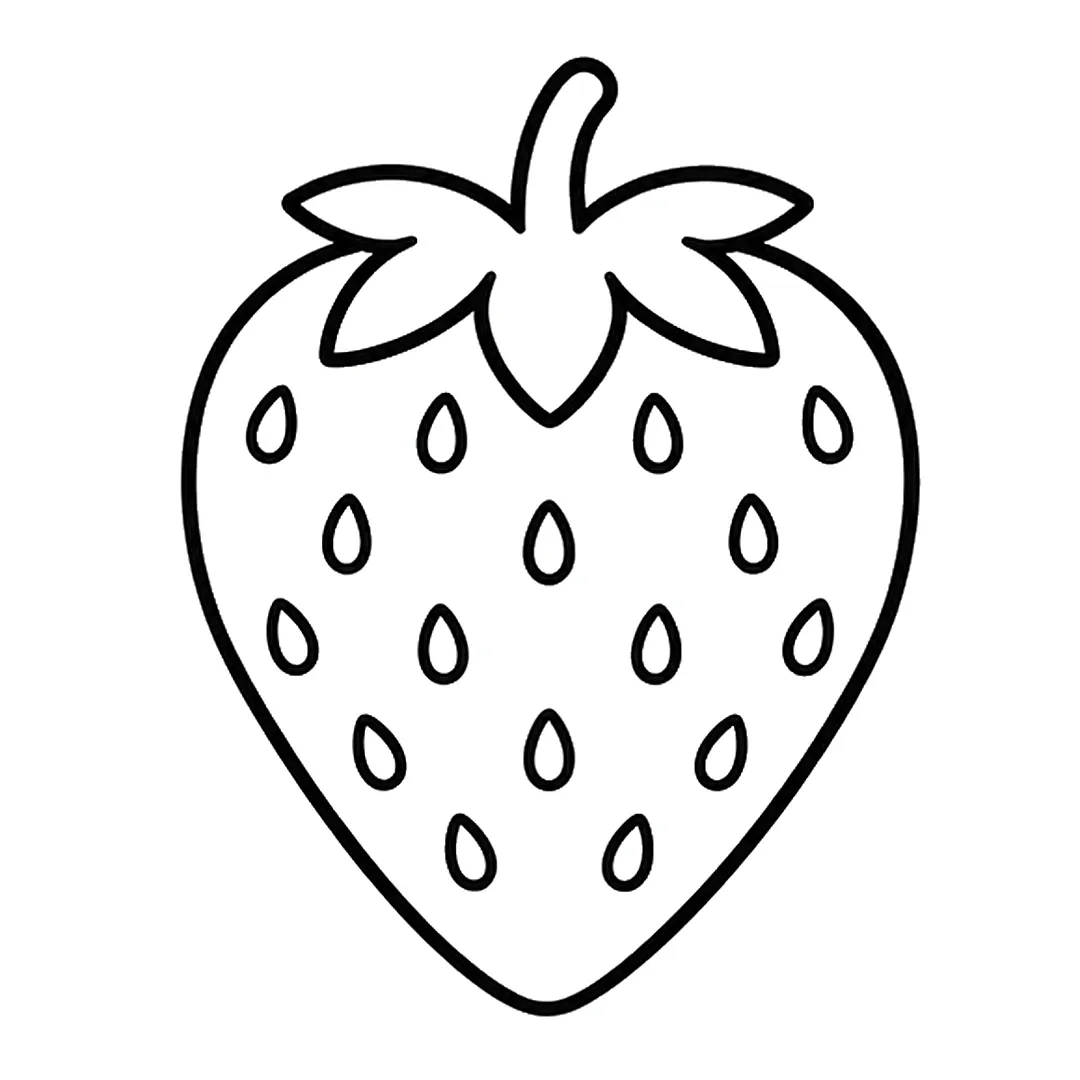
Step 3: Draw 16 small teardrop seeds in five rows of 4, 3, 4, 3 and 2, pointed ends up.
-
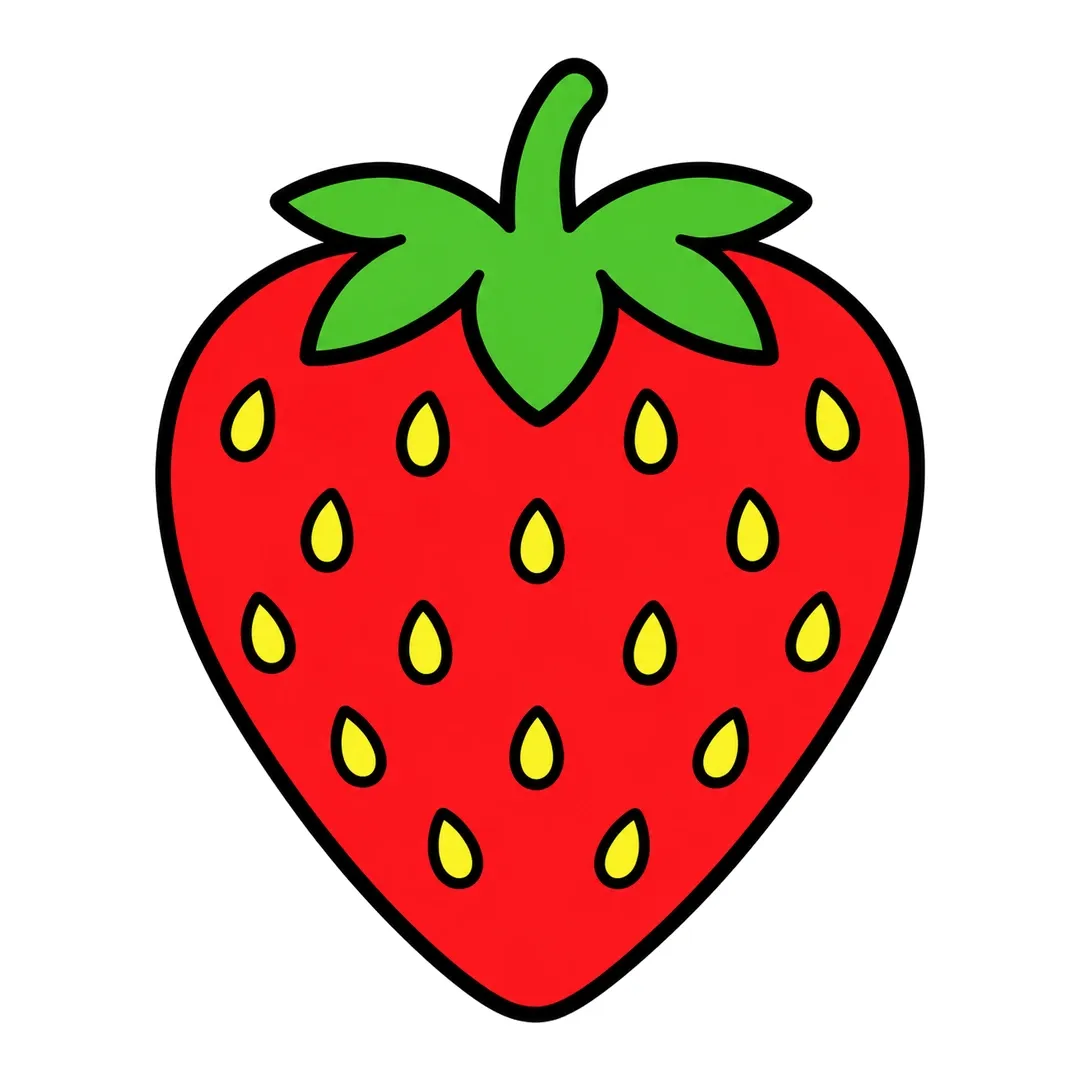
Step 4: Color the berry red, the leaves and stem green and the seeds yellow.
What Simple Drawings Start With a Circle?
Simple drawings that start with a circle include a basketball, Earth, a spider and a snake. Each tutorial’s first step is a big circle or a round head, one of the first shapes children copy, usually by about 3. The rest of the drawing adds lines, a face or legs in 6 steps.
Basketball
A basketball is one circle and four lines, so how to draw a basketball suits a child who has just learned circles (age 3 and up, our suggestion).
Mini steps: Draw a big circle. Add one straight line across the middle and one straight line down the middle. Draw a curved line on each side that bends in toward the center. Color the whole ball orange.
-
Step 1: Draw a big circle.
-
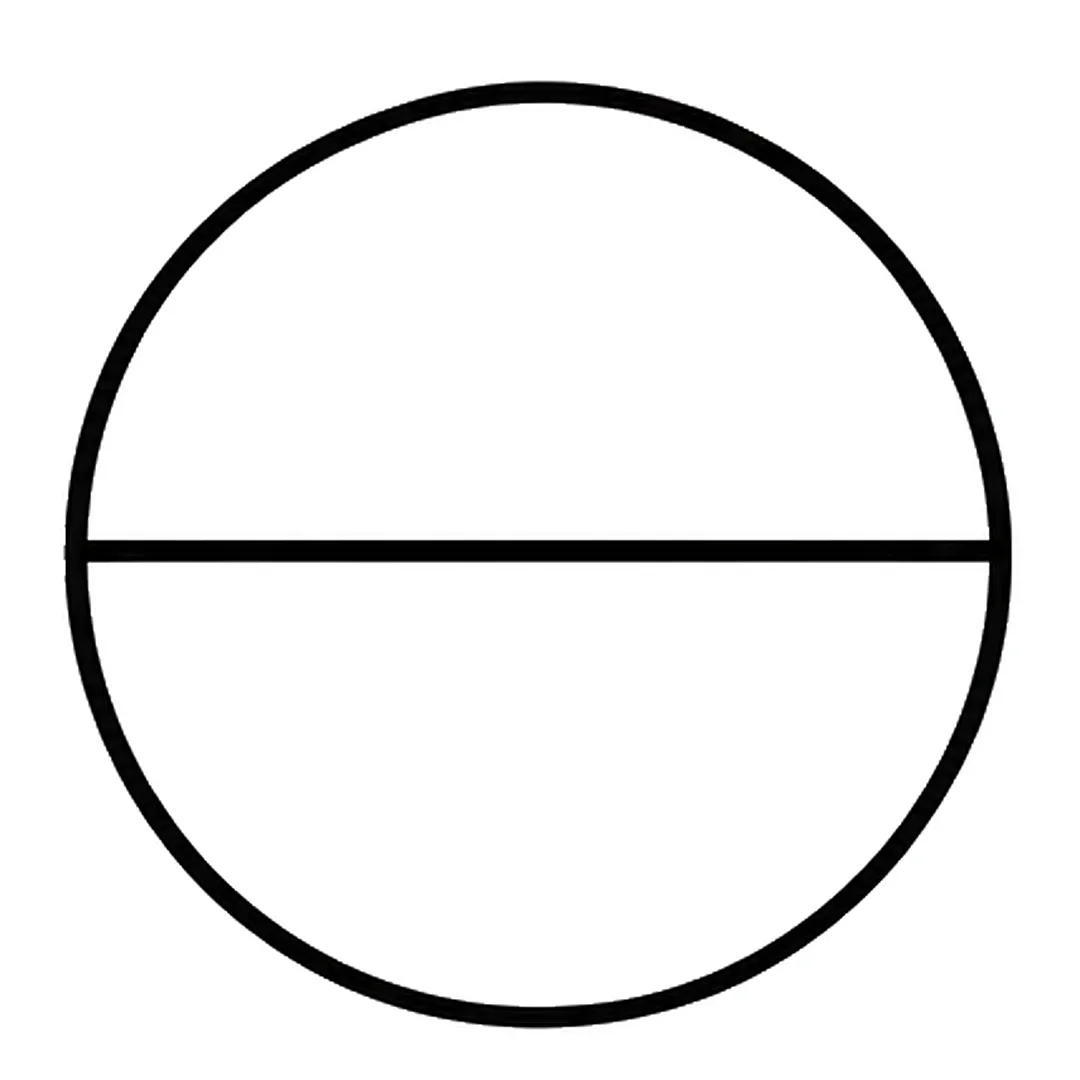
Step 2: Add one straight line across the middle, from the left edge to the right edge.
-
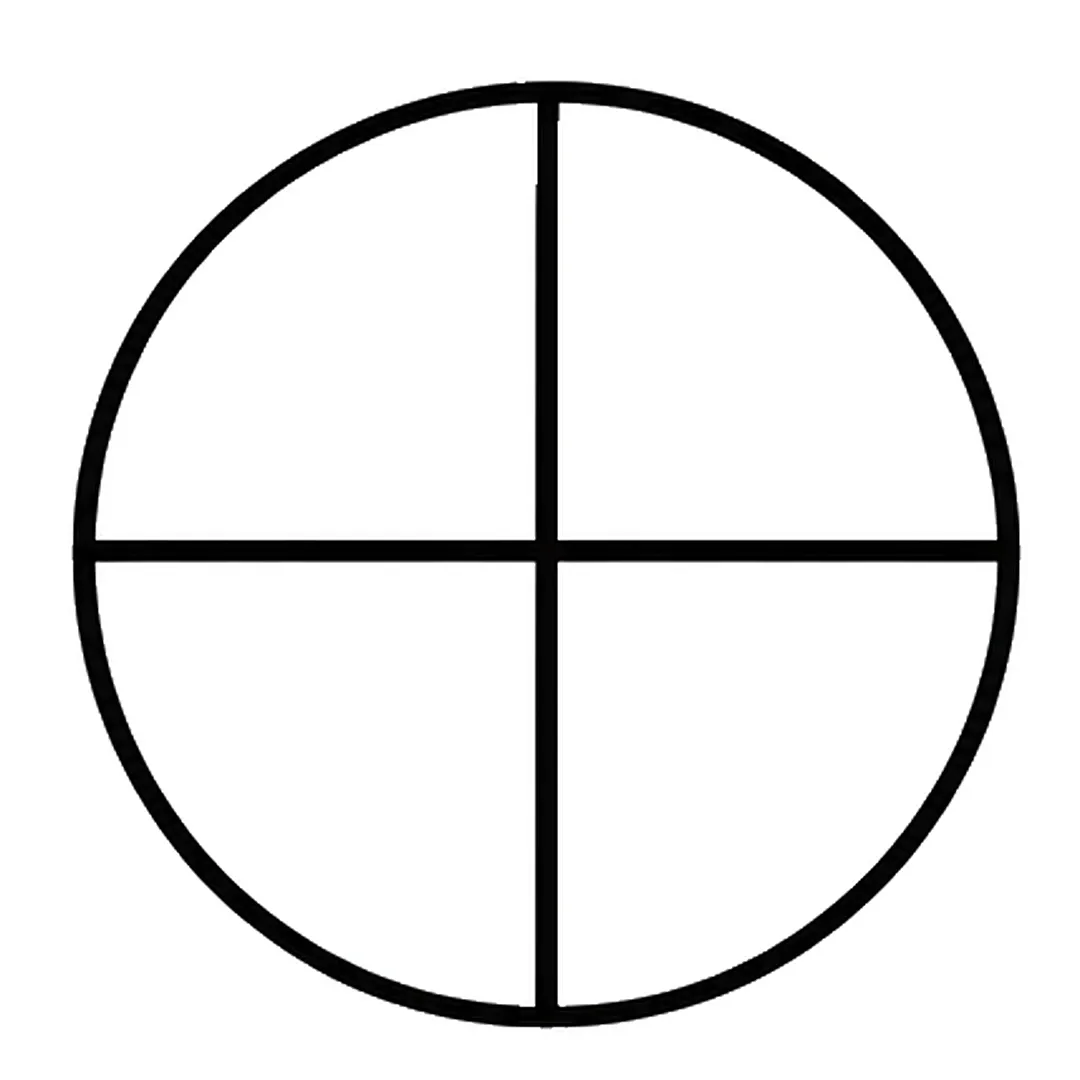
Step 3: Draw one straight line down the middle, from top to bottom, crossing the first line.
-
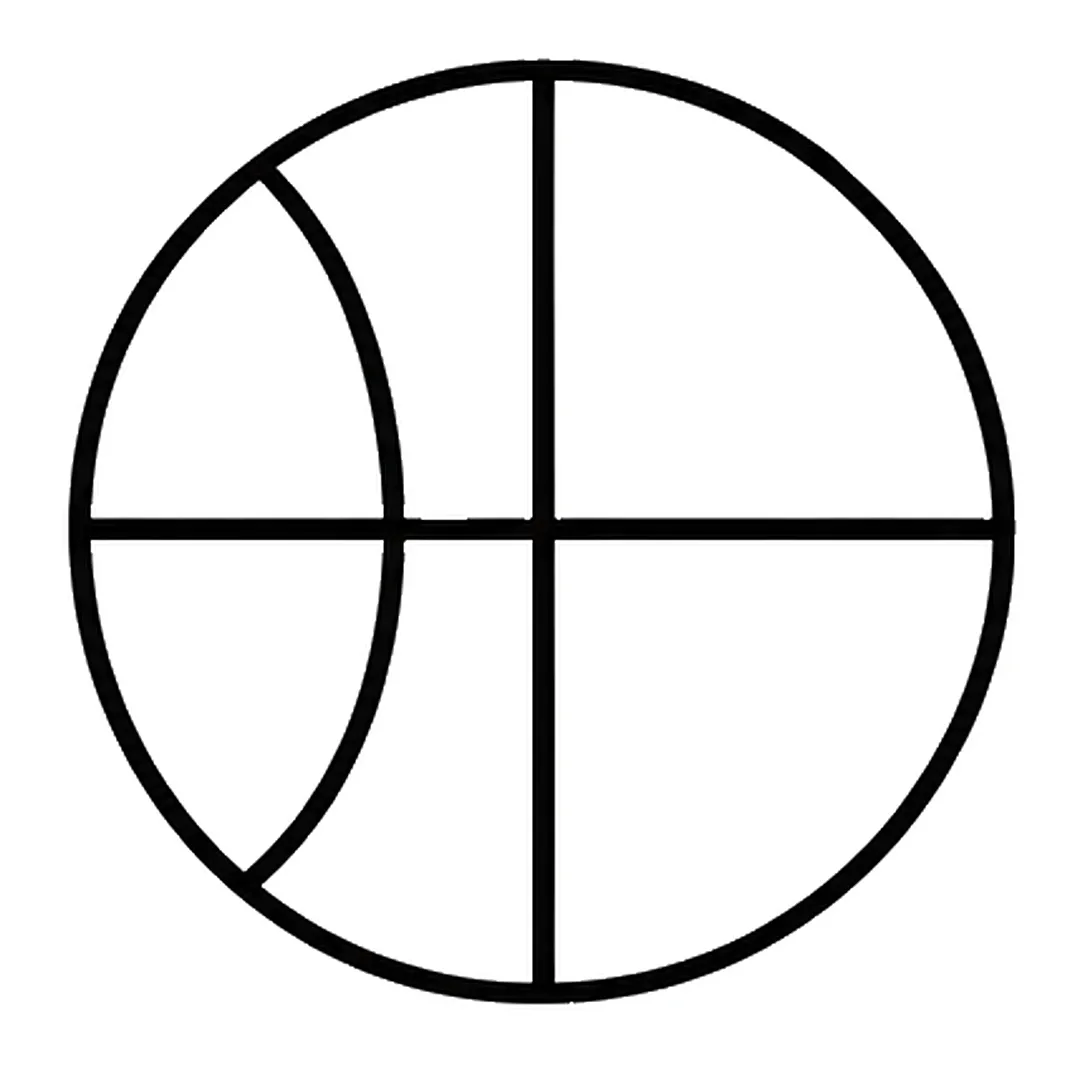
Step 4: Add a curved line on the left side that bends in toward the middle.
-
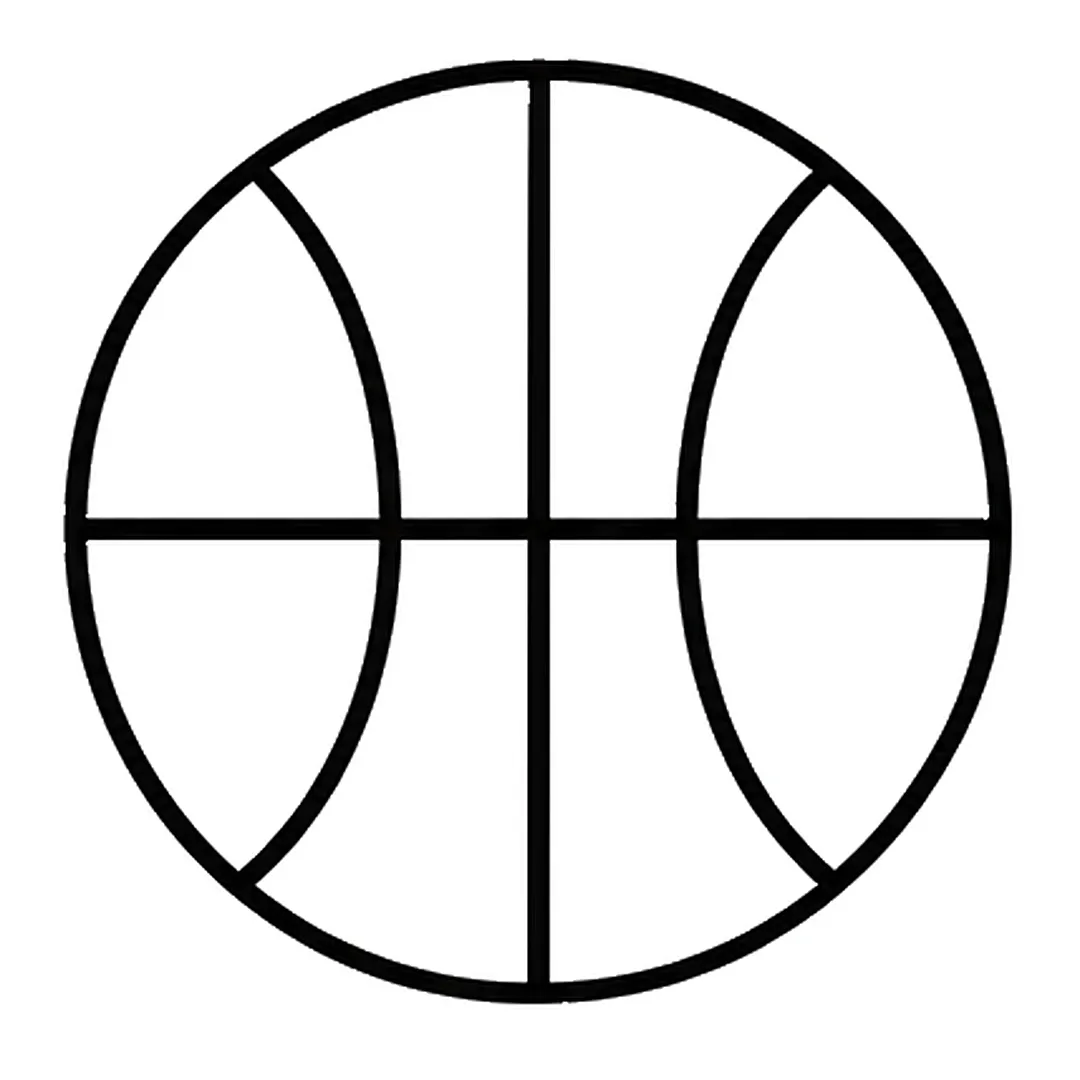
Step 5: Draw a matching curved line on the right side that bends in toward the middle.
-
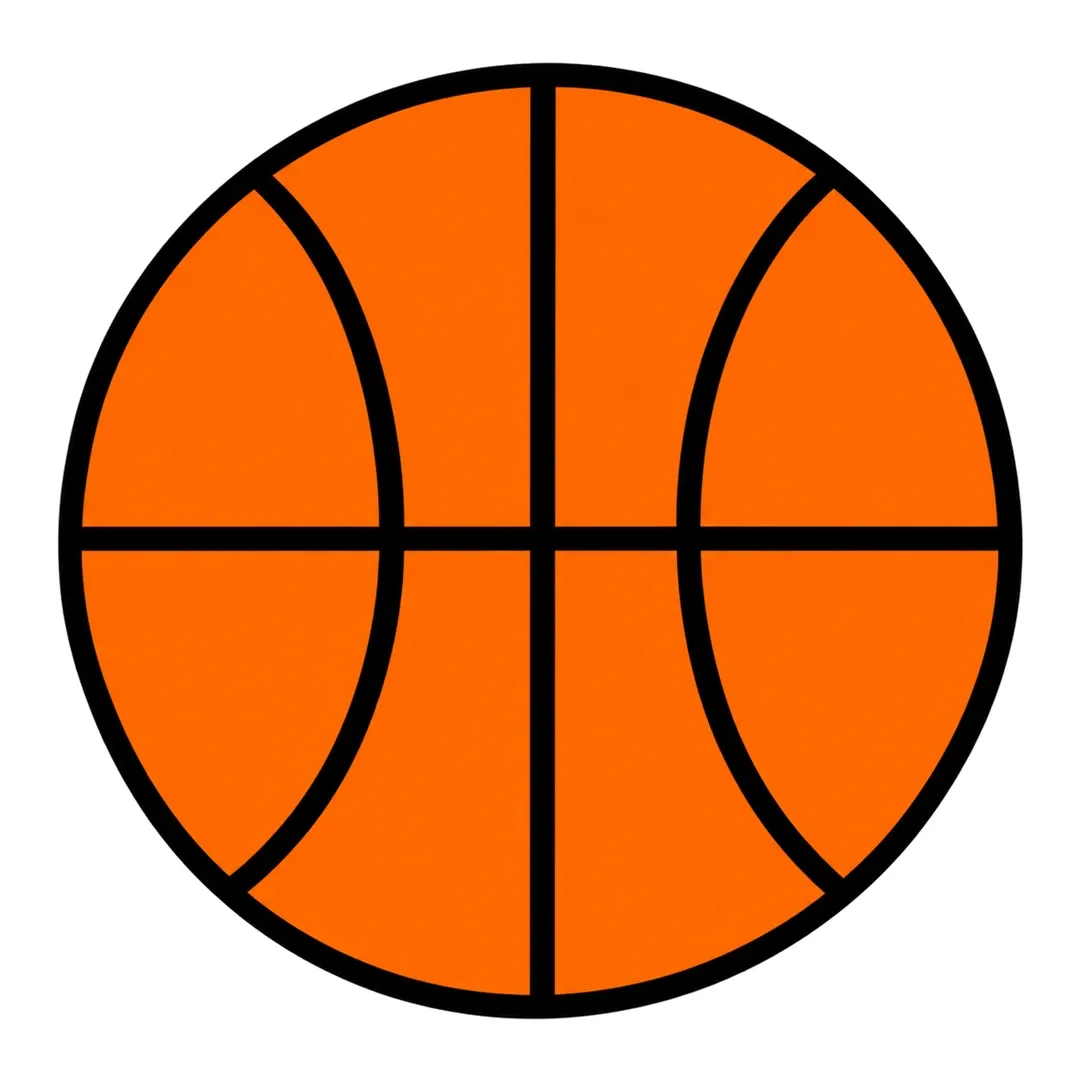
Step 6: Color the whole ball orange. Keep the black lines dark so they show.
The volleyball and soccer ball tutorials also start with “Draw a big circle”. The volleyball adds curved panels, and the soccer ball adds a pentagon in the middle.
Earth
Earth turns one circle into a whole planet, and how to draw Earth adds land, clouds and a smiling face (age 4 and up, our suggestion).
Mini steps: Draw a big circle for Earth. Add wavy land shapes on the left and right. Draw two fluffy clouds over the sides and erase the lines behind them. Give Earth two round eyes and a smile, then color the oceans blue and the land green.
-
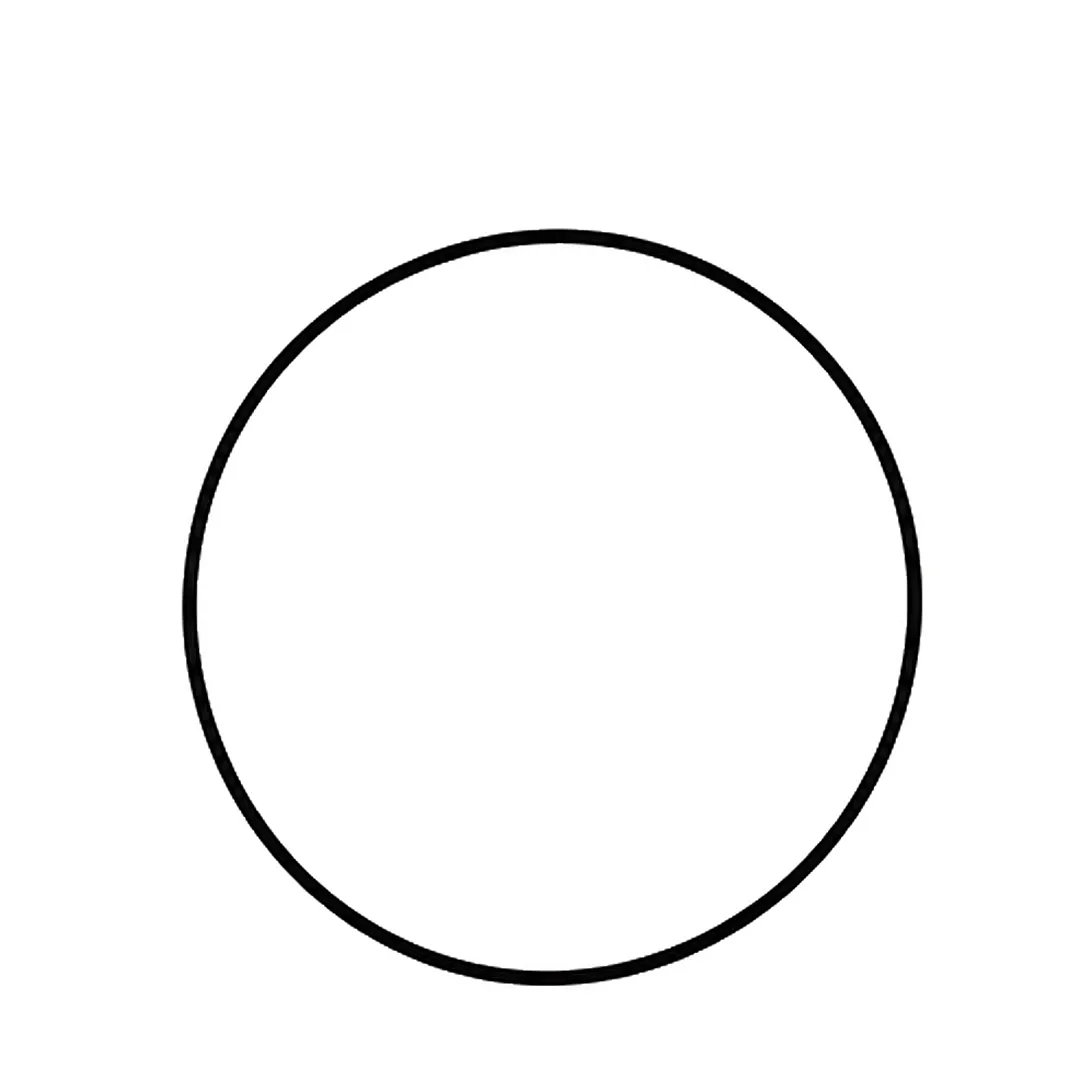
Step 1: Draw a big circle for Earth.
-
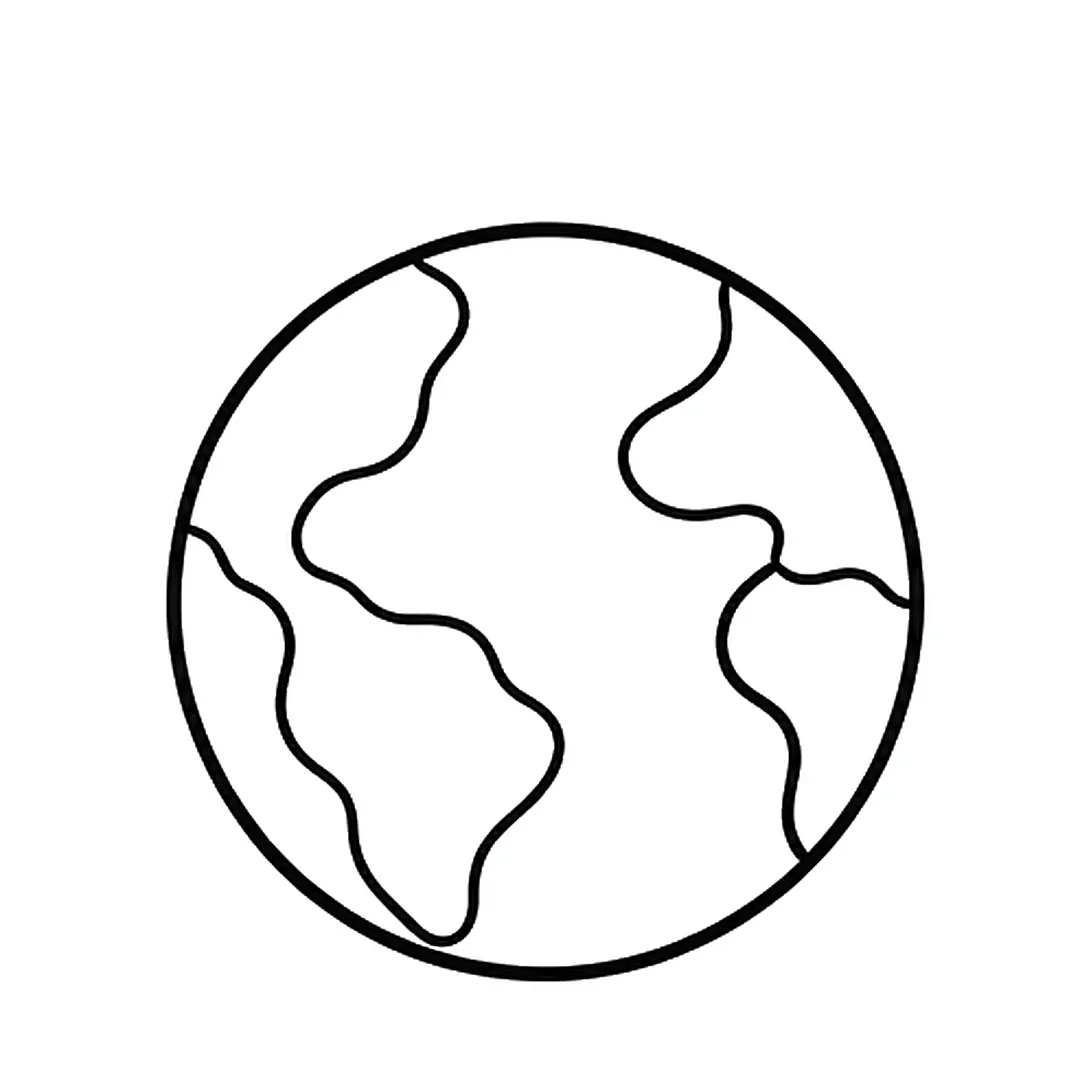
Step 2: Add wavy land shapes inside the circle, on the left and on the right.
-
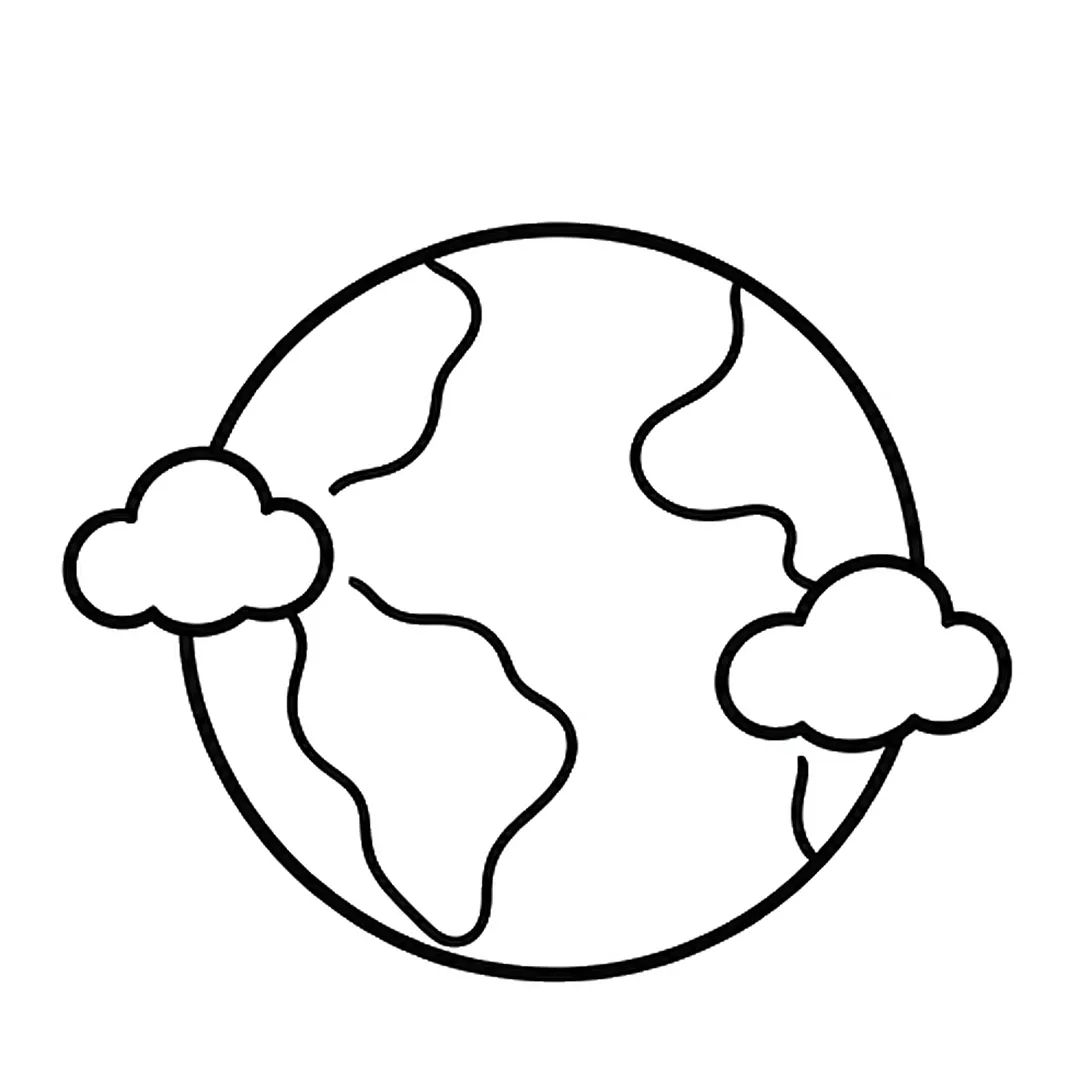
Step 3: Draw two fluffy clouds over the sides of the circle, then erase the lines behind them.
-
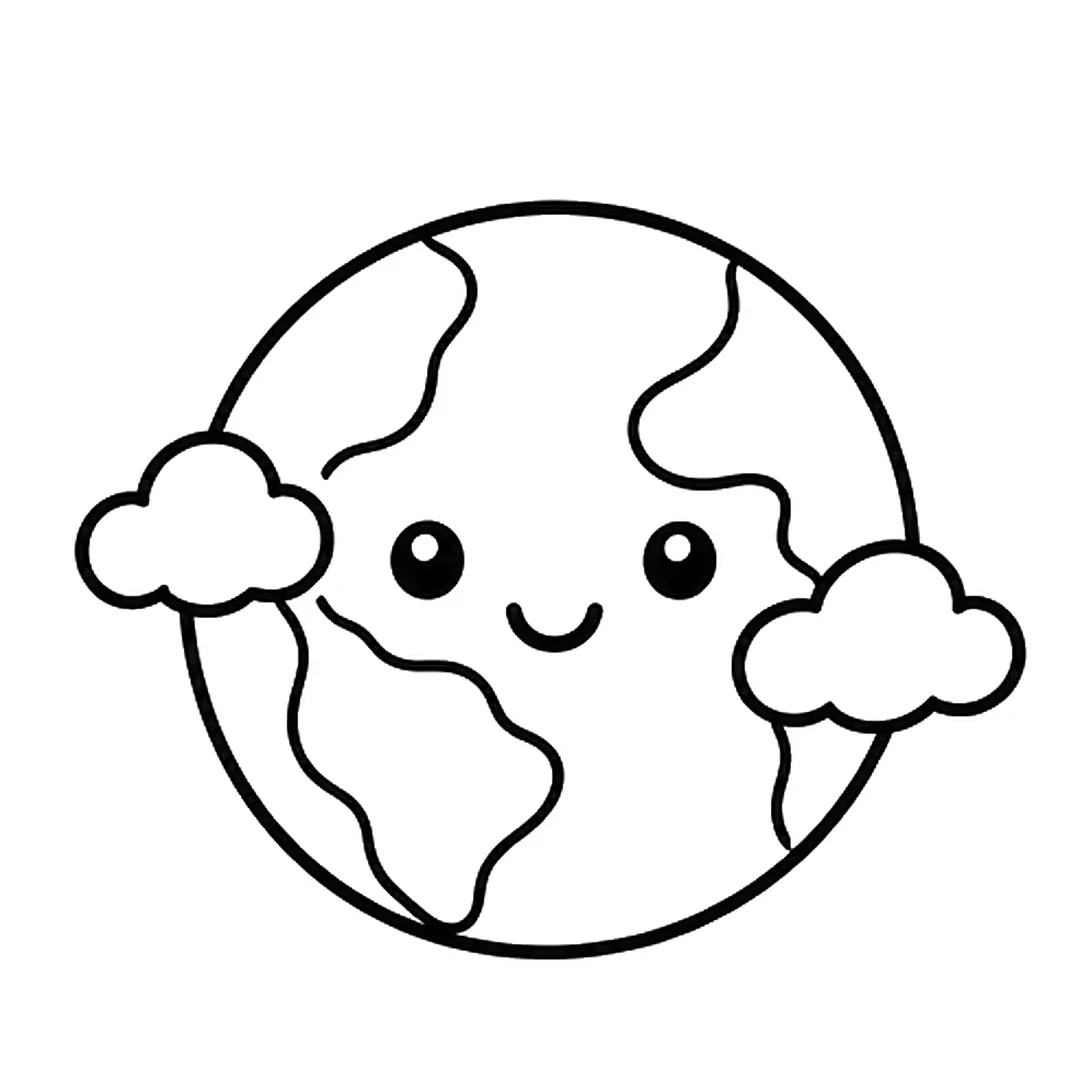
Step 4: Add two round eyes and a small smile in the middle.
-
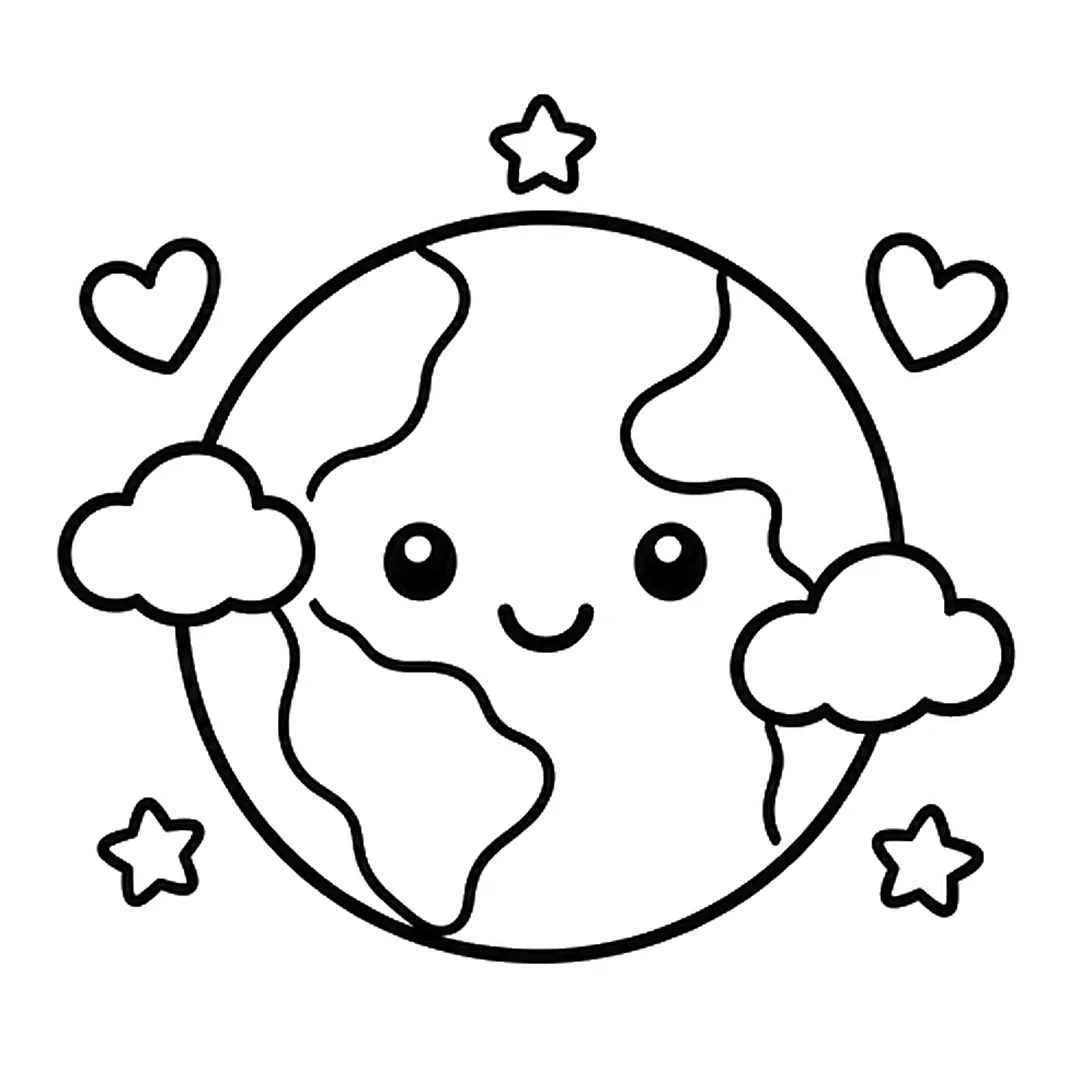
Step 5: Draw two small hearts at the top and three small stars around Earth.
-
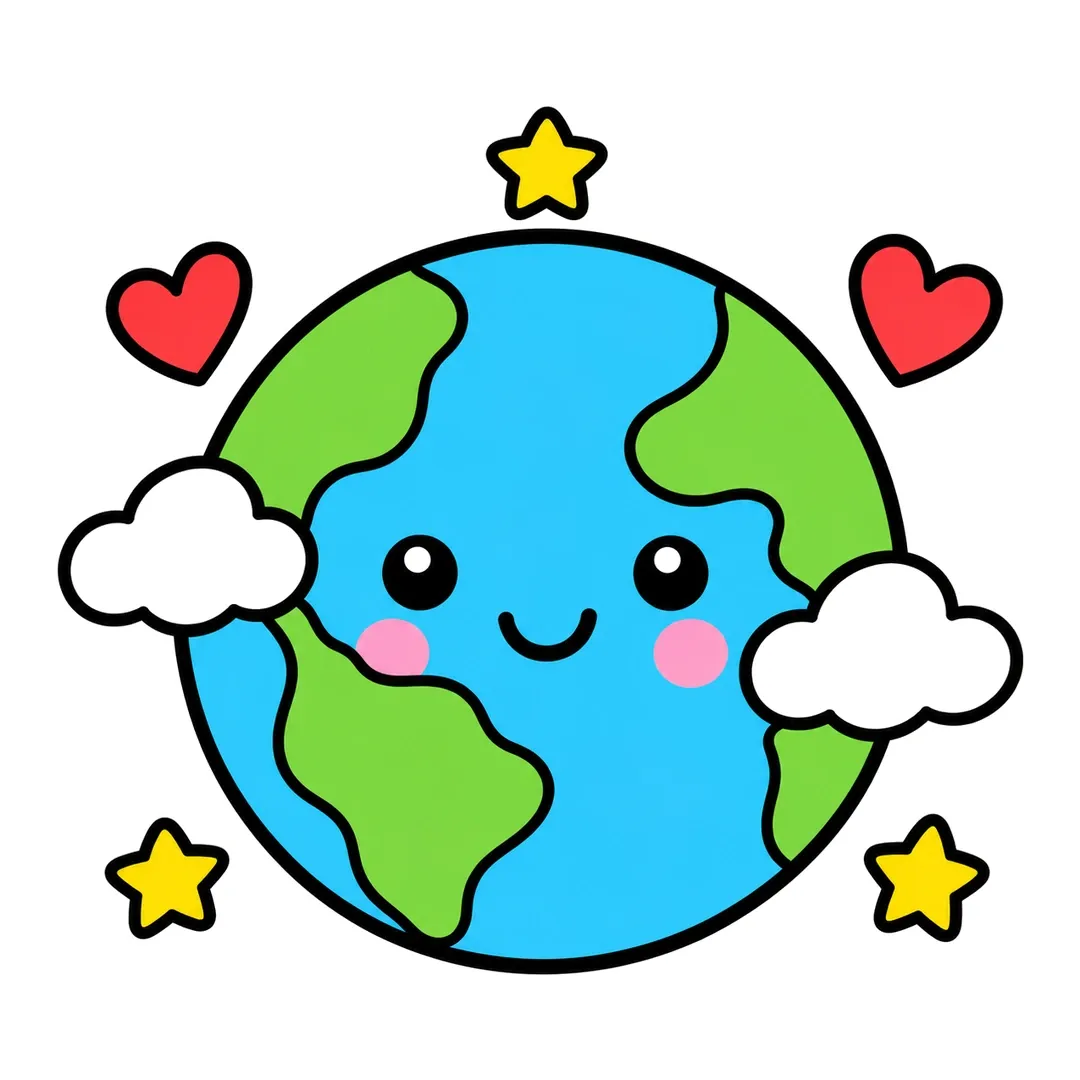
Step 6: Color the oceans blue, the land green, the hearts red, the stars yellow and add pink cheeks.
Spider
A spider is two circles and eight bent legs, so how to draw a spider teaches a child to stack one shape on another (age 4 and up, our suggestion).
Mini steps: Draw a big round body and a smaller round head on top. Give the head two big eyes and a small smile. Add four bent legs on each side, each made of two thin lines. Draw a thread going up from the head and color the spider black.
-
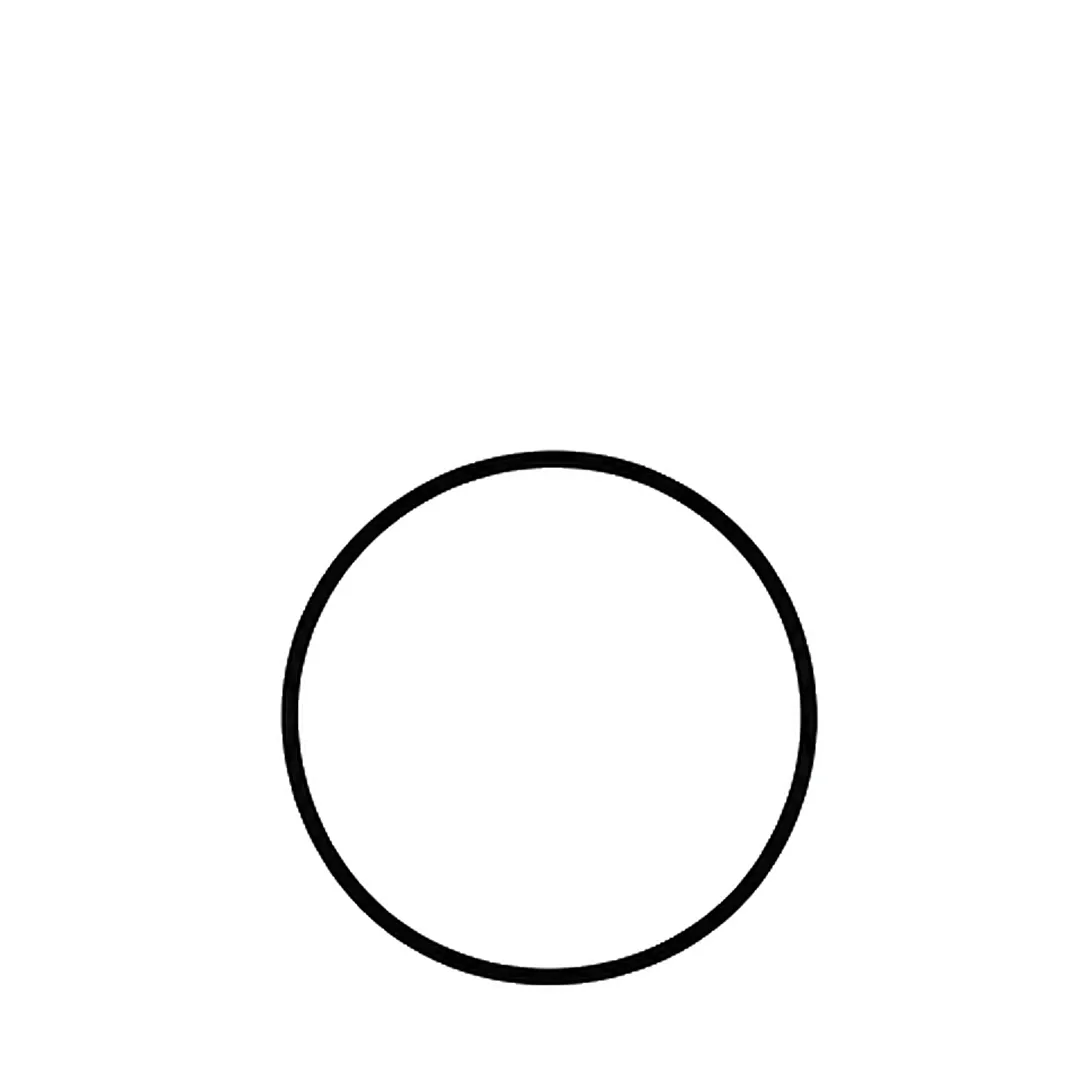
Step 1: Draw a big round body.
-
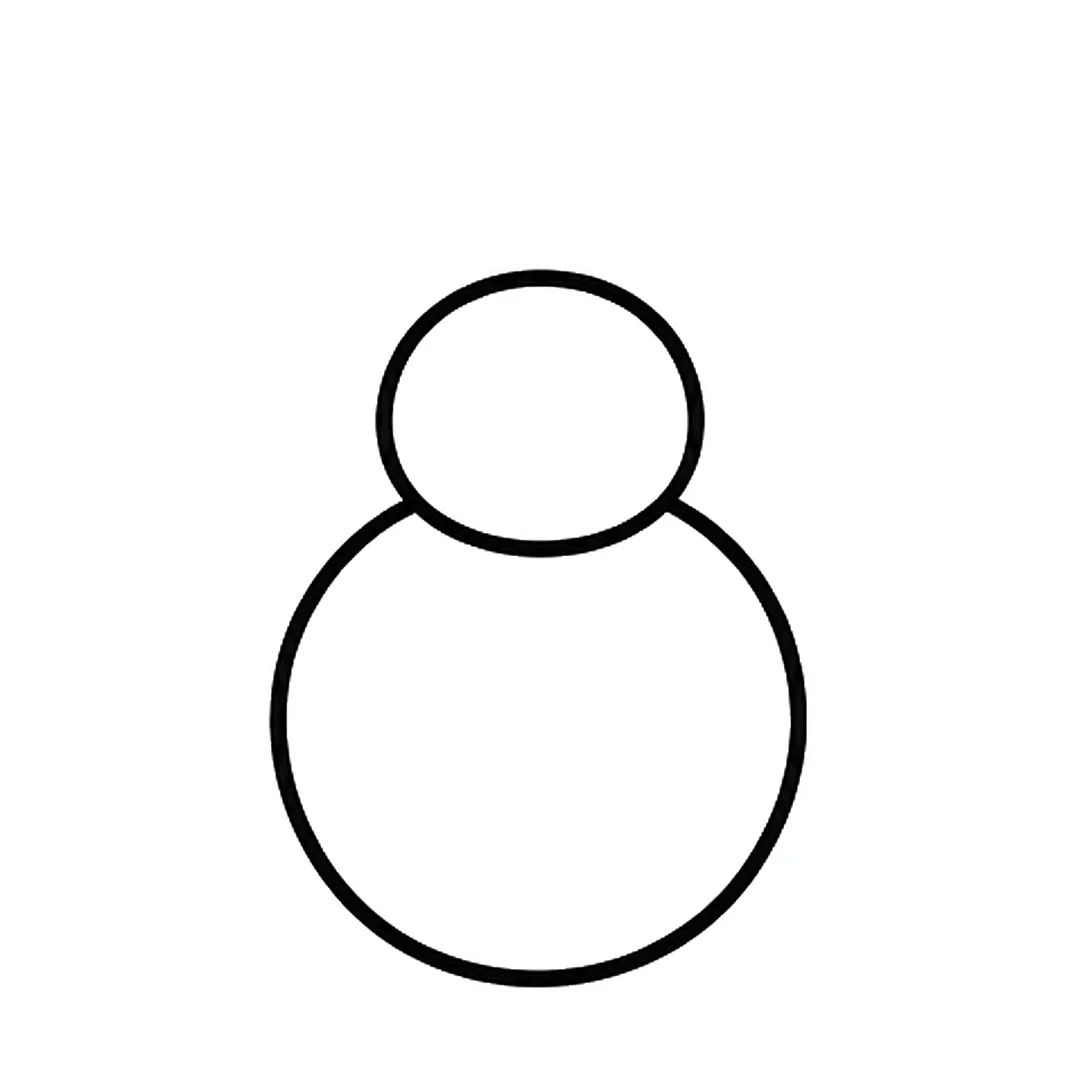
Step 2: Add a smaller round head on top. Erase the body line inside the head.
-
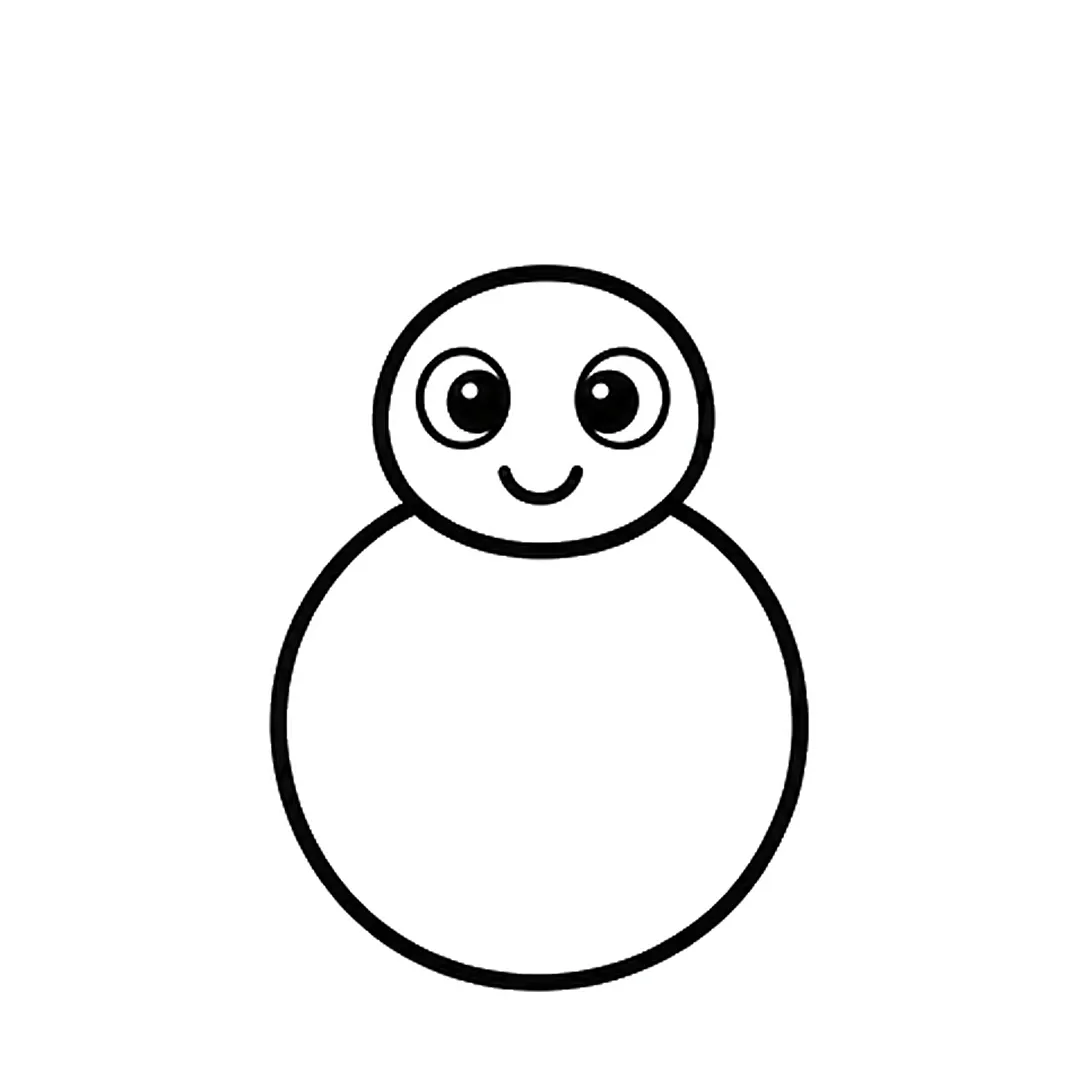
Step 3: Draw two big eyes with a ring, black pupils and shine dots, and a small smile.
-
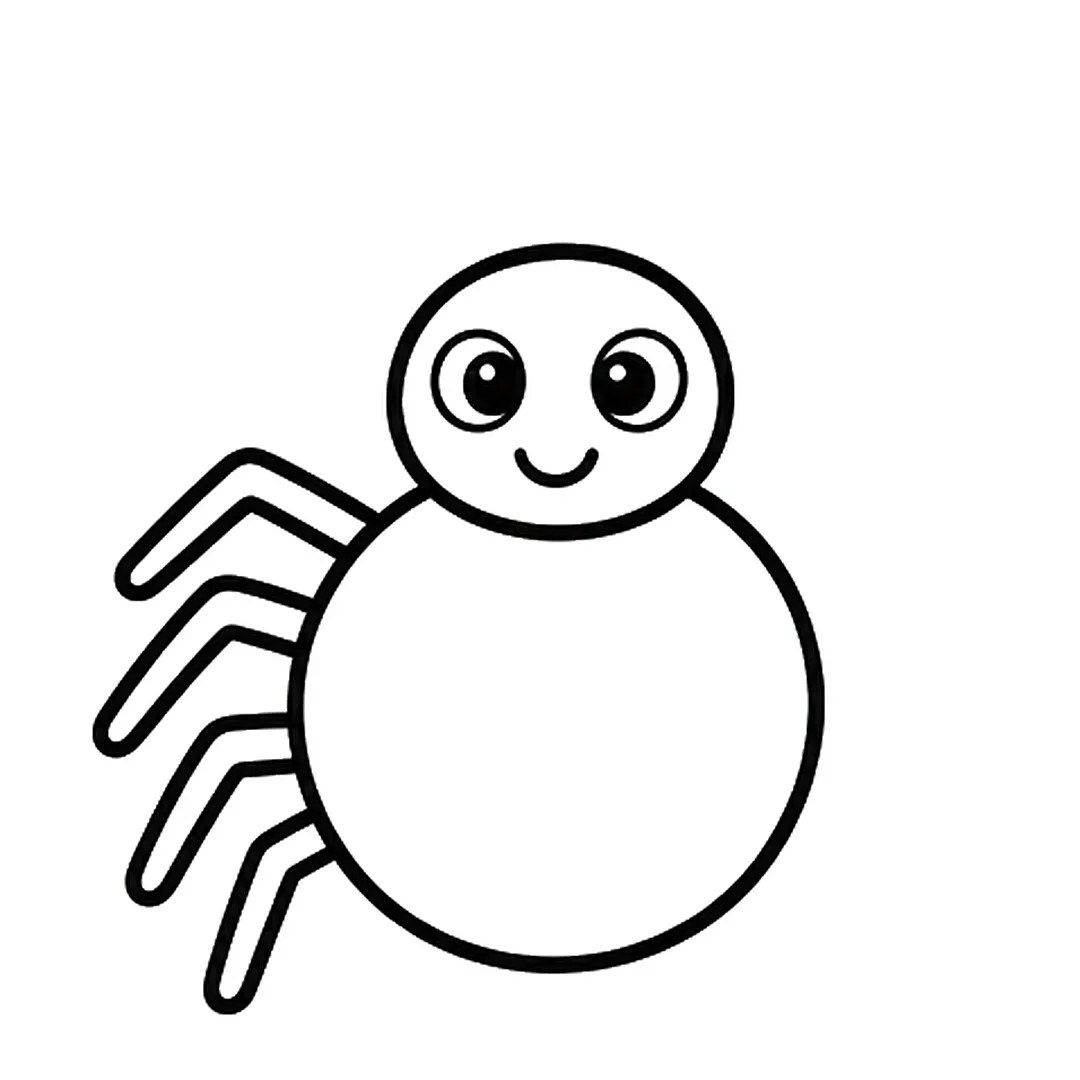
Step 4: Add four bent legs on the left side of the body. Draw each leg with two thin lines.
-
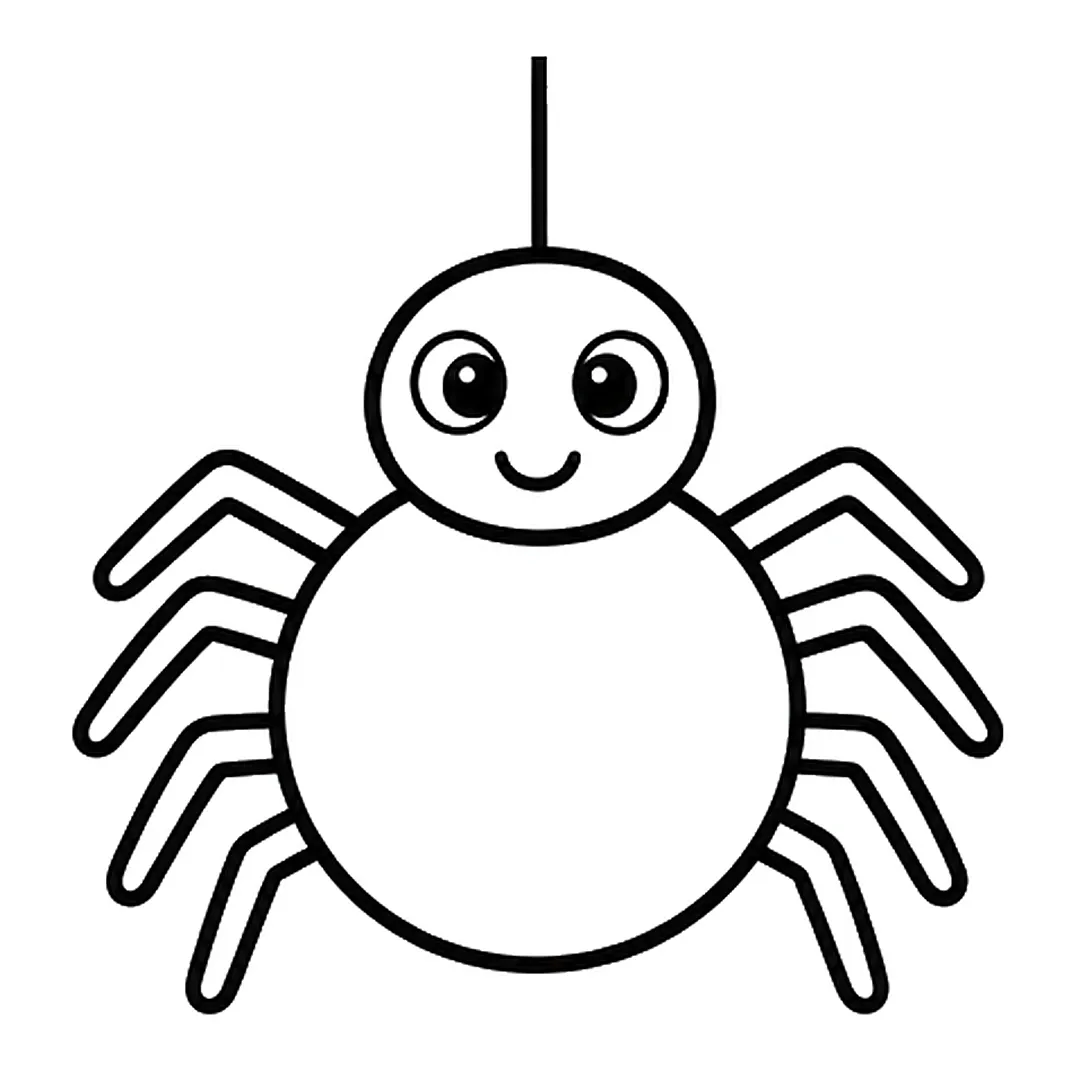
Step 5: Draw four matching bent legs on the right and a thin thread going straight up from the head.
-
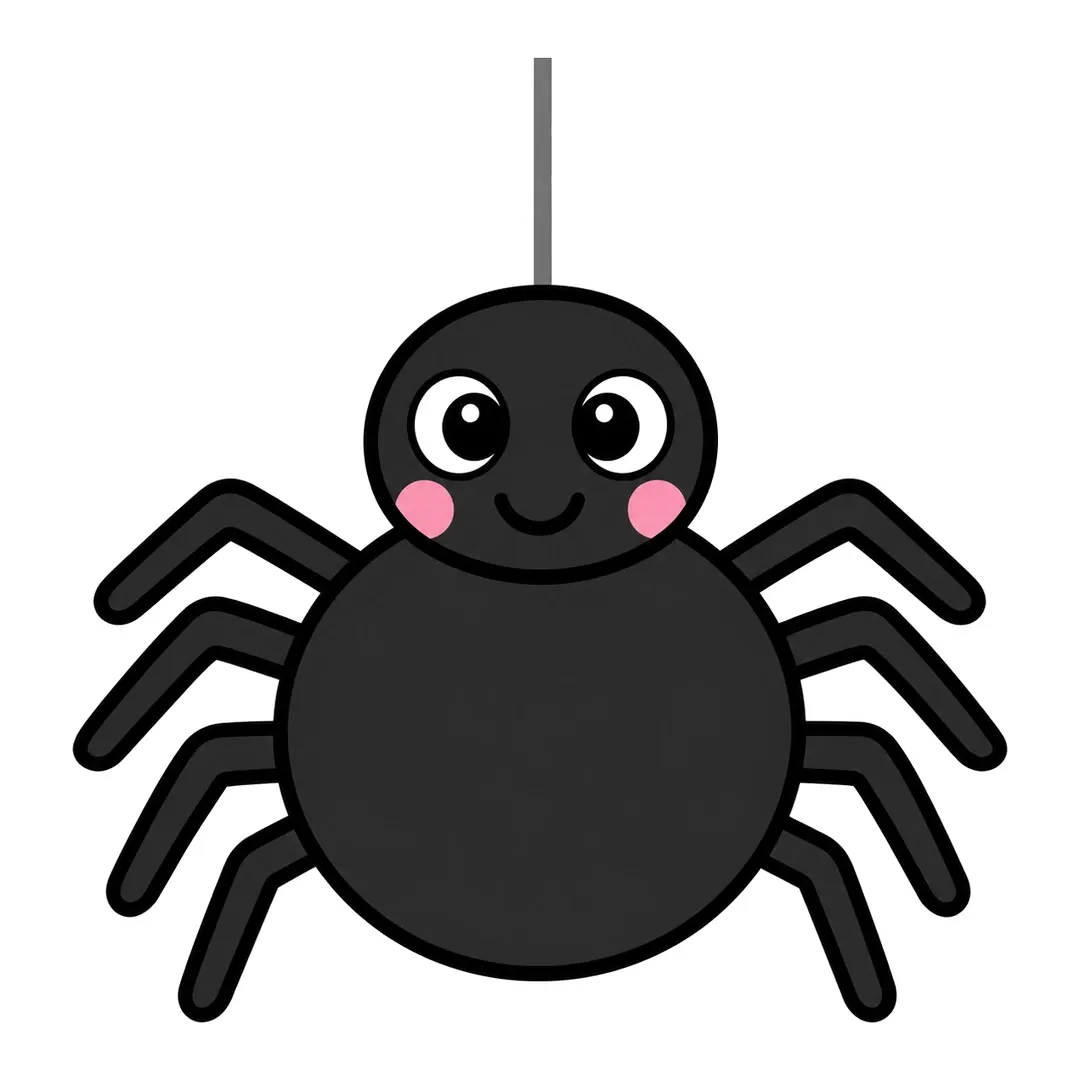
Step 6: Color the spider black and the thread gray. Leave the eyes white and add pink cheeks.
Snake
A snake starts with a round head and grows from one S-shaped curve, which makes how to draw a snake good line practice (age 4 and up, our suggestion).
Mini steps: Draw a round head with a small round snout. Add a long S-shaped neck curving down from it. Finish the body with a round coil and a pointed tail. Add eyes, a smile, a forked tongue and spots, then color the snake green and yellow.
-
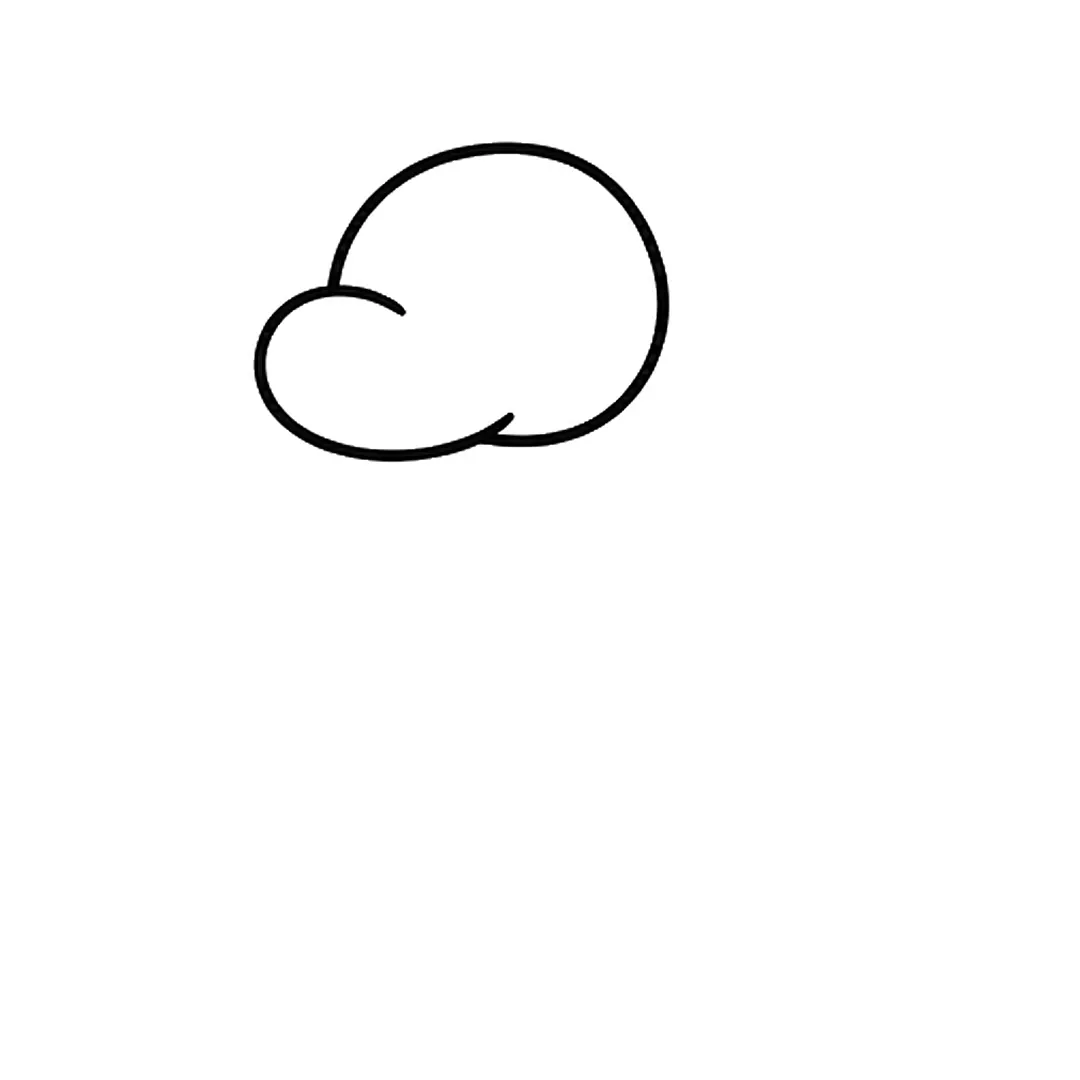
Step 1: Draw a round head with a small round snout on the left.
-
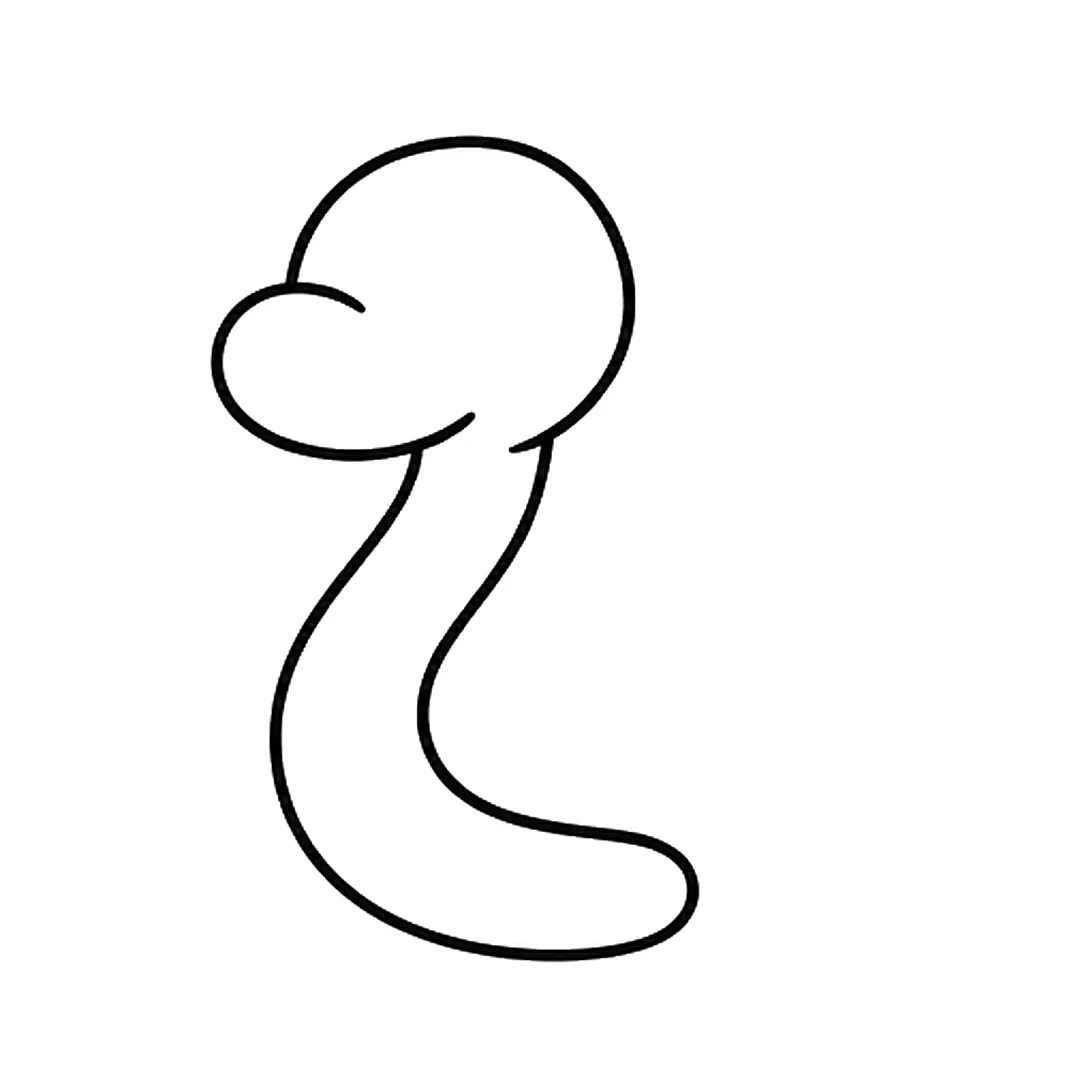
Step 2: Add a long S-shaped neck curving down from the head.
-
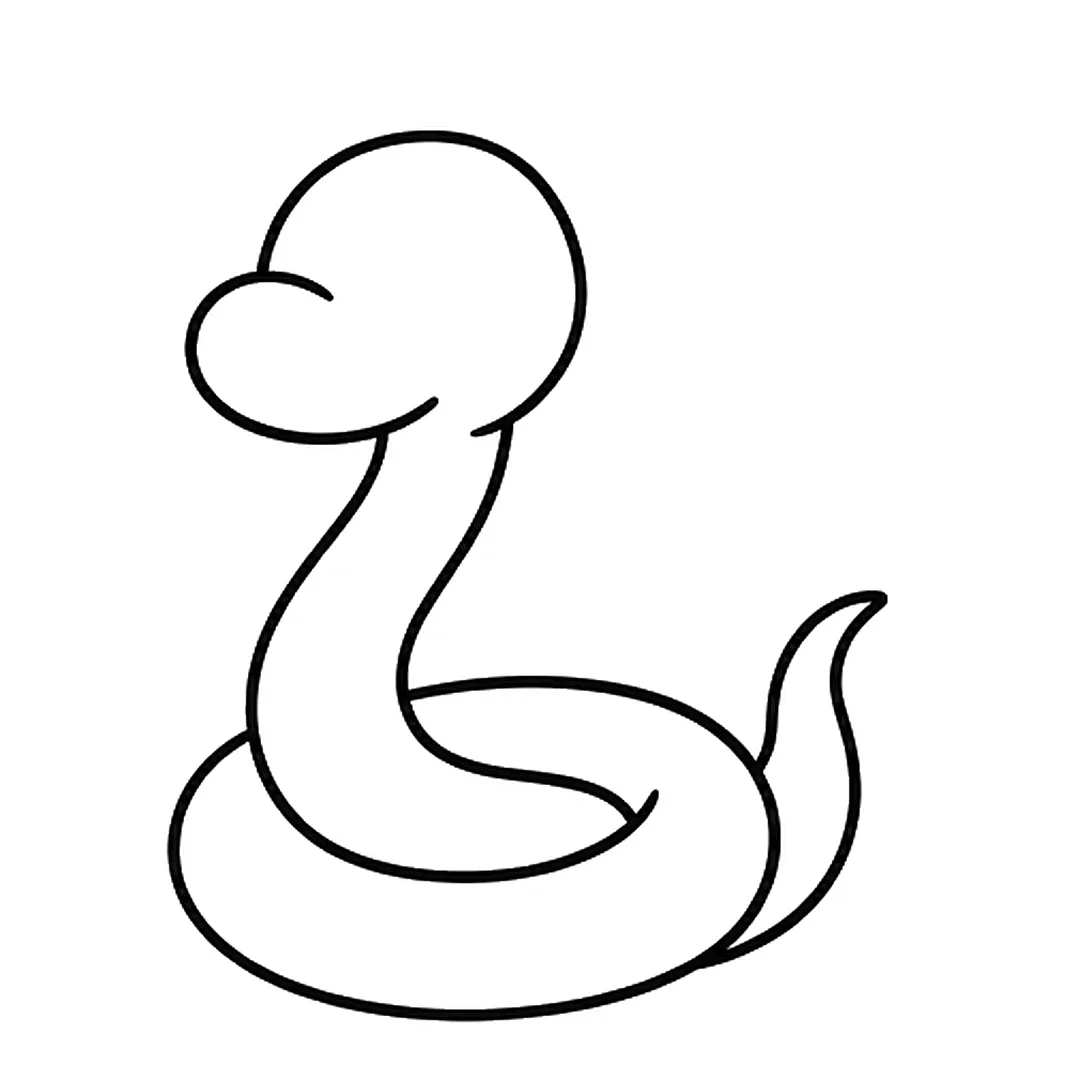
Step 3: Draw a round coil at the bottom and a pointed tail on the right. Erase the neck's round end.
-
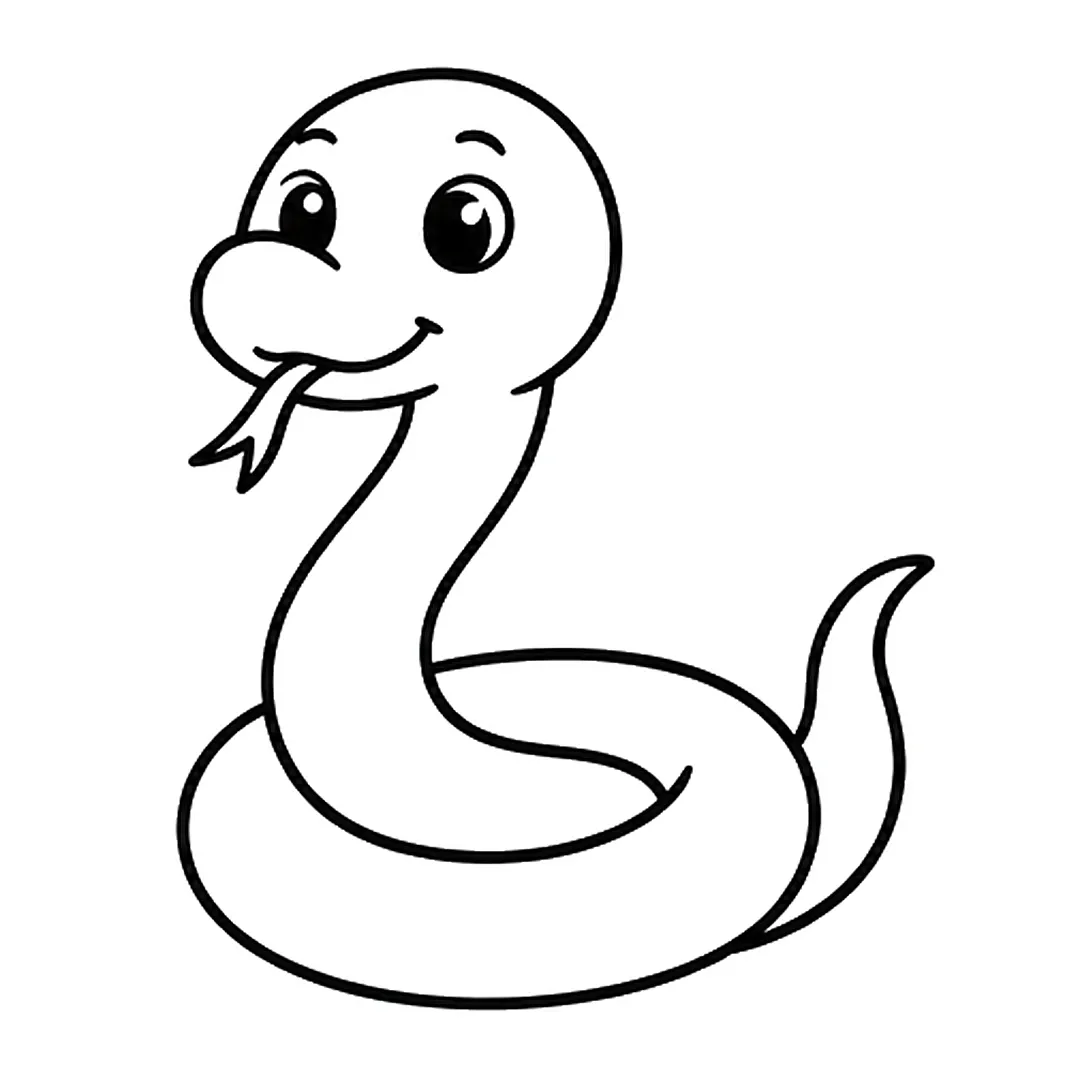
Step 4: Add two big eyes with eyebrows, a smile and a forked tongue.
-
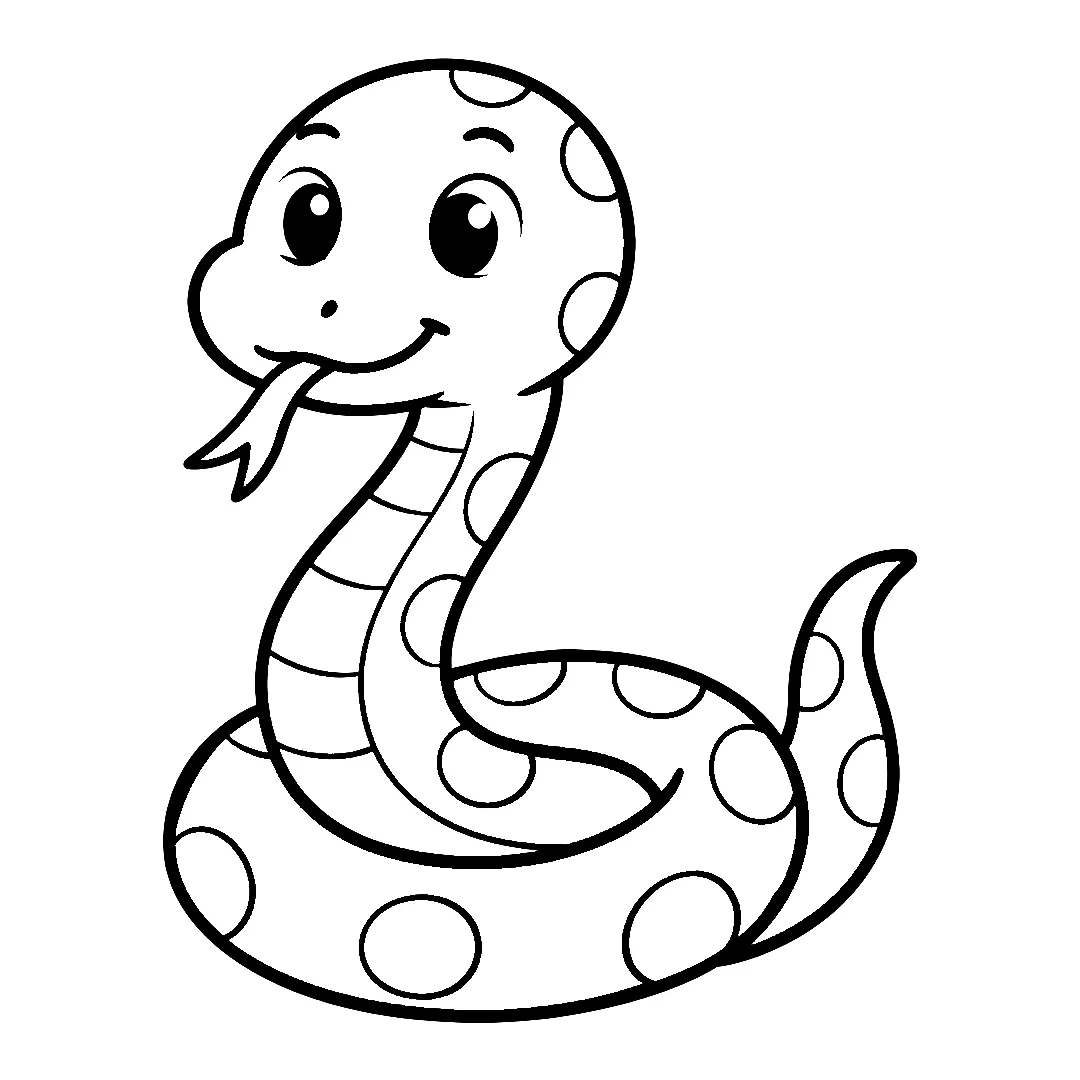
Step 5: Draw spots on the head, back, coil and tail, a belly stripe with cross lines and a nostril dot.
-
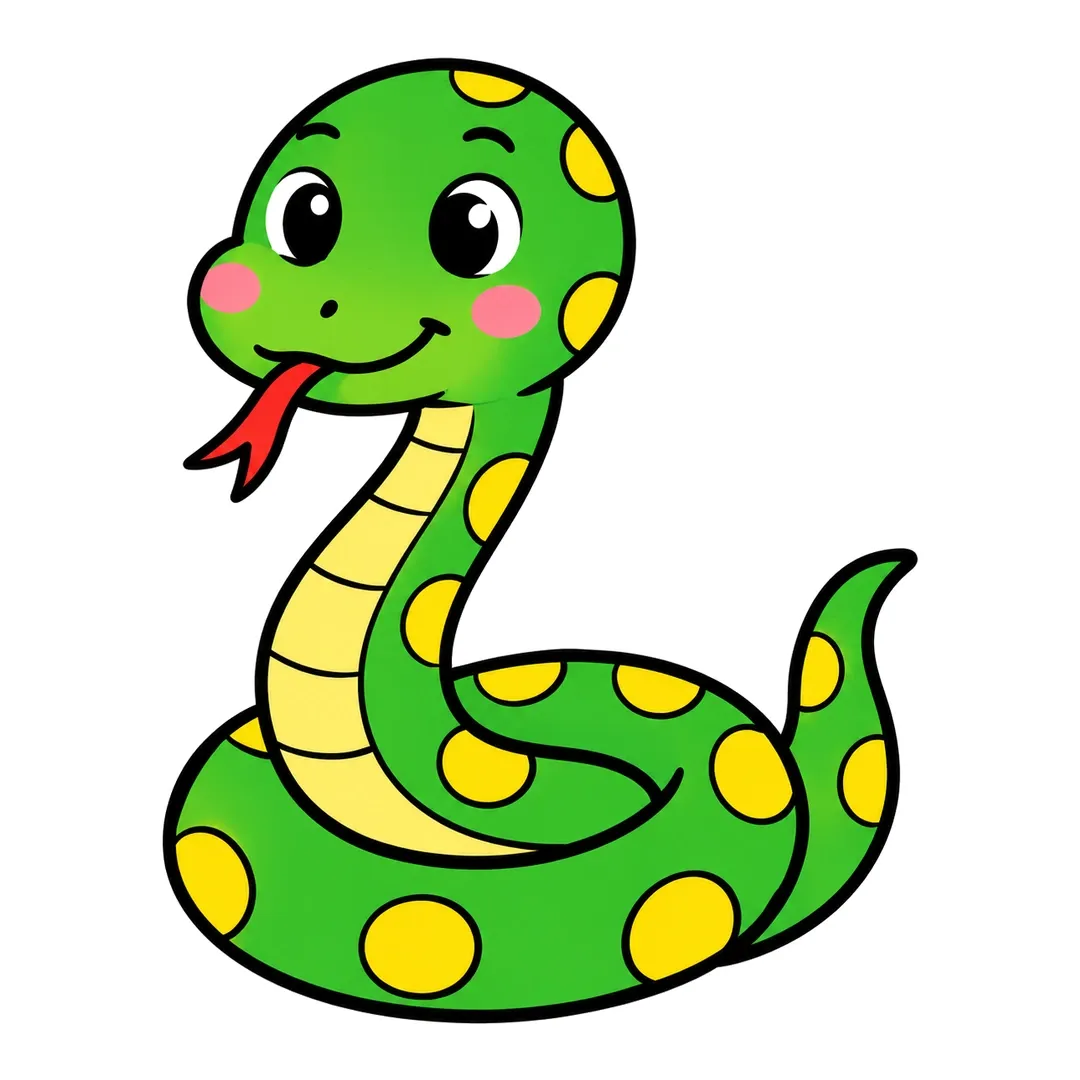
Step 6: Color the snake green, the spots and belly yellow and the tongue red. Add pink cheeks.
What Simple Drawings Start With an Oval or an Almond?
Simple drawings that start with an oval or an almond include a pumpkin, a dove and an eye. An oval is a stretched circle, so it follows circle drawings naturally. An almond is an oval with two pointed ends; we suggest it for ages 5 and 6. Each of these tutorials has 6 steps.
Pumpkin
A pumpkin is three rounded sections side by side, and how to draw a pumpkin starts with a tall oval in the middle (age 4 and up, our suggestion).
Mini steps: Draw a tall oval in the middle of the page. Tuck a wide rounded section behind it on each side. Add a short curved stem, a leaf and a curly vine. Color the pumpkin orange, the stem brown and the leaf green.
-

Step 1: Draw a tall oval in the middle of the page.
-
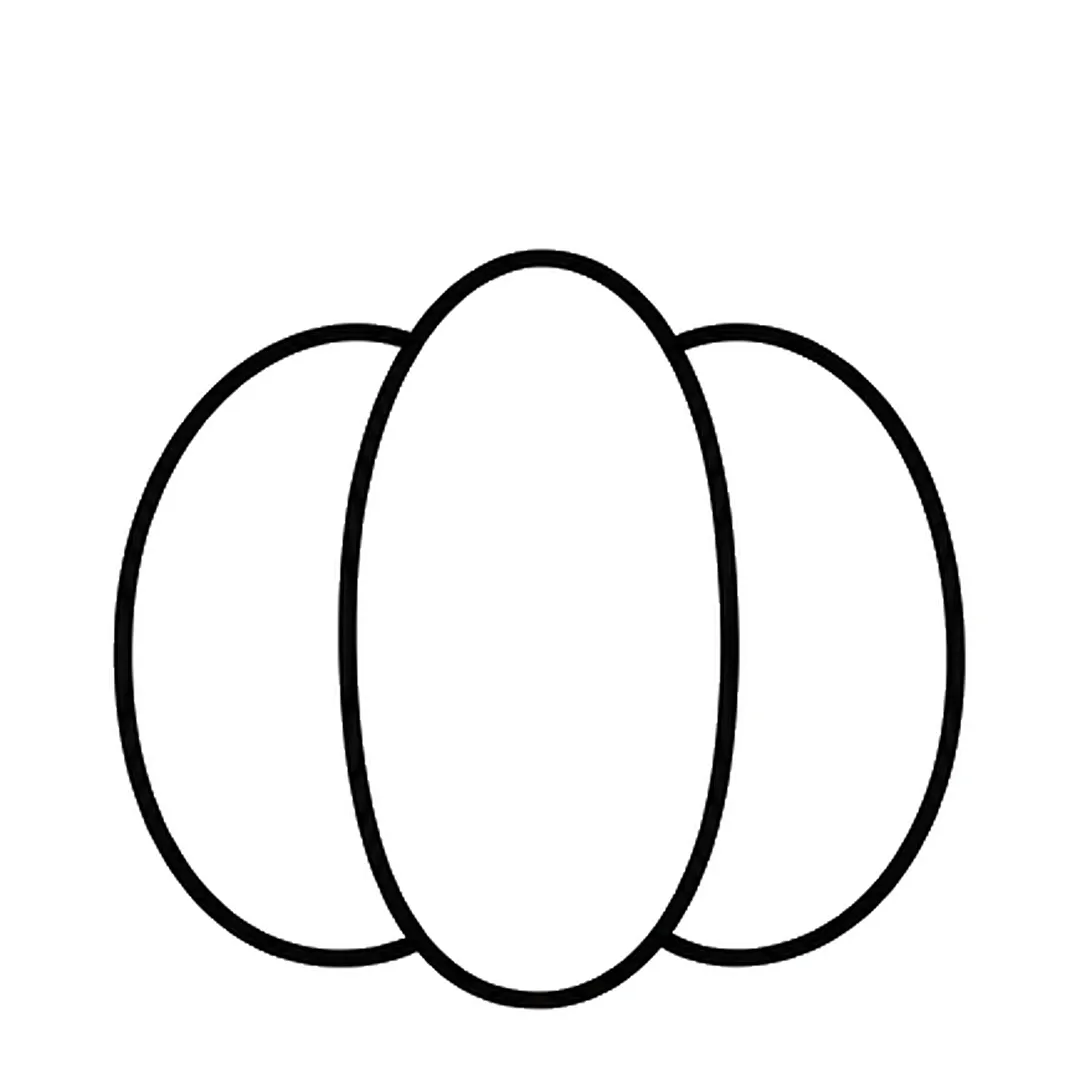
Step 2: Add a wide rounded section on each side, tucked behind the oval.
-
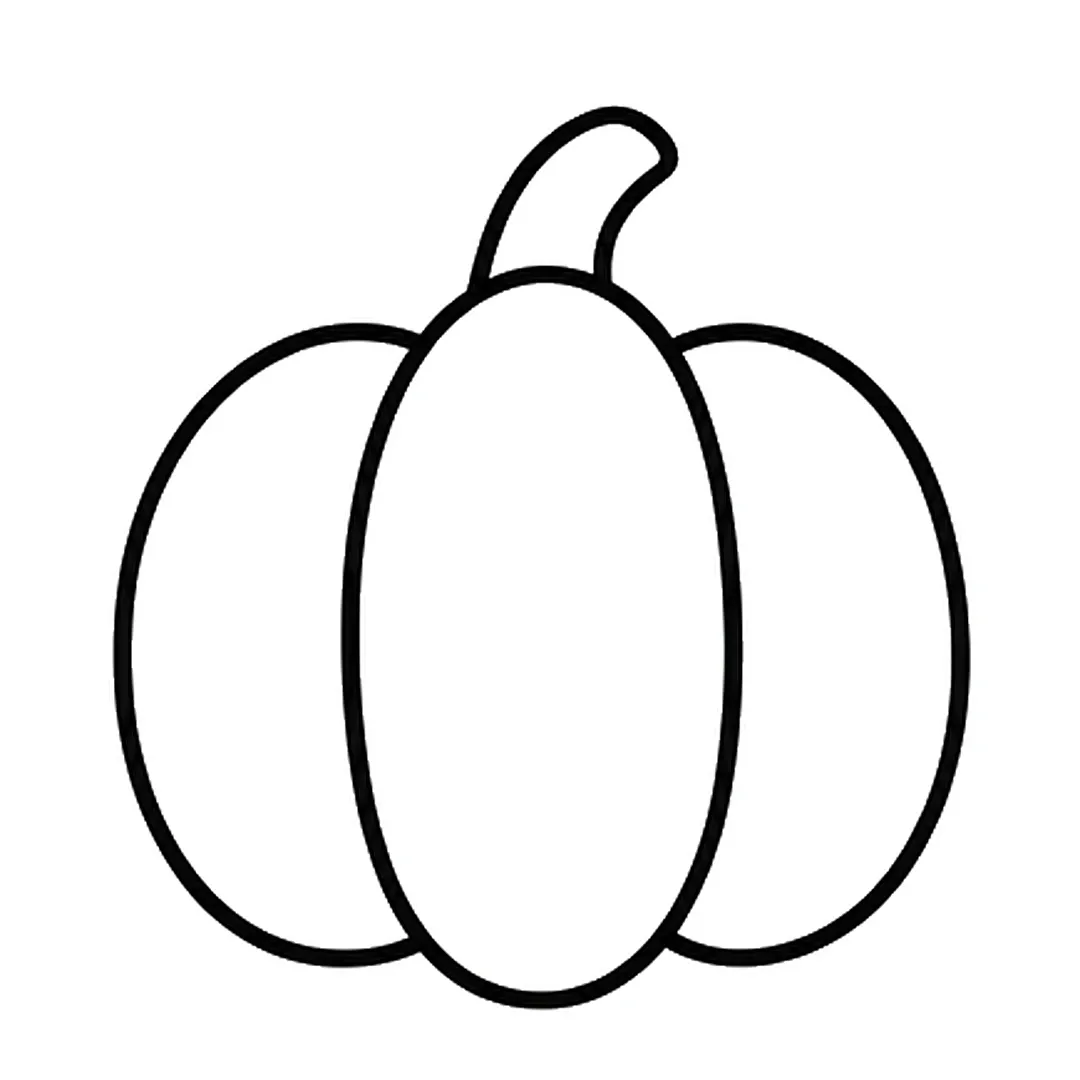
Step 3: Draw a short, curved stem on top.
-
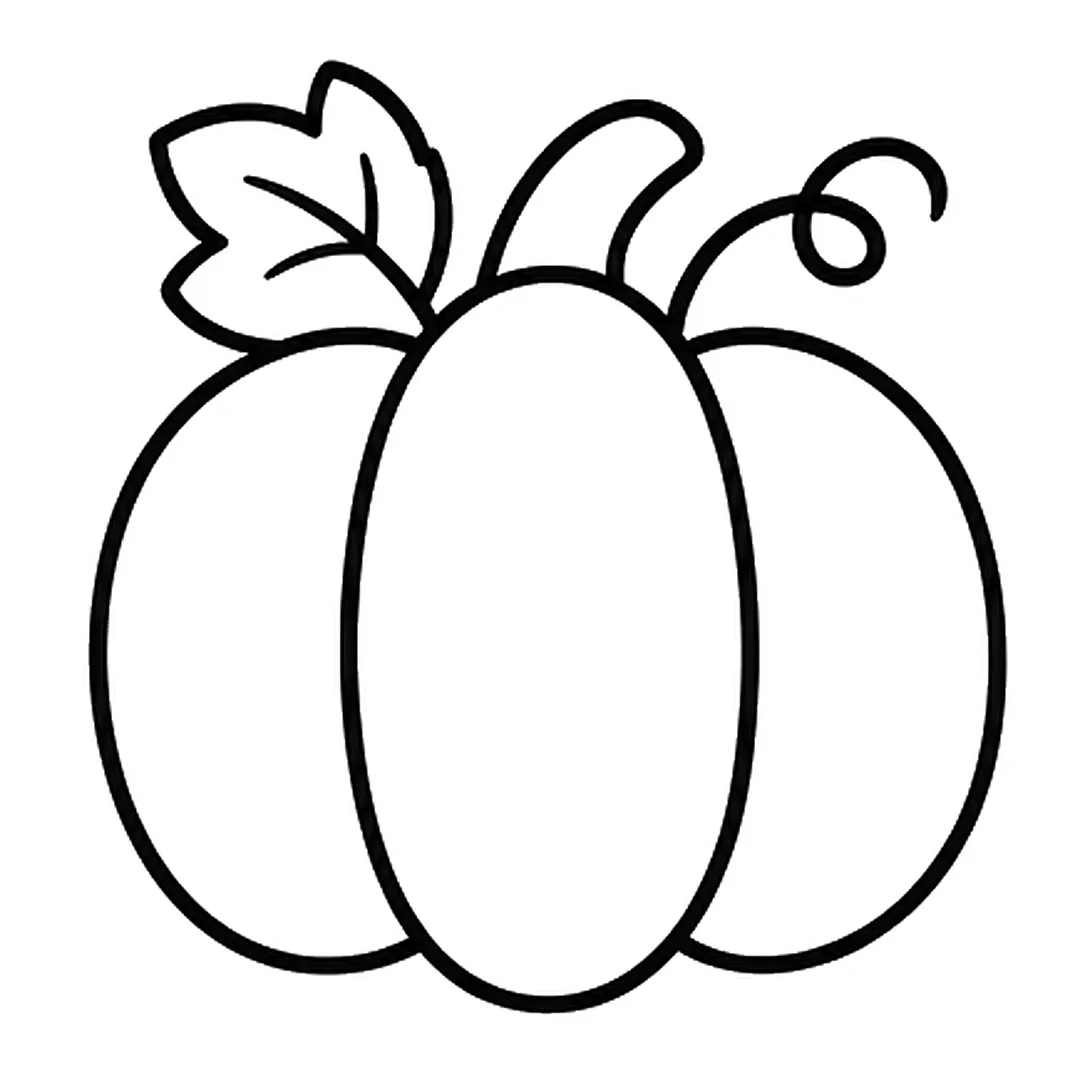
Step 4: Add a leaf on the left of the stem and a curly vine on the right.
-
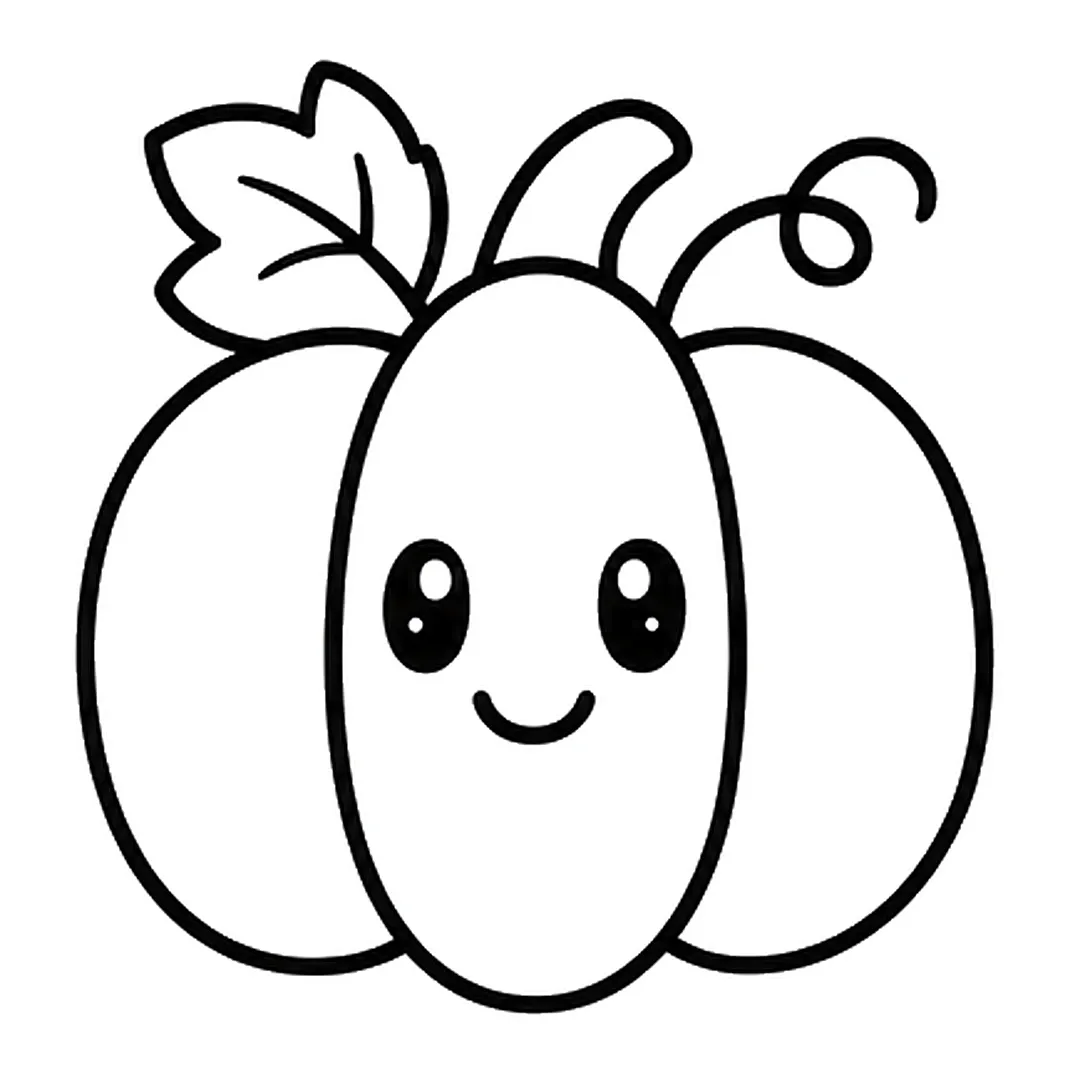
Step 5: Draw two big round eyes and a small smile on the middle section.
-
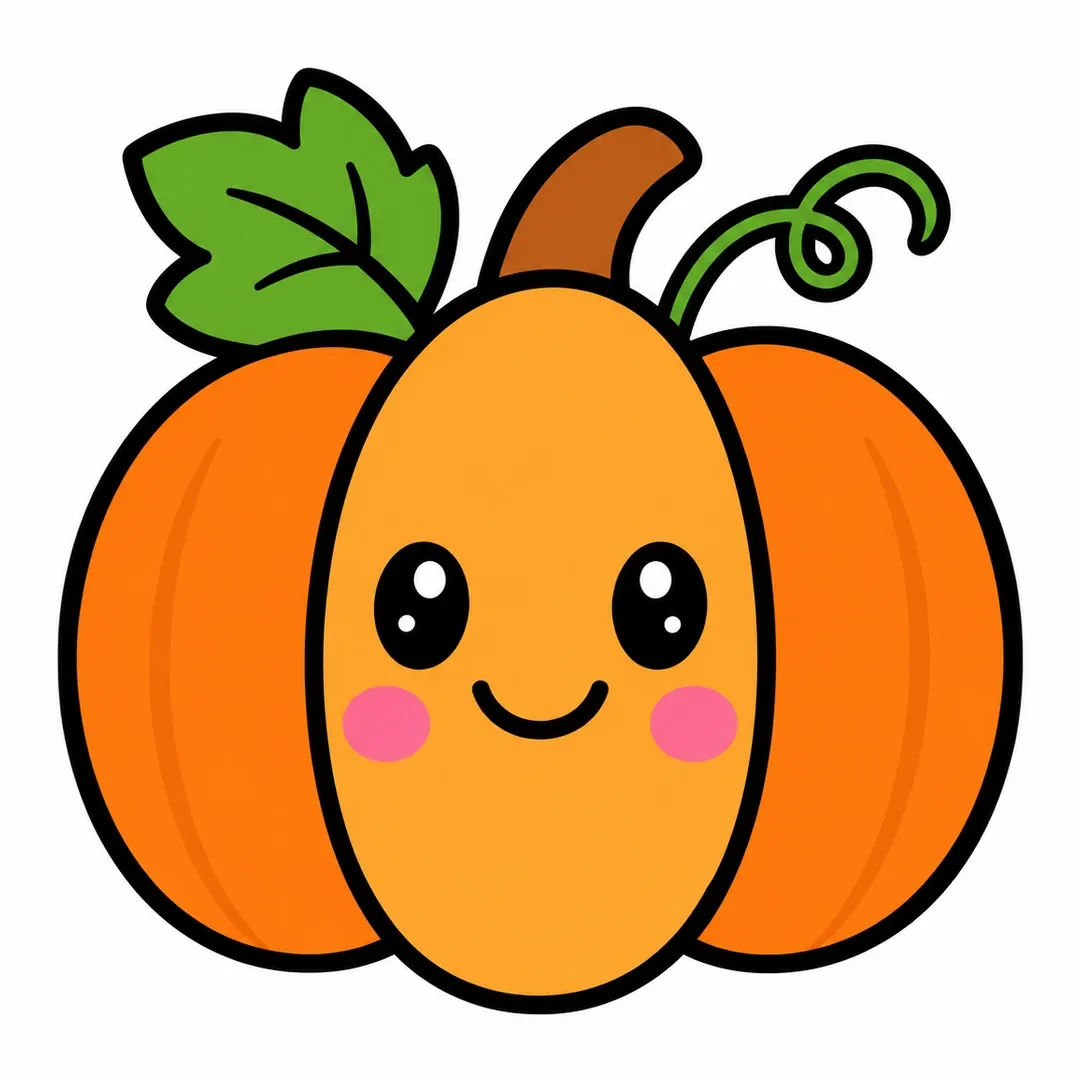
Step 6: Color the pumpkin orange, the stem brown, the leaf and vine green, and add pink cheeks.
Dove
A dove is an oval body with a round head, so how to draw a dove joins two familiar shapes into a bird (age 5 and up, our suggestion).
Mini steps: Start with a wide, slightly tilted oval for the body and a round head at its top right. Add a big wing with round feathers on the back. Draw a fan tail with four round feathers. Give the dove an eye, a pointed beak and a leafy stick, then color the wing light gray.
-
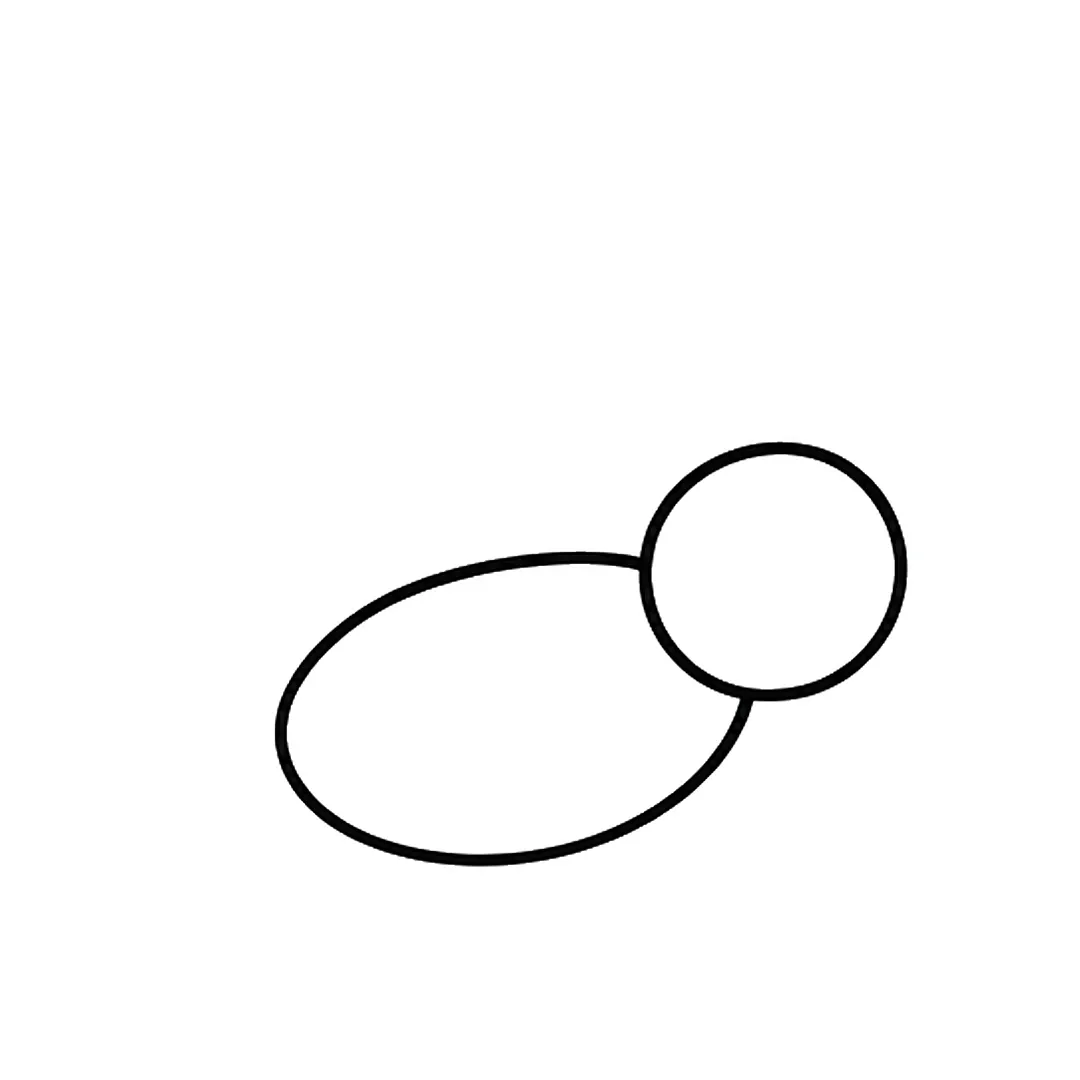
Step 1: Draw a wide oval body, tilted up a little, and a round head on its upper right end.
-
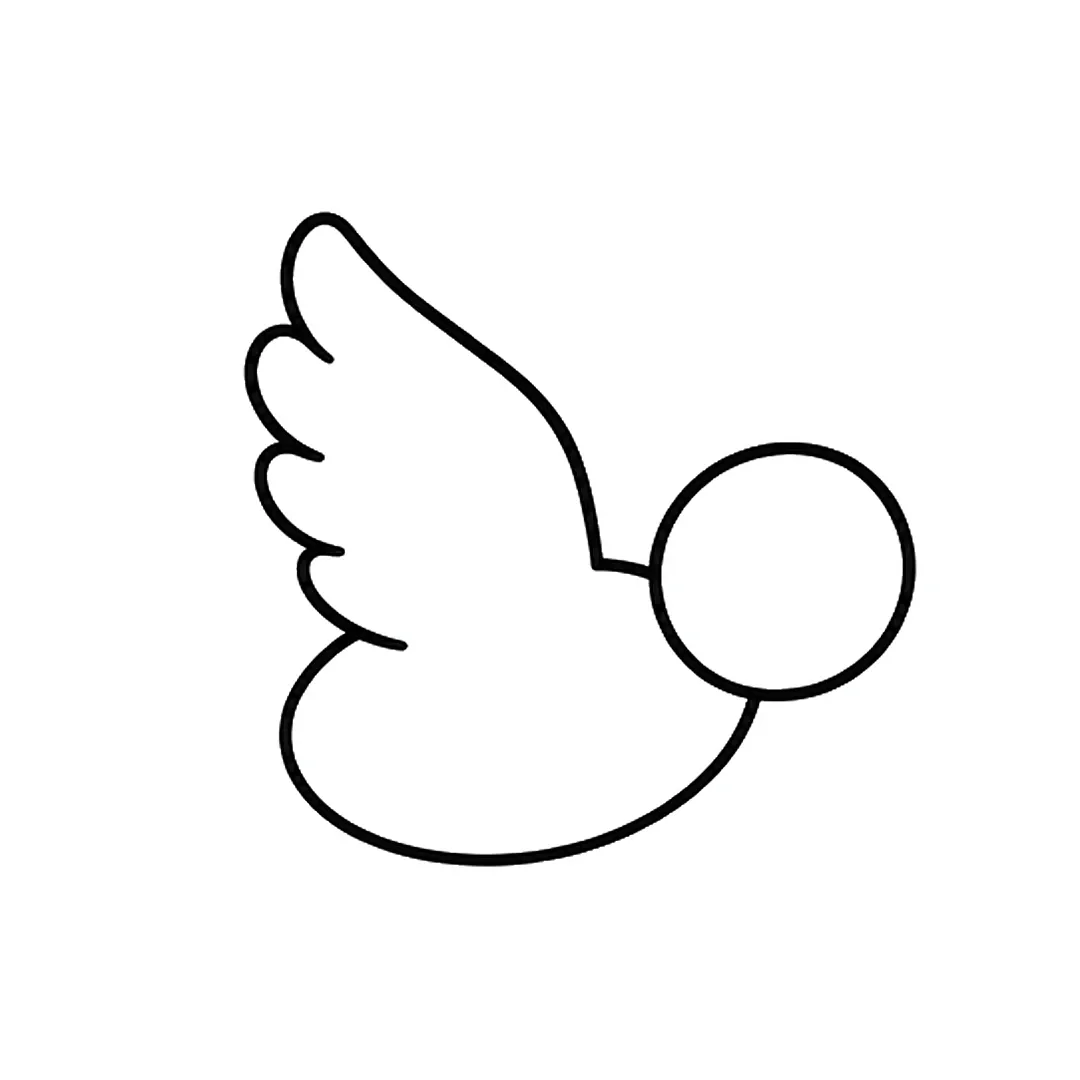
Step 2: Add a big wing on the back with four round feathers on its left. Erase the body line inside it.
-
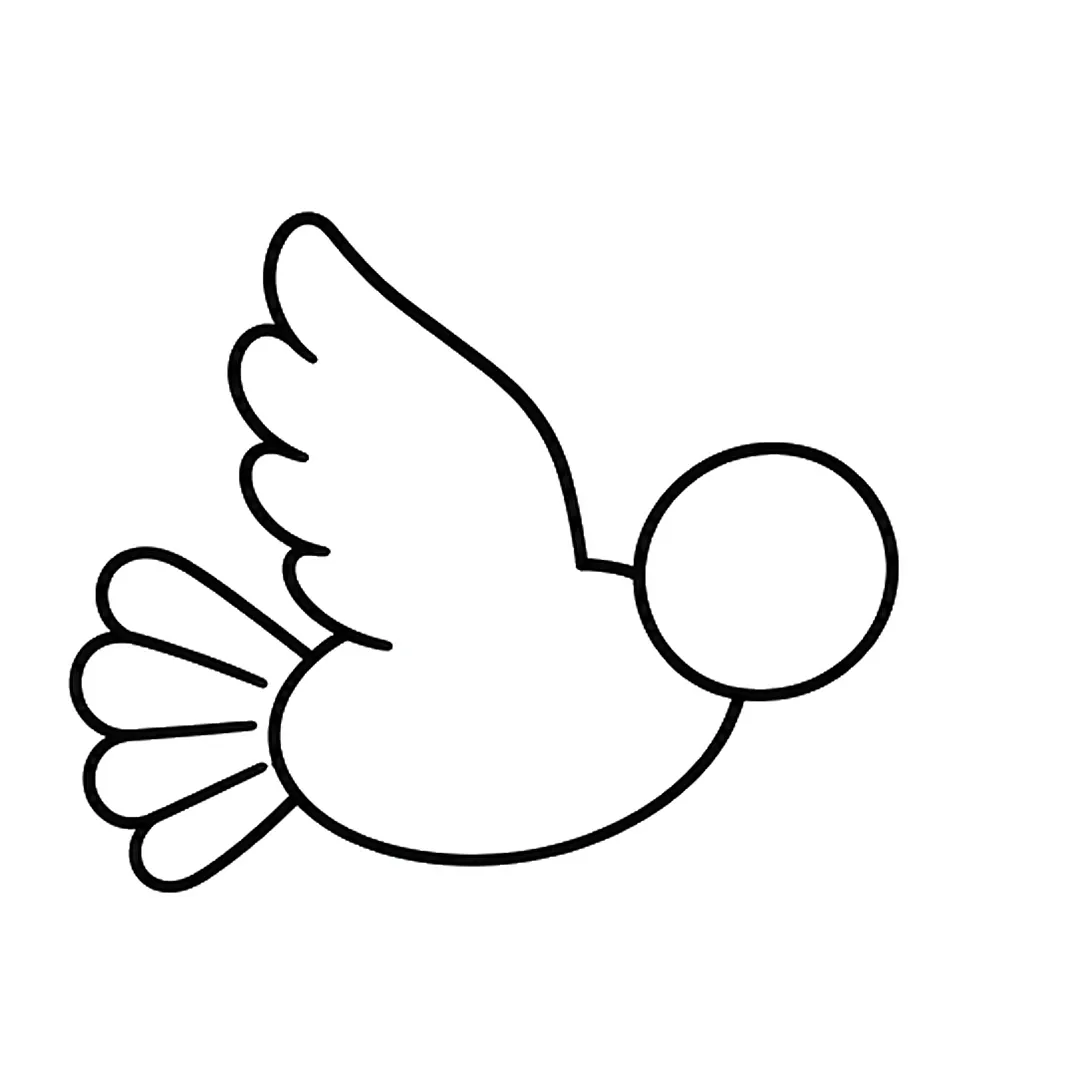
Step 3: Draw a fan tail behind the left end of the body with four round feathers and three lines.
-
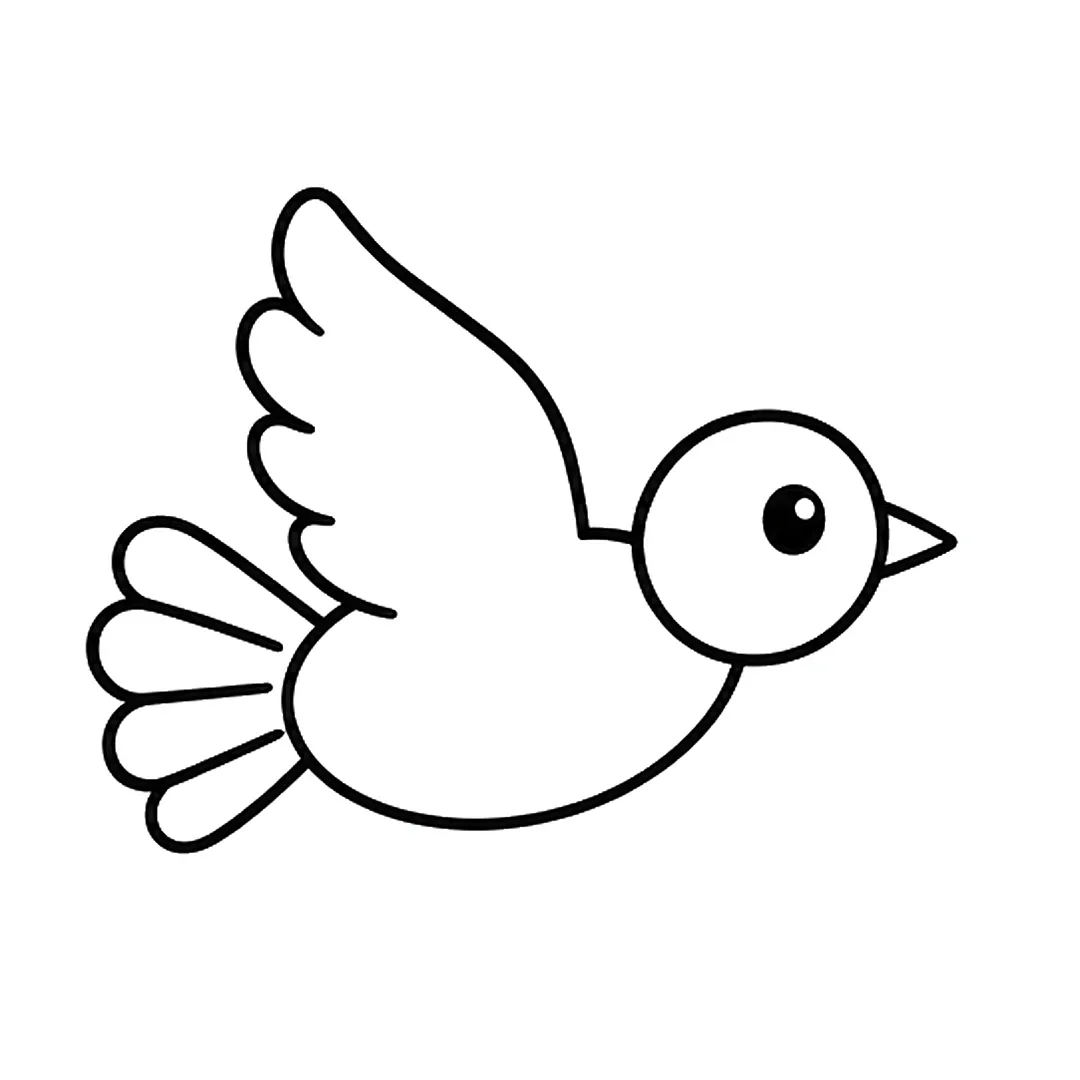
Step 4: Add a black eye with a white shine dot and a small pointed beak on the right side of the head.
-
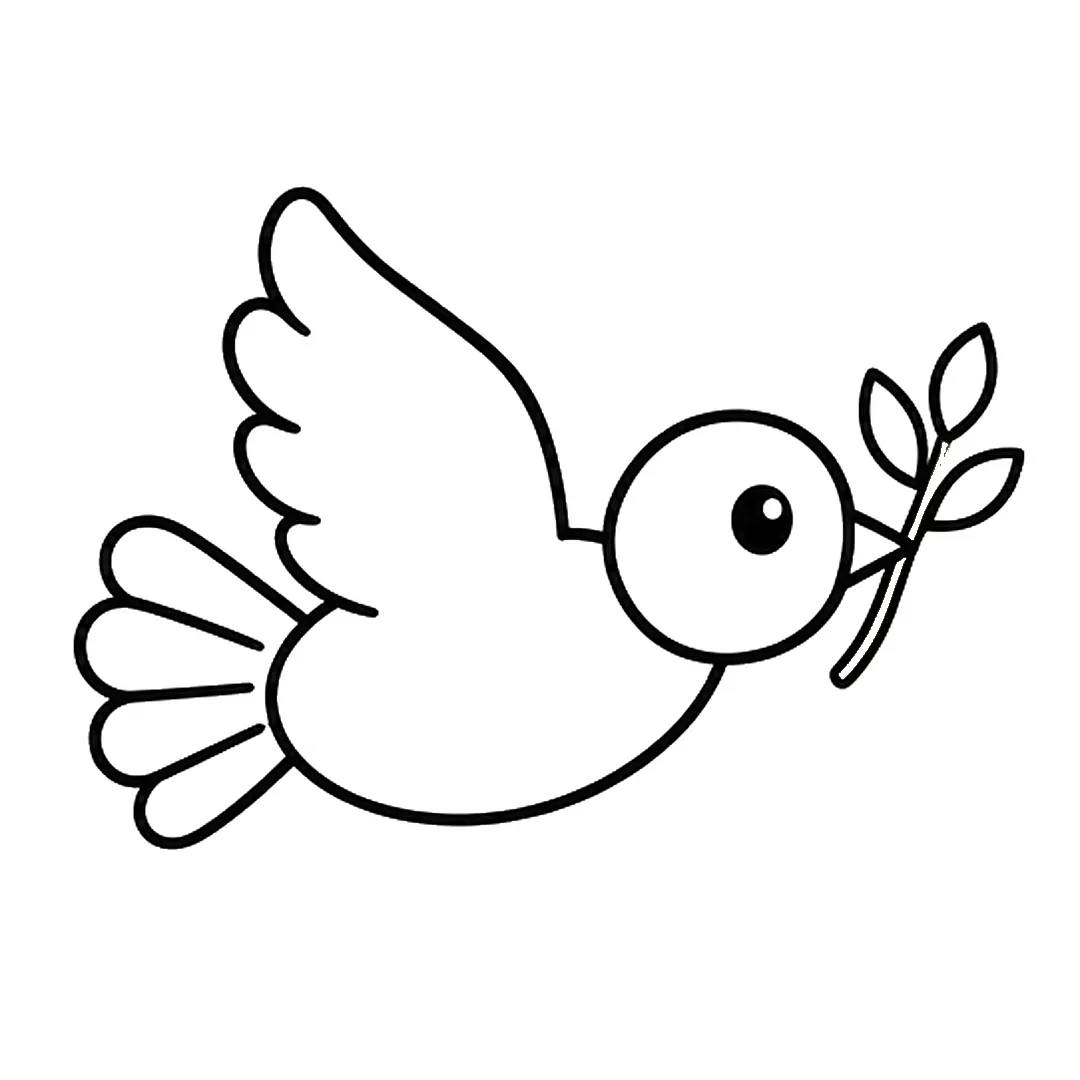
Step 5: Draw a thin stick across the beak tip with three leaves. Erase the beak tip inside the stick.
-
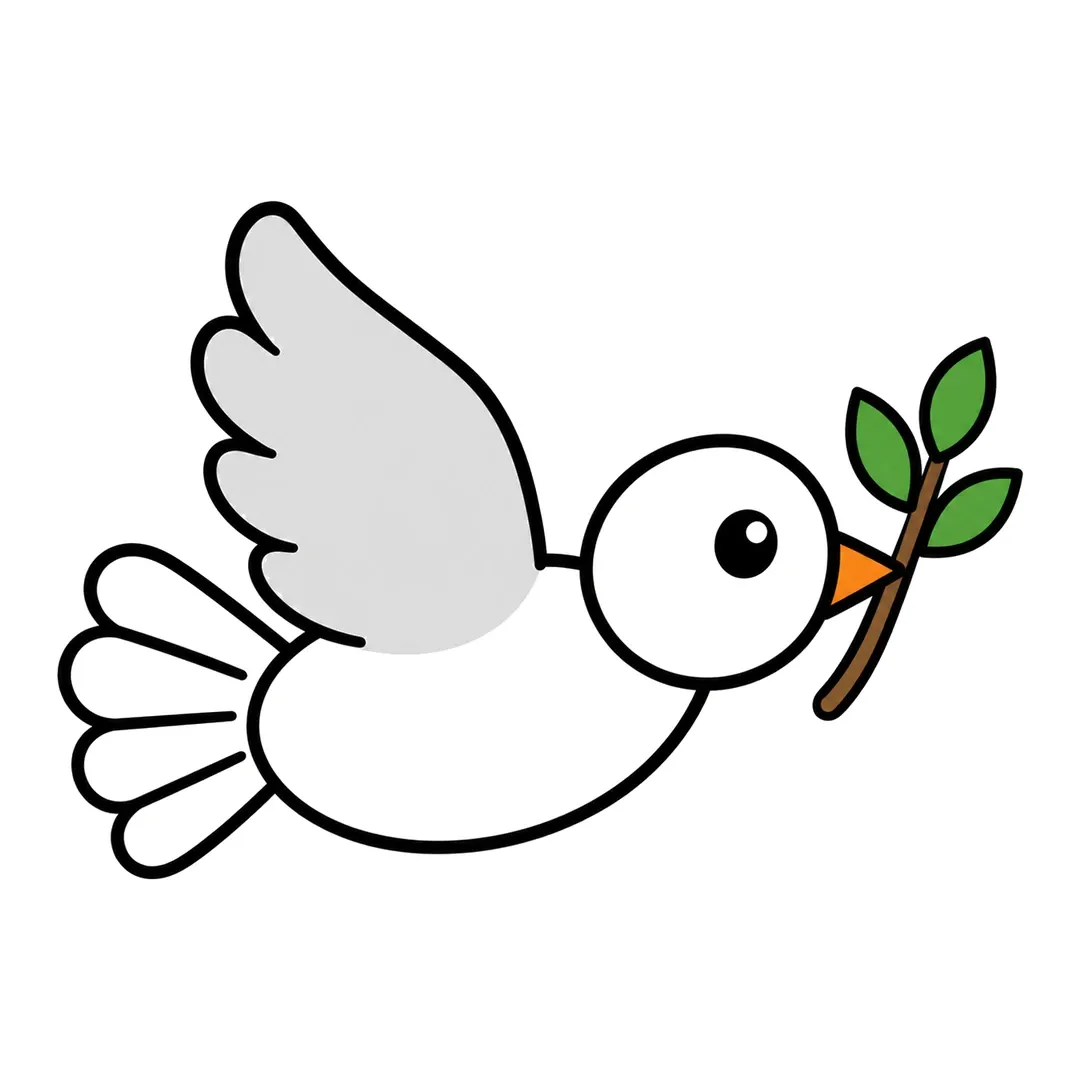
Step 6: Color the wing light gray, beak orange, stick brown, leaves green. Keep head, body and tail white.
Eye
An eye starts from an almond pointed at both ends, which makes how to draw an eye a good step up from circles (age 6 and up, our suggestion).
Mini steps: Draw an almond shape pointed at both ends. Add a big circle for the iris that touches the top and bottom lines. Fill a black pupil in the middle and leave two white shine circles. Add curled lashes and a curved eyebrow, then color the iris blue.
-
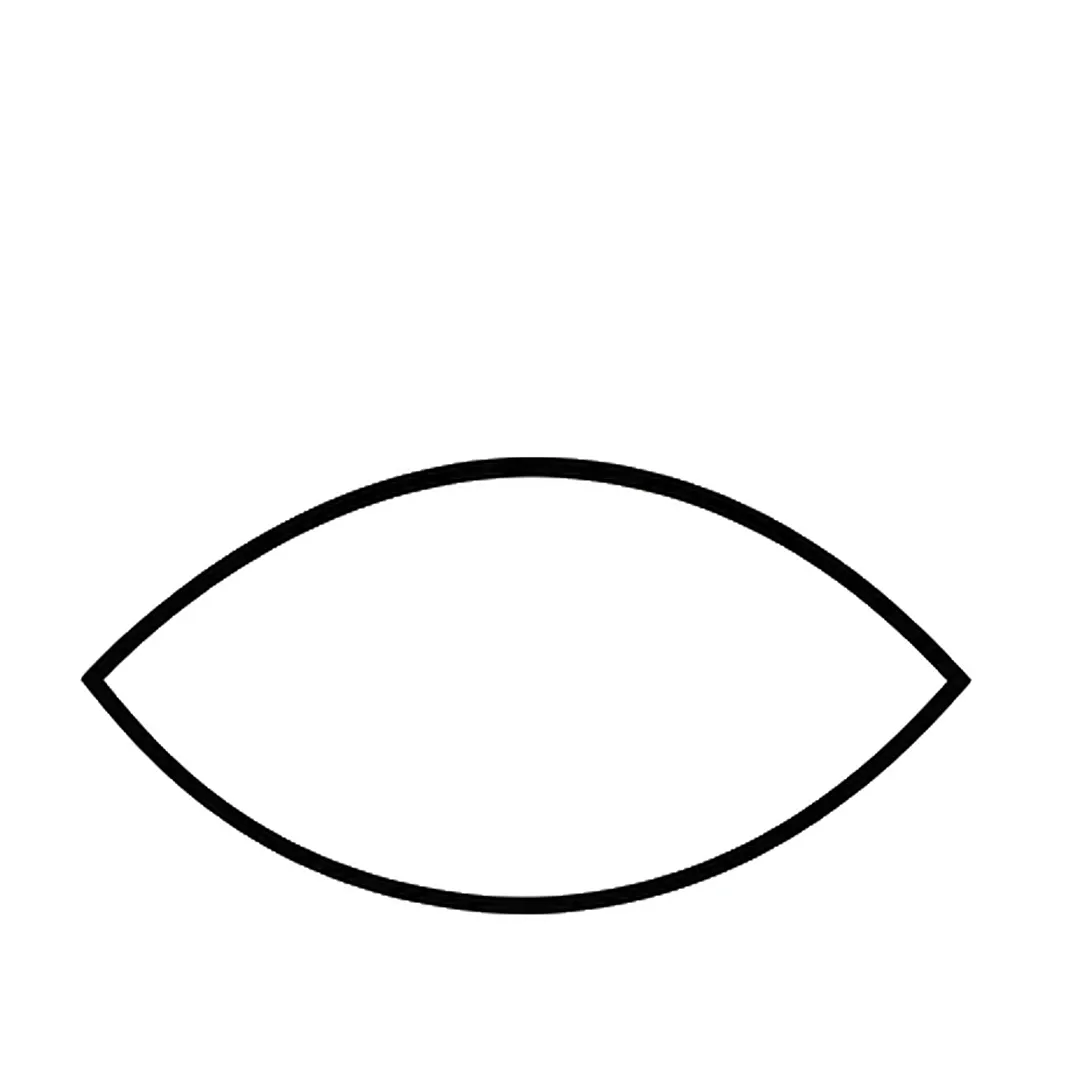
Step 1: Draw an almond shape that is pointed at both ends.
-
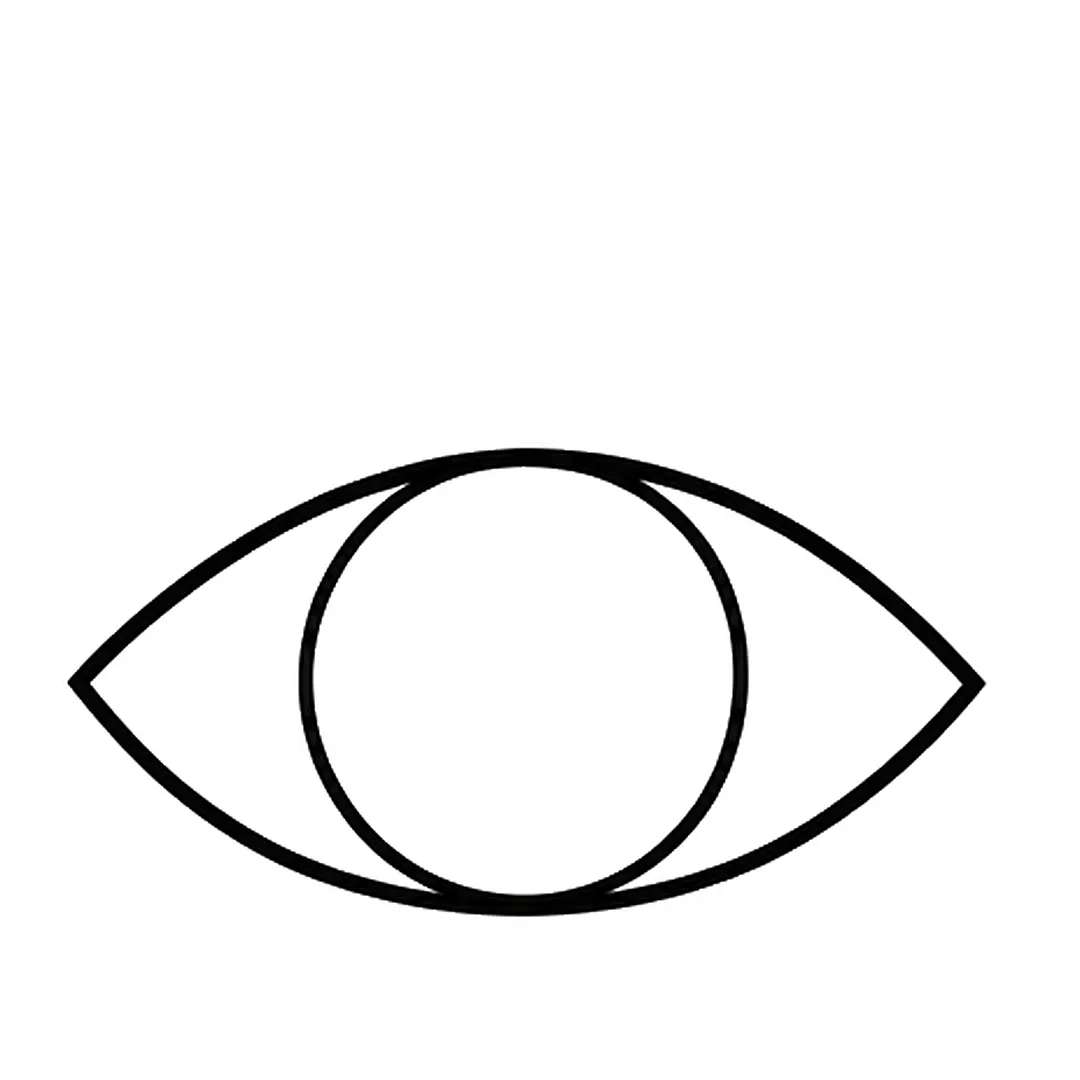
Step 2: Add a big circle for the iris that touches the top and bottom lines.
-
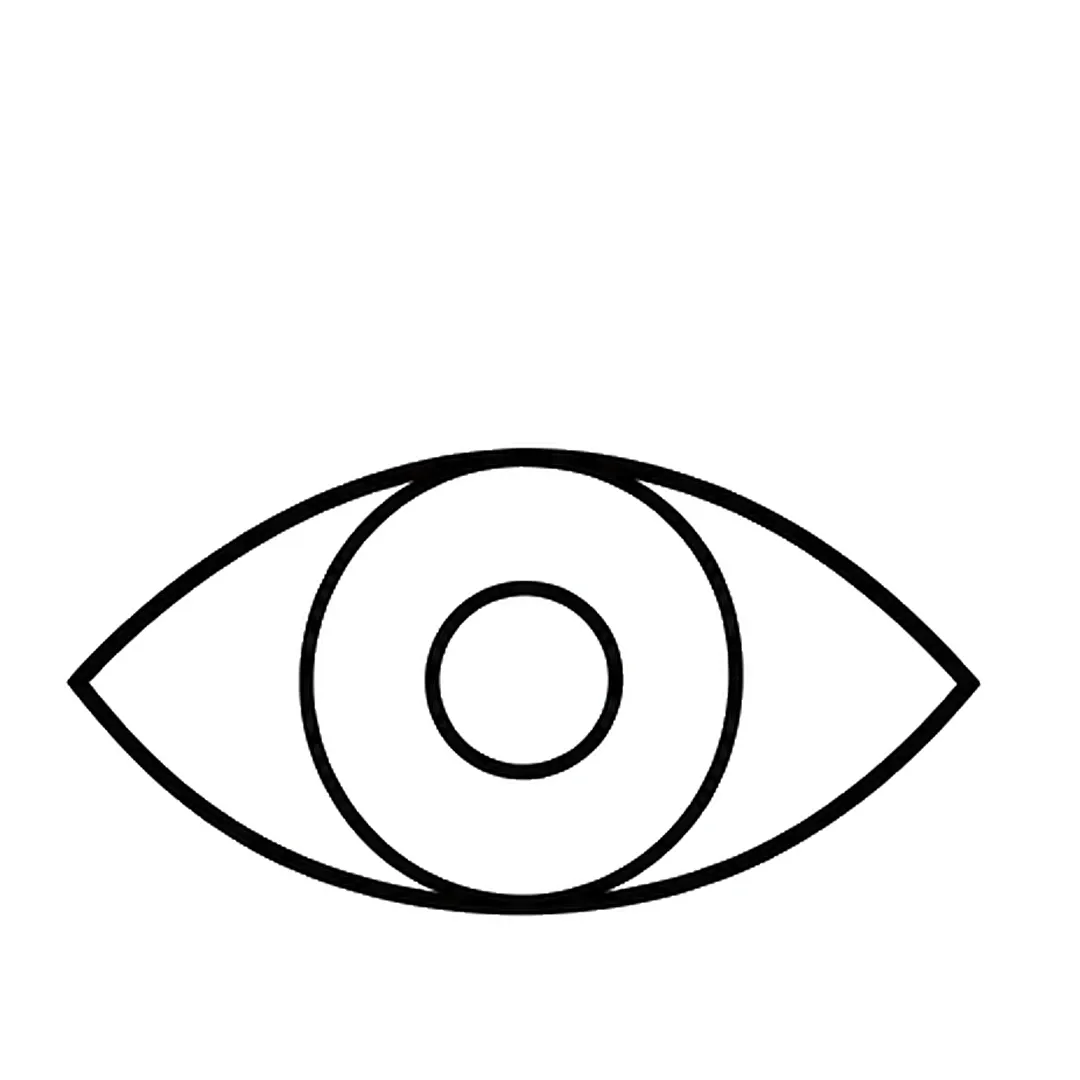
Step 3: Draw a small circle in the middle of the iris for the pupil.
-
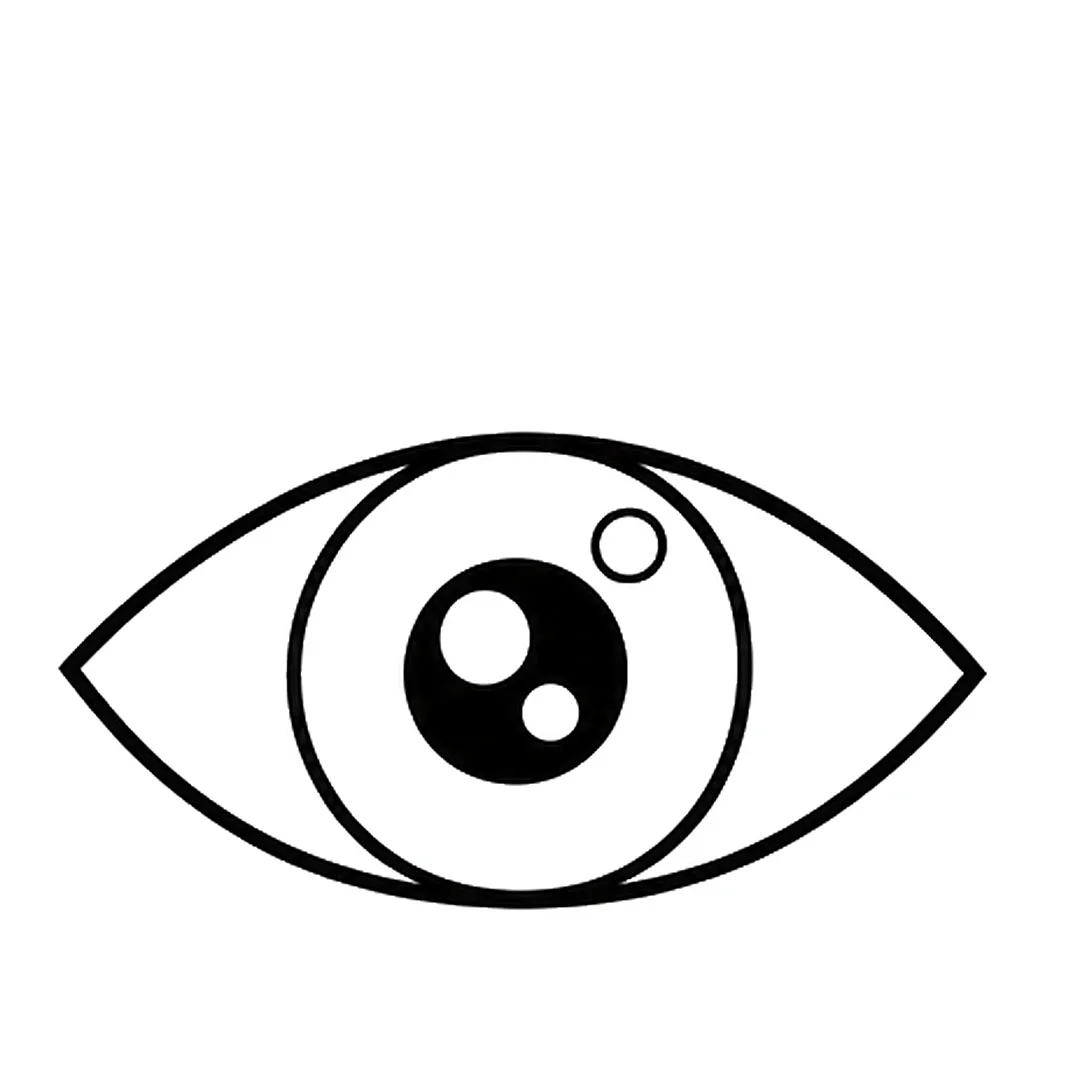
Step 4: Make the pupil bigger and fill it black, leaving two white shine circles. Add one small circle on the iris.
-
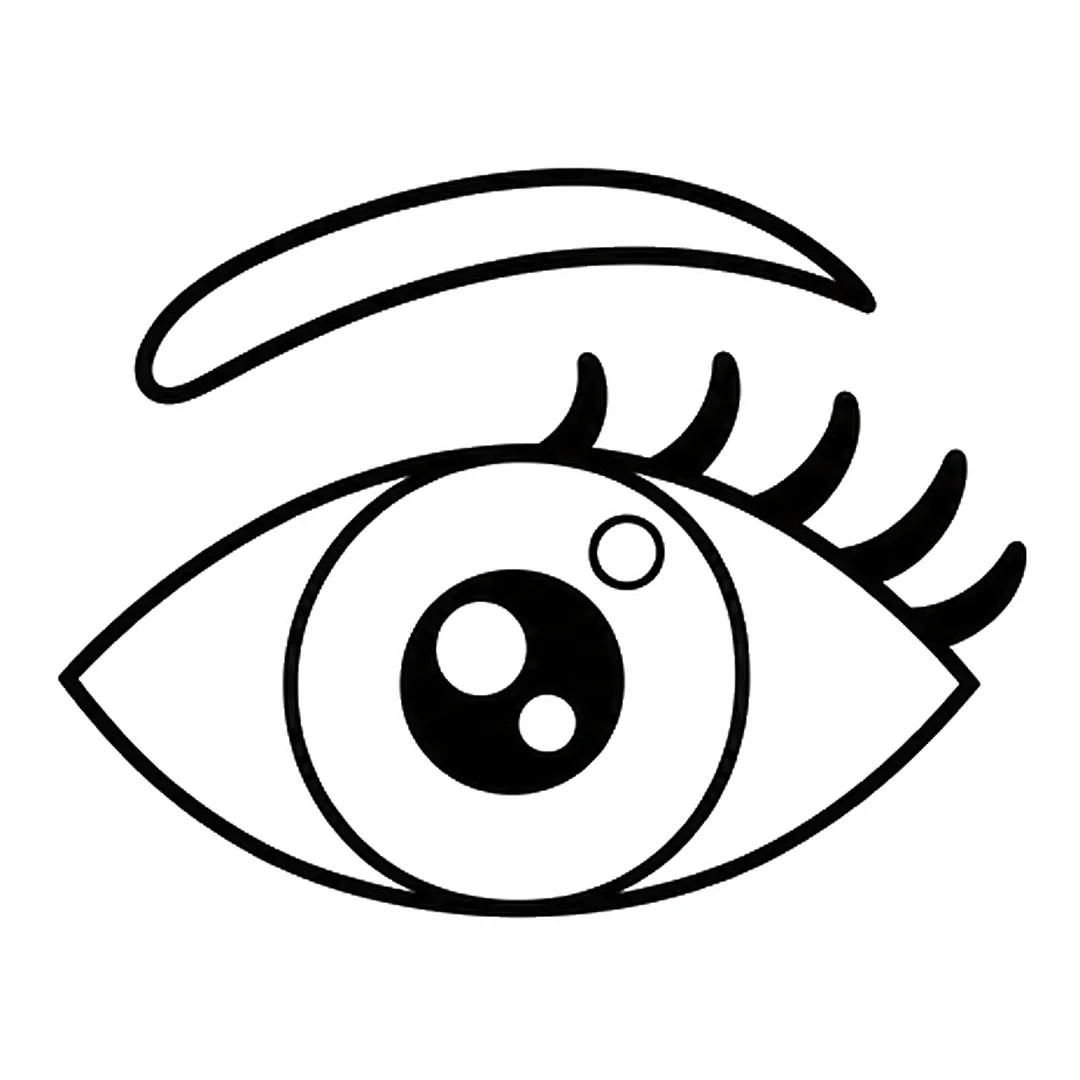
Step 5: Add five curled eyelashes on the outer half of the top lid and a curved eyebrow above.
-
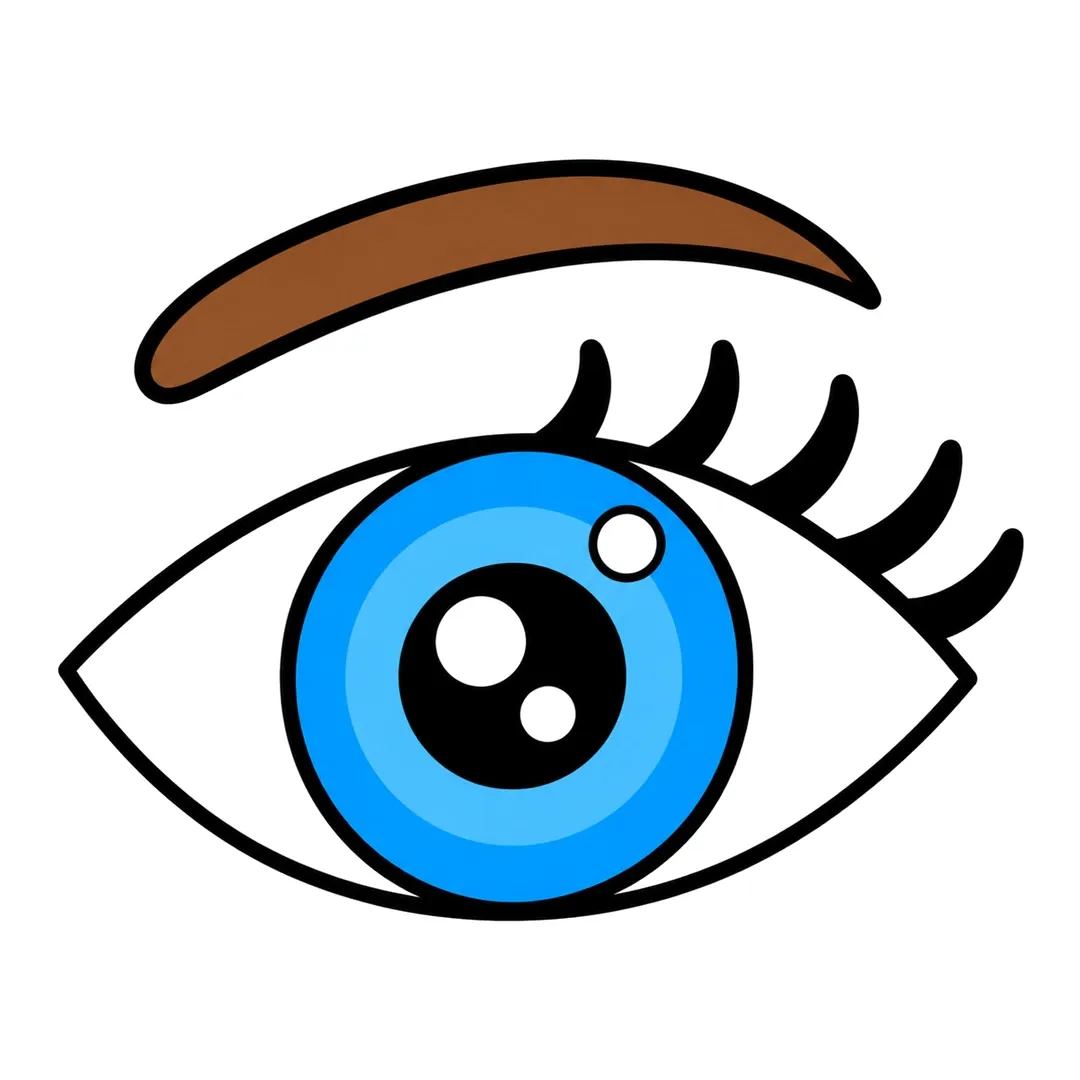
Step 6: Color the iris dark blue at the edge and light blue inside, and the eyebrow brown. Leave the shine circles white.
What Simple Drawings Start With a Triangle, a Line or a Heart?
Simple drawings that start with a triangle, a line or a heart include a mountain, a lily and a pair of wings. The mountain begins with one big triangle, which many children copy between about 4 and 6. The lily begins with one curved stem line, and the wings begin with a small heart.
Mountain
A mountain is a triangle with a rounded peak, and how to draw a mountain turns it into a scene with snow, a sun and pine trees (age 5 and up, our suggestion).
Mini steps: Draw one big triangle mountain with a rounded peak. Add a smaller mountain behind it on the left. Draw a wavy snow line across each top and a round sun behind the big mountain. Add two pine trees, then color the mountains in two blues.
-
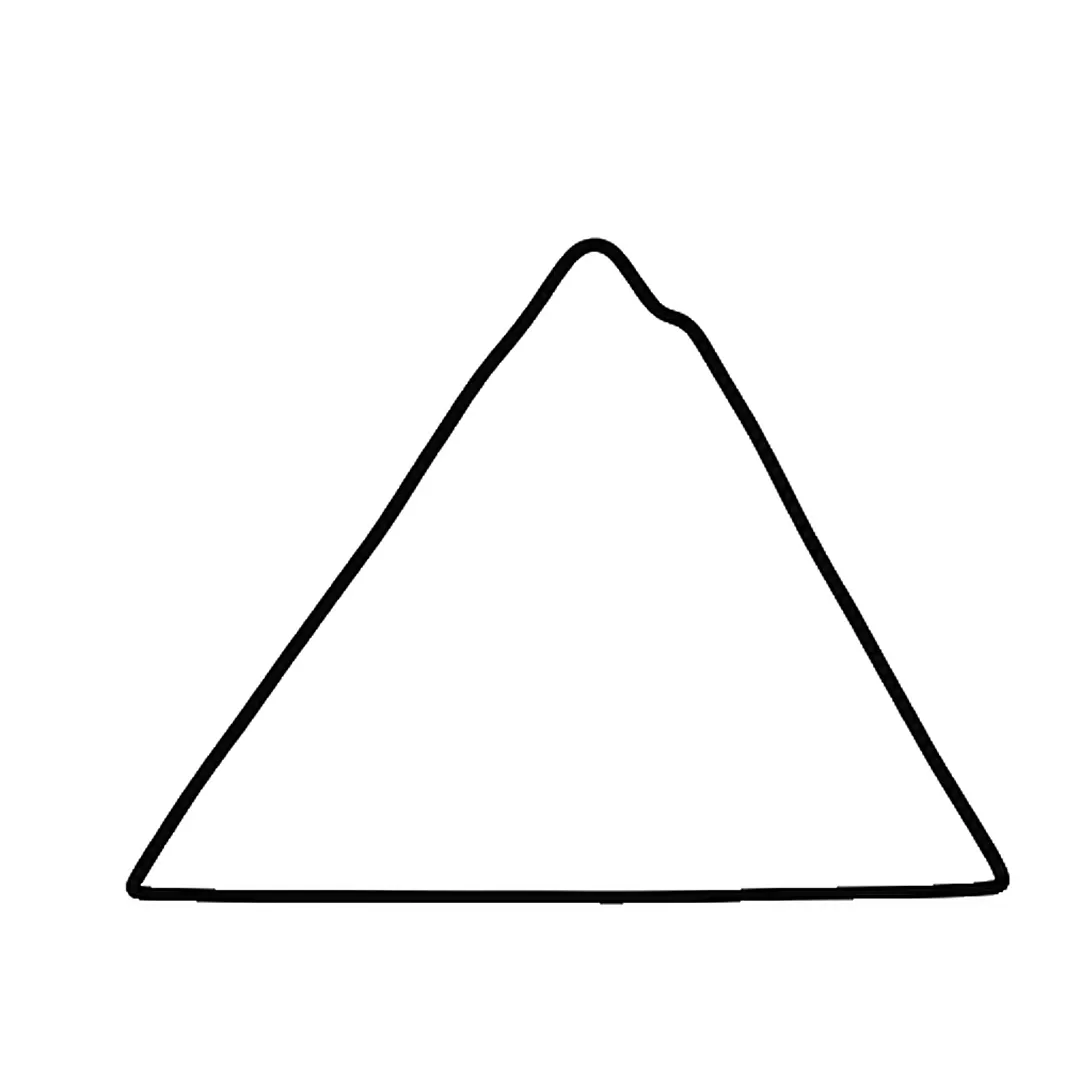
Step 1: Draw one big triangle mountain with a rounded peak and a small bump on the right slope.
-
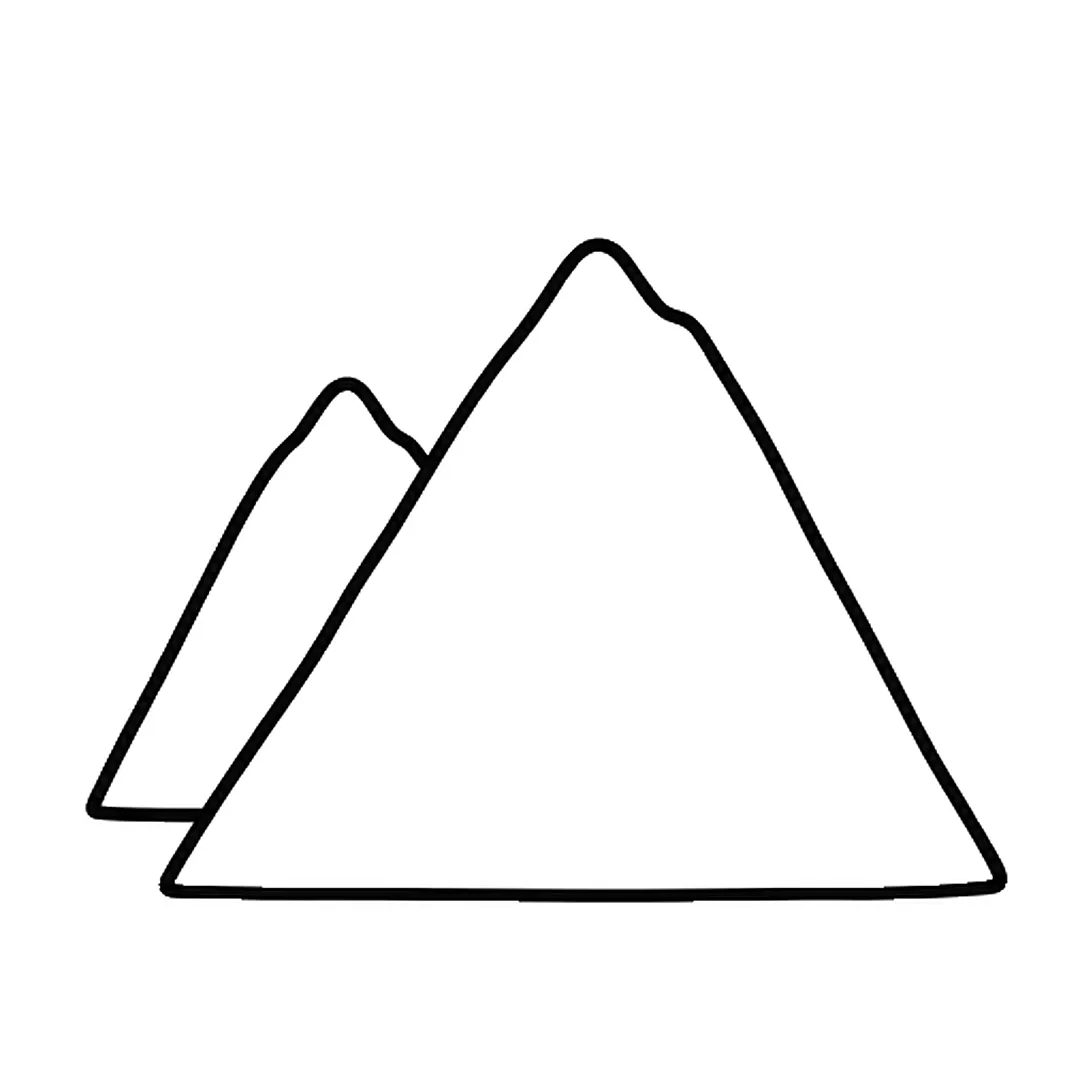
Step 2: Add a smaller mountain behind it on the left. Stop its lines where they touch the big mountain.
-
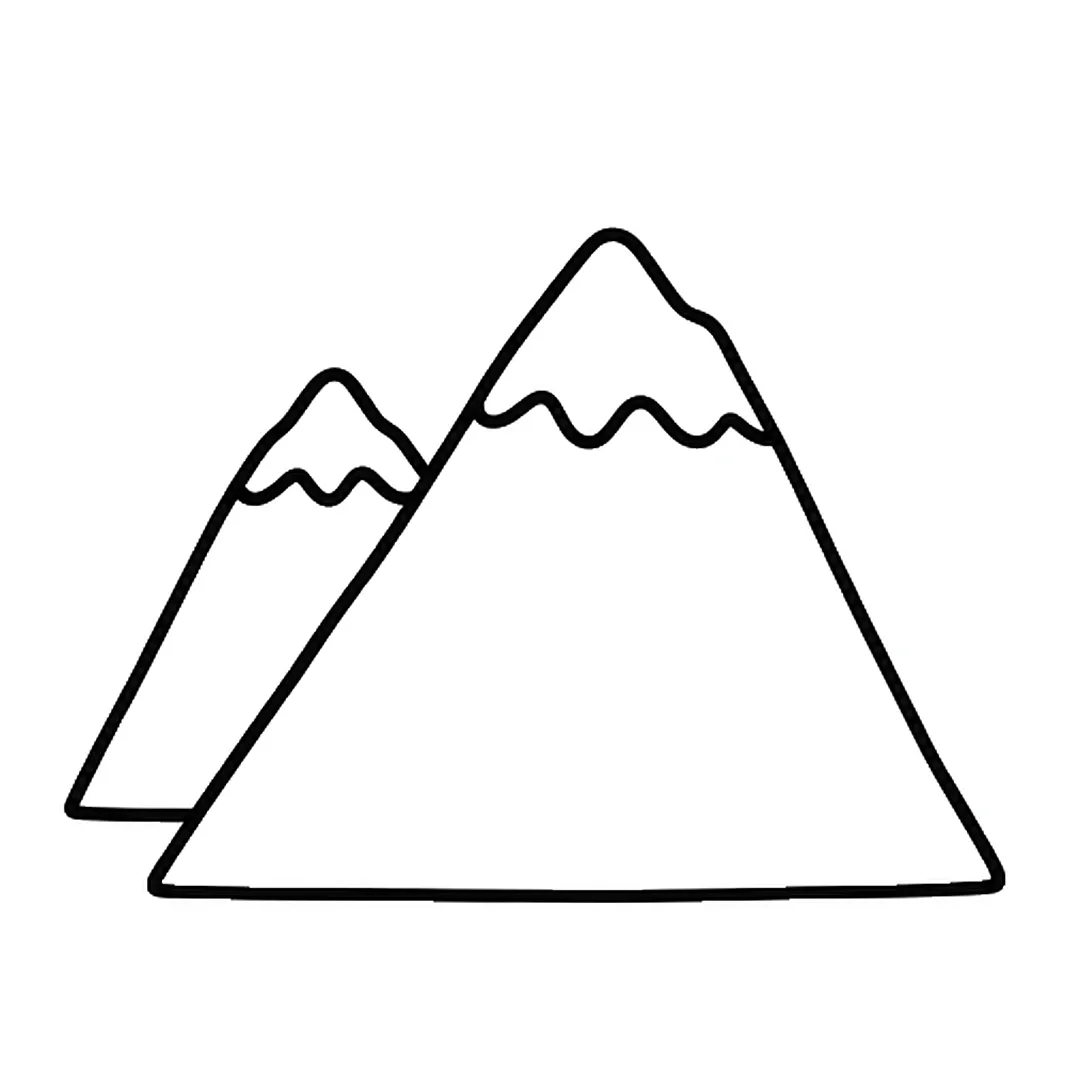
Step 3: Draw a wavy snow line across the top of each mountain, from one side to the other.
-
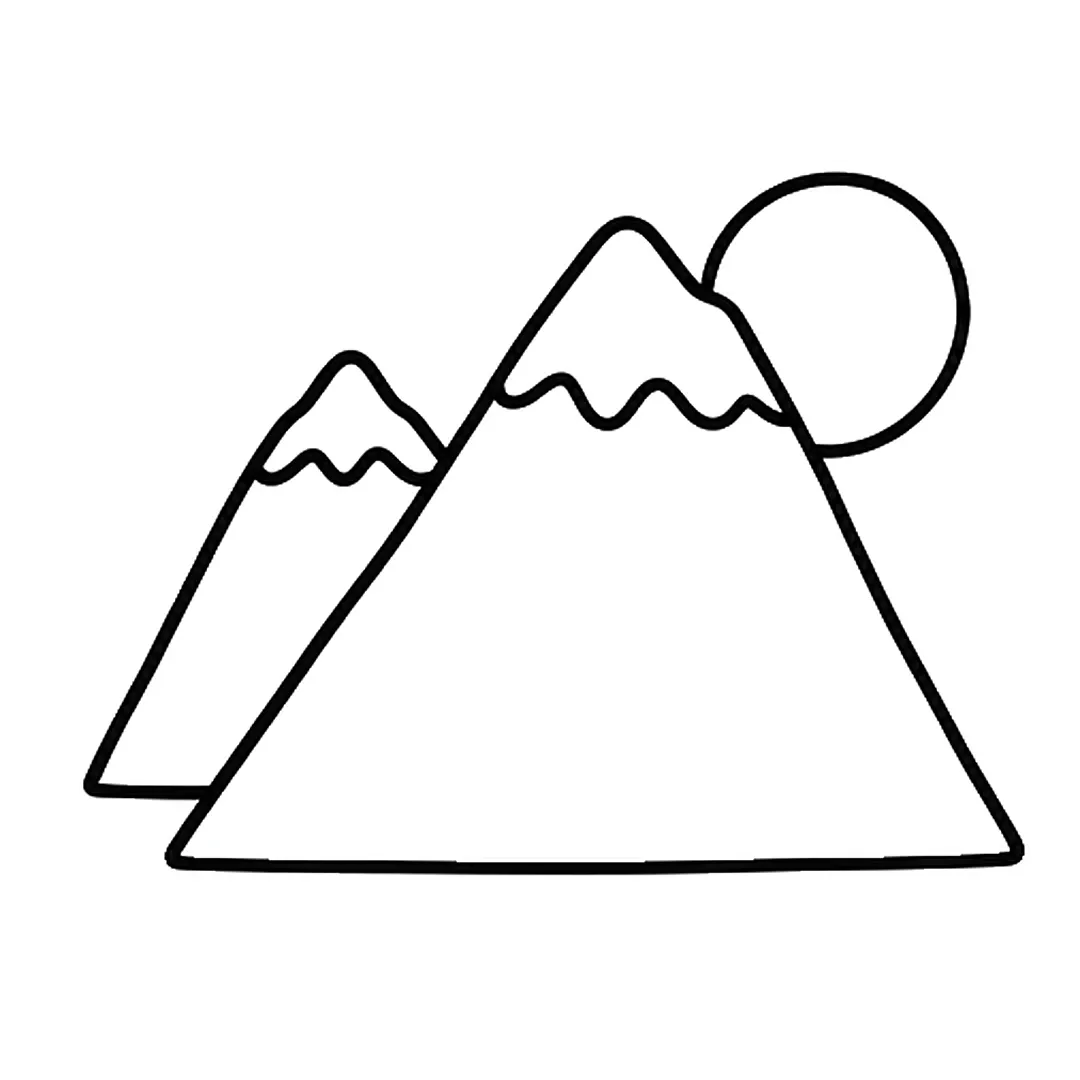
Step 4: Add a round sun behind the big mountain on the right. Stop the circle at the mountain's edge.
-
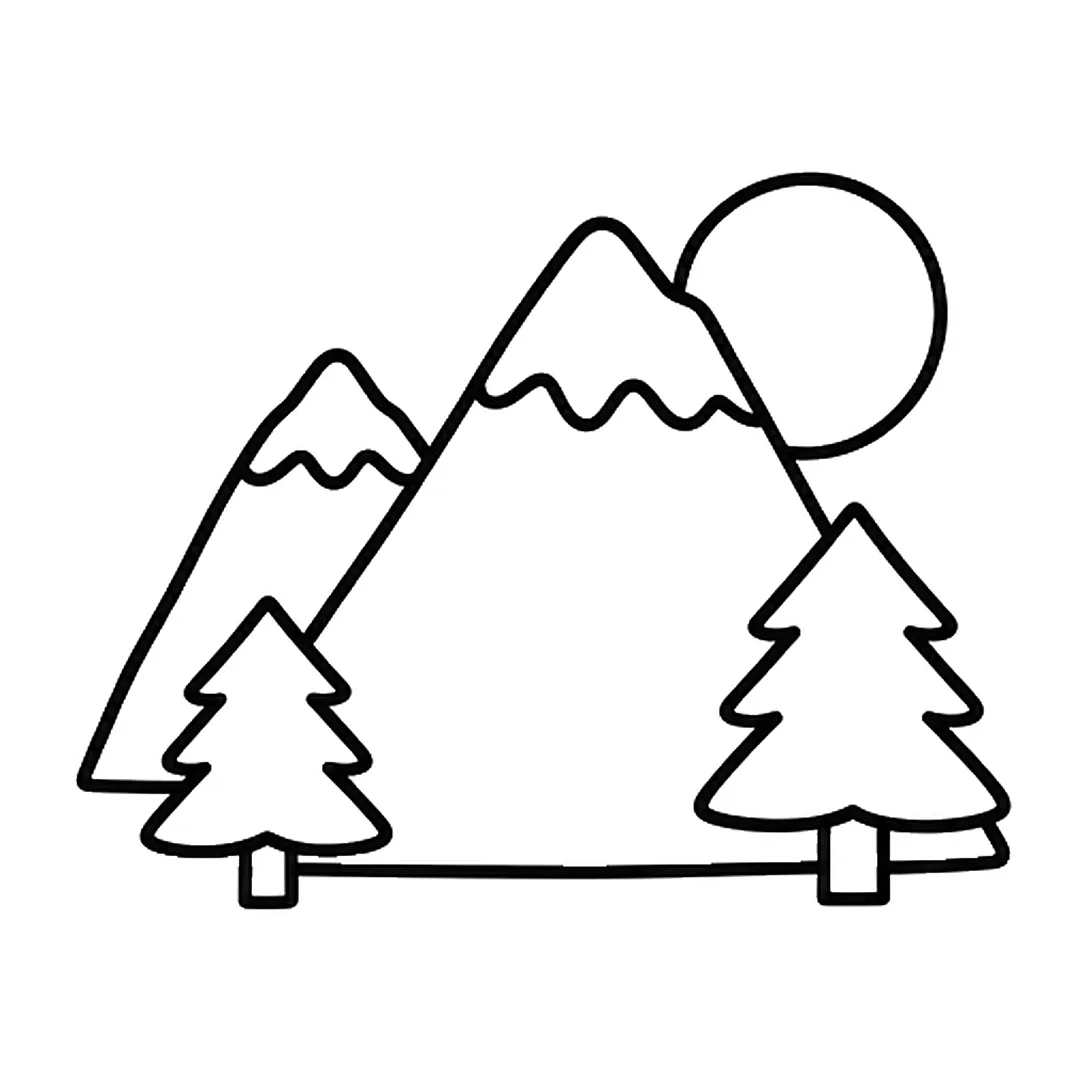
Step 5: Draw two pine trees with trunks, small left, big right. Erase the mountain lines inside the trees.
-

Step 6: Color blue and sky blue mountains, yellow sun, light and dark green trees, brown trunks, white snow.
Lily
A lily grows from one gently curving stem, so how to draw a lily suits a child who finds a ring of round petals fiddly (age 5 and up, our suggestion).
Mini steps: Draw one long, thin stem that curves gently. Put a pointed petal on top with a wide petal curling out on each side. Add two small back petals and three stamens with oval tips. Draw two long leaves, then color the petals pink and the stem green.
-
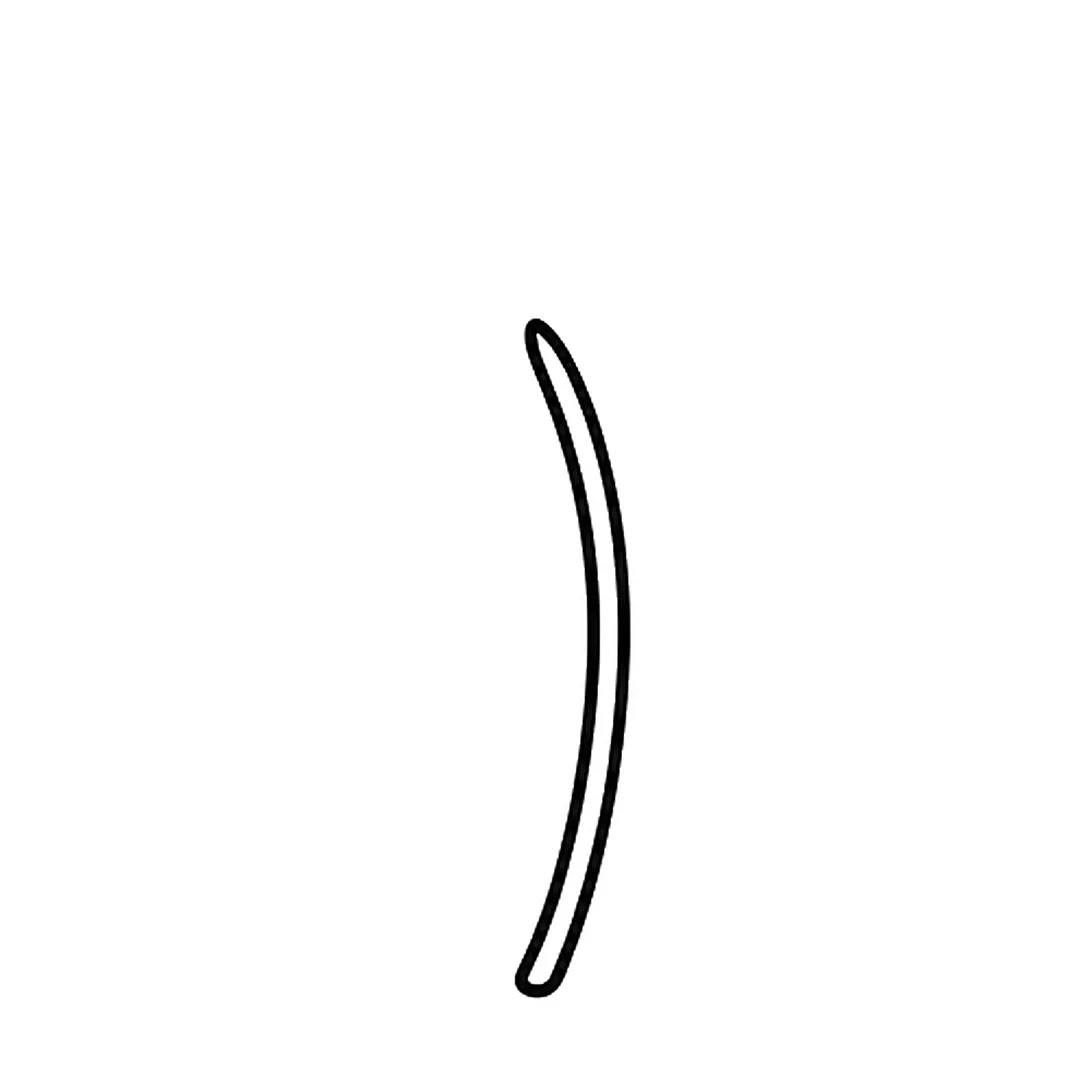
Step 1: Draw one long, thin stem that curves gently.
-
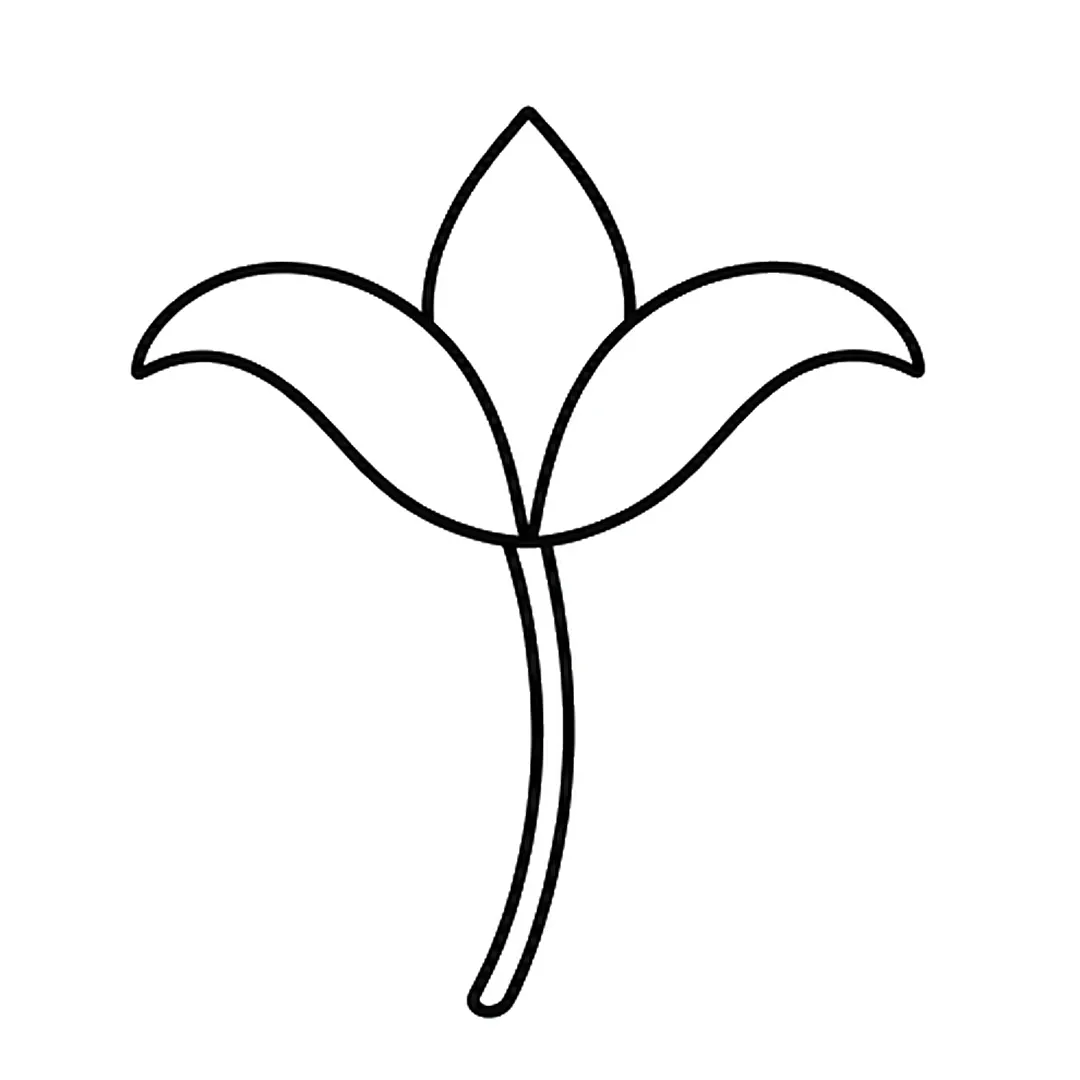
Step 2: Draw a pointed petal on top with a wide petal curling out on each side. Erase the stem inside.
-
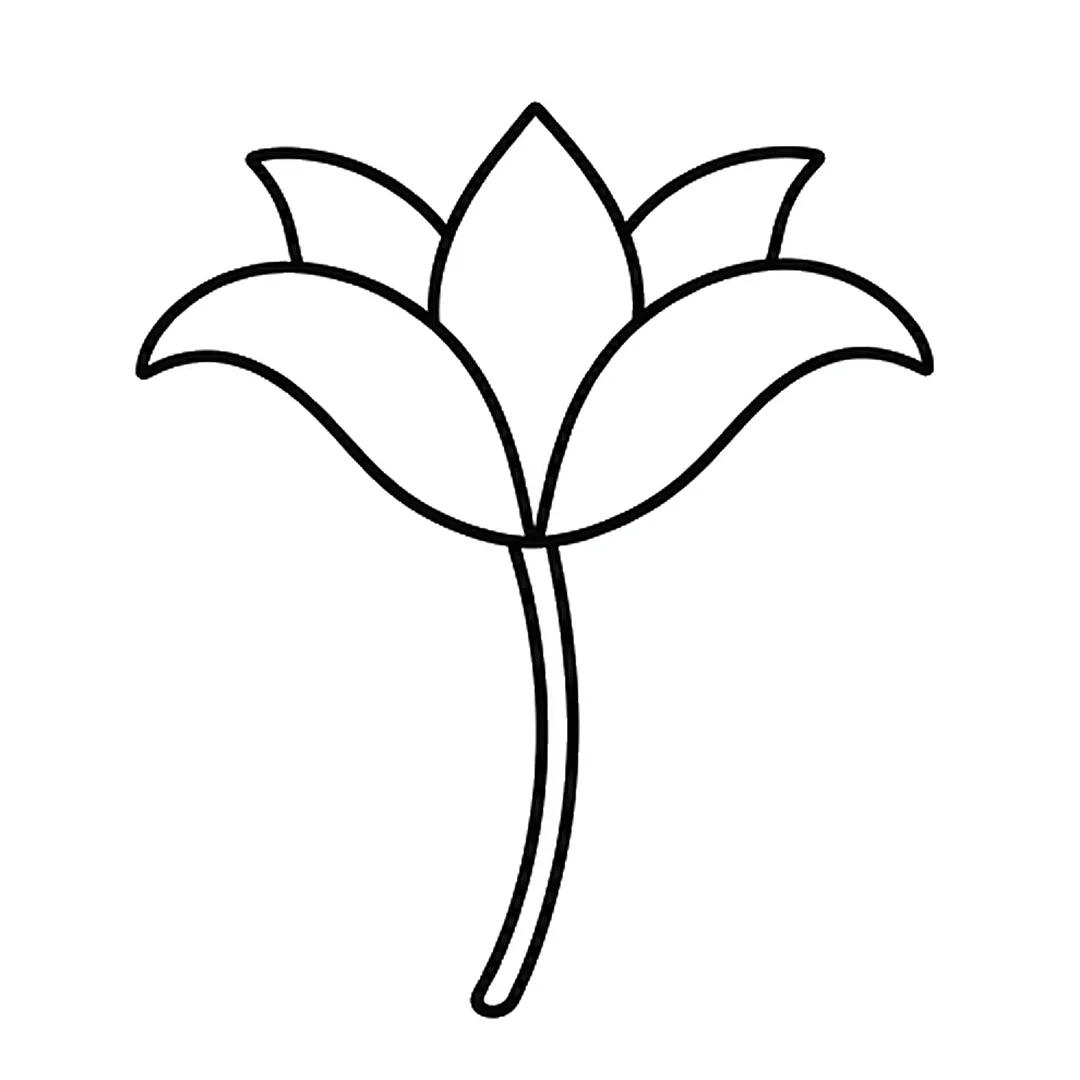
Step 3: Add two small back petals peeking out between the middle petal and the side petals.
-
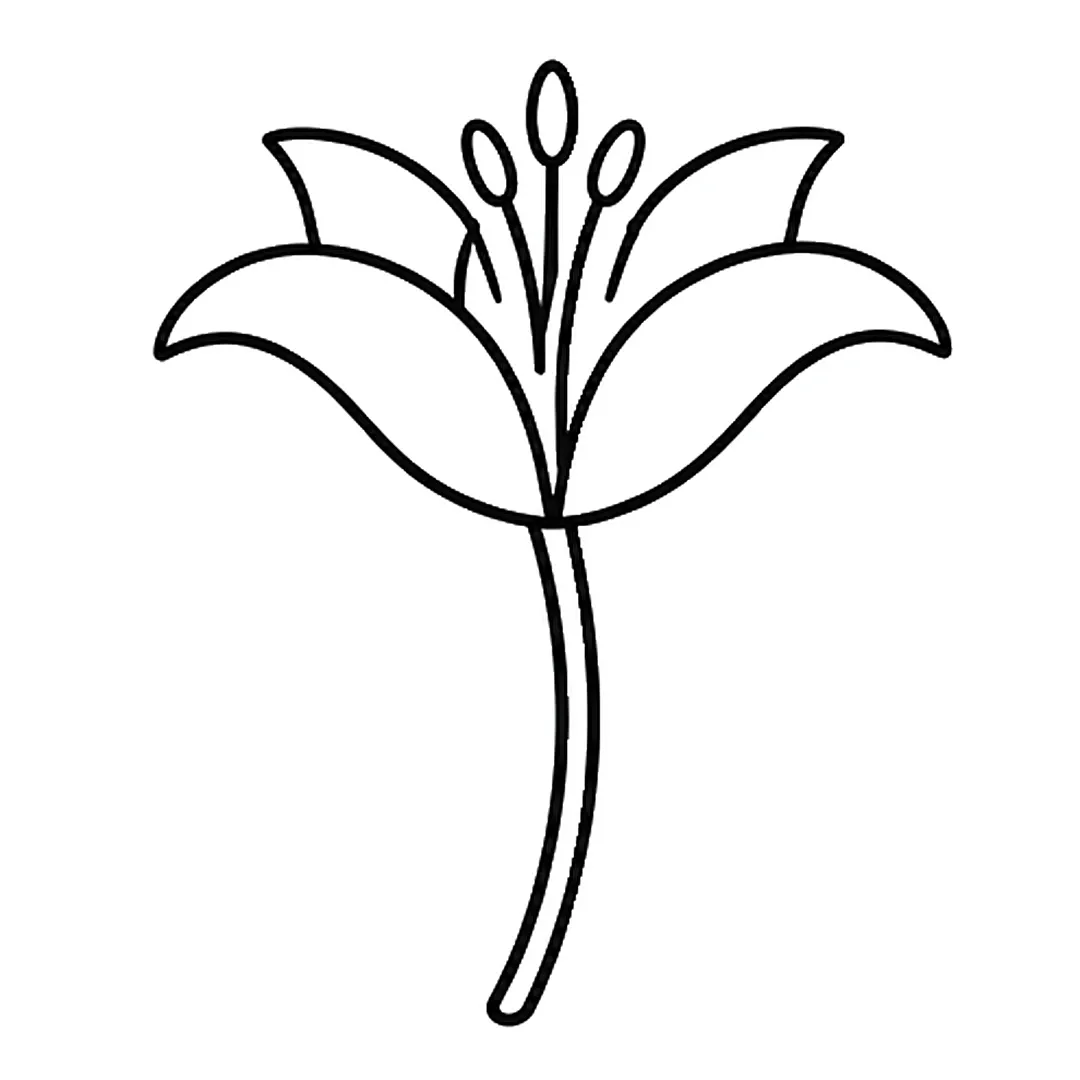
Step 4: Erase the middle petal. Draw three oval tipped stamens, the middle tallest. Close the back petals.
-
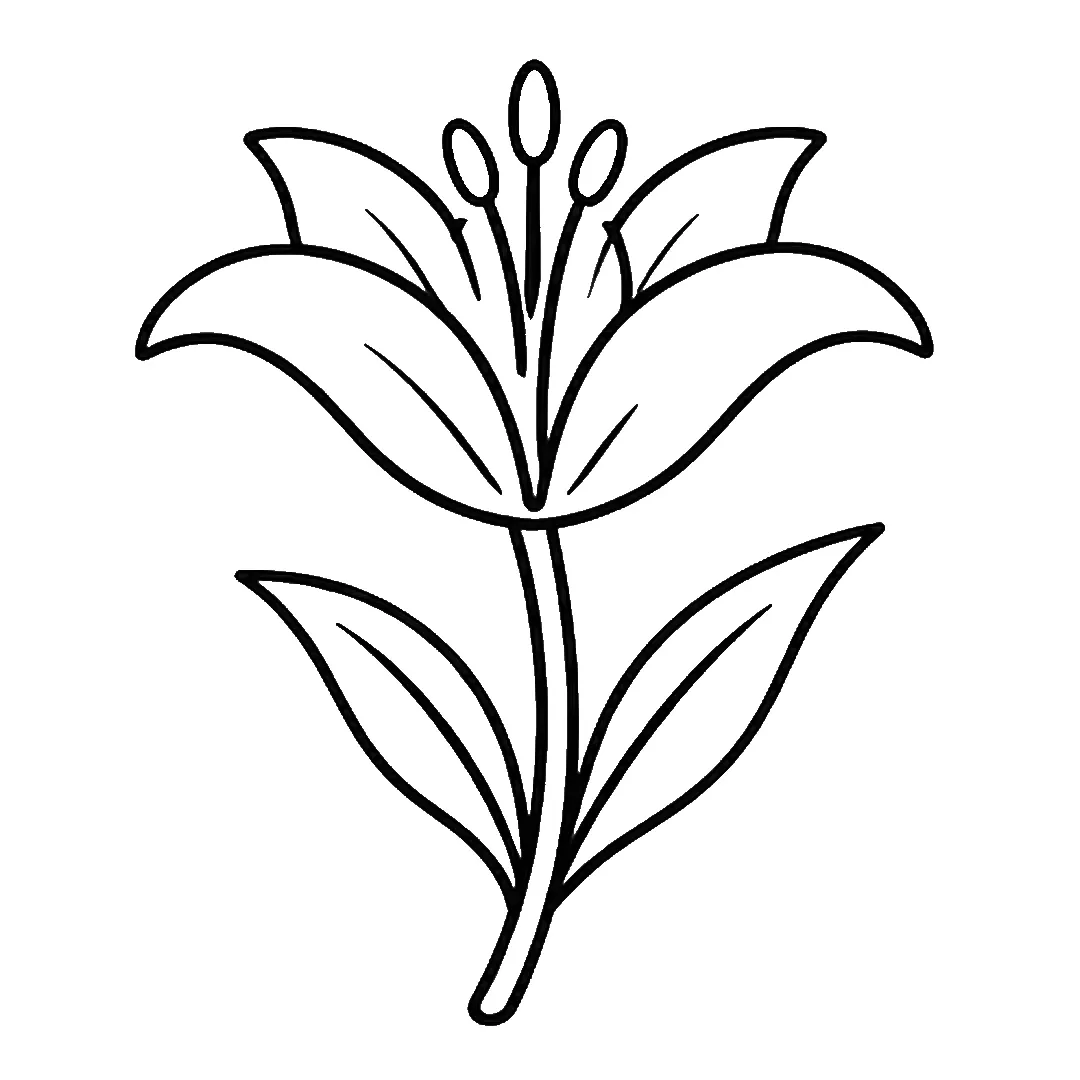
Step 5: Add two long pointed leaves on the stem. Draw one curved vein line on each leaf and each petal.
-
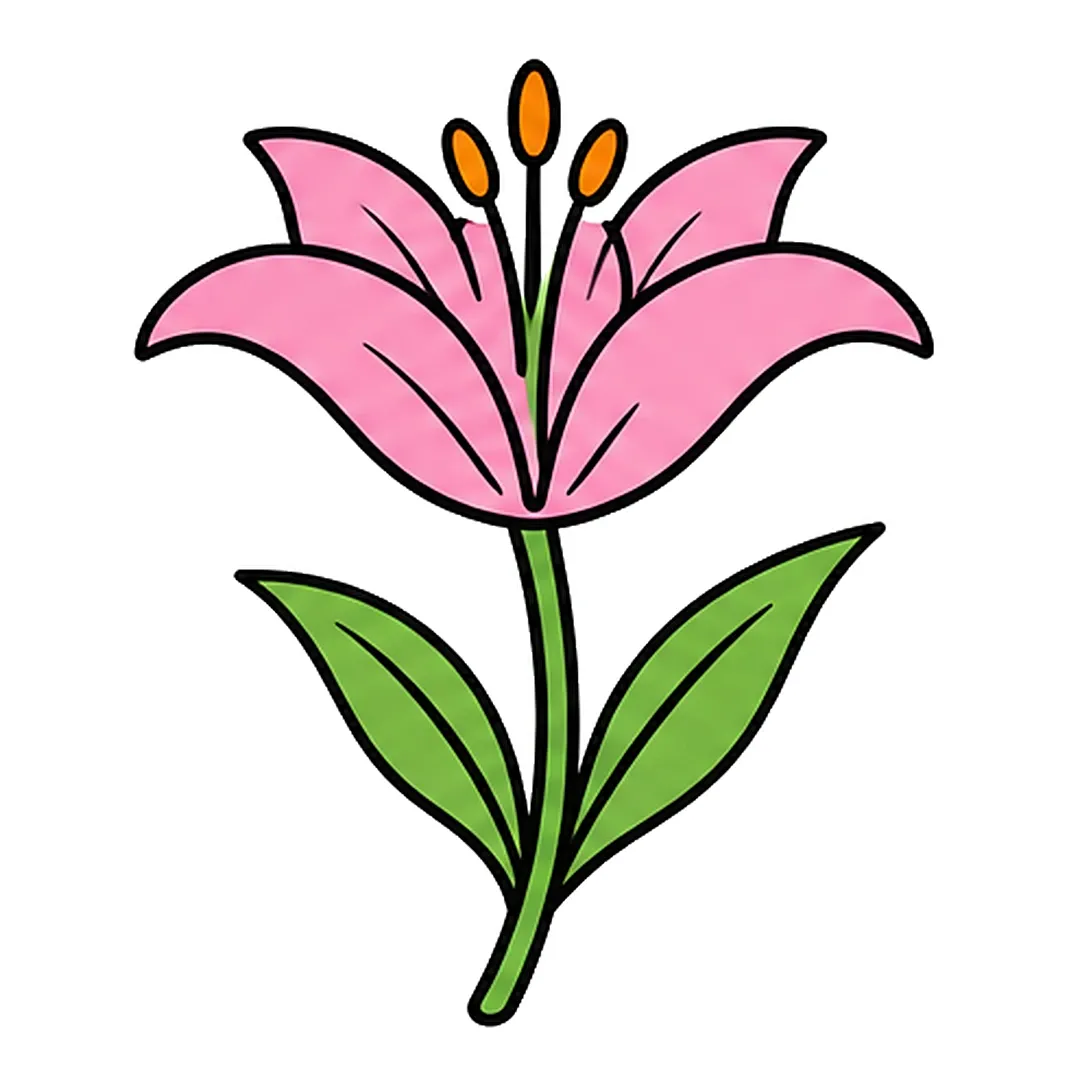
Step 6: Color the petals pink, stamen tips orange, and the stem, leaves and strip by the middle stamen green.
Wing
A pair of wings starts from one small heart and mirrors itself, so how to draw a wing practices drawing one shape twice (age 5 and up, our suggestion).
Mini steps: Begin with a little heart at the center of the paper. Sweep a curved top edge out to the left and a matching one to the right. Add four small round feathers under each edge, then four long ones below them. Color the heart pink and the long feather tips light blue.
-

Step 1: Draw a small heart in the middle of the page.
-
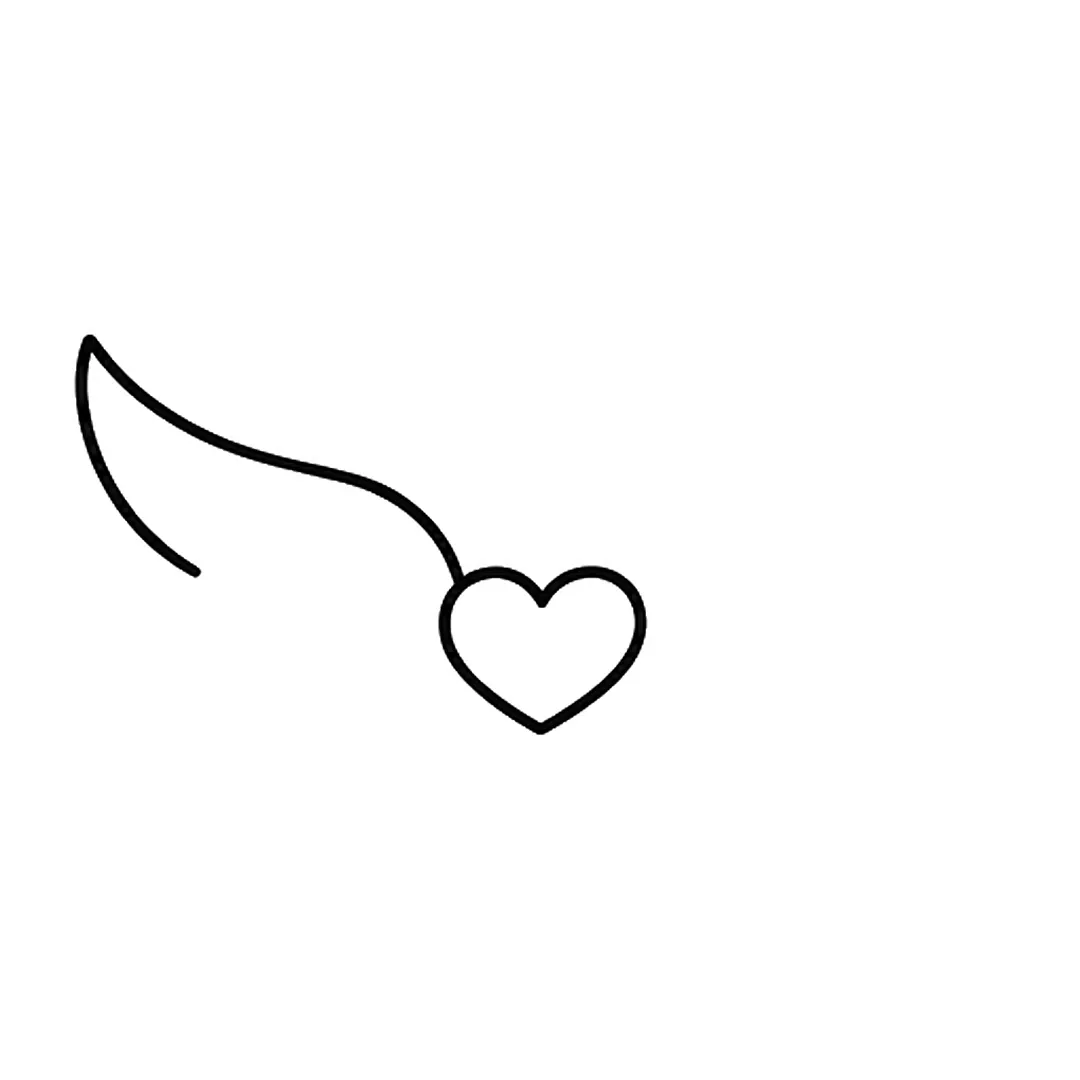
Step 2: Add a long curved top edge from the heart up and out to the left, with a tip that curls down.
-
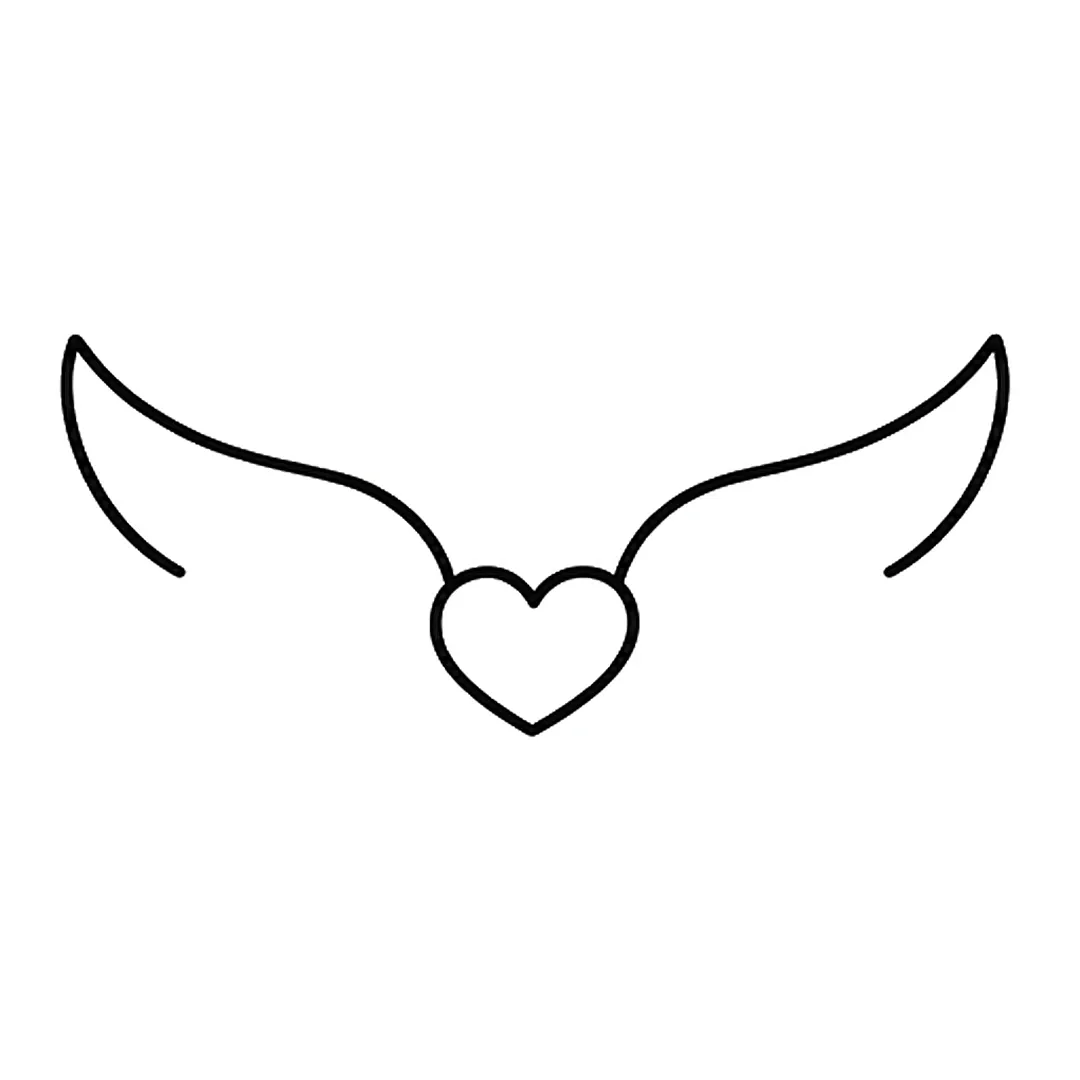
Step 3: Draw a matching curved top edge on the right side, like a mirror copy.
-
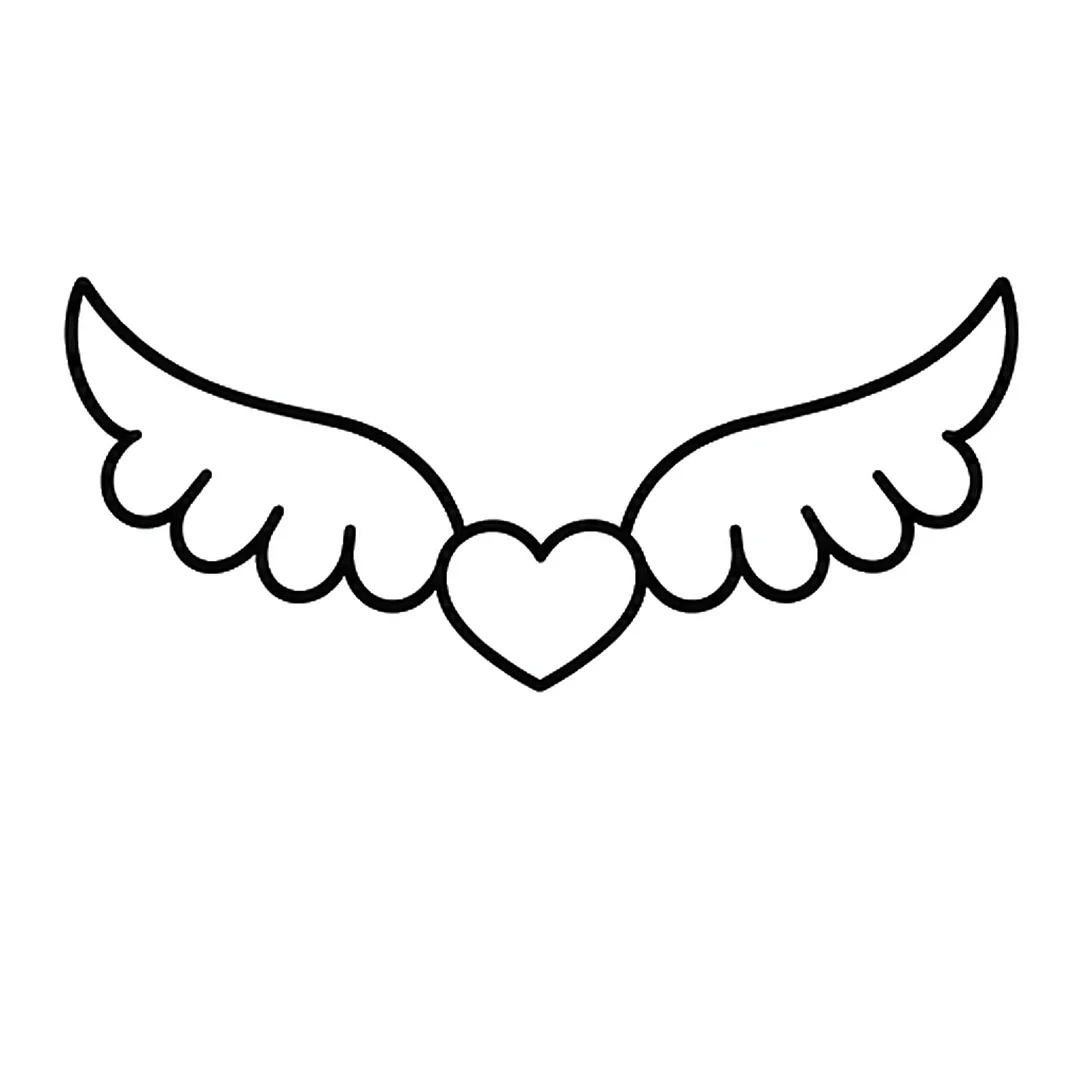
Step 4: Add four small round feathers under each top edge, from its open end to the heart.
-
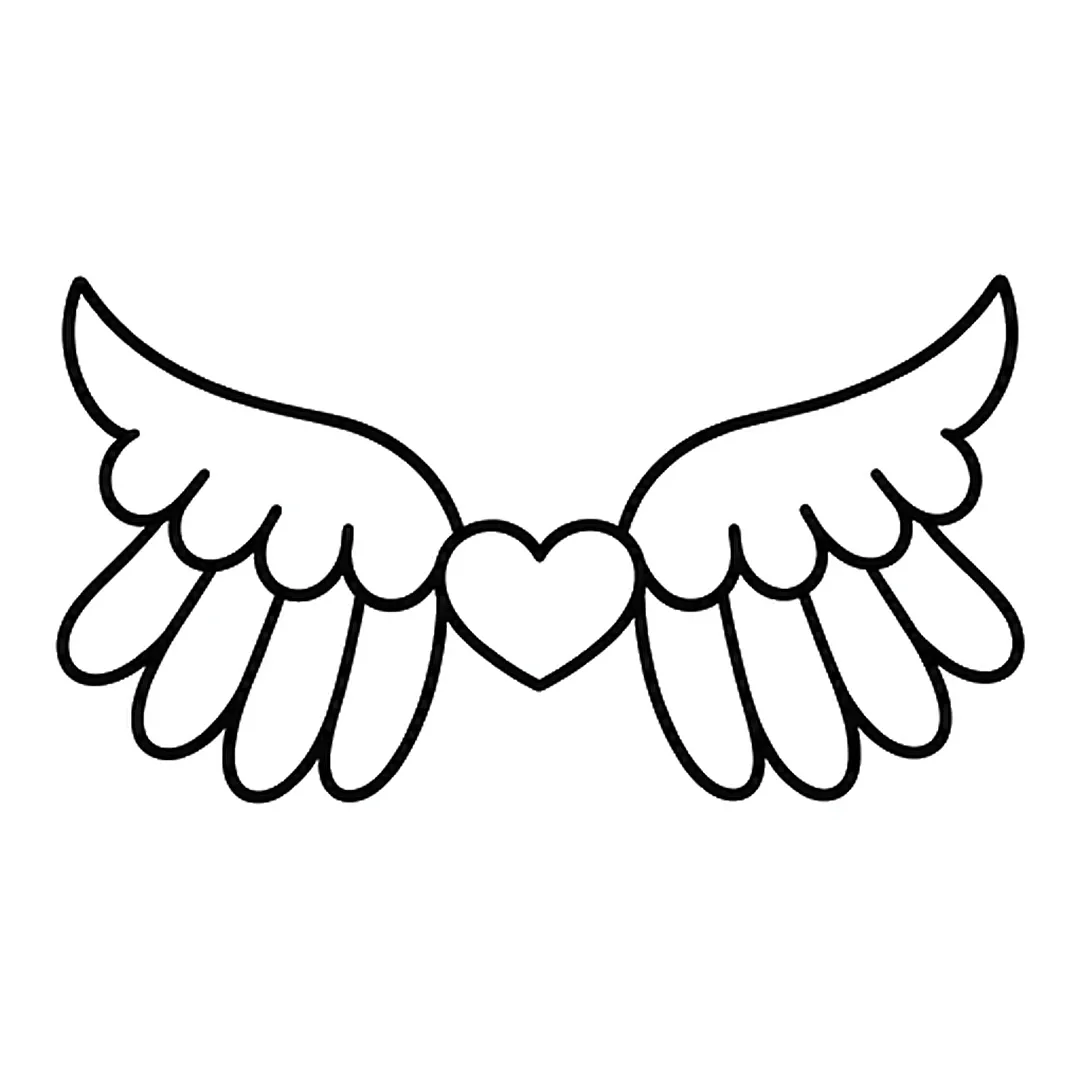
Step 5: Draw four long rounded feathers under the small feathers on each side.
-
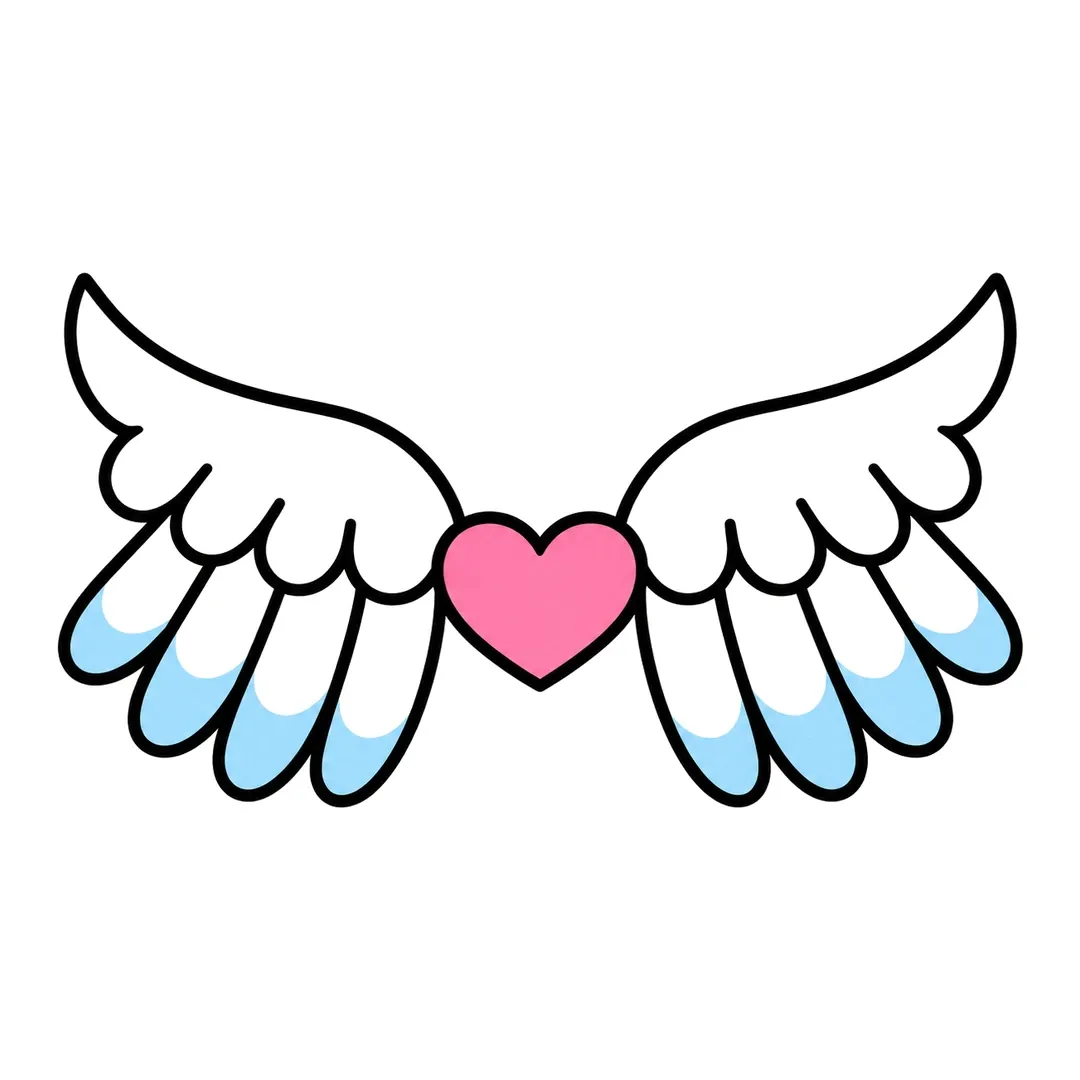
Step 6: Color the heart pink and the tips of the long feathers light blue. Leave the rest of the wings white.
What Can Kids Draw in 5 or 10 Minutes?
Kids can draw a 4-step drawing in about 5 minutes and a 6-step drawing in about 10, by our estimate. For comparison, the CDC lists paying attention for 5 to 10 minutes during activities such as arts and crafts among skills most children have by about 5.
Use the step count to plan the time:
| Time you have | Pick | Drawings on this page |
|---|---|---|
| About 5 minutes | a 4-step drawing | candy, scarf, diamond, feather, strawberry |
| About 10 minutes | a 6-step drawing with one to three crayons | basketball, wing, spider, pumpkin, lily |
| 10 minutes or more | a 6-step drawing with four or more crayons | Earth, snake, mountain |
These times are not a measured rule, and younger children often take longer to color. If your child stops halfway, save the page and finish the last steps another day.
What Are Small and Mini Drawings Kids Can Do?
Small and mini drawings are simple drawings shrunk to fit a sticky note, an index card or one box of a grid. A small drawing keeps only the starting shape and one or two details, which makes it quick practice.
The Shape-Practice Grid
The shape-practice grid gives each box one starting shape. Fold a sheet of paper in half and then in thirds to make 6 boxes. Put a circle drawing in the first two boxes, such as a basketball and a candy. Put a heart drawing in the next two, such as a strawberry and wings. Finish with a triangle drawing, such as a mountain, and a line drawing, such as a feather.
A filled grid shows which shapes your child draws easily and which ones need another try. Kindergarten teachers can tie the grid to math: the Common Core kindergarten geometry standard asks children to draw shapes and to compose simple shapes into larger ones.
Minimalist Drawings for Kids
A minimalist drawing for kids is a plain style with the fewest lines possible: an outline, no background and one color. Minimalism is also the name of a 1960s art movement. Tate describes it as abstract art built from simple geometric shapes based on the square and the rectangle. For kids, the word works as a style tip: stop after the outline and one color.
What Are Simple Outline Drawings?
A simple outline drawing is a drawing that shows only the edges of a shape, with no shading. Merriam-Webster defines outline drawing as “a style of drawing in which contours are marked without shading”. Every drawing on this page starts as an outline, which makes it easy to trace, copy and color.
Outline Only
An outline-only drawing stops after the black marker step. It suits a mini drawing or a homemade coloring page for a sibling.
Outline Then Color
An outline-then-color drawing adds crayons after the lines are dark. The first tip on every tutorial gives the same order:
- Sketch the shapes lightly in pencil.
- Trace over the pencil lines that stay, using a black marker.
- Erase the pencil lines that are left over, once the marker is dry.
- Color inside the outline with crayons.
Light pencil lines are easy to fix, and the black marker gives crayons a clear edge.
How Can Kids Draw Simple Things Step by Step?
You draw simple things step by step by finding the main shape first, then adding one detail per step. Mona Brookes developed the Monart Drawing Method in 1979, and her method breaks every subject into five elements of shape that work like a visual alphabet.
KET, Kentucky’s PBS network, lists those elements from Brookes’s book as the dot, circle, straight line, curved line and angled line. KET explains that object edges are patterns of these five elements, so spotting them helps a child re-create a shape. Use this 4-part routine with any object:
- Look at the object and name its biggest shape, such as “the pumpkin is an oval”.
- Draw that shape large in the middle of the page.
- Add smaller shapes and lines one at a time, such as a stem, a leaf and a vine.
- Finish with a face, a pattern or color.
A teacher can lead the routine for a whole class with directed drawing, using the “Show steps on the board” mode on each tutorial. A fuller guide to drawing with basic shapes will live on drawing with shapes for kids. Adults and kids who want to go beyond simple drawings will find more on how to draw for kids.
What Supplies Do Kids Need for Simple Drawings?
Kids need a pencil, an eraser, a black marker and a few crayons for simple drawings. That is the “You need” list on every tutorial on our site. Plain printer paper is enough. CDC suggests keeping a box of crayons, paper, paint, child scissors and glue for 5-year-olds to use for creative play.
When you buy crayons or markers, check the label: the Art & Creative Materials Institute (ACMI) advises the AP (Approved Product) Seal for kids in sixth grade or younger. The same ACMI page warns against giving a CL (Cautionary Labeling) Seal product to any child in that age group.
Where Can You Print Free Step Sheets for Simple Drawings?
You can get a free step sheet PDF for every drawing on this page from the form on its tutorial page. The sheet shows the numbered step pictures, so your child can draw away from the screen. All step sheets are listed on the printable step sheets page.
For a set of simple drawings in one file, the free 44-page drawing book 20 Easy Drawings for Kids is sent by email. Printable packs with step, tracing, coloring and draw-and-write pages are in the shop, including the Everyday Things pack.