This guide is for parents, pre-K teachers and homeschoolers of children aged 3 to 5. It covers what preschoolers draw at each age, eight lesson ideas linked to free tutorials on Easy Drawings for Kids, a sample lesson plan and classroom tips. Toddlers and older kids have their own pages under drawing for kids by age.
What Can Preschoolers Draw at Ages 3, 4 and 5?
Preschoolers typically move from circles and named scribbles at 3, to a simple person and crosses at 4, to squares, letter-like forms and first triangles at 5. Milestones, in the CDC’s wording, are what most children (75% or more) can do by a certain age. Every age below is a typical range, not a deadline.
The full model, from scribbles to realism, is on our stages of drawing development page. This section sticks to what matters when you plan a lesson. For children under 3, see our page on toddler drawing milestones.
Age 3
A 3-year-old draws a circle when you show how (CDC milestone by 3 years). Around 3, scribbles begin to look like rough shapes, and children may name them, says the Tasmanian “Making Marks” booklet. The Head Start Early Learning Outcomes Framework (ELOF) lists drawing simple shapes like circles among hand-eye tasks at 36 to 48 months.
The first person often appears now as a tadpole figure: a round head with two lines for legs. Gernhardt and colleagues (Frontiers in Psychology, 2015), citing Cox, write that tadpole figures emerge around 3 years of age. Our page on how kids can draw people has easy figures to try next.
Age 4
By 4 years, most children draw a person with three or more body parts and hold a crayon between fingers and thumb, not in a fist, according to the CDC milestones for 4-year-olds. Many 4-year-olds still draw tadpoles. Podobnik and colleagues (Heliyon, 2021) report that in Taylor and Bacharach’s 1981 study, 42% of 3-year-olds and 45% of 4-year-olds drew one.
Evelina London, an NHS children’s hospital, lists copying crosses and diagonal lines at about 4 to 4½ years.
Age 5
Between 48 and 60 months, the ELOF describes drawing letter-like forms with moderate precision, and by 60 months a pincer grip on tools for writing, drawing and painting. Evelina London places copying squares and Xs at 4½ to 5 years and a triangle at 5 years 3 months. By 5 years, most children write some letters in their name (CDC).
Preschool Drawing by Age at a Glance
The table sums up the sourced ranges above. The last row is our suggestion for lesson size, not a source finding.
| Age 3 | Age 4 | Age 5 | |
|---|---|---|---|
| Shapes | Circle when shown how (CDC); horizontal line and circles copied at 2½ to 3 (Evelina) | Crosses and diagonal lines at 4 to 4½ (Evelina) | Squares and Xs at 4½ to 5; triangle at 5 y 3 m (Evelina) |
| Person | Tadpole figures emerge around 3 (Gernhardt et al.) | Person with 3+ body parts (CDC) | Person with 6+ body parts at 5 to 6, guide only (UHB NHS) |
| Grip | Not listed | Crayon between fingers and thumb, not a fist (CDC) | Pincer grip on drawing tools by 60 months (ELOF) |
| Attention | Not listed | Not listed | 5 to 10 minutes in activities like arts and crafts (CDC) |
| Lesson size (our suggestion) | 2 to 4 big shapes, one at a time | 4-step tutorials | 4- and 6-step tutorials |
If your child is not meeting one or more milestones, the CDC advises talking with your child’s doctor and asking about developmental screening. A drawing on its own does not diagnose anything.
Which Drawing Skills Do Preschoolers Practice?
Preschoolers practice lines, circles, crosses and squares, triangles, and combining shapes into pictures. No official standard defines a fixed set of “basic drawing skills.” The first four follow the order of the NHS shape-copy charts above. Each one turns into something a child can draw:
- Lines become grass, hair and rain.
- Circles become heads, suns and wheels. ZERO TO THREE notes that first pictures often build off circles.
- Crosses and squares become windows and houses.
- Triangles become roofs and ears.
- Combining shapes starts at about 3 to 4, when children join two or more basic shapes (“Making Marks”).
How Do You Teach a 3-, 4- or 5-Year-Old to Draw?
To teach a 3-, 4- or 5-year-old to draw, start from a shape the child already makes, give one short instruction at a time, and talk about the picture together. For 3-year-olds, CDC tips include giving instructions with 2 or 3 steps and drawing lines and shapes with your child. Five habits turn that into a routine:
- Draw beside your child on your own sheet, not on theirs, so the crayon stays in their hand.
- Name each shape as you draw it: “a big circle for the head.”
- Keep each step to 2 or 3 actions, such as “draw a circle, then add two ears.” BBC Tiny Happy People suggests two-part instructions like “draw a big planet and colour-in the star” for 3-year-olds.
- Comment on what you see (“look at all the yellow dots”) instead of judging. This is one of NAEYC’s tips for process art.
- Ask what is happening once the drawing is done. ZERO TO THREE notes that children first name pictures after drawing them and plan ahead later.
With a 3-year-old, stop after two to four shapes. With a 5-year-old, a full 6-step tutorial is a realistic goal. Our planned guide on how to teach kids to draw covers older children.
Should Preschool Drawing Lessons Be Directed or Free?
Preschool drawing lessons work best as a short directed drawing followed by open-ended free drawing. Laurel Bongiorno of Champlain College, writing for NAEYC, says product art offers a few learning opportunities: following directions and developing small motor control. She adds that it lacks the rich cognitive, language and social-emotional opportunities of open-ended art.
That is why the guided part stays short and free drawing follows every time. A guided lesson shows a 3-year-old how a circle becomes a flower. Free drawing lets the same child decide the flower is purple and taller than the house.
You may read that step-by-step drawing on its own builds fine motor skills. We found no study showing that for directed drawing; the ELOF credits art experiences in general with fostering fine motor skills. The research and the creativity debate are covered in our directed drawing for kids guide.
What Are Easy Drawing Lesson Ideas for Preschoolers?
There are eight easy drawing lesson ideas for preschoolers below, each built from simple shapes such as circles, ovals, hearts and squares. Each links to a free tutorial with 4 or 6 numbered step pictures. The suggested ages are ours, based on step count and shapes. All subjects are everyday things, not cartoon characters.
Cloud
The puffy cloud tutorial has only 4 steps and starts with bumps, so it suits even young 3-year-olds. Suggested age: 3 and up.
Steps: a puffy cloud with five bumps and a flat bottom → two oval eyes and a smile → three teardrop raindrops → light blue and blue color.
-

Step 1: Draw a puffy cloud with five round bumps over the top and sides and a long flat bottom.
-

Step 2: Add two oval eyes and a small smile in the middle. Fill the eyes black but leave a white shine dot.
-
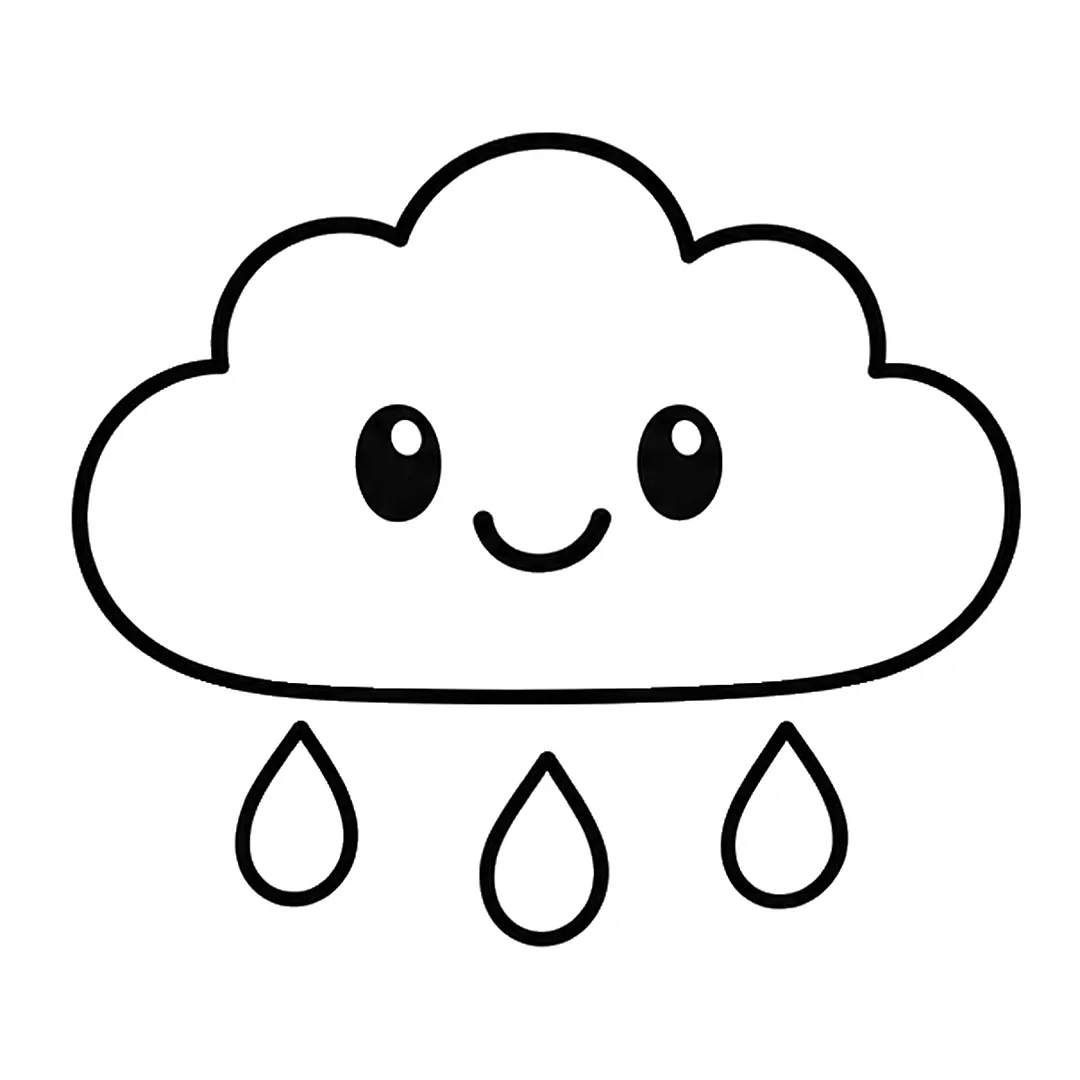
Step 3: Draw three teardrop raindrops under the cloud. Put the middle drop a little lower than the others.
-
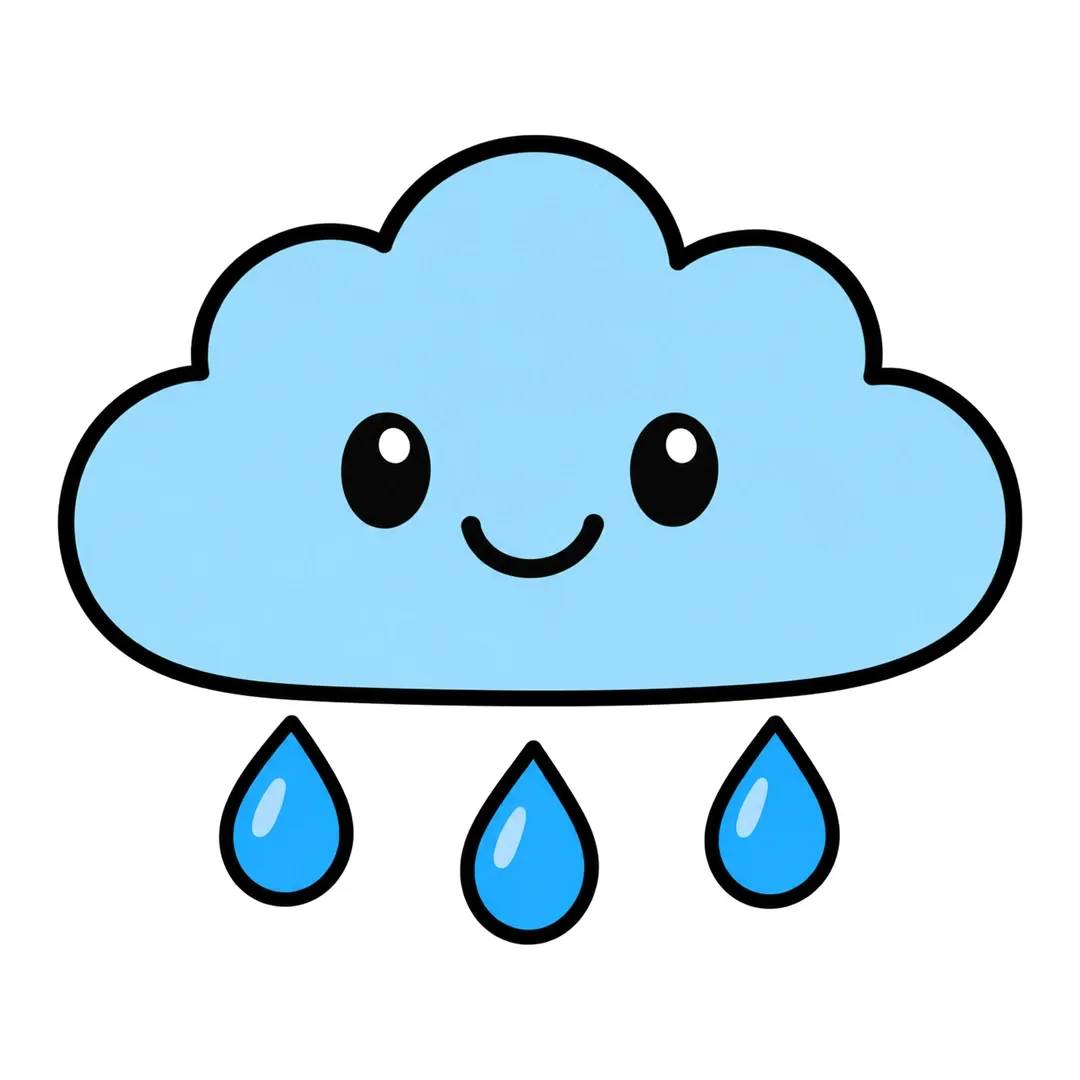
Step 4: Color the cloud light blue and the drops blue with a light blue shine mark. Keep the eye dots white.
Strawberry
A strawberry drawing is a rounded heart plus leaves, a 4-step lesson that also practices counting seeds. Suggested age: 3 and up.
Steps: a big rounded heart shape → five pointed leaves and a stem → 16 small teardrop seeds in rows → red berry, green leaves, yellow seeds.
-
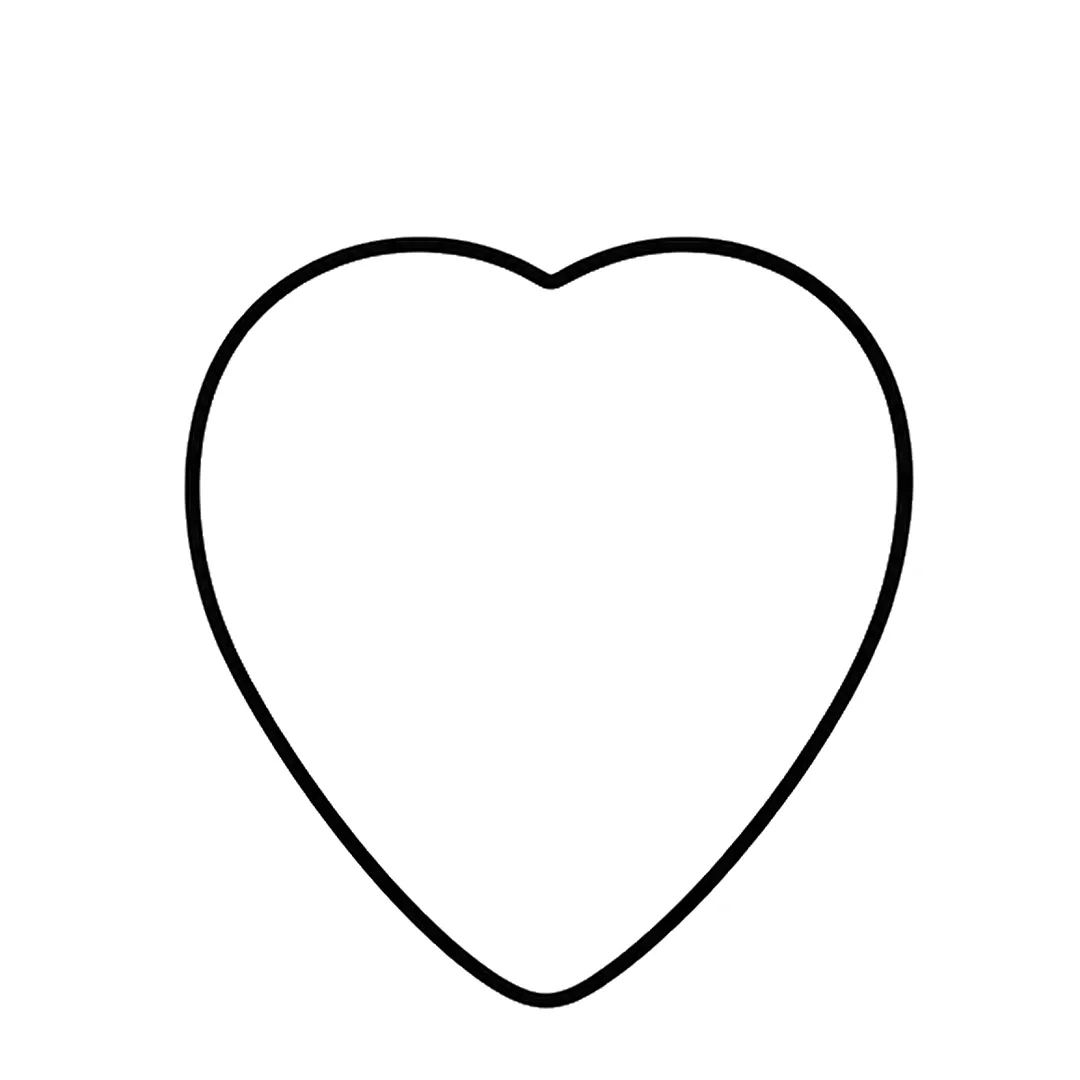
Step 1: Draw one big rounded heart shape with a small dip at the top and a soft point at the bottom.
-
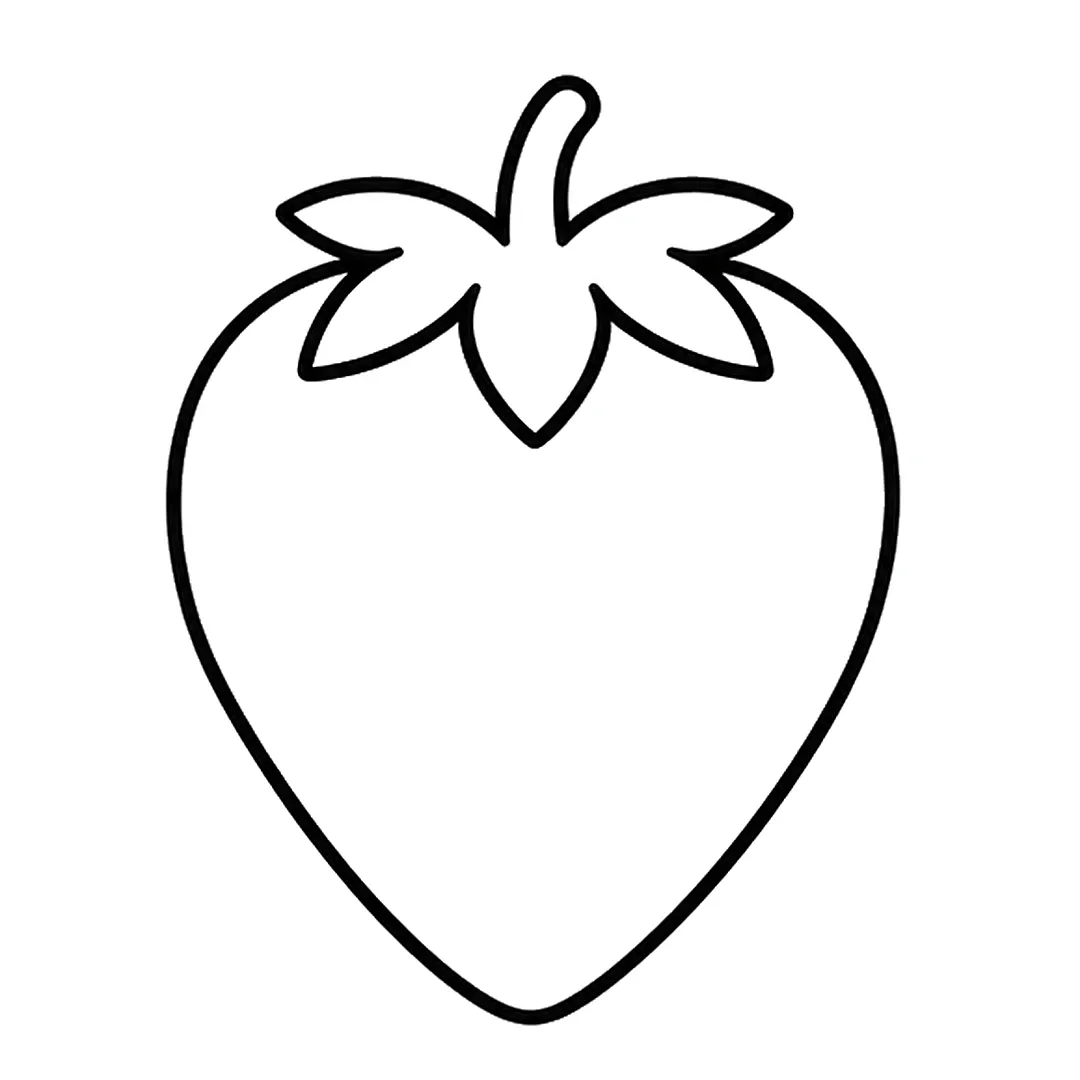
Step 2: Add five pointed leaves and a curved stem on top. Erase the berry line under the leaves.
-
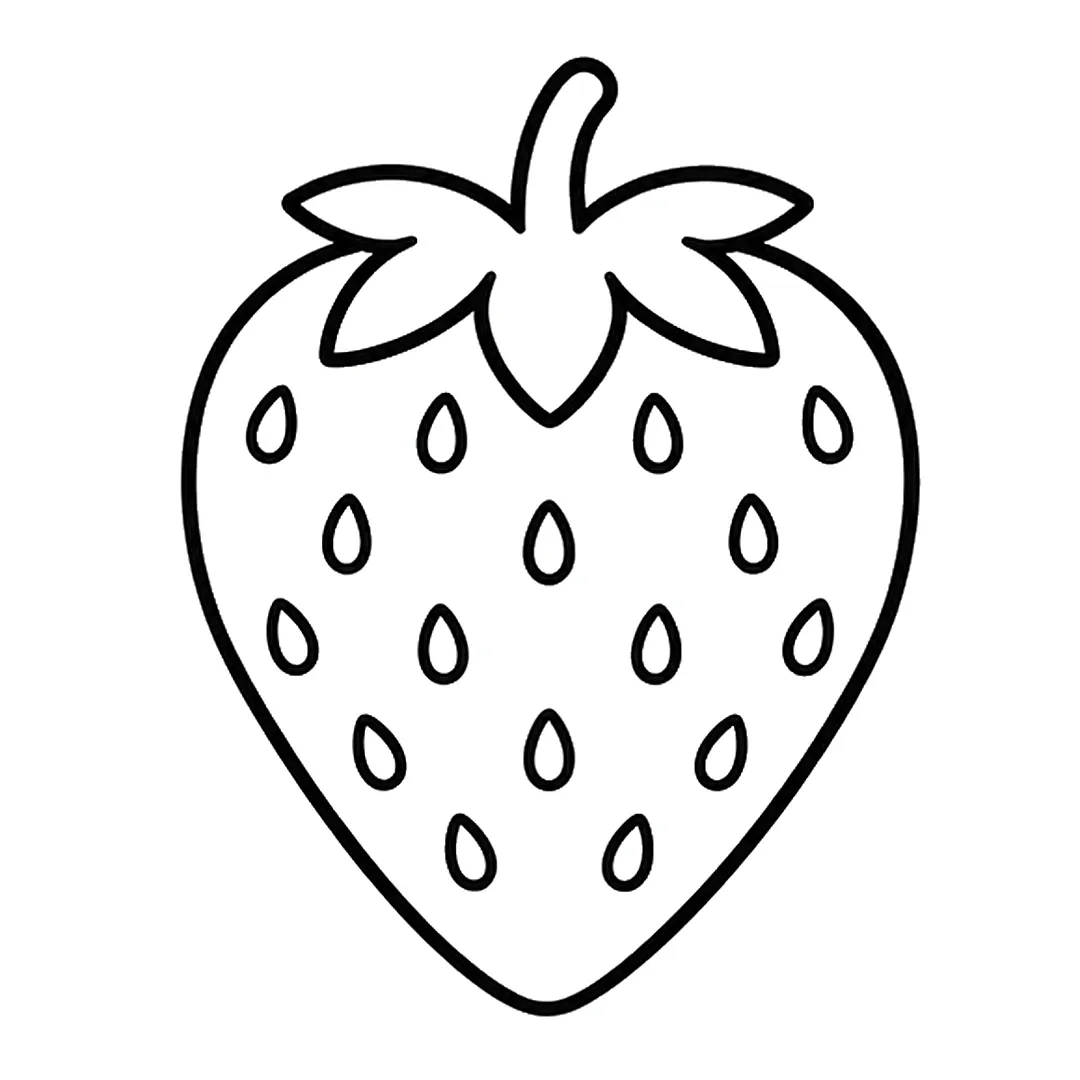
Step 3: Draw 16 small teardrop seeds in five rows of 4, 3, 4, 3 and 2, pointed ends up.
-
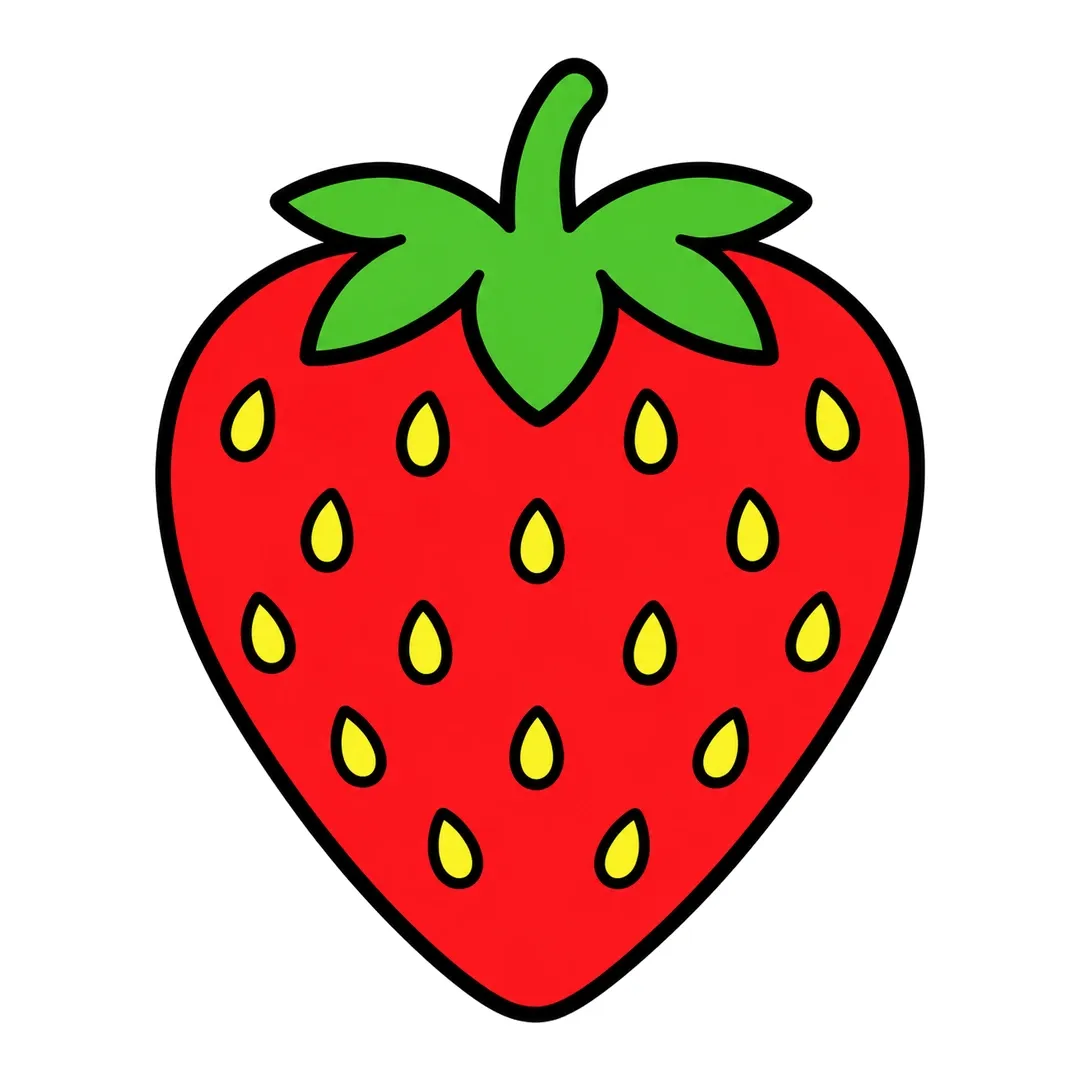
Step 4: Color the berry red, the leaves and stem green and the seeds yellow.
Flower
The 6-step flower lesson begins with a small circle and repeats one petal shape eight times, which suits circle practice. Suggested age: 3½ and up.
Steps: a small center circle → eight round petals → a long stem → two pointed leaves → a happy face and grass → pink, yellow and green color.
-

Step 1: Draw a small circle for the center of the flower.
-

Step 2: Add eight round petals all around the center.
-
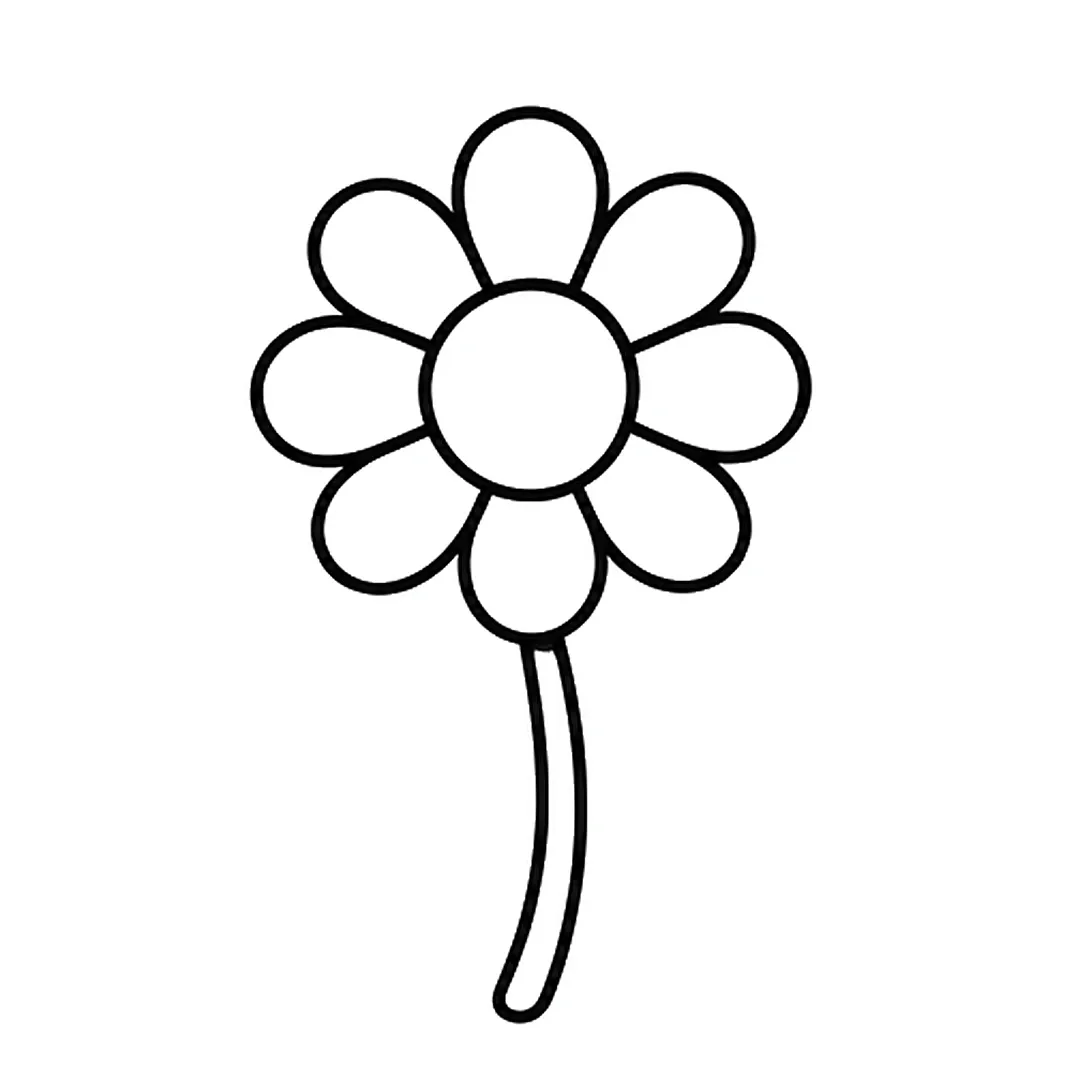
Step 3: Draw a long stem going down from the bottom petal.
-
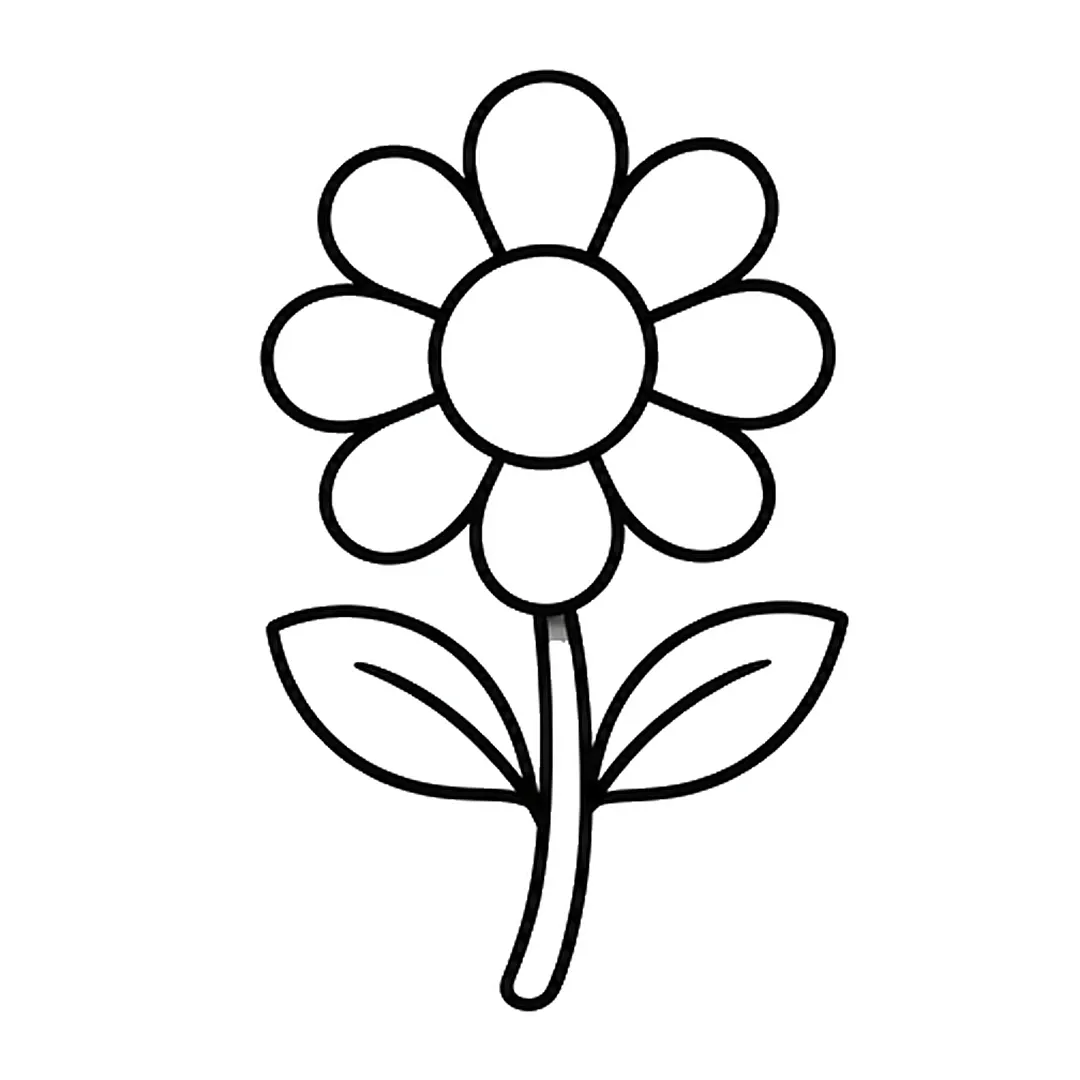
Step 4: Add two pointed leaves on the stem, one on each side, each with a vein line.
-
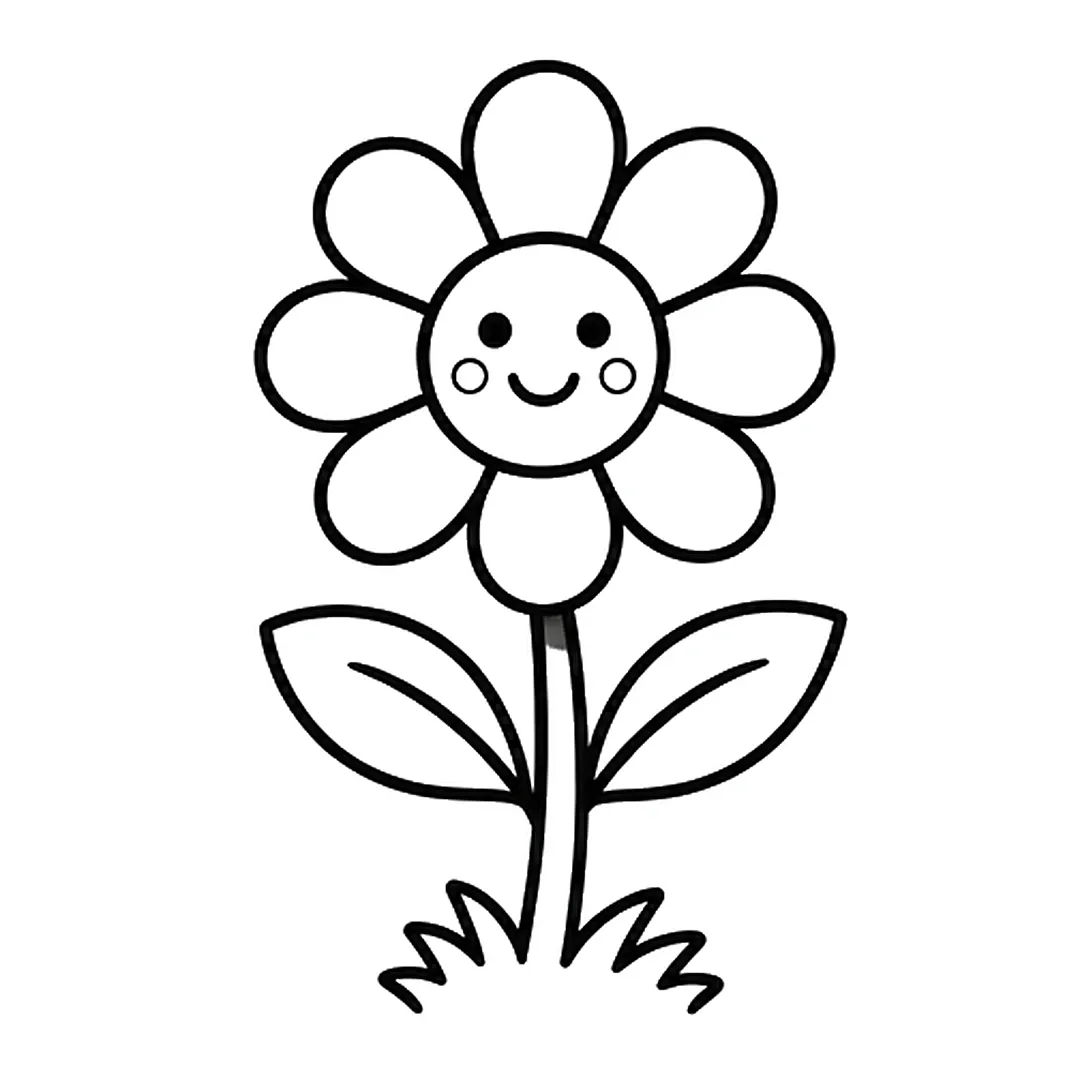
Step 5: Draw a happy face on the center with two round cheeks, and grass at the bottom.
-
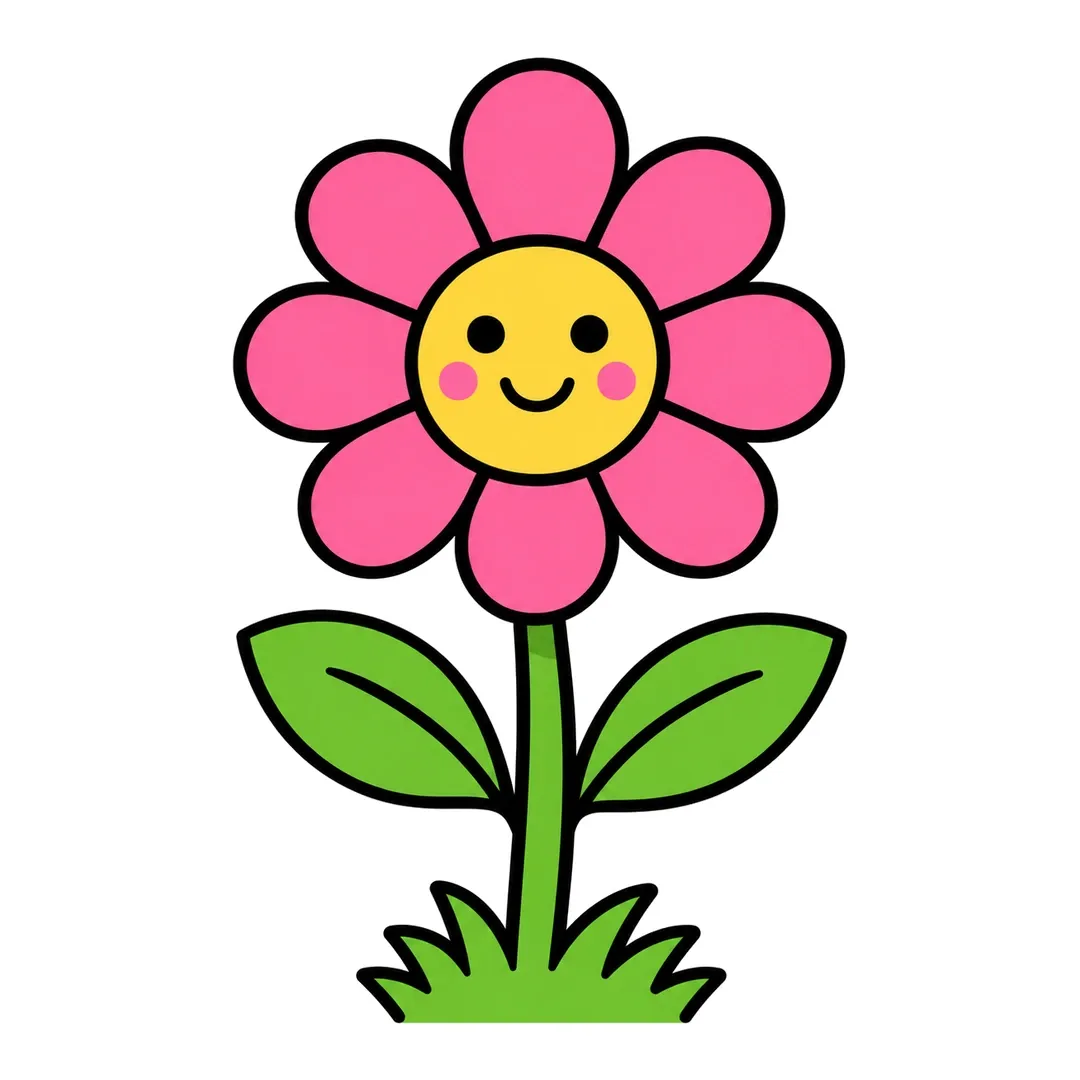
Step 6: Color the petals pink, the center yellow, the cheeks pink and the stem, leaves and grass green.
Fish
Our fish tutorial turns a wide oval into a fish in 6 steps, and the bubbles give extra circle practice. Suggested age: 4 and up.
Steps: a wide oval → a notched tail → an eye and smile → two fins → wavy scales and three bubbles → orange, yellow and blue color.
-
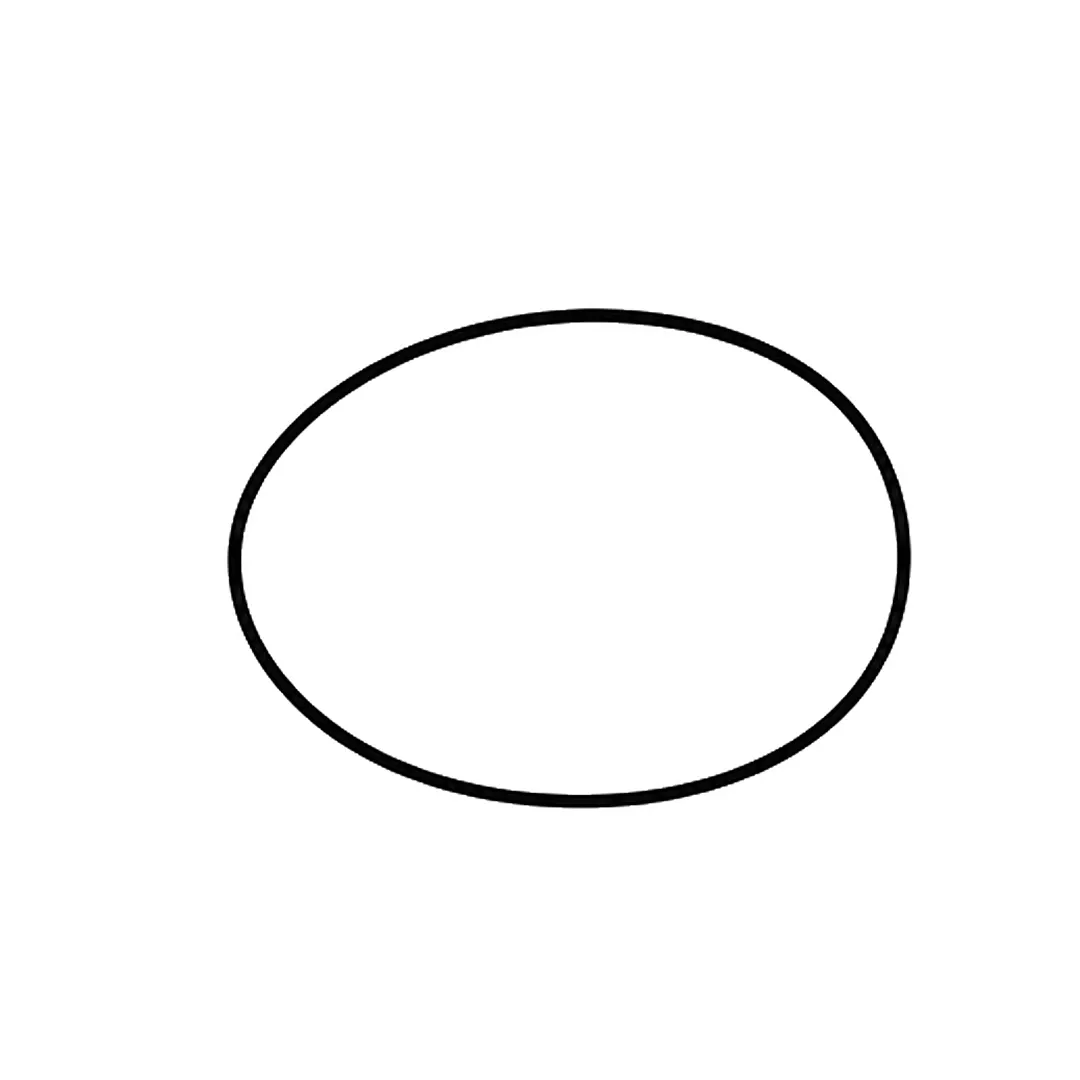
Step 1: Draw a wide oval for the body.
-
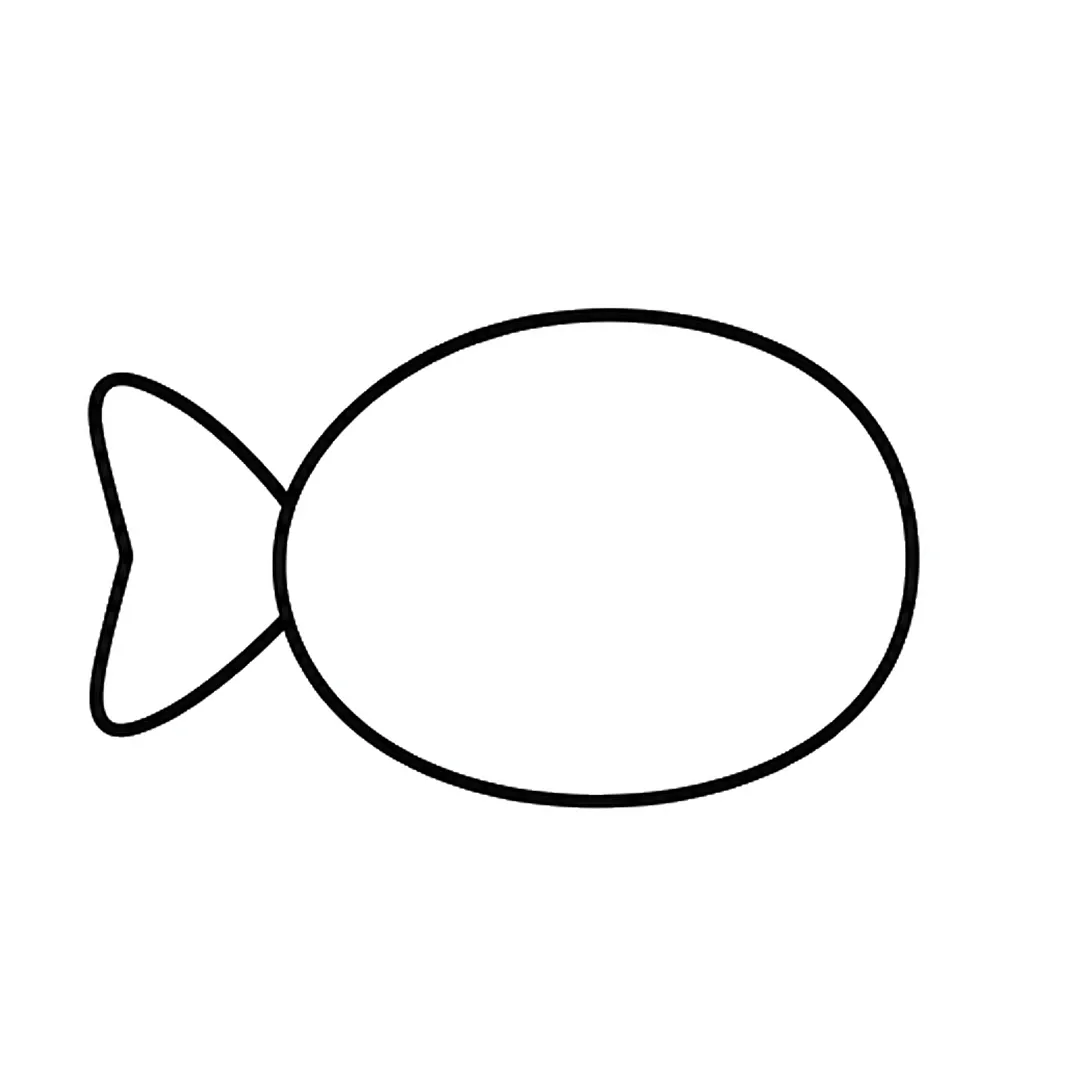
Step 2: Add a tail on the left side with a small notch in the middle.
-
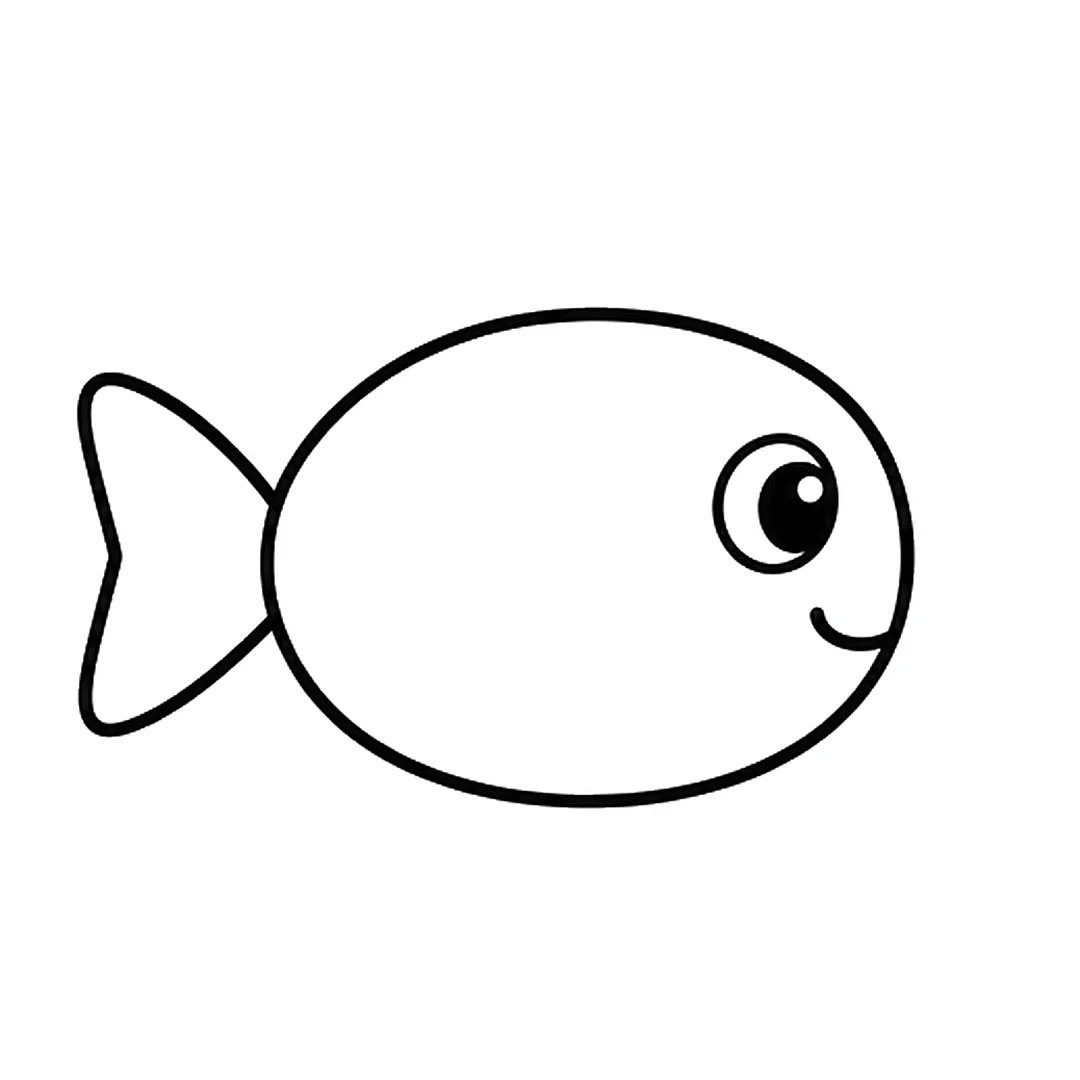
Step 3: Draw a round eye with a black pupil near the right end and a small smile below it.
-
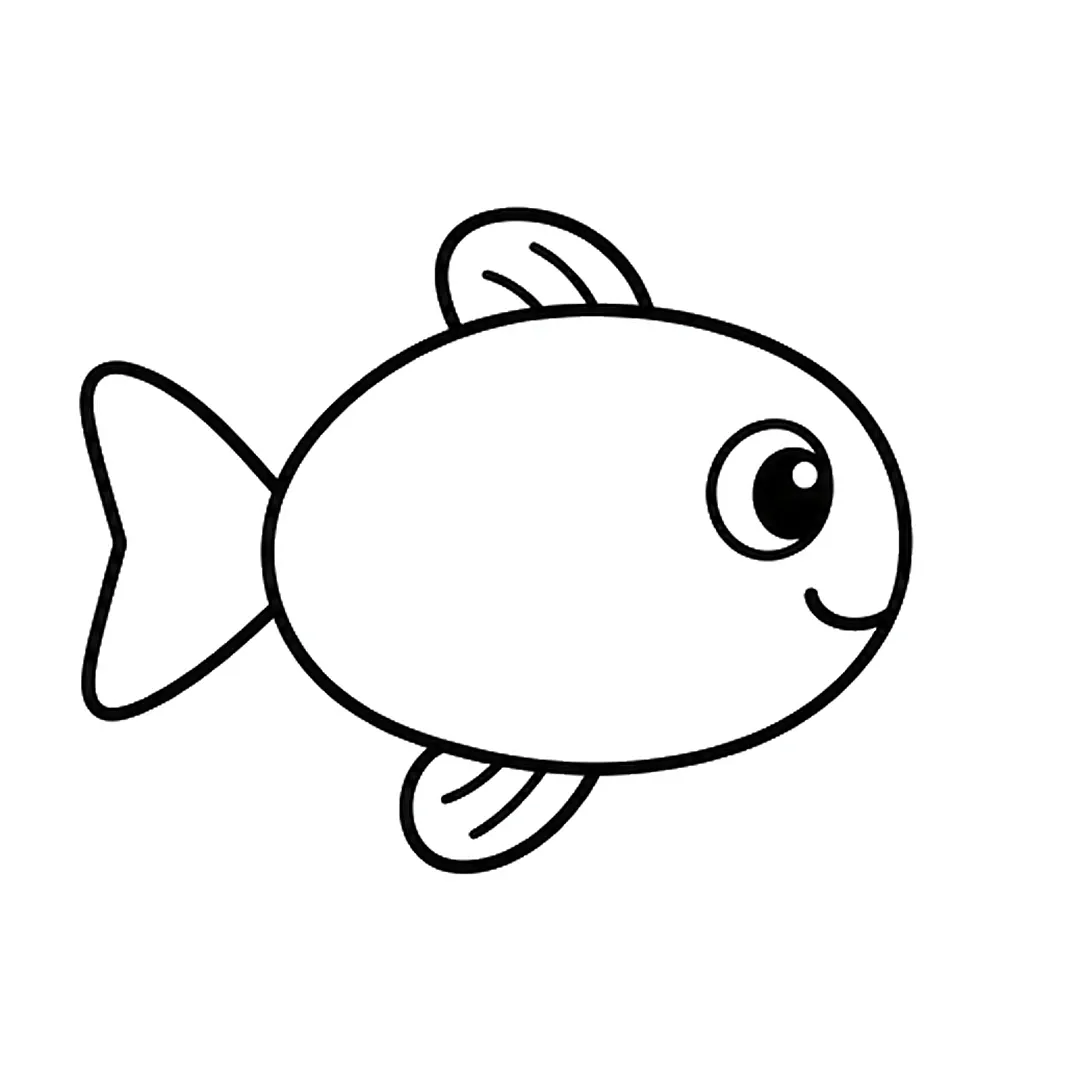
Step 4: Add a rounded fin on top and a smaller fin underneath, each with two curved lines.
-
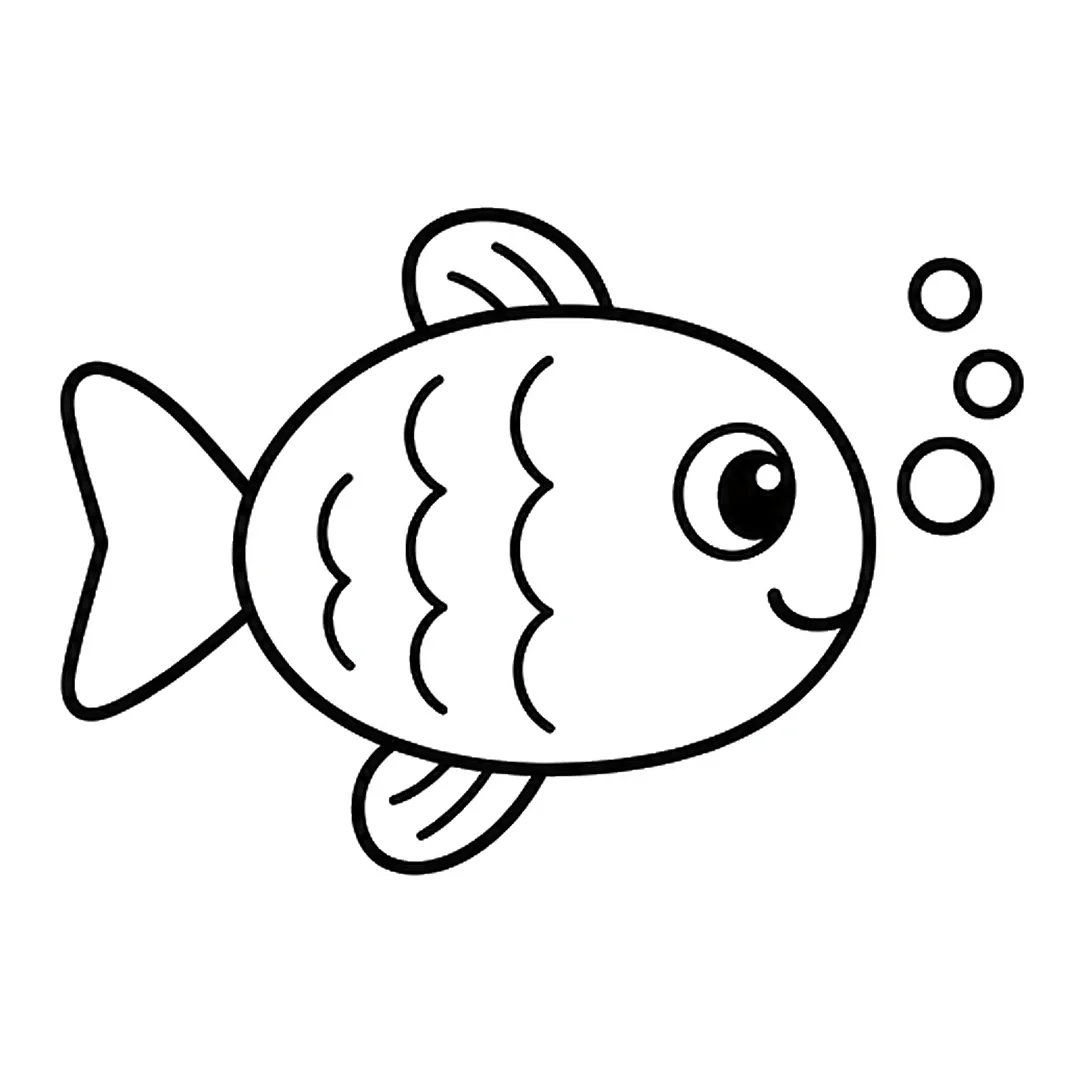
Step 5: Draw three wavy up-and-down lines of scales and three bubbles in front of the face.
-
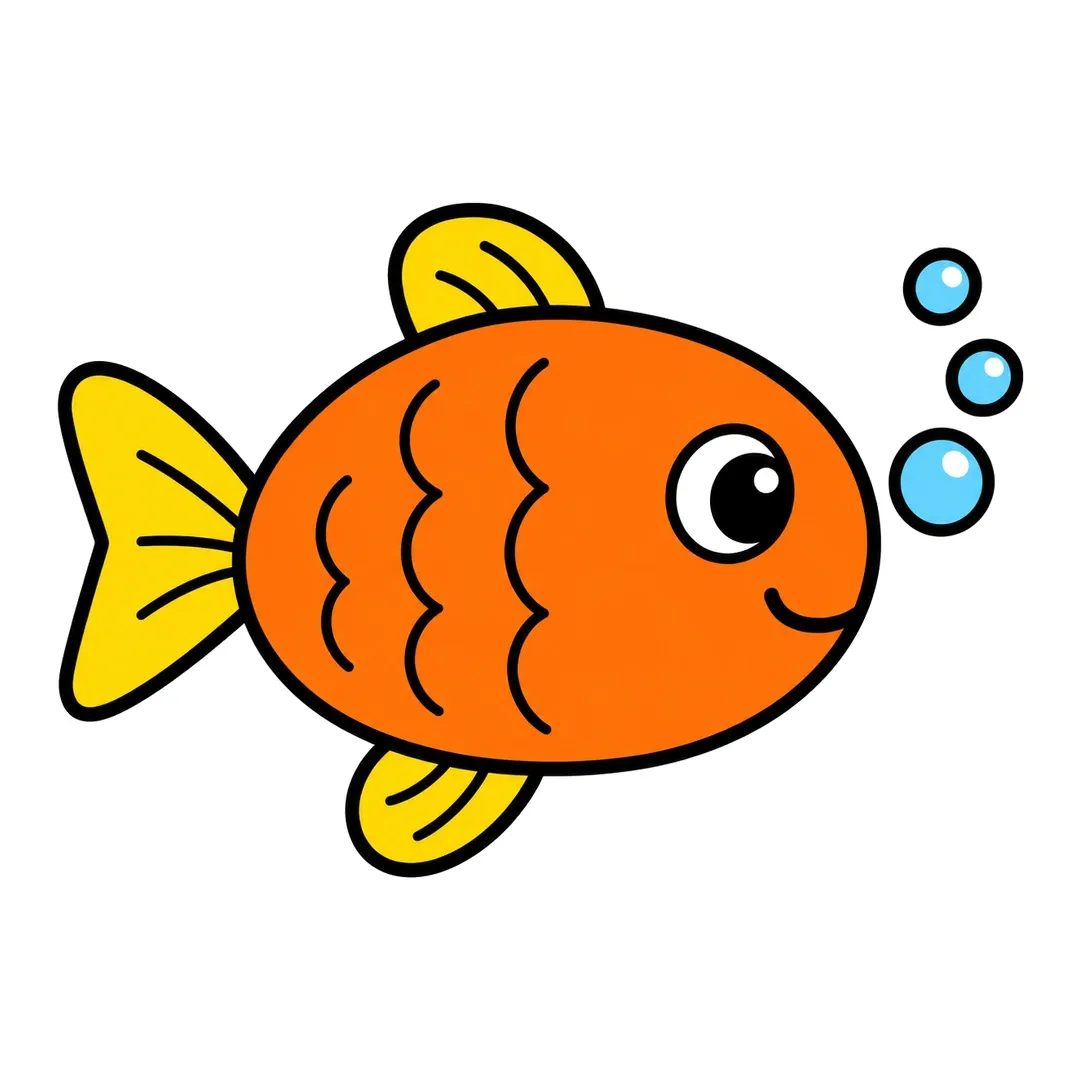
Step 6: Color the body orange, the tail and fins yellow and the bubbles blue. Add lines on the tail.
Cat
A cat drawing starts with a round head, and its two pointy ears give an early, low-pressure try at triangles. Suggested age: 4 and up.
Steps: a round head → two triangle ears → eyes, nose, smile and whiskers → a sitting body with paws → a curled tail → orange color with darker stripes.
-
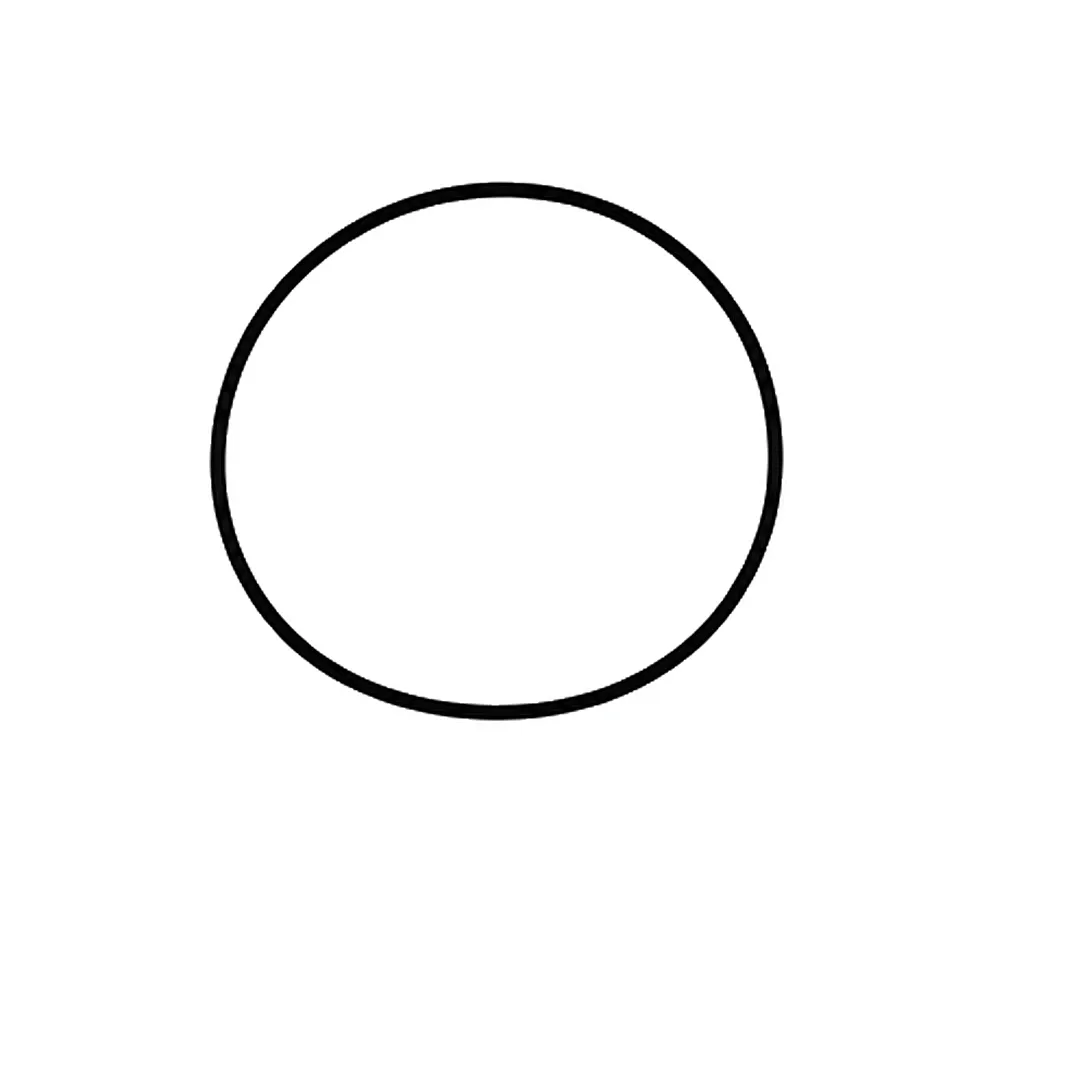
Step 1: Draw a round circle for the head.
-
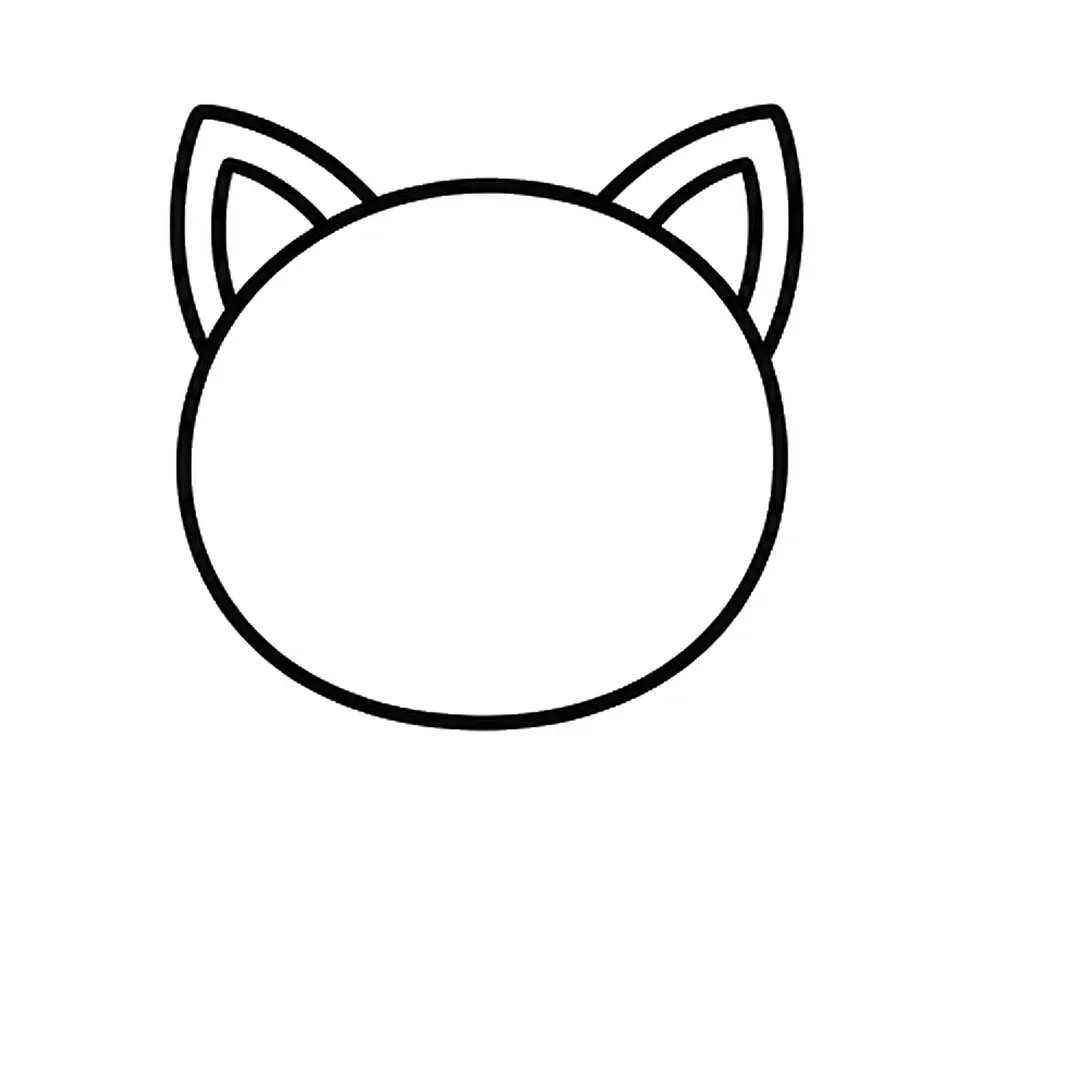
Step 2: Add two pointy triangle ears on top, each with a smaller line inside.
-
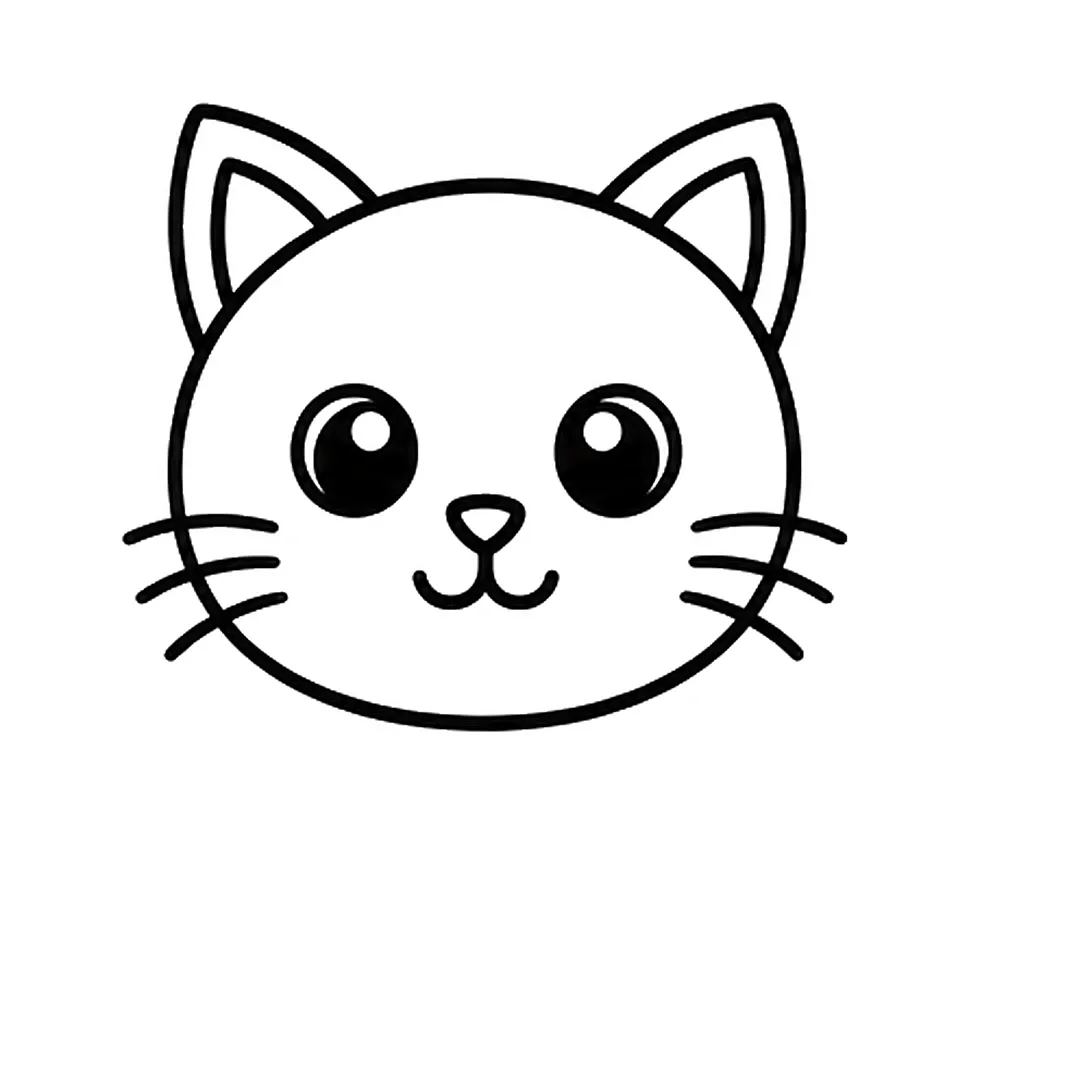
Step 3: Draw two big round eyes, a small triangle nose, a smile and three whiskers on each side.
-
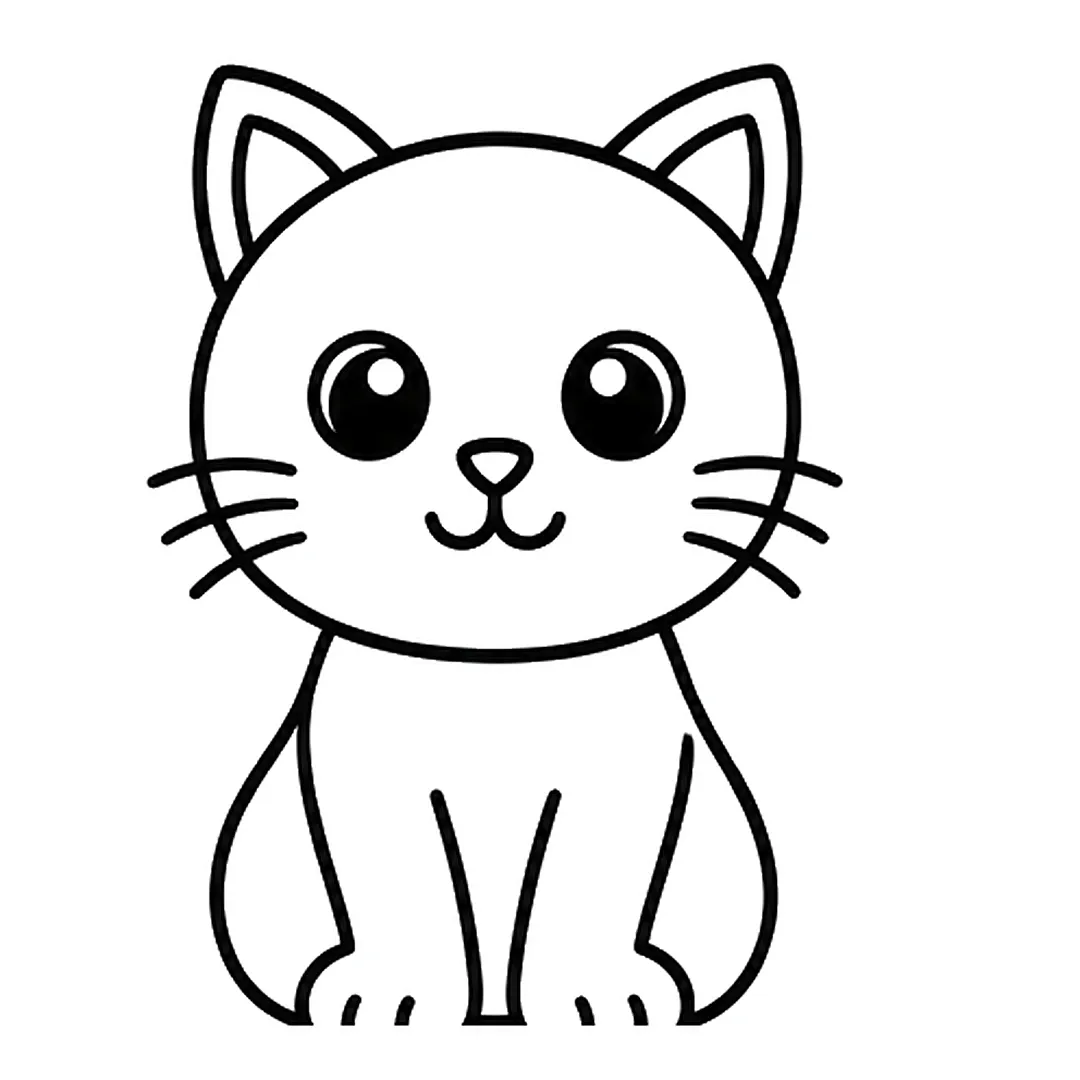
Step 4: Add a rounded sitting body with two front legs and round paws.
-
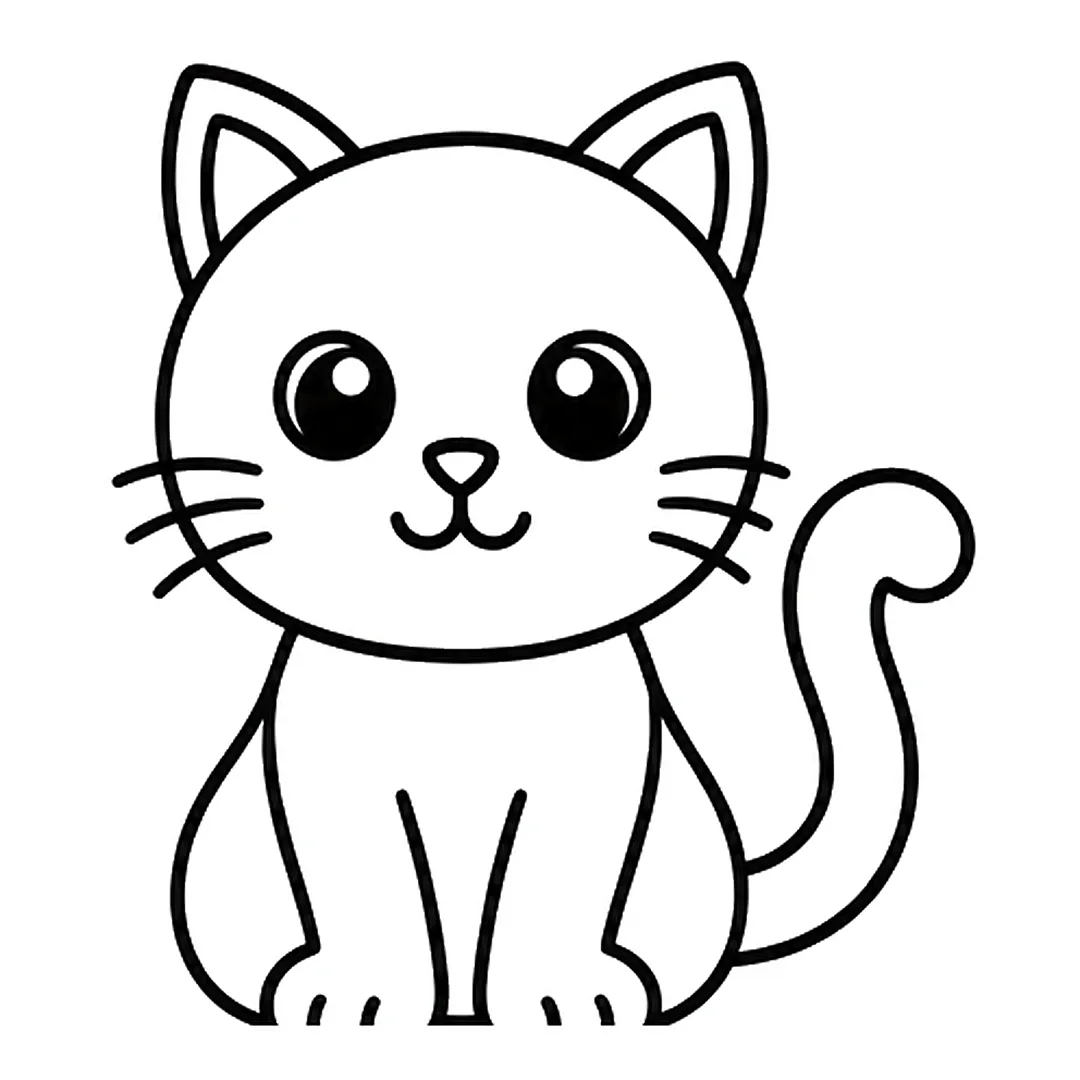
Step 5: Draw a long tail that curves up beside the body and curls at the tip.
-
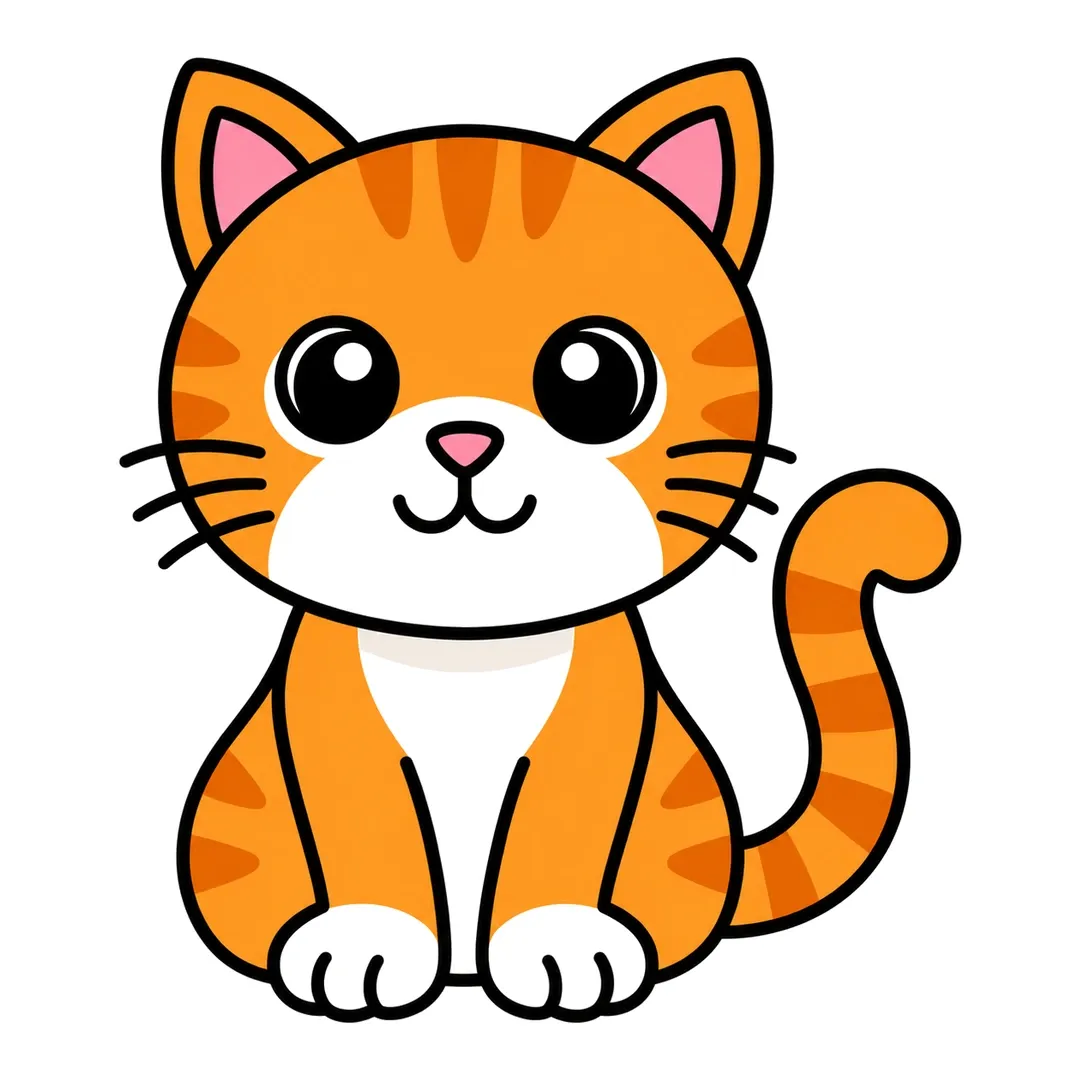
Step 6: Color the cat orange with darker stripes, and leave the muzzle, chest and paws white.
House
The house tutorial uses a square, a triangle and crosses, shapes NHS charts place between about 4 and 6 years. Suggested age: 4½ and up.
Steps: a big square → a triangle roof → a door with a knob → two windows with a cross → a chimney with smoke → yellow walls, red roof, brown door.
-
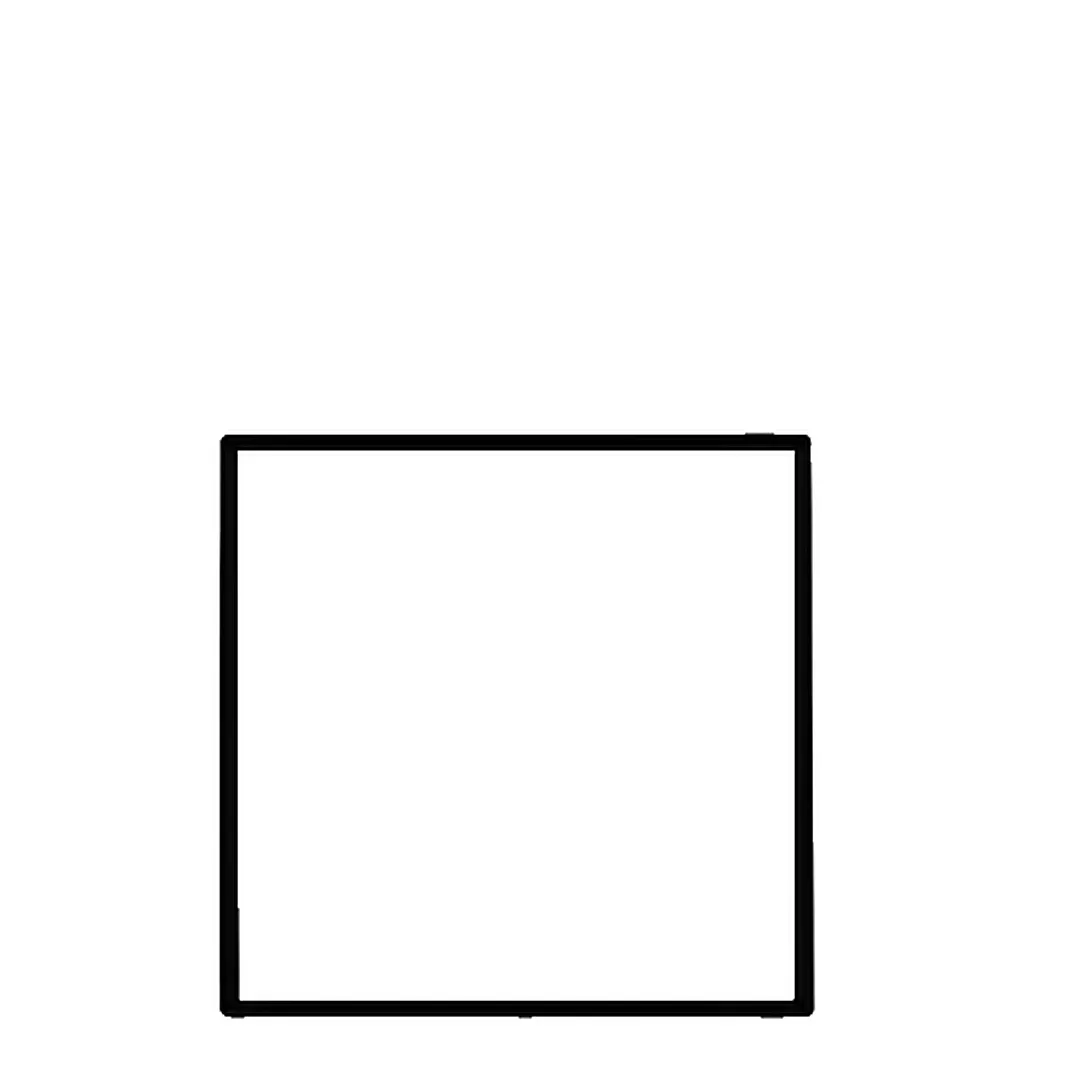
Step 1: Draw a big square for the walls.
-
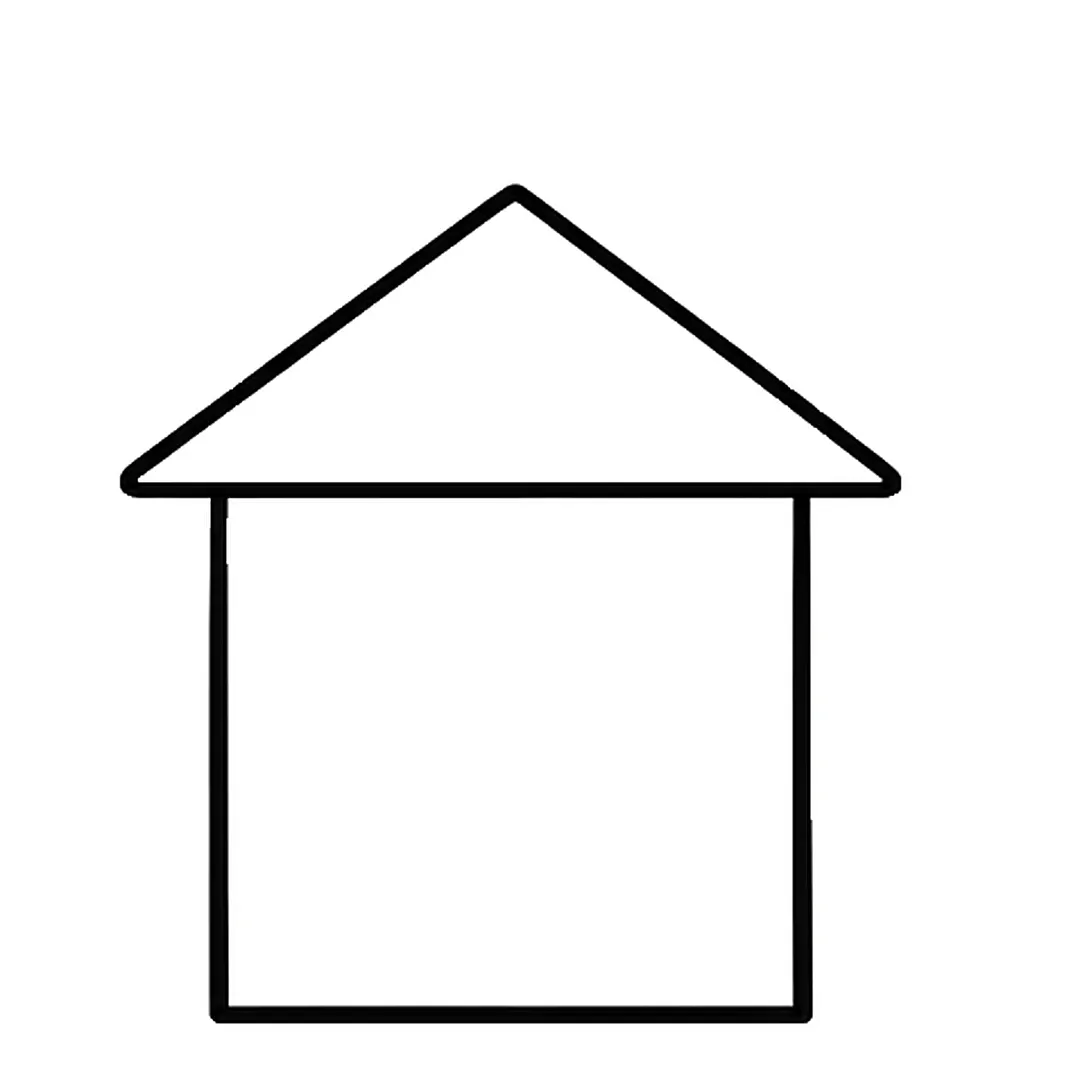
Step 2: Add a triangle roof on top that sticks out a little on both sides.
-
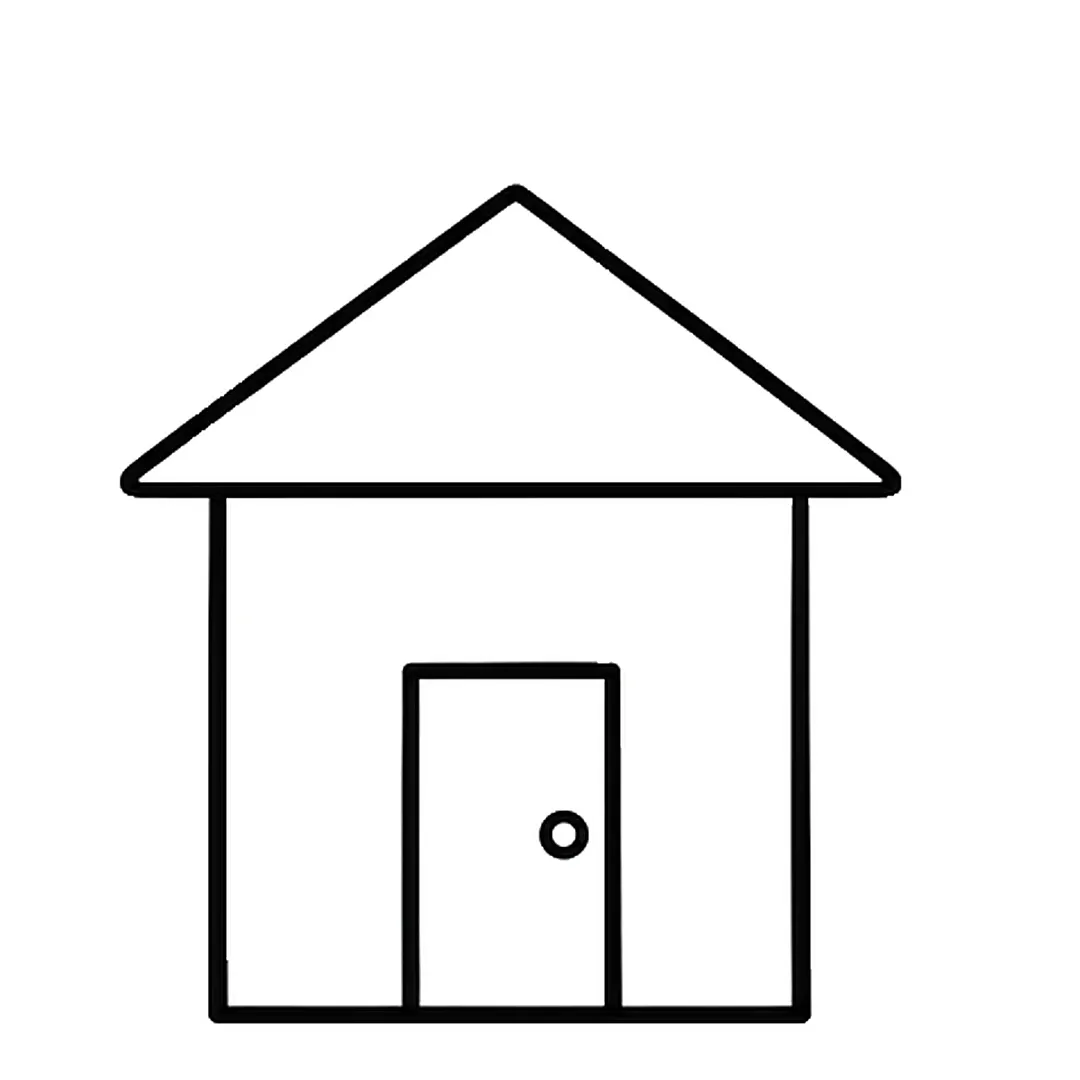
Step 3: Draw a tall door in the bottom middle with a small round knob.
-
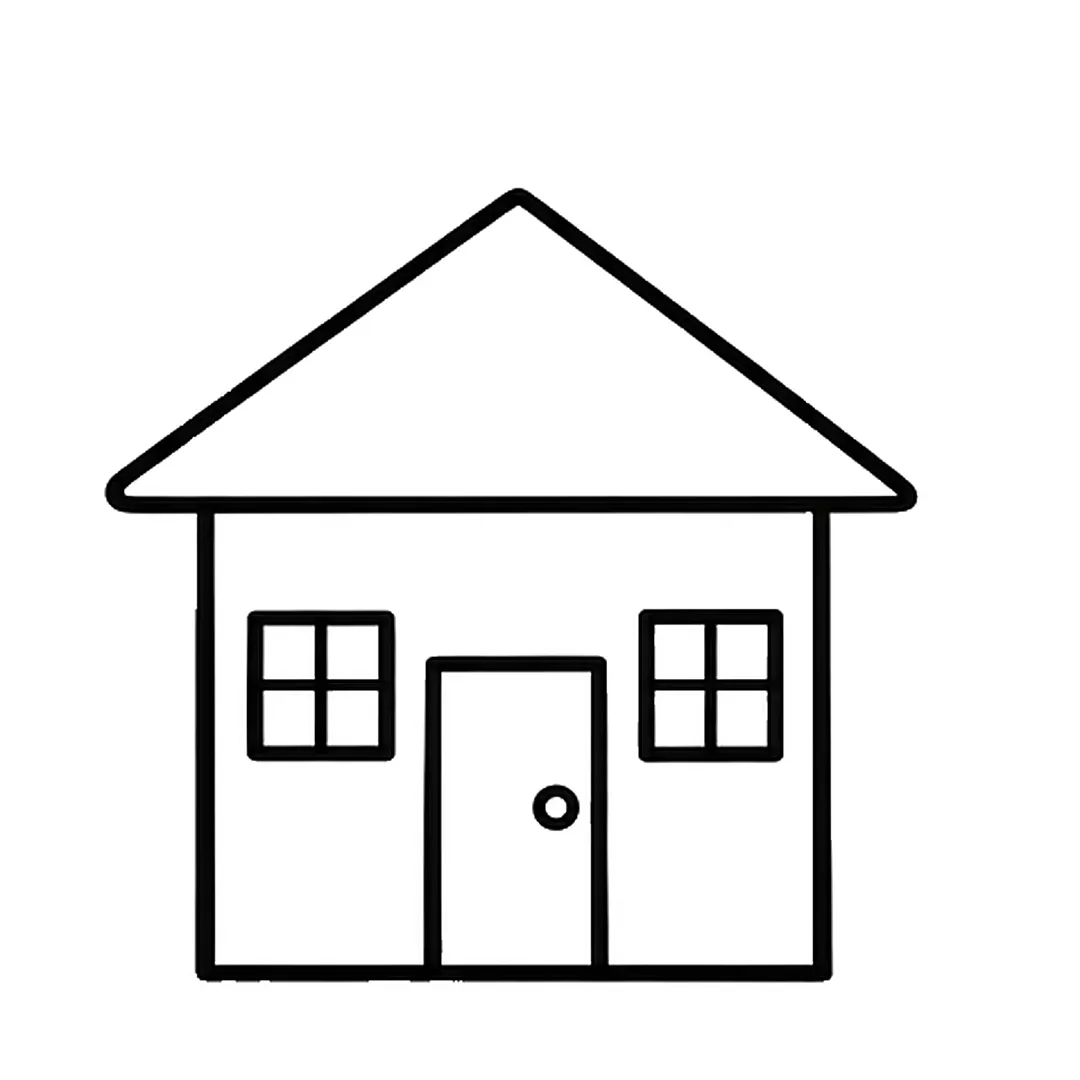
Step 4: Add two square windows, one on each side of the door, each with a cross.
-
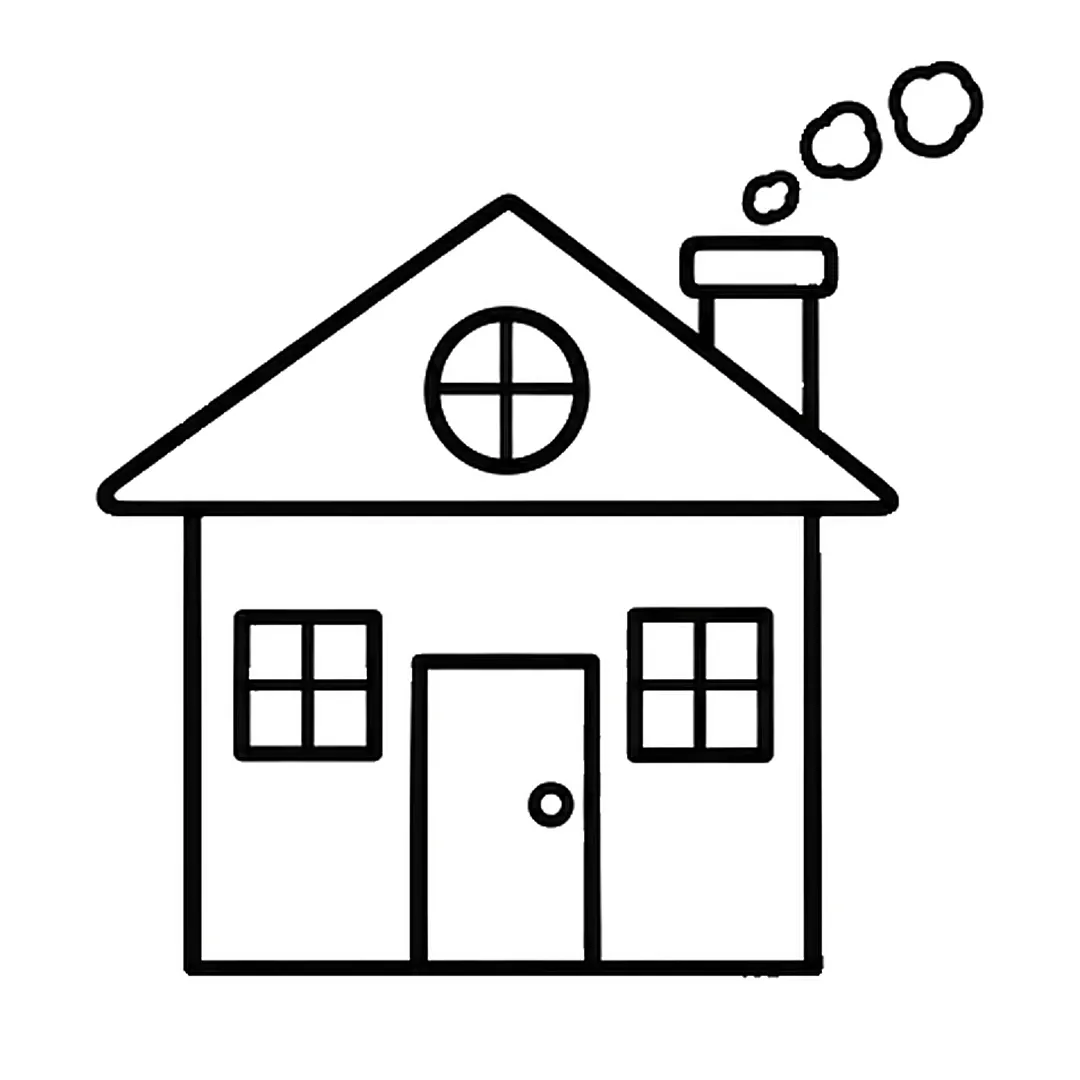
Step 5: Draw a chimney with three puffs of smoke and a round window in the roof.
-

Step 6: Color the walls yellow, the roof red, the door brown, the windows light blue and the chimney gray.
Snowman
Three stacked circles make the snowman, a 6-step lesson where size words (big, medium, small) come into play. Suggested age: 4 and up.
Steps: three stacked circles → a top hat → dot eyes, carrot nose and dotted smile → a scarf → stick arms and three buttons → color the hat, nose, scarf and arms.
-
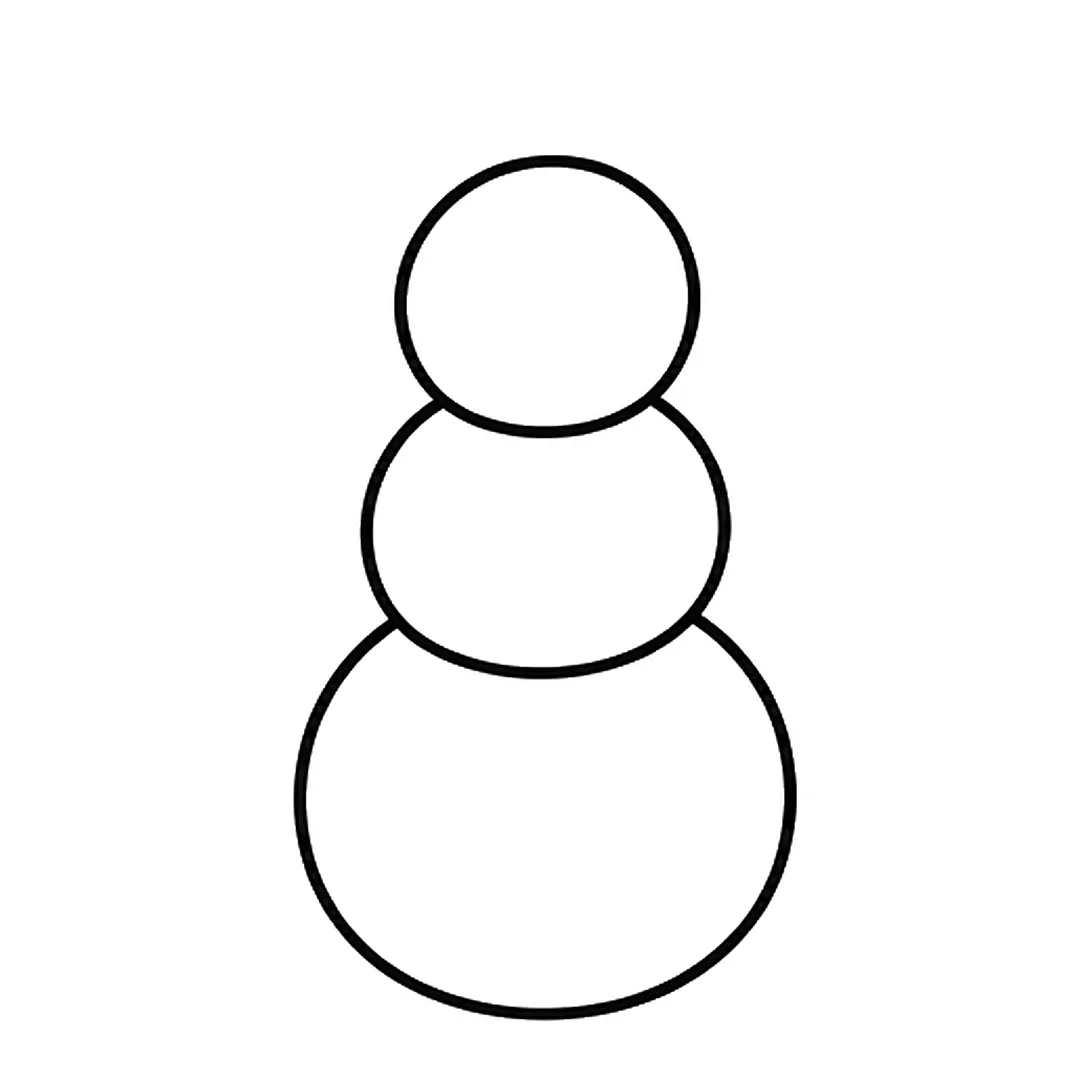
Step 1: Draw three stacked circles: big at the bottom, medium in the middle, small on top.
-
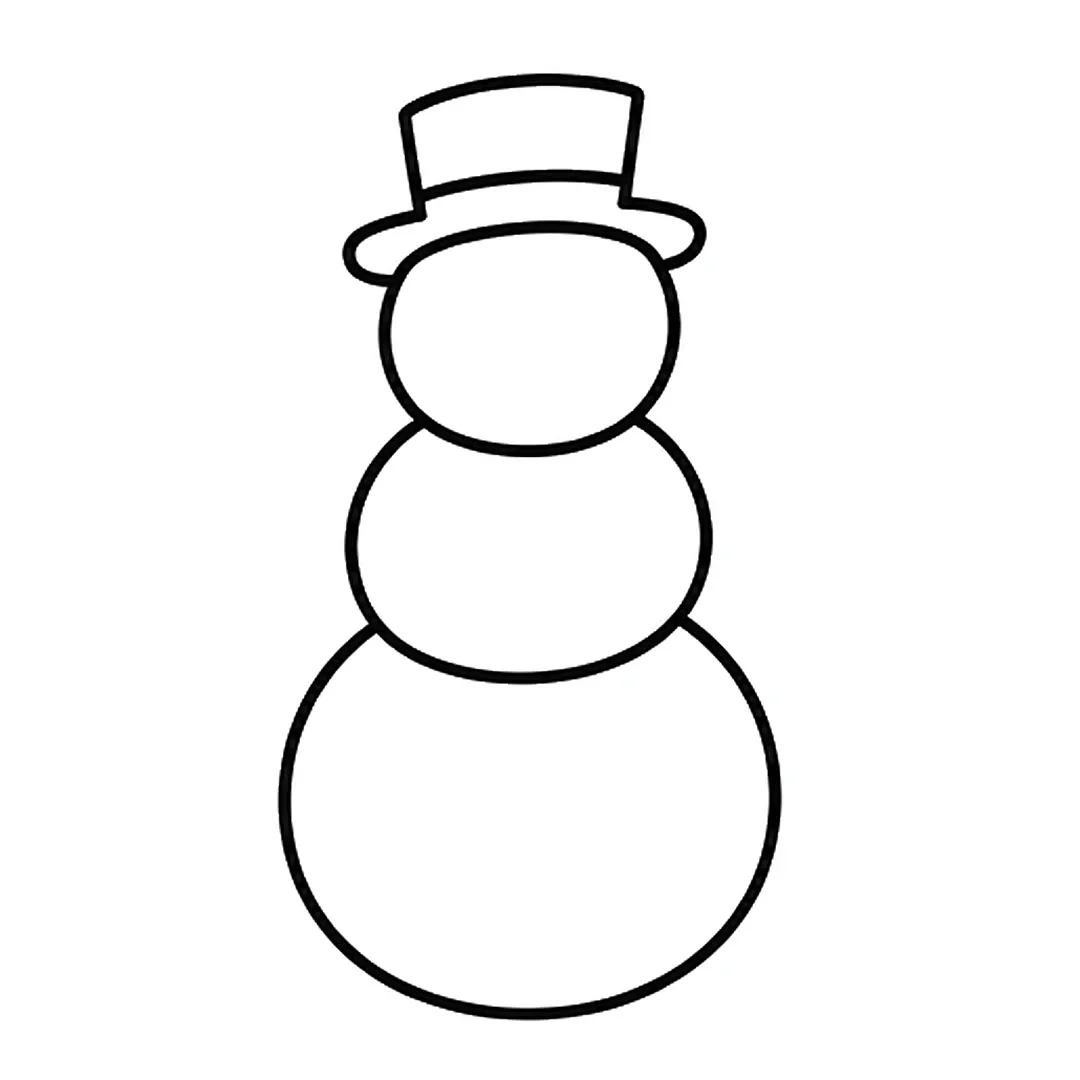
Step 2: Add a top hat with a wide brim on the head.
-
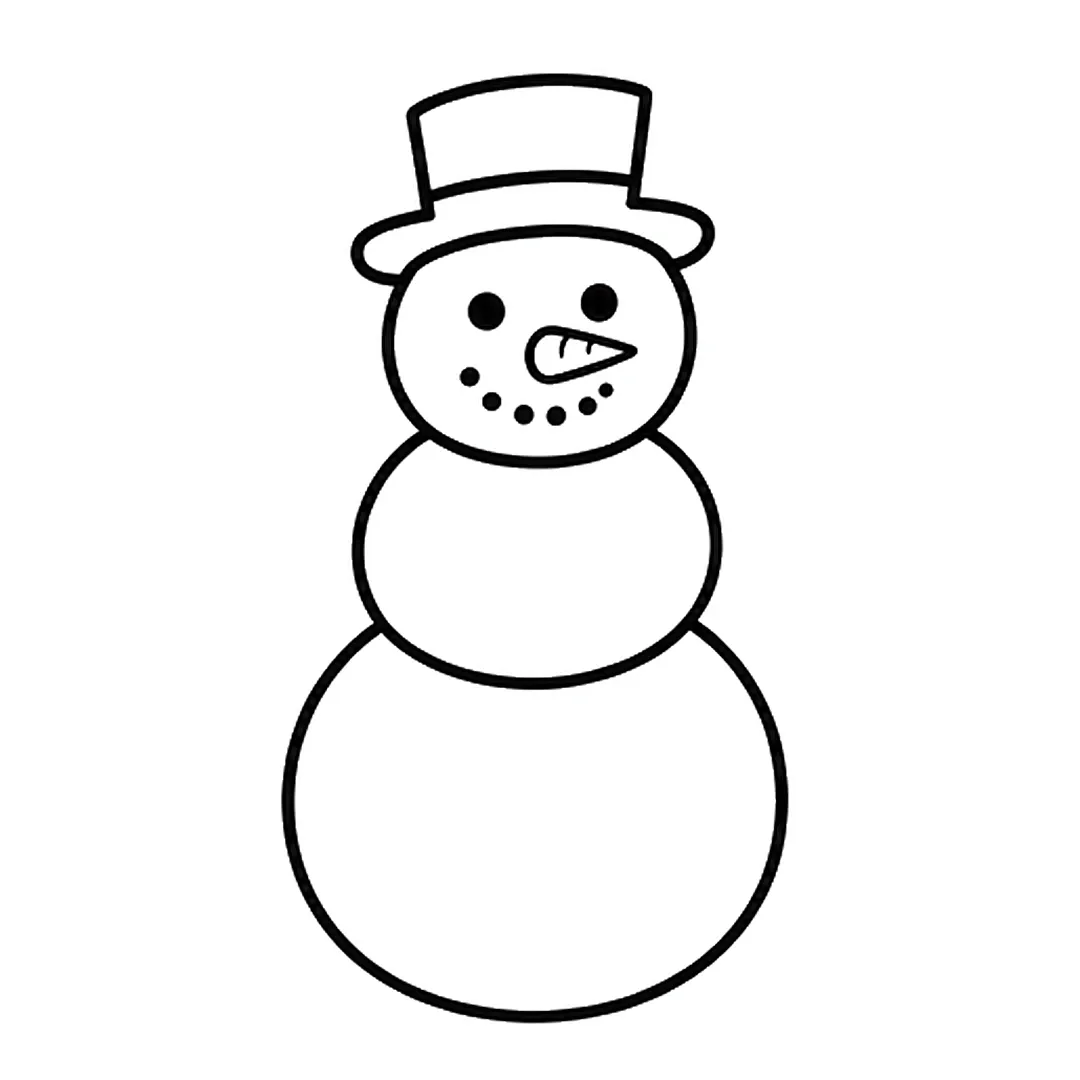
Step 3: Draw two dot eyes, a carrot nose and a smile made of small dots.
-
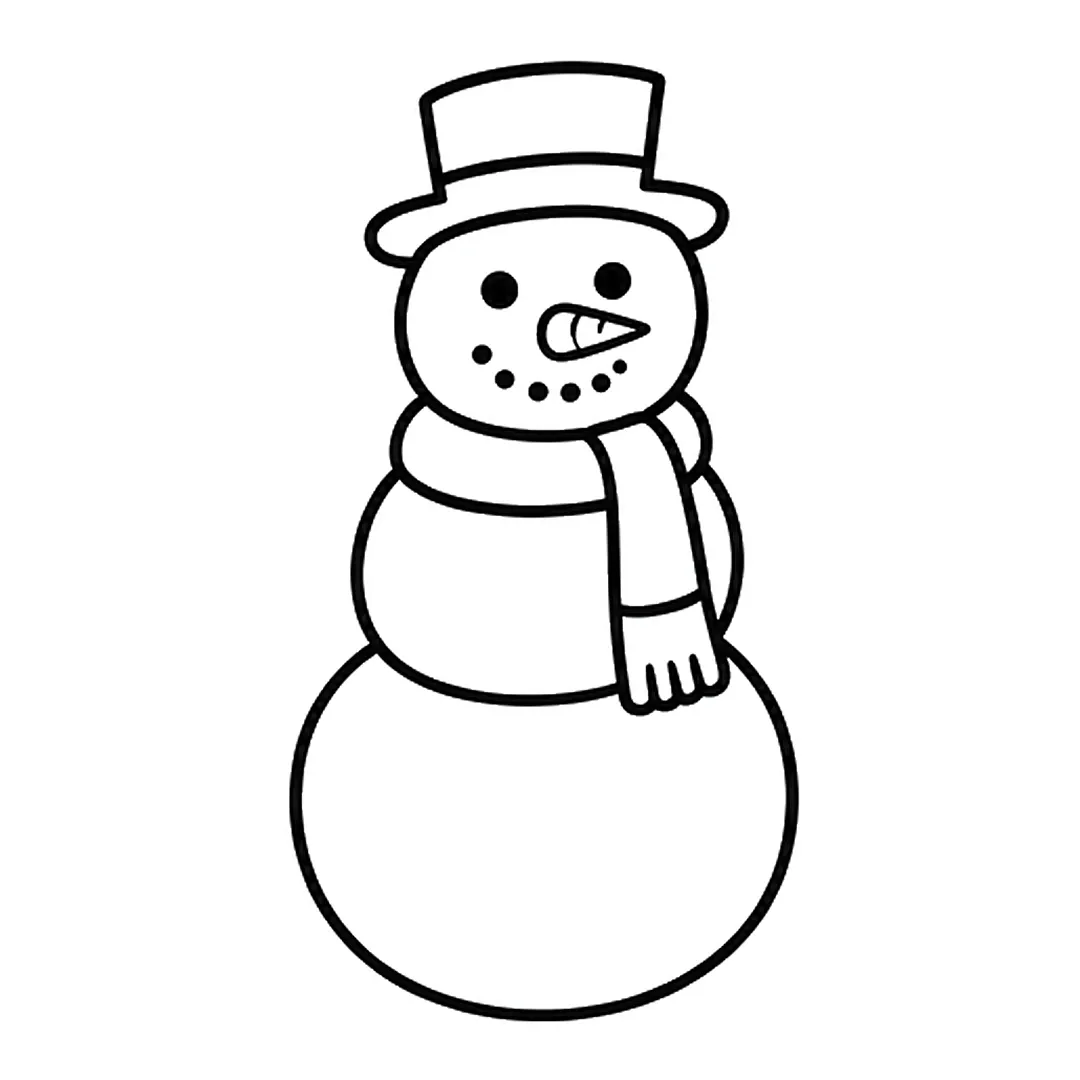
Step 4: Add a scarf around the neck with one end hanging down.
-
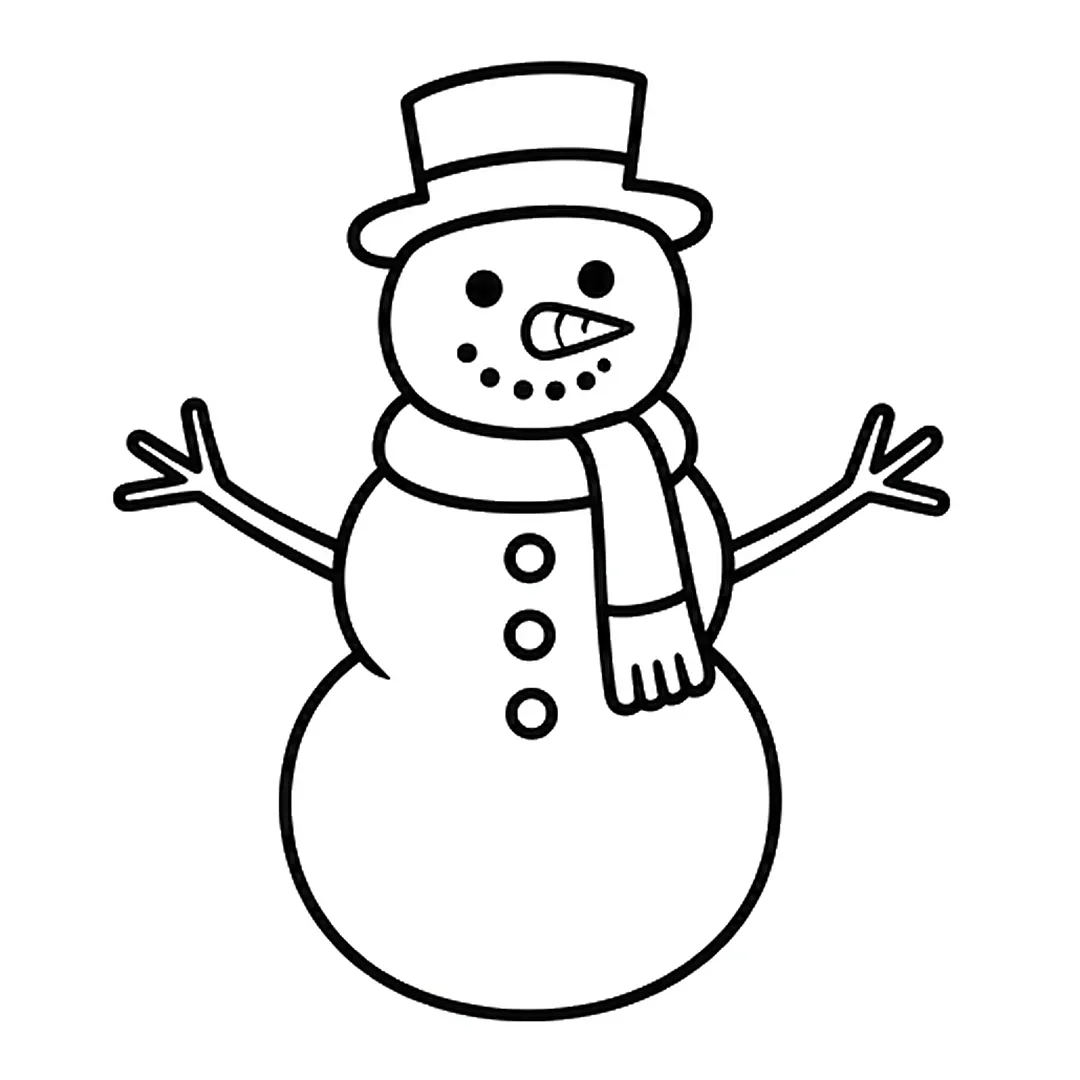
Step 5: Draw two stick arms with twig fingers and three buttons down the front.
-

Step 6: Color the hat black with a red band, the nose orange, the scarf red and green and the arms brown.
Star
A five-pointed shape is hard at 3, so the 6-step star lesson fits children who already copy diagonal lines. Suggested age: 5 and up.
Steps: a five-pointed star with soft points → two big eyes with shine dots → a small smile → two round cheeks → three small sparkles → yellow star, pink cheeks, light blue sparkles.
-

Step 1: Draw a big five-pointed star with soft, rounded points.
-

Step 2: Add two big round eyes in the middle. Fill them black and leave two white shine dots in each.
-

Step 3: Draw a small curved smile between the eyes, a little lower.
-

Step 4: Add two small round cheeks, one under each eye.
-

Step 5: Draw three small four-pointed sparkles: one at the top left and two on the right side.
-

Step 6: Color the star yellow, the cheeks pink and the sparkles light blue. Leave the eye shine dots white.
More shape-based subjects are on our drawing ideas for kids page and the planned simple drawing ideas list.
How Do You Plan a Preschool Drawing Lesson?
Plan a preschool drawing lesson as a warm-up, one short guided drawing, then free drawing and talk, with the guided part kept inside a young child’s attention span. The CDC’s 5-year milestone list says most children stay focused for 5 to 10 minutes in activities like arts and crafts.
Some lesson guides suggest 10 to 20 minutes for 3-year-olds. We found no source for that number. The plan below keeps the guided part within the CDC’s window for 5-year-olds and shortens it for younger children. Every time in the table is our suggestion.
| Part | Time (our suggestion) | What you do |
|---|---|---|
| Warm-up | 1 to 2 min | Draw big circles and lines in the air, then on paper |
| Show the goal | Under 1 min | Hold up the finished picture so children know where the lesson ends |
| Guided steps | 3 to 5 min at age 3; 5 to 8 min at 4 to 5 | Show one step, say 2 or 3 actions, wait for most children |
| Free finish | Open | Children add their own ideas: a sun, a friend, a hat |
| Talk and tell | 1 to 2 min | Ask what is happening in the picture; write down the child’s words |
Let children leave when they are done; NAEYC’s process-art tips say to let children come and go from their art at will. A child who stops after step 3 has still had a lesson.
Fitting Drawing Into a Pre-K Curriculum
The Head Start ELOF (2015) has no creative arts domain, but it calls art experiences “an important part of early childhood curriculum.” Three ELOF goals match a drawing lesson. P-PMP 3 covers fine motor control, including drawing simple shapes. P-LIT 6 treats early writing as drawing and scribbling. P-ATL 13 includes using imagination with materials to create stories or works of art.
What Classroom Tips Help Preschool Drawing Lessons?
Five classroom tips help preschool drawing lessons run smoothly: visible steps, ready supplies, small groups, big paper and a center option. Children in one pre-K group work at different speeds, so each tip keeps both slower and faster children drawing instead of waiting.
- Project the steps. Every tutorial on our site has a “Show steps on the board” classroom mode for a projector or smart board.
- Lay out supplies first. Put one crayon box and one sheet at each seat before you call children over.
- Teach in small groups. Four to six children at a table lets you see every paper (our suggestion).
- Use large paper. The ELOF lists drawing fine details among the harder hand tasks preschoolers grow into, so start big.
- Move the lesson to a center. A printed step sheet at the art table lets children repeat the drawing during center time.
Are Preschool Drawing Worksheets Worth Using?
Preschool drawing worksheets are worth using as a model to look at during a lesson, not as a replacement for blank paper. NAEYC suggests lots of blank paper rather than coloring books. A step sheet shows the order of shapes, and the child draws the picture on their own page.
Each tutorial has a free step sheet PDF, emailed from the form on the tutorial page; our printable step sheets page explains how they work. For a whole term, the packs in our shop give every drawing a step, tracing, coloring and draw-and-write page. Free drawing time still comes after.
How Does Drawing Connect to Storytelling and Early Writing?
For preschoolers, drawing is an early form of writing and a starting point for stories. The ELOF describes writing at 36 to 48 months as activities that “consist largely of drawing and scribbling” and begin to convey meaning. At 48 to 60 months, children progressively use drawing, letter-like forms and letters to convey meaning on purpose.
Talking about the picture links the two. Bongiorno writes that children often tell you about the ideas in their art, and this conversation supports literacy development. By 4 years, most children tell what comes next in a well-known story, and by 5 they tell a story with at least two events (CDC). Try “What is your cat doing?”, “What happens next?” and “Can I write your words under it?”
What Supplies Do Preschoolers Need for Drawing Lessons?
Preschoolers need thick crayons or markers, colored pencils for older children, and plenty of blank paper. NAEYC suggests markers, crayons and colored pencils of different sizes. BBC Tiny Happy People notes that a thick, chunky tool may help a child who is new to holding one develop a finger-and-thumb grip. For a full list by age, see our kids drawing supplies list.
For children in sixth grade or younger, the Art and Creative Materials Institute (ACMI) says to check products for its AP Seal. Board-certified toxicologists evaluate products before ACMI certifies them. Our planned guide to crayons for young kids covers choosing them.
Each tutorial also lists what you need: a pencil, an eraser, a black marker and the crayon colors for that drawing.
What Other Art Activities Suit Preschoolers?
Other art activities that suit preschoolers include painting, playdough, collage and open-ended drawing with different tools. NAEYC’s process-art list includes drawing with pencils, art pens, markers of various sizes or crayons. A CDC tip for 3-year-olds says squishing, pinching and rolling playdough builds hand and finger muscles for writing.
Our planned page of drawing activities for kids collects games beyond step-by-step lessons.
Where Can You Start a Preschool Drawing Lesson Today?
Start a preschool drawing lesson today with one short tutorial, a box of thick crayons and a stack of blank paper. Pick the 4-step cloud for a 3-year-old or the fish for a 4- or 5-year-old. Show one step at a time, then leave time for free drawing and a story.
Every tutorial is free and has its own emailed step sheet. For more practice, get the free 44-page drawing book 20 Easy Drawings for Kids by email. More ideas are coming on our planned drawing ideas by age page.