Below are 45 cute ideas in five groups, each with a reason it suits kids and mini steps. Forty-one link to a full tutorial. For subjects beyond cute ones, see our drawing ideas for kids.
What Makes a Drawing Look Cute?
A drawing looks cute when it borrows the features of a baby’s face: a big round head, large eyes, chubby cheeks and a small nose and mouth. Ethologist Konrad Lorenz described this set of features in 1943 and called it the baby schema, or Kindchenschema. Kids can add these features to any subject.
Lorenz’s list also included a high forehead, short thick limbs and a plump body. A 2009 study by M. L. Glocker and colleagues in the journal Ethology tested the idea with adults, not children. In it, 122 undergraduate students rated photos of infant faces. Faces edited to have more baby-schema features, such as a rounder face and a higher forehead, were rated as cuter.
Six drawing tricks put these features to work:
- Make the head big. Draw it as large as the body.
- Round every corner. Swap sharp points for curves, even on a house or a robot.
- Draw big eyes with a shine. Add a small white dot in each eye.
- Leave a big forehead. Place the eyes a little below the middle of the face. This is a drawing tip, not a research finding.
- Keep the mouth tiny. A small curve or a little “w” shape is enough.
- Add pink cheeks. Two small pink ovals under the eyes finish the face.
What Are Kawaii Drawings?
Kawaii drawings are cute characters drawn in a soft, simple Japanese style. Merriam-Webster traces kawaii to the Japanese word for “cute, adorable” and defines it as a lighthearted Japanese aesthetic with cute characters that have a childlike innocence. Kids can draw kawaii food, animals and objects. To give a character a story, see our guide on how kids can draw cartoon characters.
Merriam-Webster dates the first known use of kawaii to 1965 as an adjective and 1986 as a noun. A close cousin is chibi, an illustration style popularized in anime and manga, with simply drawn figures that have large heads and eyes on small bodies. The word chibi comes from Japanese for “small child, undersized person.”
Teach the kawaii face first, because it works on almost any shape:
- Draw a simple shape, such as a circle, a soft-cornered square or a cloud.
- Place two dot or oval eyes wide apart and a bit low.
- Add a tiny curved smile between the eyes.
- Put a small blush oval under each eye.
- Color it in a pastel crayon and outline it in black marker.
What Are Cute Animals to Draw?
Cute animals to draw for kids include cats, bunnies, pandas, teddy bears, mice, penguins and frogs. Drawn as babies, with a round head, big eyes and short legs, these animals look cute with very little effort. Each of the 14 animals below starts with a circle or an oval.
Cat
A cat is mostly circles and triangles, so how to draw a cat makes a good first cute lesson.
- Start with a large circle for the cat’s face.
- Add two triangle ears with rounded tips.
- Draw two big eyes, a tiny nose and whiskers.
- Add a small oval body and a curled tail.
-

Step 1: Draw a round circle for the head.
-
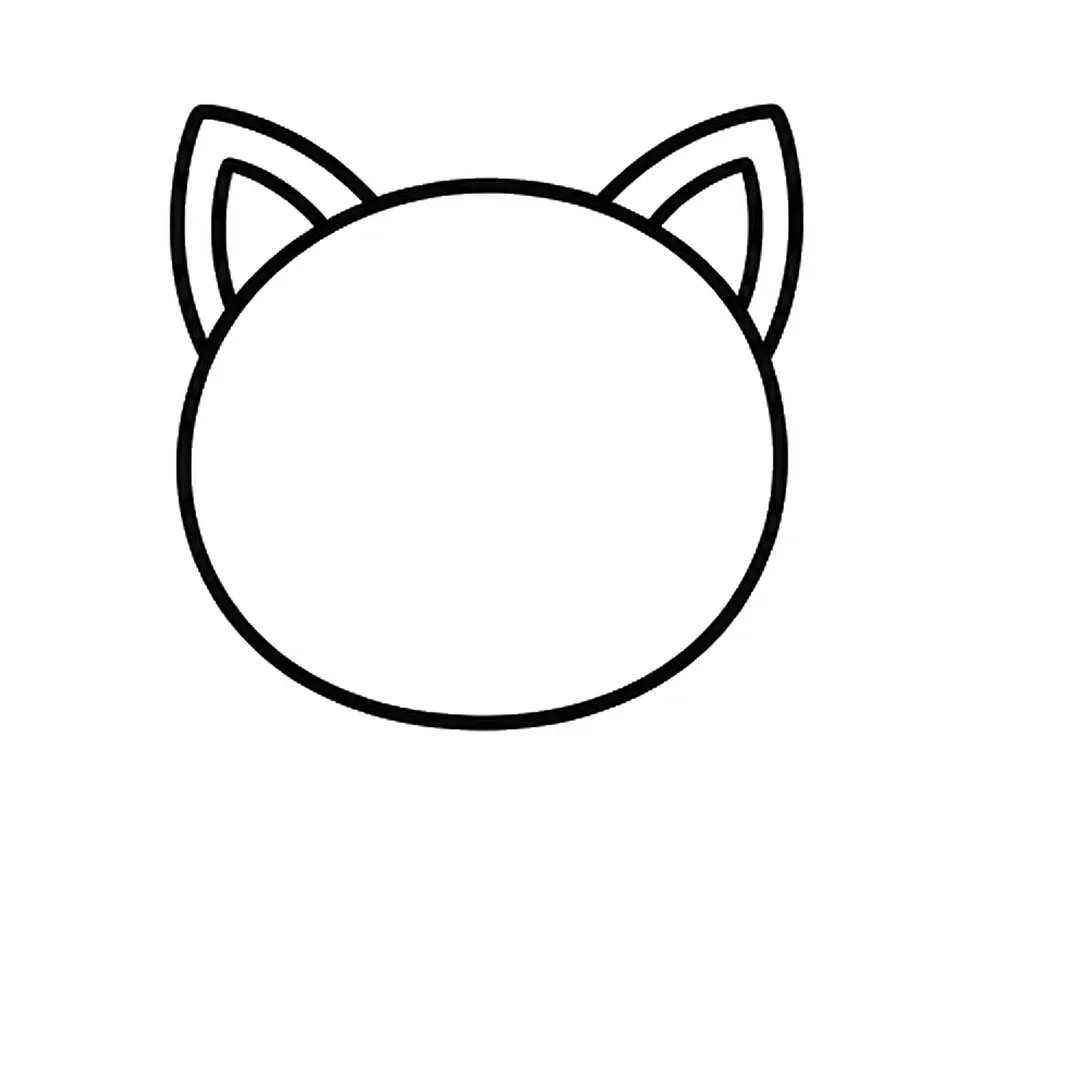
Step 2: Add two pointy triangle ears on top, each with a smaller line inside.
-
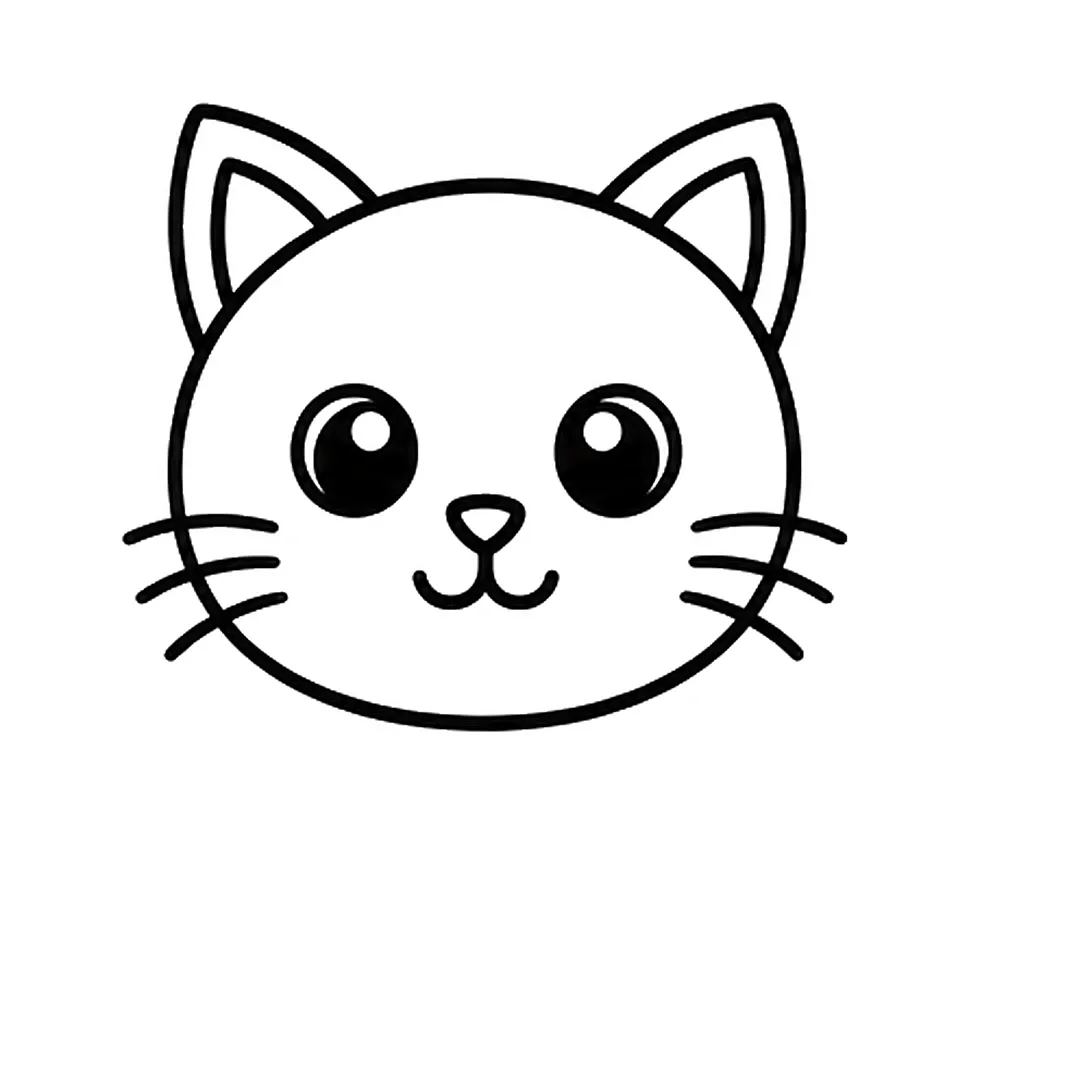
Step 3: Draw two big round eyes, a small triangle nose, a smile and three whiskers on each side.
-
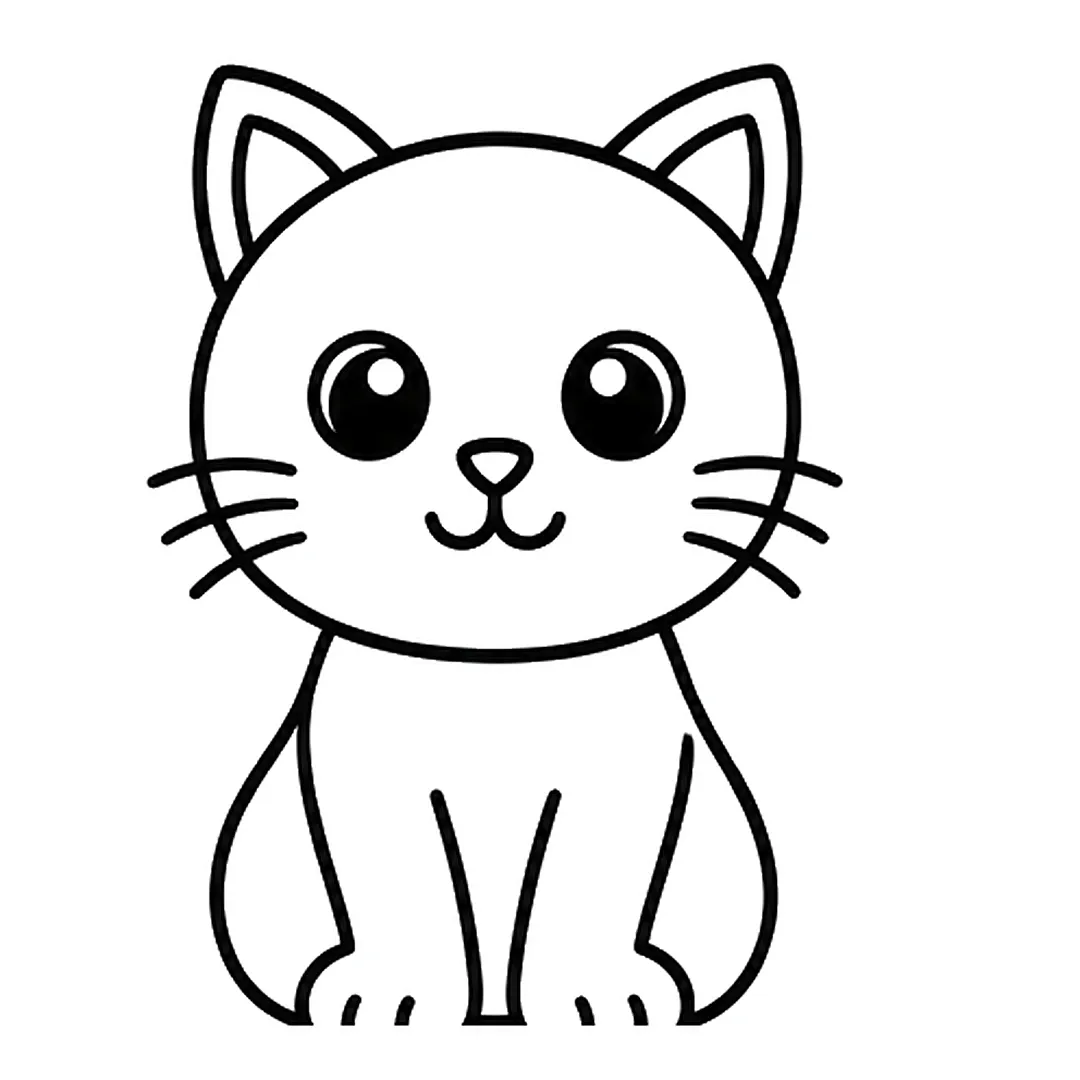
Step 4: Add a rounded sitting body with two front legs and round paws.
-
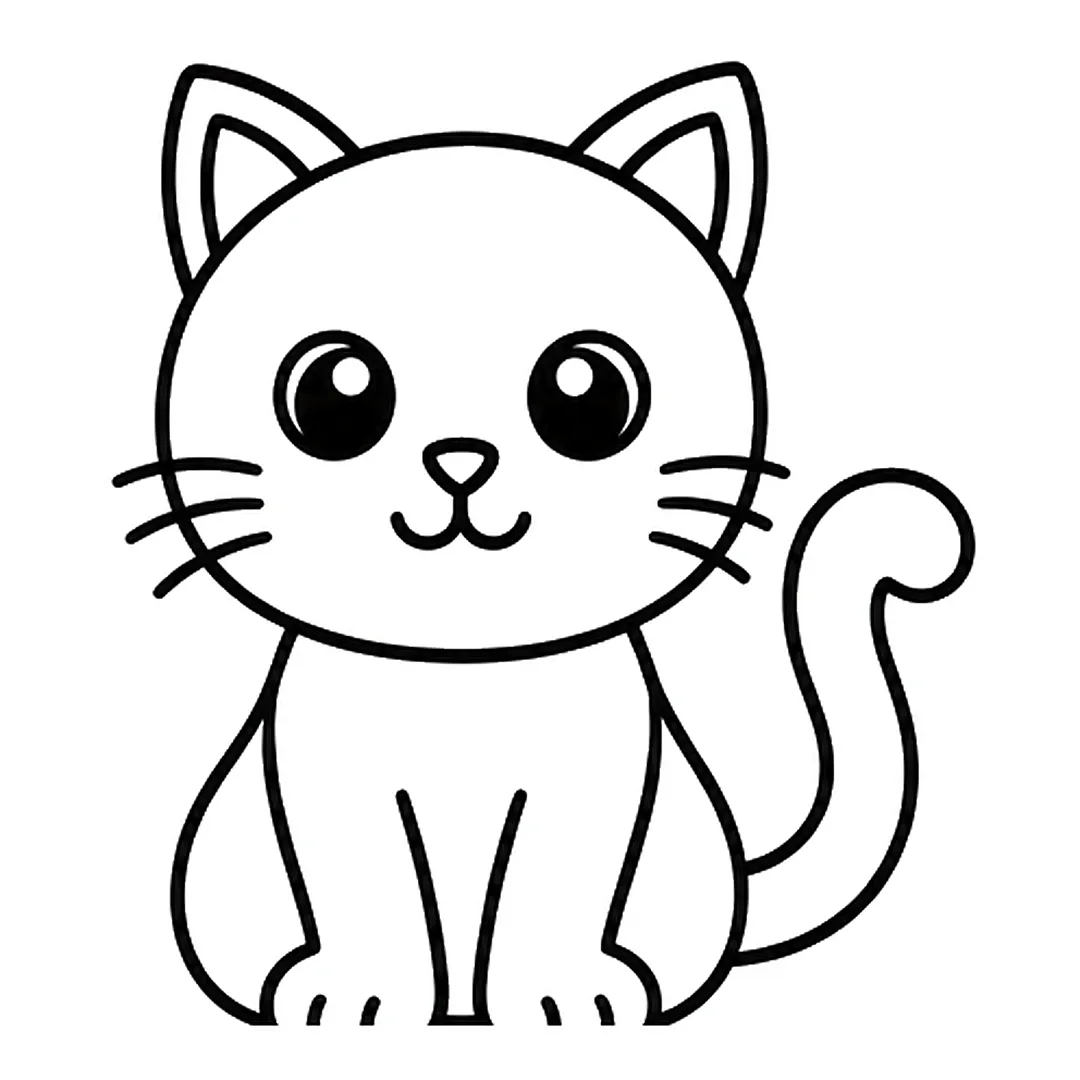
Step 5: Draw a long tail that curves up beside the body and curls at the tip.
-
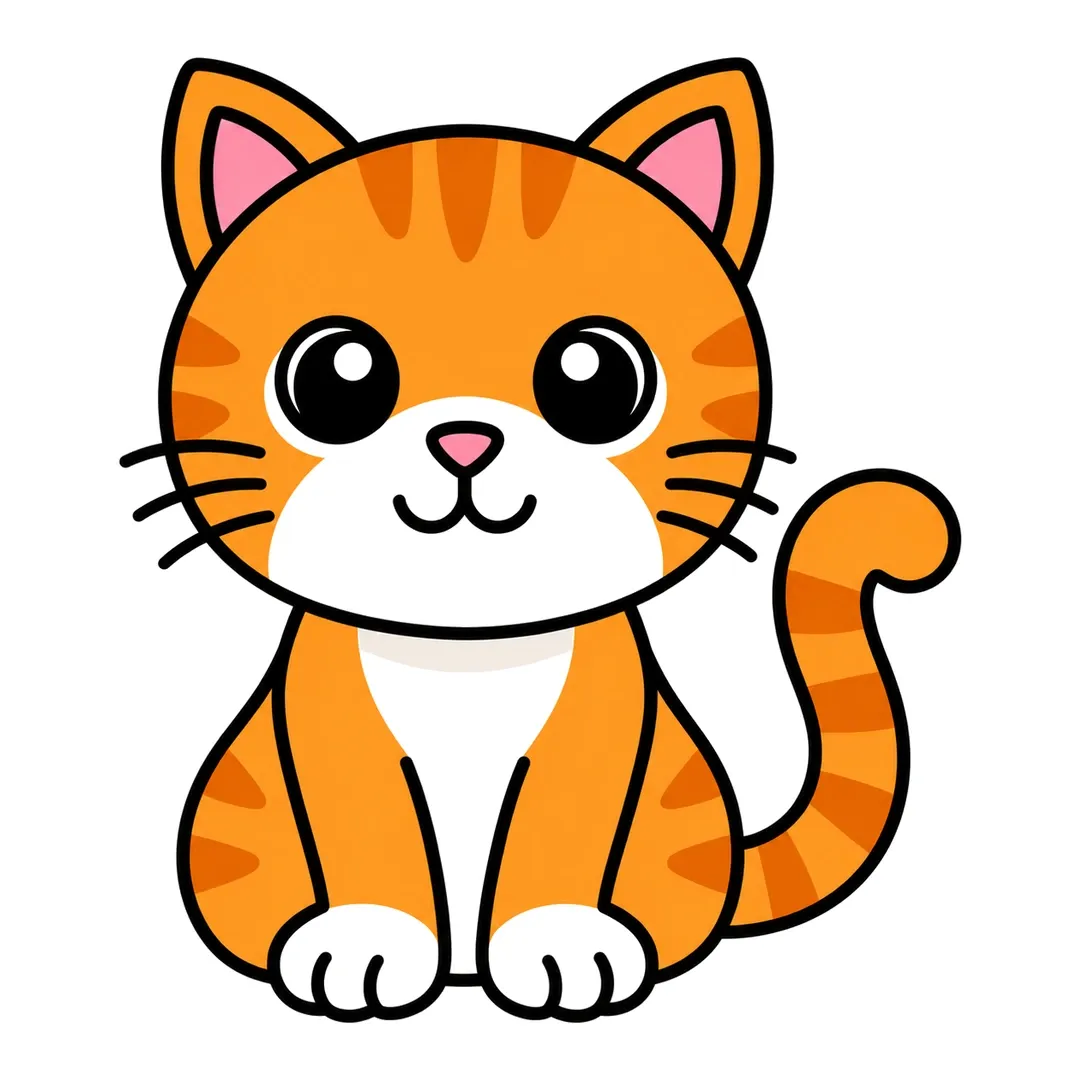
Step 6: Color the cat orange with darker stripes, and leave the muzzle, chest and paws white.
Bunny
Long floppy ears and a puffball tail give how to draw a bunny an easy cute payoff.
- Draw an oval for the bunny’s face.
- Add two long ears with a line inside each one.
- Draw big eyes and a small “y” for the nose and mouth.
- Add a round body, tiny paws and a puffball tail.
-

Step 1: Draw a round circle for the head.
-
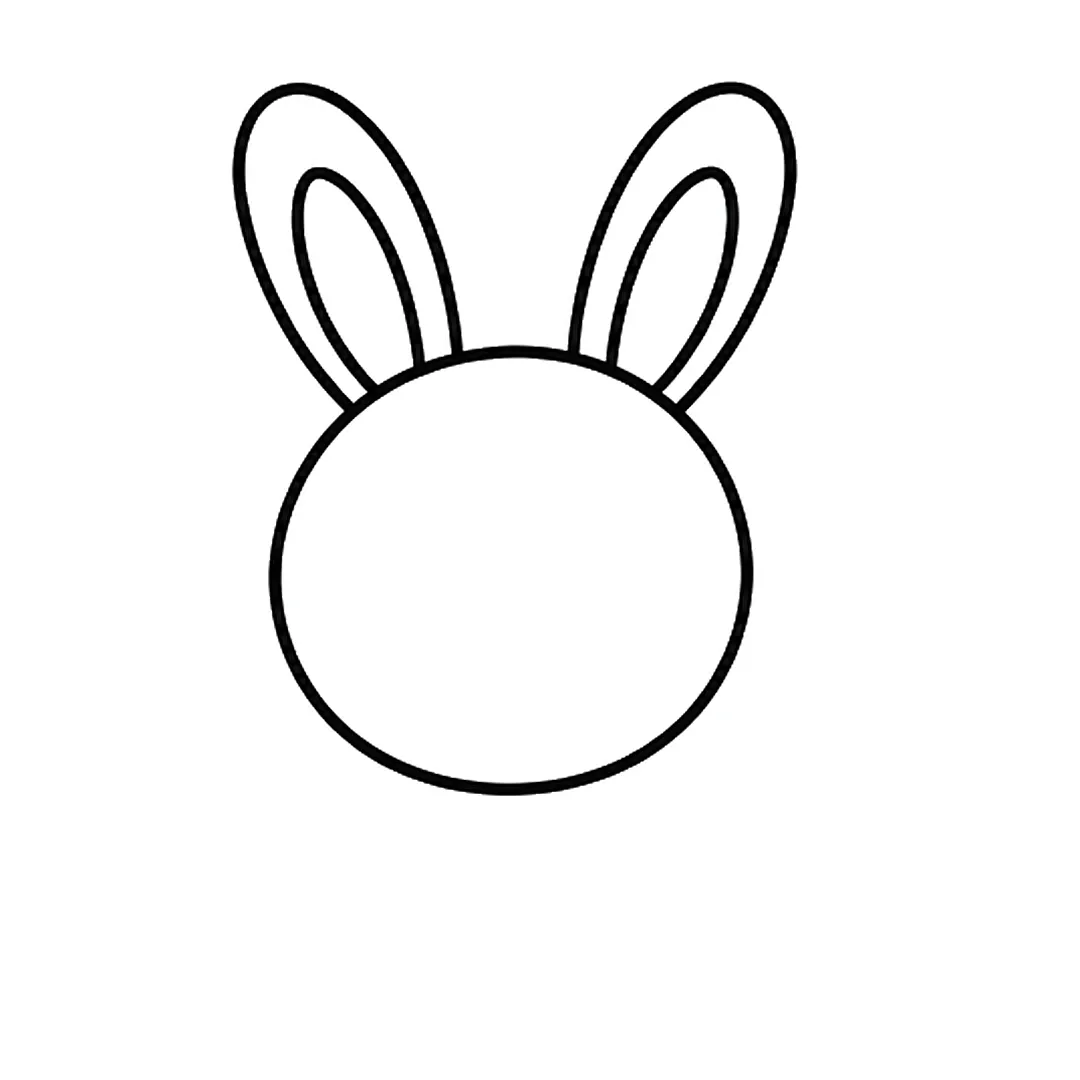
Step 2: Add two long ears on top, each with a smaller ear shape inside.
-
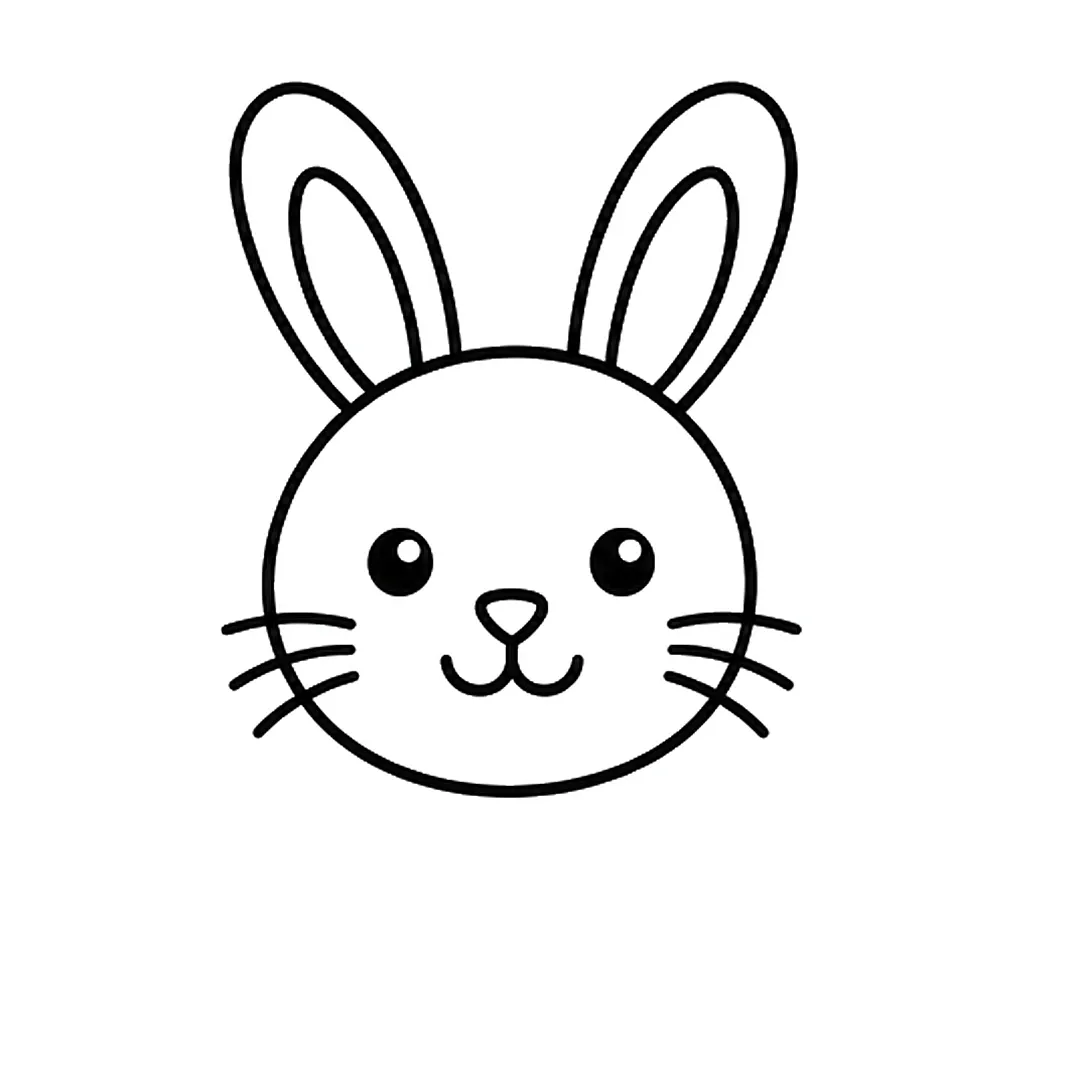
Step 3: Draw two eyes, a small triangle nose, a smile and three whiskers on each side.
-
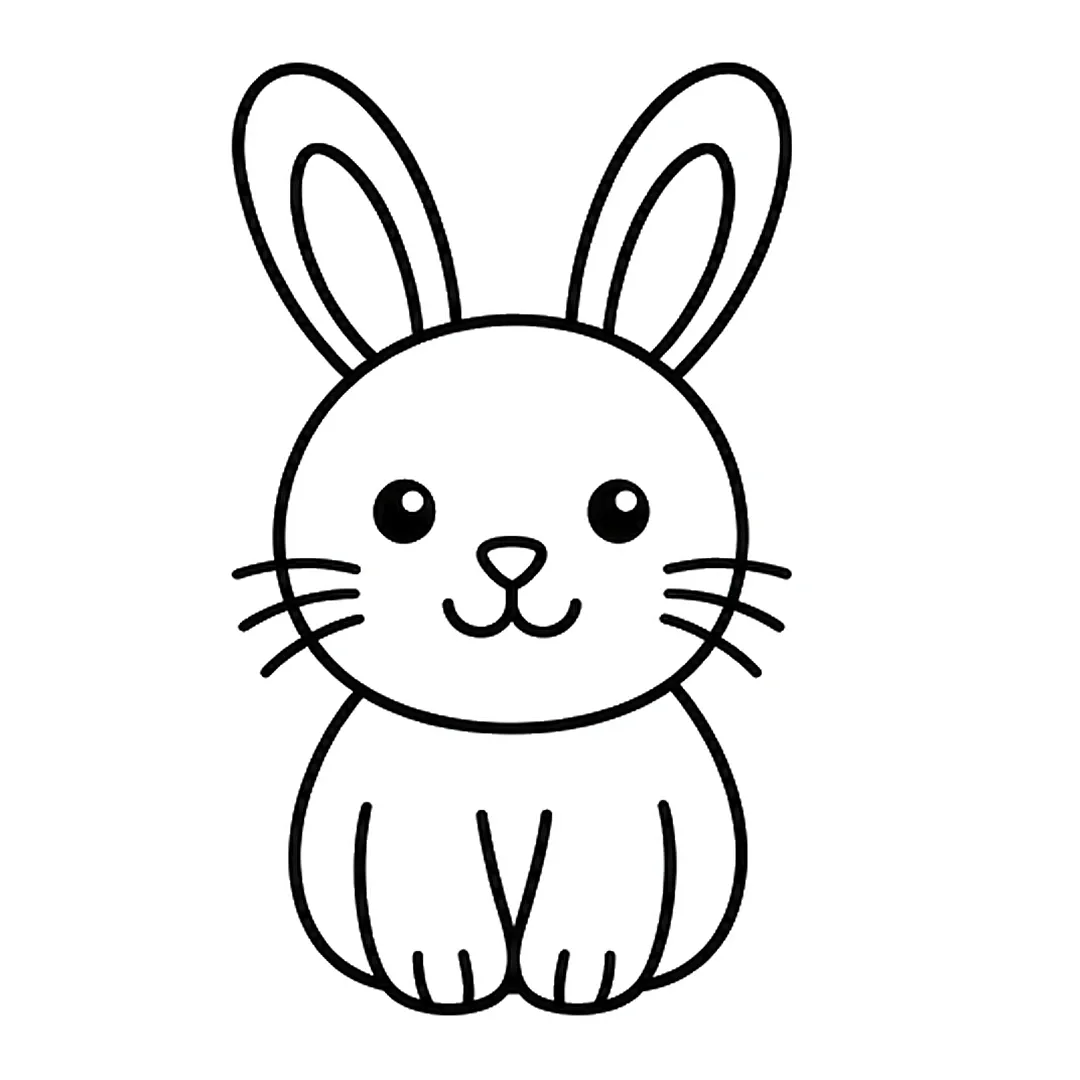
Step 4: Add a rounded body under the head with two front legs and toe lines.
-
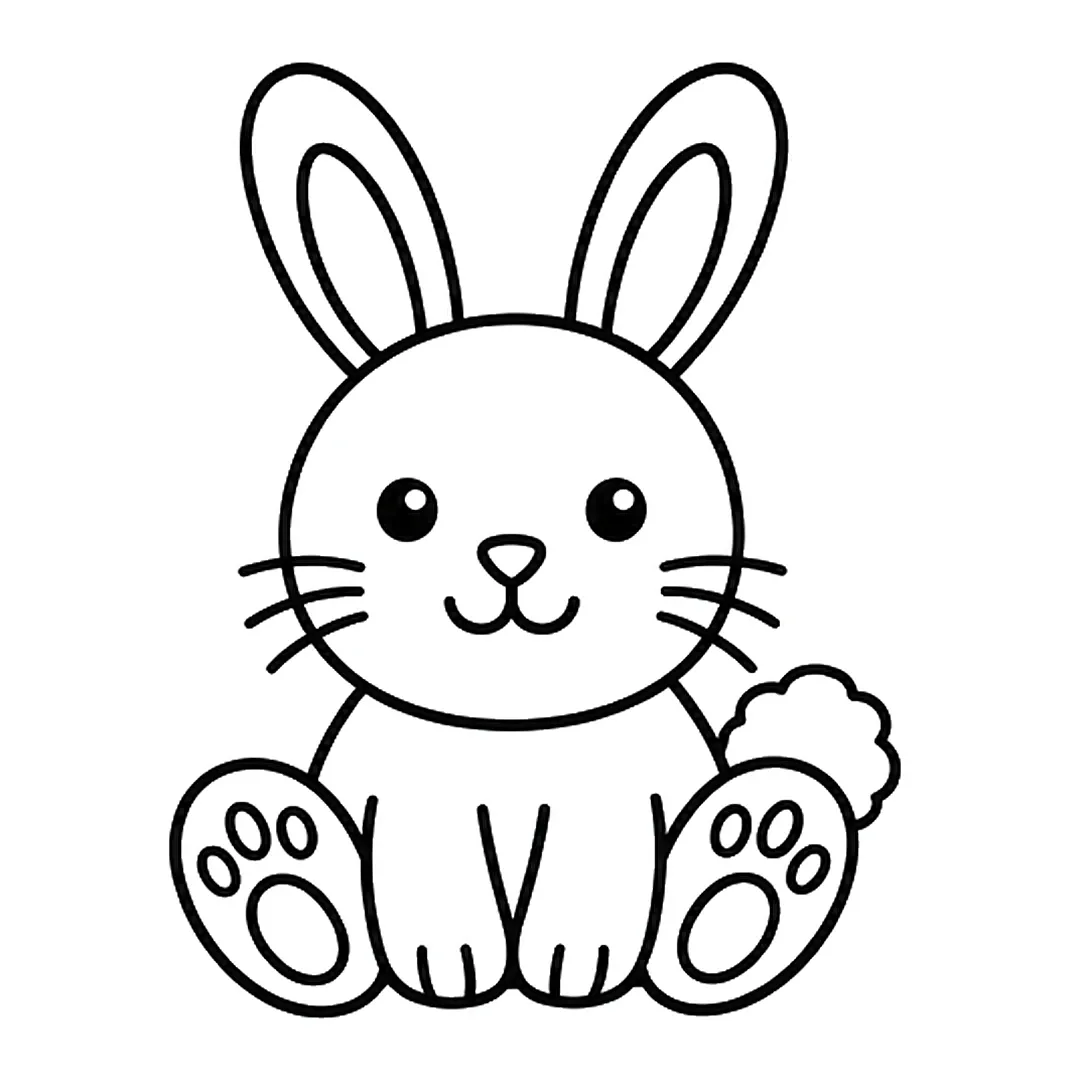
Step 5: Draw two big back feet with paw pads over the body sides, and a fluffy tail on the right.
-
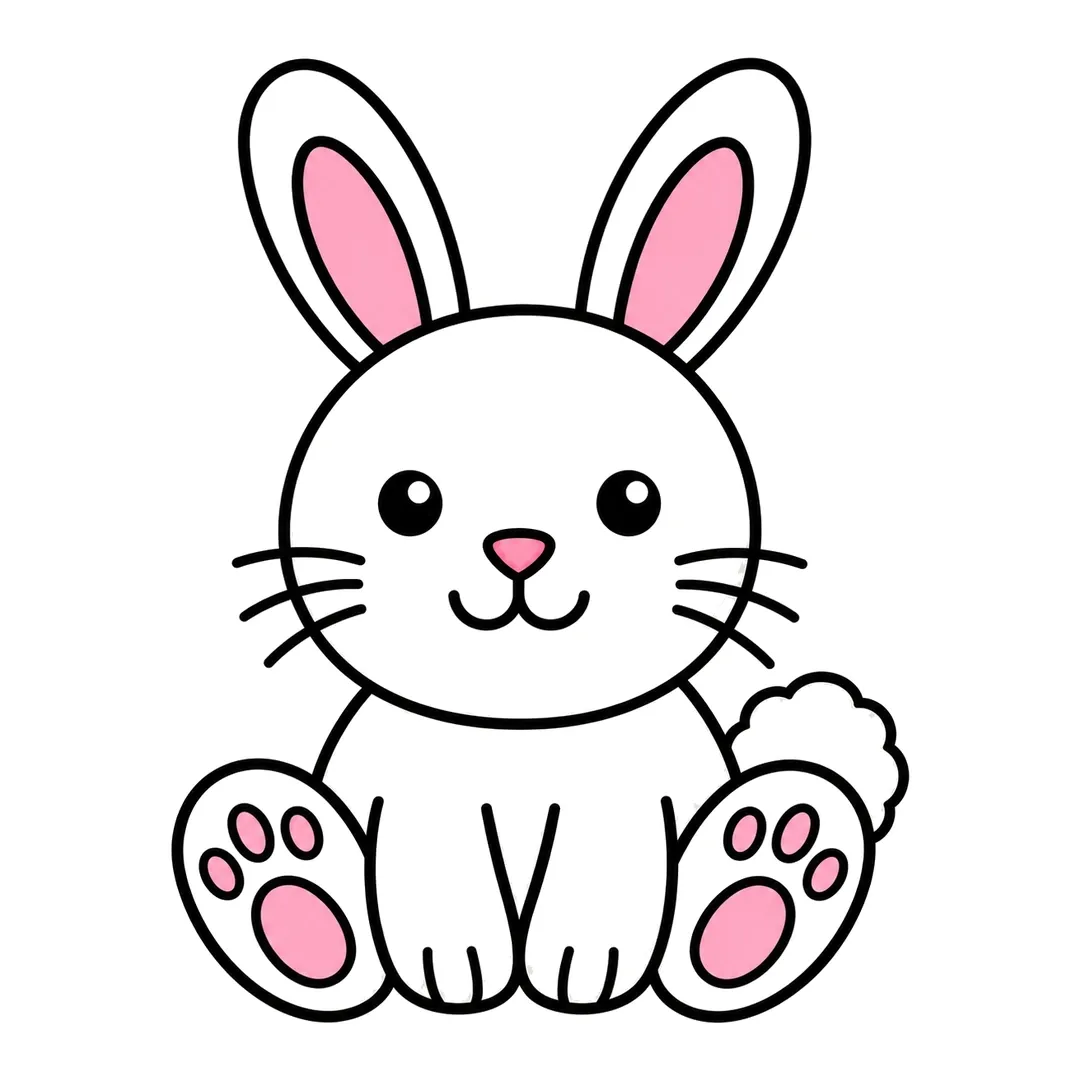
Step 6: Color the inner ears, nose and paw pads pink. Leave the rest of the bunny white.
Panda
Black eye patches make a panda’s eyes look extra big, so the face in how to draw a panda reads cute right away.
- Draw a round panda head topped with two round ears.
- Draw two oval patches for the eyes, tilted slightly.
- Put a white dot eye inside each patch.
- Add a small nose, a round body and black arms and legs.
-
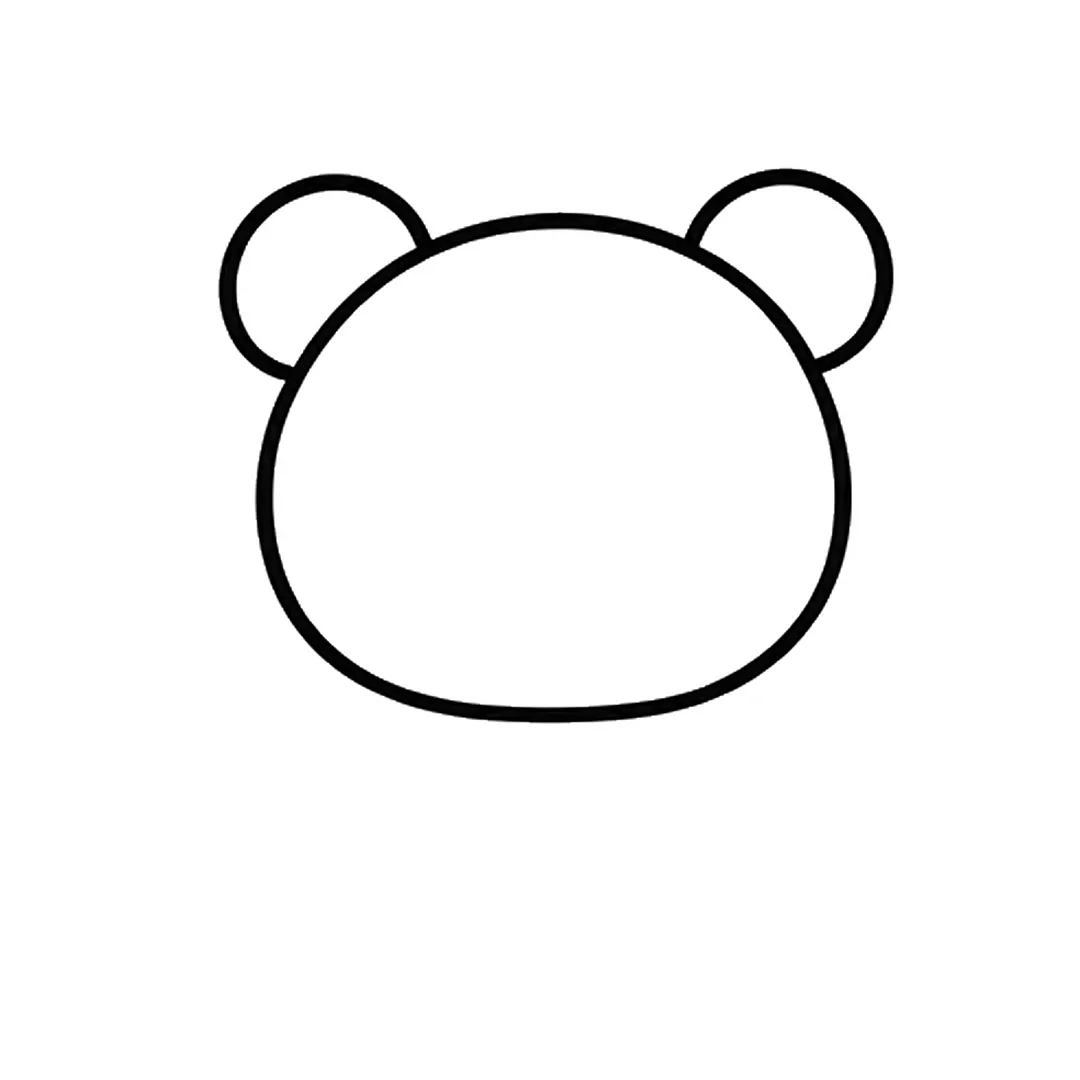
Step 1: Draw a wide round head with two round ears on top.
-
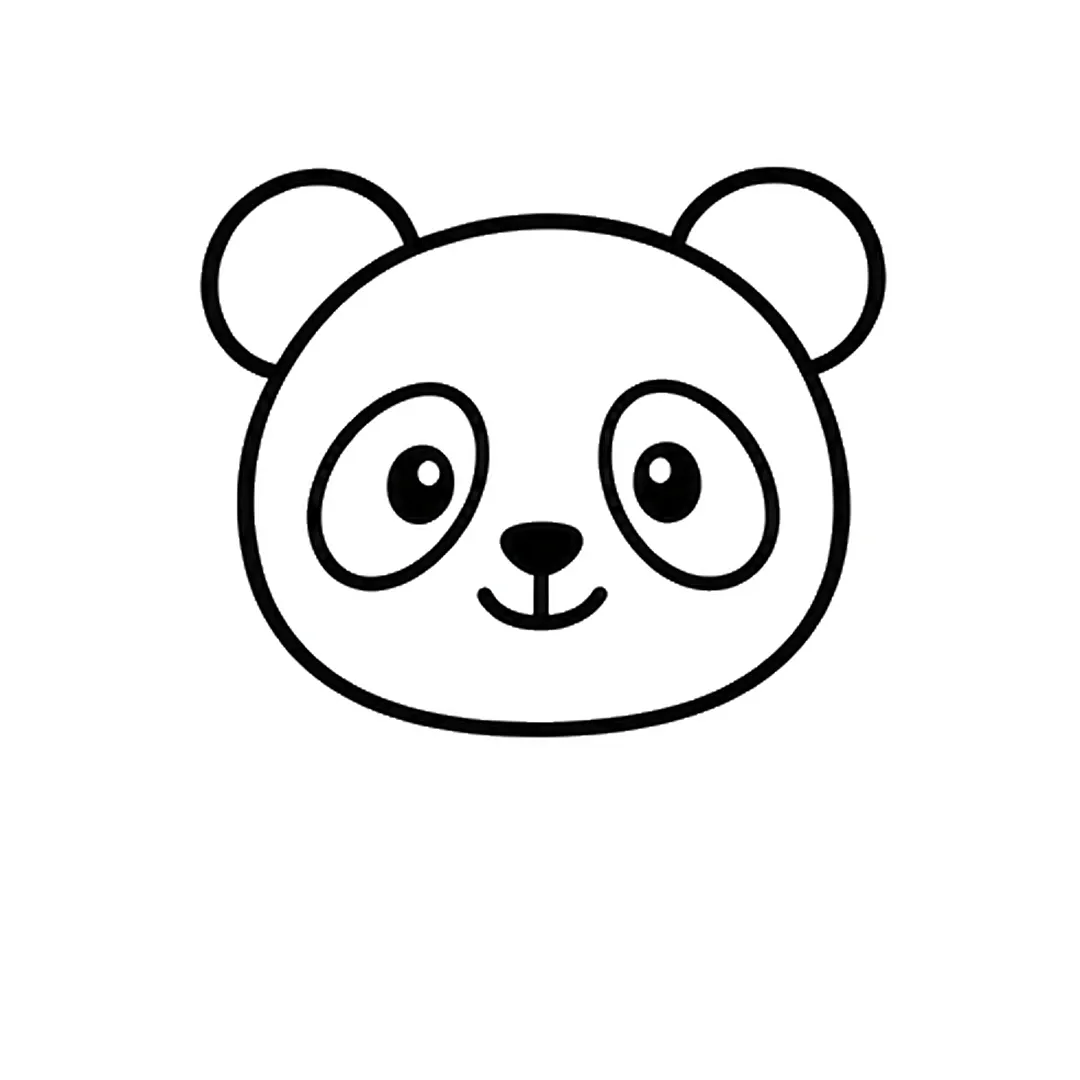
Step 2: Add two tilted oval eye patches with dot eyes, a small nose and a smile.
-
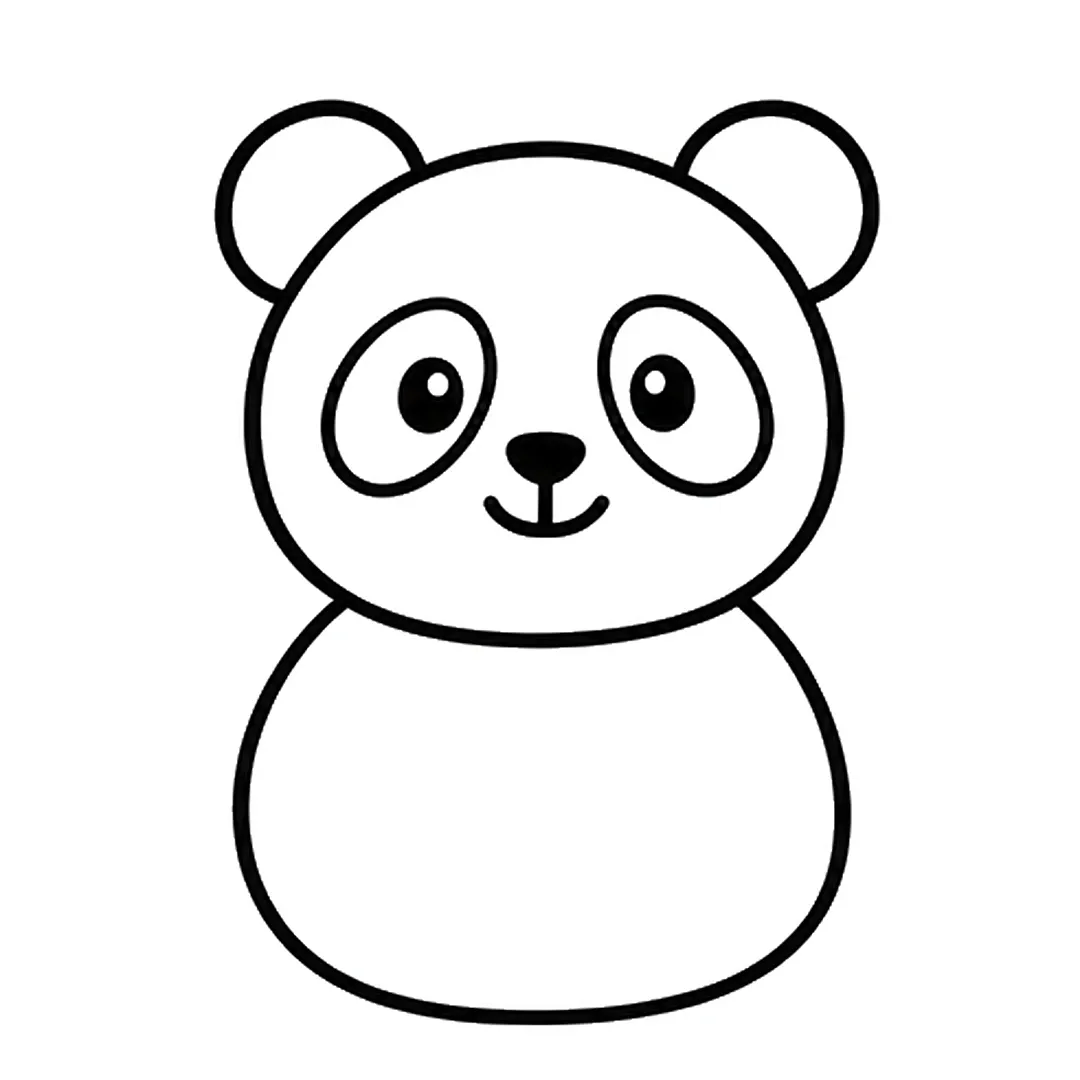
Step 3: Draw a big round body under the head.
-
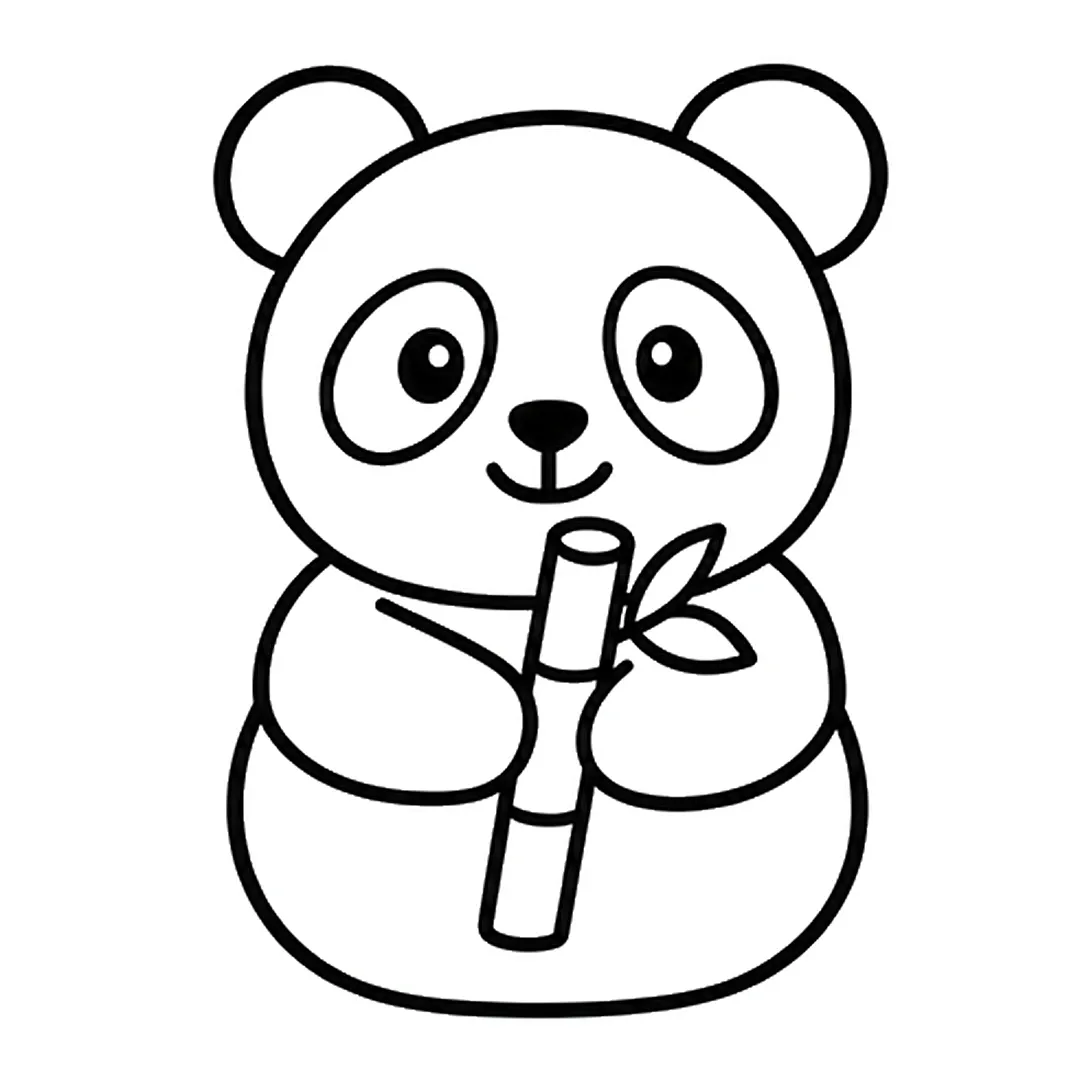
Step 4: Add two arms hugging a bamboo stalk with two leaves.
-
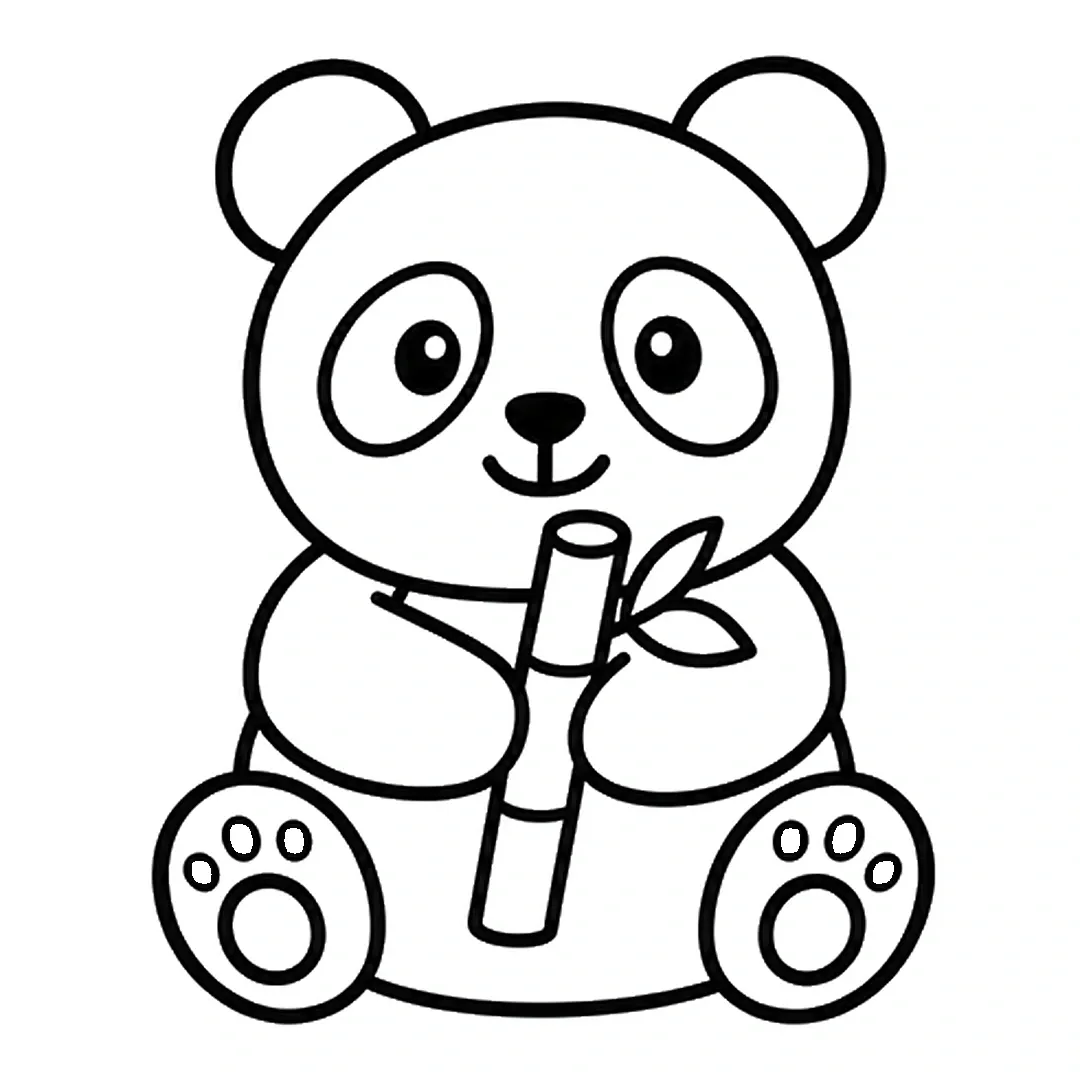
Step 5: Draw two big round feet at the bottom, each with one big pad and three toe pads.
-

Step 6: Color the ears, eye patches, arms and legs black and the bamboo green. Add pink cheeks.
Teddy Bear
Even preschoolers can build how to draw a teddy bear from circles, because every part is round.
- Draw a round teddy head and give it two little circle ears.
- Add an oval muzzle with a nose and smile.
- Draw a round tummy below the head.
- Add four short, chunky arms and legs.
- Draw a heart or a few stitch lines on the tummy.
-
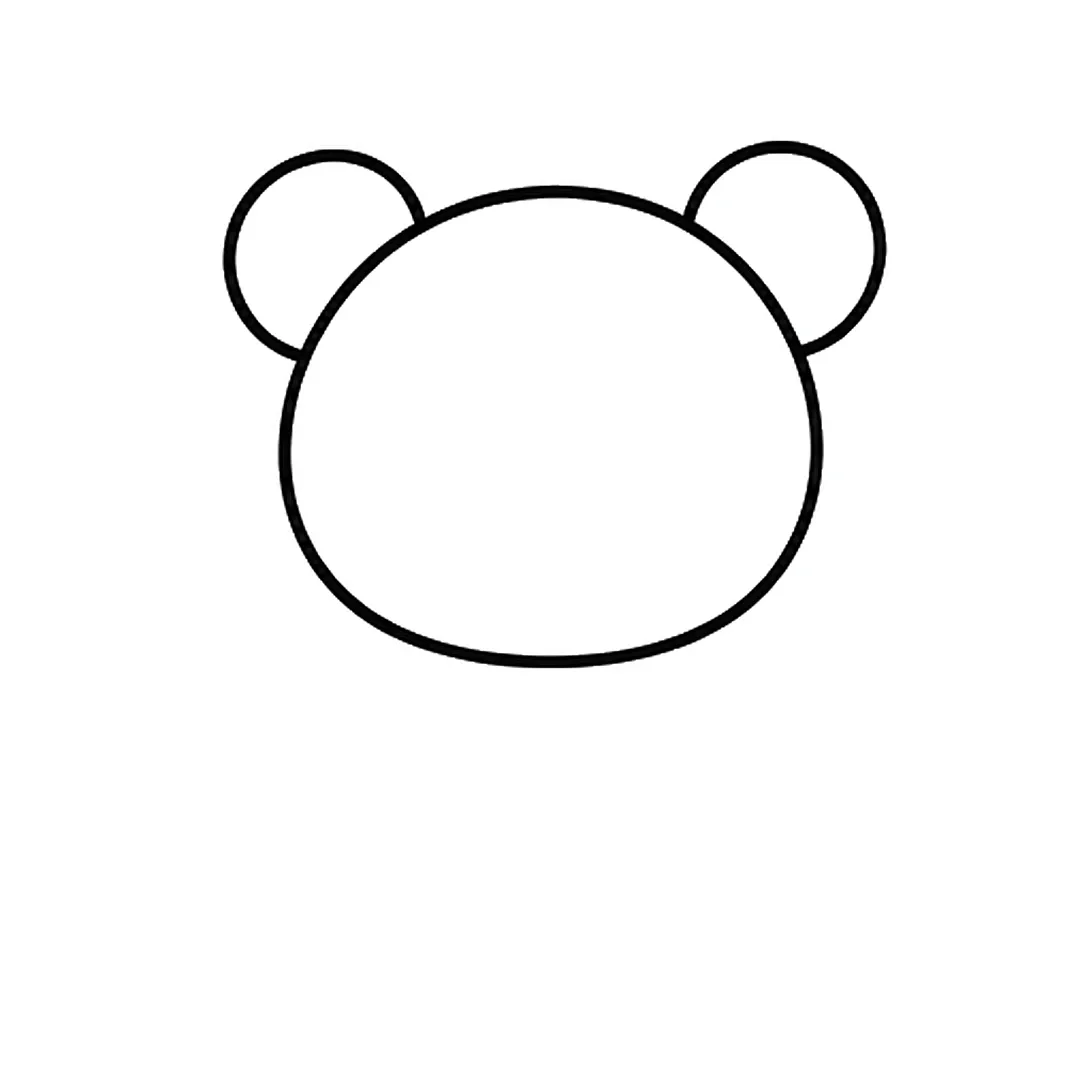
Step 1: Draw a wide round head with two round ears on top.
-
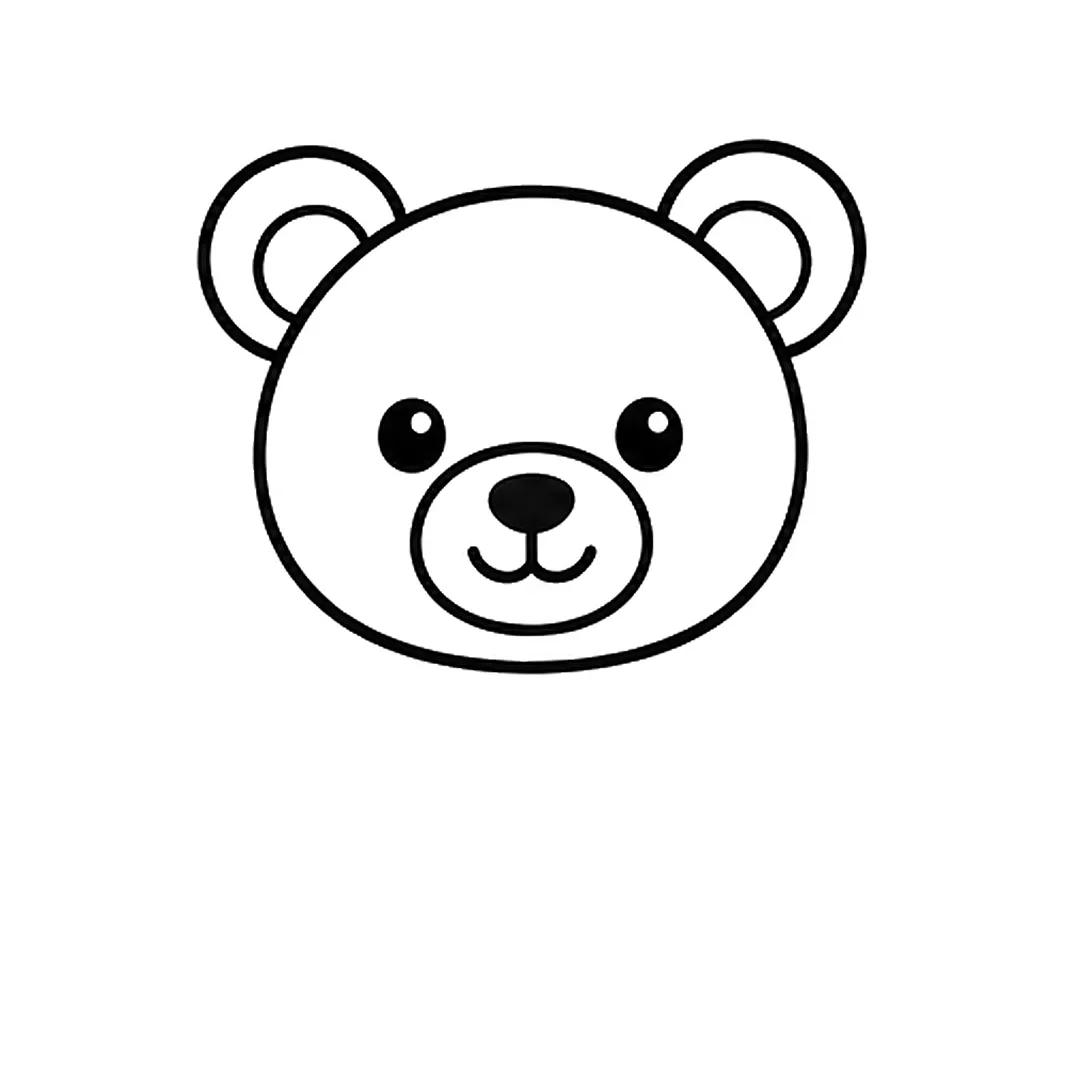
Step 2: Add a small circle in each ear, two eyes, and an oval muzzle with a nose and a smile.
-
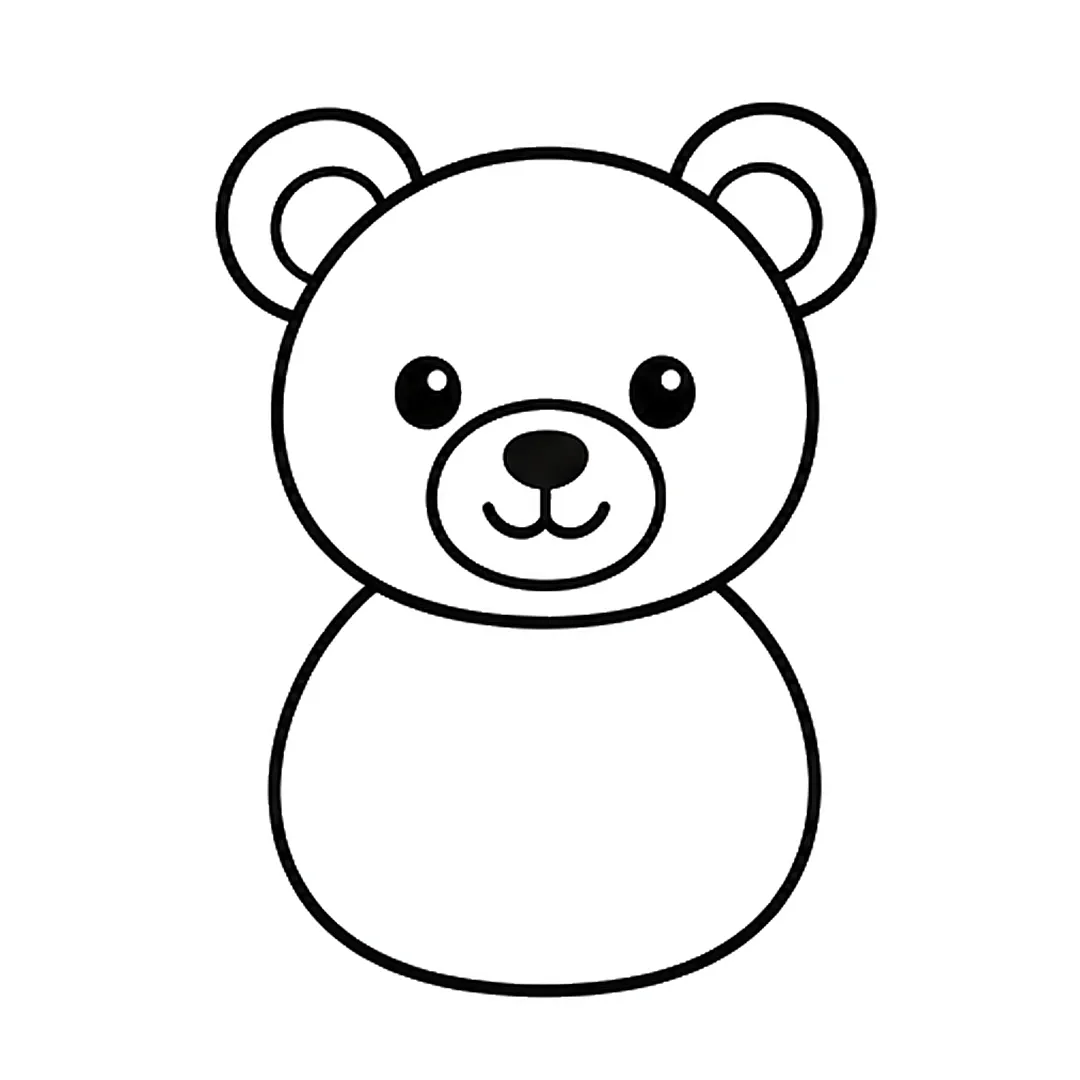
Step 3: Draw a big round body under the head.
-
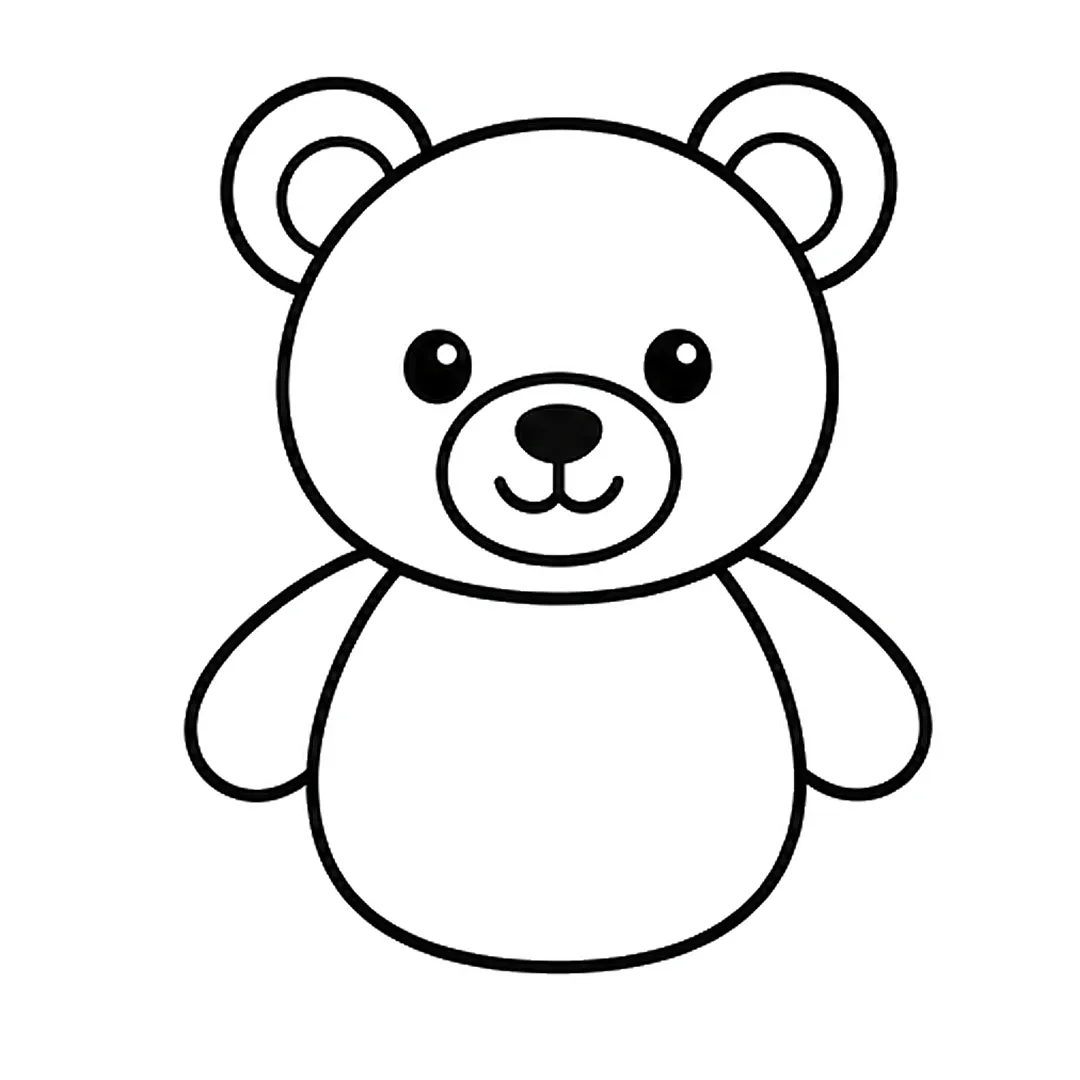
Step 4: Add two round arms on the sides. Erase the old body sides and redraw them a little narrower.
-
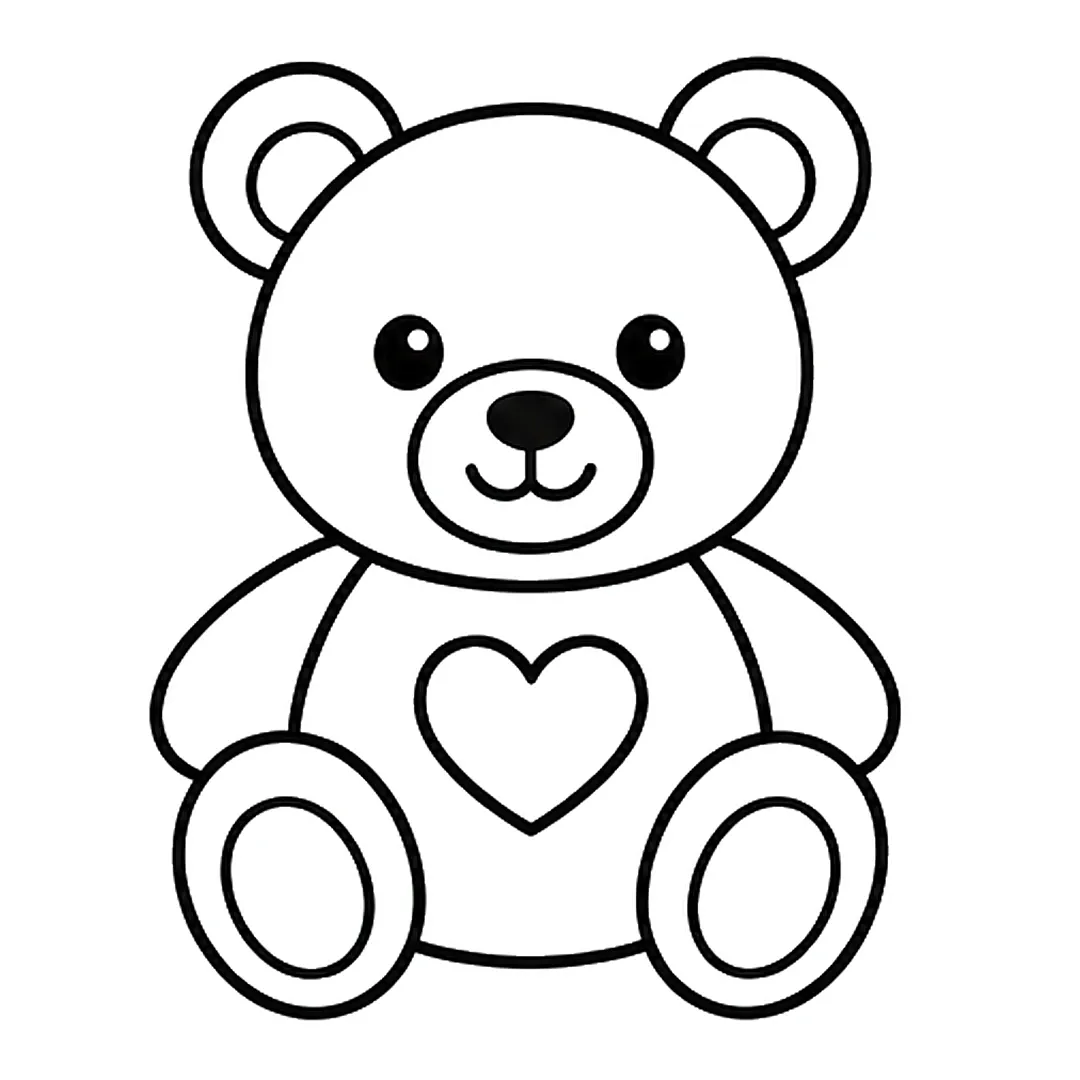
Step 5: Draw two sitting legs with oval foot pads and a heart. Erase the body and arm lines inside the legs.
-
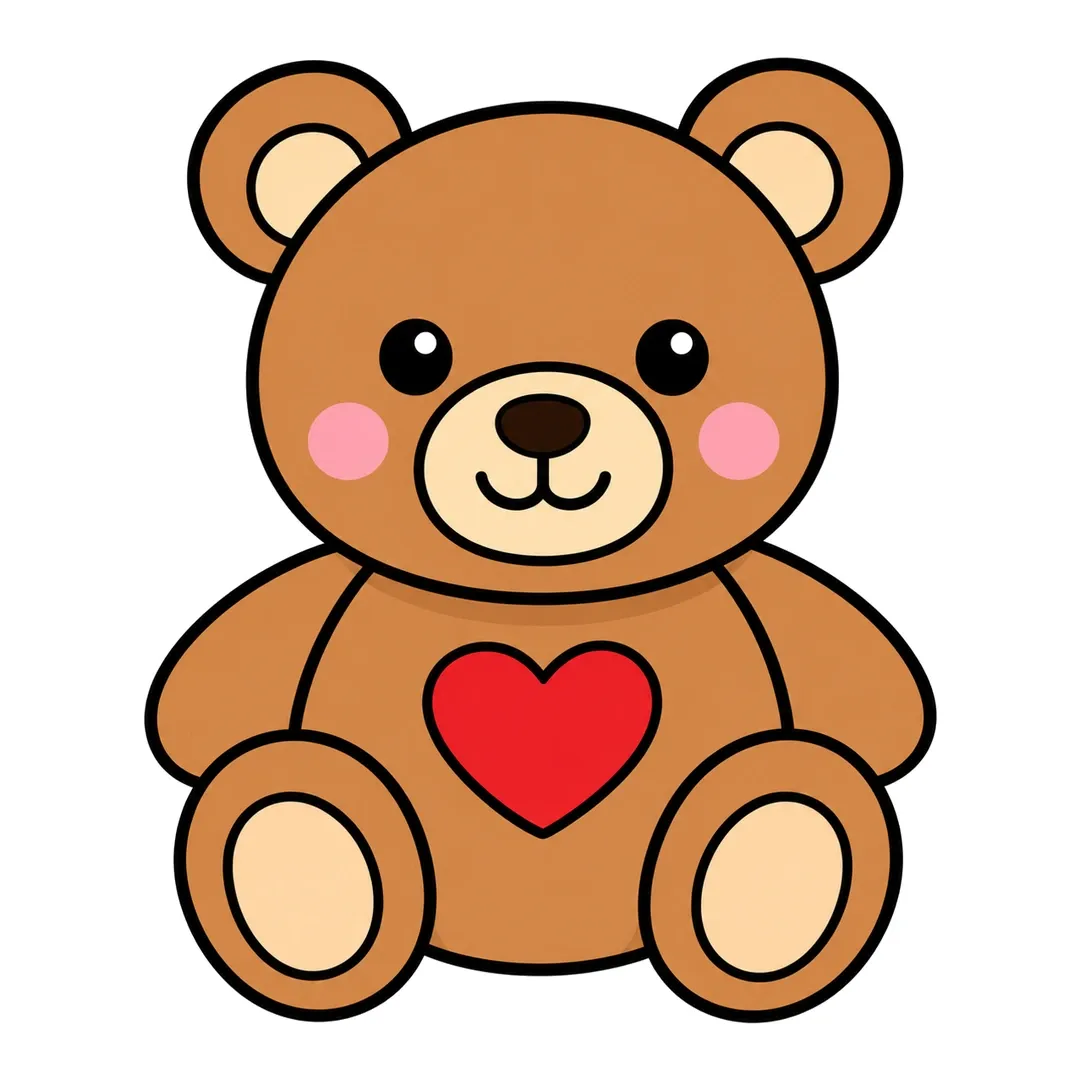
Step 6: Color the bear brown, inner ears, muzzle and foot pads tan, and the heart red. Add two pink cheeks.
Bear
A sitting bear cub in how to draw a bear uses the baby schema directly: a big head, short thick legs and a plump body.
- Draw a big round head with two half-circle ears.
- Add an oval muzzle and a small dark nose.
- Draw a pear-shaped body under the head.
- Add short legs with round paw pads.
-
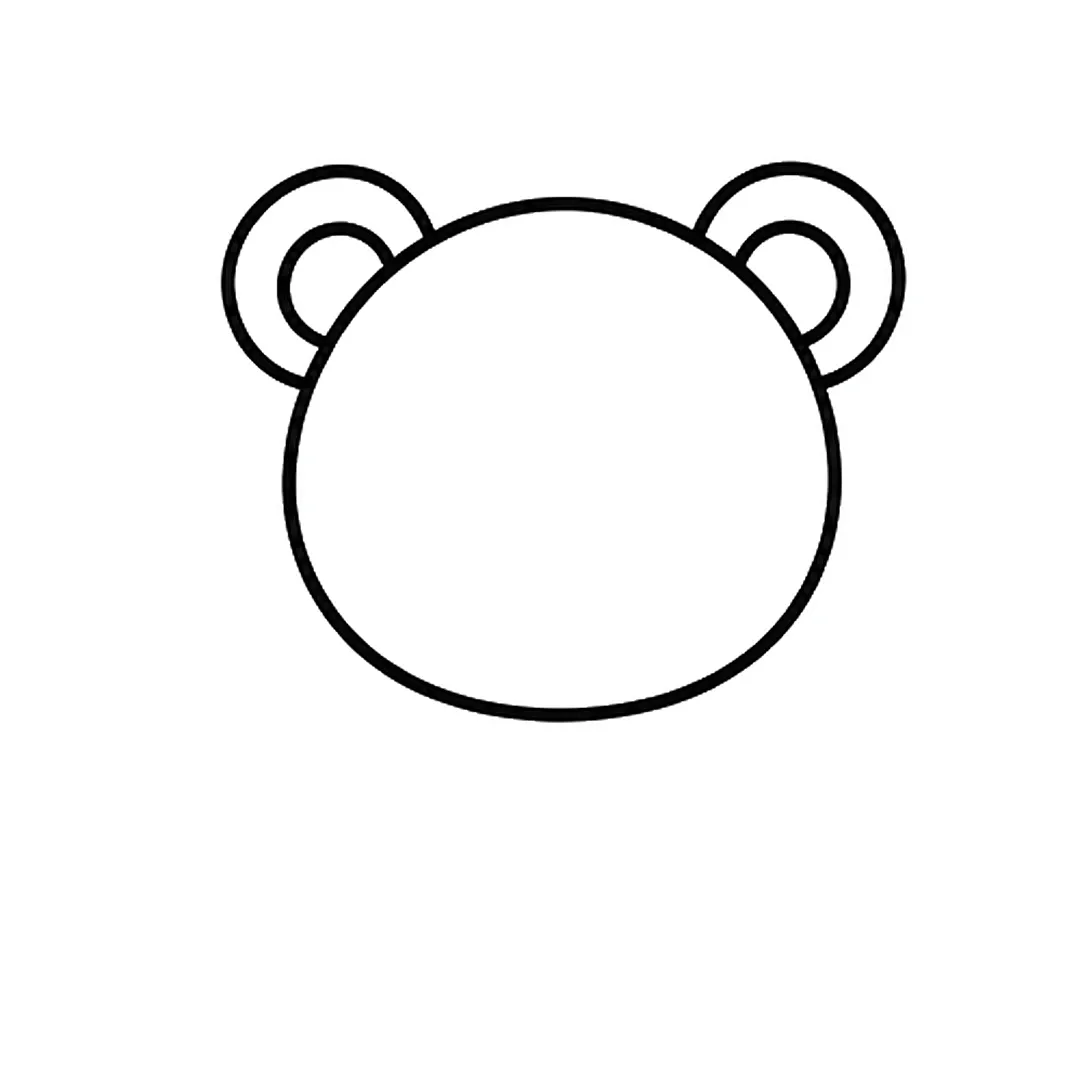
Step 1: Draw a wide round head with two round ears, each with a smaller circle inside.
-
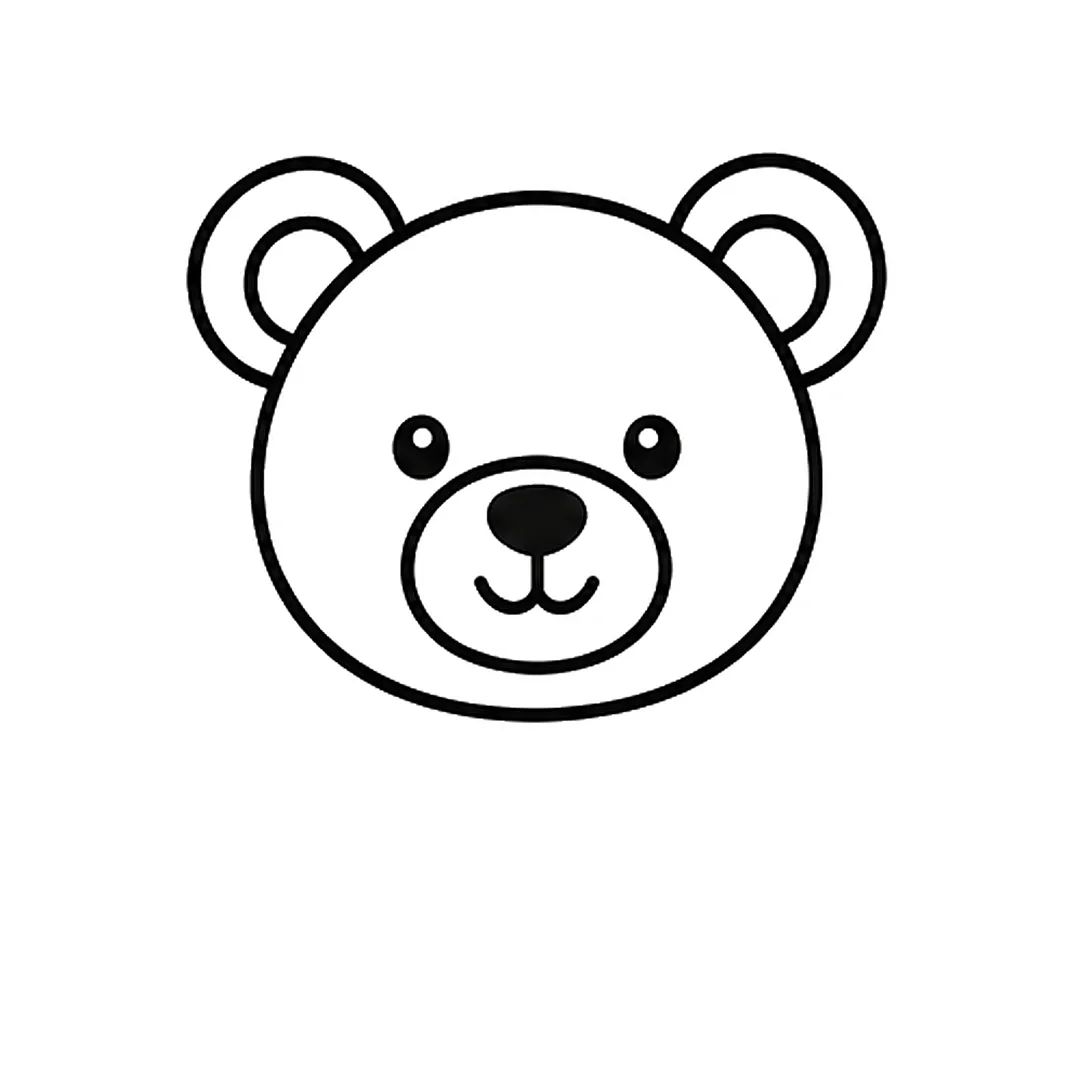
Step 2: Add two dot eyes and a round muzzle with a black nose and a small smile.
-
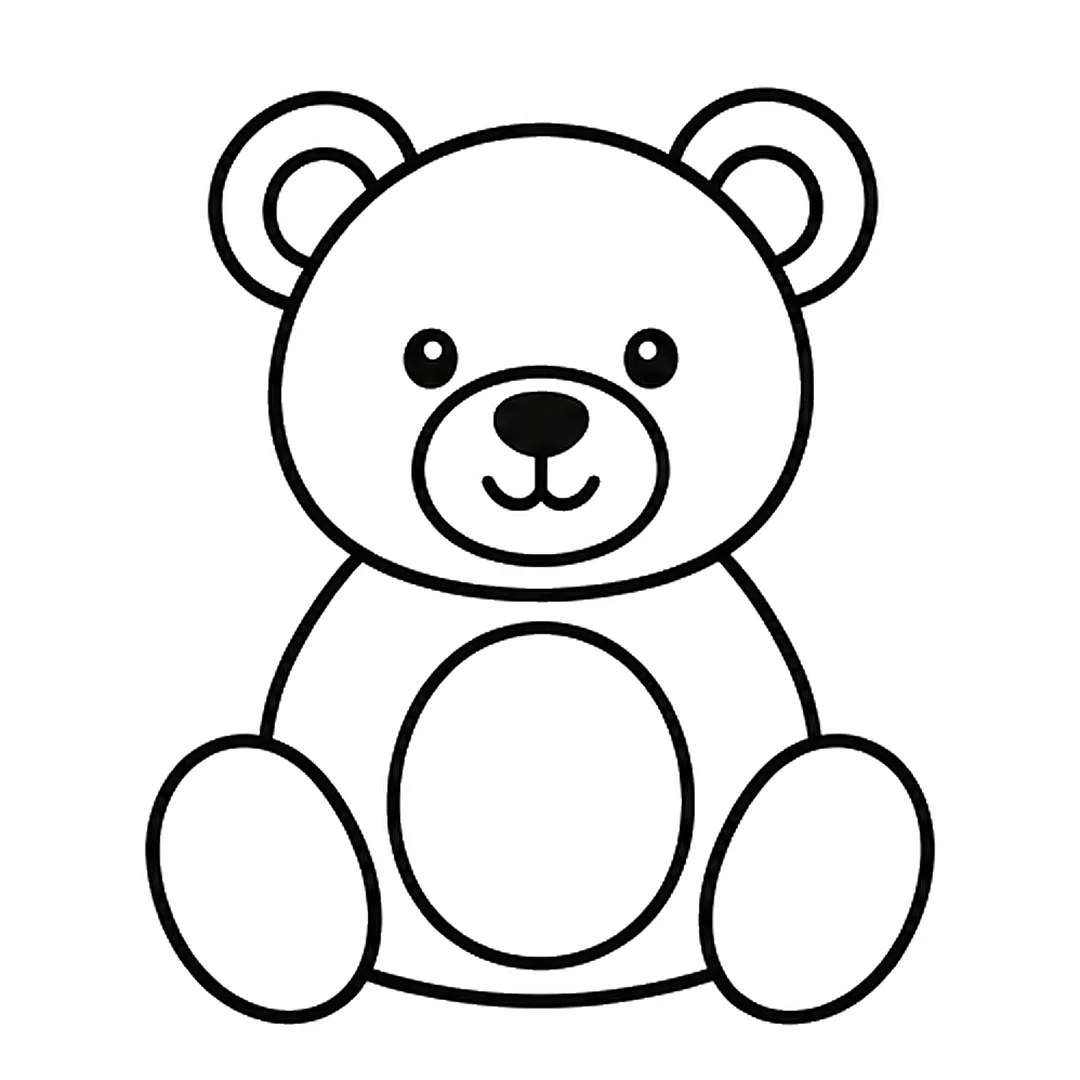
Step 3: Draw a round sitting body with an oval belly and two big oval feet on the sides.
-
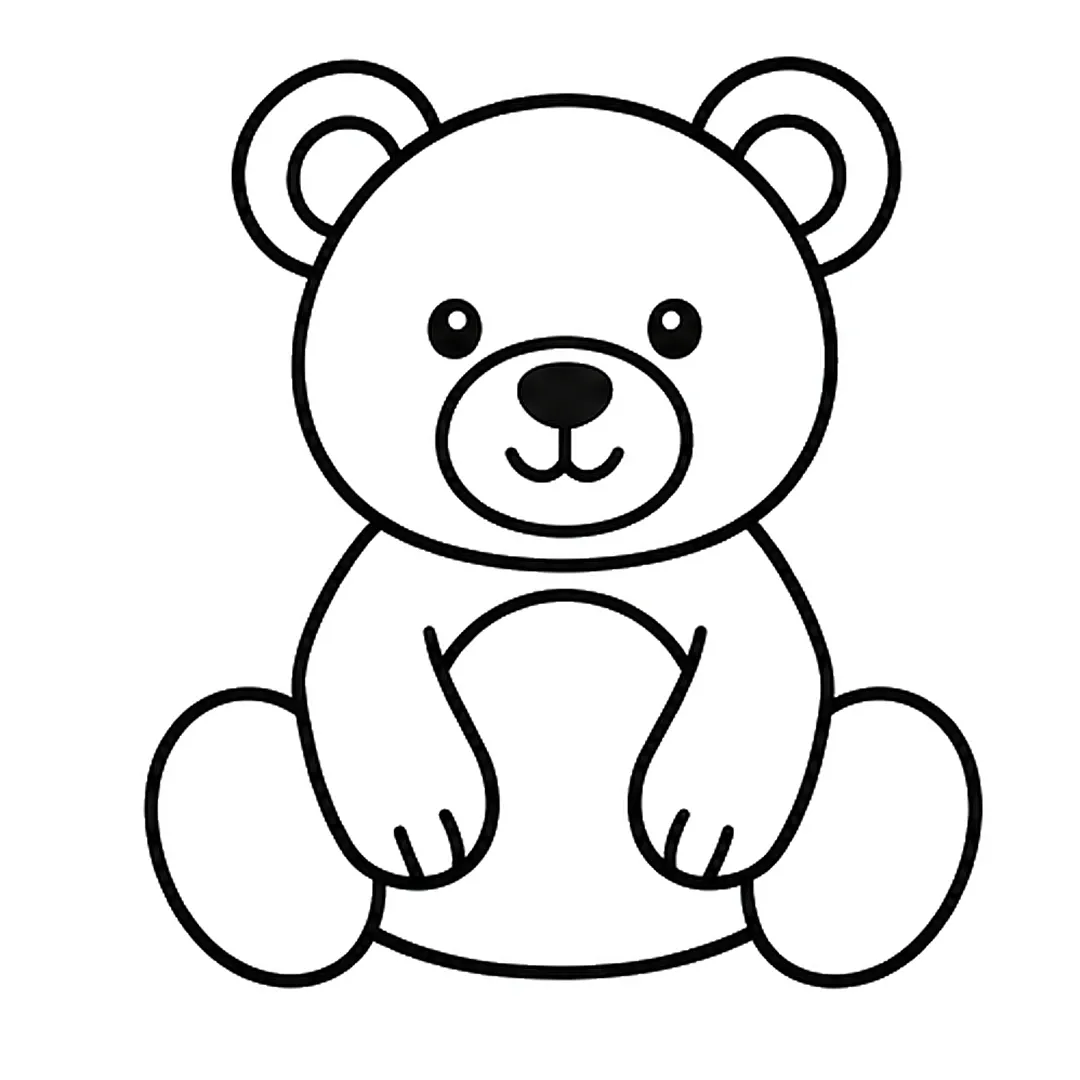
Step 4: Add two arms down the front with claw lines. Erase the belly lines behind and below the arms.
-
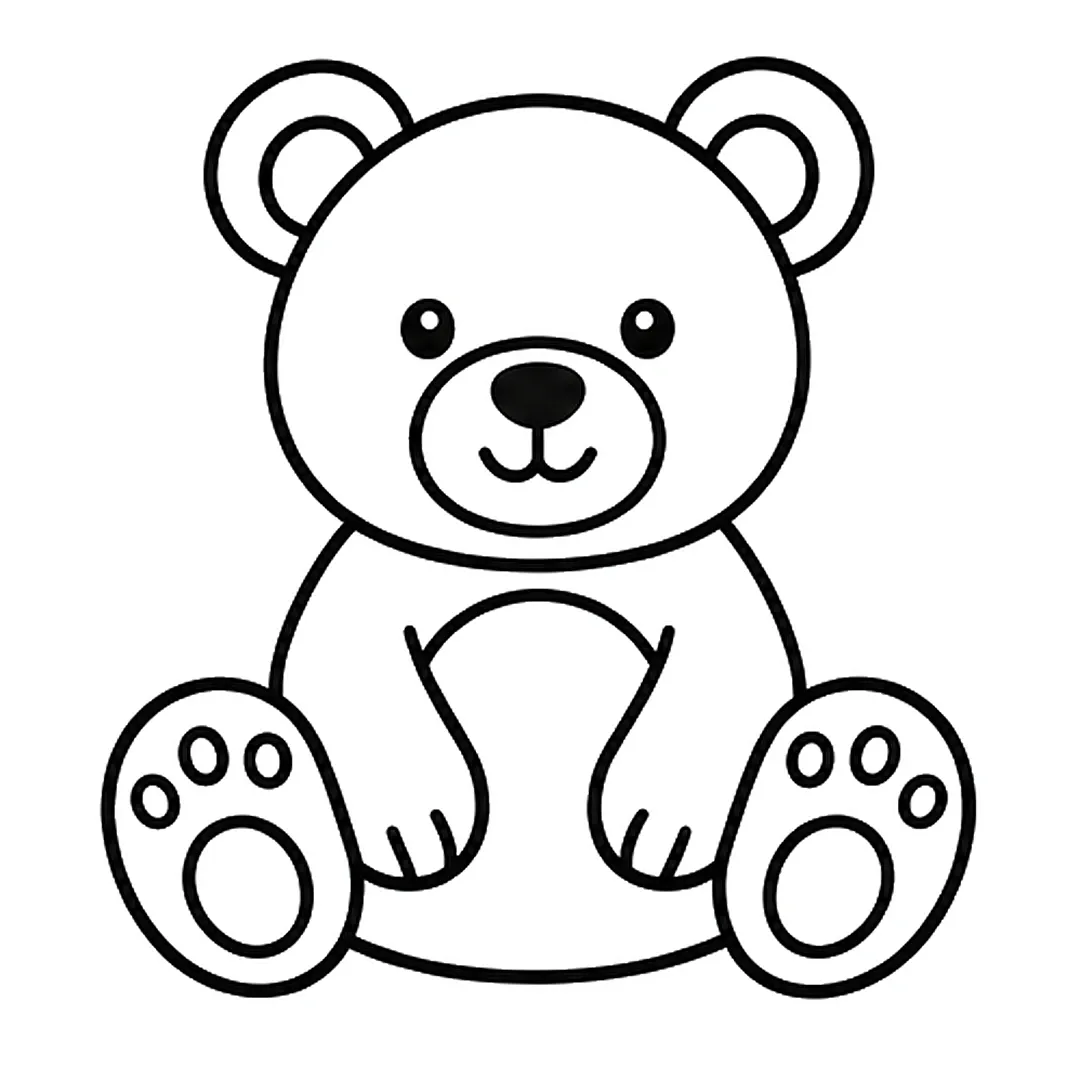
Step 5: Draw paw pads on both feet, each with one big oval pad and three toe pads.
-
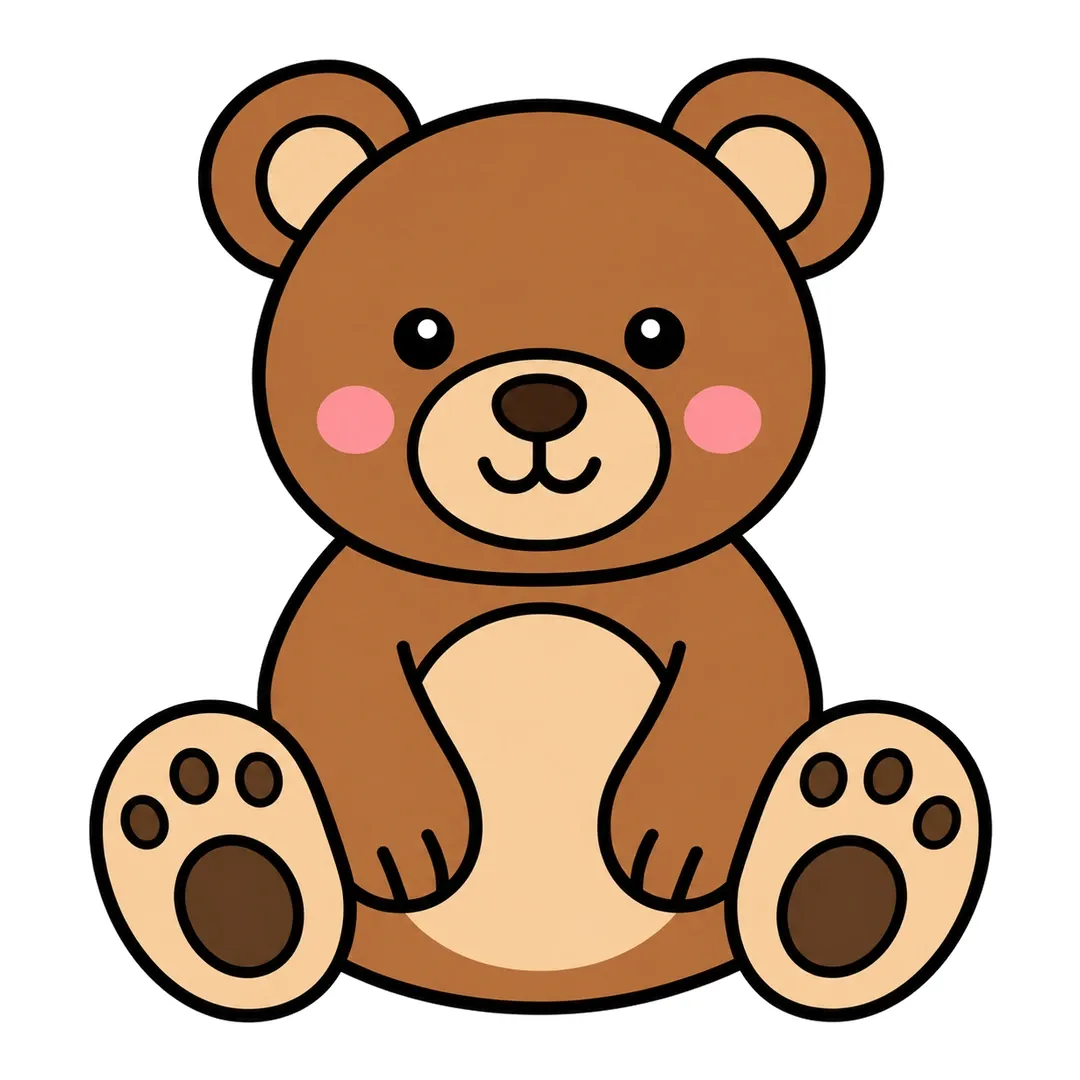
Step 6: Color the fur brown, the muzzle, inner ears, belly and feet tan. Add dark brown pads and pink cheeks.
Mouse
Huge round ears on a tiny body make how to draw a mouse cute with just a few lines.
- Draw a teardrop head with the point as the nose.
- Add two big circle ears.
- Draw shiny eyes and a dot on the tip of the nose.
- Add an oval body and a long curly tail.
-

Step 1: Draw one big round circle for the head.
-
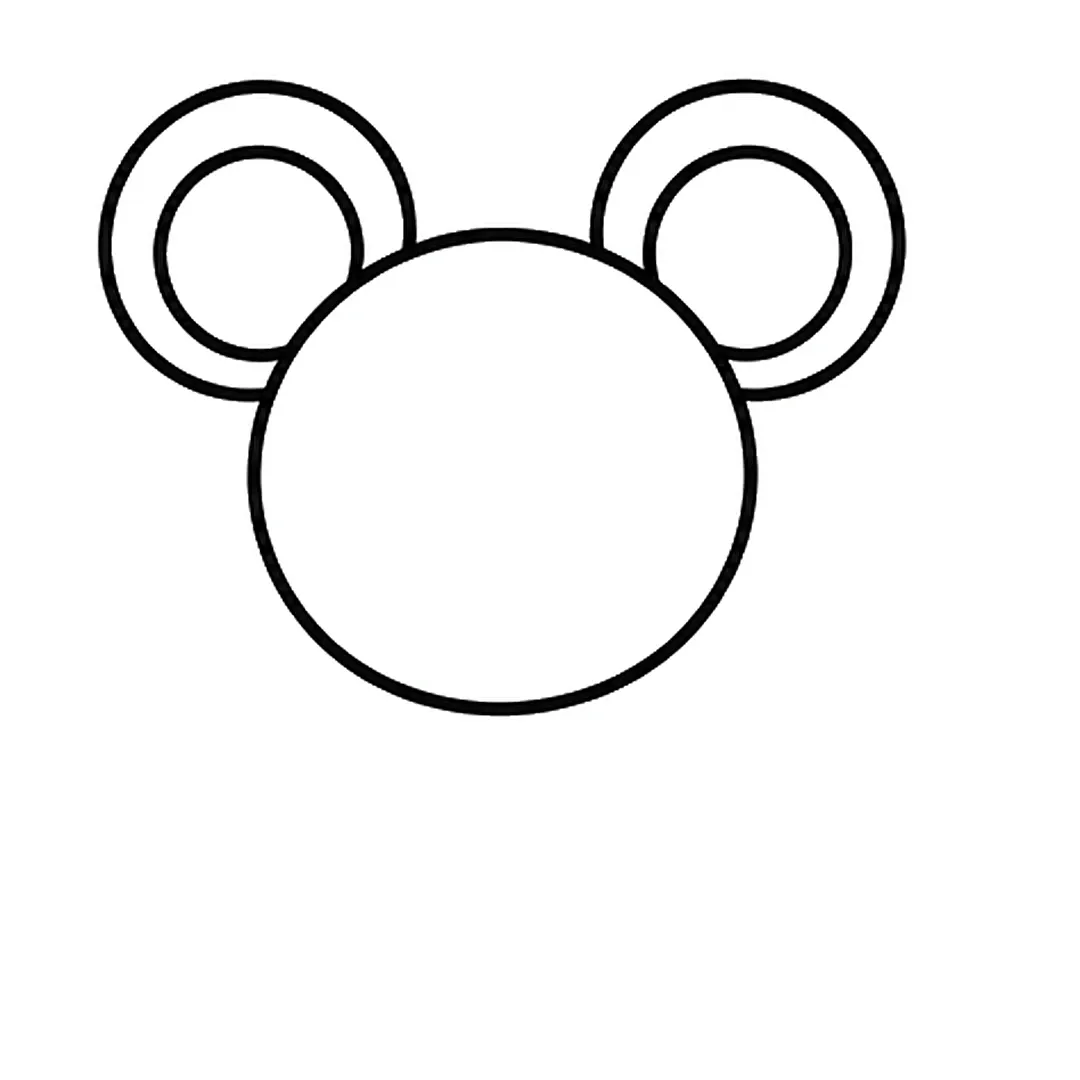
Step 2: Add two big round ears behind the top of the head, each with a smaller circle inside.
-
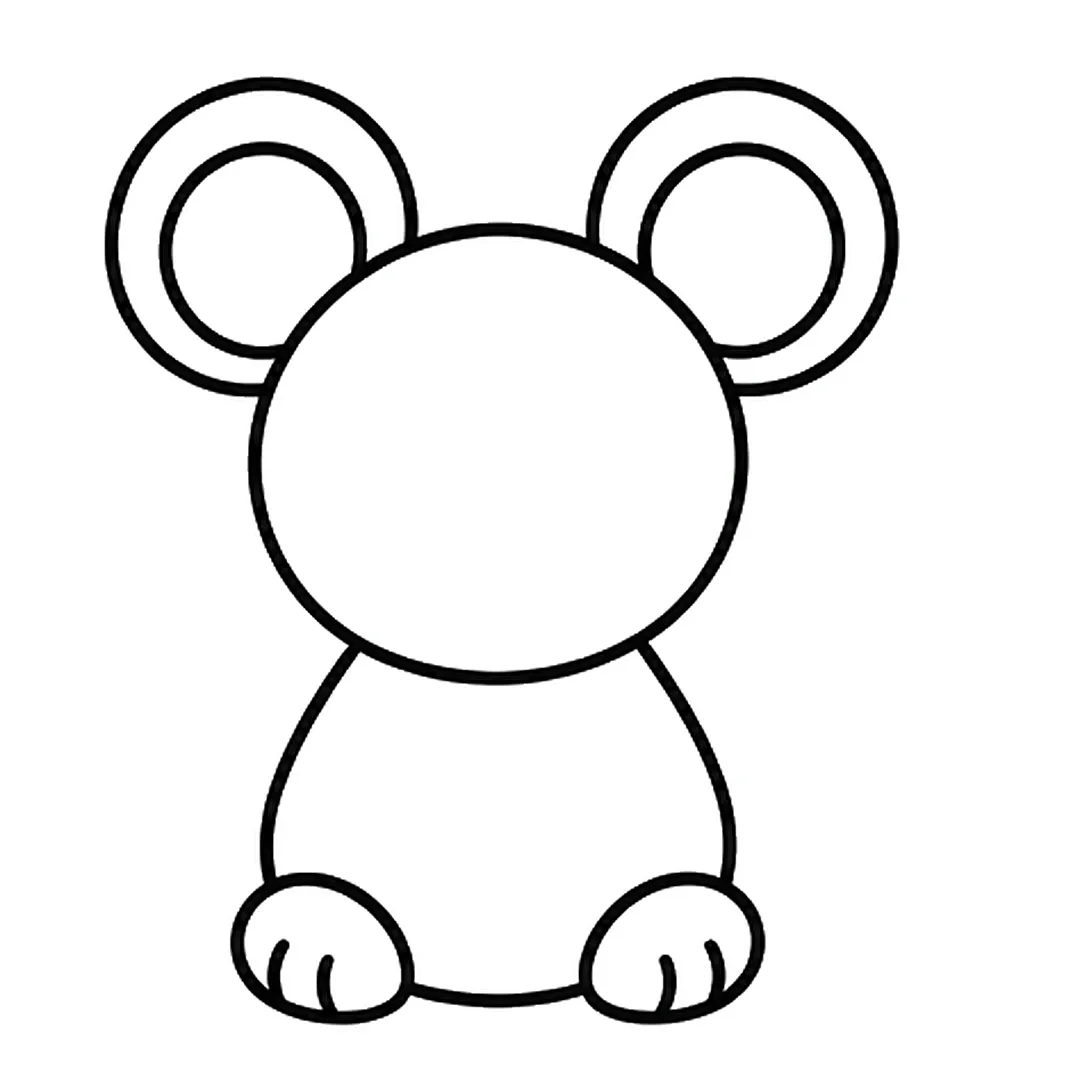
Step 3: Draw a pear shaped body under the head and two round feet at the bottom, each with two toe lines.
-
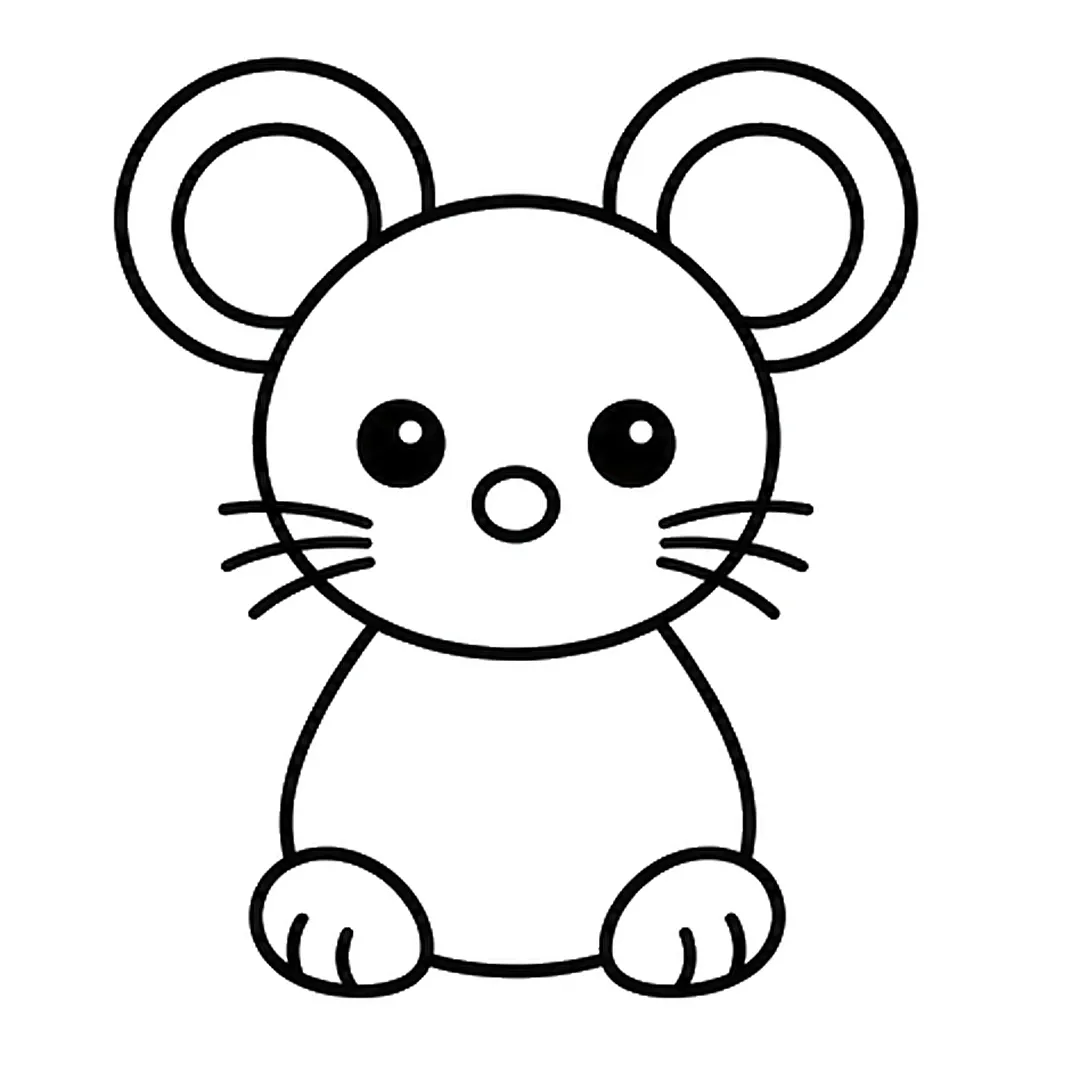
Step 4: Add two round black eyes with a white dot, a small oval nose and three whiskers on each side.
-
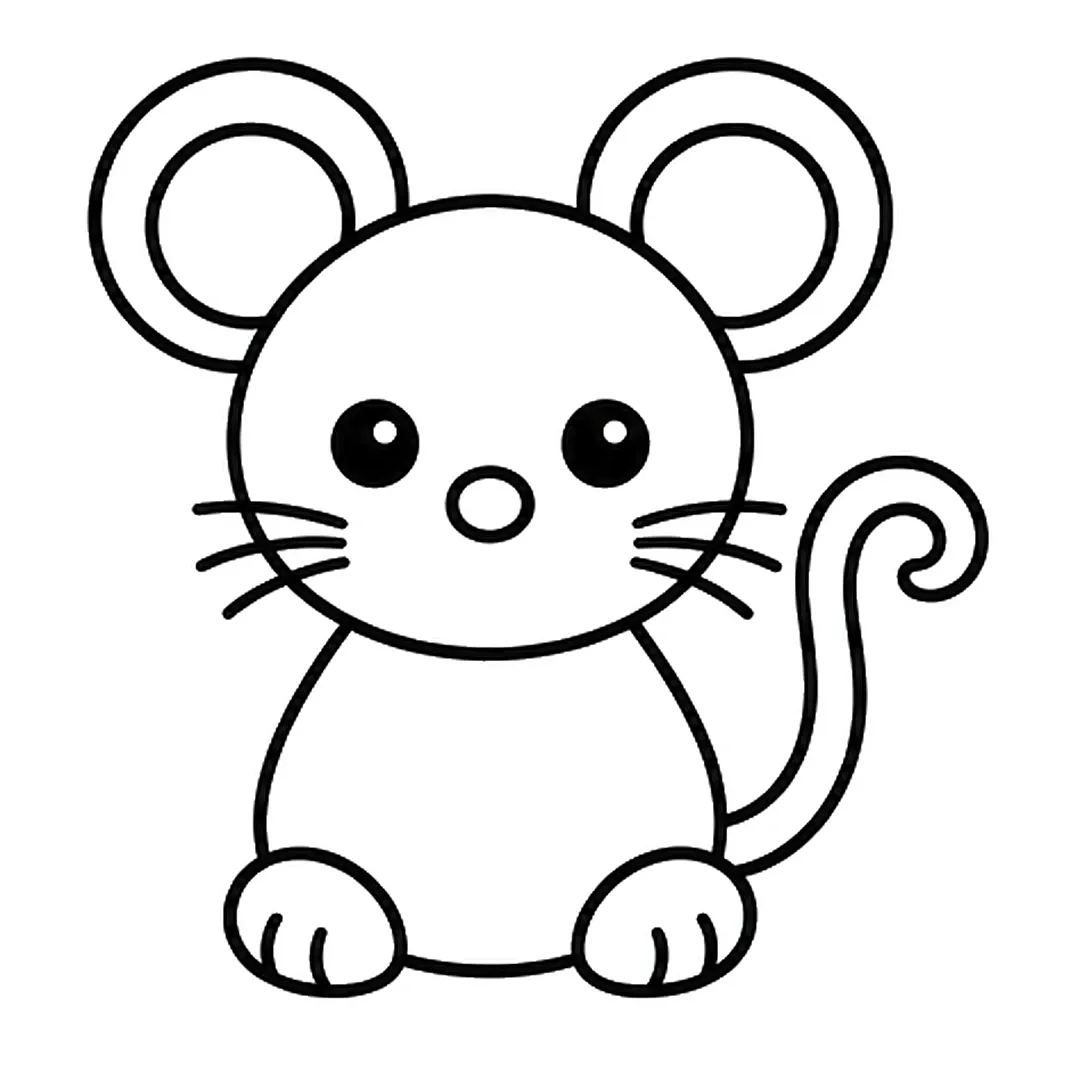
Step 5: Draw a long thin tail with two lines from behind the right side of the body. Curl the tip.
-
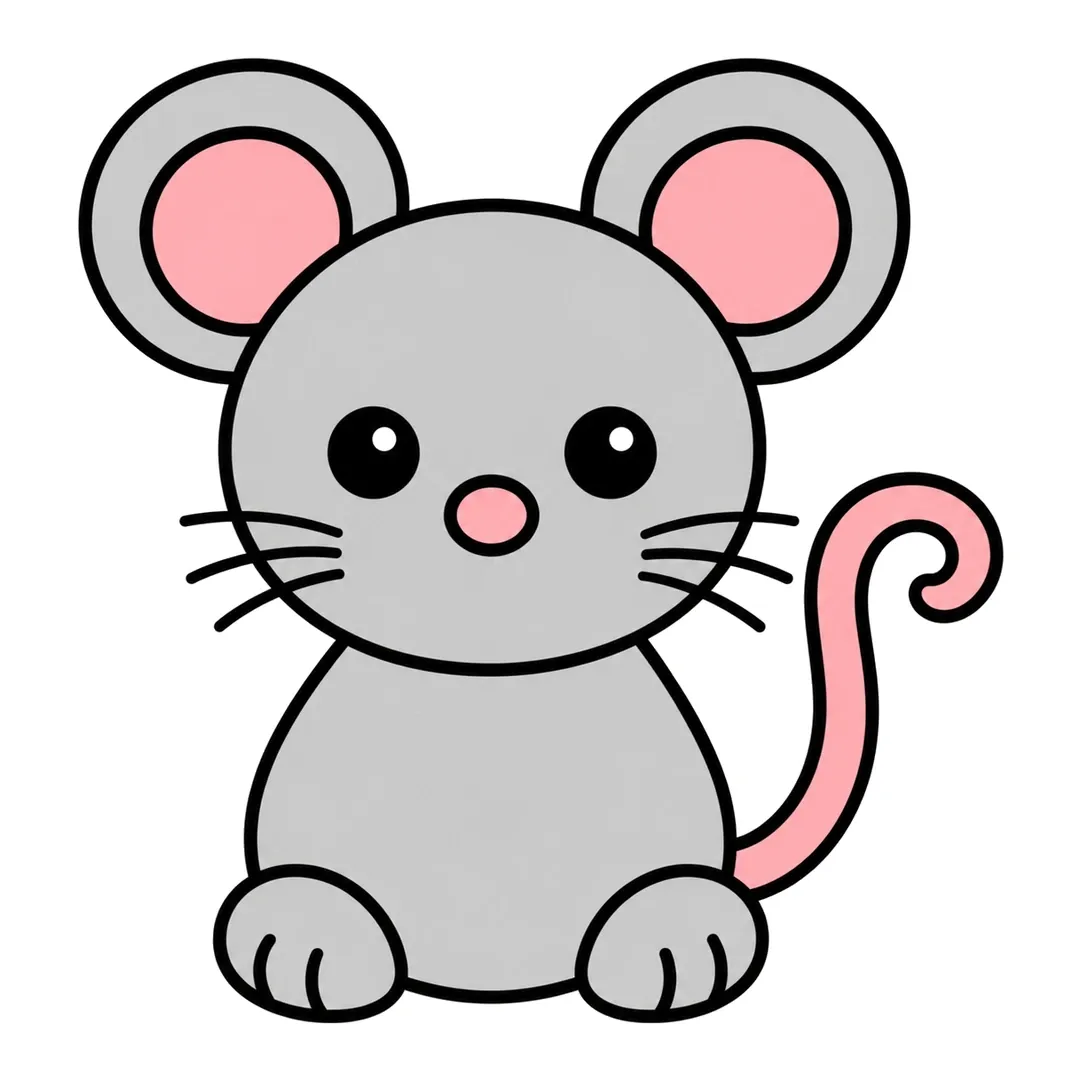
Step 6: Color the head, body, ears and feet gray, the inner ears, nose and tail pink. Keep the dots white.
Penguin
A penguin is one tall egg, so how to draw a penguin needs no separate legs.
- Begin with a tall egg that forms the whole penguin.
- Draw a heart-shaped white face and tummy inside it.
- Give it two shiny eyes and a tiny pointed beak.
- Draw short flippers on the sides and two orange feet below.
-
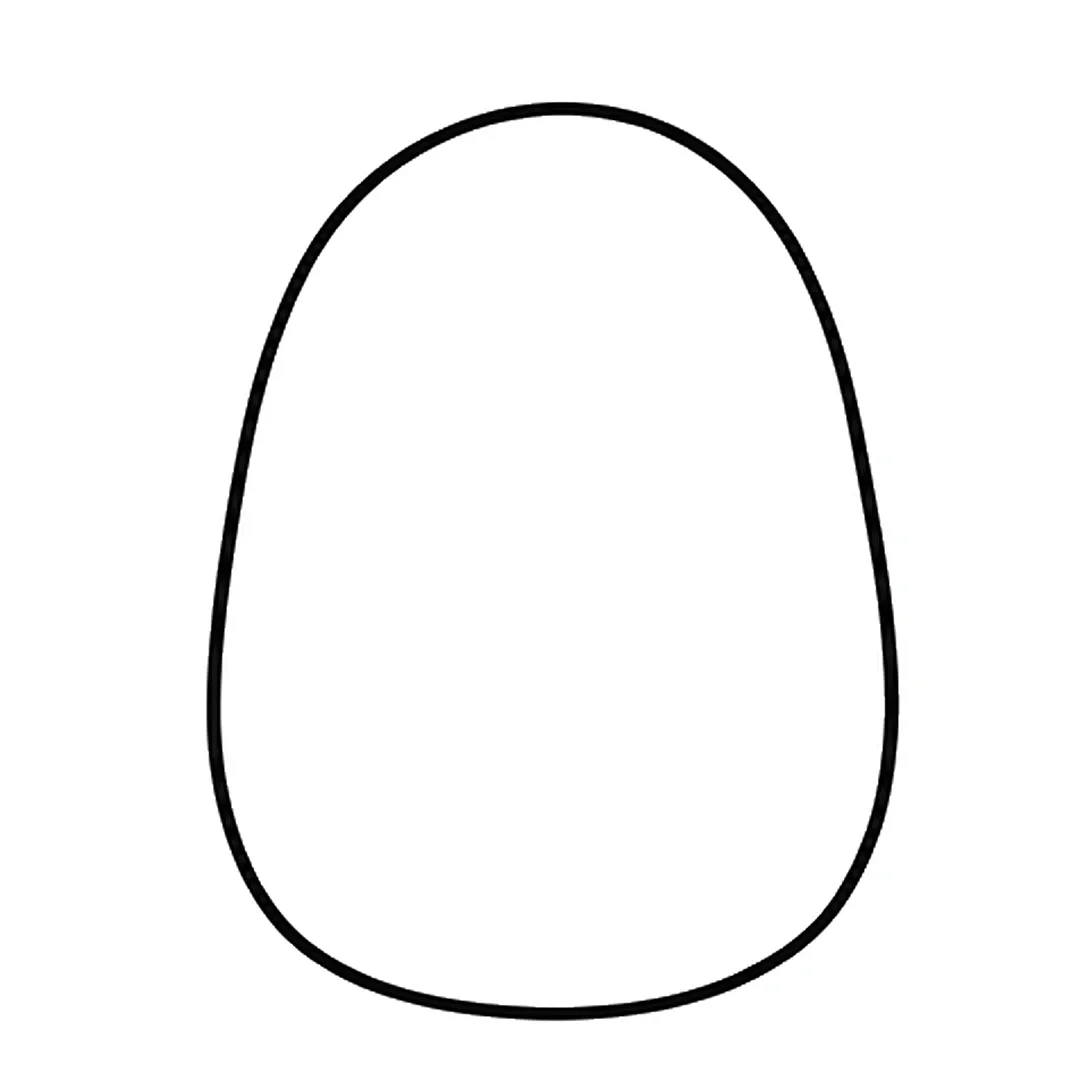
Step 1: Draw a tall egg shape for the body, narrower at the top.
-
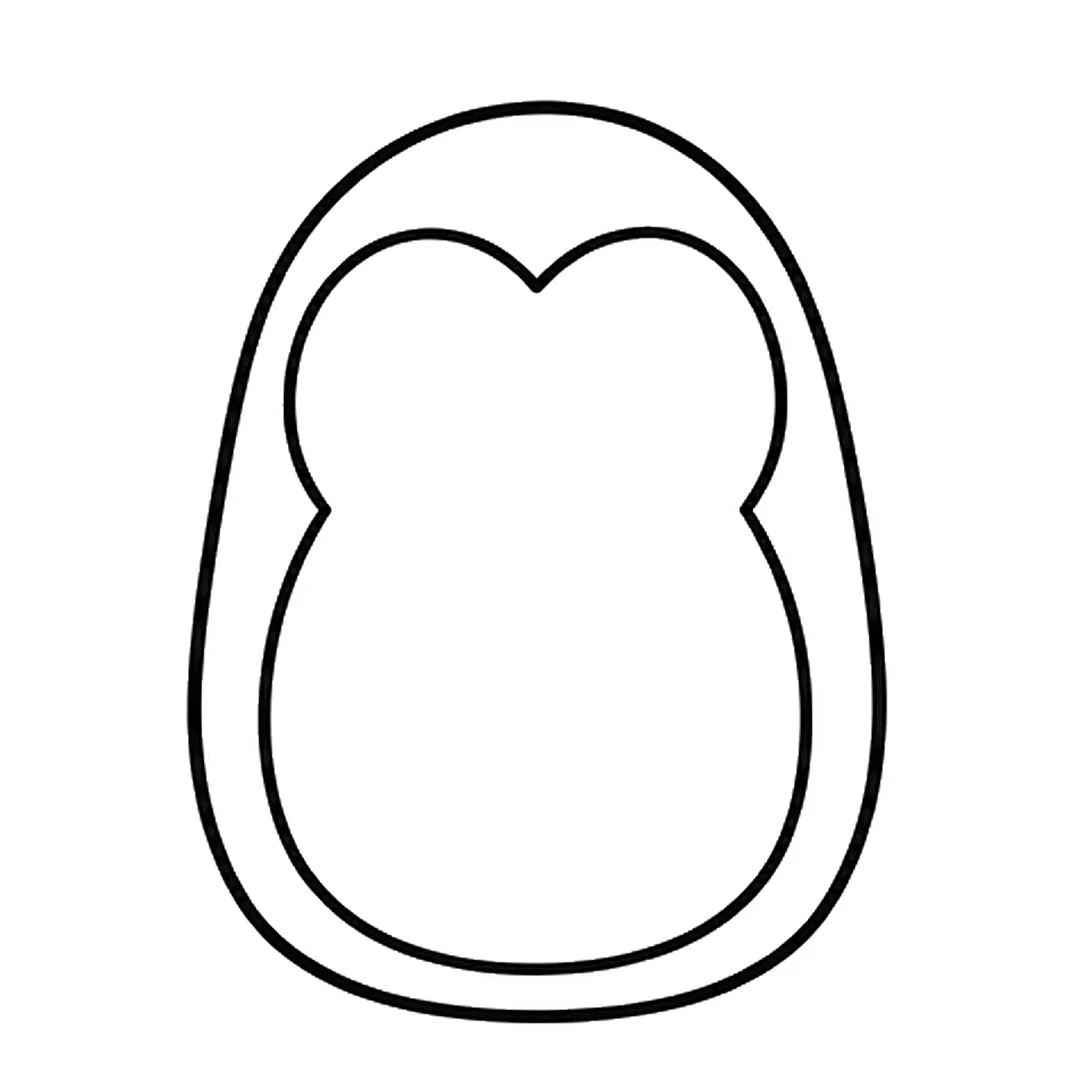
Step 2: Draw the face and belly patch inside the body, with a dip at the top like a heart.
-
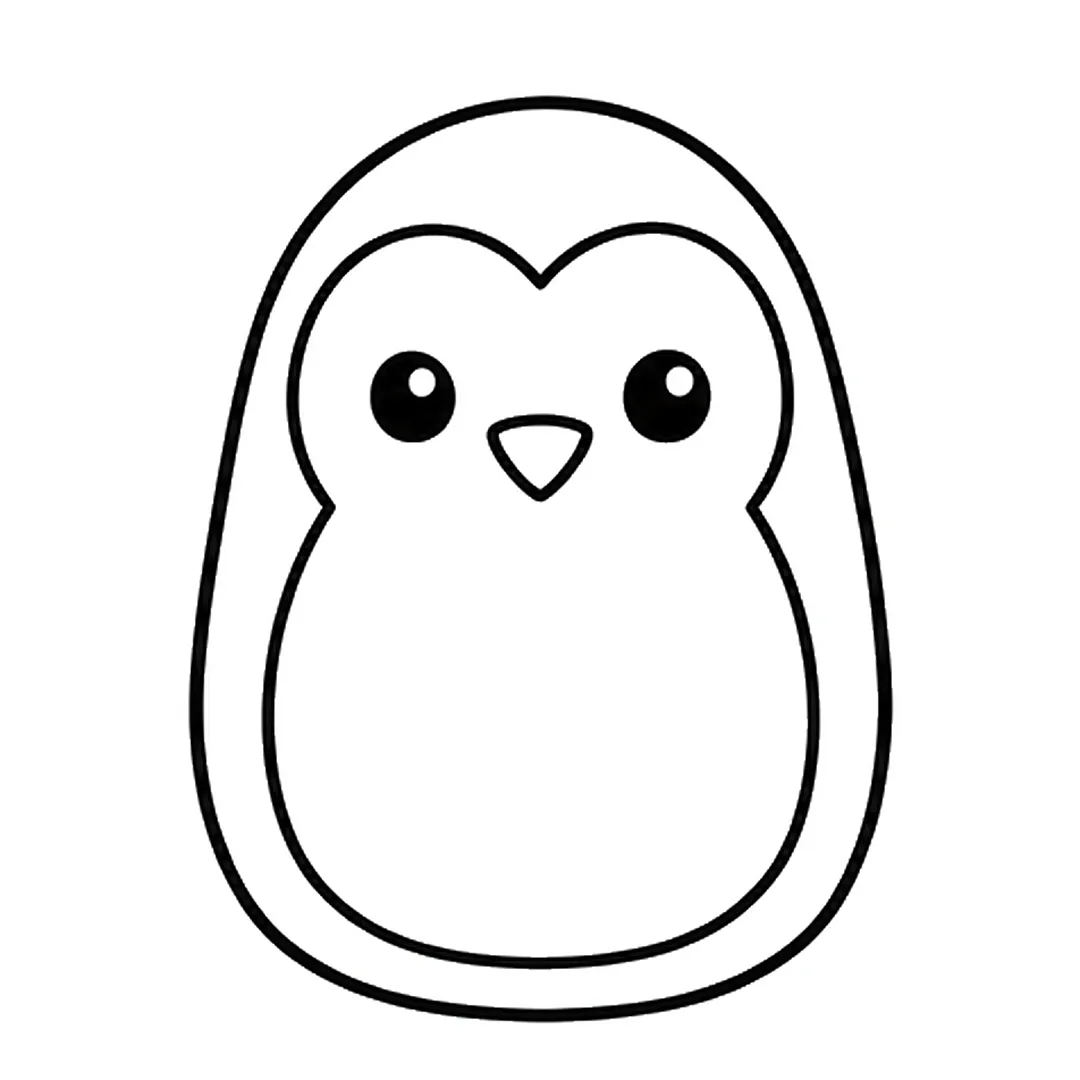
Step 3: Add two round eyes and a small triangle beak between them.
-
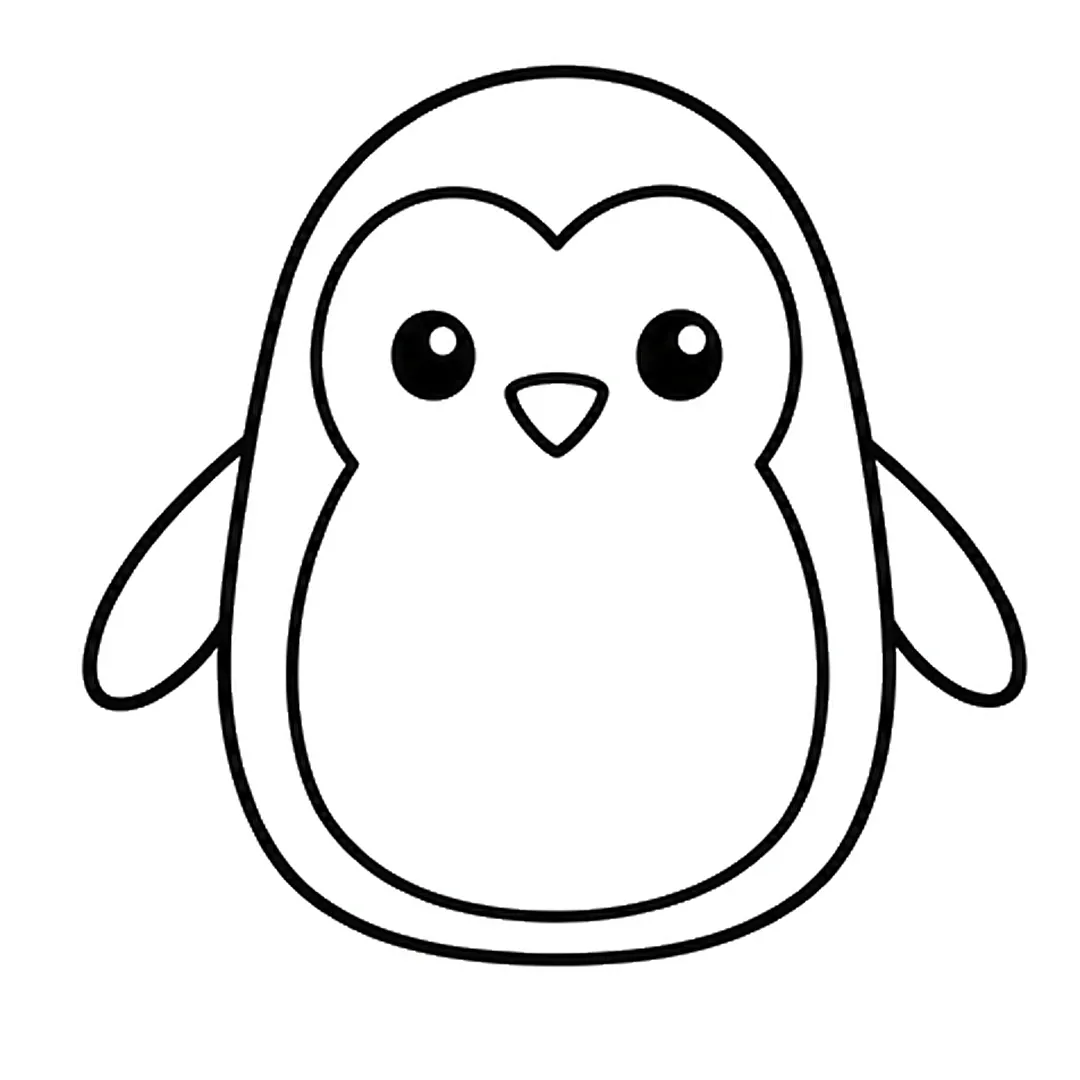
Step 4: Draw a rounded flipper on each side of the body.
-
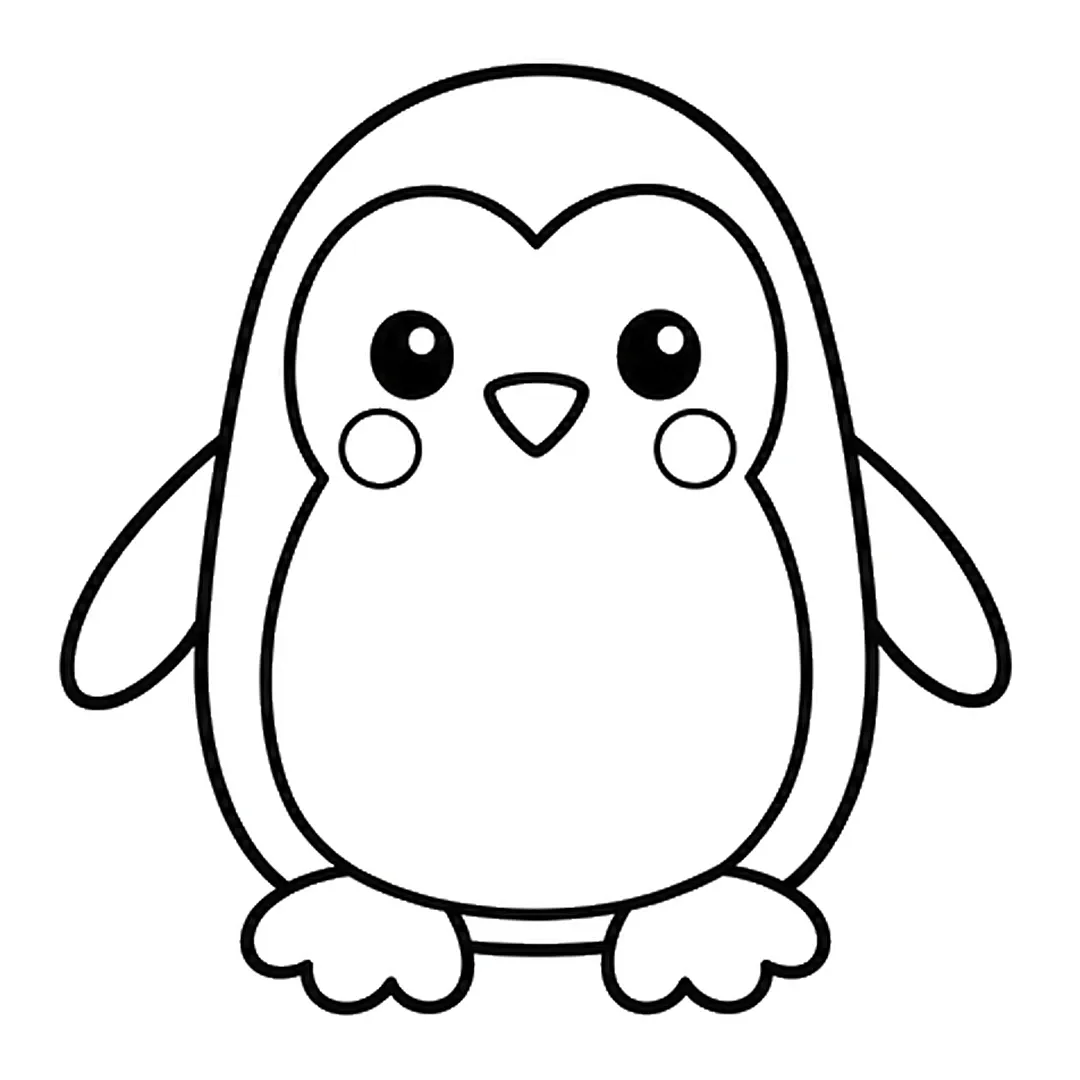
Step 5: Add two wide feet at the bottom and a small round cheek on each side.
-
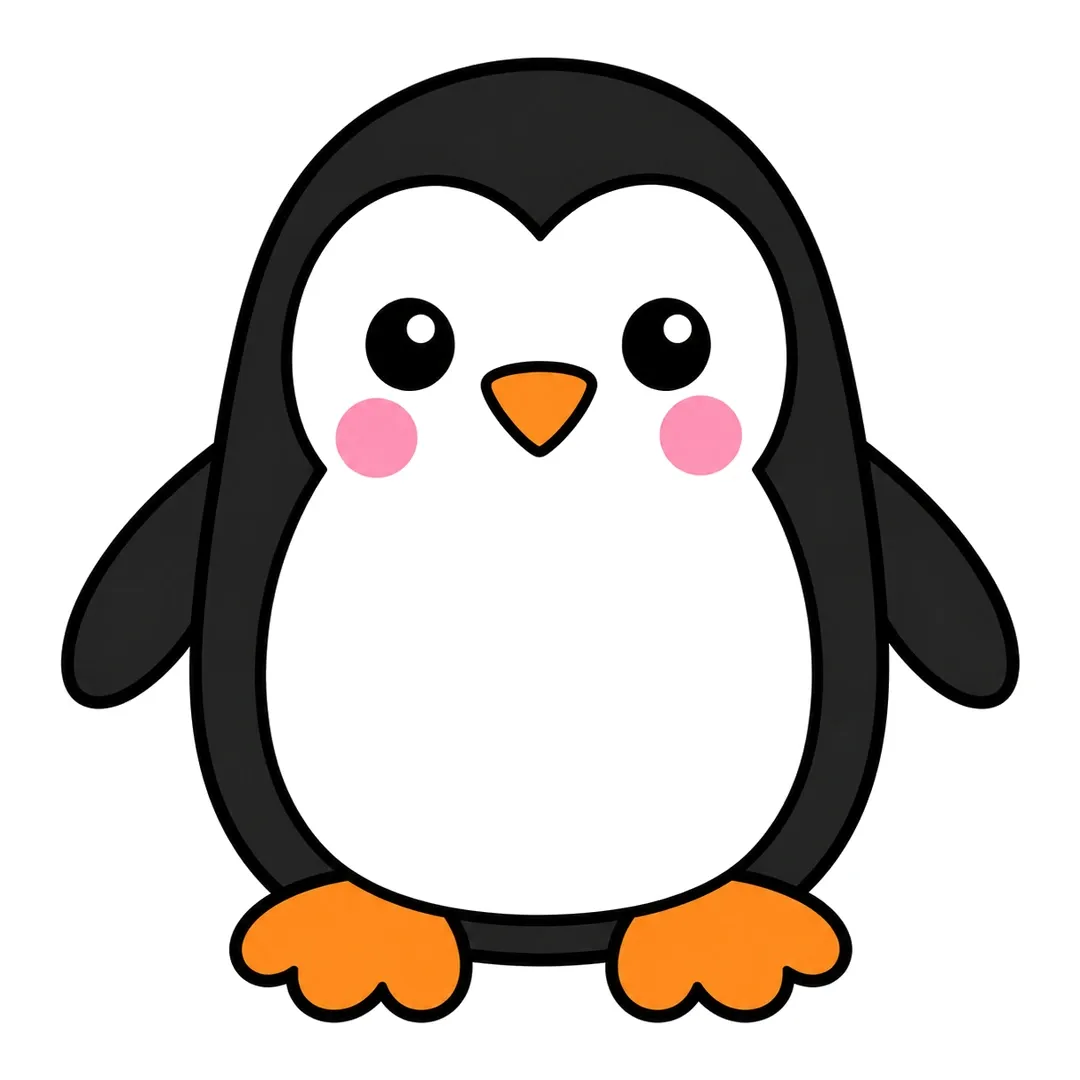
Step 6: Color the body and flippers black, the beak and feet orange and the cheeks pink.
Frog
A wide smile and eyes on top of the head make how to draw a frog happy and silly.
- Draw a wide oval for the frog’s face.
- Add two bumps on top and draw the eyes inside them.
- Draw a big smile and two pink cheeks.
- Add a round body and bent back legs.
-

Step 1: Draw a wide oval for the head.
-
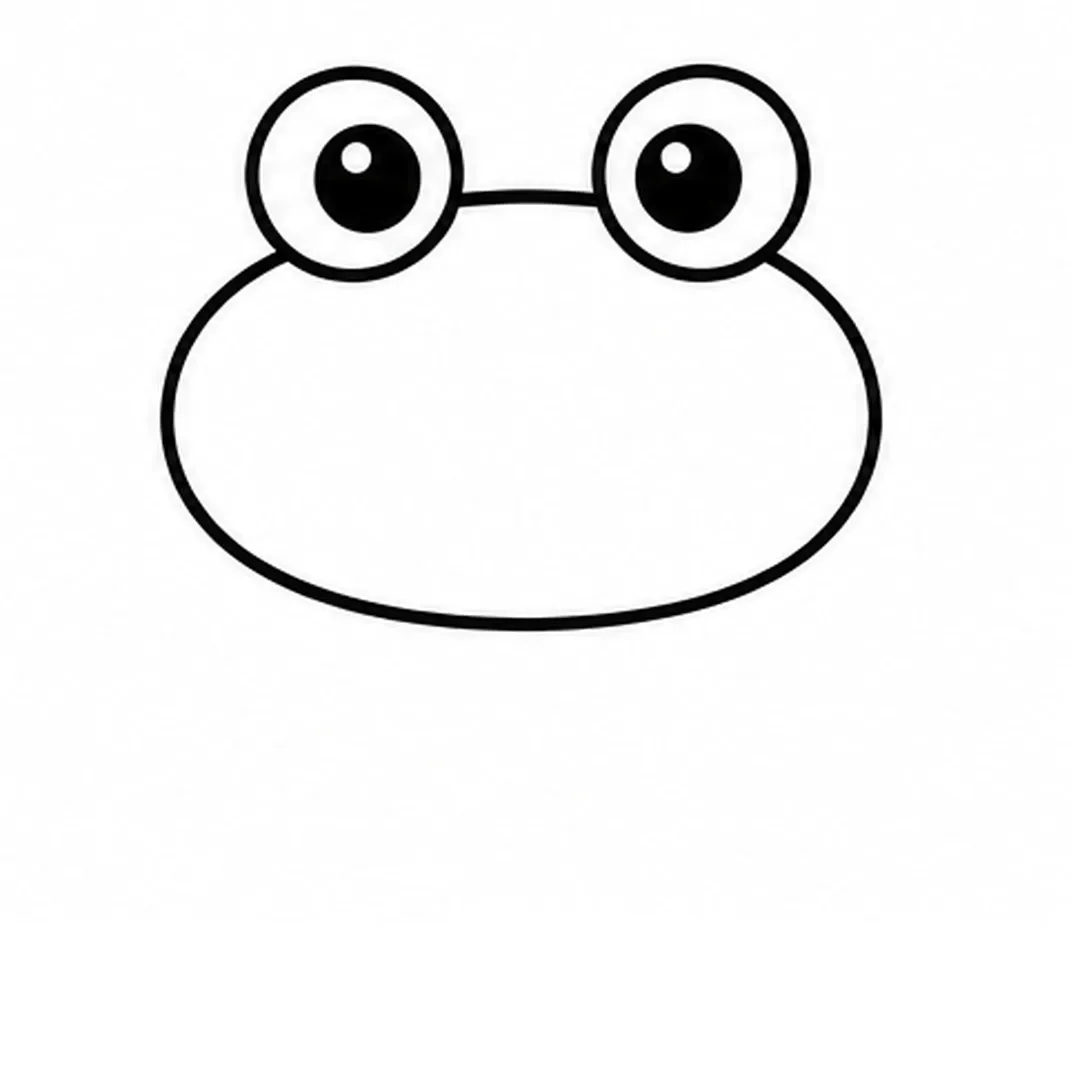
Step 2: Add two big round eyes on top of the head, each with a black pupil.
-
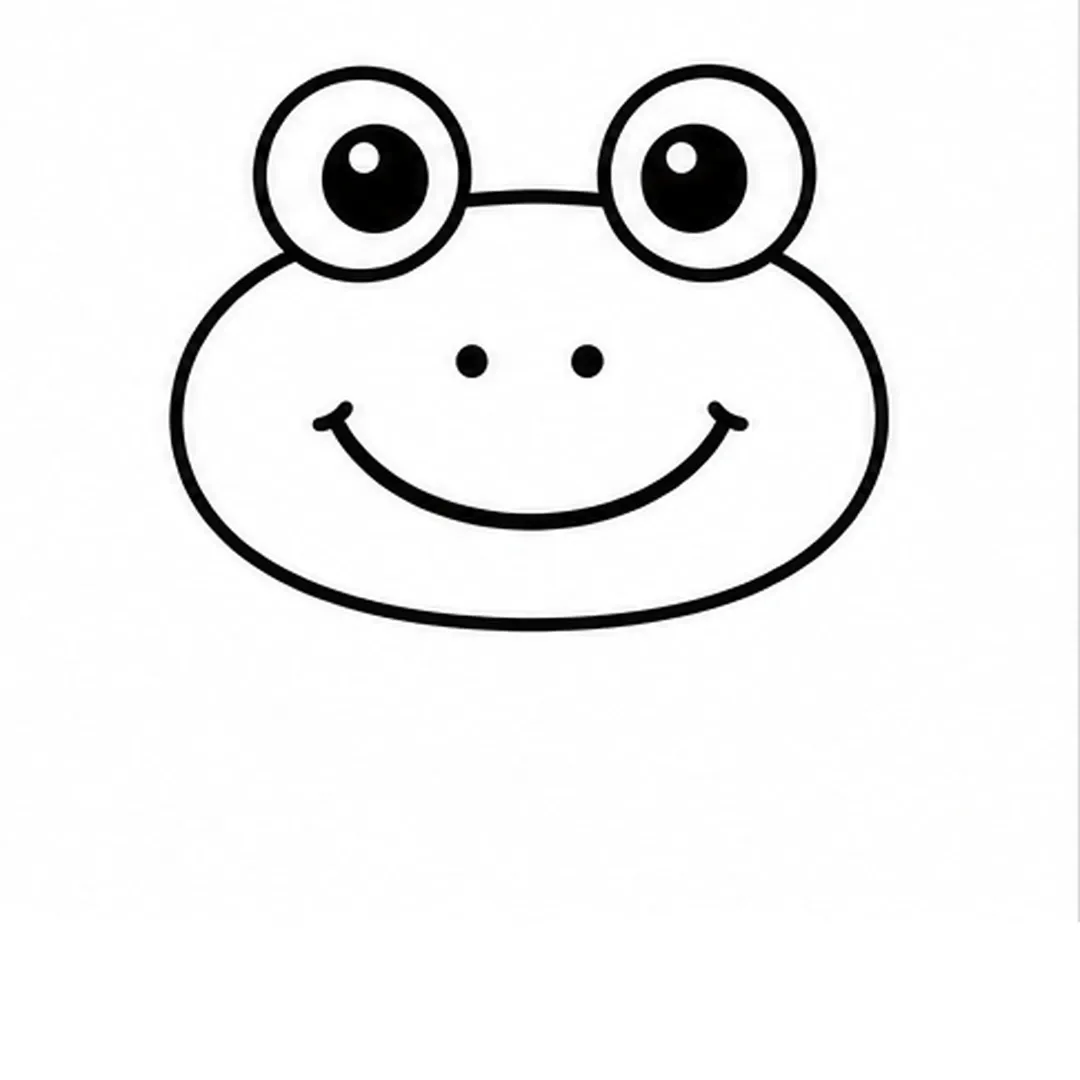
Step 3: Draw two small nostril dots and a wide smile.
-
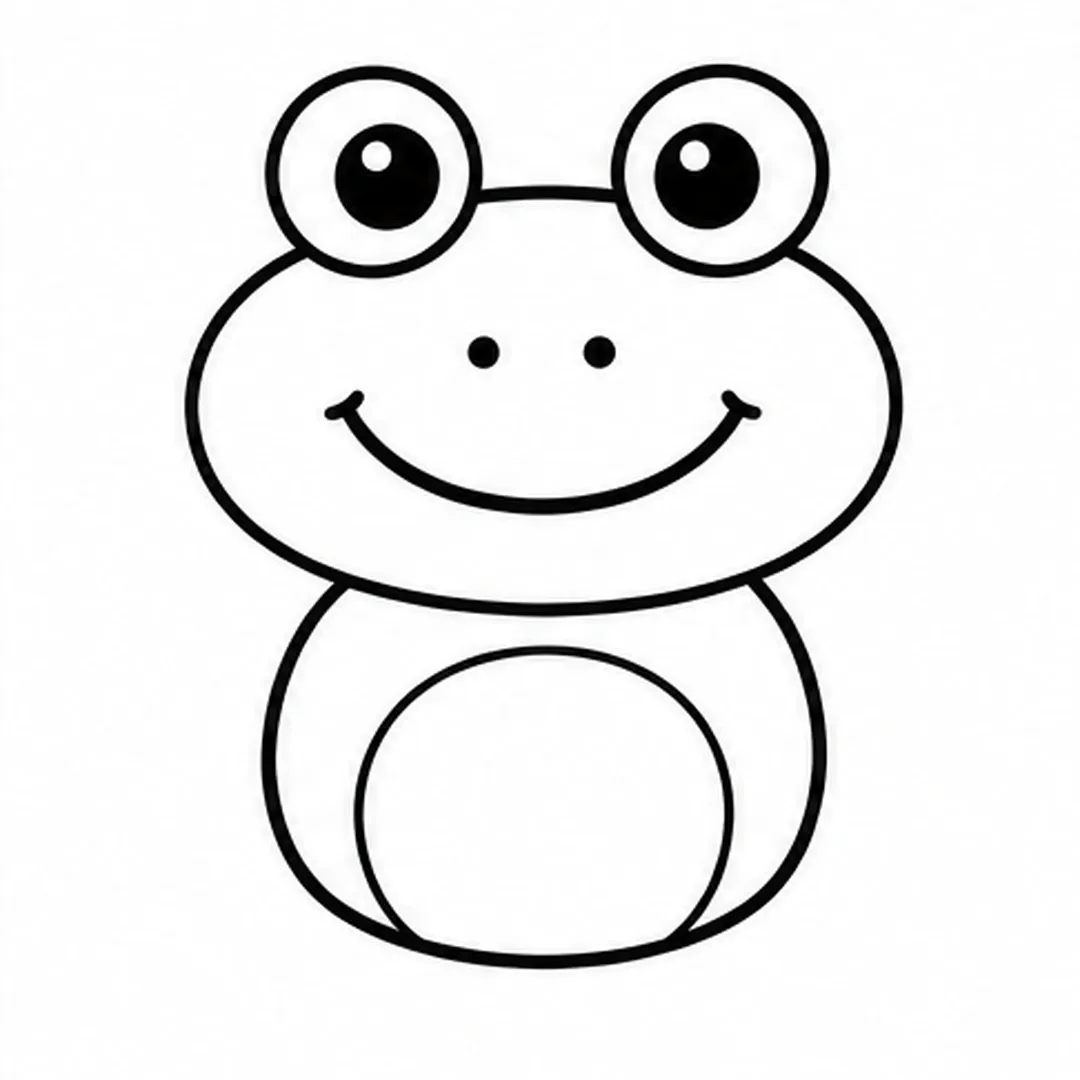
Step 4: Add a round body under the head with an oval belly patch.
-
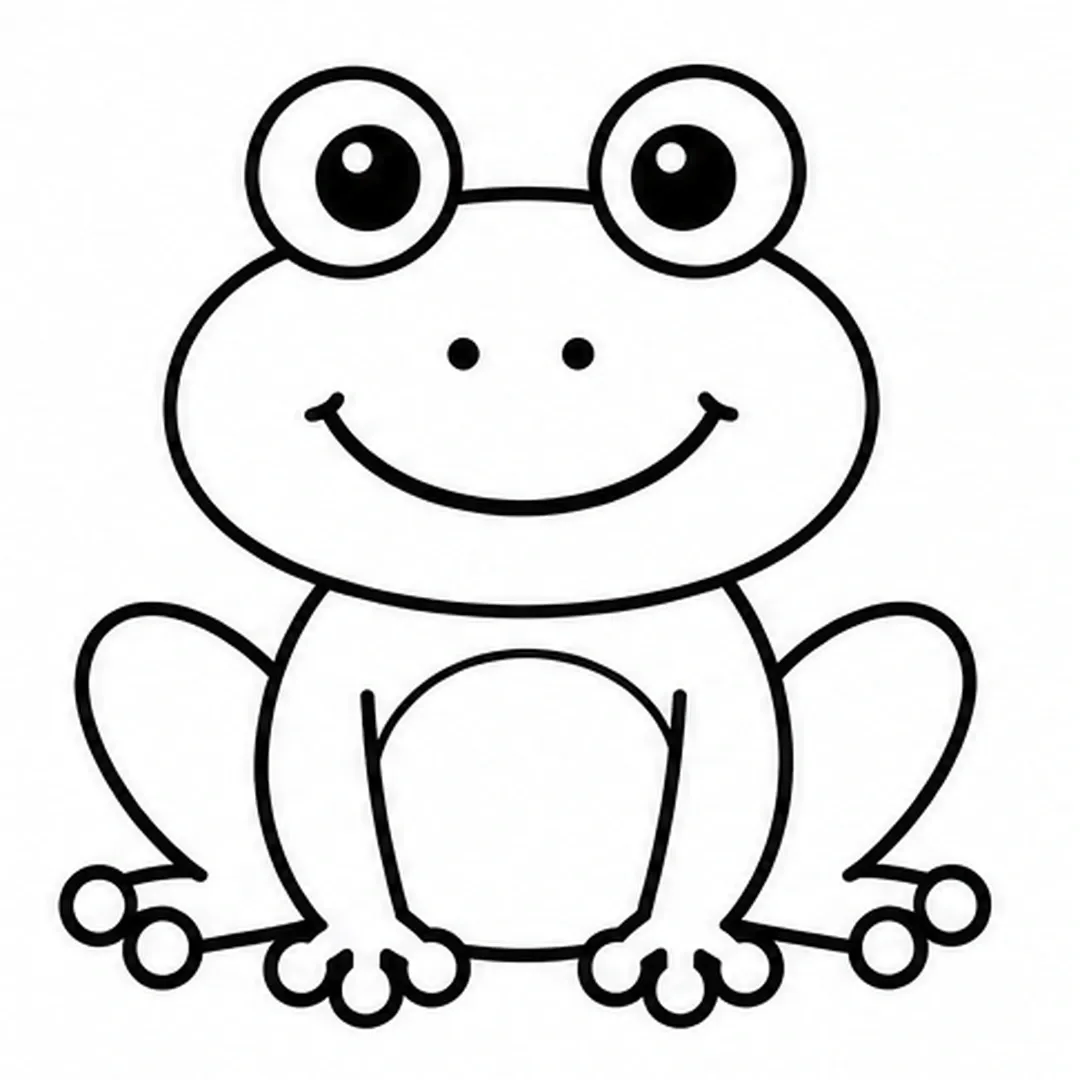
Step 5: Draw two front legs with three round toes each and two bent back legs with two round toes each.
-
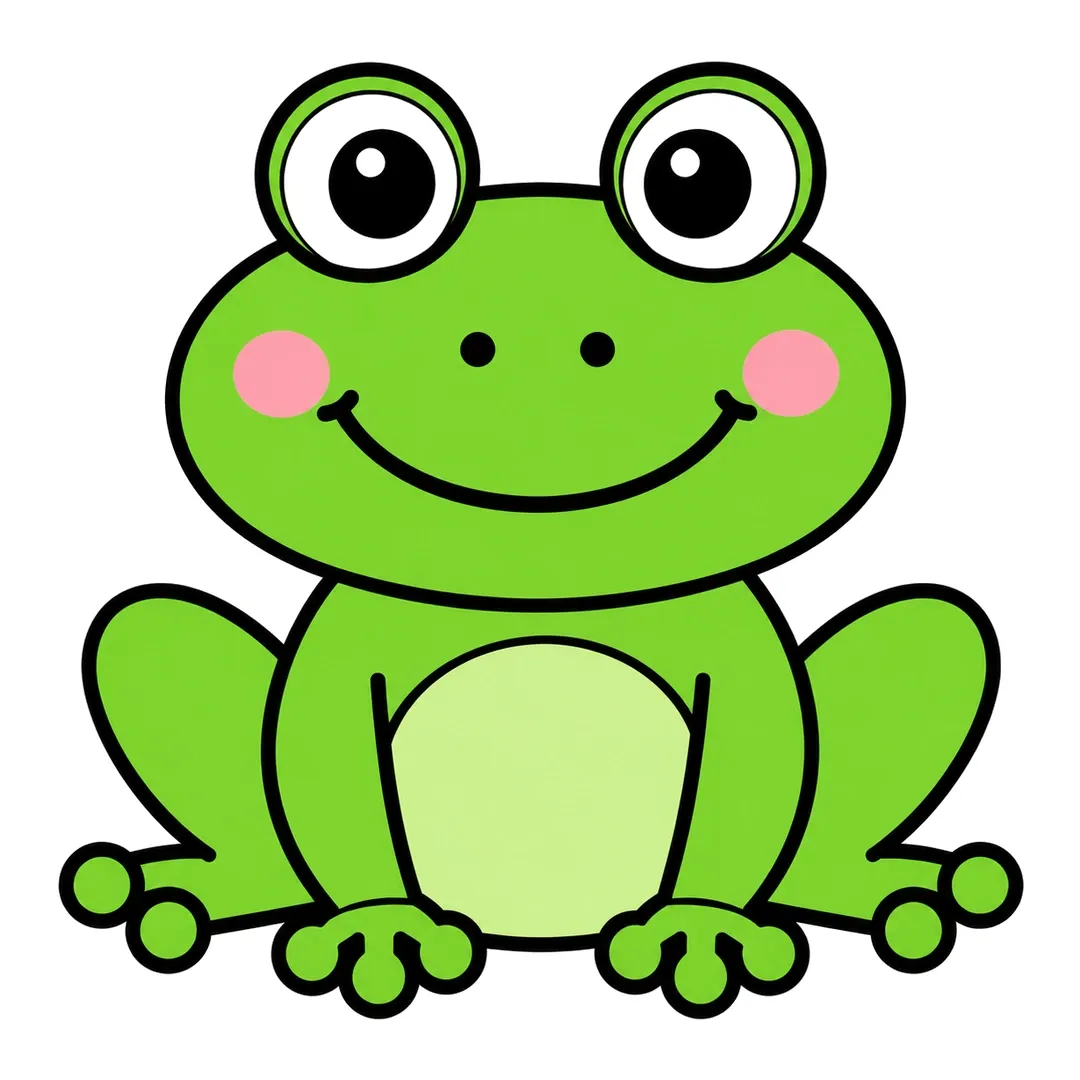
Step 6: Color the frog green and the belly light green. Add two pink cheeks.
Duck
A baby duck is two circles and a beak, so how to draw a duck suits young beginners.
- Draw a small circle where the duckling’s head goes.
- Join a bigger oval body to the head.
- Add a flat orange beak and a dot eye.
- Draw a small wing and two webbed feet.
-
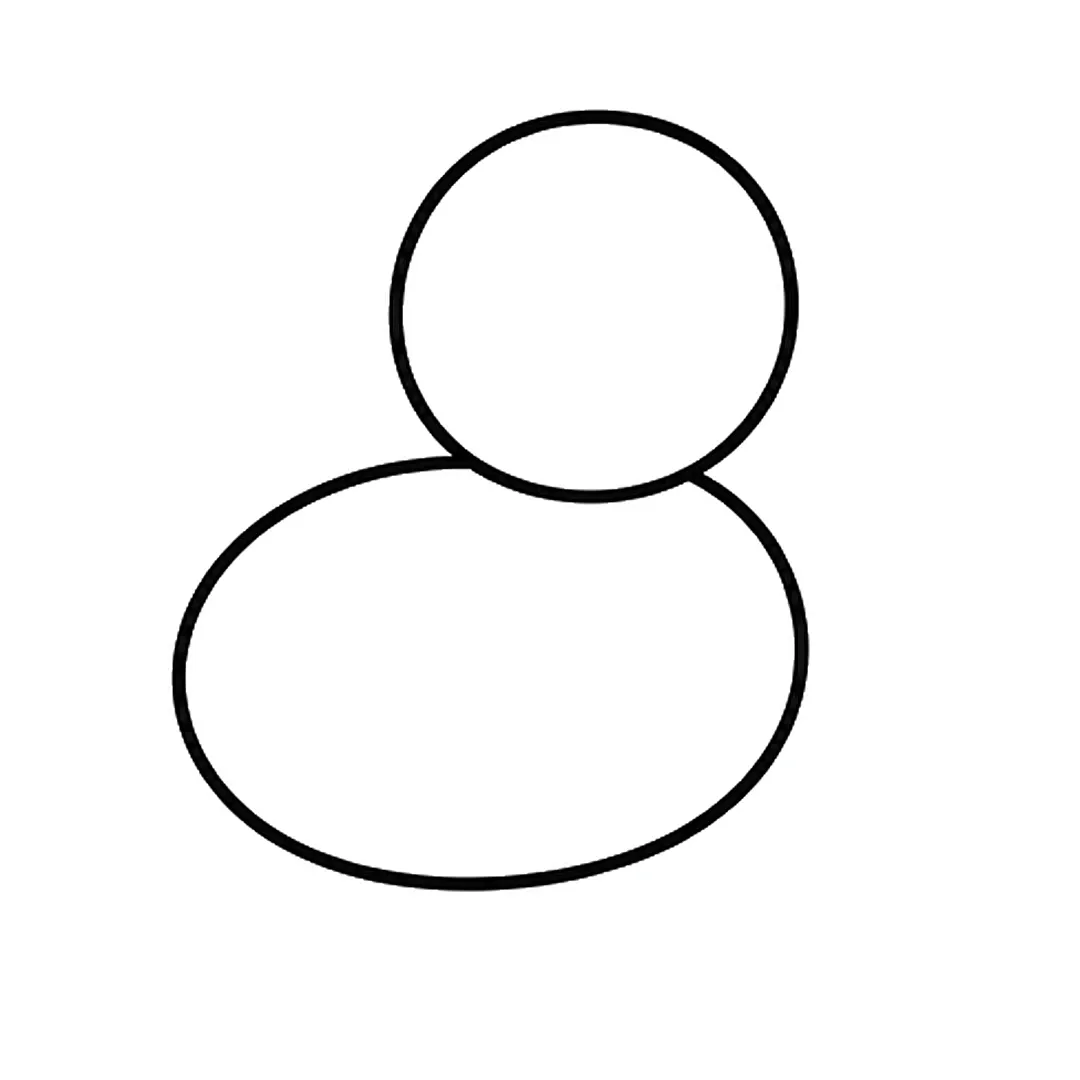
Step 1: Draw a round head sitting on top of a wide oval body.
-
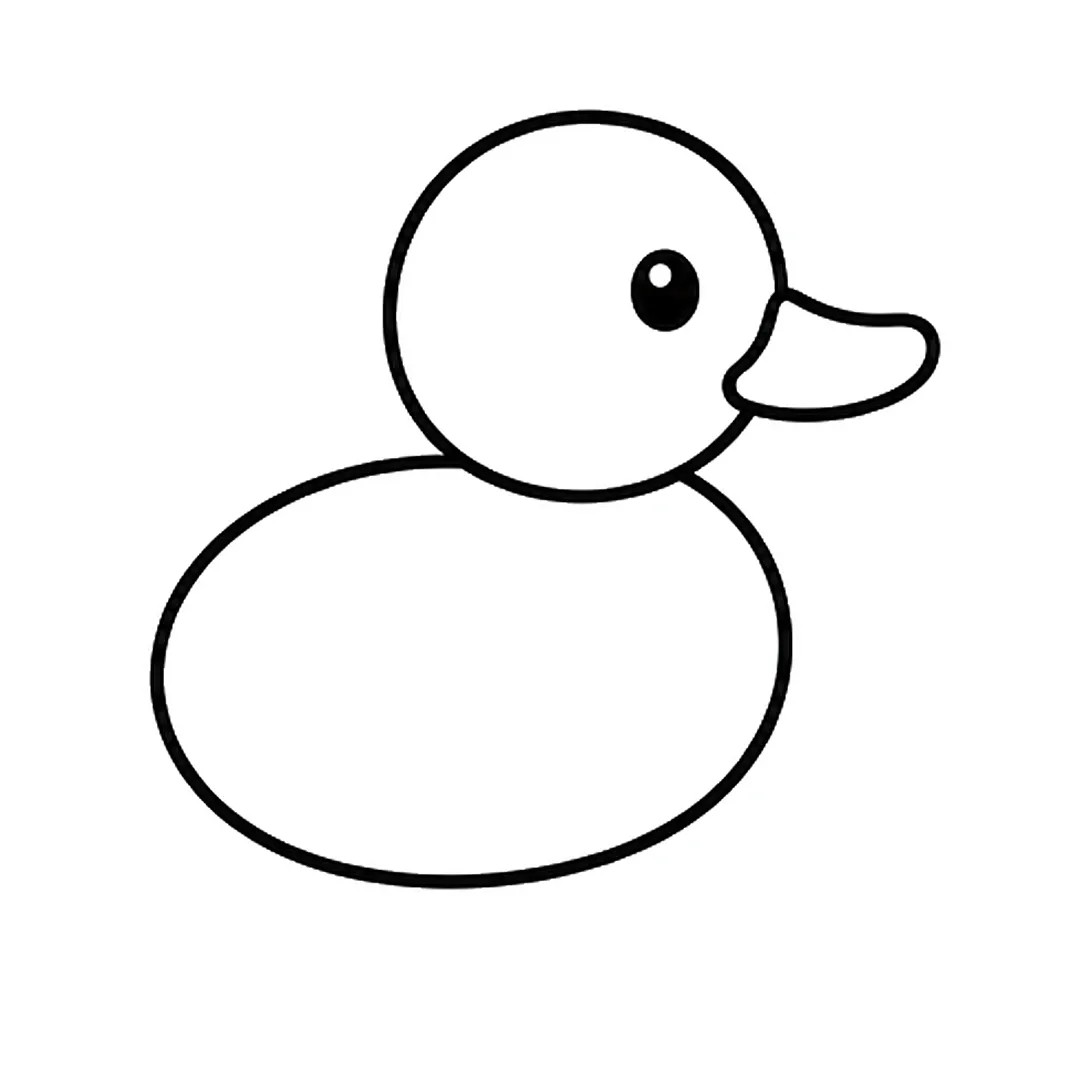
Step 2: Add a round eye with a shine dot and a flat, rounded beak on the right side of the head.
-
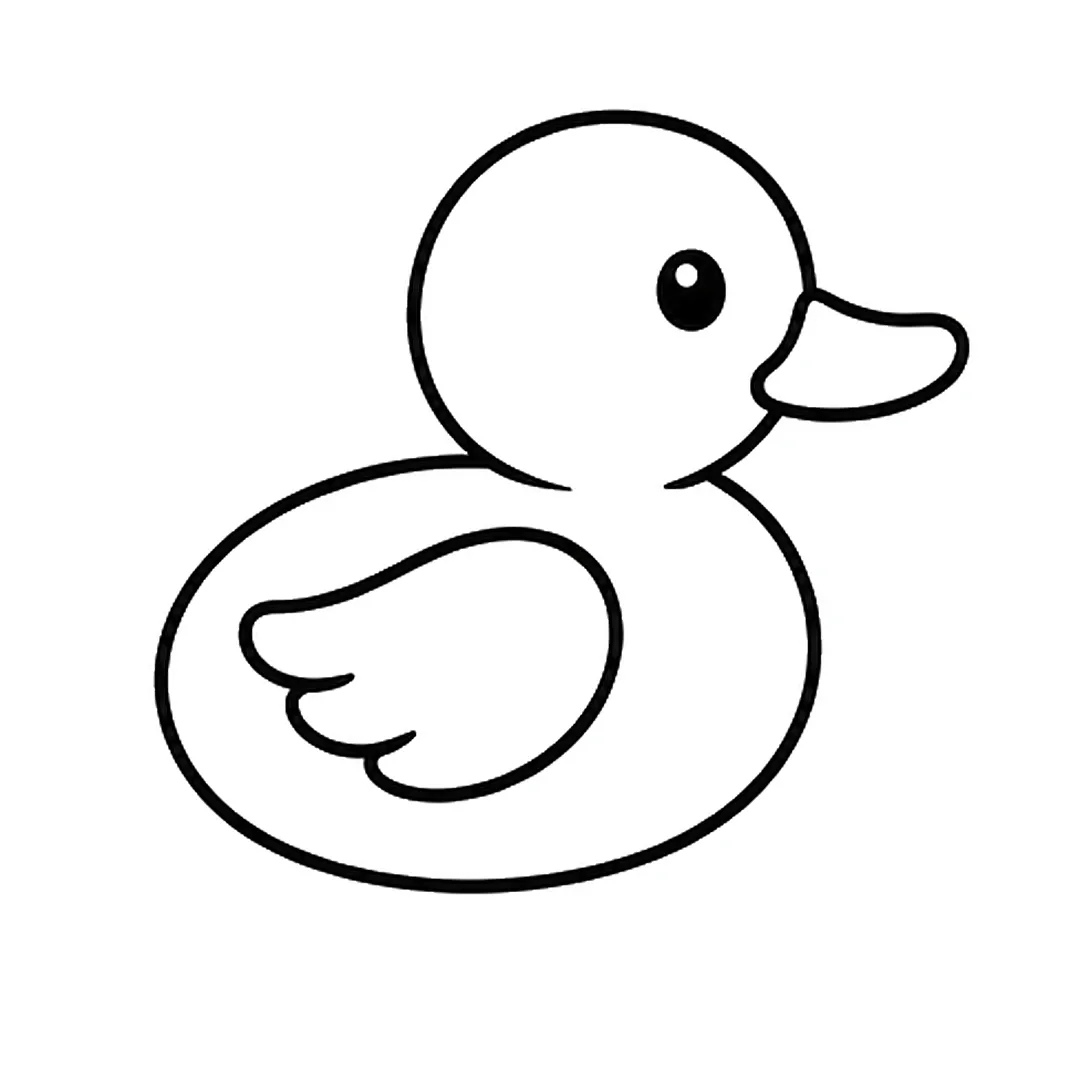
Step 3: Draw a wing with three feather scallops. Erase the line between the head and the body.
-
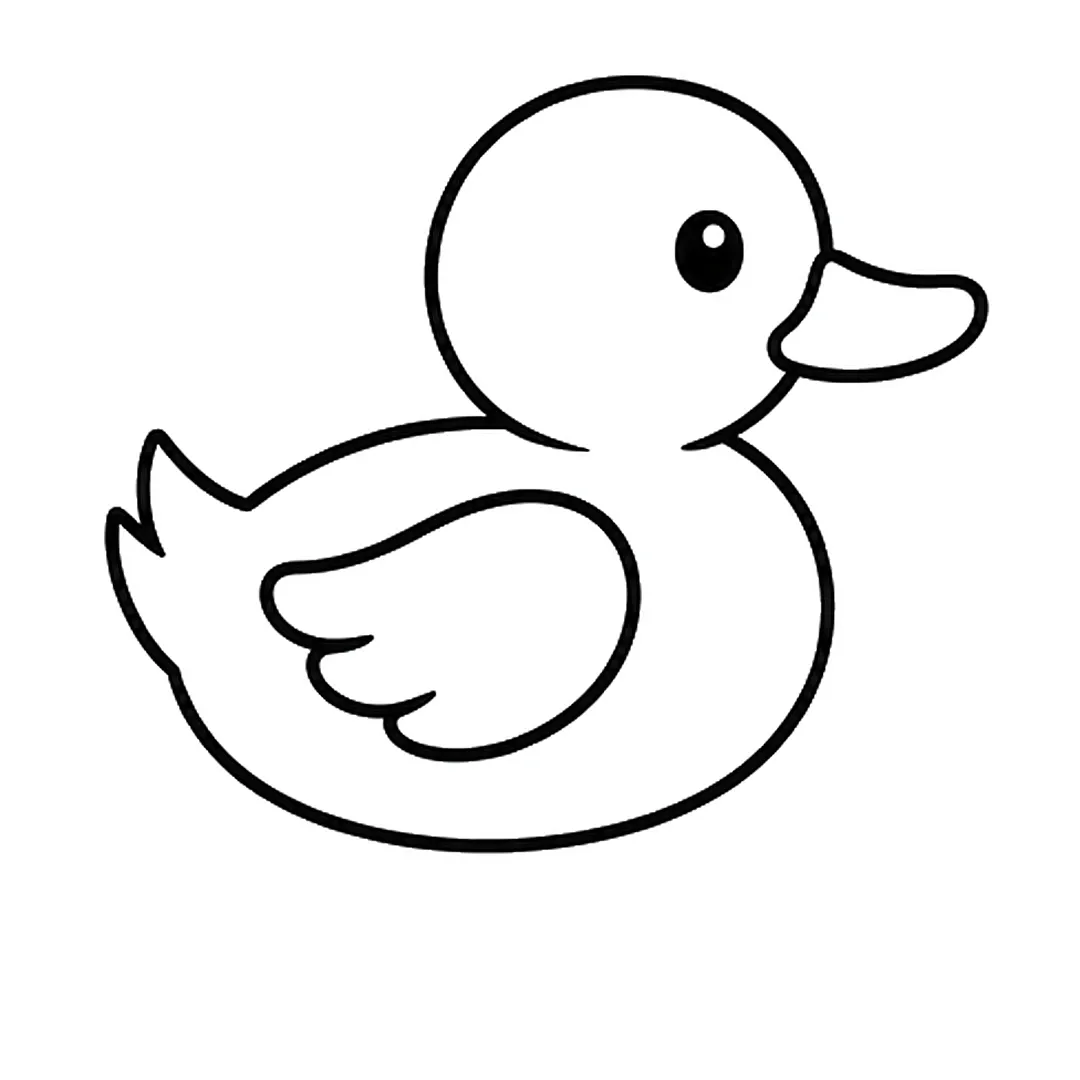
Step 4: Add two pointed tail feathers sticking up on the left end of the body.
-
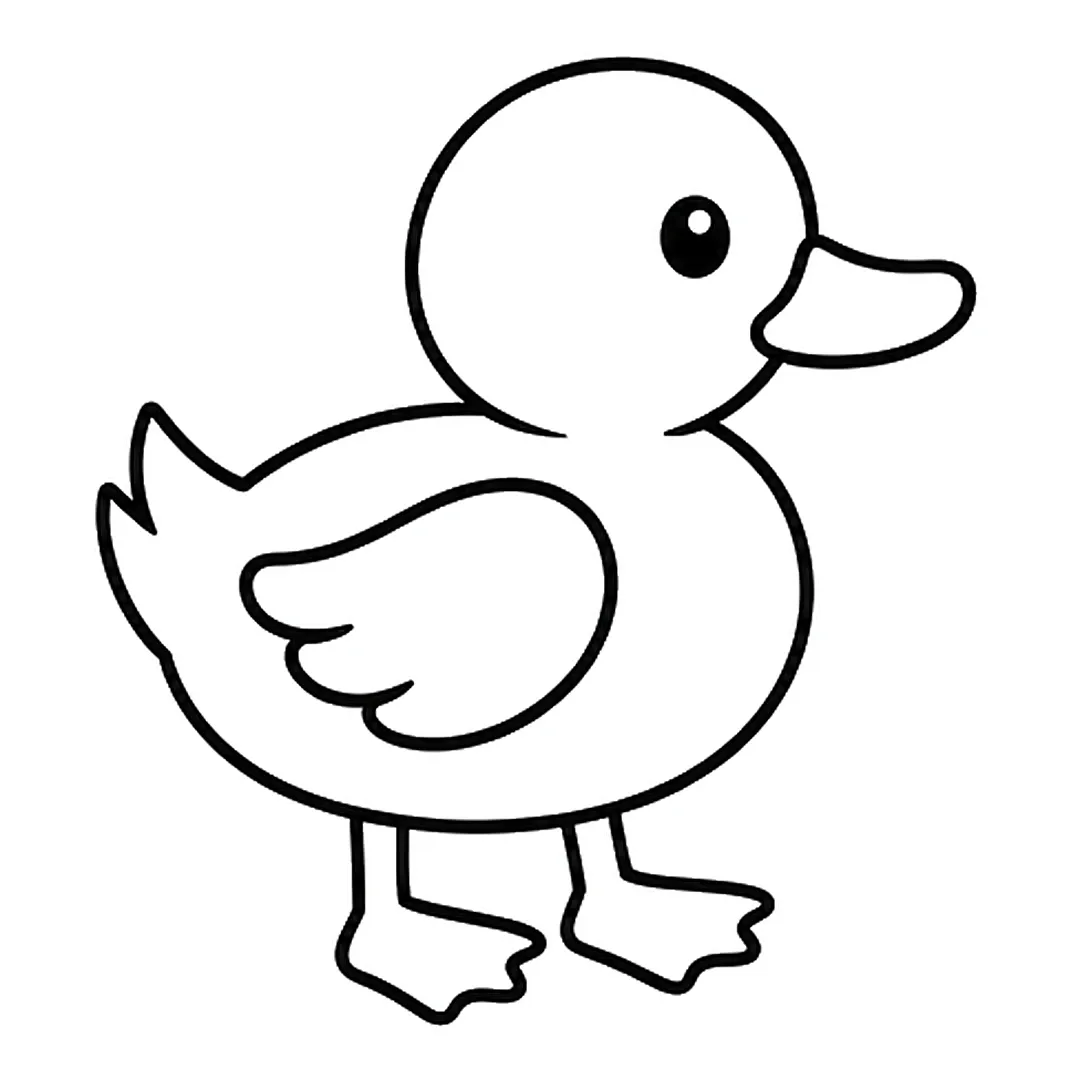
Step 5: Draw two thin legs, each with a webbed foot shaped like a fan with three points.
-
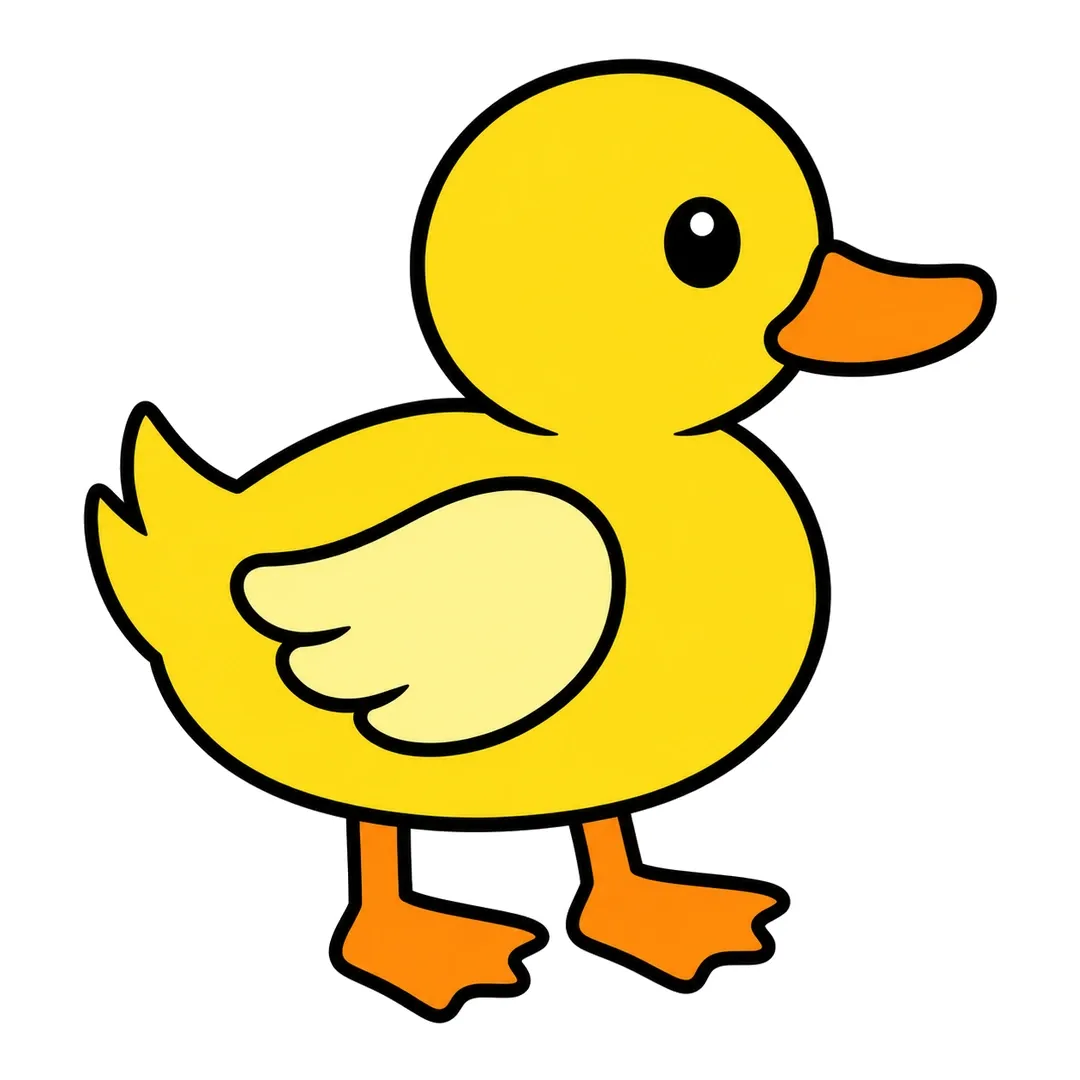
Step 6: Color the duck yellow, the wing light yellow, and the beak, legs and feet orange.
Lamb
A lamb’s wool is one bumpy line drawn again and again, which makes how to draw a lamb calm, repetitive practice.
- Make a fluffy cloud with many small bumps for the wool.
- Tuck a small oval face against one side of the wool.
- Draw two floppy ears and sleepy or round eyes.
- Add four short legs under the cloud.
-
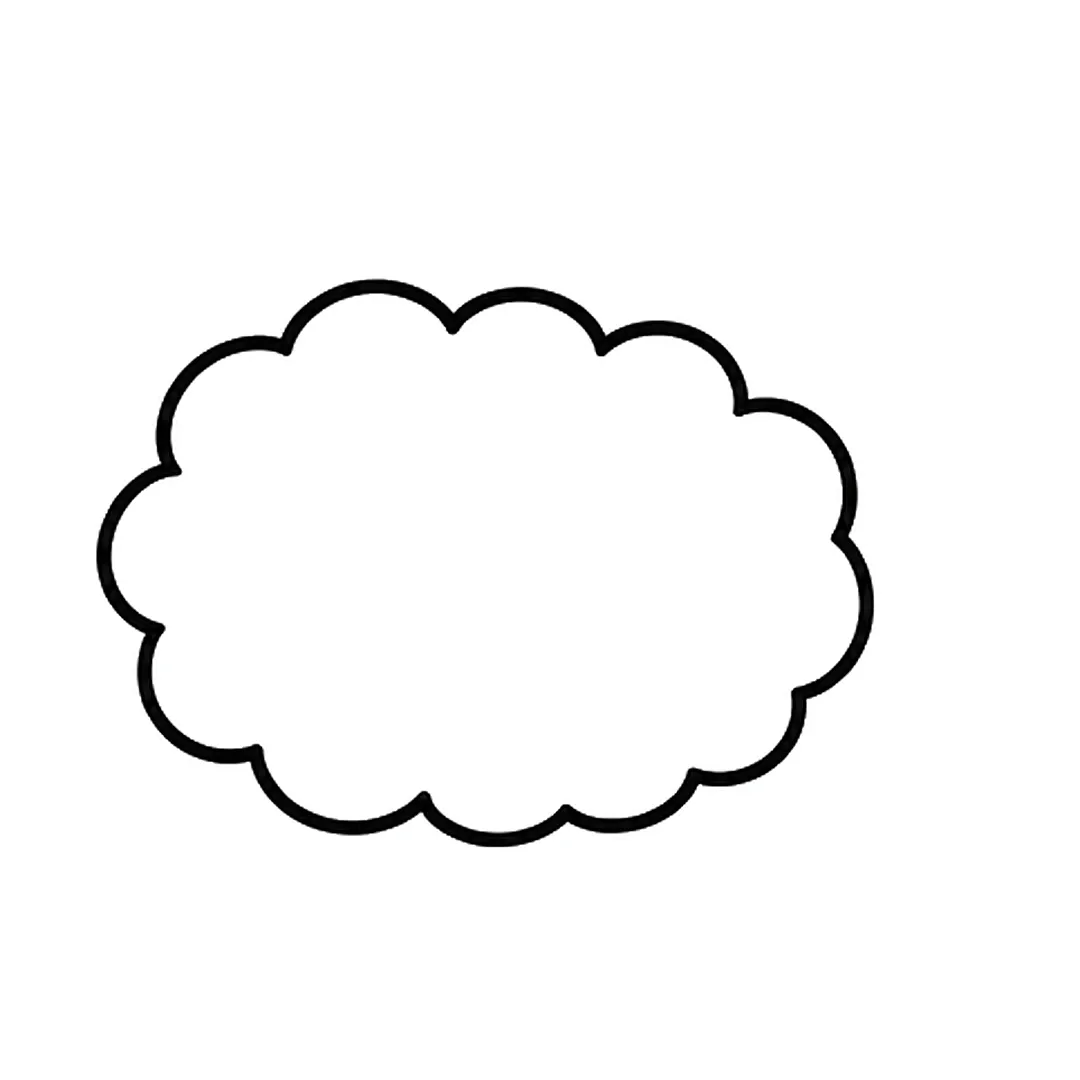
Step 1: Draw a big fluffy cloud shape with round bumps all around for the body.
-
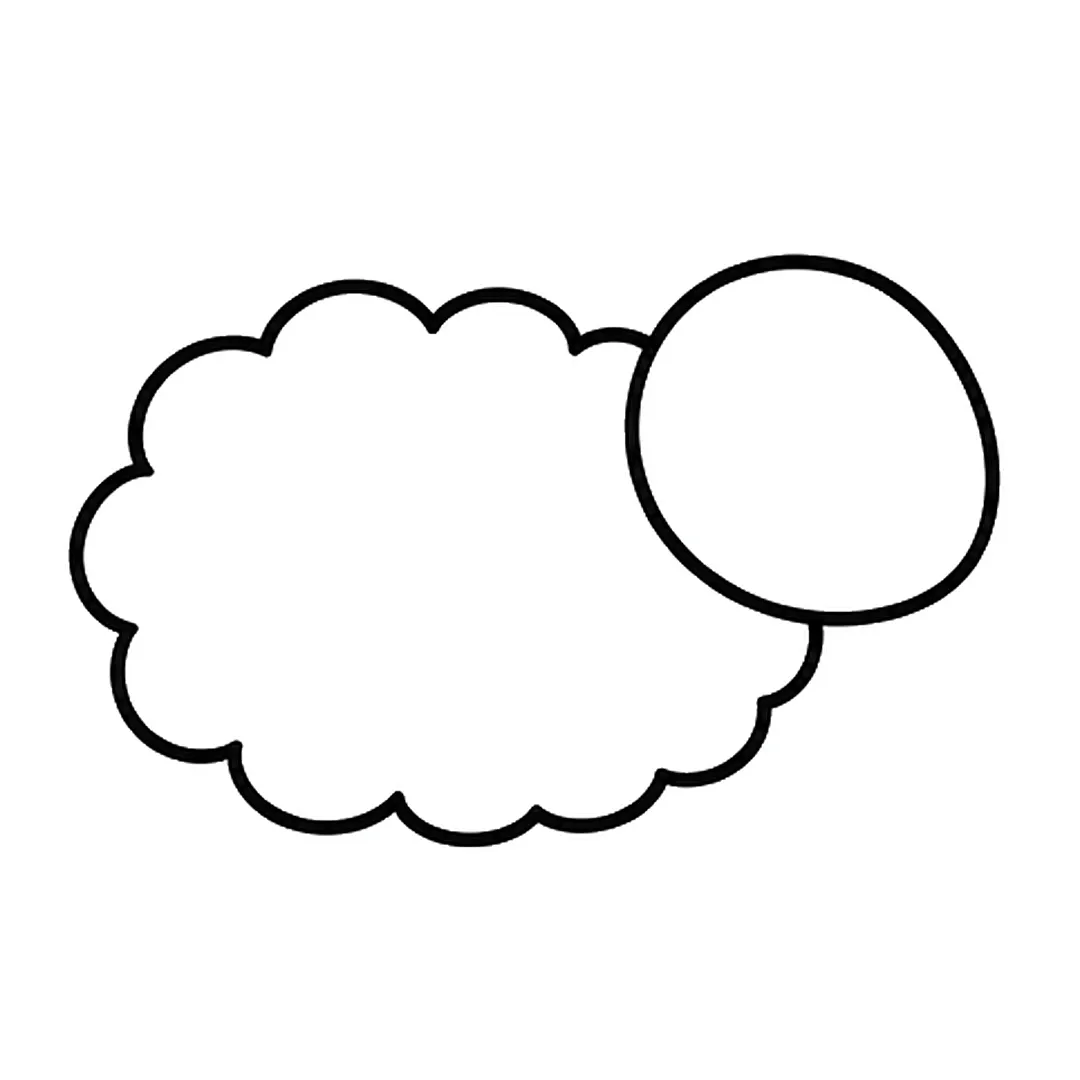
Step 2: Add an oval head on the top right of the body. Erase the body lines inside the head.
-

Step 3: Draw a long floppy ear hanging down the left side of the head. Erase the head line inside it.
-
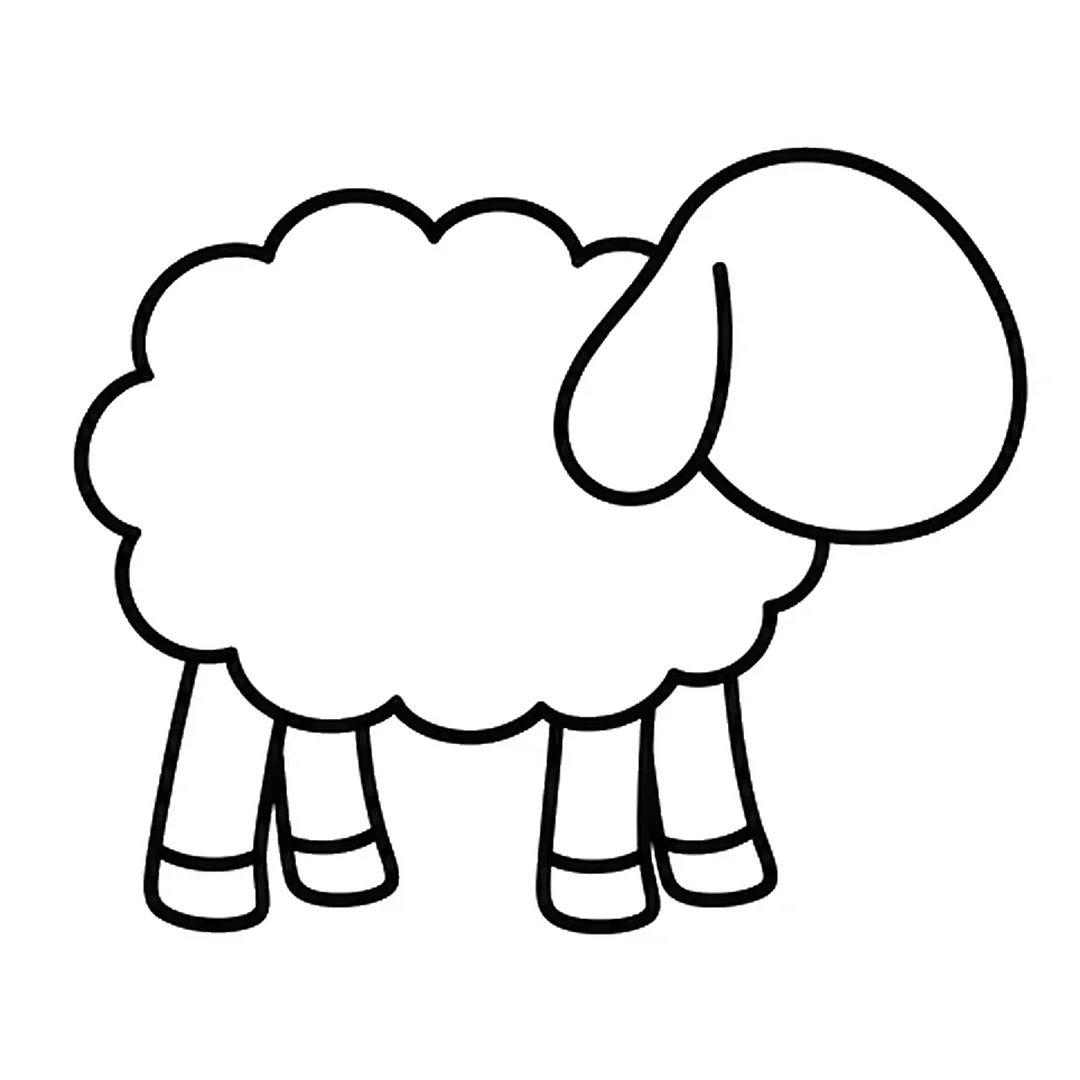
Step 4: Add four thin legs under the body, two at the back and two at the front, each with a hoof line.
-
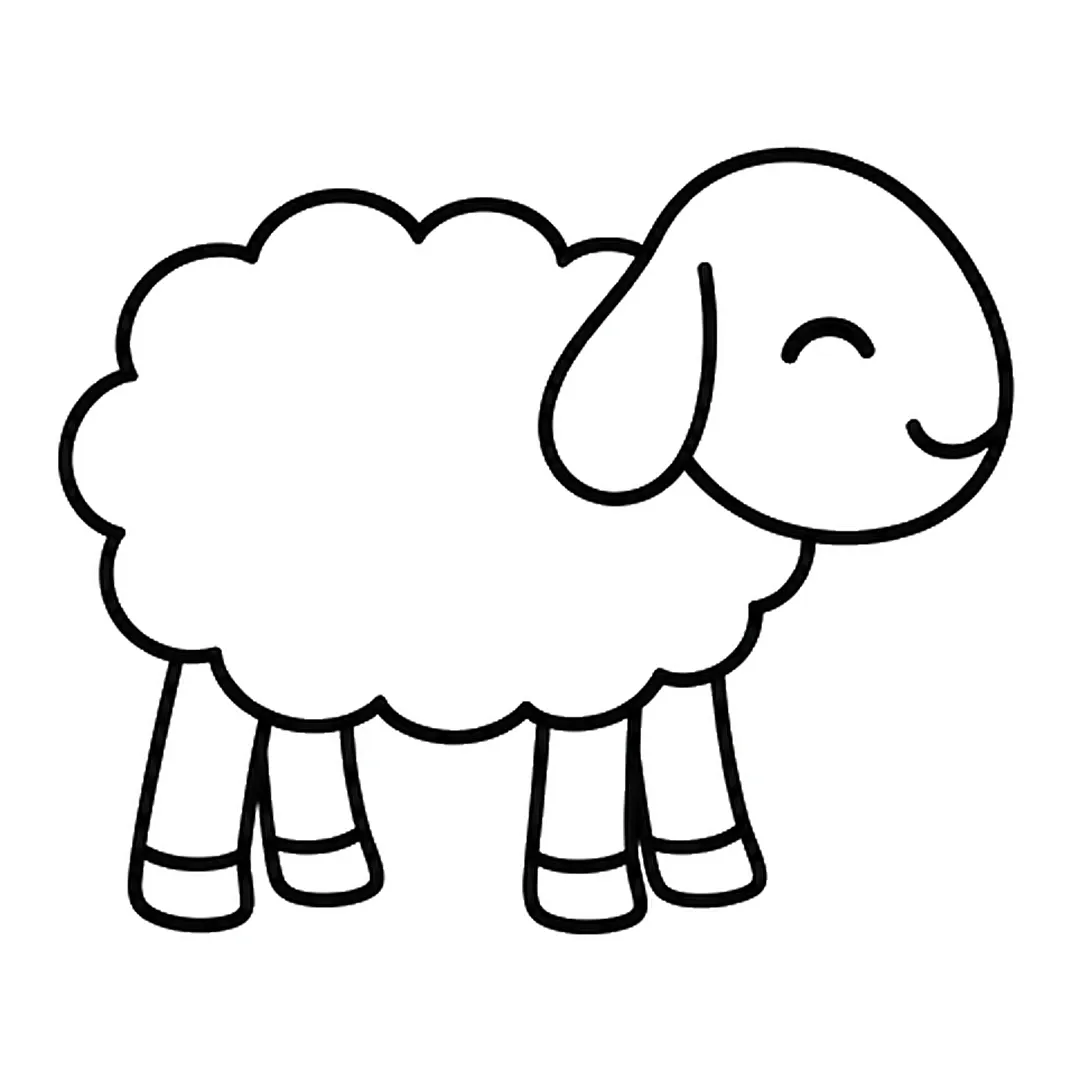
Step 5: Draw one closed eye as a curve that bends up and a small smile at the front of the head.
-
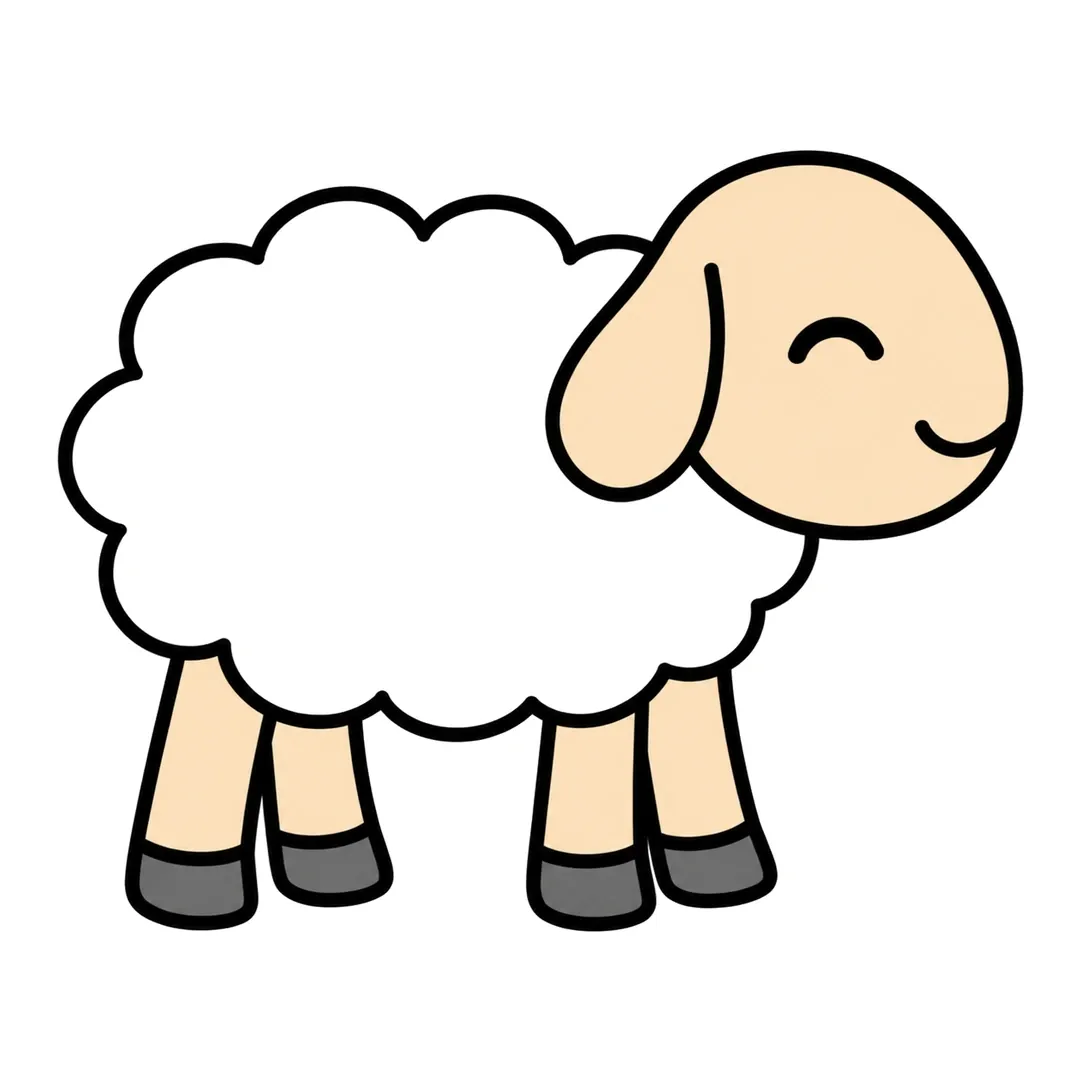
Step 6: Color the head, ear and legs light tan and the hooves dark gray. Leave the fluffy body white.
Sheep
How to draw a sheep uses the same cloud wool as the lamb, with a darker face peeking out.
- Draw a large bumpy cloud for the body.
- Draw a dark oval face at the front.
- Add ears that stick out sideways.
- Draw four thin legs and color the hooves dark.
-
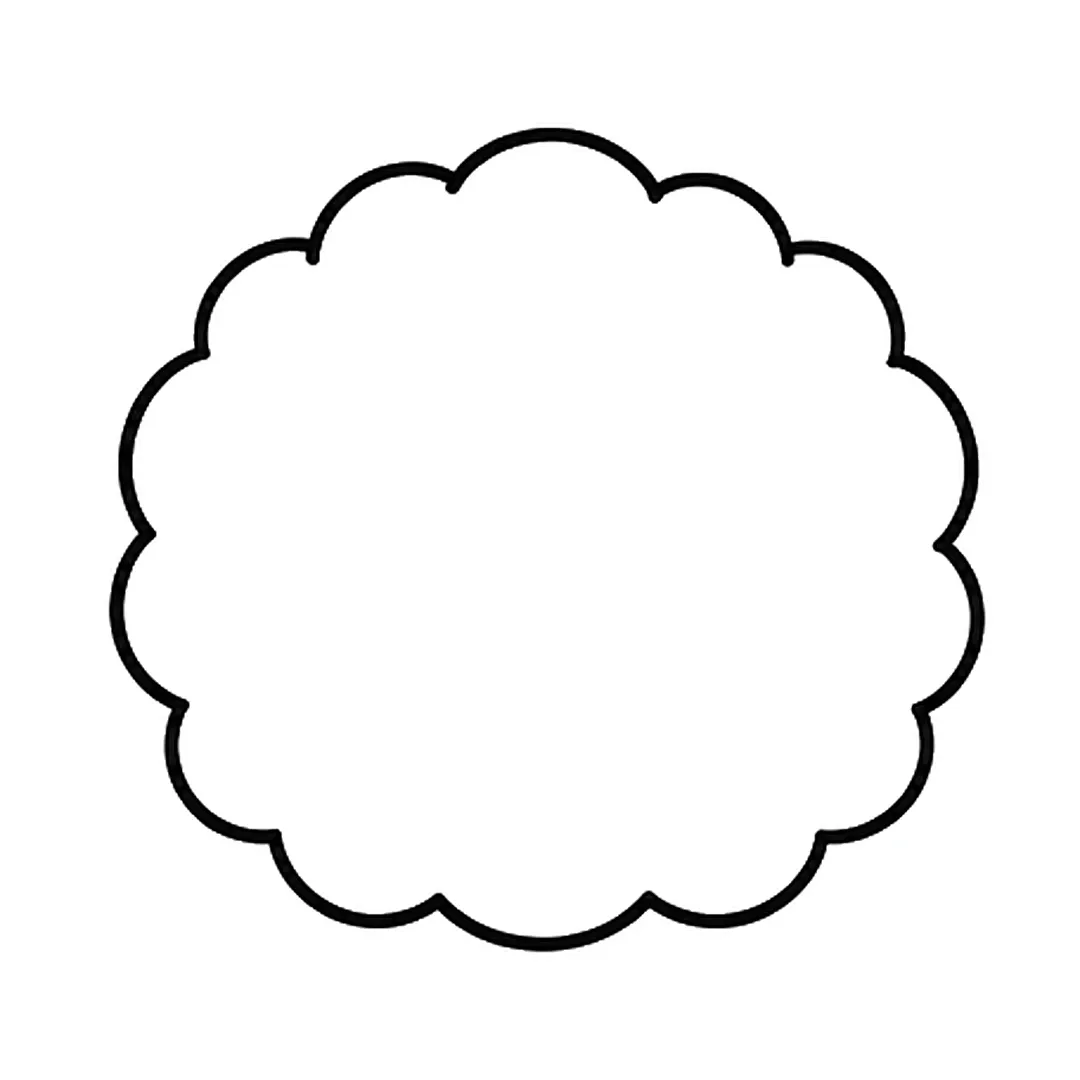
Step 1: Draw a big round cloud shape with bumpy edges all around for the woolly body.
-
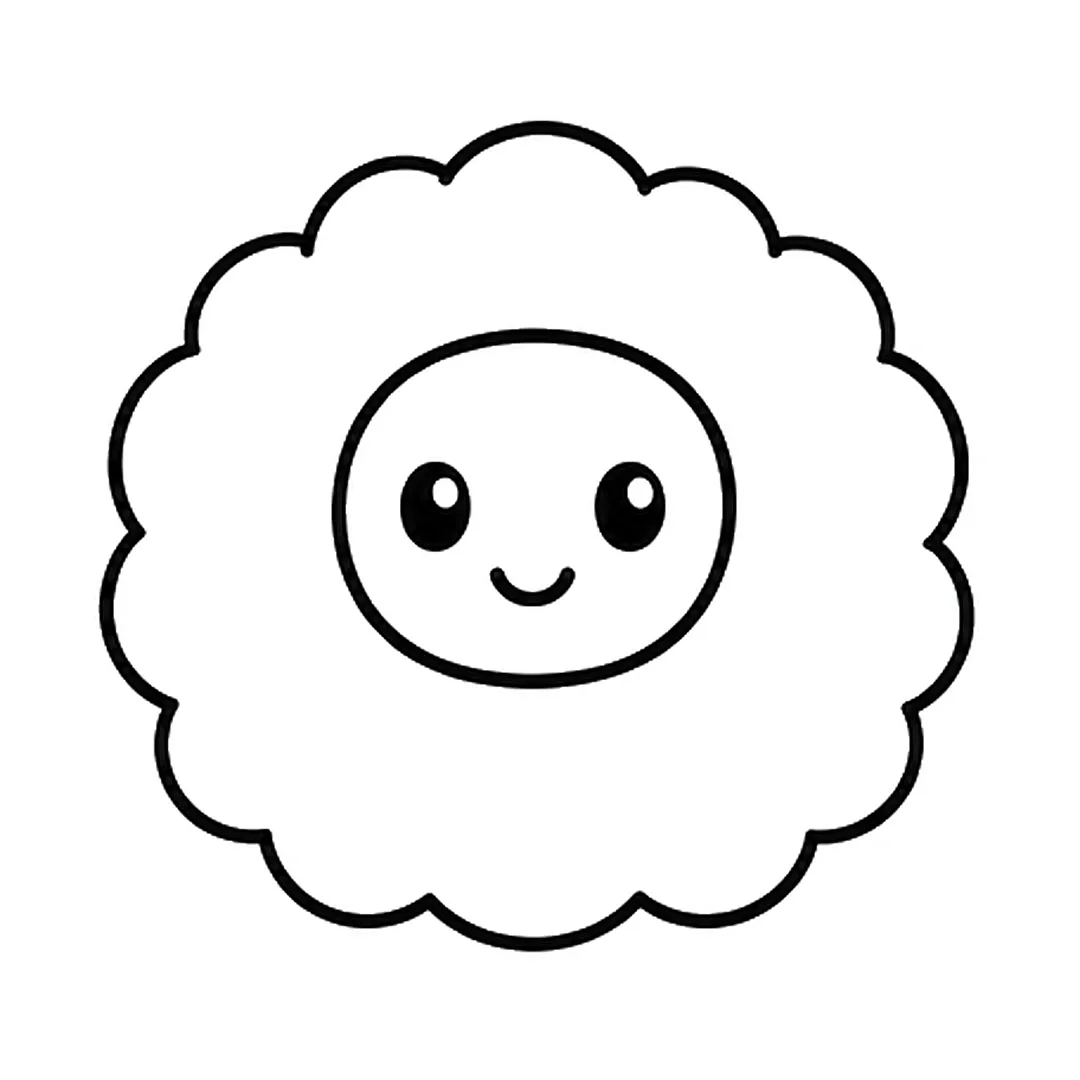
Step 2: Add an oval face in the middle of the body. Draw two black eyes with white dots and a small smile.
-
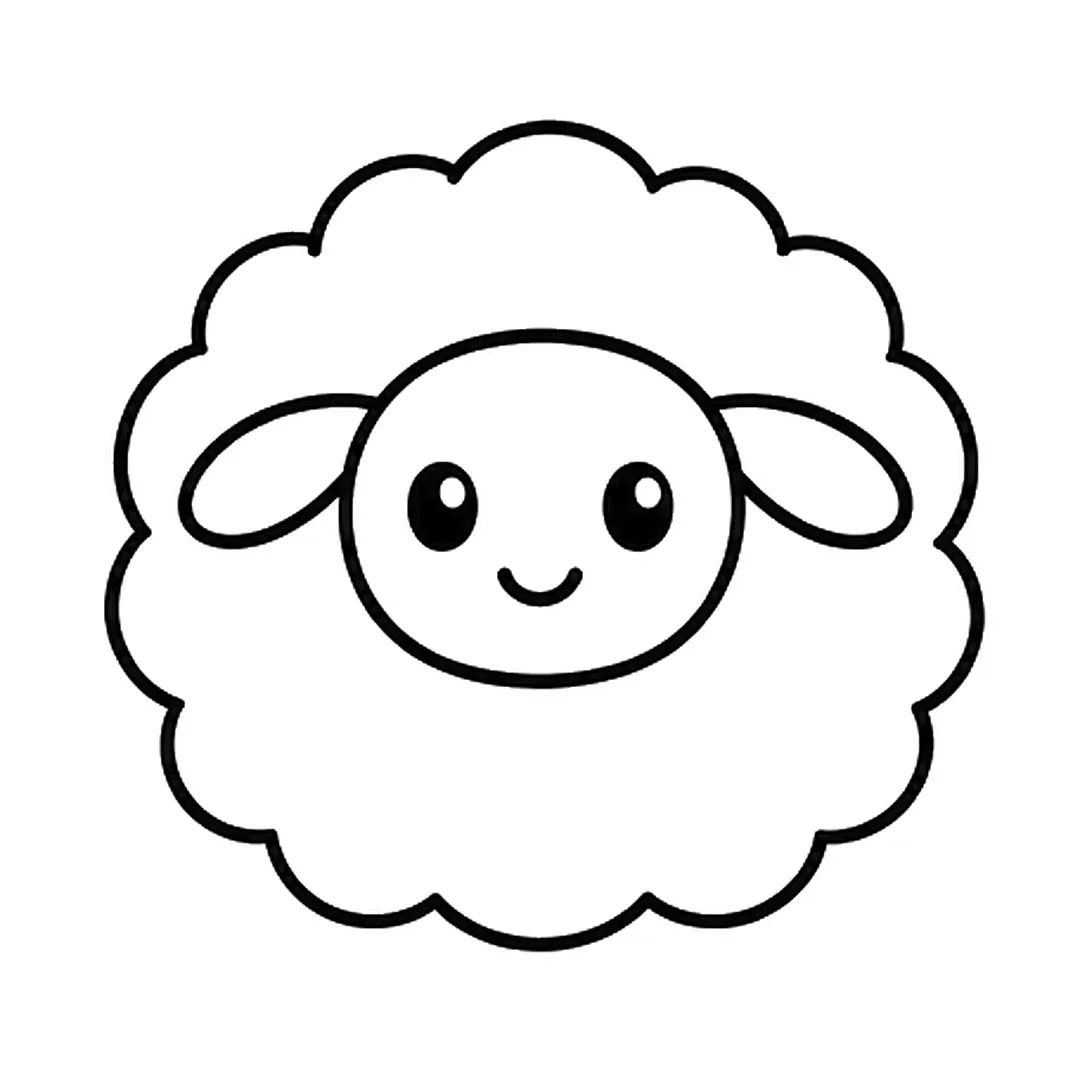
Step 3: Draw two long oval ears sticking out to the left and right from the upper sides of the face.
-
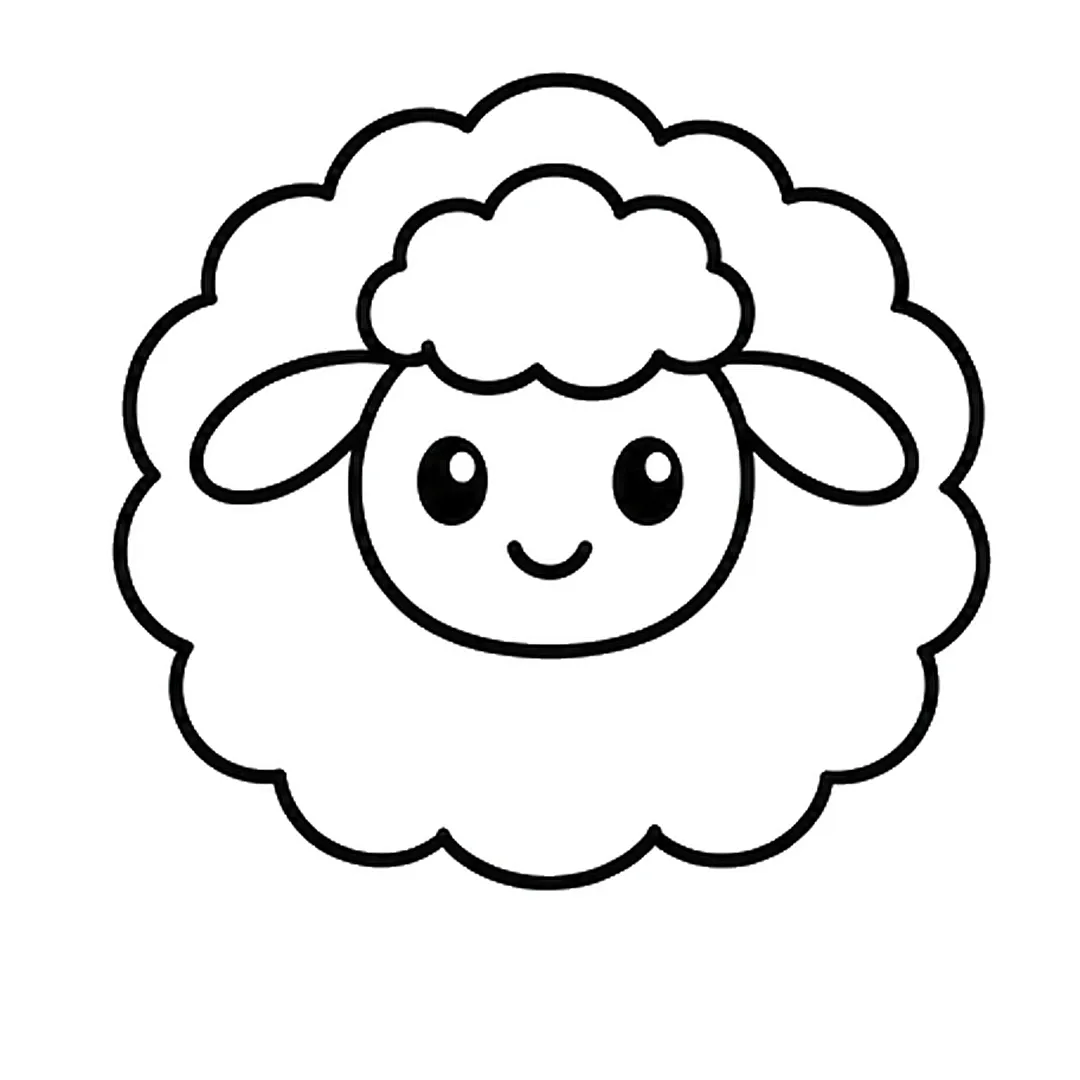
Step 4: Add a fluffy wool tuft with round bumps on top of the head. Erase the face line under the tuft.
-
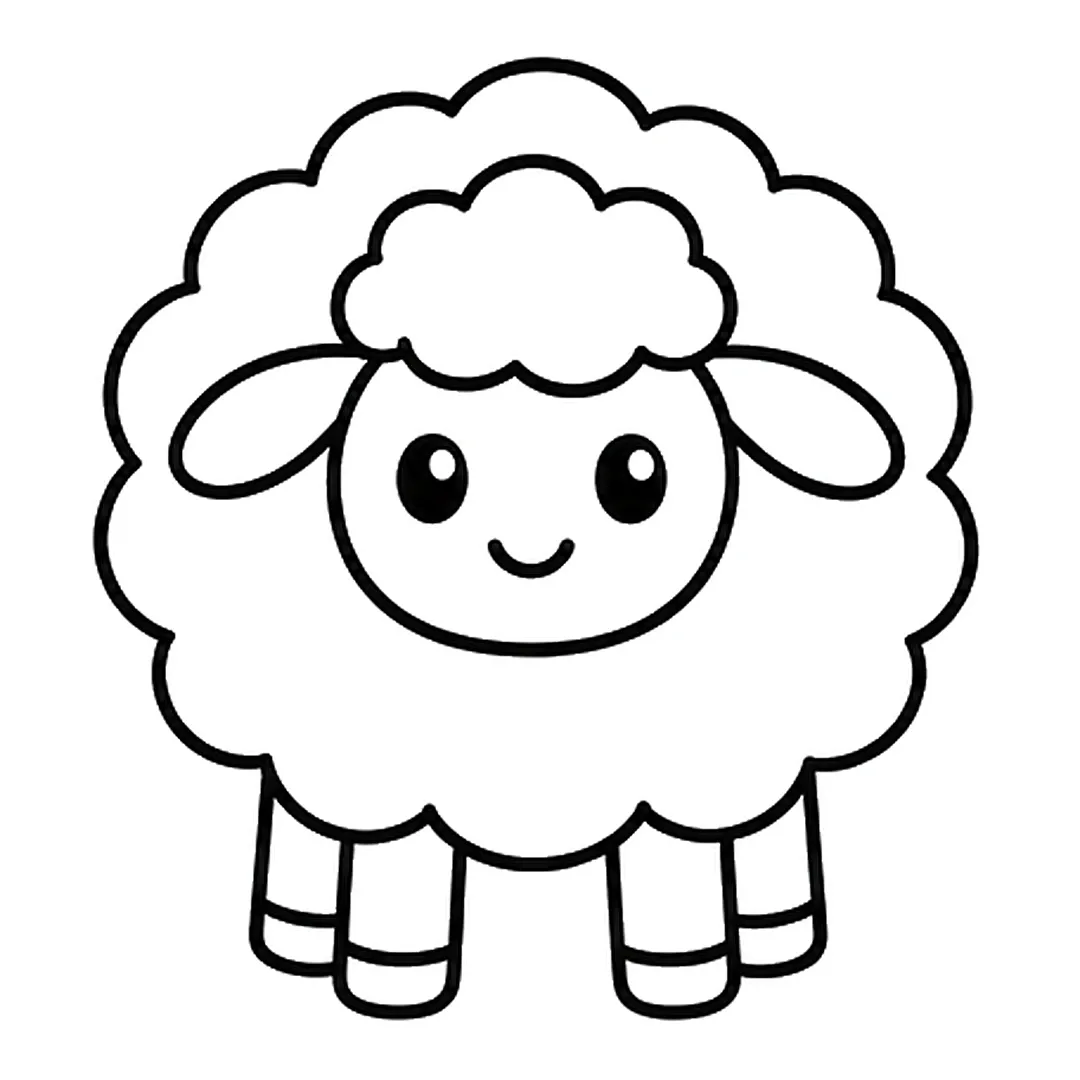
Step 5: Draw two front legs under the body and two back legs peeking out beside them, each with a hoof line.
-
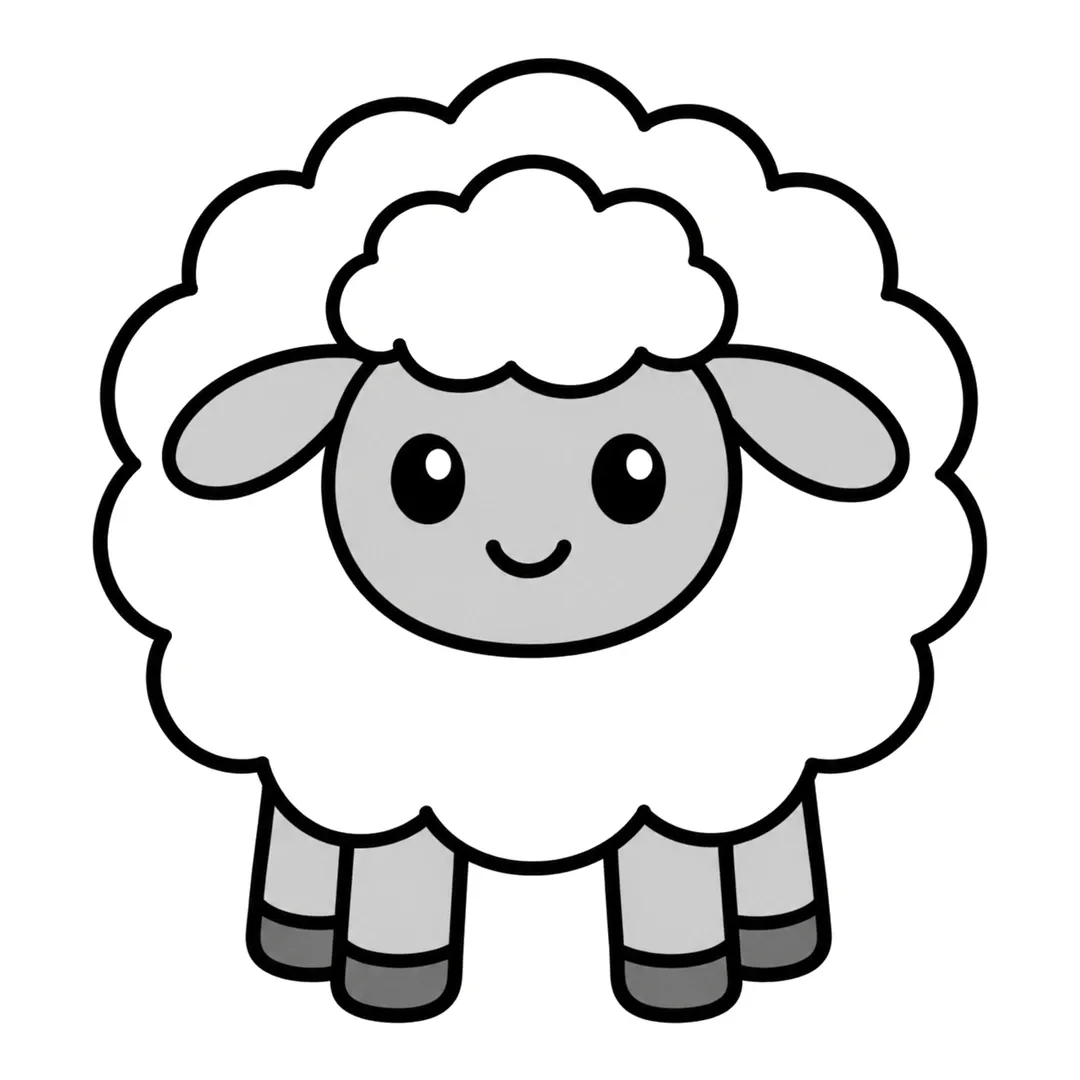
Step 6: Color the face, ears and legs light gray, hooves dark gray. Leave the wool and the eye dots white.
Fox
A fox face is a wide triangle with white cheeks, and the fluffy tail in how to draw a fox adds the cute part.
- Draw a wide, round-cornered triangle for the face.
- Put two pointy ears at the top of the face.
- Draw white cheek patches, eyes and a small nose.
- Add a small body and a big fluffy tail with a white tip.
-
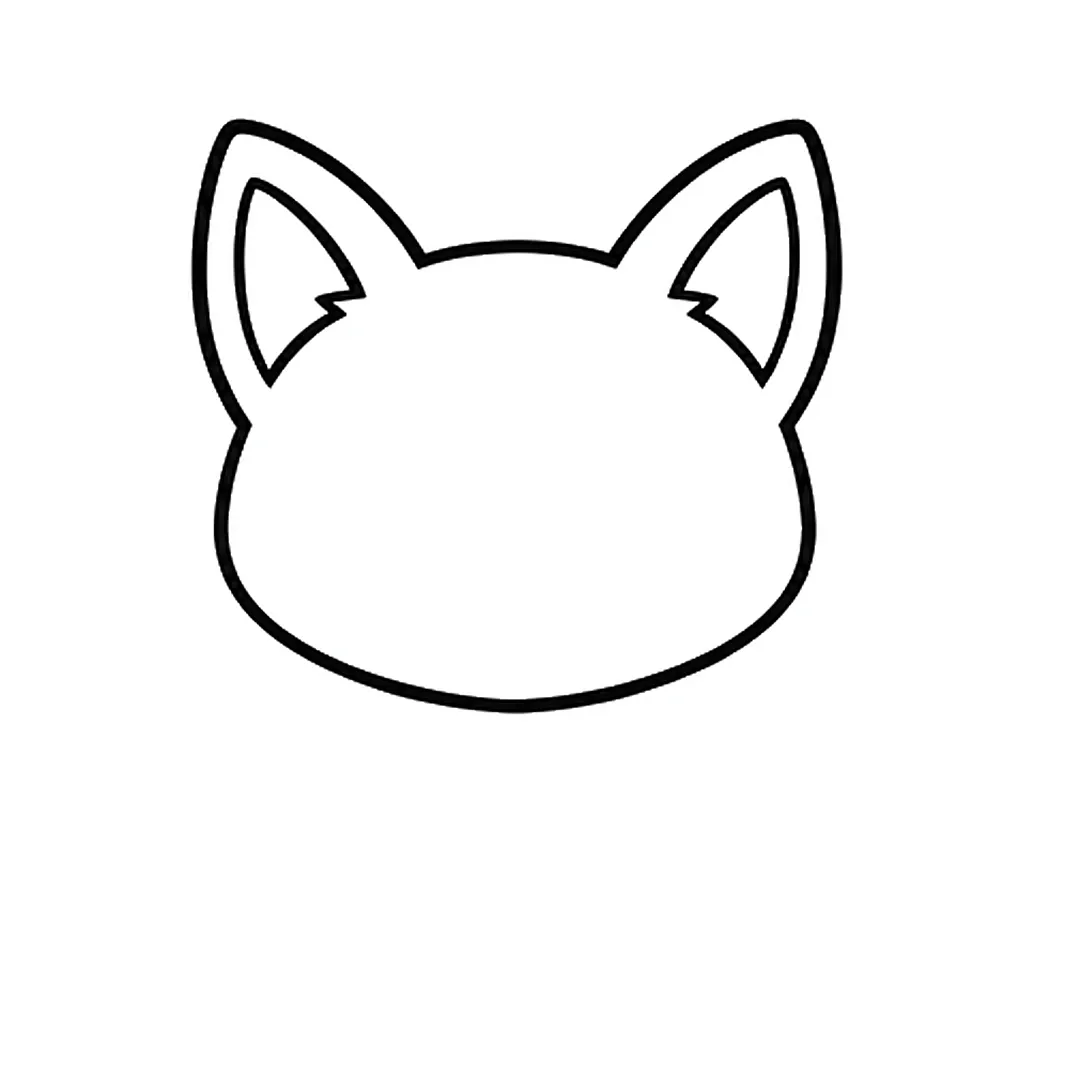
Step 1: Draw a round head with two tall pointed ears, each with a line and a fur tuft inside.
-
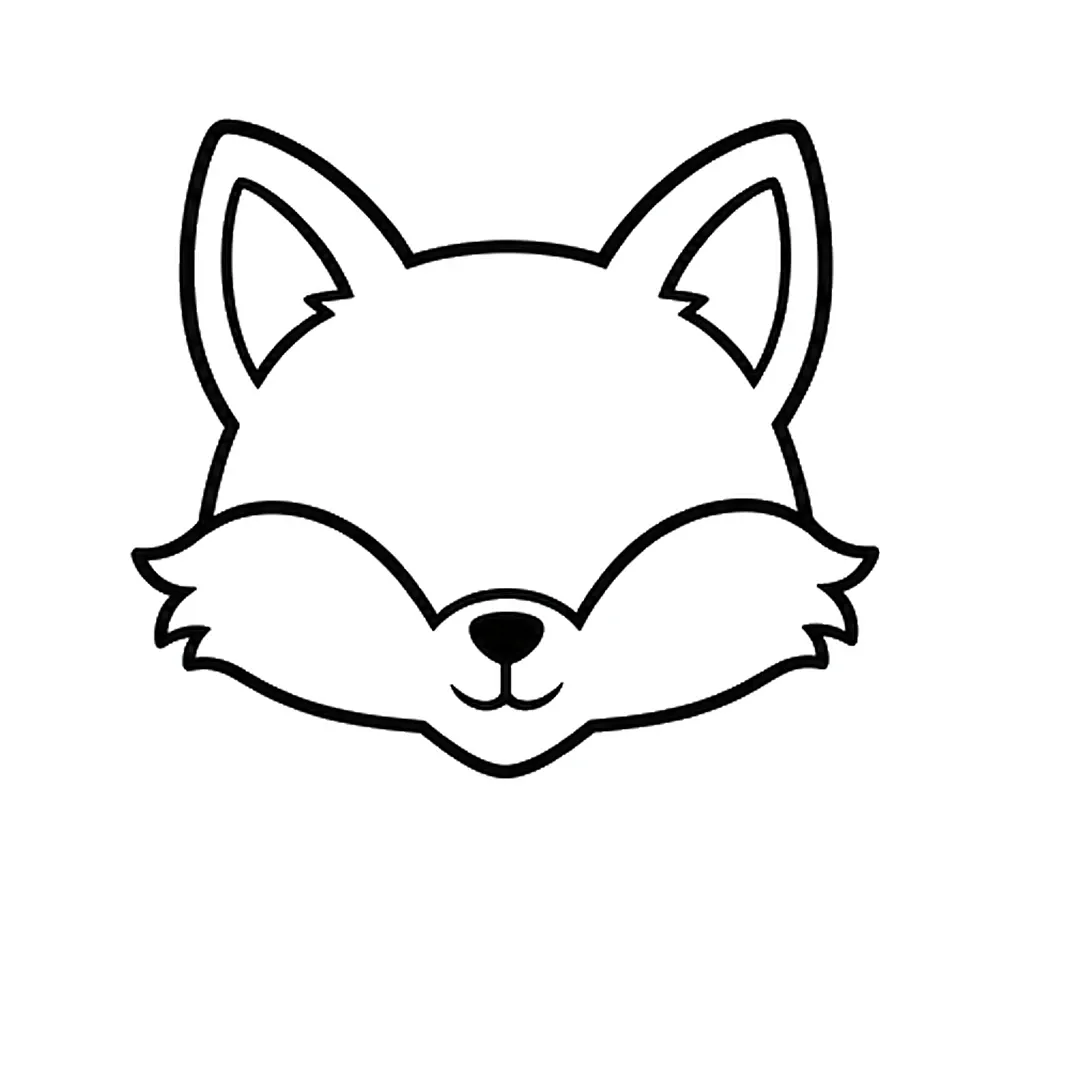
Step 2: Add fluffy cheeks, a pointed chin, a nose and a smile. Erase the old bottom of the head.
-
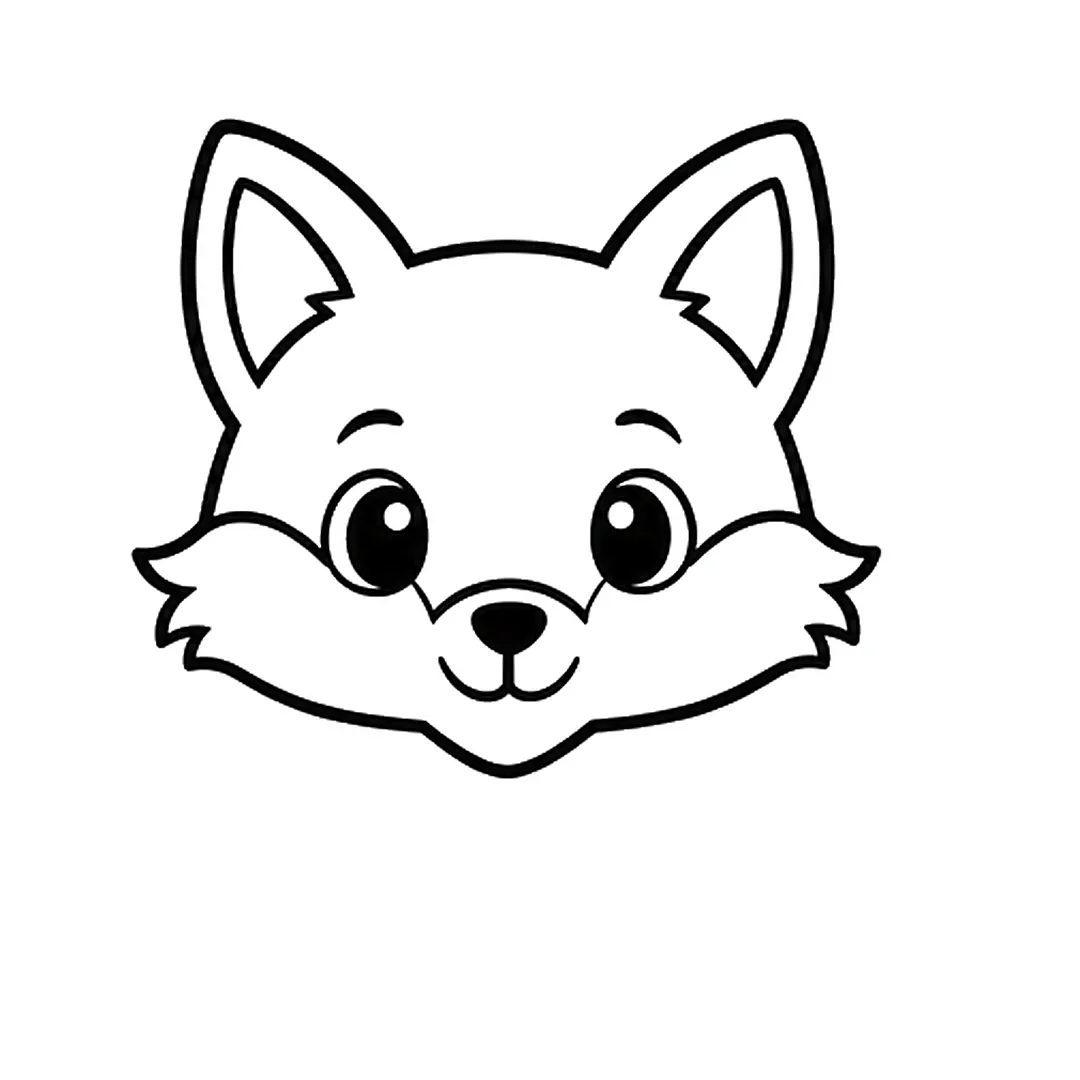
Step 3: Draw two big round eyes with eyebrows and two lines from the eyes down to the nose.
-
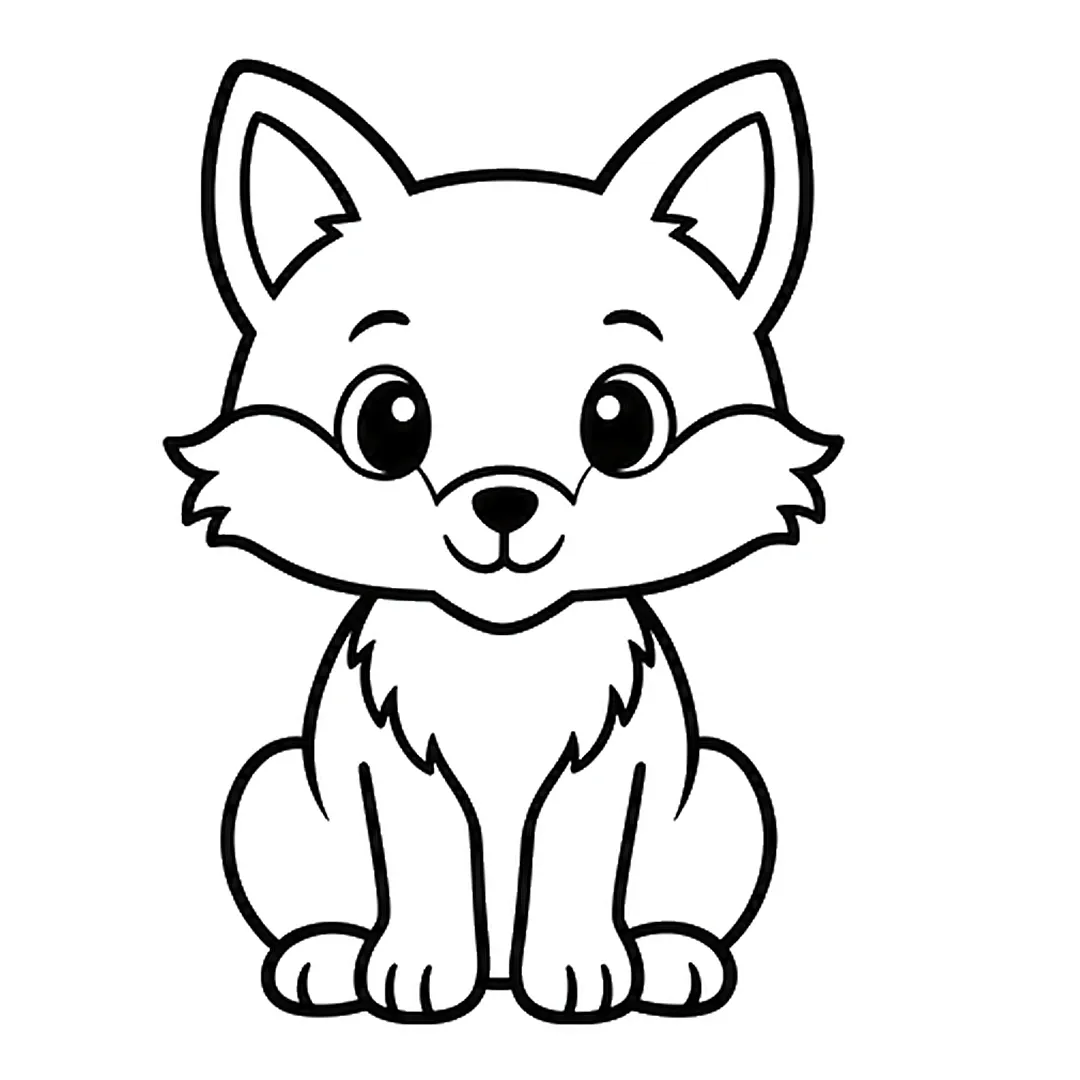
Step 4: Add a sitting body with chest fur, two front legs, round back legs and paws with toe lines.
-
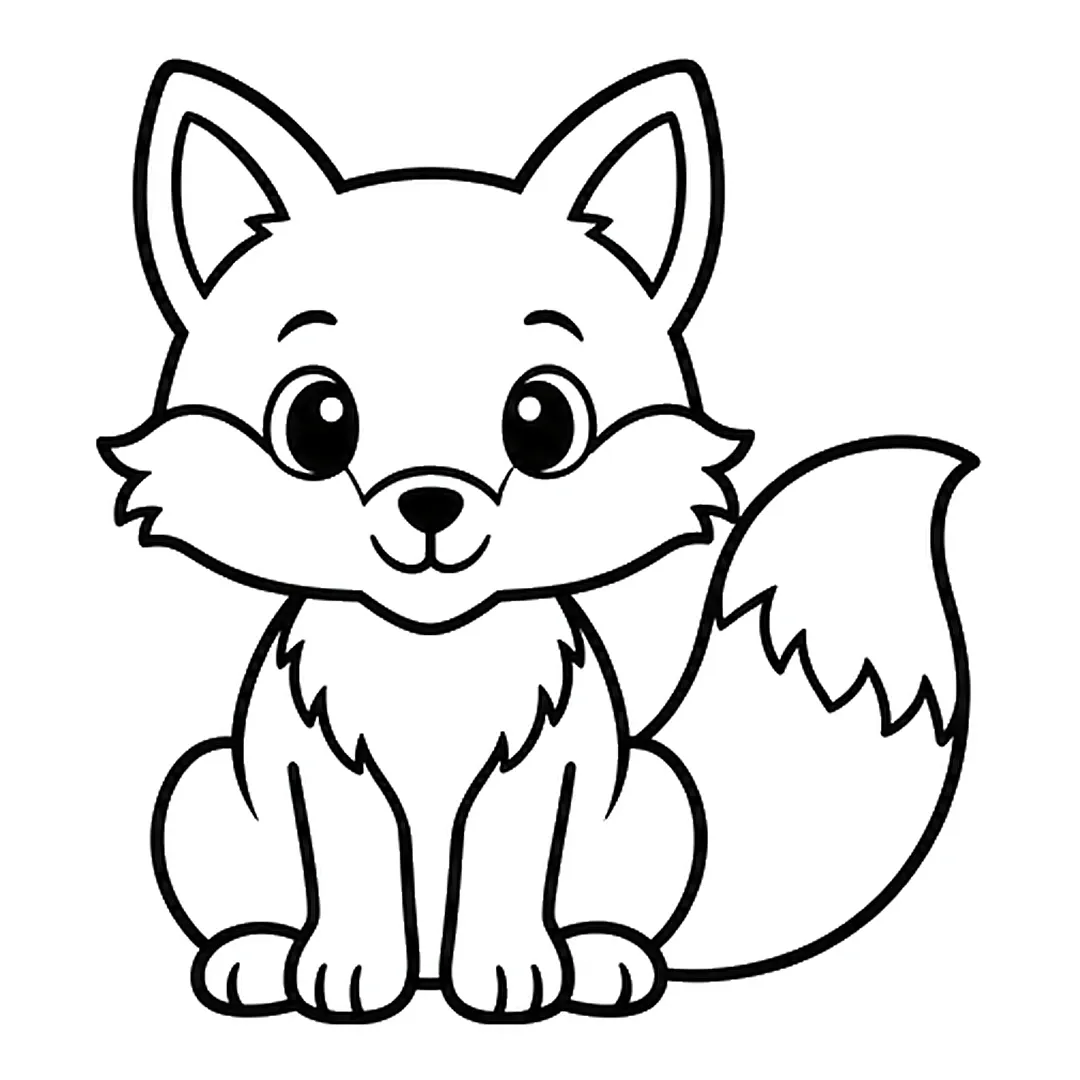
Step 5: Draw a big bushy tail curving up on the right, with a zigzag line for the tip.
-
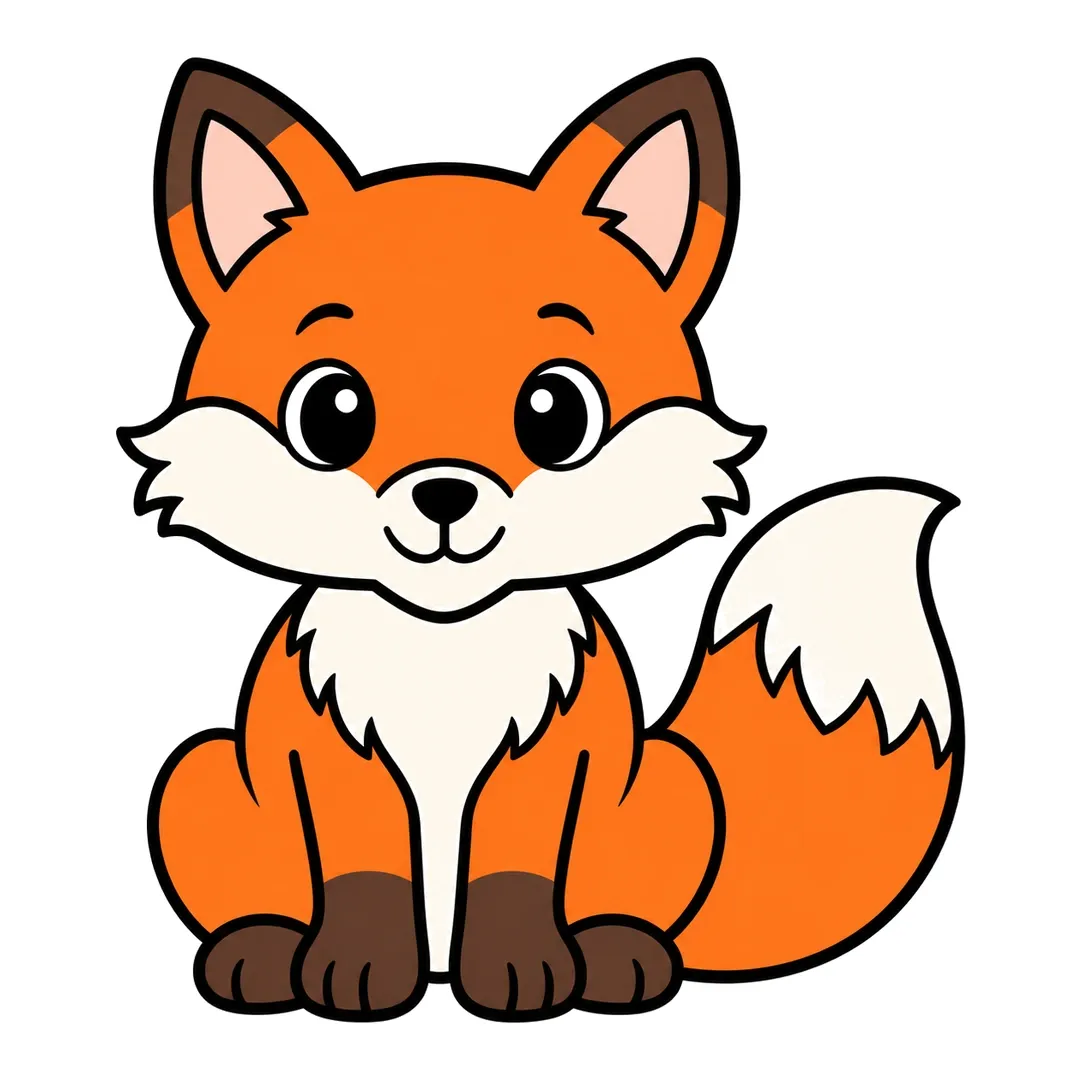
Step 6: Color the fox orange, ear tips and paws brown, inner ears pink, and cheeks, chest and tail tip cream.
Elephant
Big floppy ears and a short trunk turn a circle into the baby elephant in how to draw an elephant.
- Draw a round head.
- Add two big floppy ears on the sides.
- Draw a short curved trunk and two eyes above it.
- Give the baby elephant a round tummy and four stubby legs.
-

Step 1: Draw a round circle for the head.
-
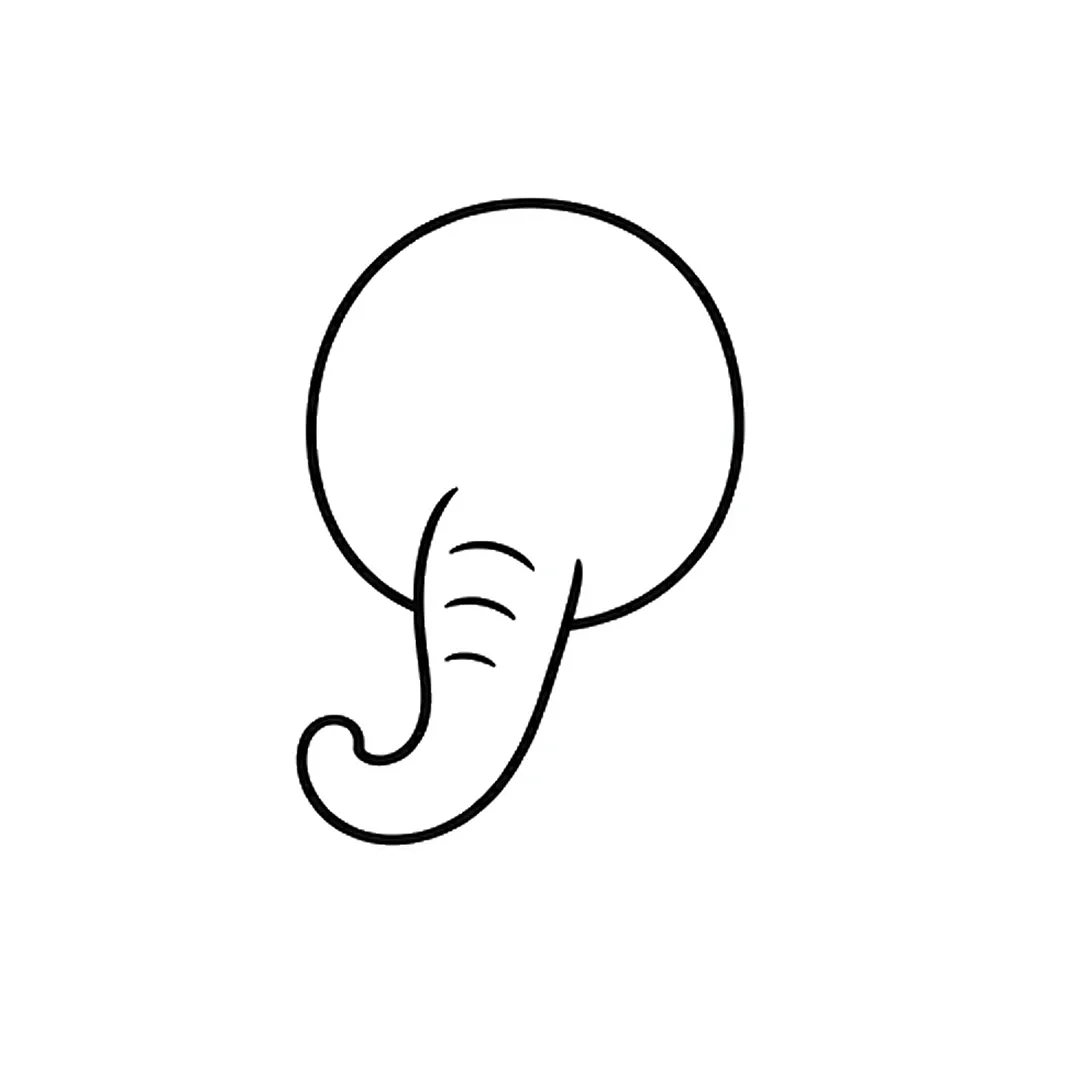
Step 2: Add a trunk coming down from the head, curling at the tip, with three wrinkle lines.
-
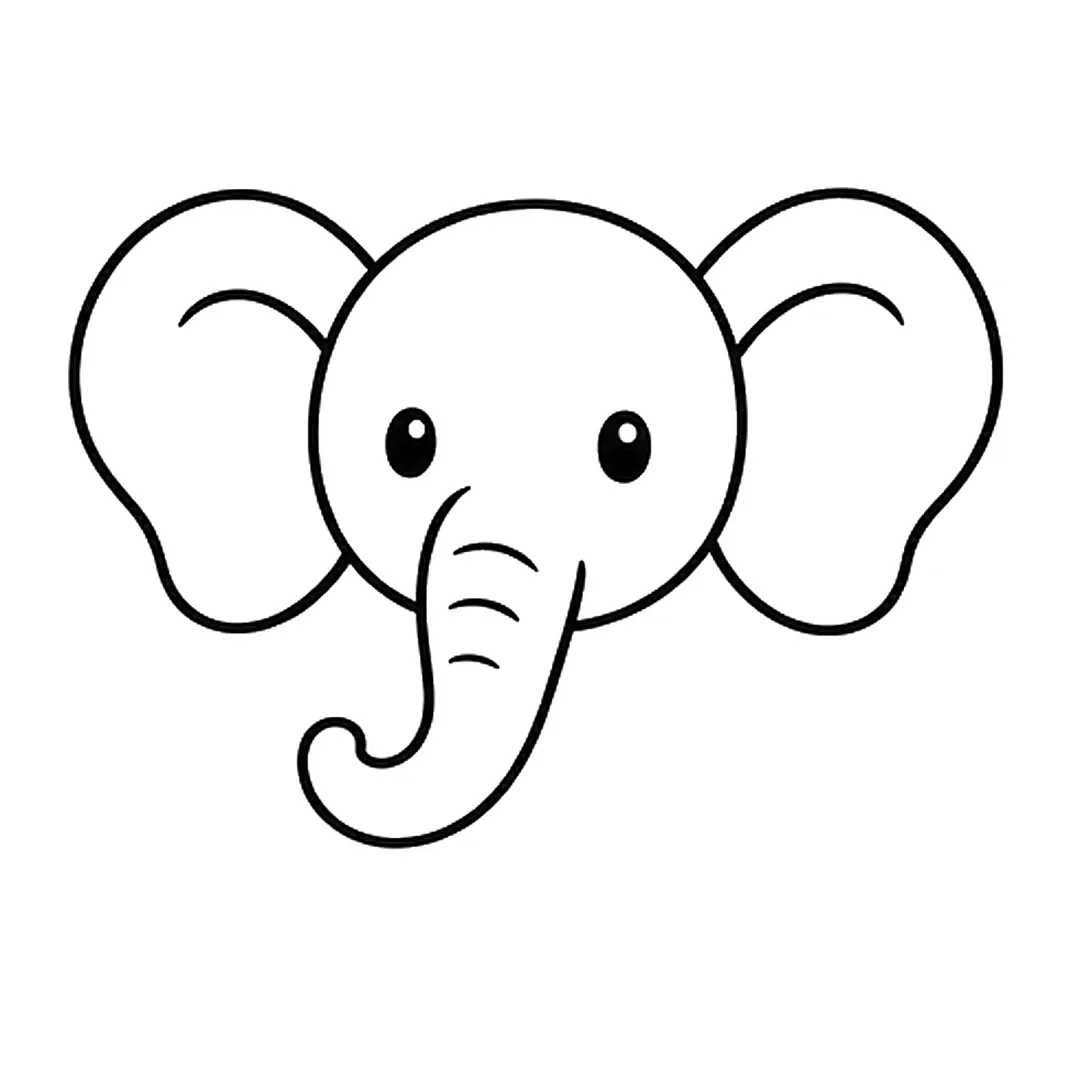
Step 3: Draw two big ears behind the sides of the head, each with a curved line inside, and two dot eyes.
-
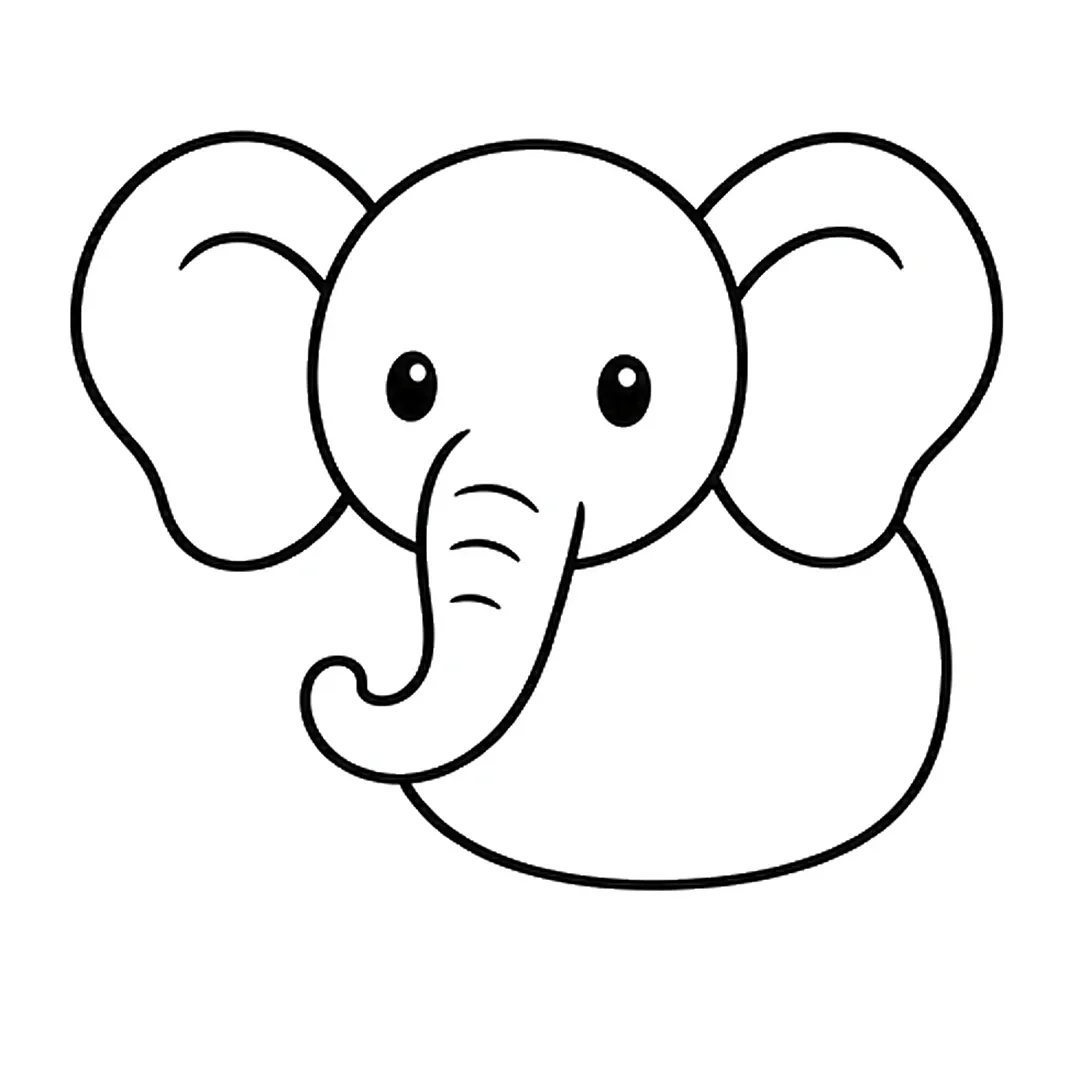
Step 4: Add a big round body behind the head.
-
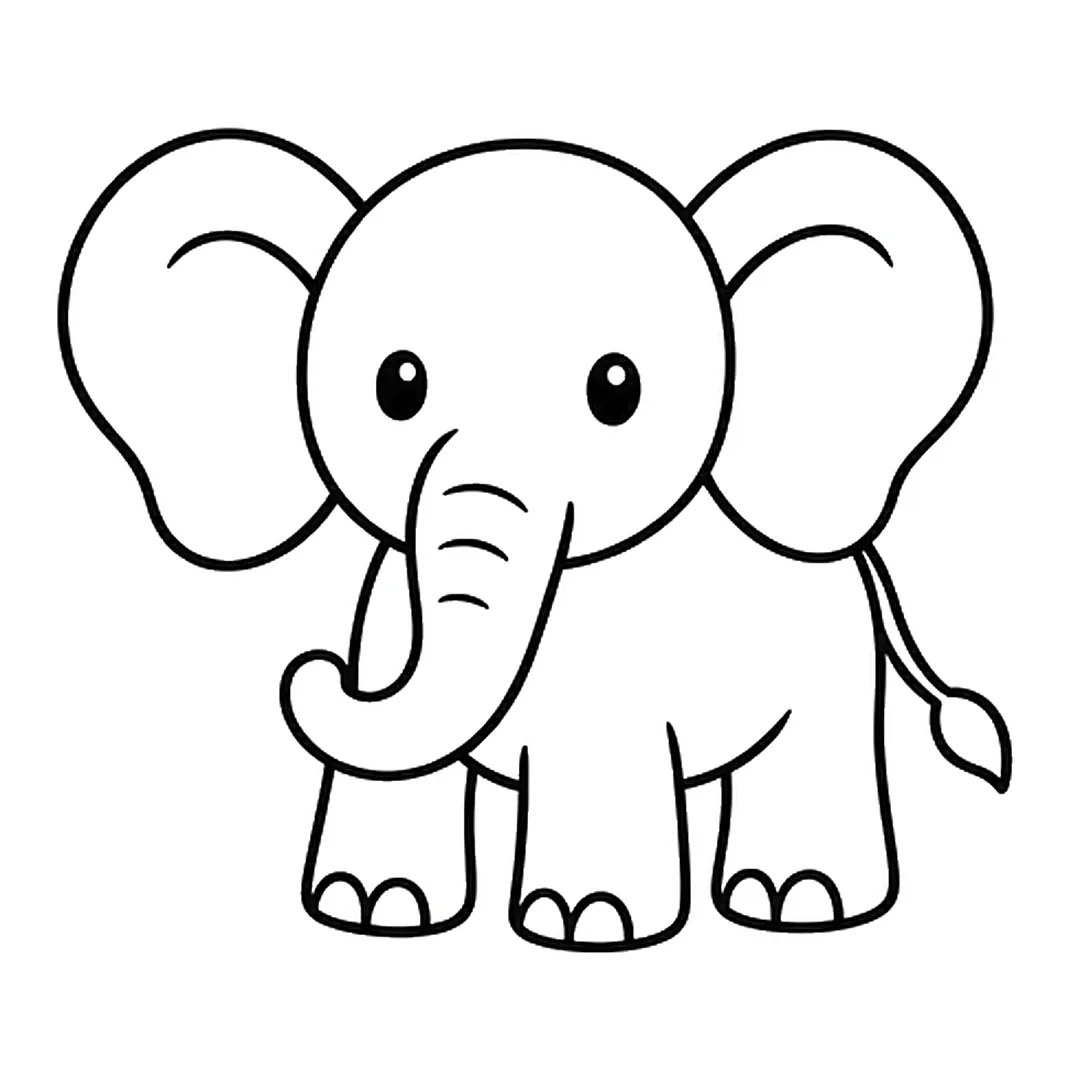
Step 5: Draw three thick legs with two toenails each and a thin tail with a tuft. Erase the old body bottom.
-
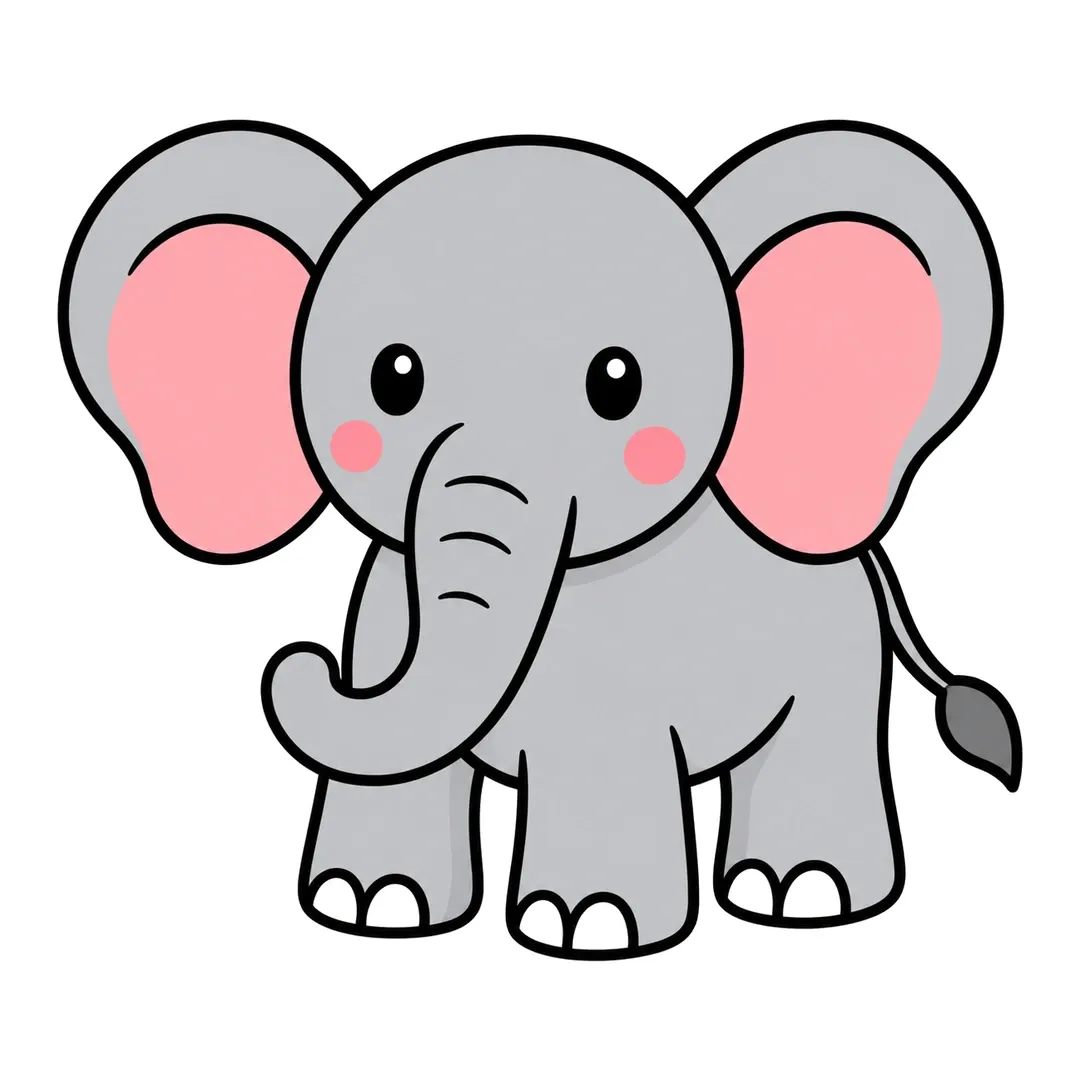
Step 6: Color the elephant gray, the inner ears pink and the tail tuft dark gray. Add pink cheeks.
Monkey
A heart-shaped face inside a round head gives how to draw a monkey a friendly smile.
- Draw a circle for the head with round ears on both sides.
- Fit a heart inside the circle to make the monkey’s face.
- Add big eyes and a wide smile.
- Draw a small body and a long curly tail.
-
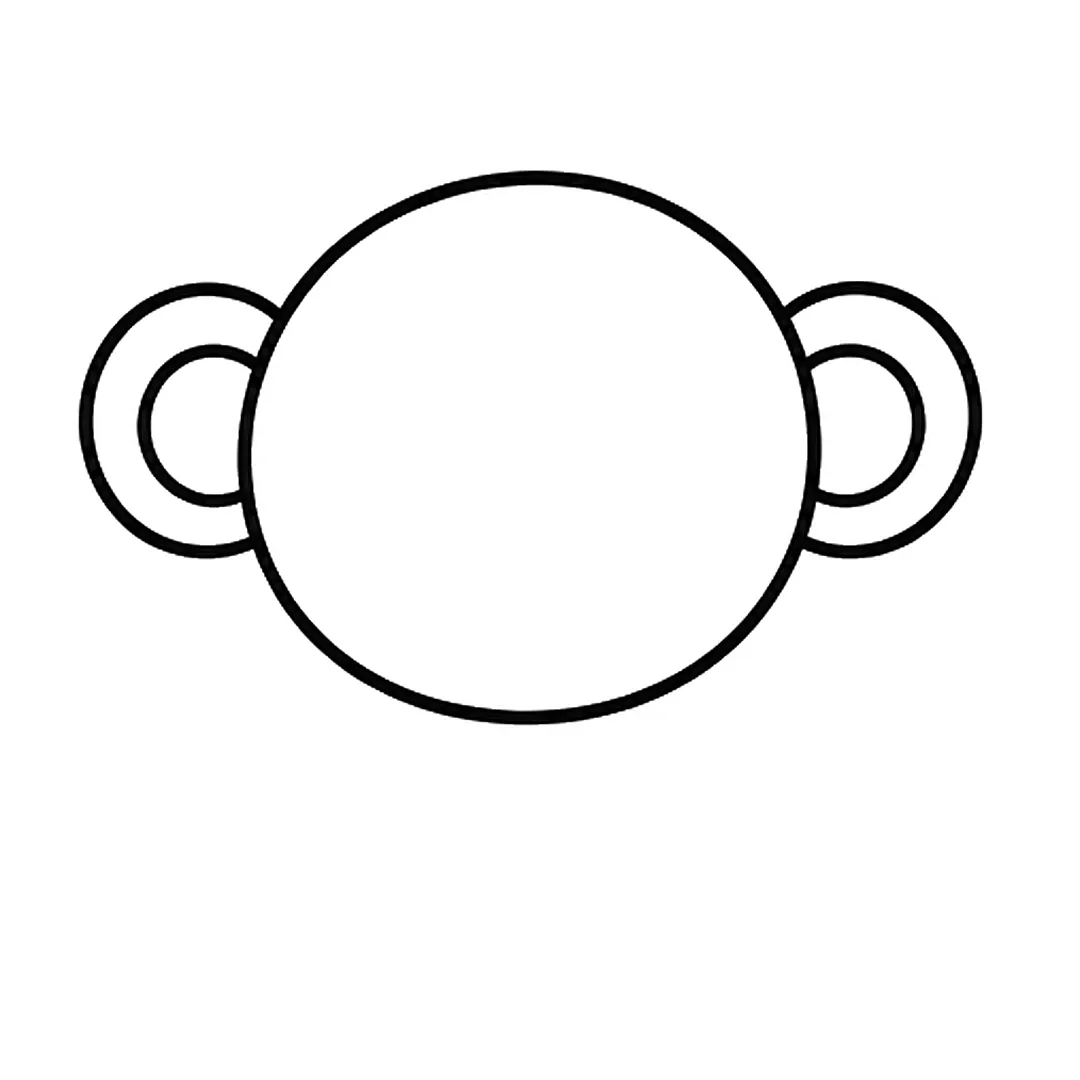
Step 1: Draw a big round head with a round ear on each side. Draw a smaller circle inside each ear.
-
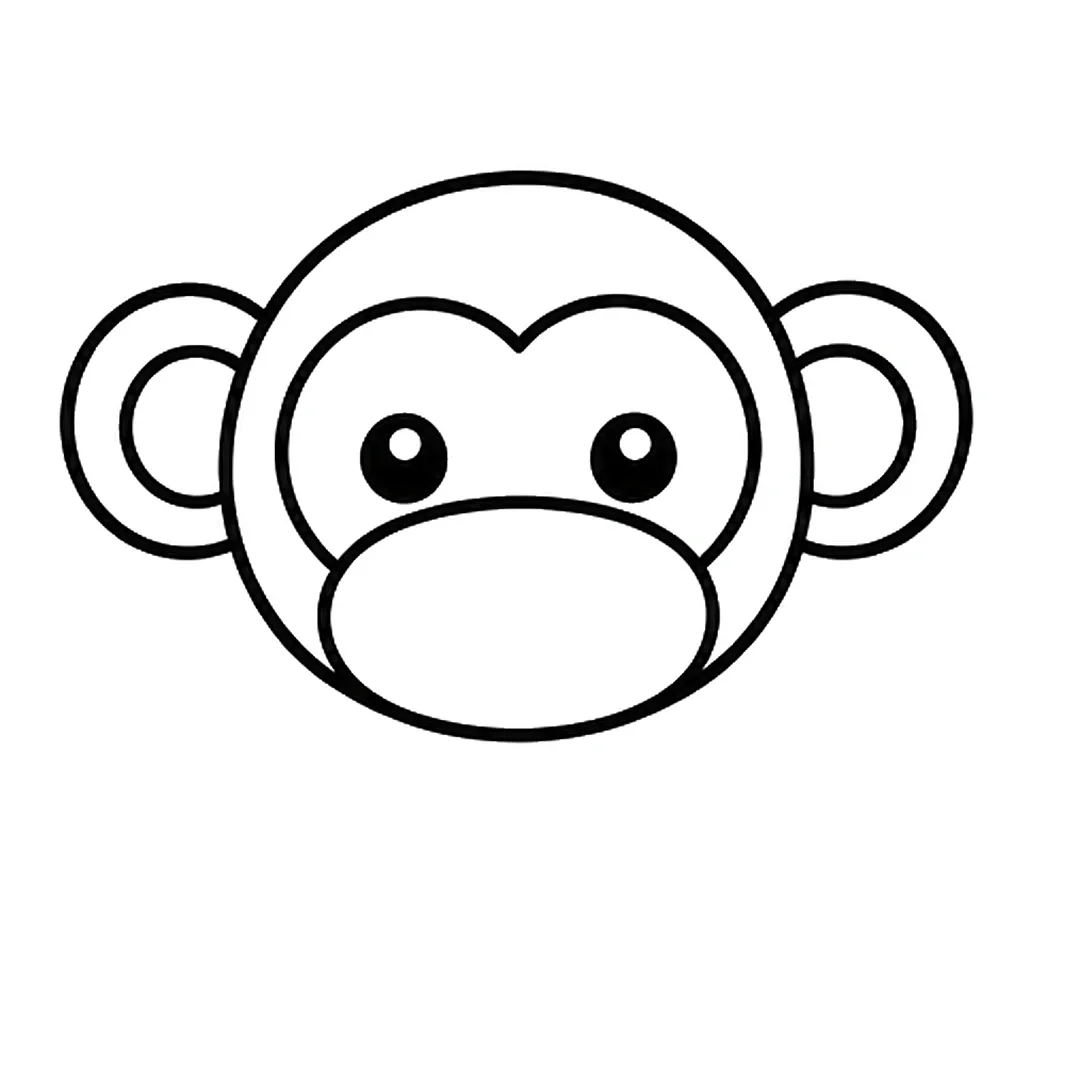
Step 2: Add a heart-shaped face line, two round eyes with shine dots and a big oval muzzle.
-
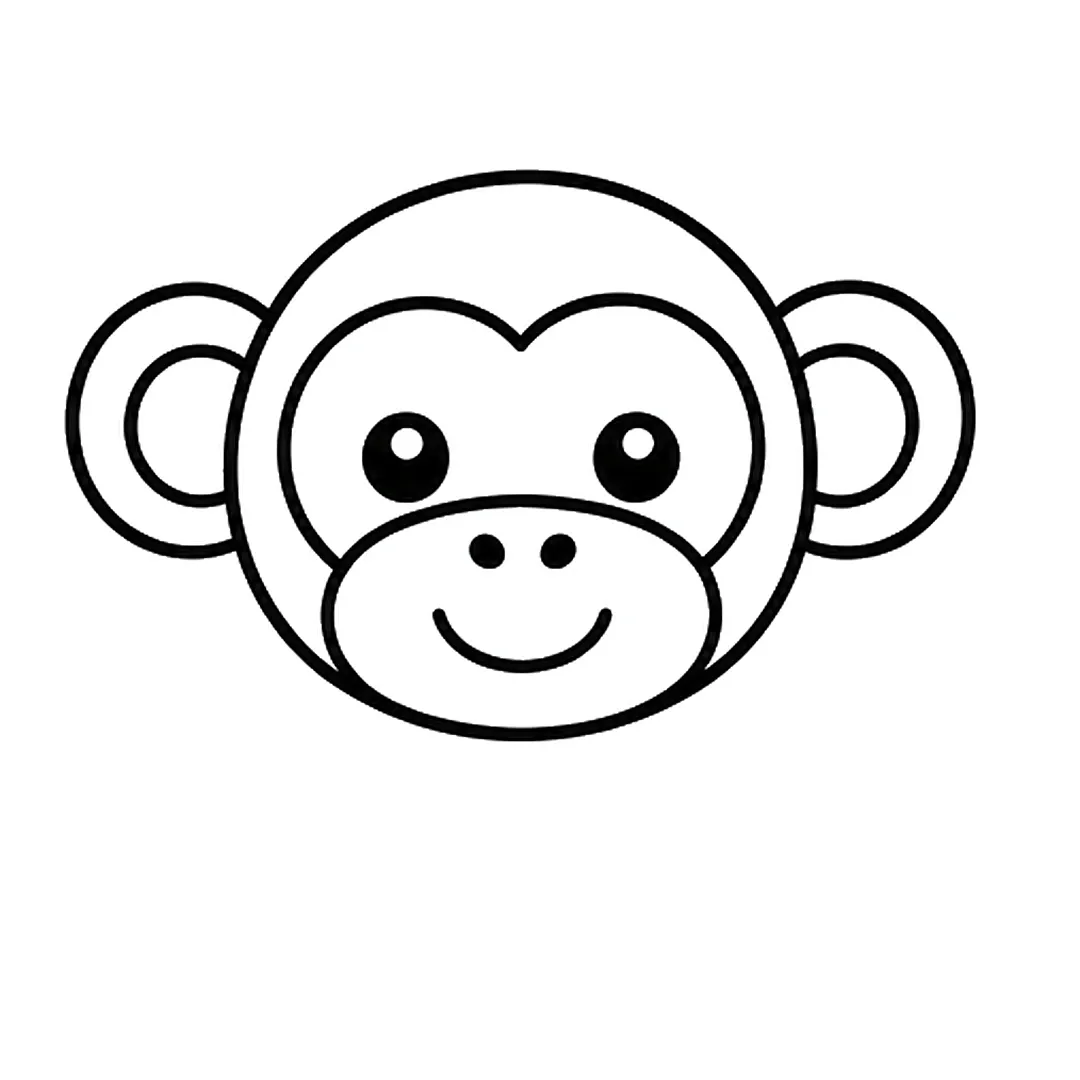
Step 3: Draw two small nostril dots and a curved smile on the muzzle.
-
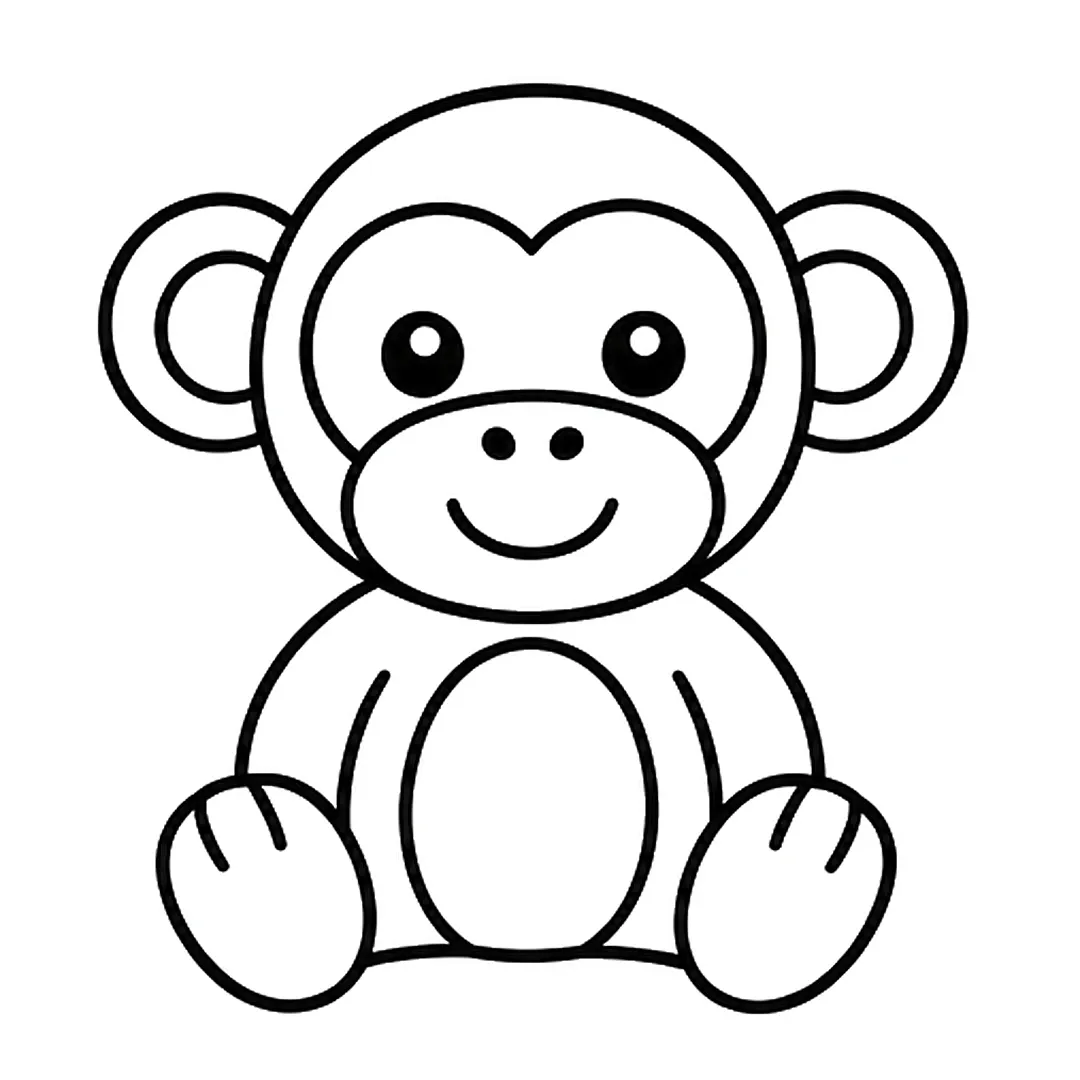
Step 4: Add a body, belly, arms and two feet with two toe lines each. Erase the head line under the muzzle.
-
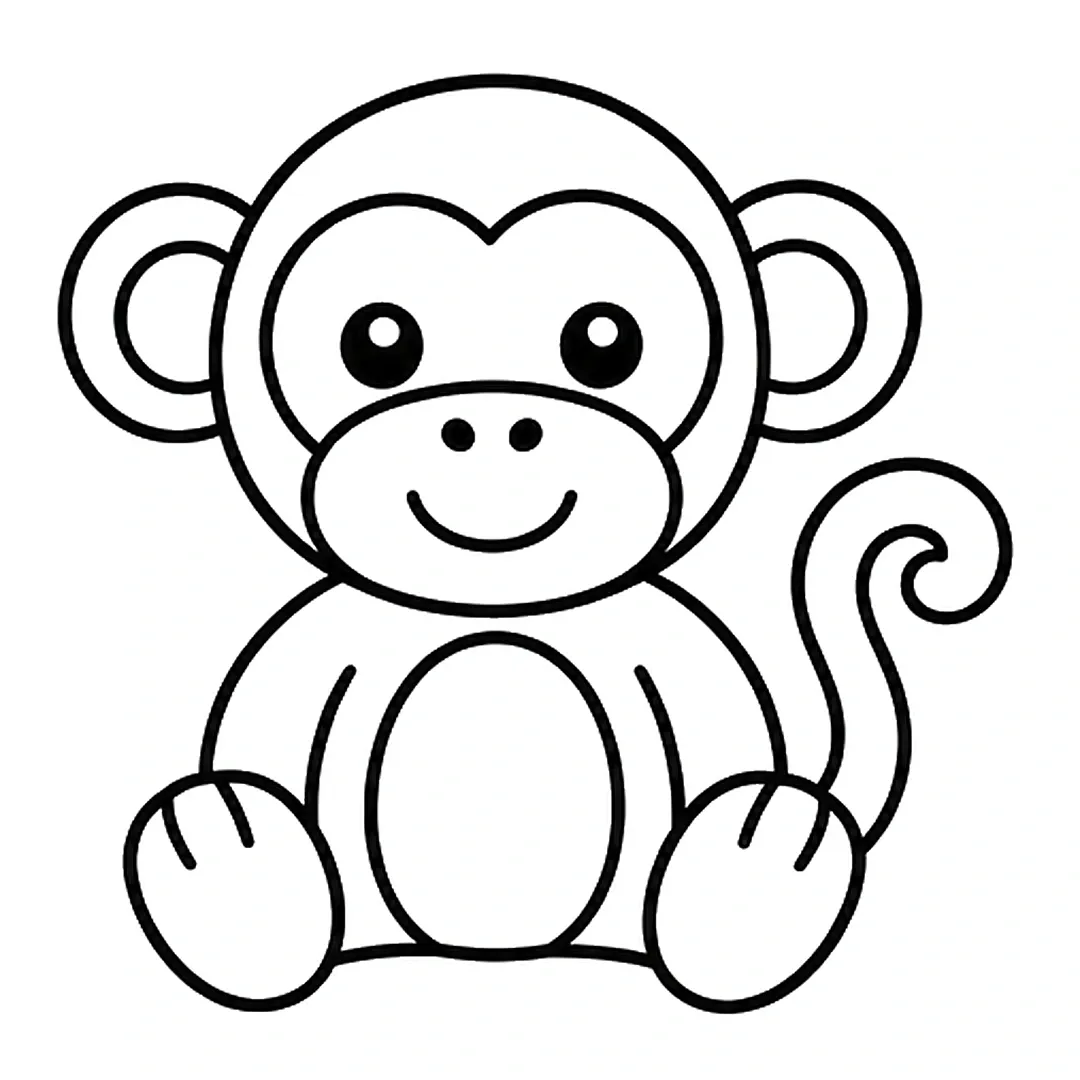
Step 5: Draw a long thin tail on the right side that curls into a spiral at the top.
-
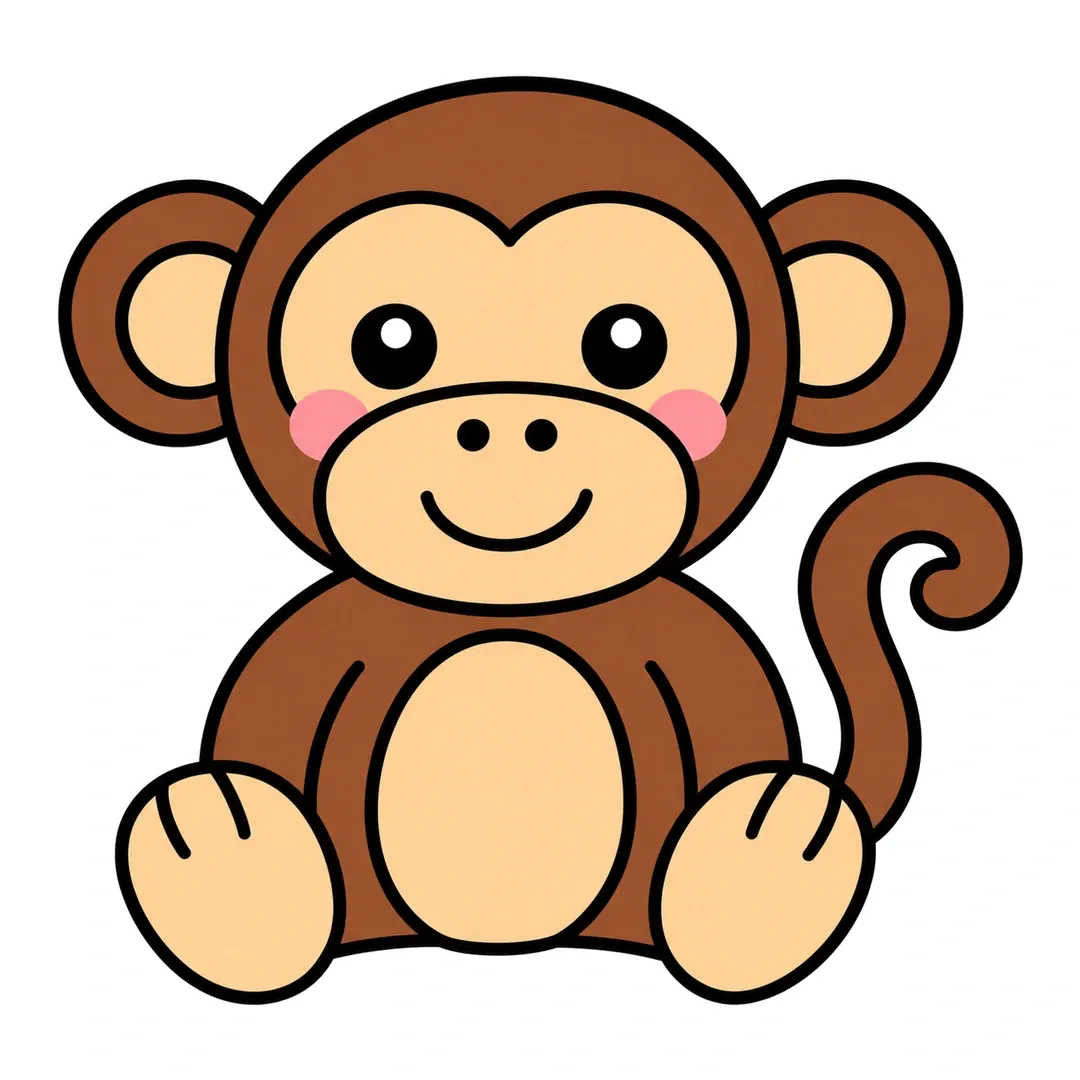
Step 6: Color the monkey brown, face, muzzle, inner ears, belly and feet tan. Add pink cheeks by the muzzle.
Our Pets drawing pack has more animals, each with step, tracing, coloring and draw-and-write pages.
Which Sea Animals Are Cute to Draw?
Cute sea animals to draw include otters, octopuses, whales, jellyfish, seahorses and turtles. Most are a dome or an oval with a face and a few wavy lines, so young kids finish them quickly. All 7 below have full tutorials.
Otter
An otter floating on its back with a shell on its tummy, as in how to draw an otter, is a sweet, simple pose.
- Draw a long oval body lying sideways.
- Add a round head with small ears at one end.
- Draw closed happy eyes and a nose with whiskers.
- Add little paws holding a shell on the tummy.
-
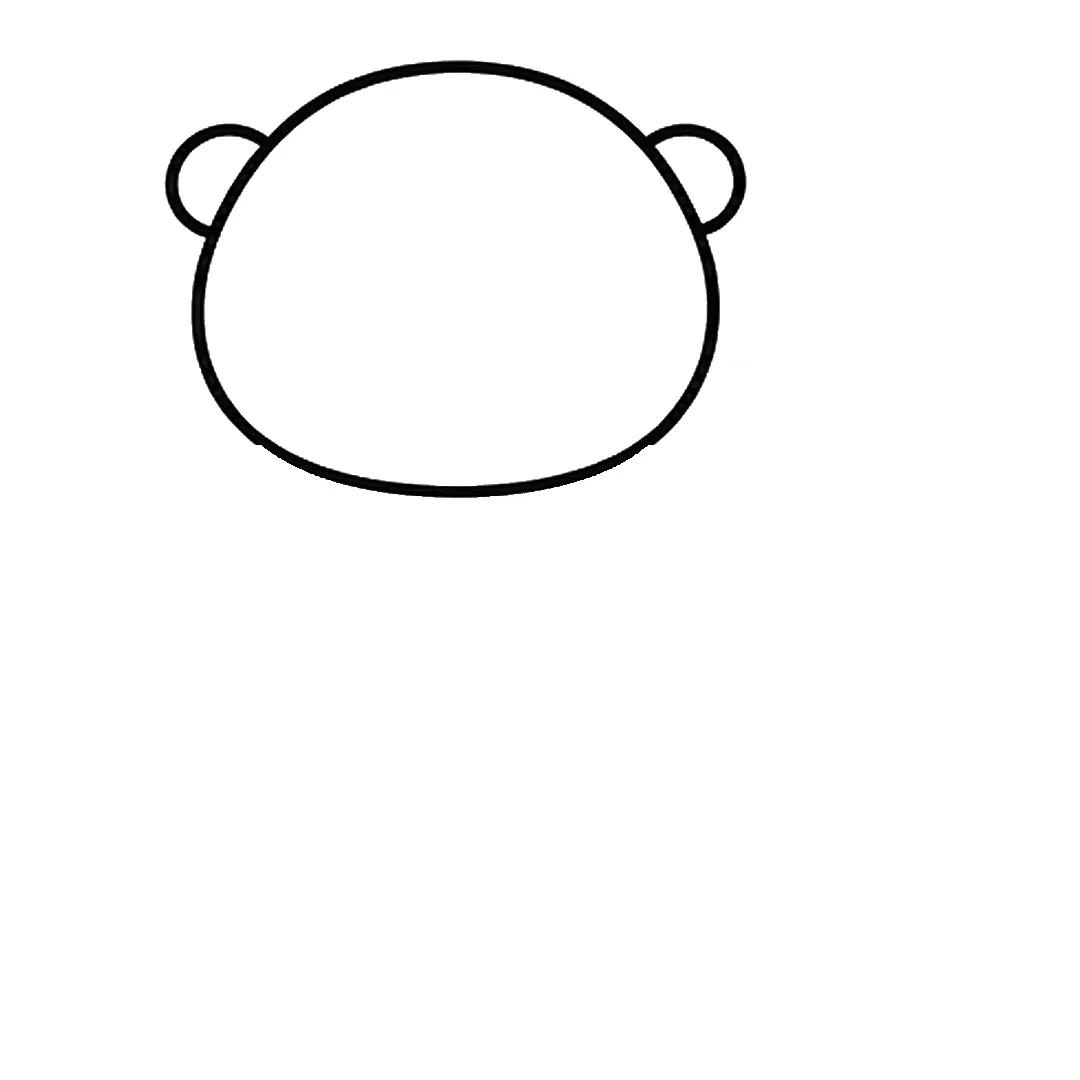
Step 1: Draw a wide round head with a small round ear on each side of the top.
-

Step 2: Add two black eyes with shine dots, a rounded nose, a curly smile and three whiskers on each side.
-
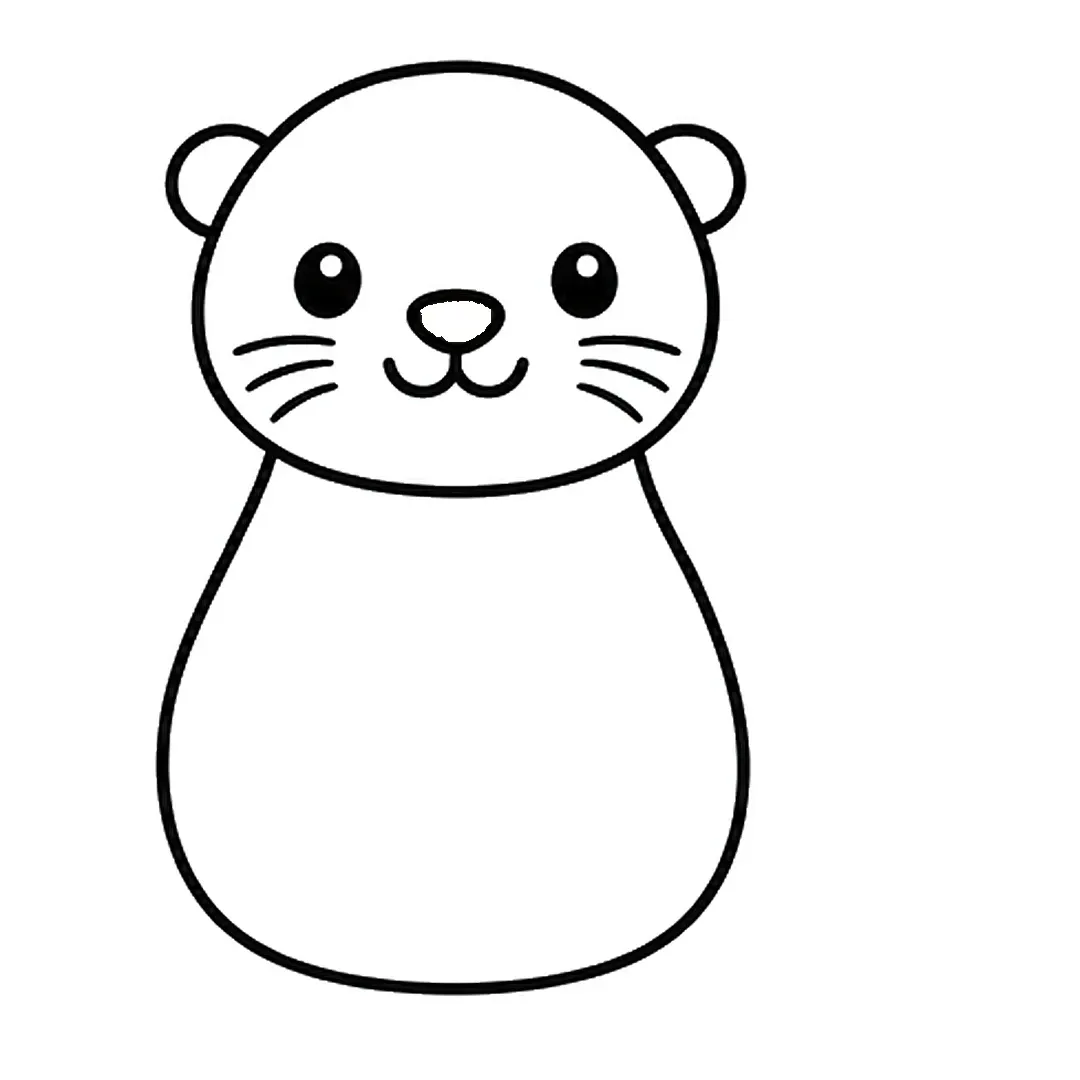
Step 3: Draw a big pear shaped body under the head, narrow at the top and wide at the bottom.
-
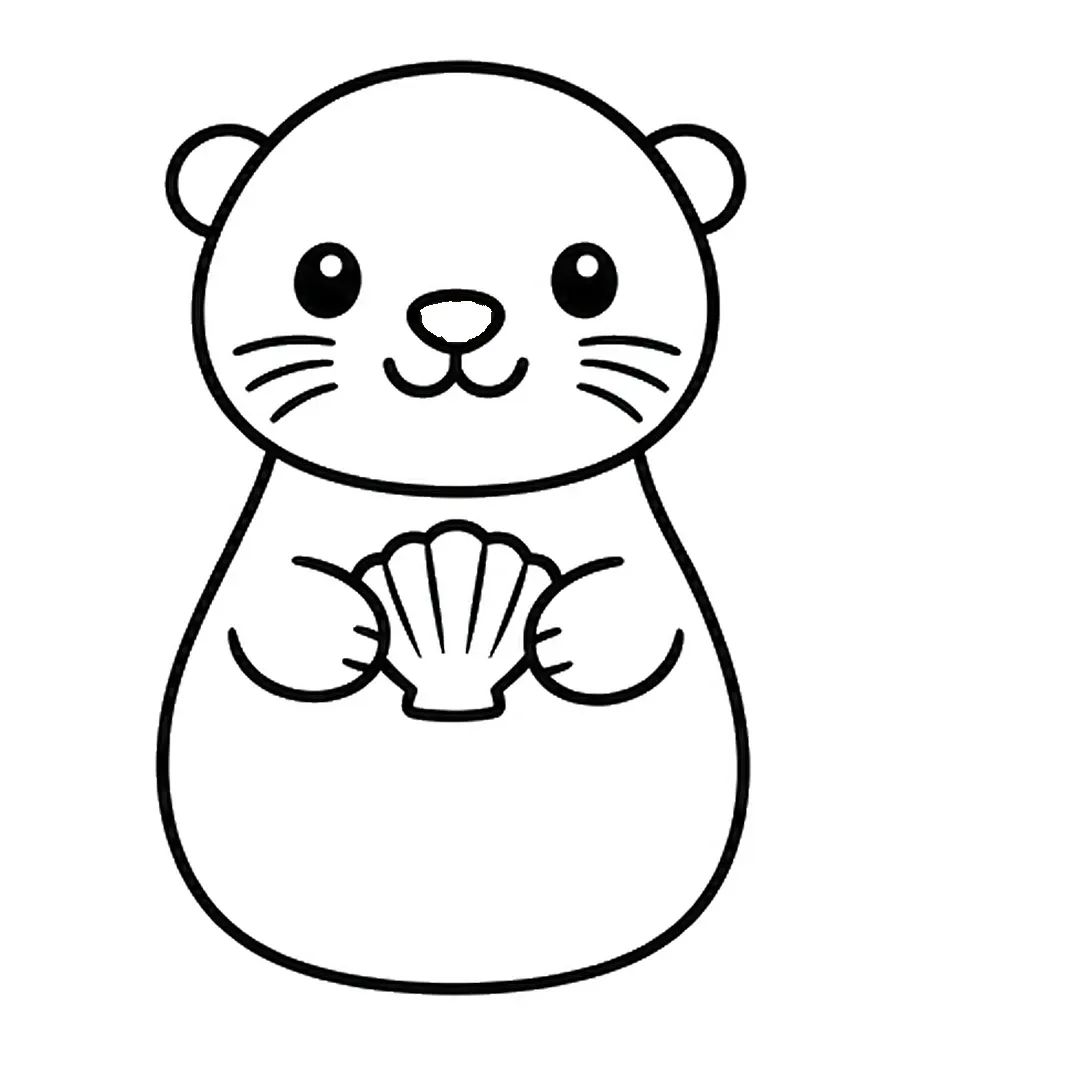
Step 4: Add two curved paws with two claw lines each, holding a small scallop shell with four ridge lines.
-
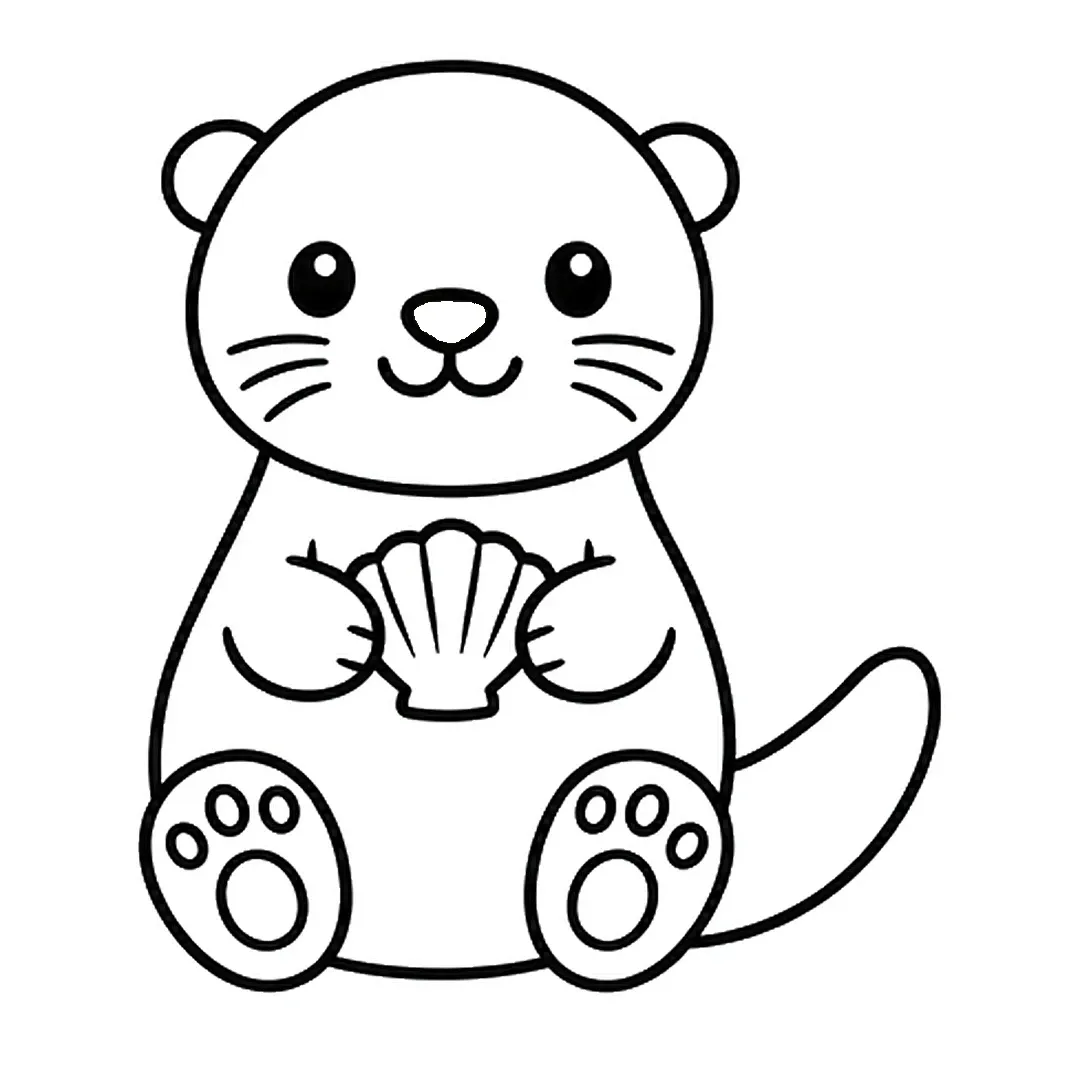
Step 5: Draw two round feet with a big pad and three toe pads each and a tail. Erase body lines in the feet.
-

Step 6: Color it brown, face, belly, inner ears light tan, nose and pads dark brown, cheeks pink, shell gray.
Octopus
The octopus in how to draw an octopus is a round dome with wavy legs, and a smile on the dome makes it cute.
- Draw a large rounded dome for the octopus.
- Add eyes, a tiny smile and pink cheeks.
- Draw eight wavy legs under the dome.
- Add small circles on the legs for suckers.
-

Step 1: Draw a big round head.
-

Step 2: Add two big round eyes with two shine dots each and a small smile.
-
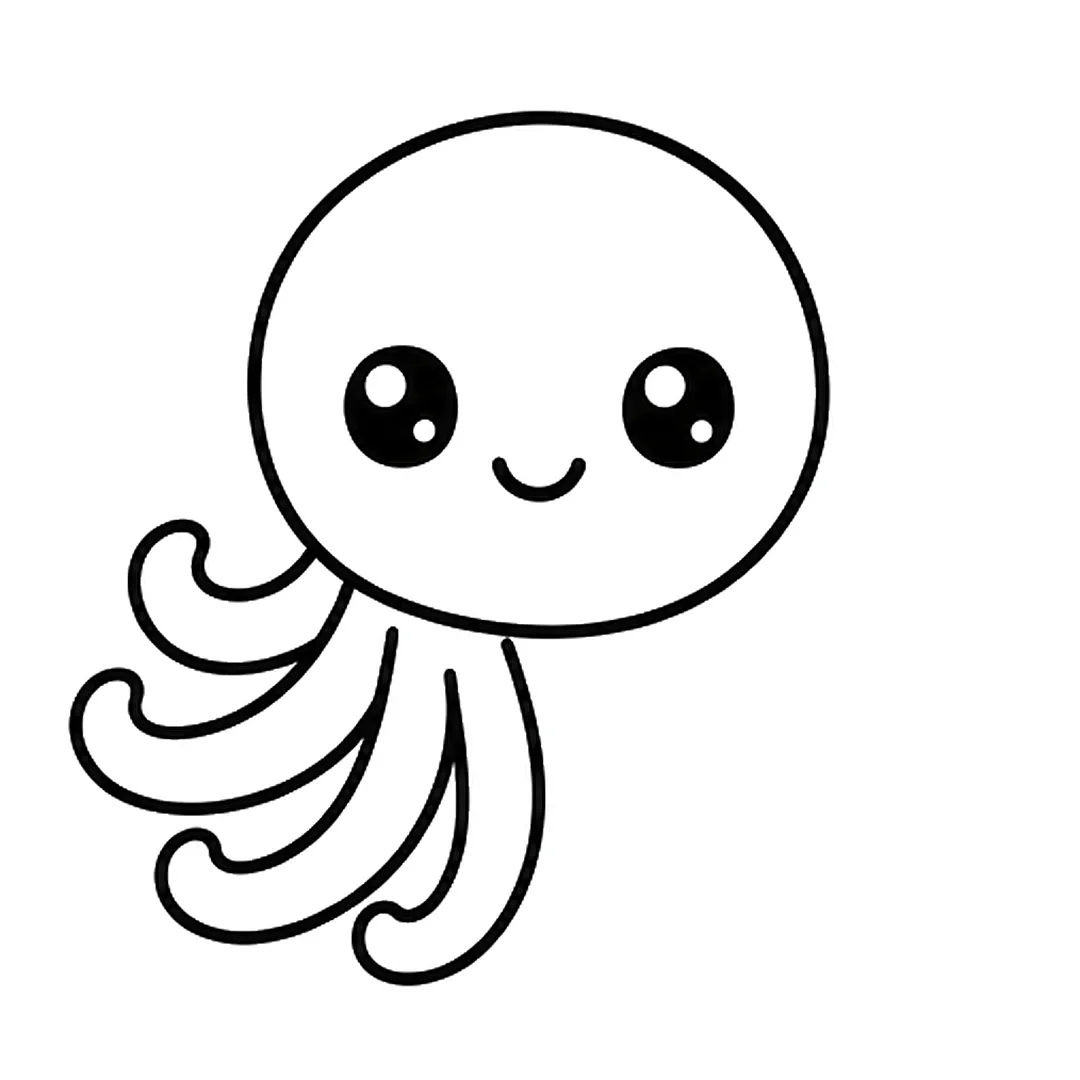
Step 3: Draw four curly arms under the left half of the head. Curl the outer ones out to the side.
-
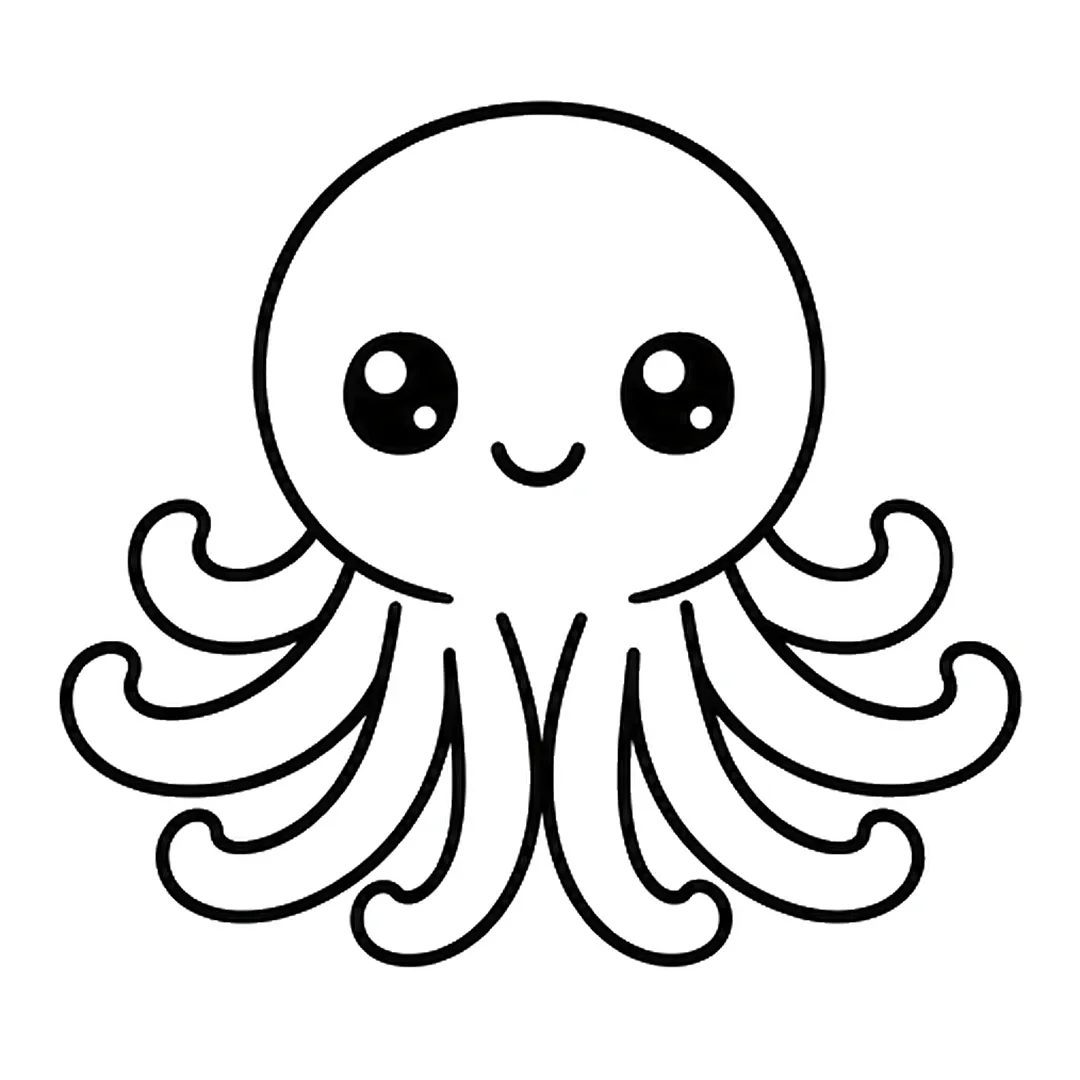
Step 4: Add four matching arms on the right, eight in all. Erase the head line between the middle arms.
-
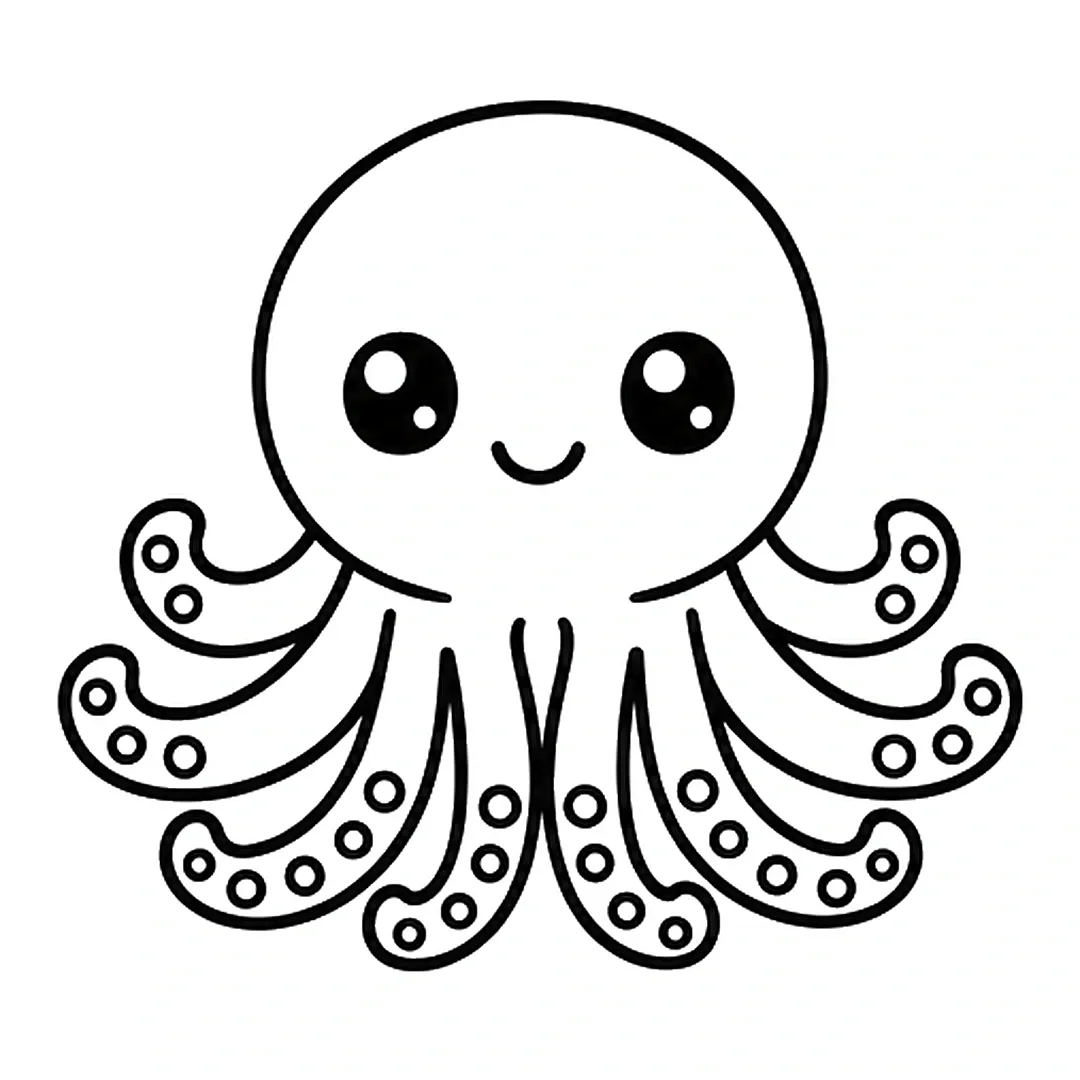
Step 5: Draw small round suction cups along the curled ends of all eight arms.
-
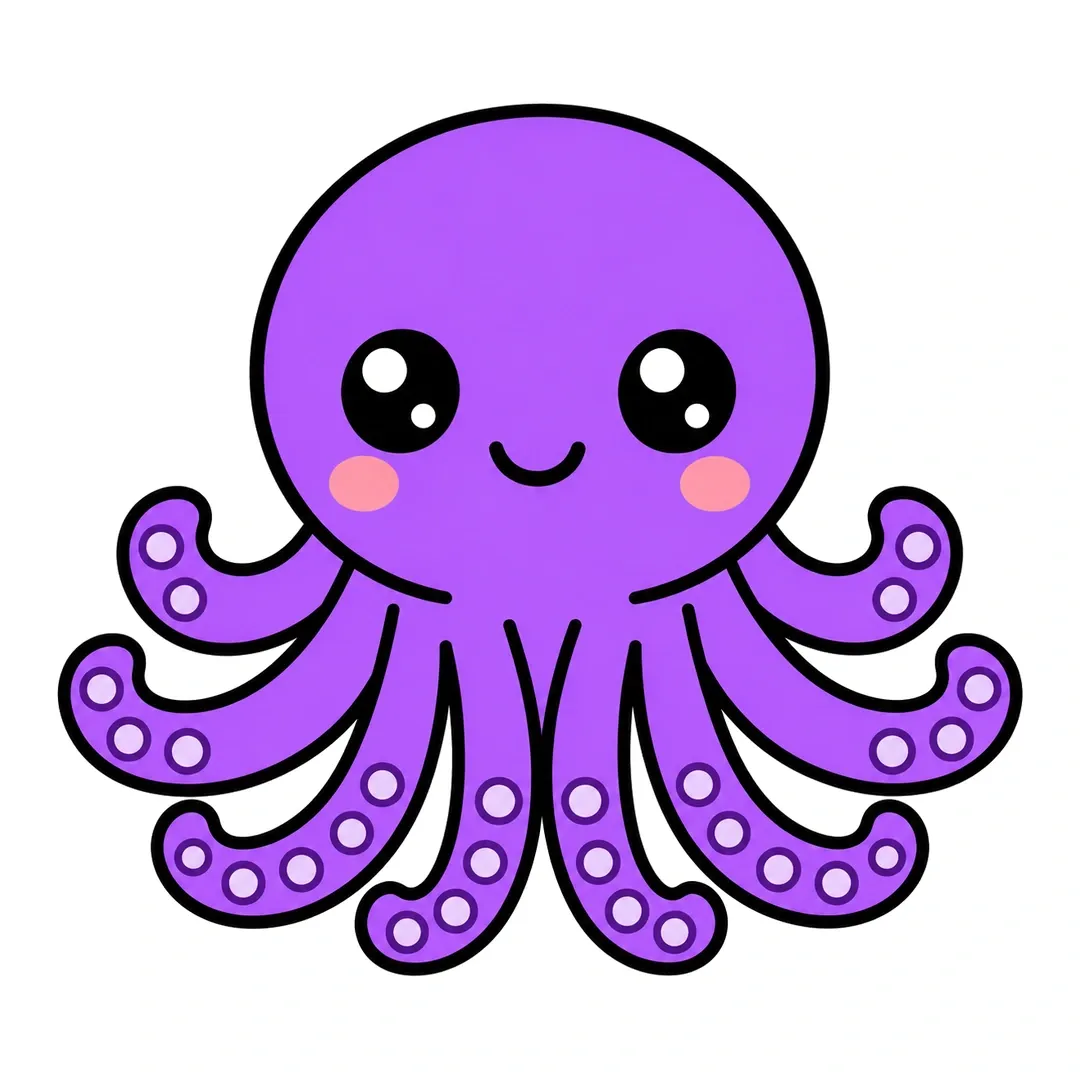
Step 6: Color the octopus purple and the suction cups light purple. Add pink cheeks under the eyes.
Whale
A whale is one big rounded body with a tail, so how to draw a whale is a quick win for beginners.
- Draw a big rounded shape like a jelly bean.
- Add a tail fin at one end.
- Draw a small eye, a smile and a flipper.
- Finish with a little splash of water rising from its head.
-
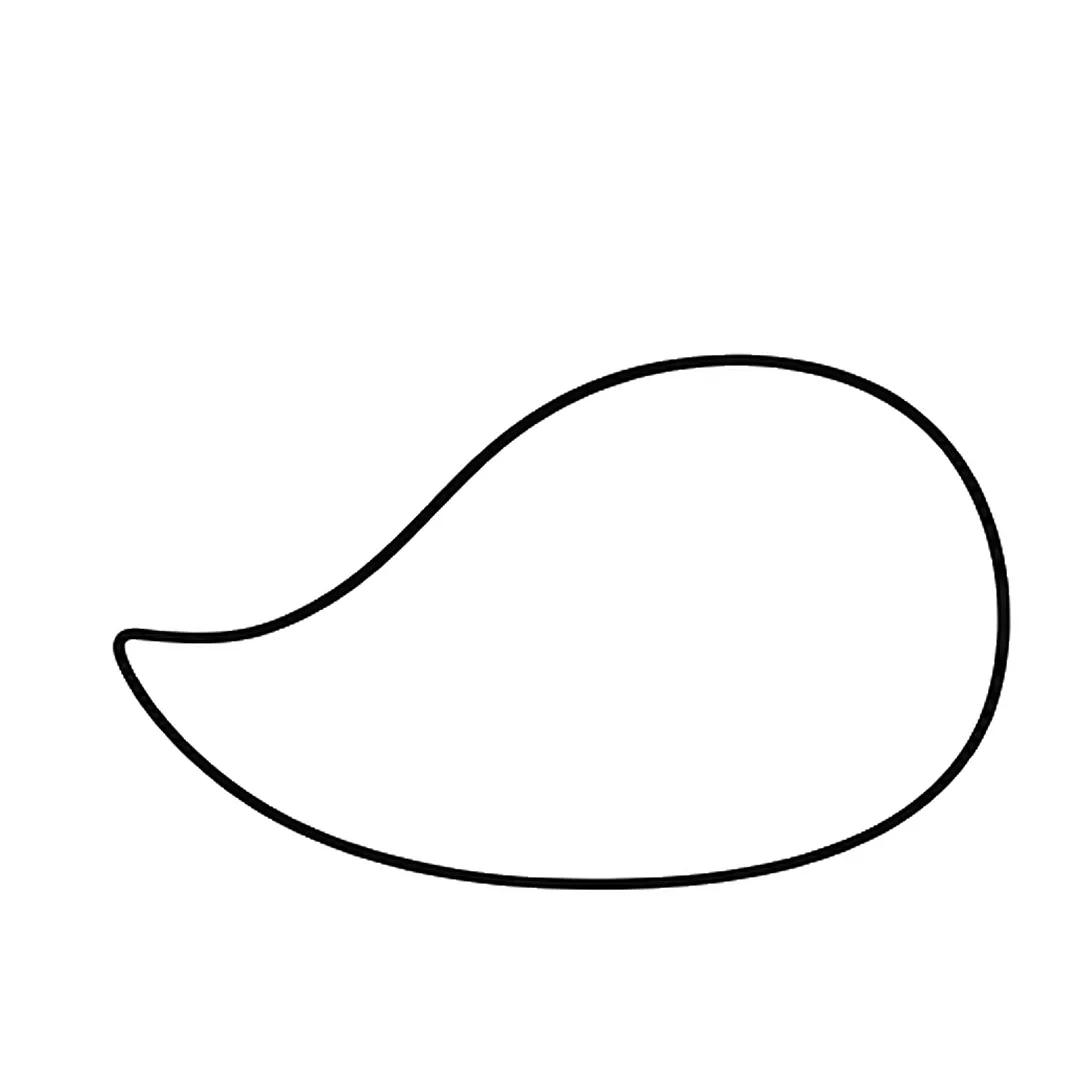
Step 1: Draw a big round body, round at the front on the right and pointed at the back on the left.
-
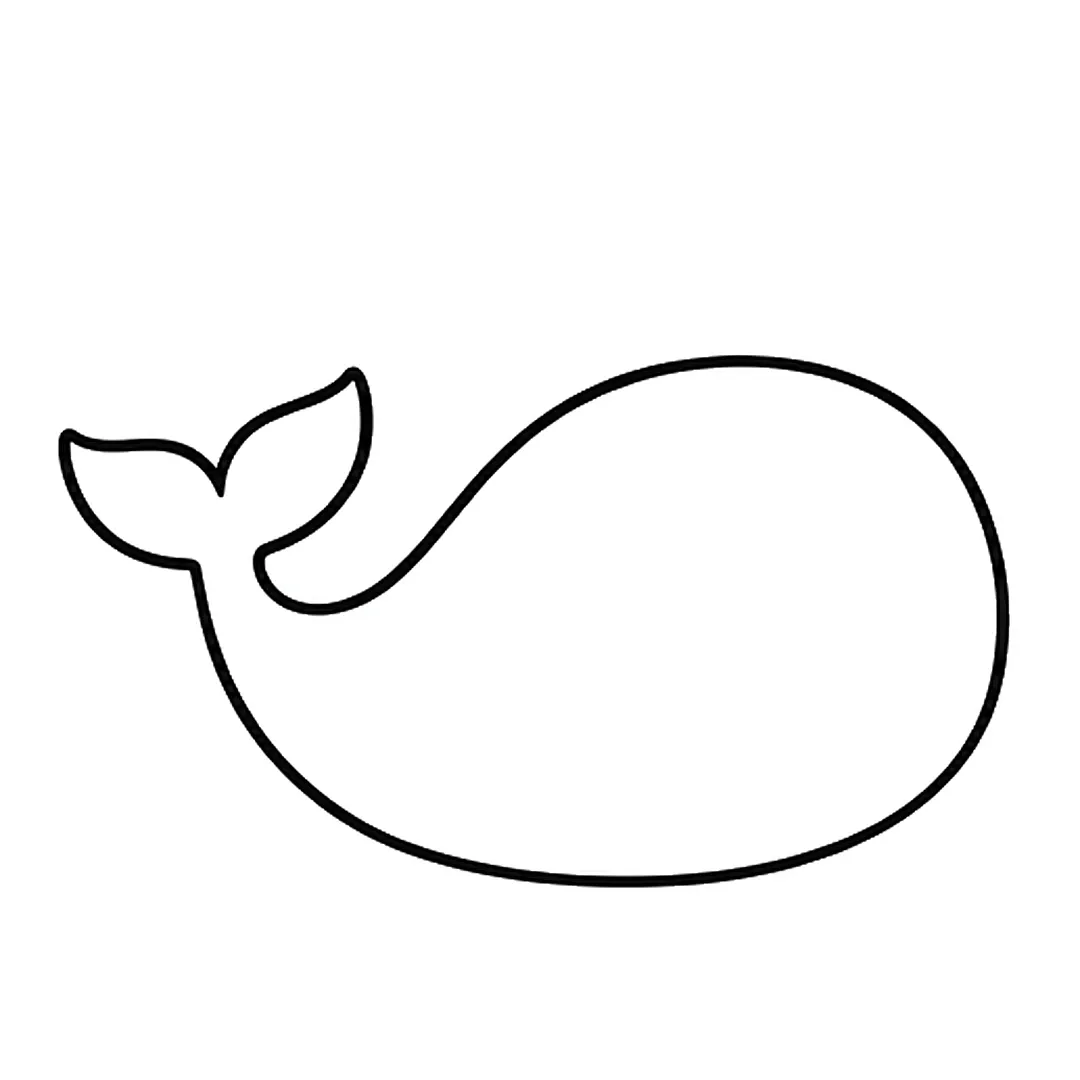
Step 2: Add a raised tail with two flukes. Erase the old pointed end and curve the back up into it.
-
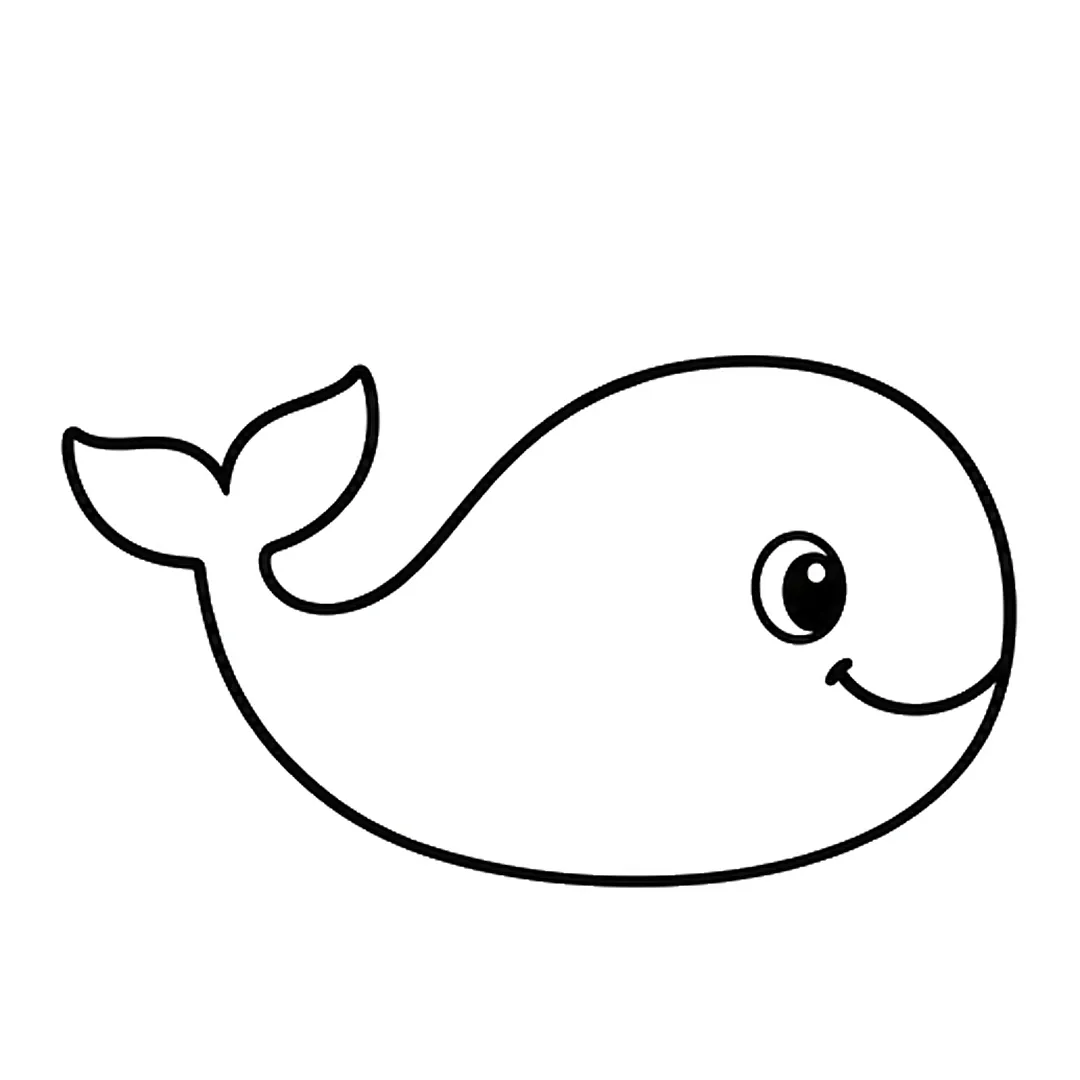
Step 3: Draw a round eye with a shine dot and a long smile near the front.
-
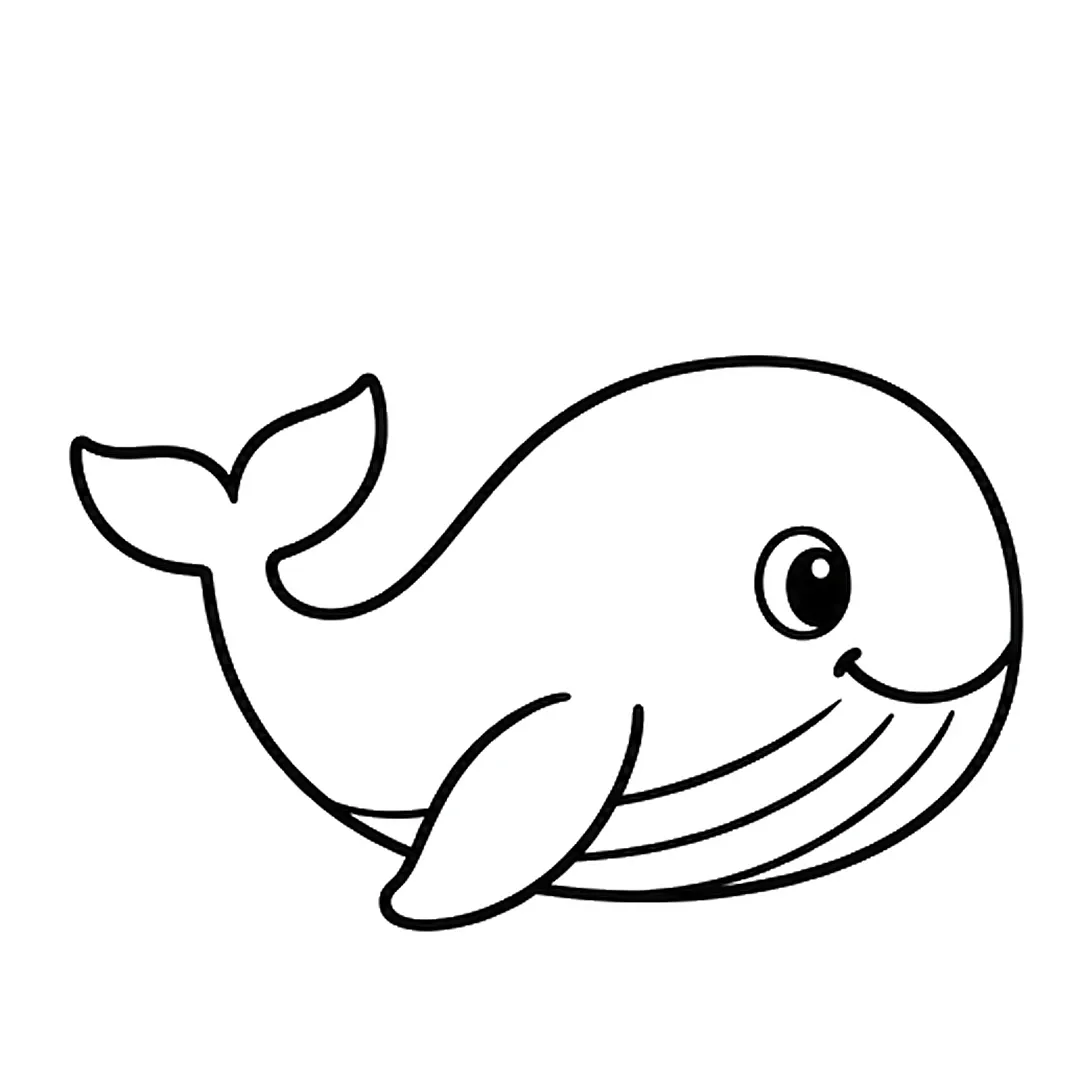
Step 4: Add a flipper over the bottom edge and three belly lines. Erase the body line inside the flipper.
-
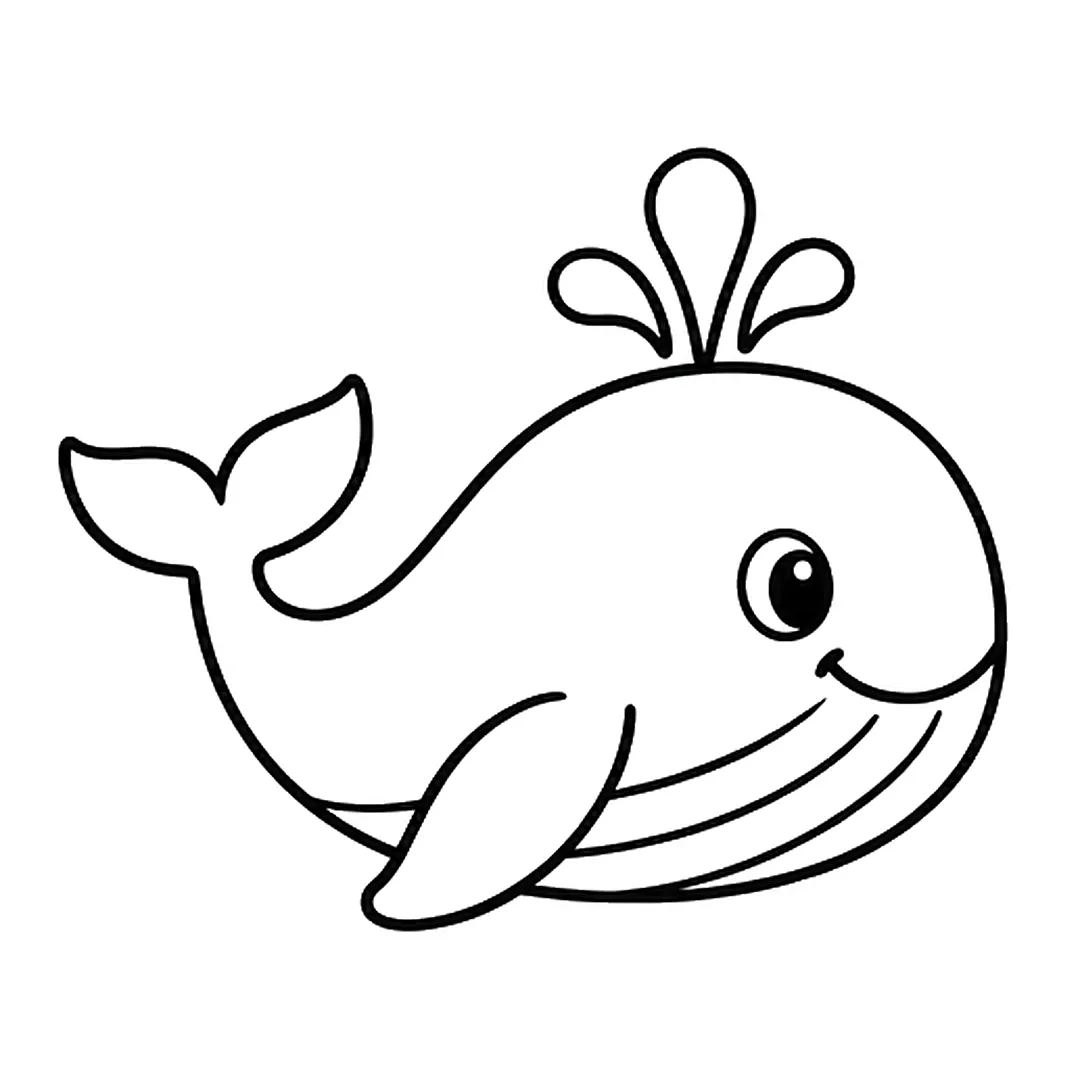
Step 5: Draw a water spout with three drop shapes on top of the head.
-
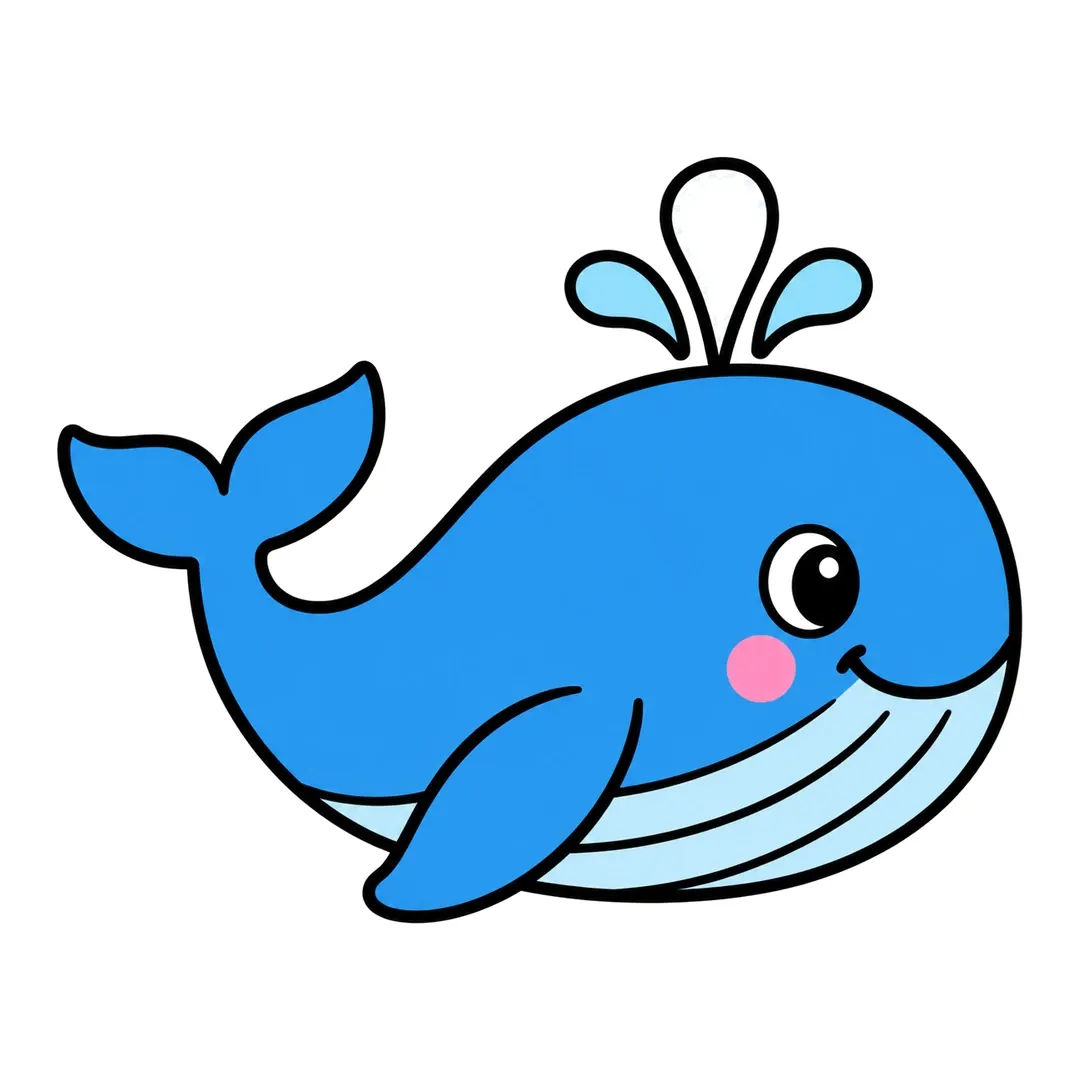
Step 6: Color the whale blue, belly and side drops light blue, cheek pink. Leave the eye and top drop white.
Jellyfish
A jellyfish has no hard parts at all, and how to draw a jellyfish is just a dome and wiggly lines.
- Draw a half circle with a wavy bottom edge.
- Add a happy face on the dome.
- Draw long wiggly tentacles hanging down, then color it pink or purple.
-
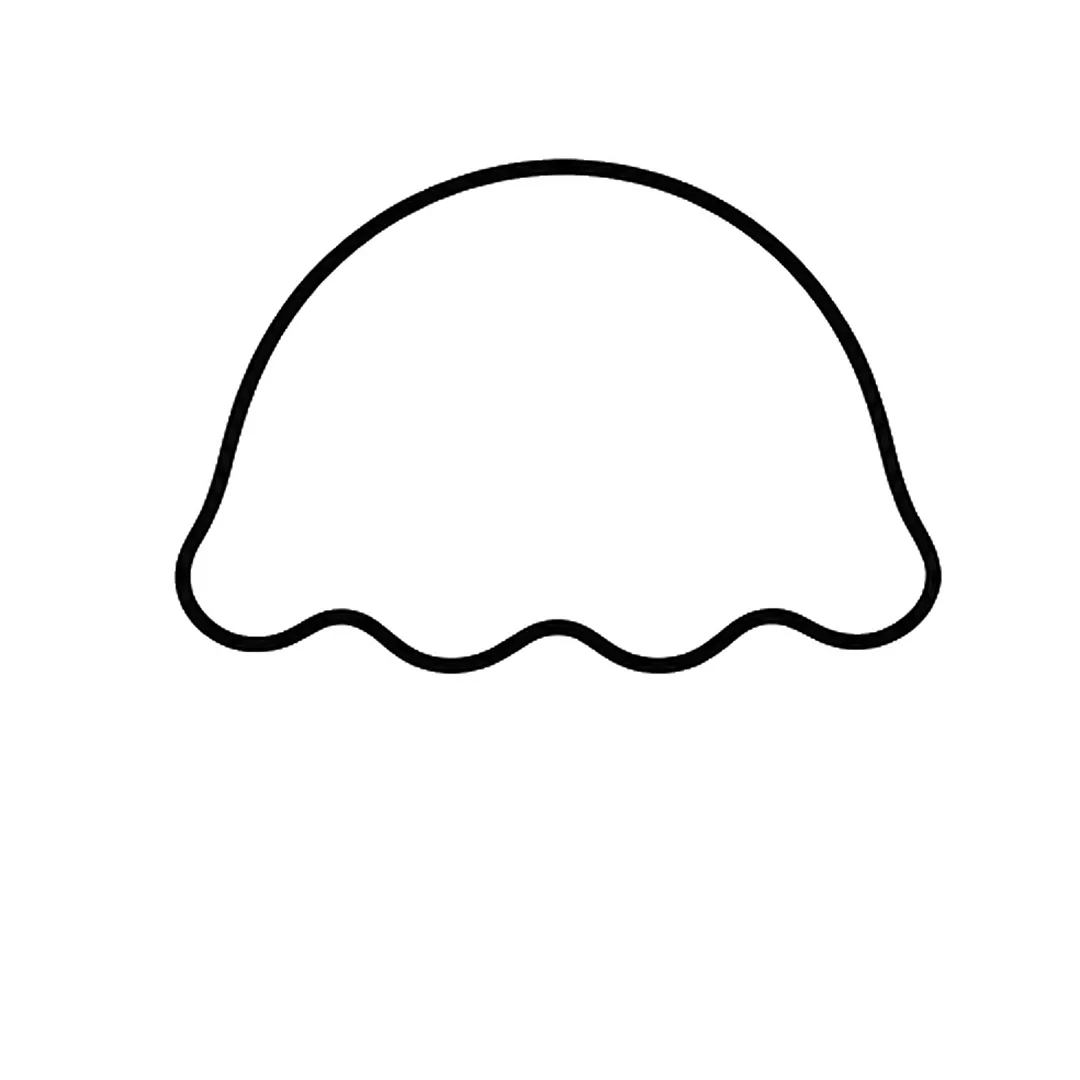
Step 1: Draw a dome-shaped bell with a wavy bottom edge.
-

Step 2: Add two round eyes with shine dots and a small smile on the bell.
-
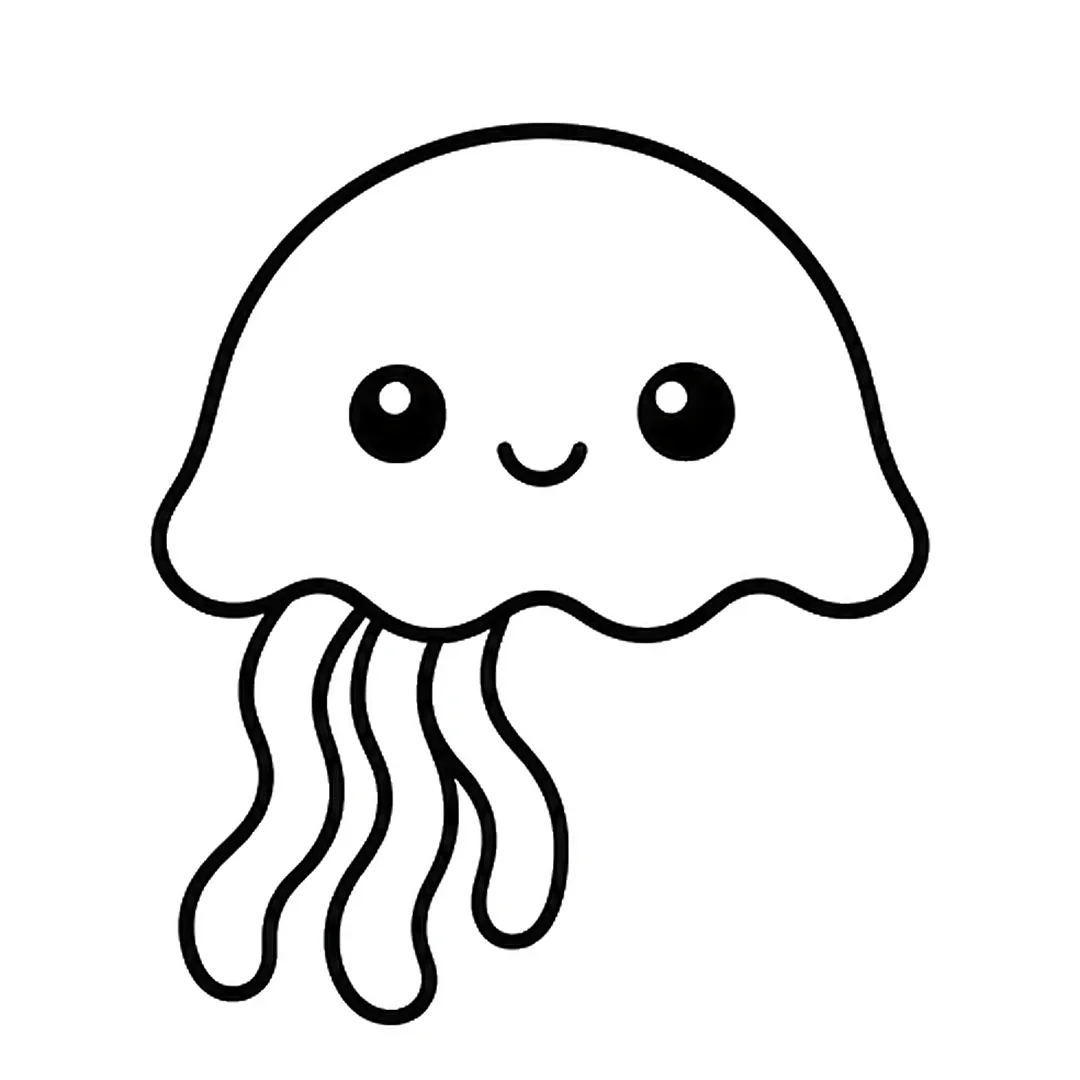
Step 3: Draw three long wavy tentacles under the left half of the bell.
-
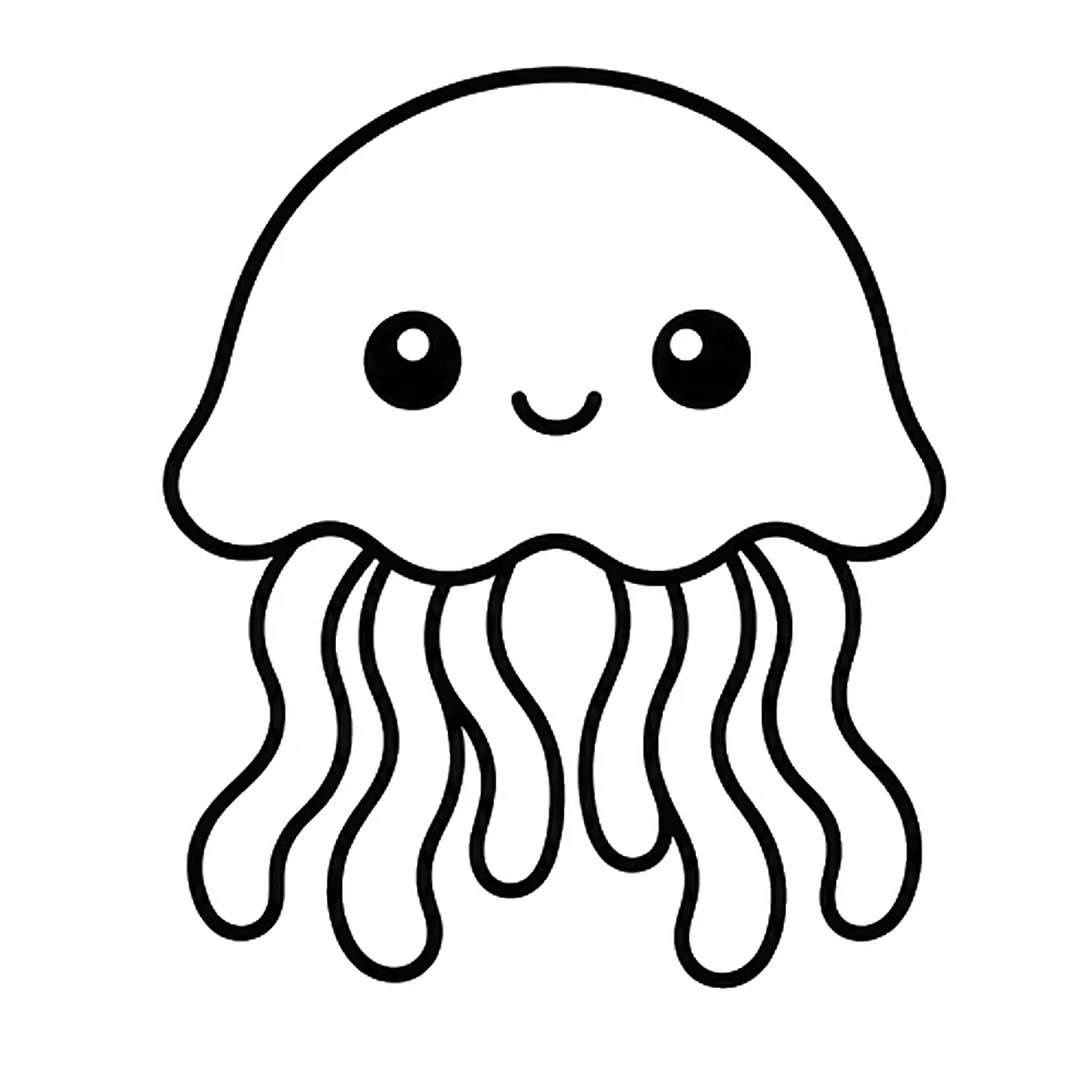
Step 4: Add three more wavy tentacles under the right half of the bell, to make a full row of six.
-
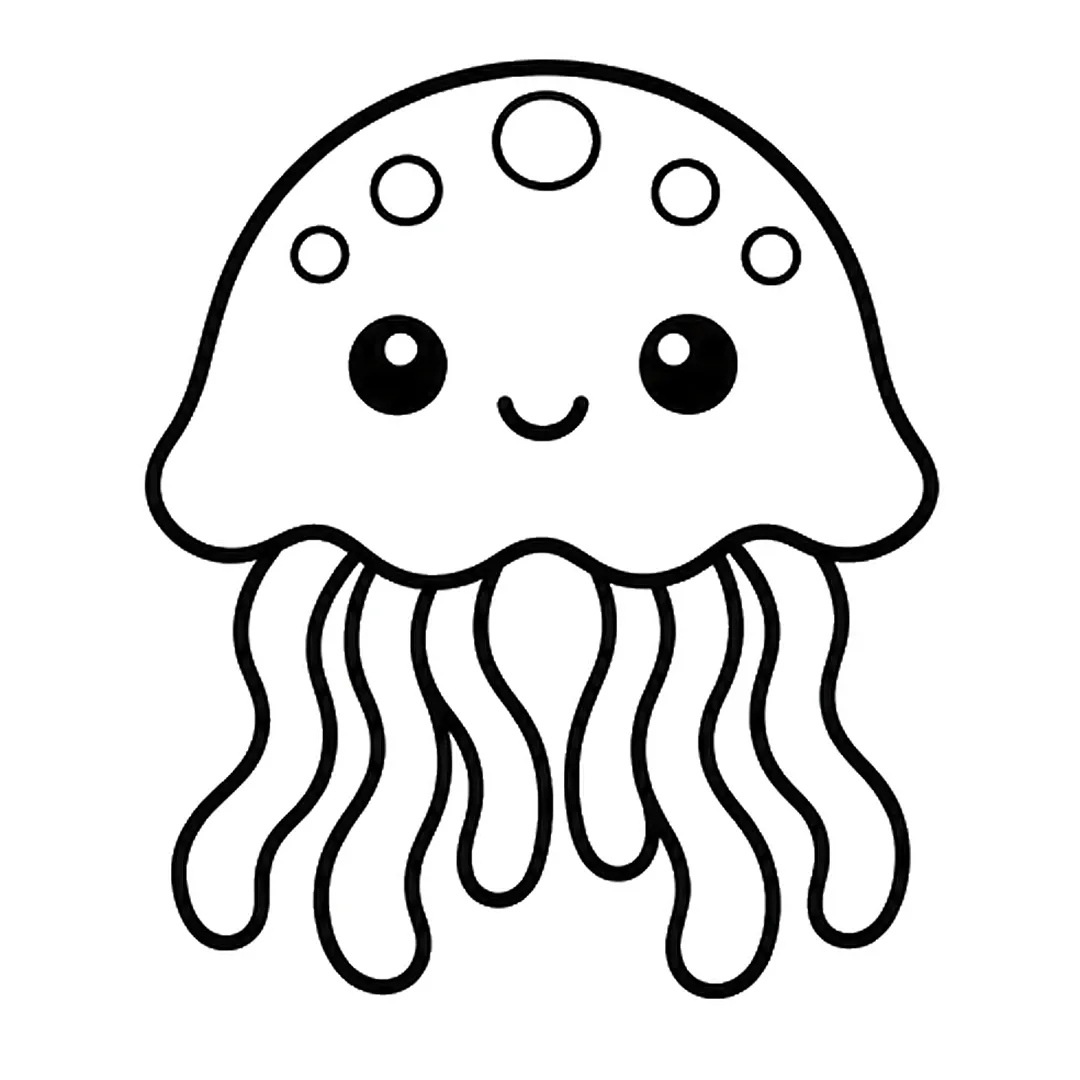
Step 5: Draw five round spots on top: one big spot in the middle and two small ones on each side.
-
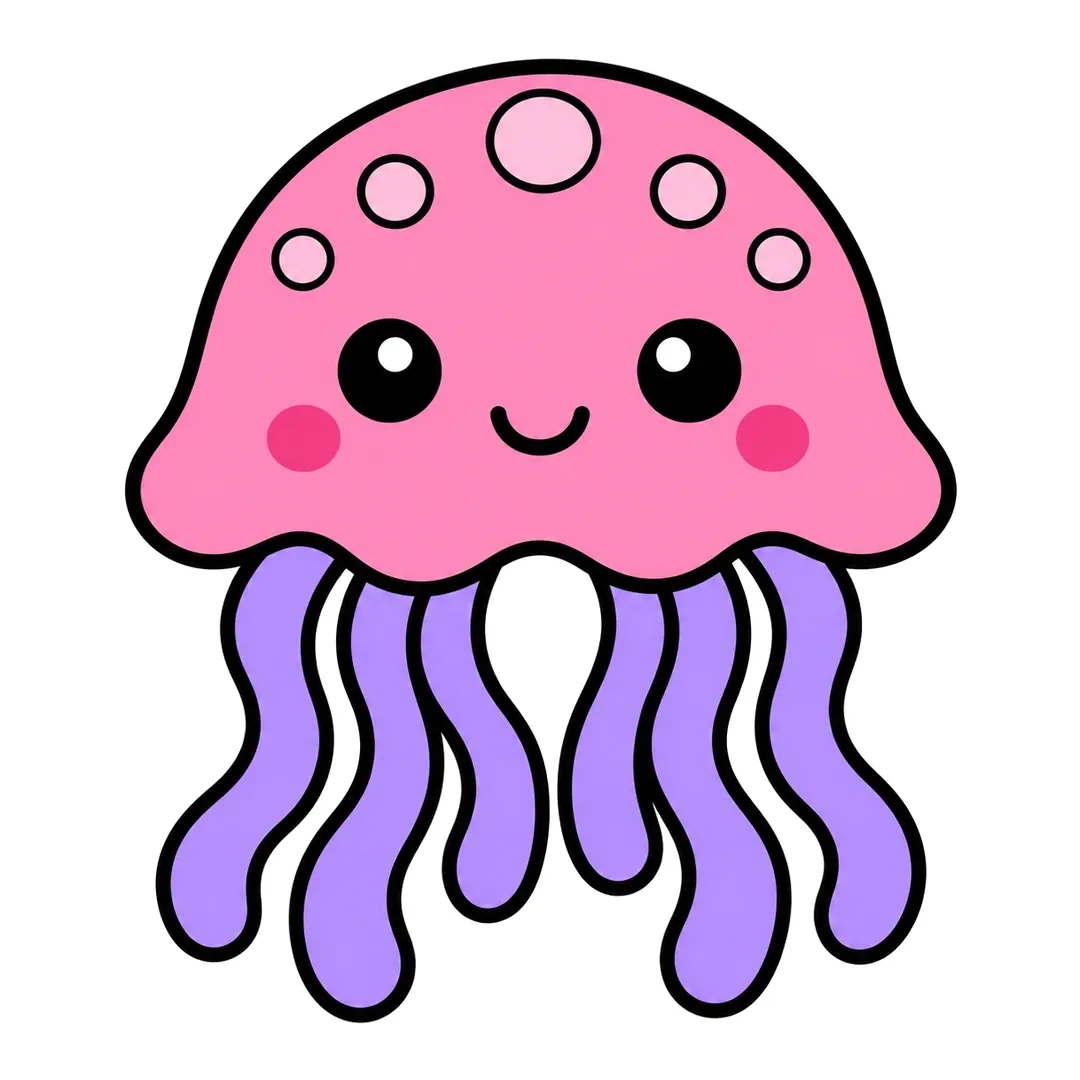
Step 6: Color the bell pink, the spots light pink and the tentacles purple. Add dark pink cheeks.
Seahorse
A seahorse has a curly tail and a round tummy, and older kids enjoy the S shape in how to draw a seahorse.
- Draw a small round head that ends in a tube-like snout.
- Draw a curved S-shaped body with a round tummy.
- Curl the tail into a spiral.
- Add a small fin on the back and an eye.
-
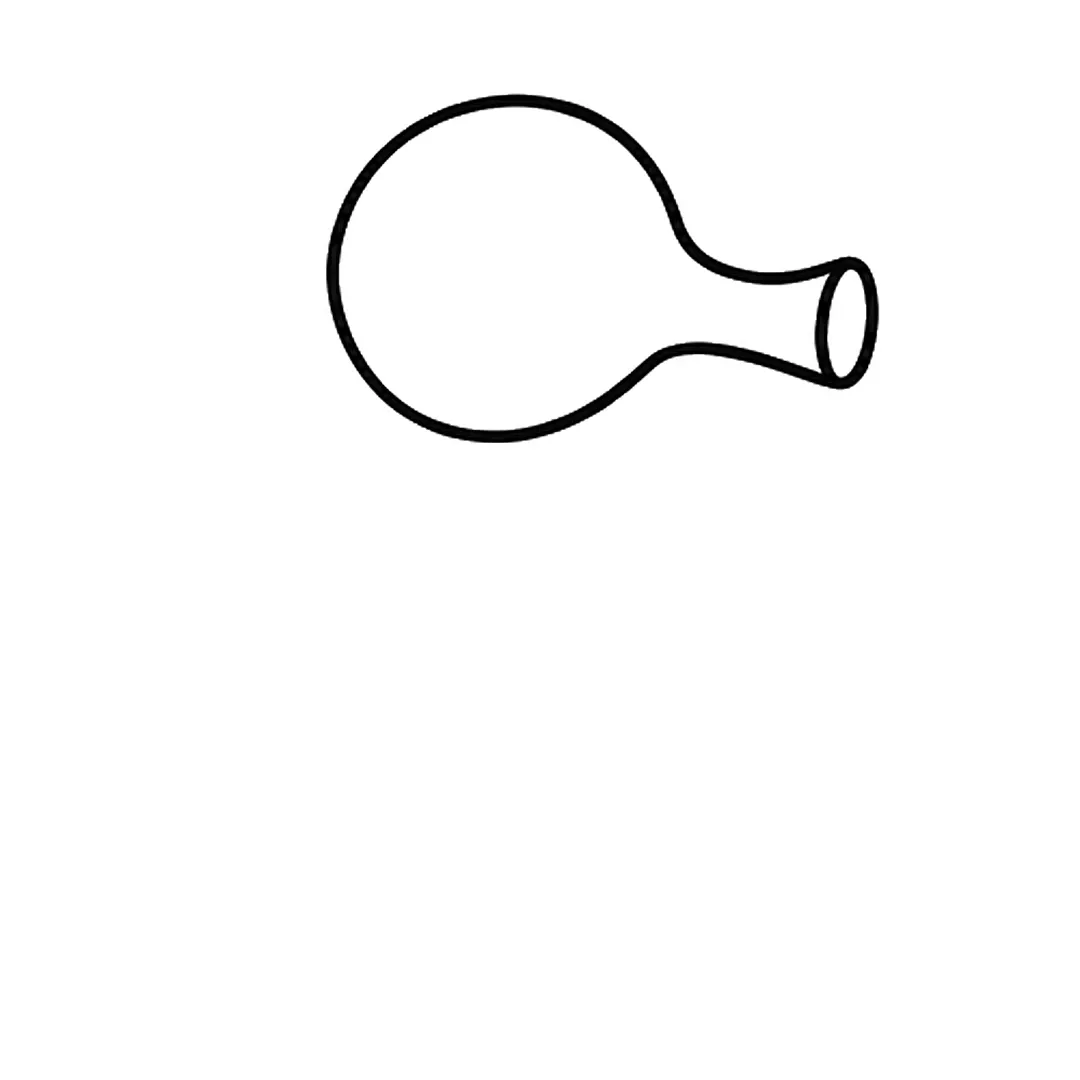
Step 1: Draw a round head with a long tube snout pointing right, with a small oval at its tip.
-
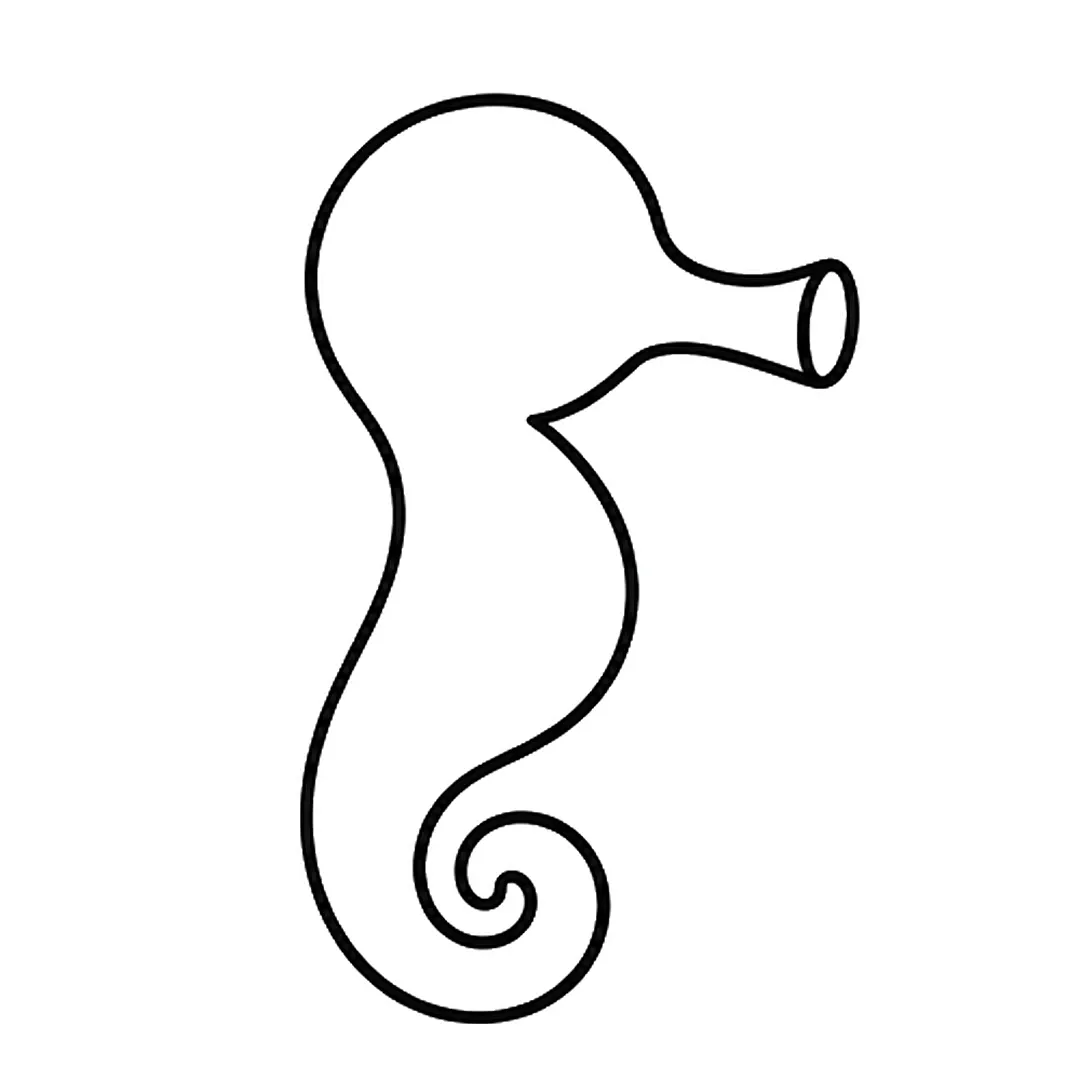
Step 2: Add a curvy body that ends in a curled tail. Erase the bottom of the head circle where it joins.
-
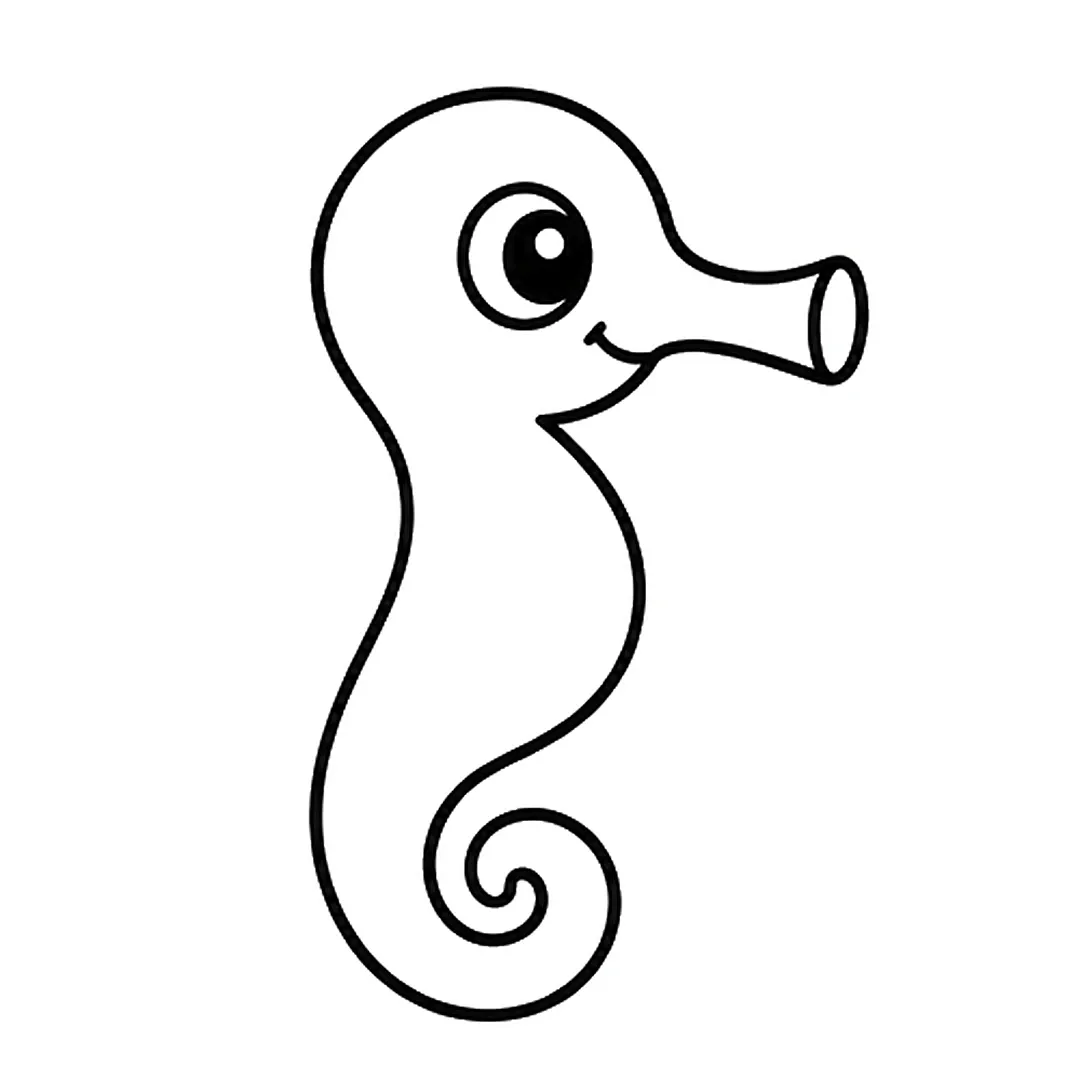
Step 3: Draw a big round eye with a black pupil and a shine dot, and a small smile under the snout.
-
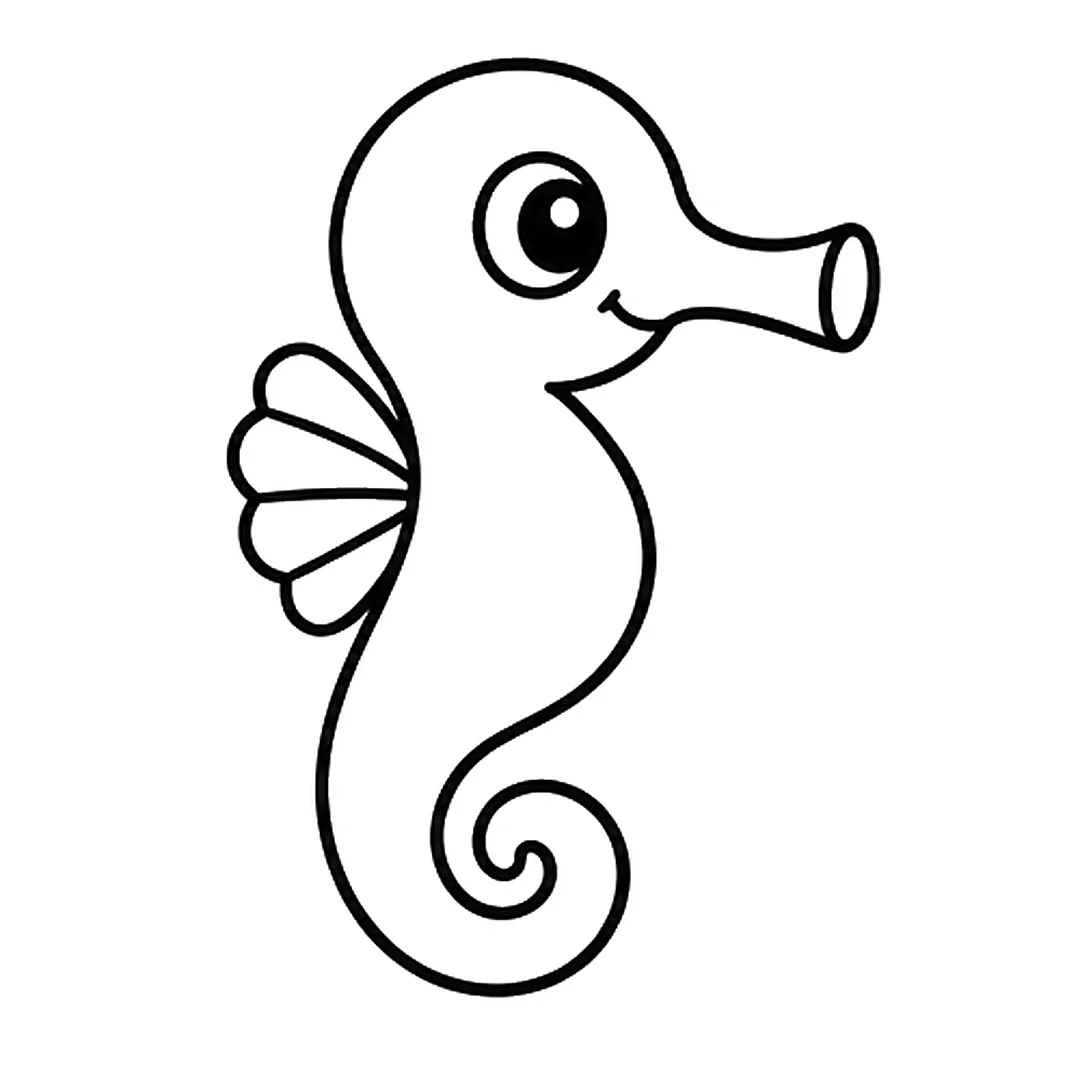
Step 4: Add a fan shaped fin on the back with four rounded lobes and three lines.
-
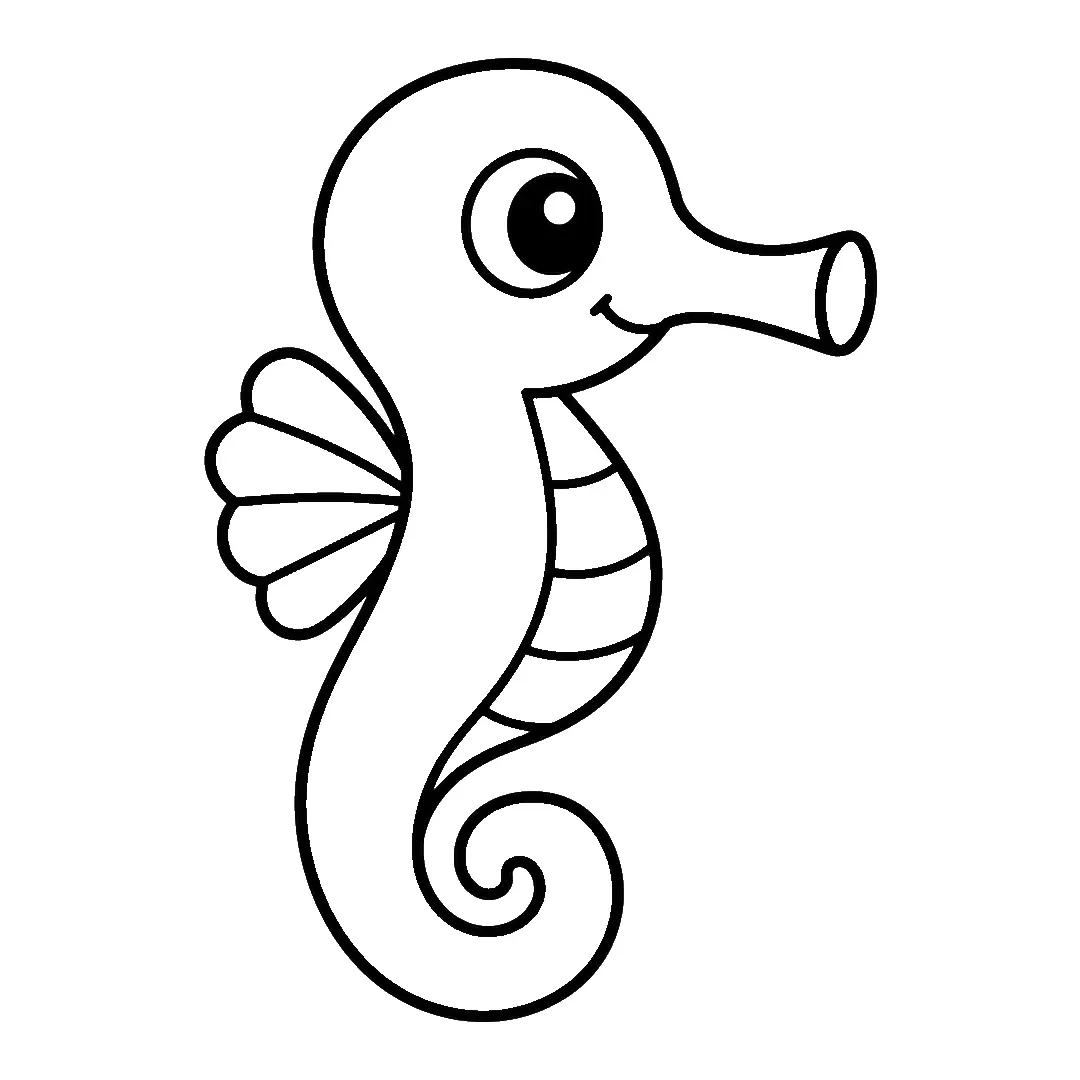
Step 5: Draw a long belly line from the neck to the tail and four short ridge lines across the belly.
-
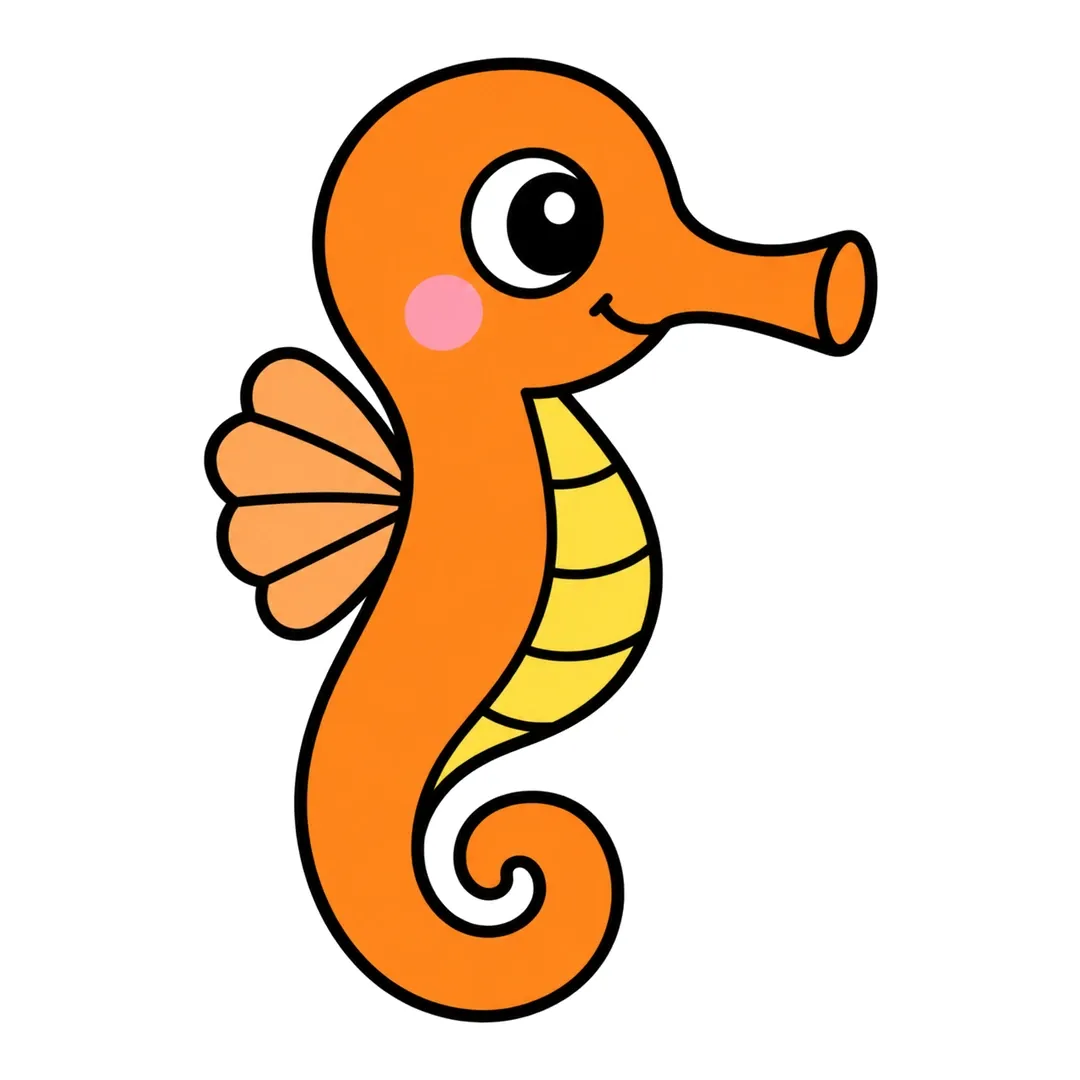
Step 6: Color the seahorse orange, belly yellow, fin light orange, cheek pink. Leave the eye white.
Sea Turtle
The shell pattern in how to draw a sea turtle lets kids practice shapes inside a shape.
- Draw an oval shell.
- Add a round head with a smile.
- Draw four paddle-shaped flippers.
- Fill the shell with hexagons or circles.
-

Step 1: Draw one big oval for the shell, a little taller than it is wide.
-
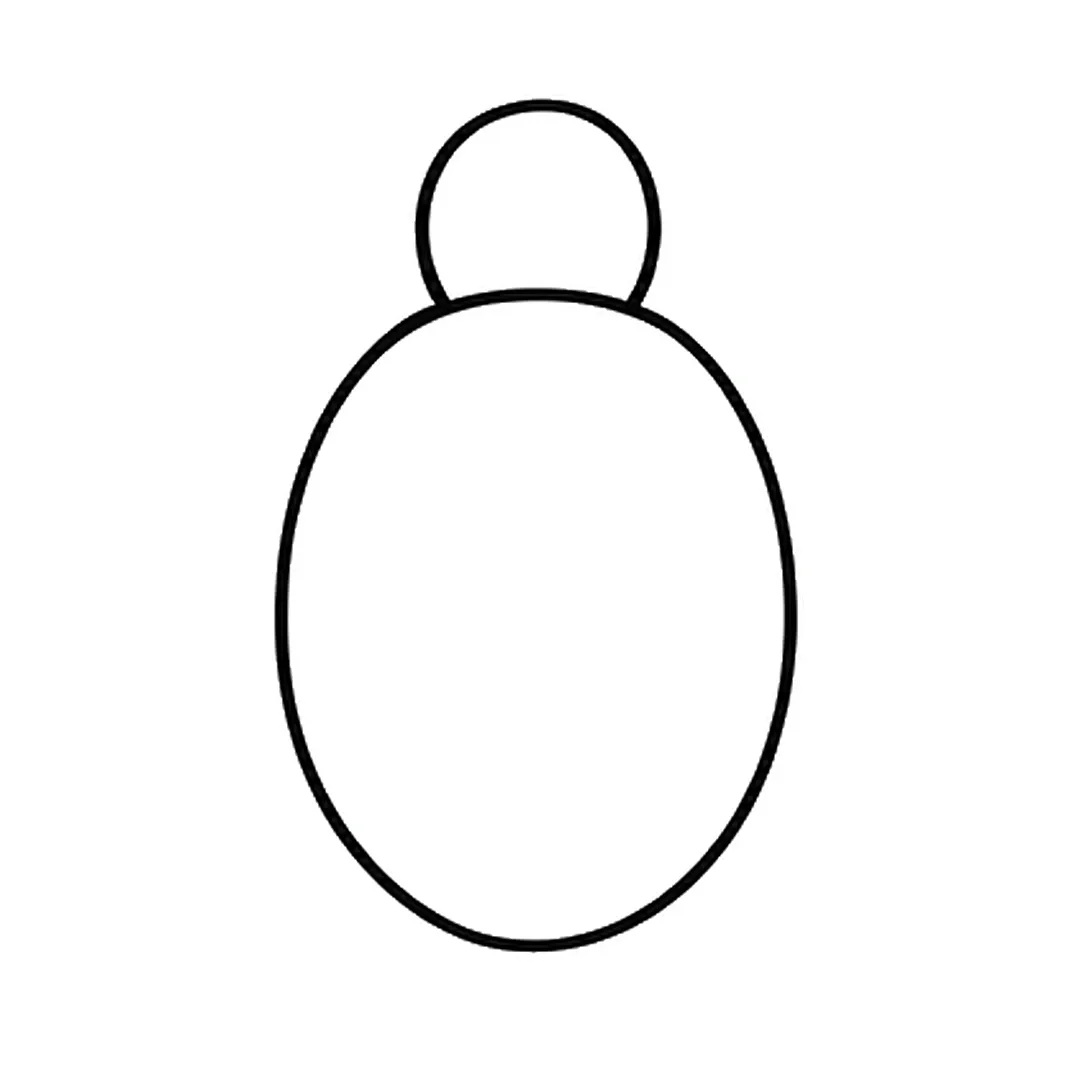
Step 2: Add a round head on top of the shell. Let its bottom tuck behind the shell line.
-
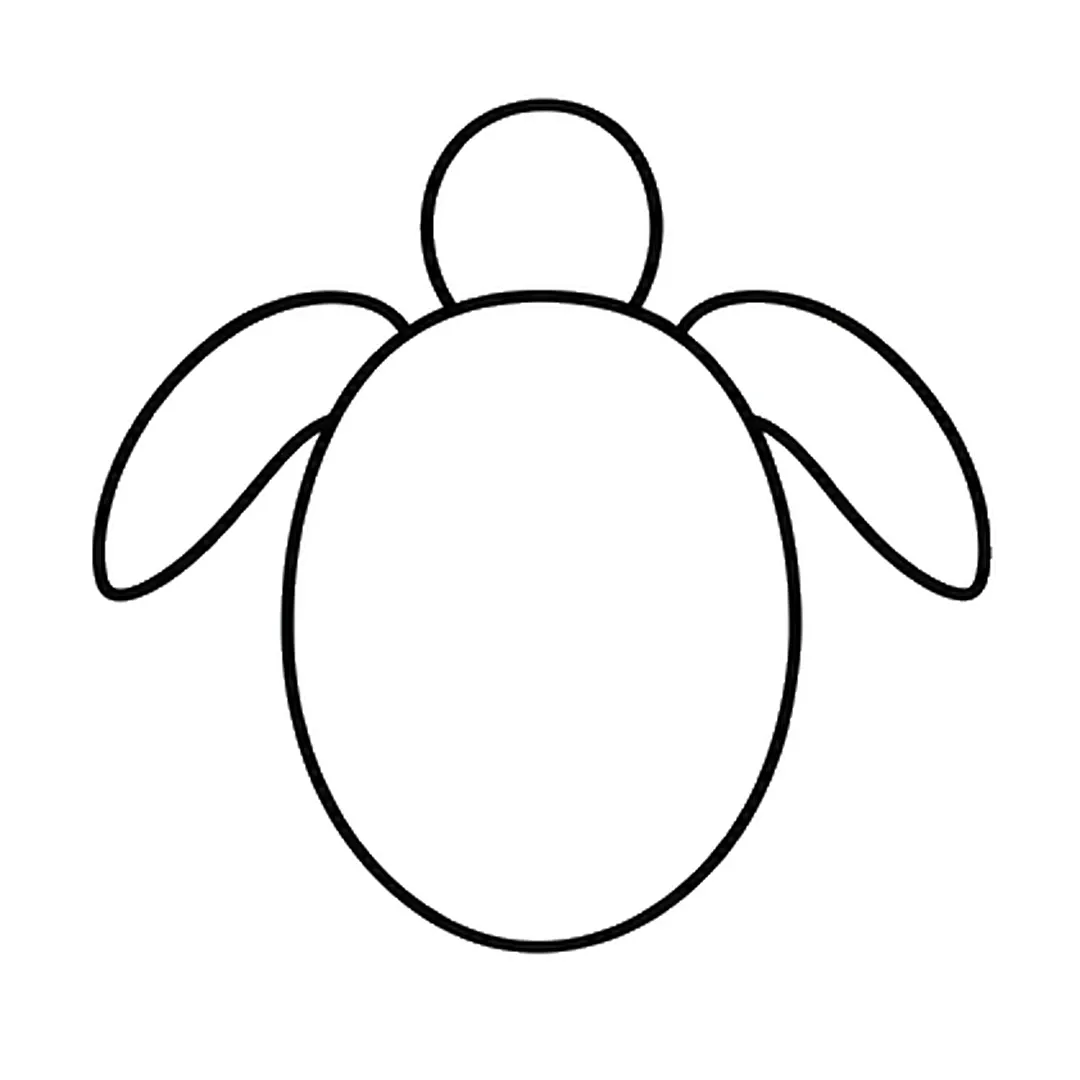
Step 3: Draw two big front flippers at the upper sides of the shell, curving out and down to rounded tips.
-
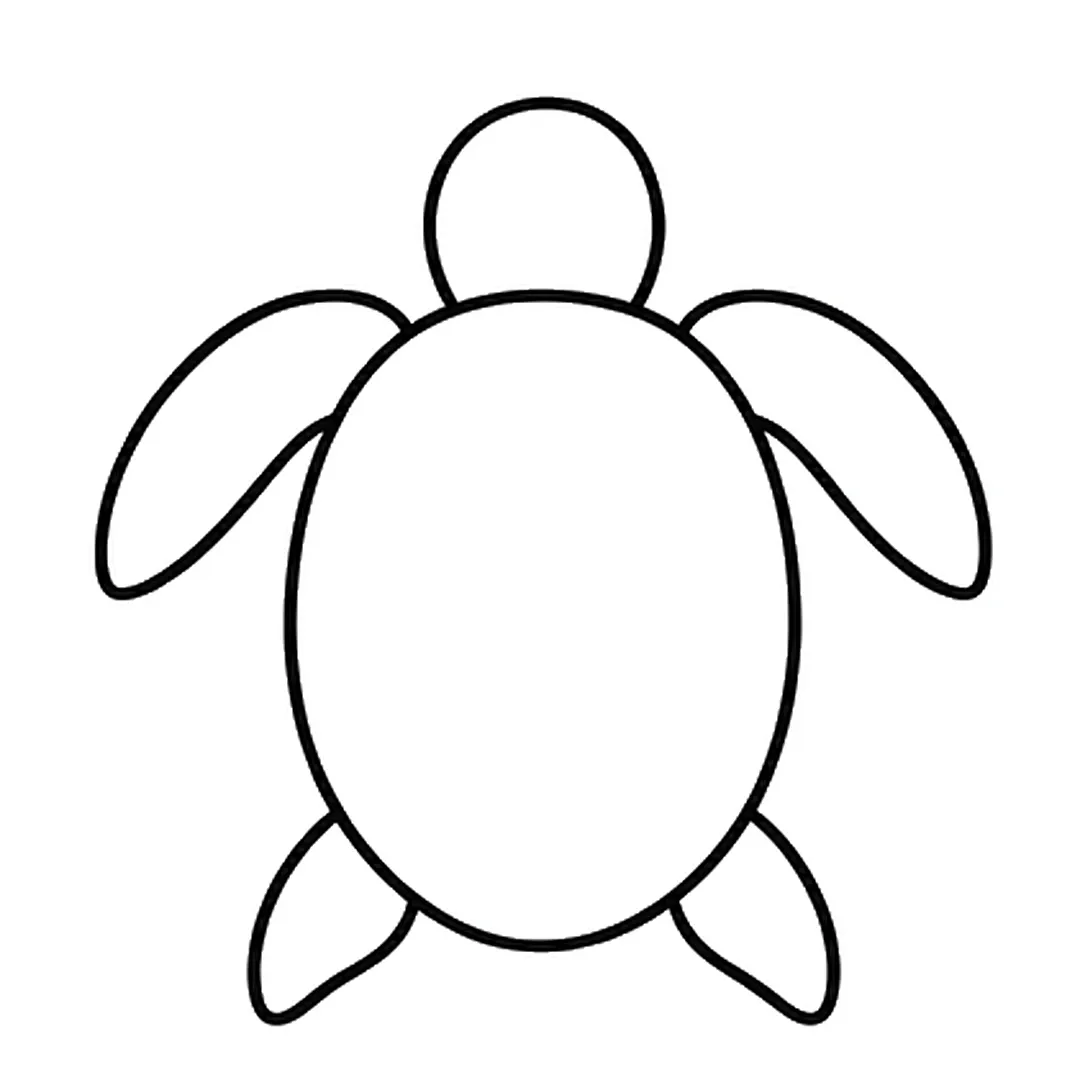
Step 4: Add two small back flippers at the lower sides of the shell, pointing down and out.
-
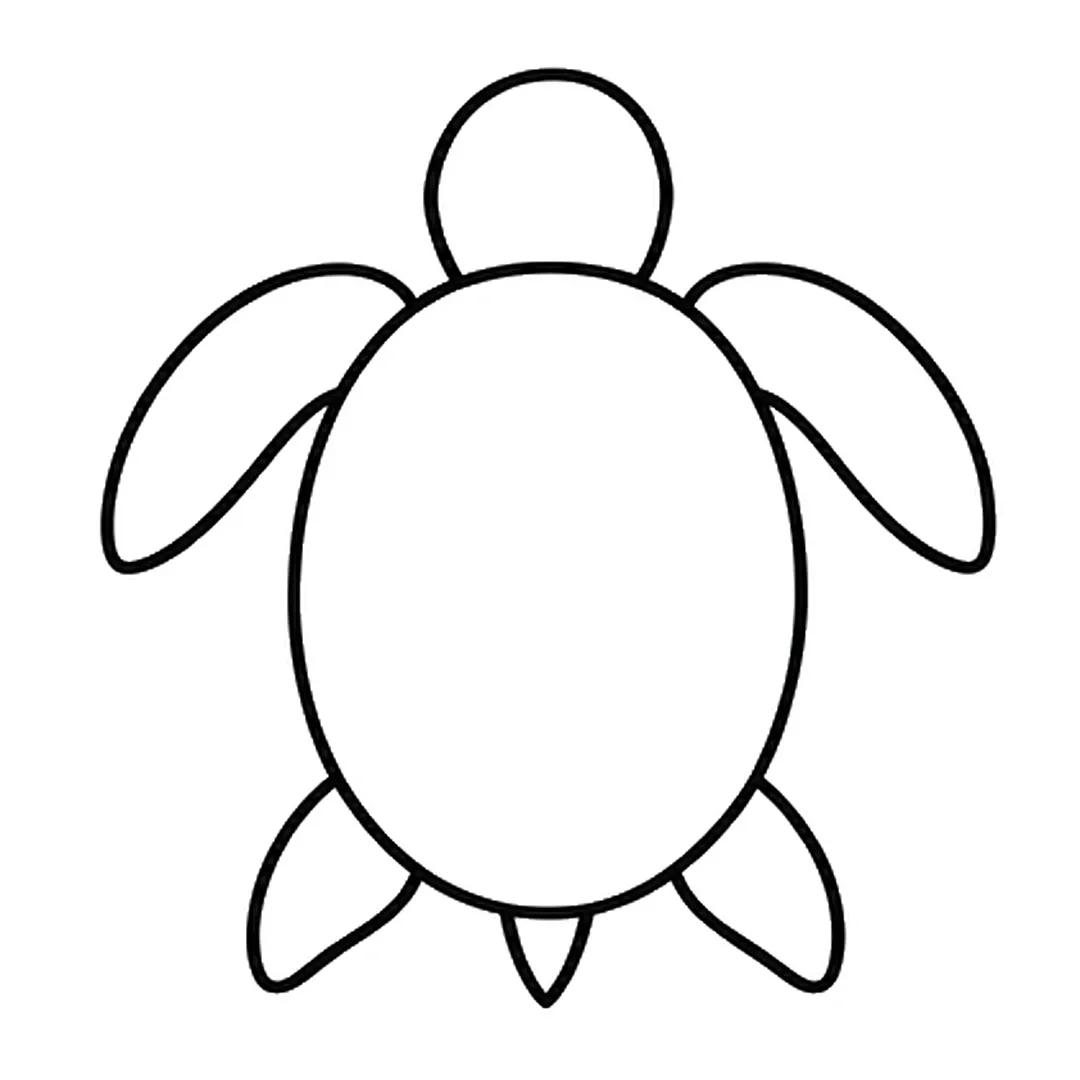
Step 5: Draw a short pointed tail at the bottom middle of the shell.
-
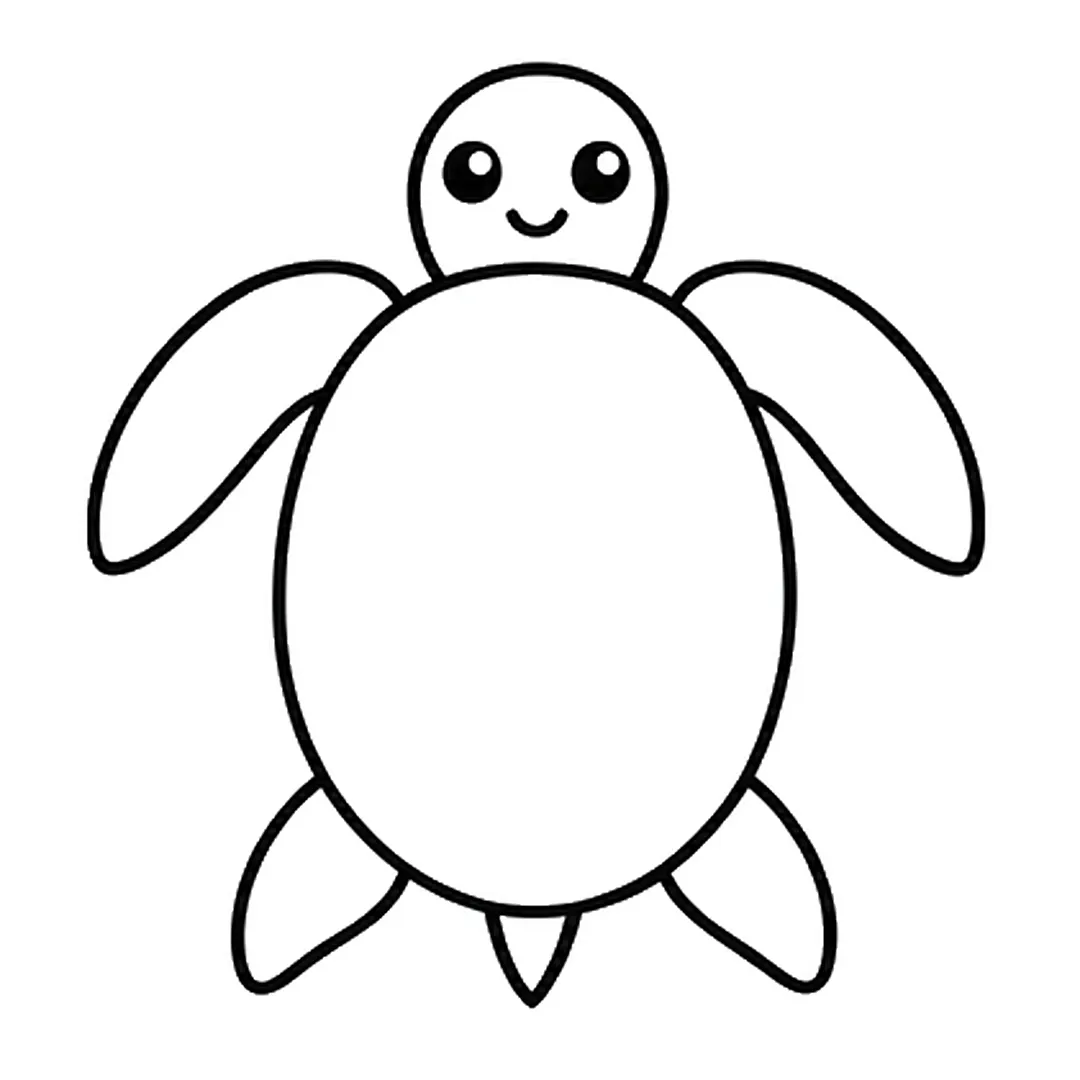
Step 6: Add two round black eyes with a white shine dot each and a small smile on the head.
-
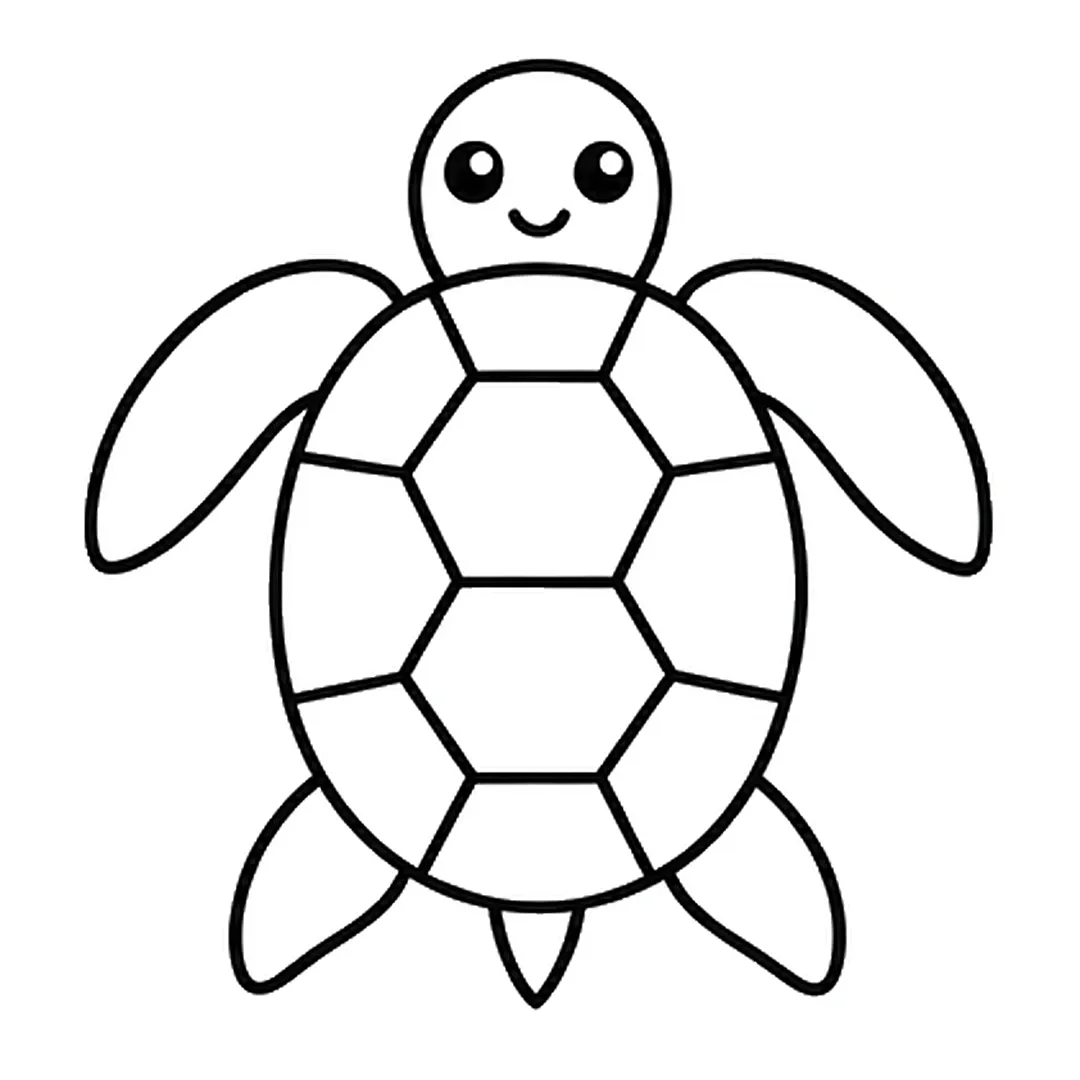
Step 7: Draw two hexagons stacked in the middle of the shell. Join their corners to the edge with 8 lines.
-
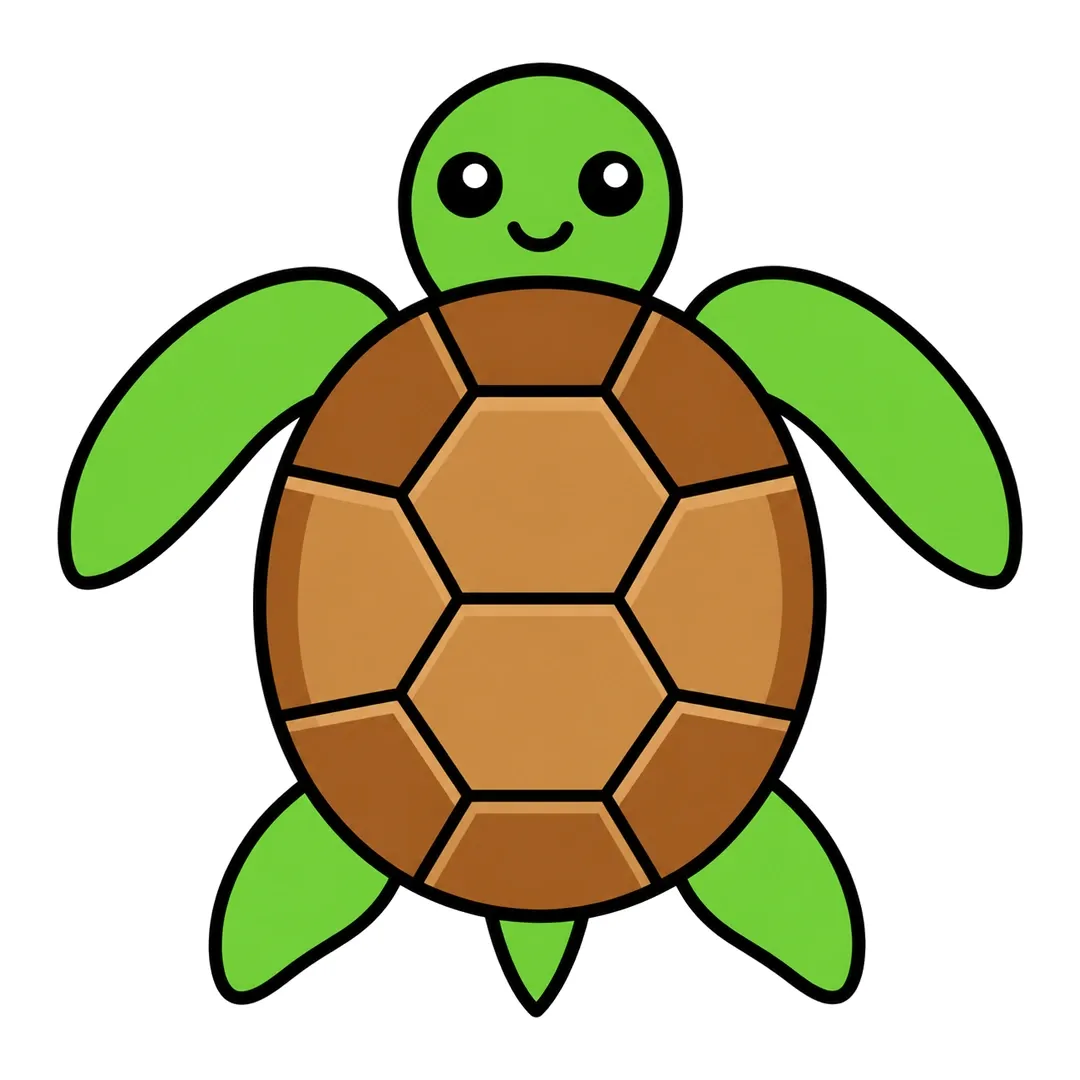
Step 8: Color head, flippers and tail green, hexagons and middle side plates light brown, rest dark brown.
Turtle
A land turtle in how to draw a turtle is a dome shell with a small head and stubby feet.
- Draw a half-circle shell sitting flat like a hill.
- Add a flat line under it for the bottom.
- Draw a round head peeking out with big eyes.
- Add four stubby feet and a tiny tail.
-
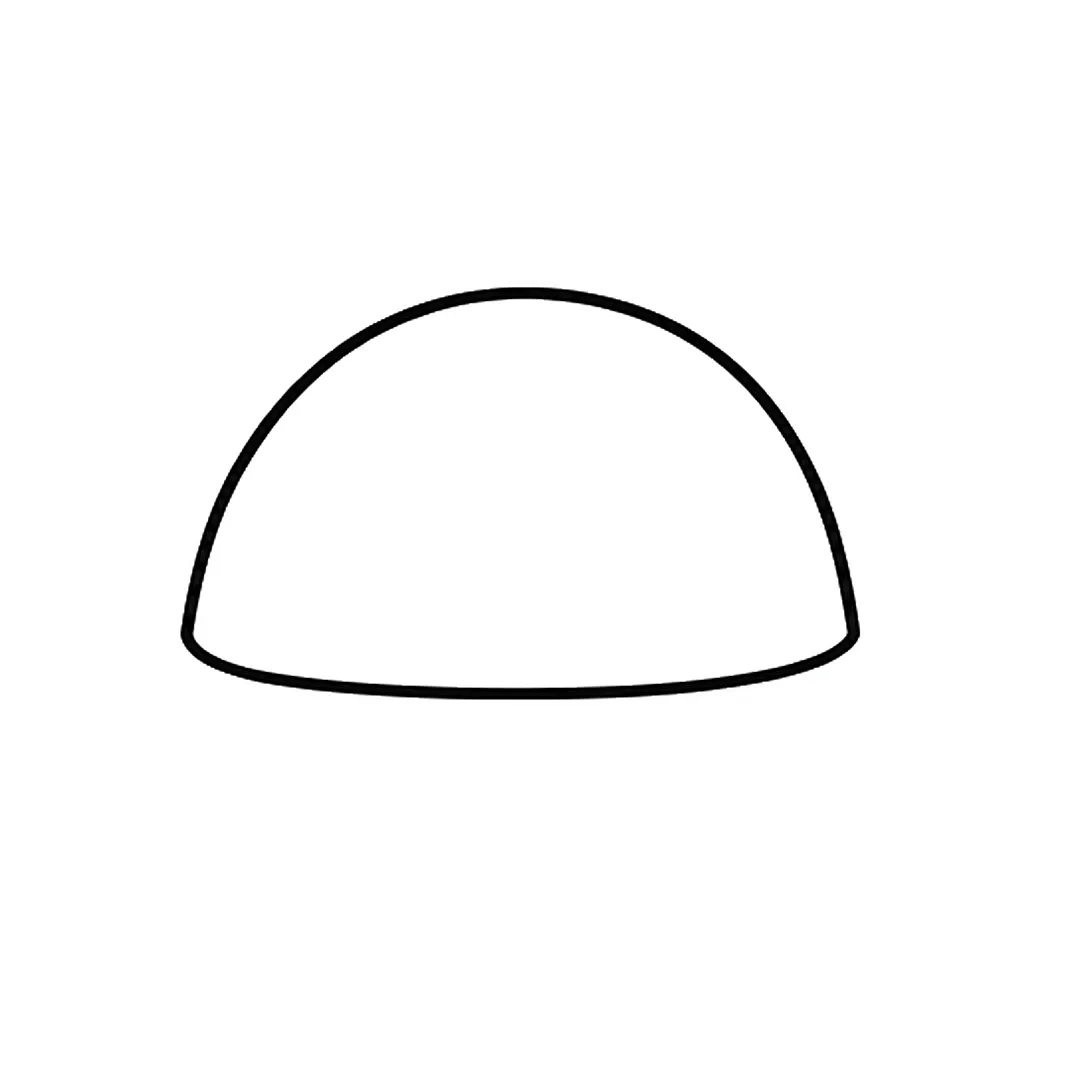
Step 1: Draw a big dome-shaped shell with a flat bottom.
-
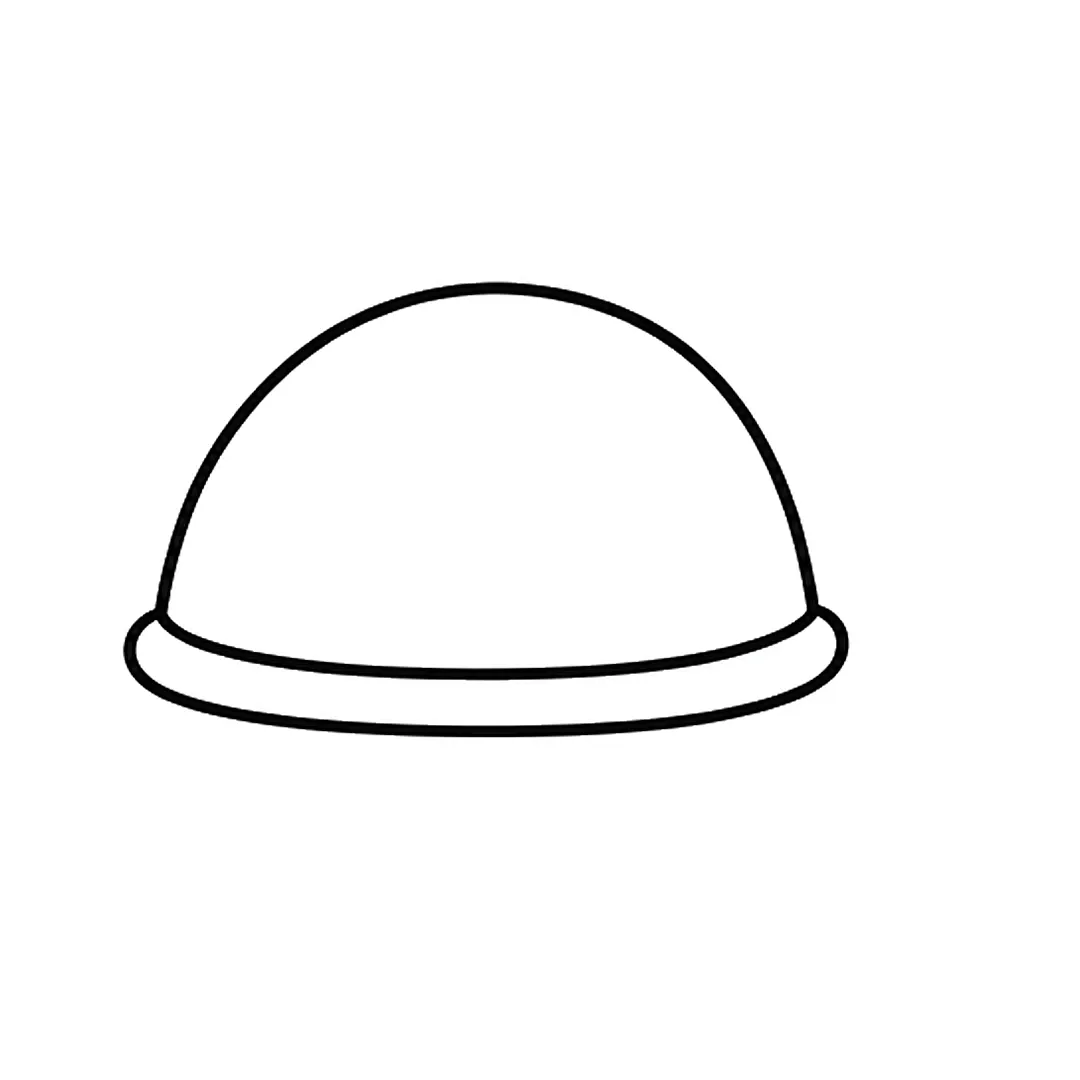
Step 2: Add a long flat rim with rounded ends under the dome.
-
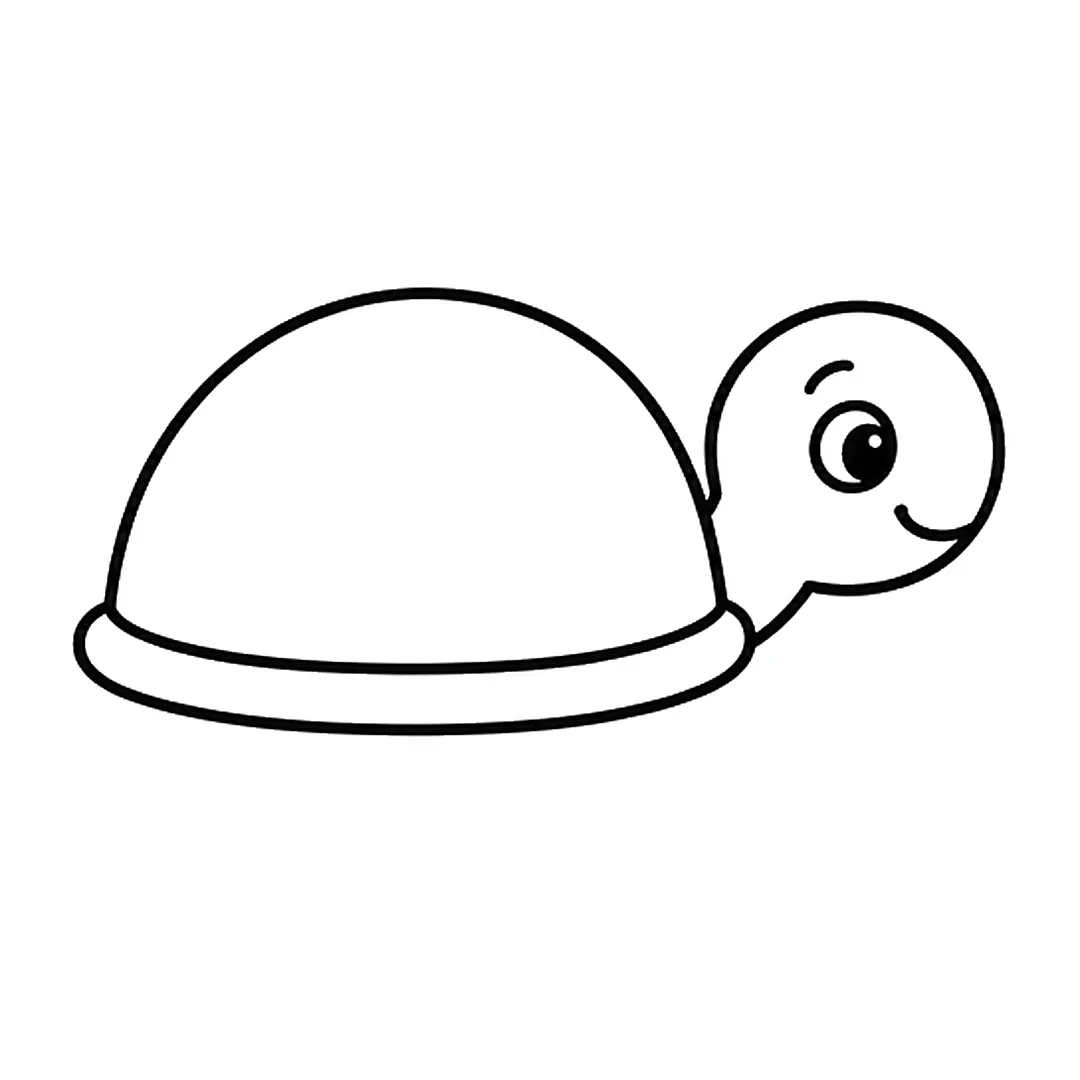
Step 3: Draw a round head on the right with a neck, an eye, a small brow line and a smile.
-
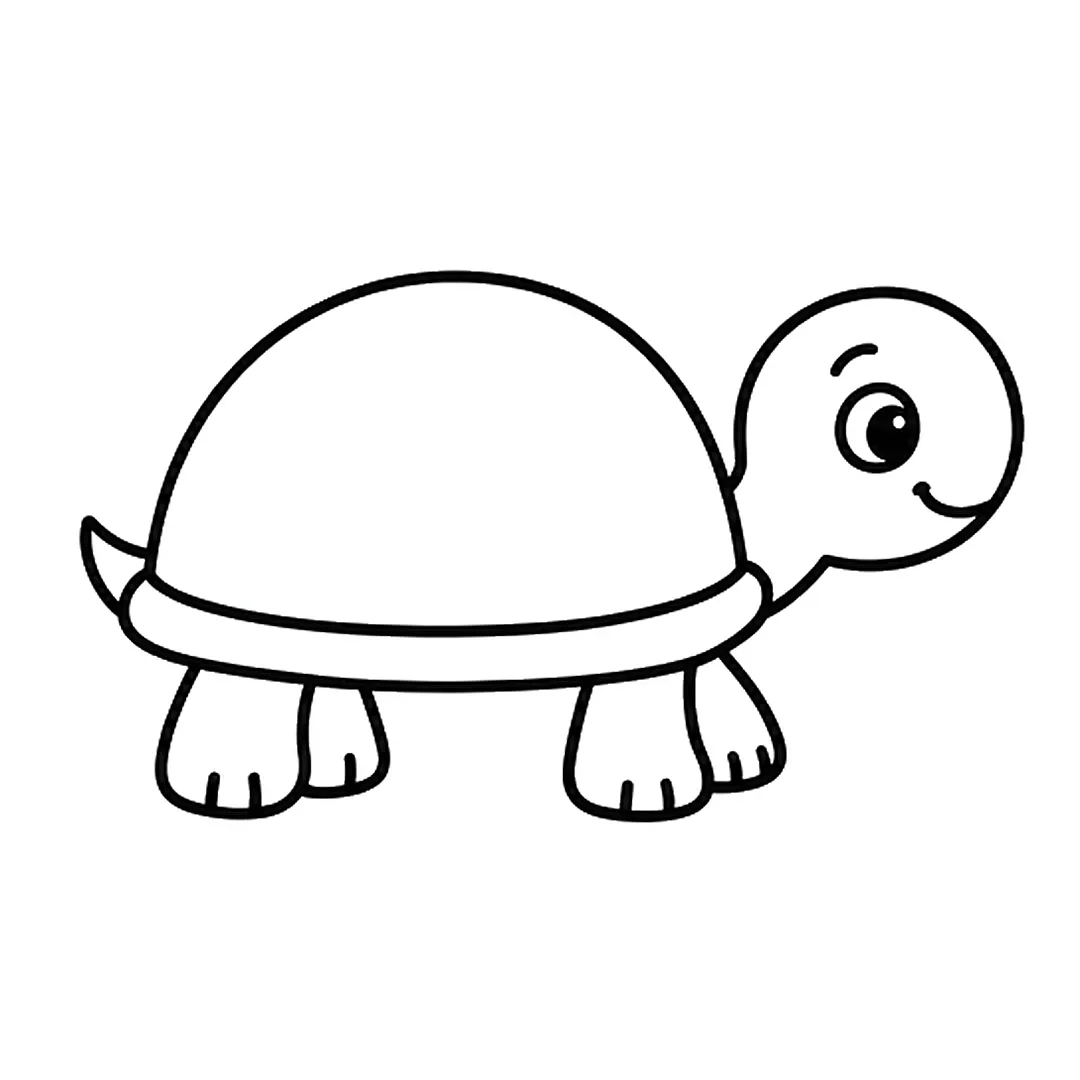
Step 4: Add four short legs with toe lines under the rim and a small pointed tail on the left.
-
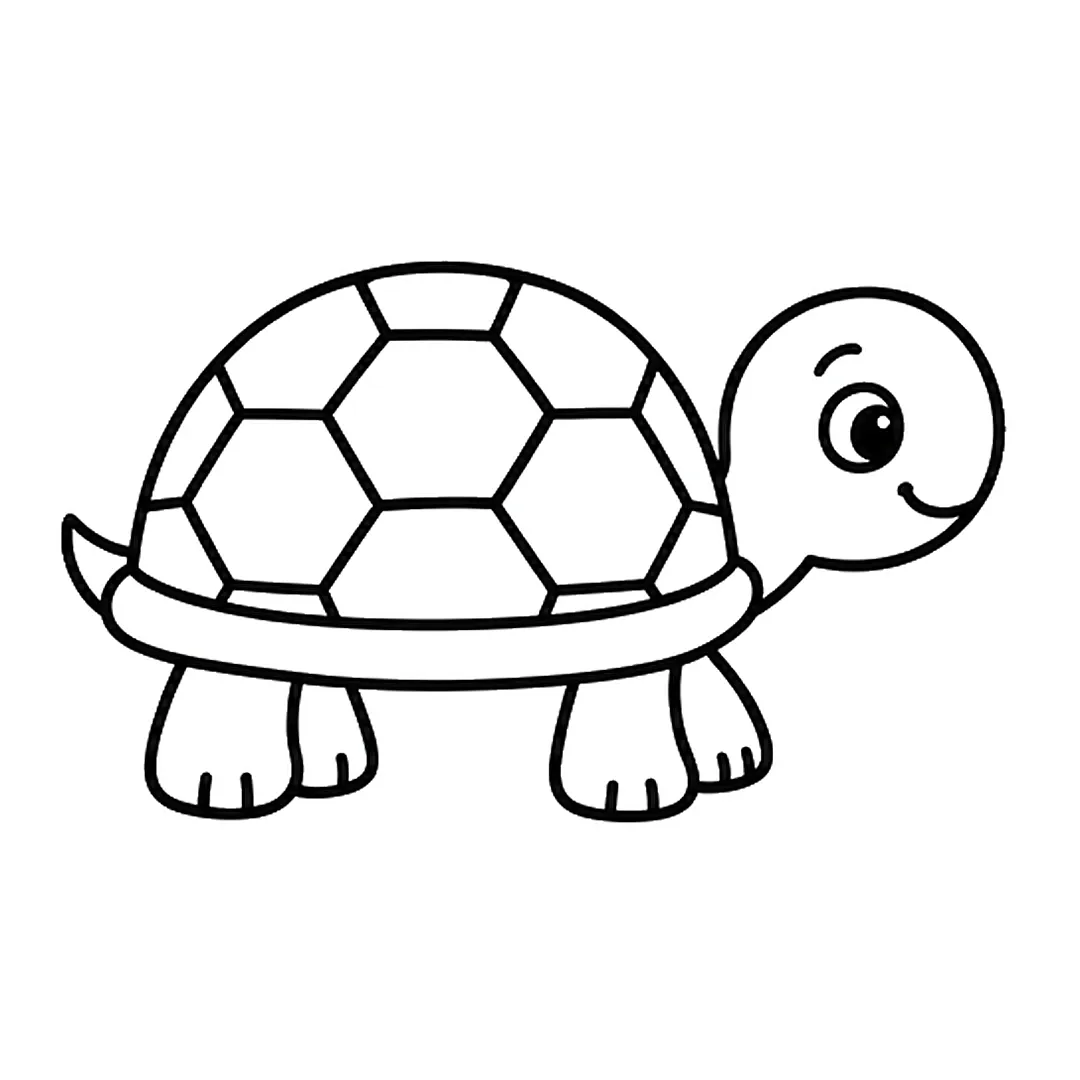
Step 5: Draw a pattern of hexagon shapes all over the shell.
-
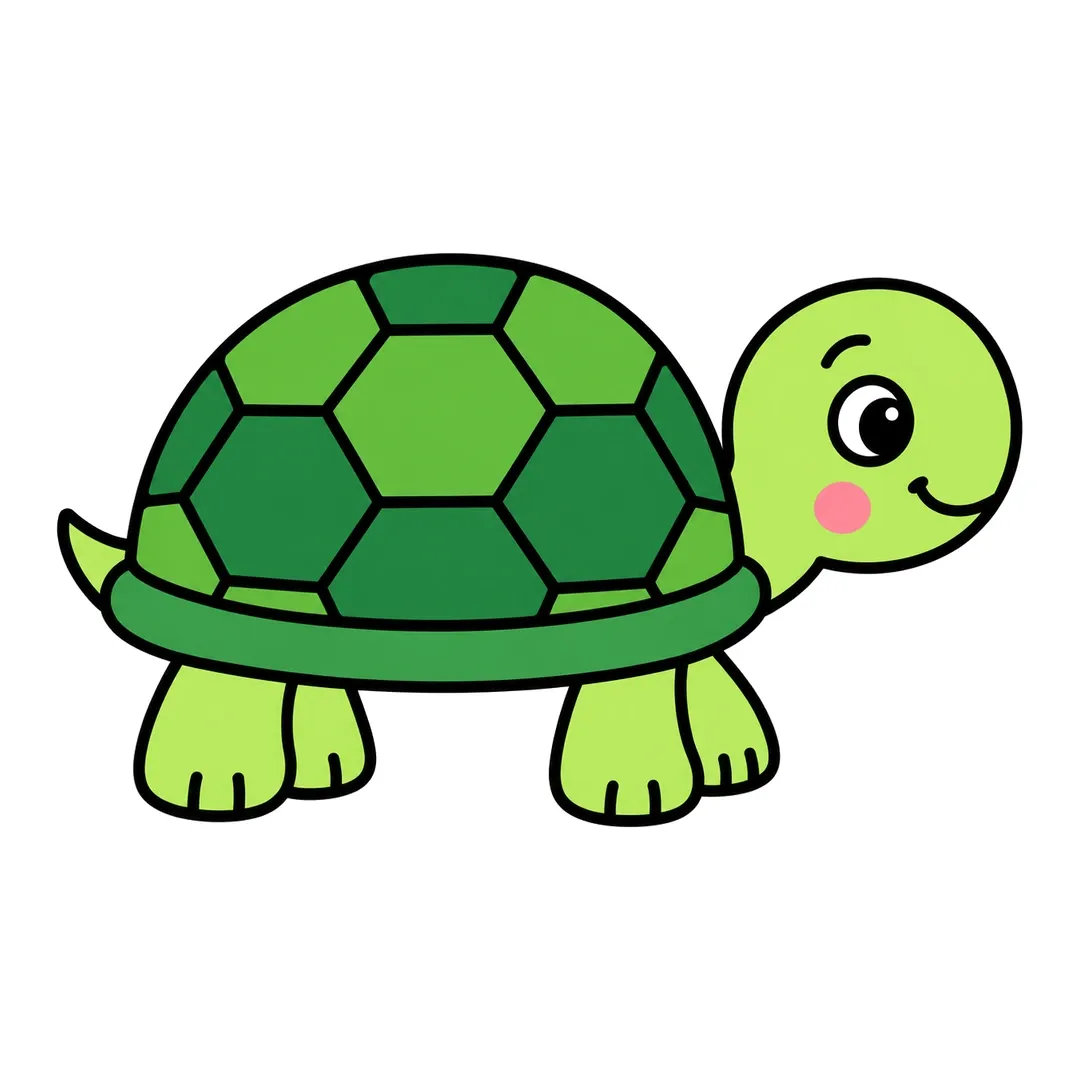
Step 6: Color the shell plates dark green and green, the rim green, the body light green and the cheek pink.
More ocean animals are in the Sea Animals drawing pack.
What Are Cute Food Drawings With Faces?
Cute food drawings are simple food shapes with a kawaii face added, such as a smiling cupcake, cookie or strawberry. Most foods start as a circle, a triangle or a rectangle. Seven of the 9 ideas below have full tutorials. Our kawaii food ideas page has 40 foods, with faces optional.
Cupcake
A cupcake has a clear base and a swirly top, and the wrapper in how to draw a cupcake is a good spot for a face.
- Draw a wide trapezoid for the wrapper.
- Add a puffy cloud of frosting on top.
- Draw a cherry or sprinkles.
- Add eyes, a smile and blush on the wrapper.
-
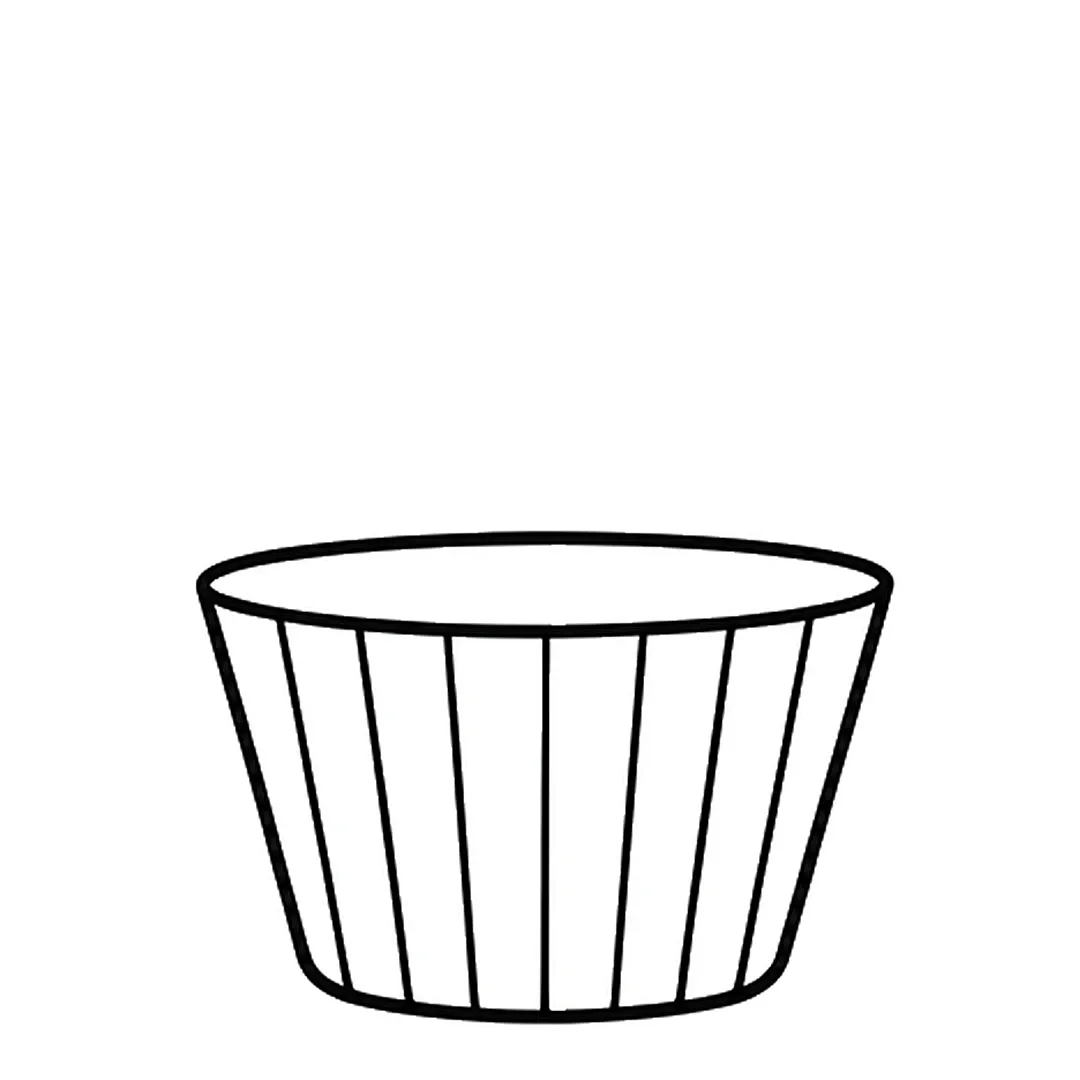
Step 1: Draw a wrapper that is wider at the top, with an oval rim and straight lines down its side.
-
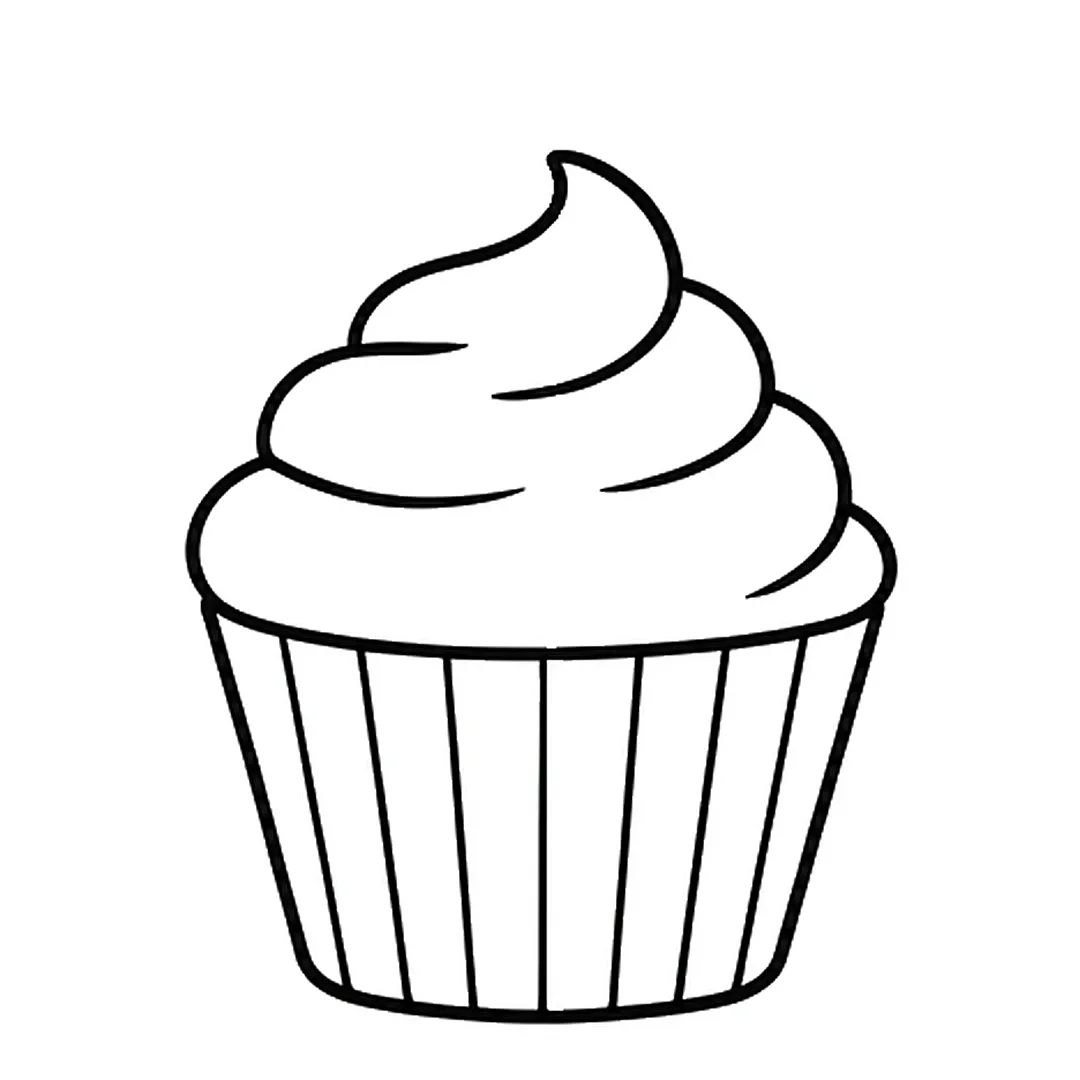
Step 2: Add a swirly frosting top with three layers and a curled tip. Erase the oval rim under it.
-
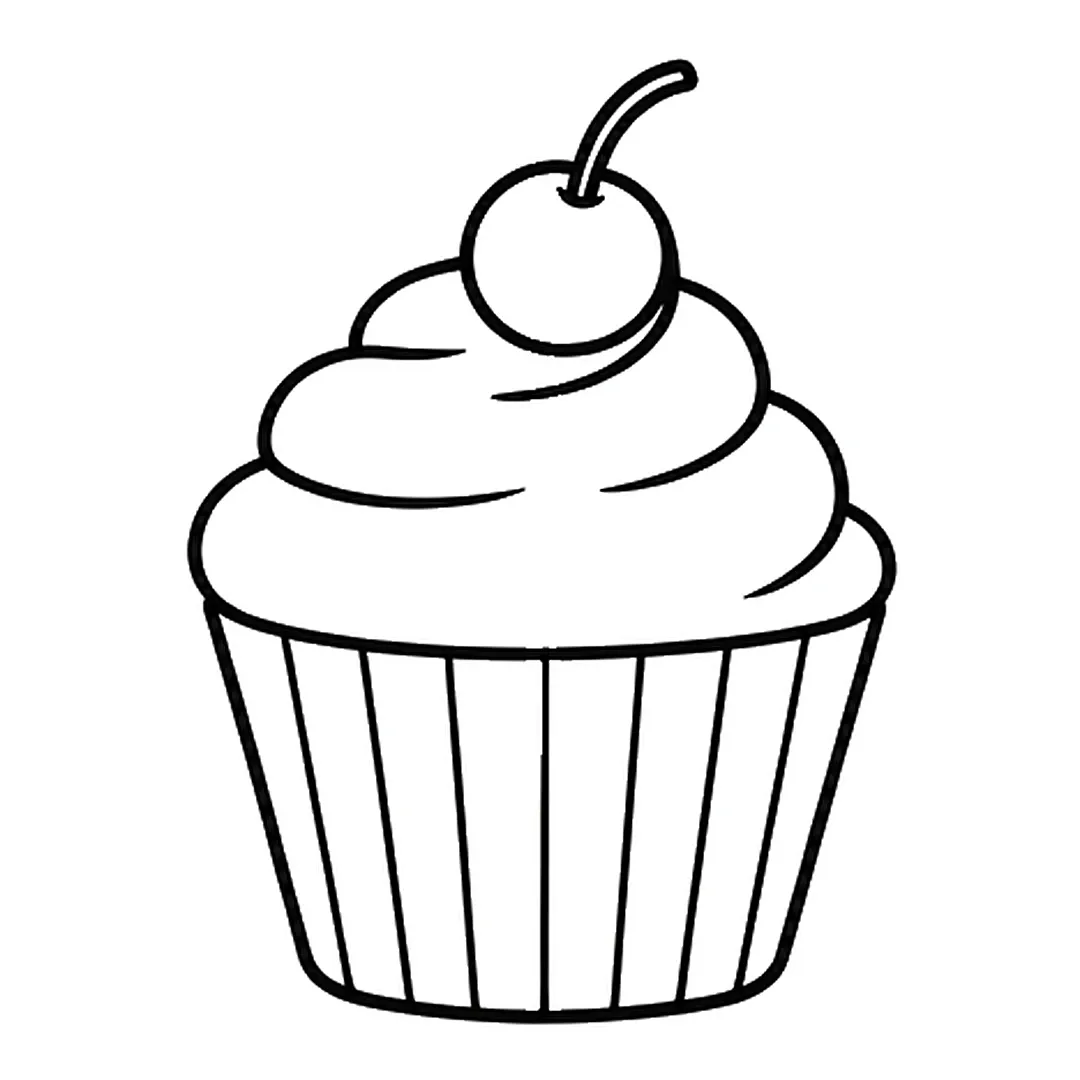
Step 3: Draw a round cherry with a curved stem on top. Erase the frosting tip behind the cherry.
-

Step 4: Add two big black eyes with shine dots and a smile. Erase the wrapper lines behind the face.
-
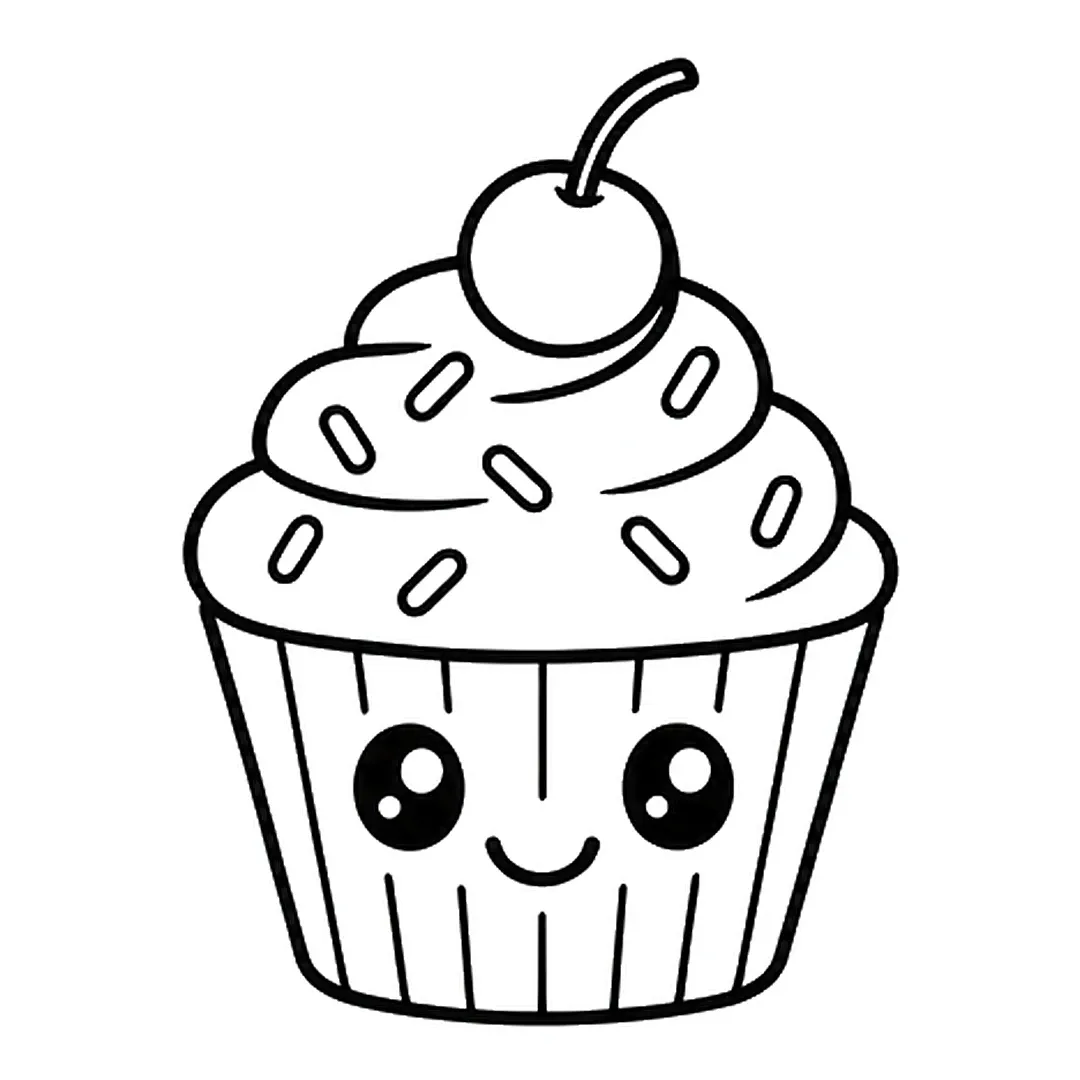
Step 5: Draw eight small rounded sprinkles over the frosting. Color them red, yellow and light blue later.
-

Step 6: Color the frosting pink, cherry red, stem brown, wrapper light blue, sprinkles too. Add pink cheeks.
Cookie
A cookie is a single circle, so how to draw a cookie works for the youngest kids.
- Draw a circle with a slightly bumpy edge.
- Add chocolate chips as small dots.
- Draw a happy face in the middle and color it light brown.
-
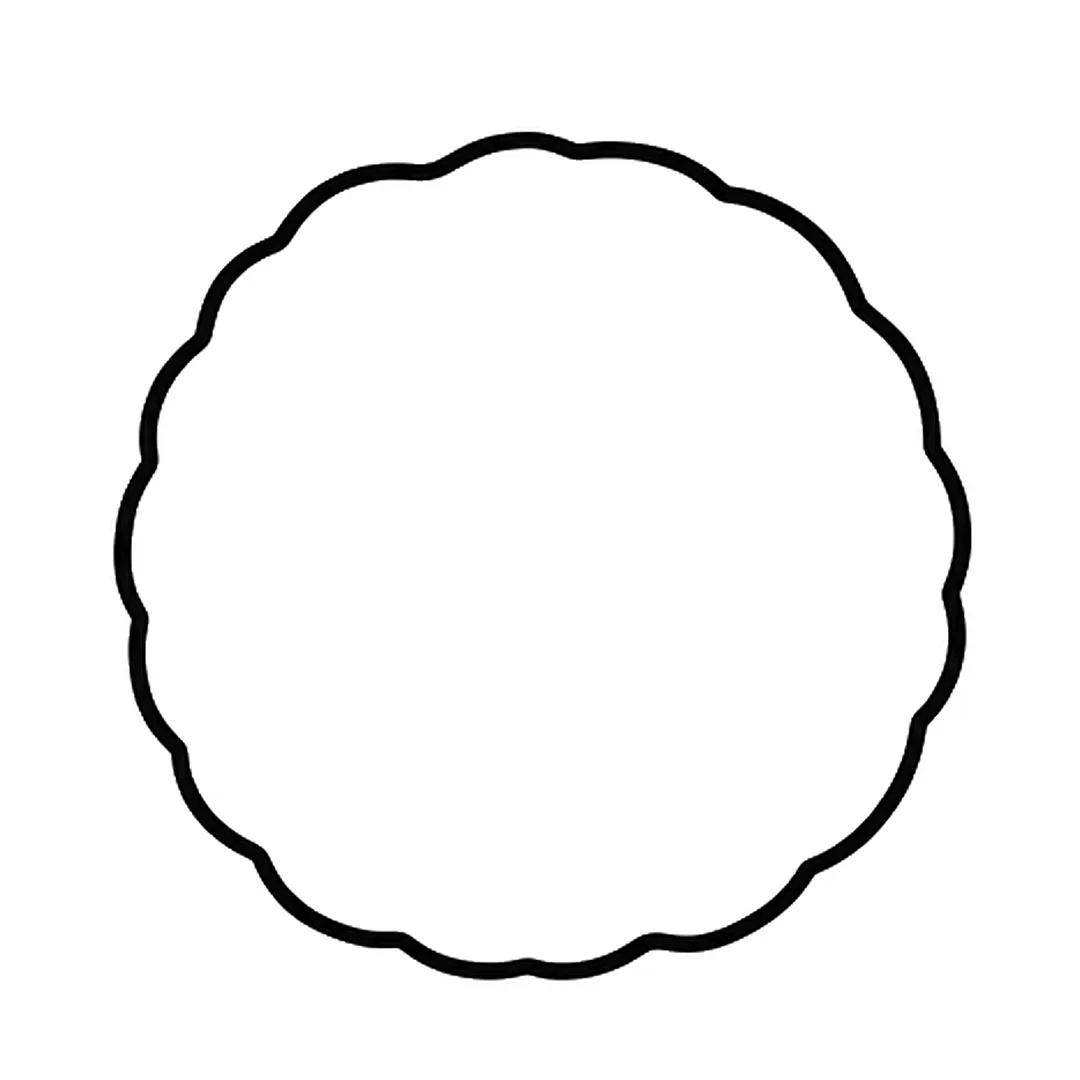
Step 1: Draw one big round cookie with a slightly bumpy edge.
-
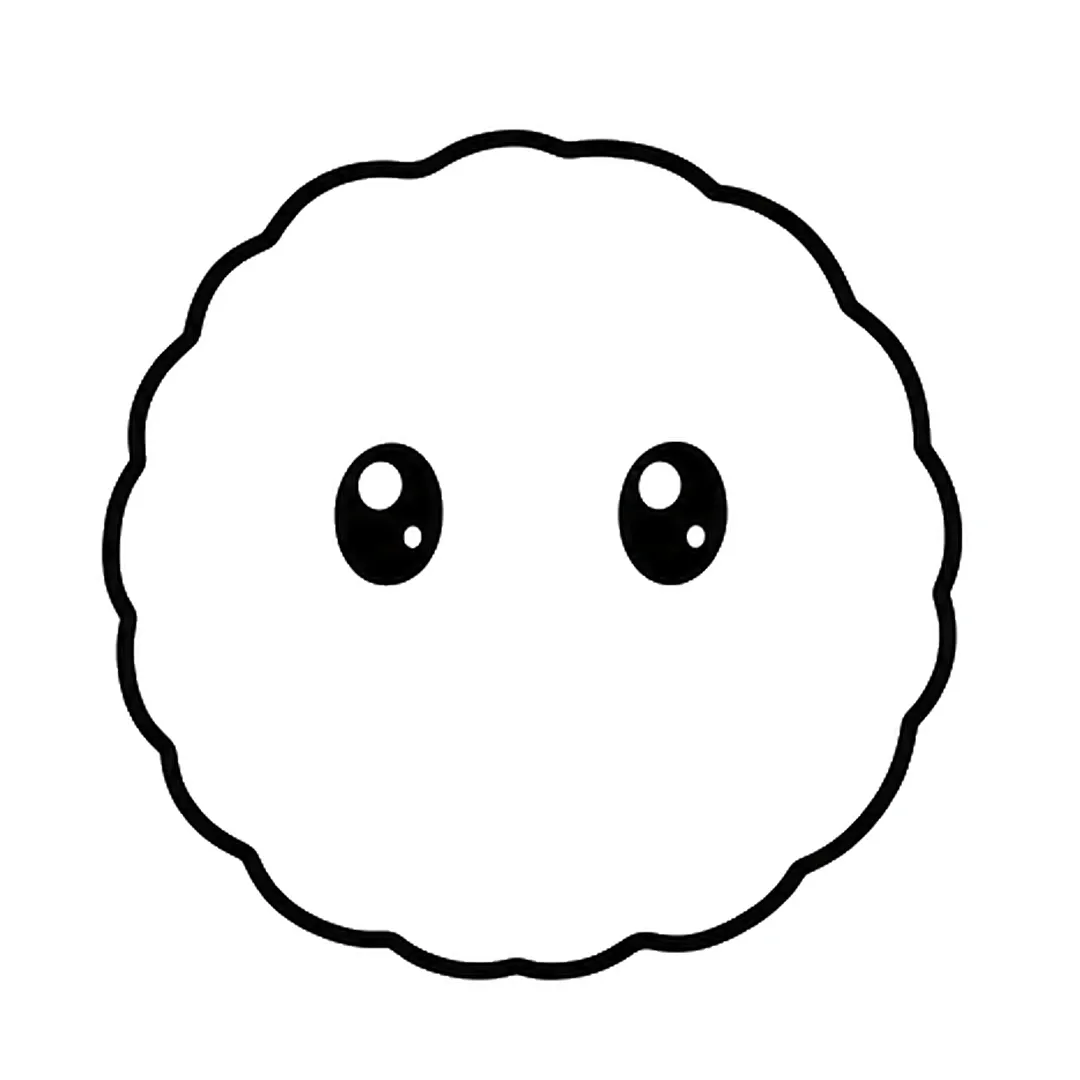
Step 2: Add two oval eyes in the middle. Fill them black, but leave two small white shine dots in each.
-
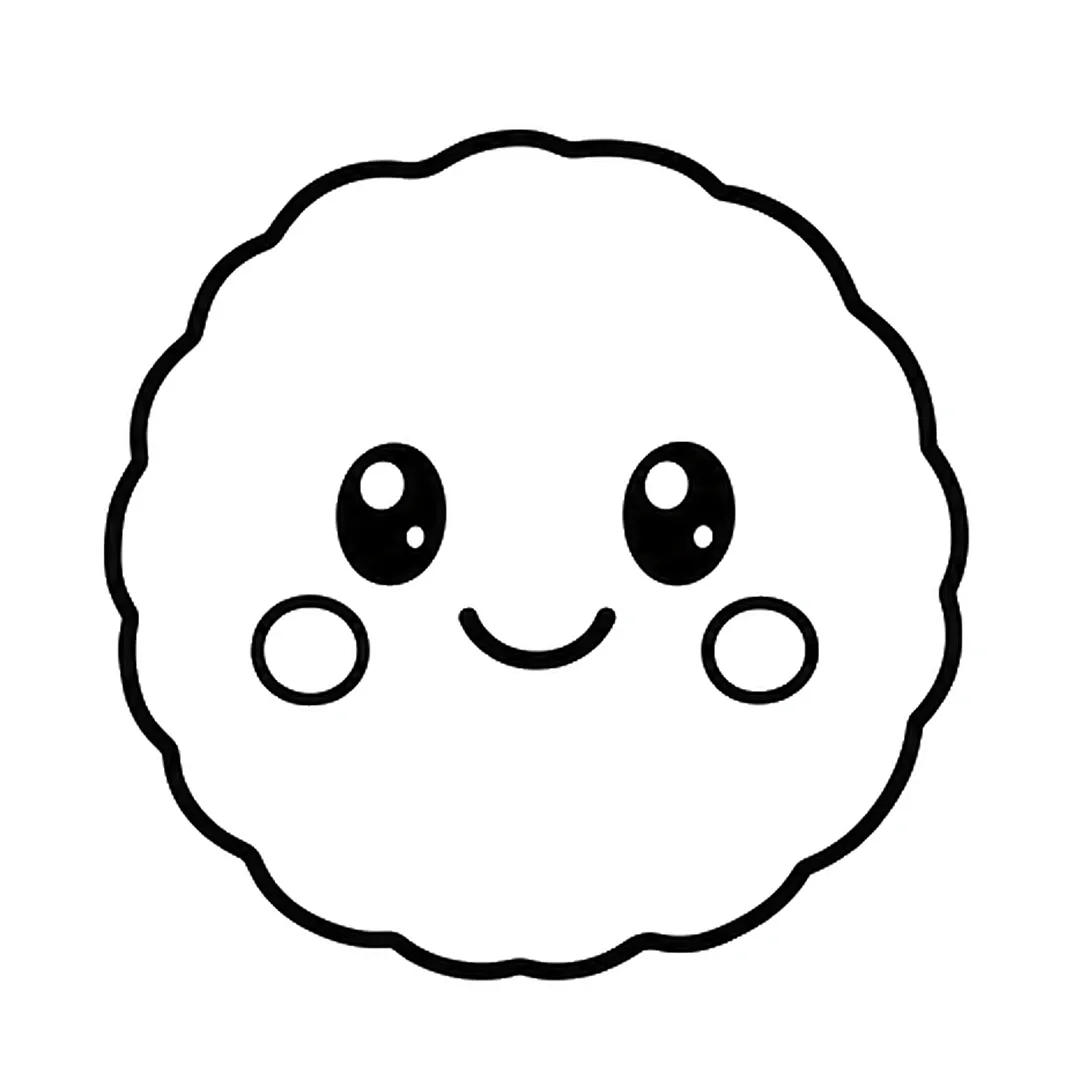
Step 3: Draw a small smile between the eyes and a round cheek under each eye.
-
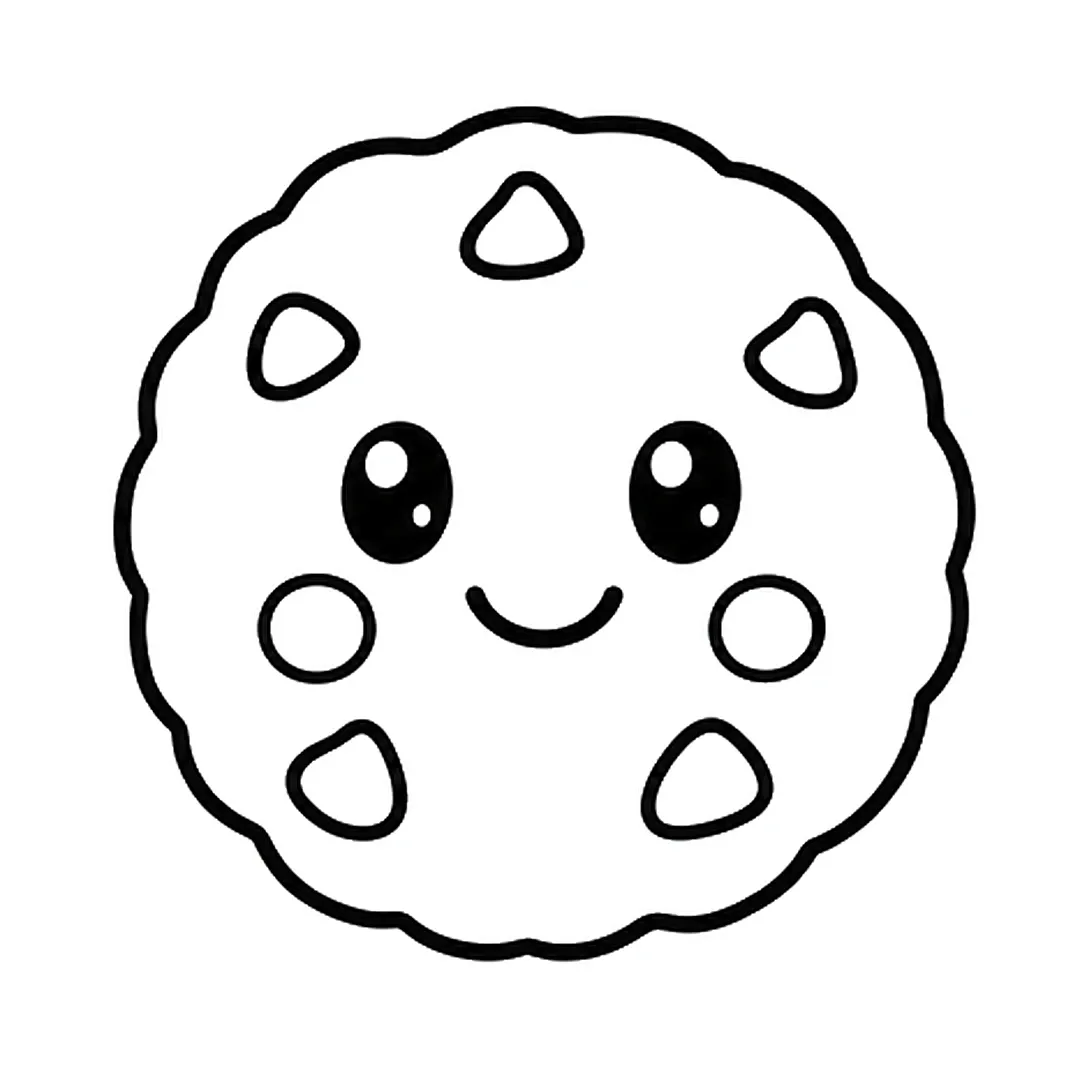
Step 4: Add five rounded chocolate chips: one at the top, two at the sides and two at the bottom.
-
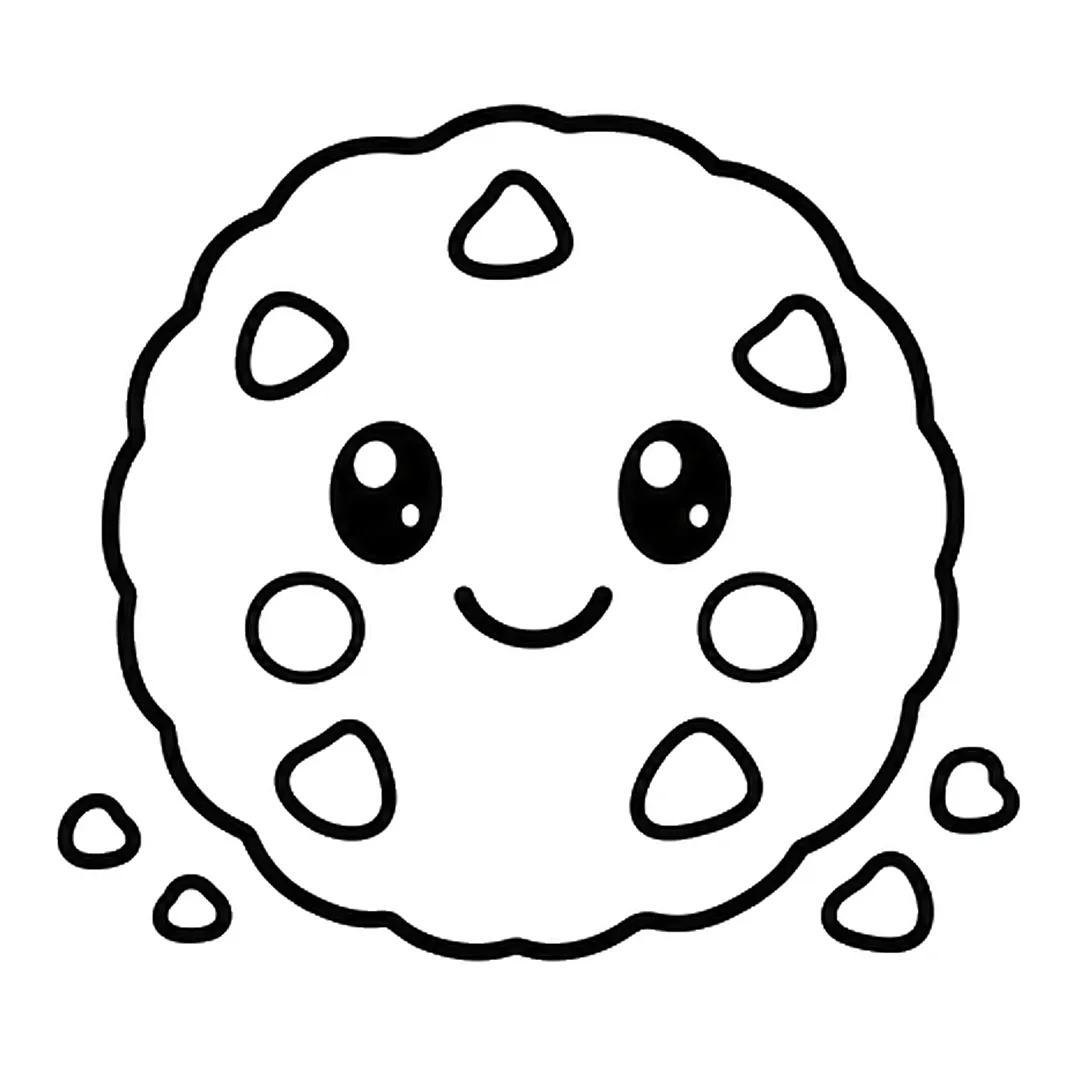
Step 5: Draw four small crumbs next to the bottom of the cookie, two on each side.
-
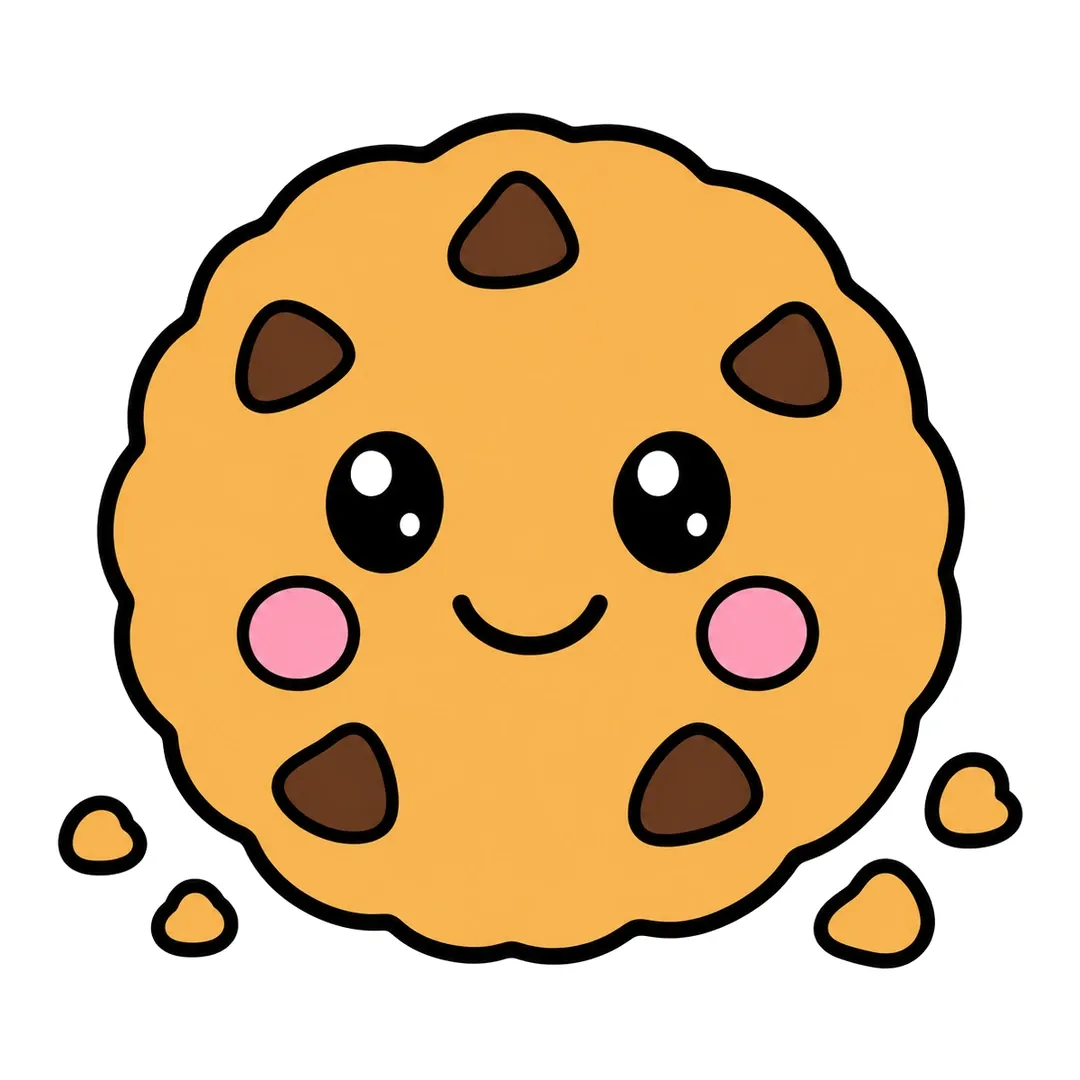
Step 6: Color the cookie and crumbs light brown, chips dark brown, cheeks pink. Keep the shine dots white.
Candy
A wrapped candy is an oval with two bow-tie ends; see how to draw a candy.
- Draw an oval in the middle.
- Add a triangle twist on each side.
- Draw stripes or dots on the wrapper.
- Give the oval a tiny smile.
-

Step 1: Draw one big round circle in the middle of the paper for the candy.
-
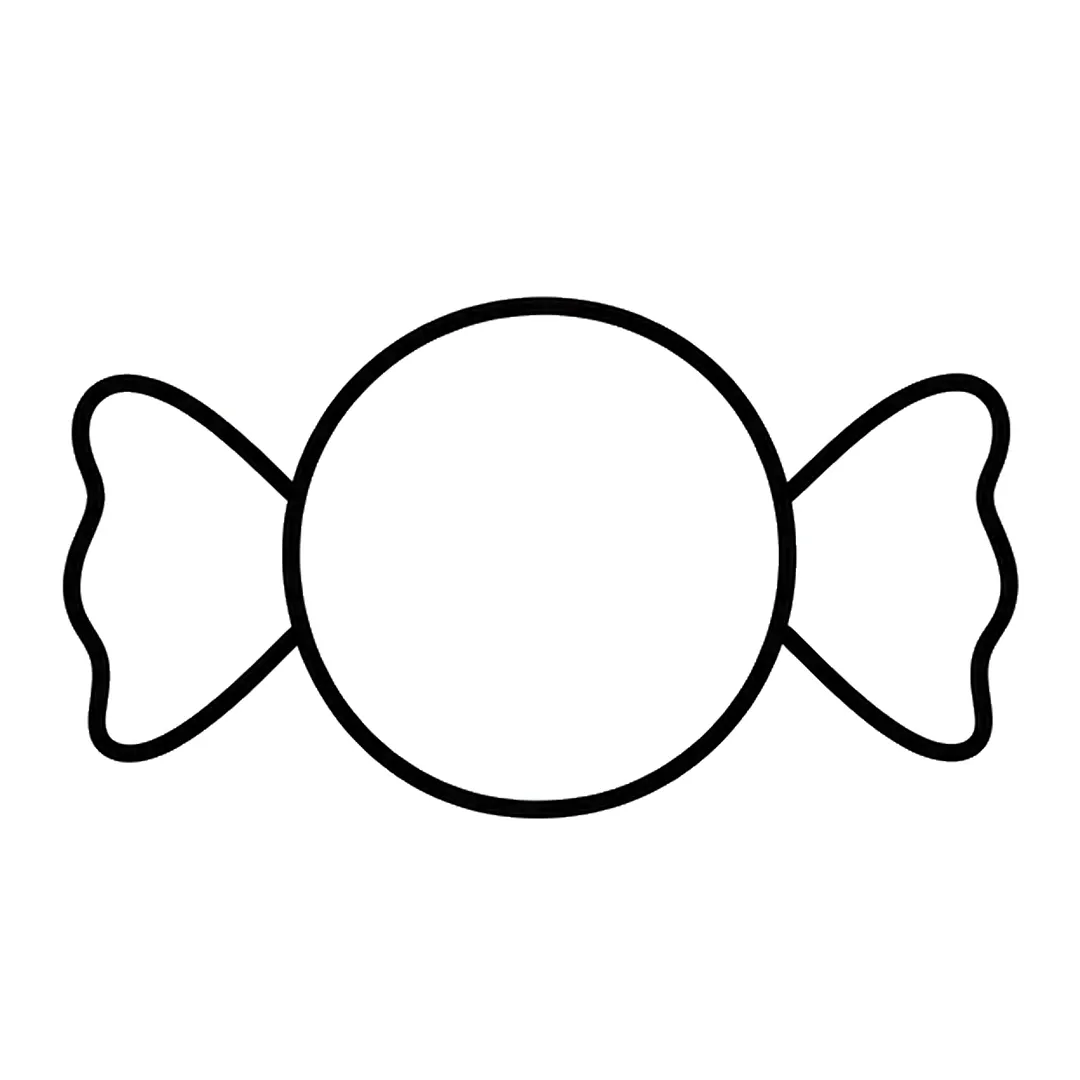
Step 2: Add a wrapper end on each side. Make it thin at the circle and wide at the end, with a wavy edge.
-
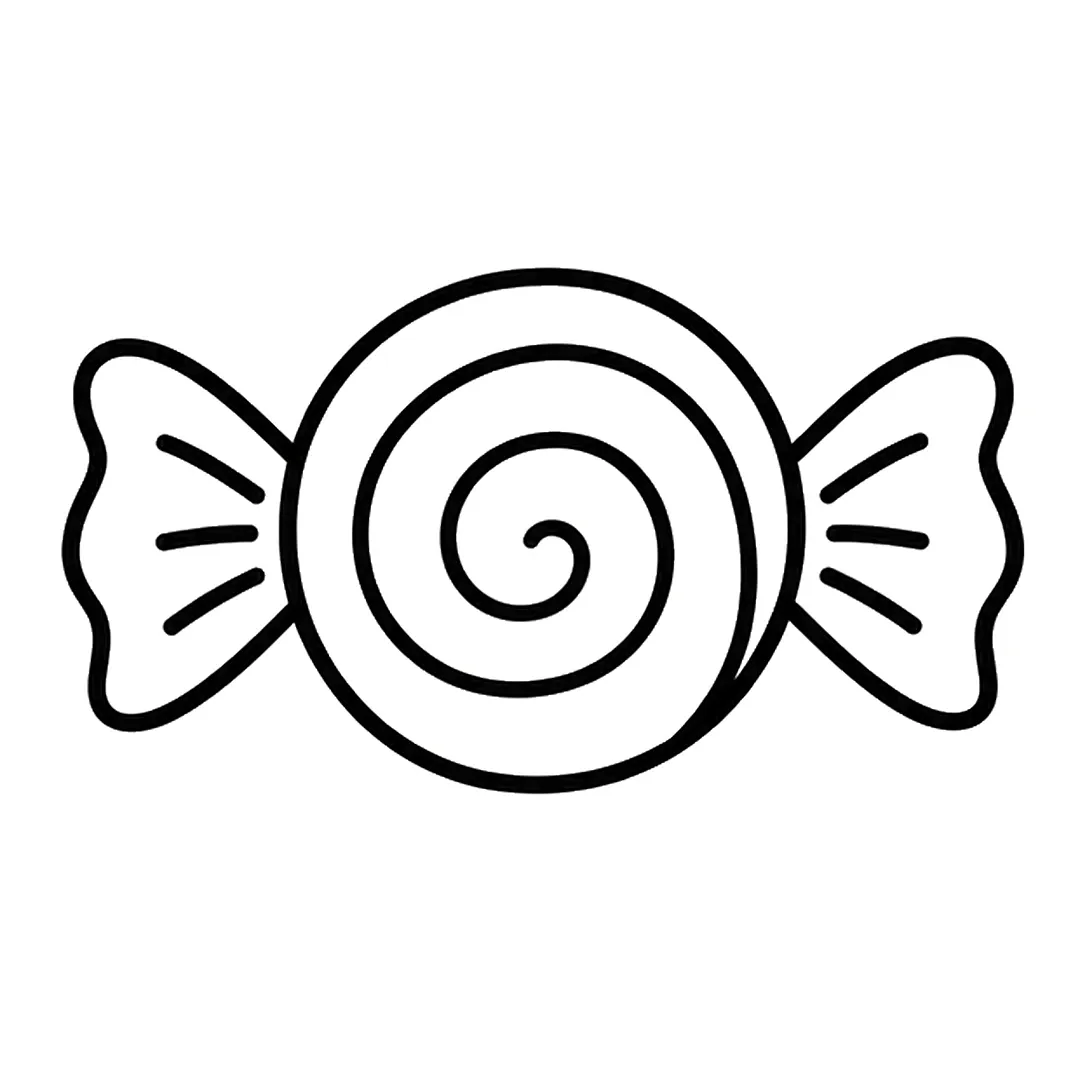
Step 3: Draw a light pencil spiral from the center to the bottom right edge, then three fold lines per end.
-
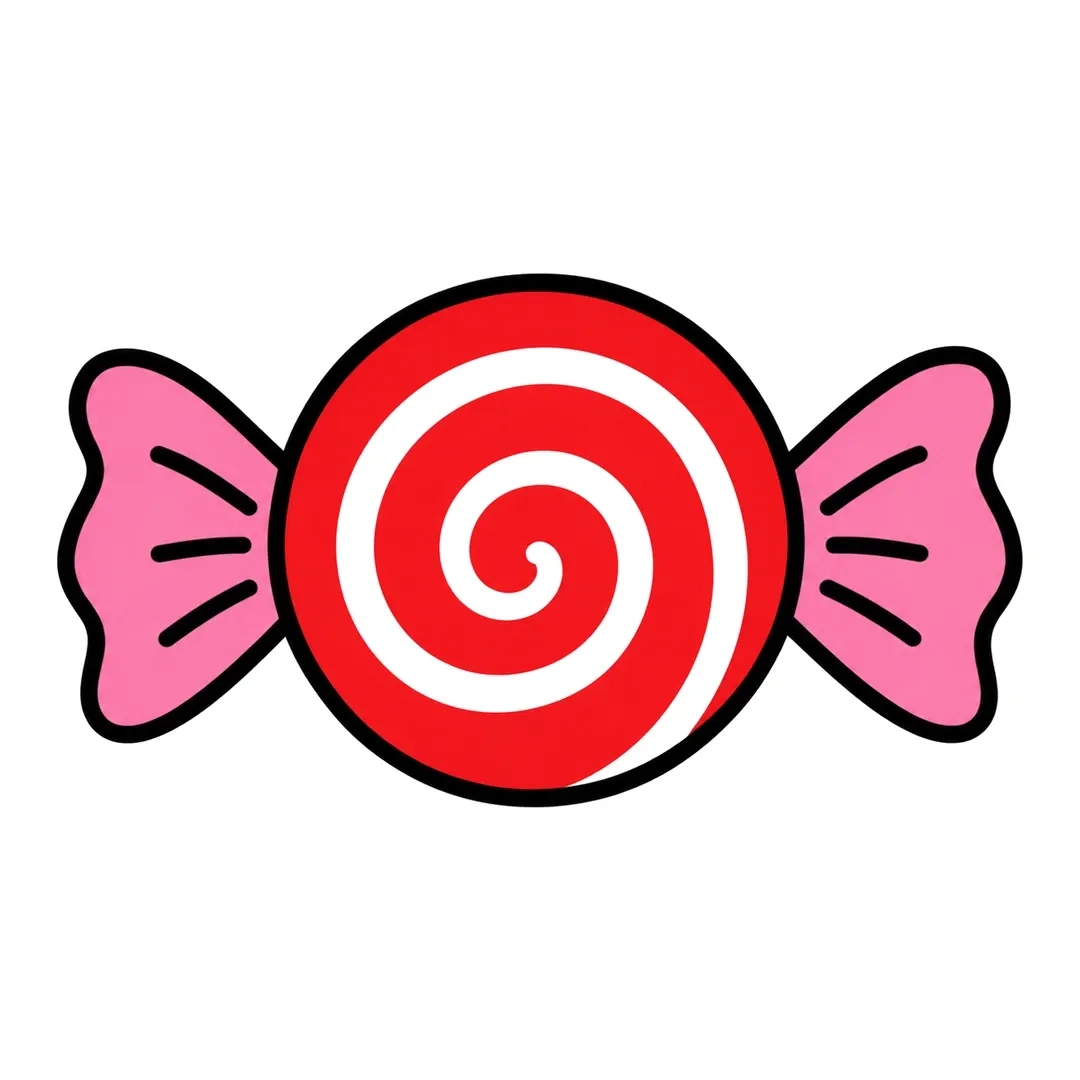
Step 4: Color the candy red with a wide white stripe on the pencil spiral. Erase it and color the ends pink.
Strawberry
A strawberry starts as a rounded heart with seeds, and pink cheeks match its color in how to draw a strawberry.
- Draw one big rounded heart.
- Give the berry a crown of five pointy green leaves and a little stem.
- Draw small seed marks all over.
- Add a face and color it red.
-
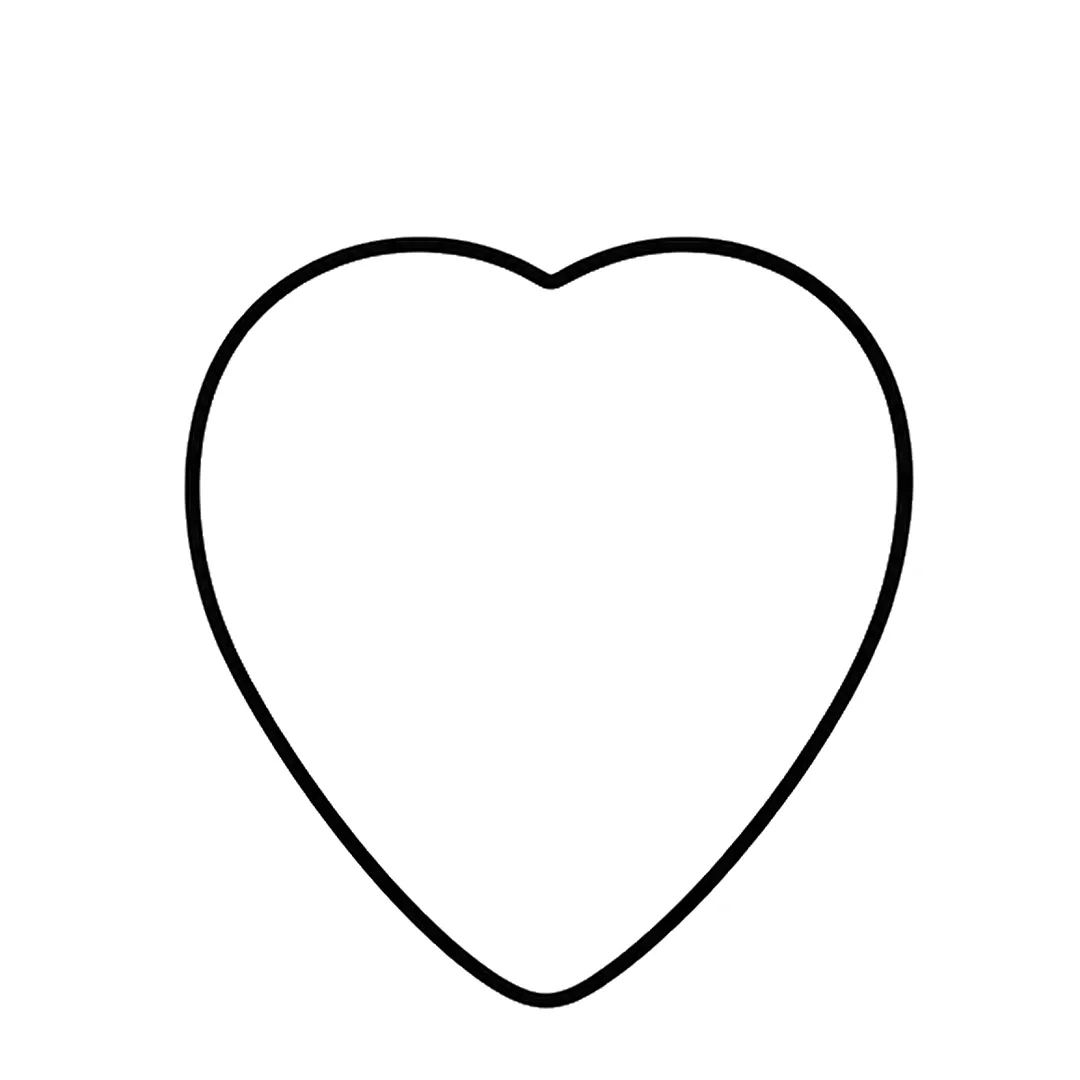
Step 1: Draw one big rounded heart shape with a small dip at the top and a soft point at the bottom.
-
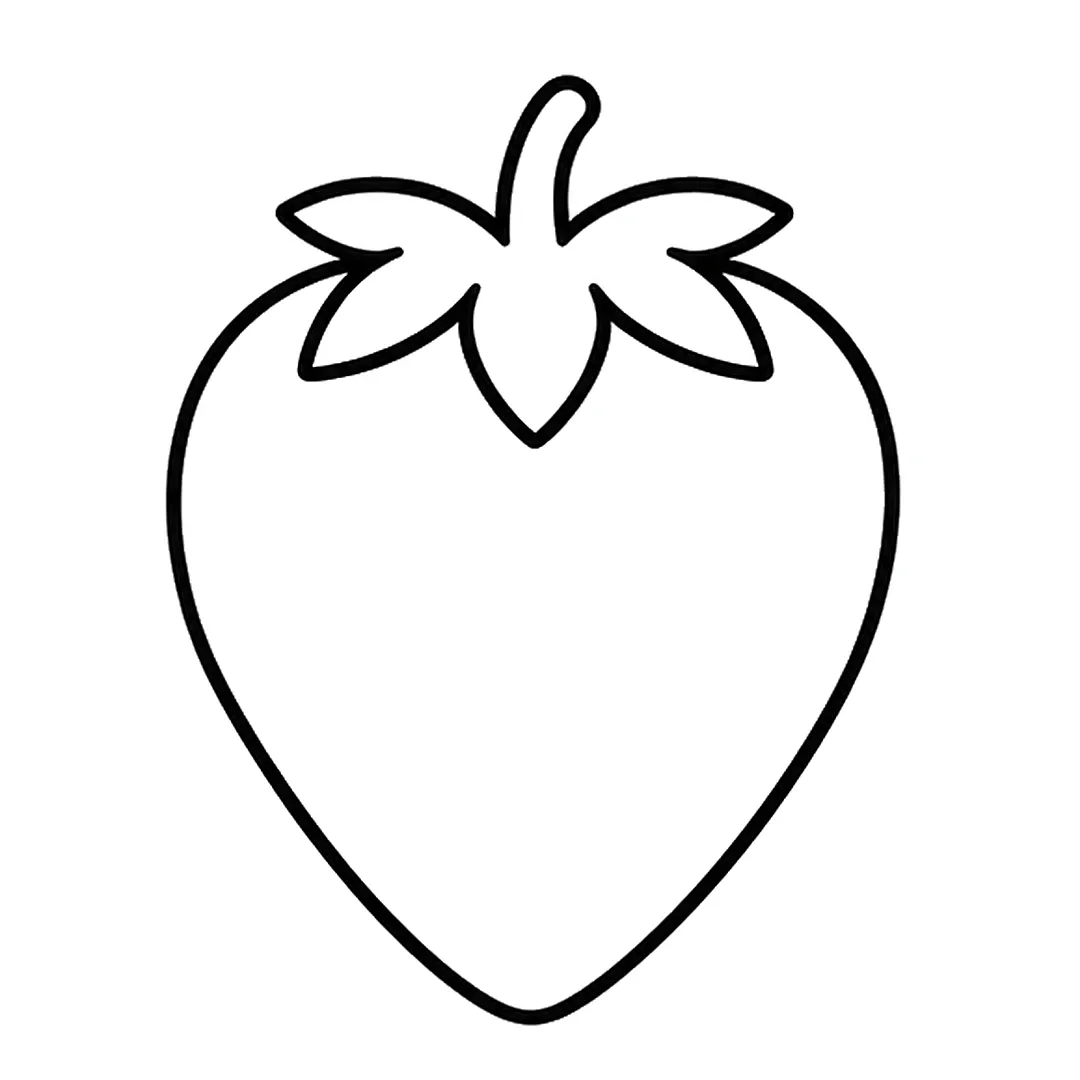
Step 2: Add five pointed leaves and a curved stem on top. Erase the berry line under the leaves.
-
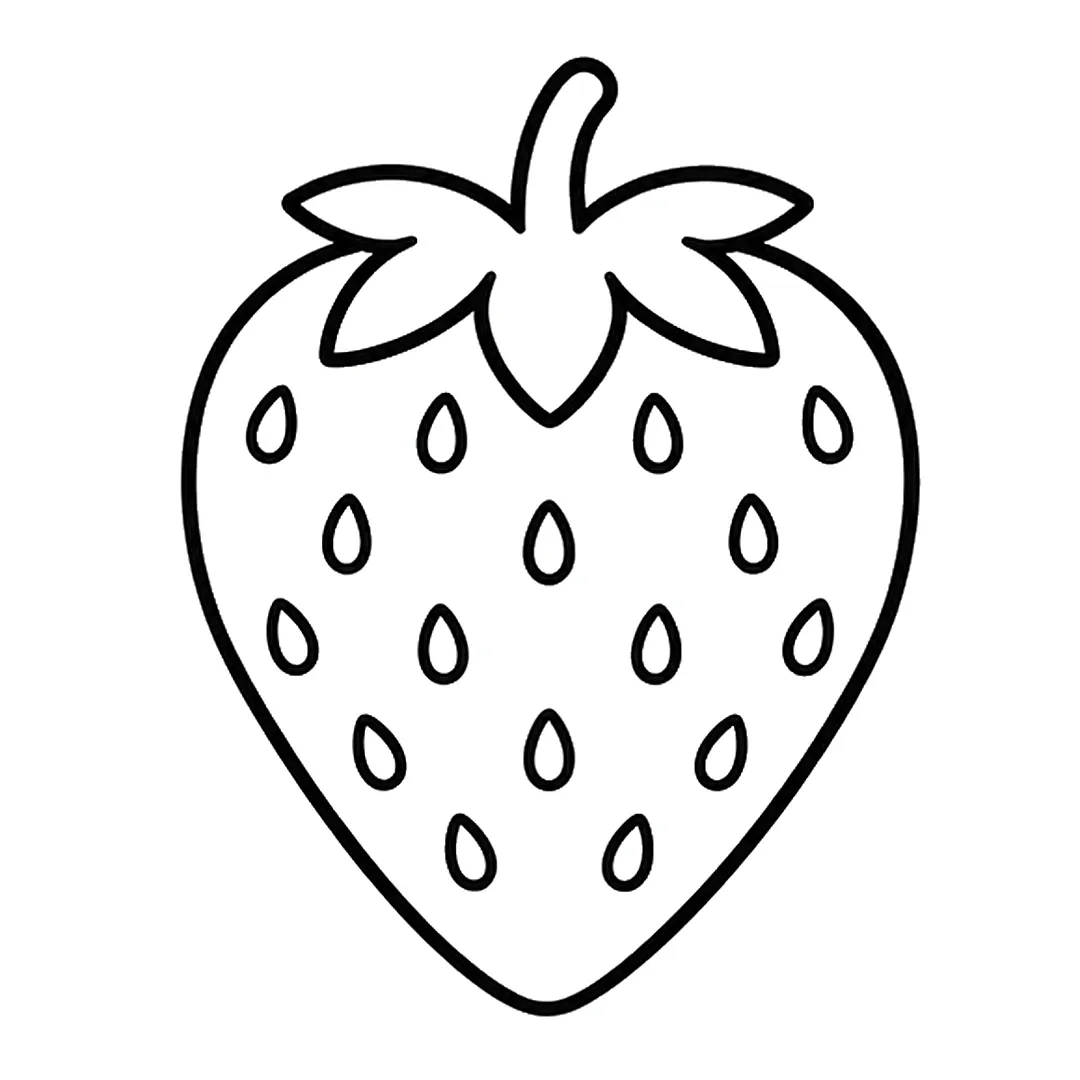
Step 3: Draw 16 small teardrop seeds in five rows of 4, 3, 4, 3 and 2, pointed ends up.
-
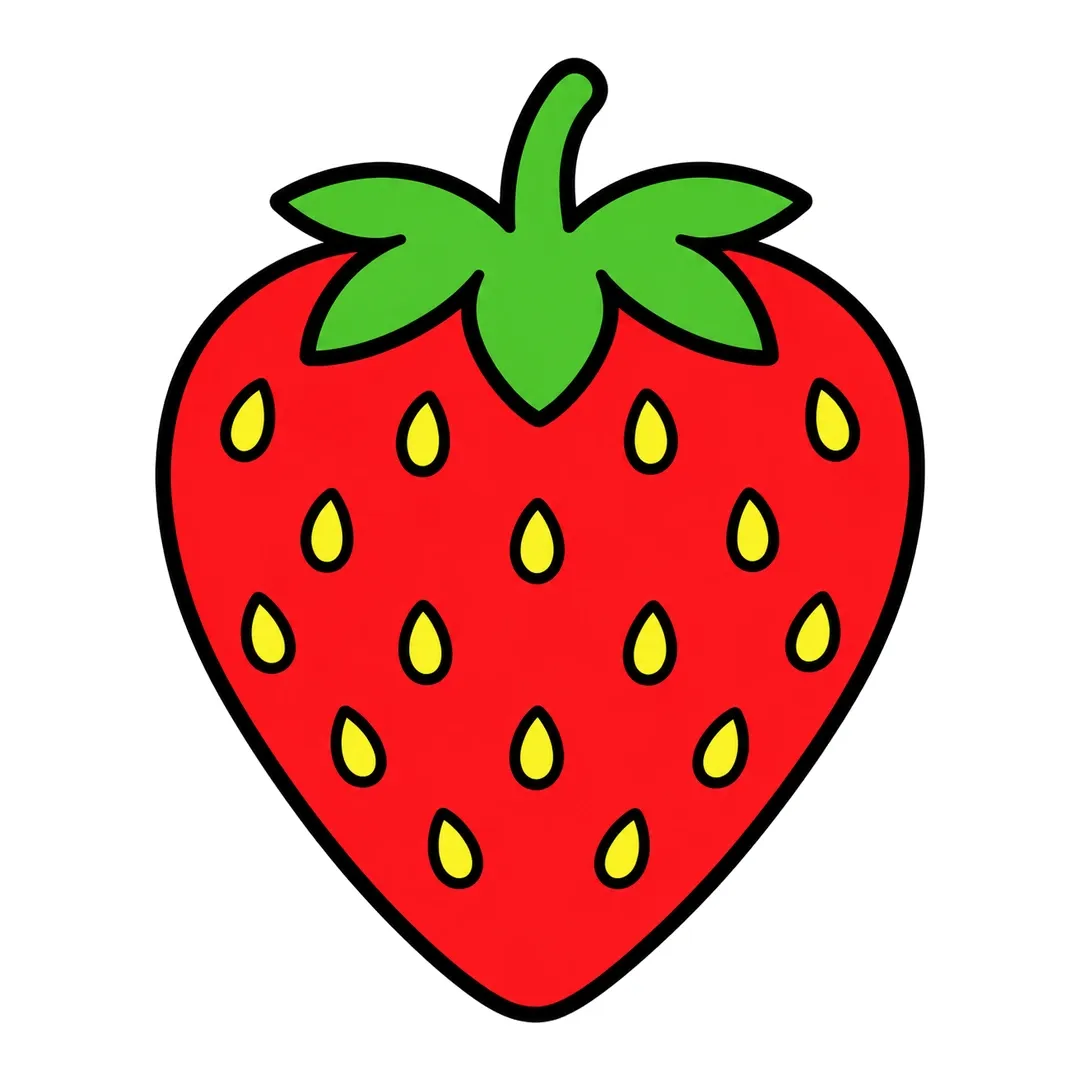
Step 4: Color the berry red, the leaves and stem green and the seeds yellow.
Pineapple
The crisscross pattern in how to draw a pineapple is easy and fun to repeat.
- Draw a tall oval.
- Add spiky leaves on top.
- Draw crisscross lines across the oval.
- Add a face in one of the open spaces.
-

Step 1: Draw one big upright oval for the pineapple fruit.
-
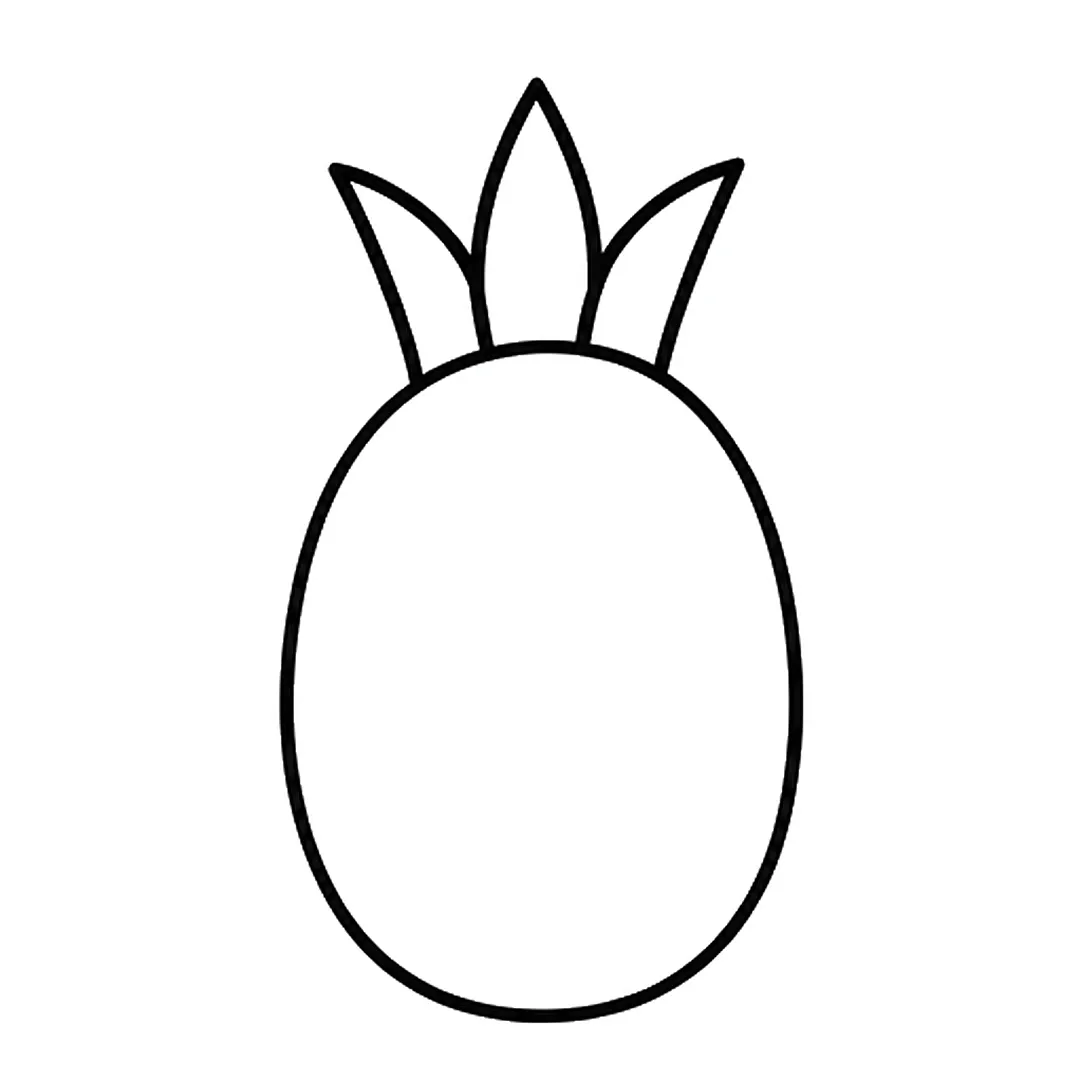
Step 2: Add three pointed leaves on top: a tall one in the middle and one leaning out on each side.
-
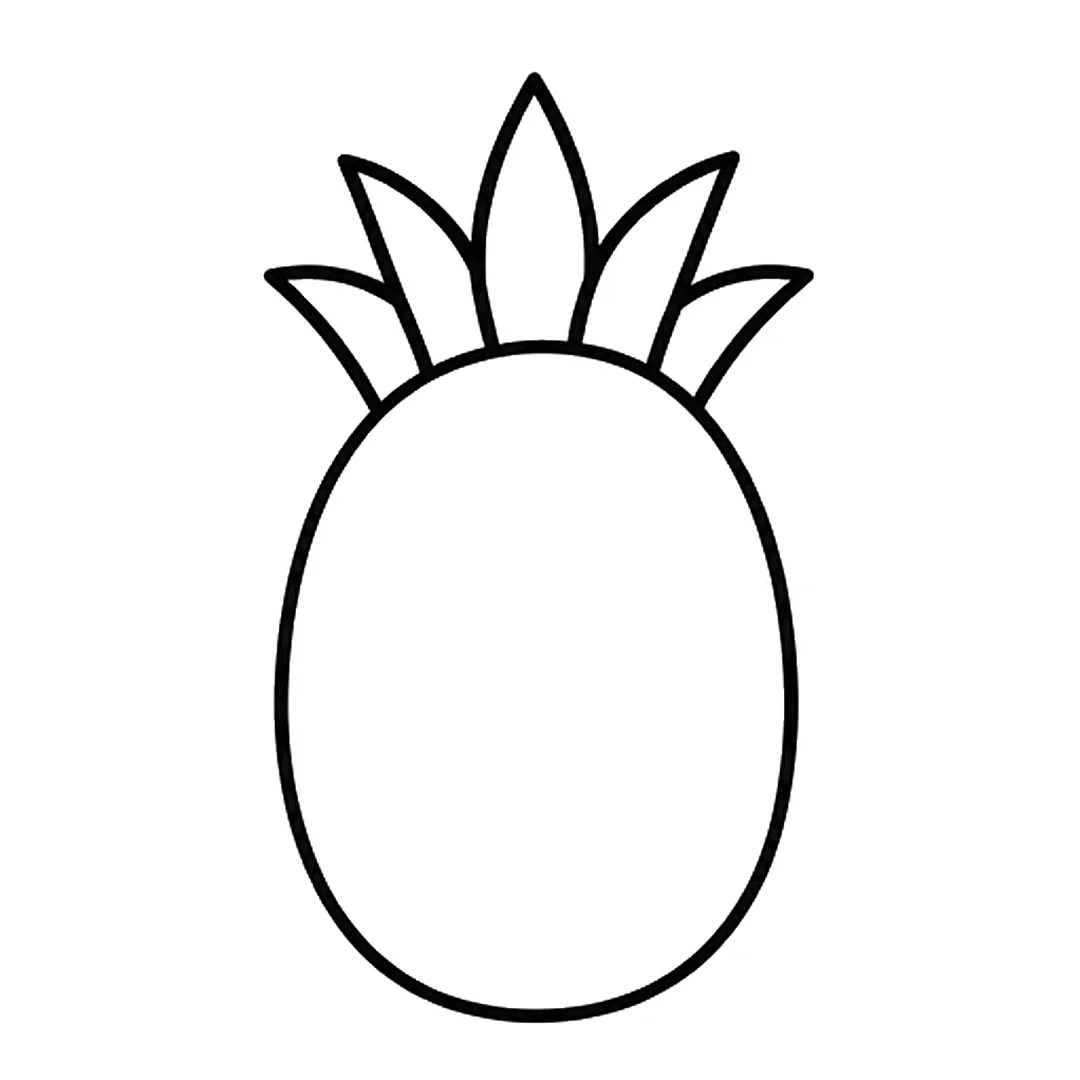
Step 3: Draw two shorter leaves, one low on each side, curving outward behind the first leaves.
-
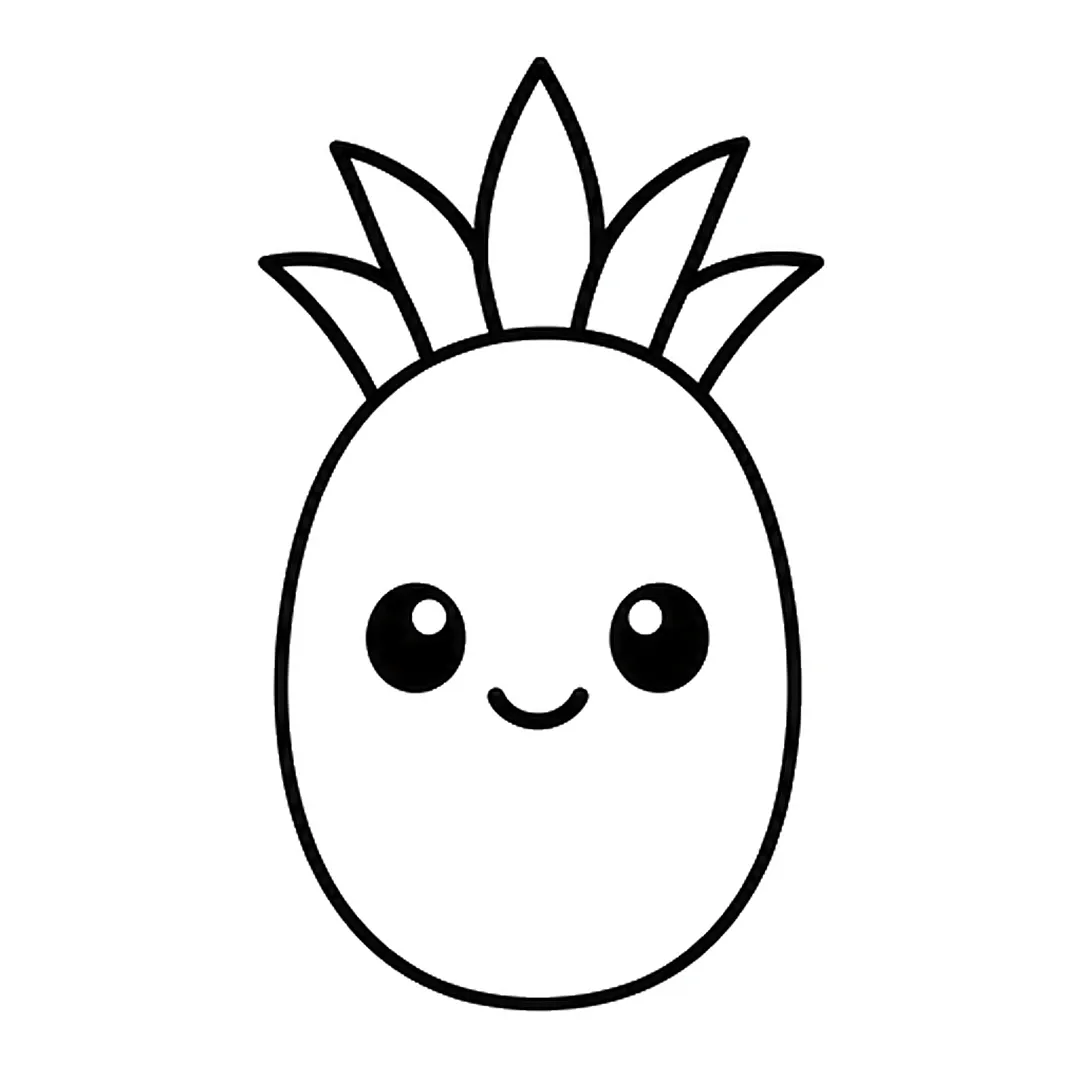
Step 4: Add two round eyes and a small smile. Fill the eyes black but leave one white dot in each.
-
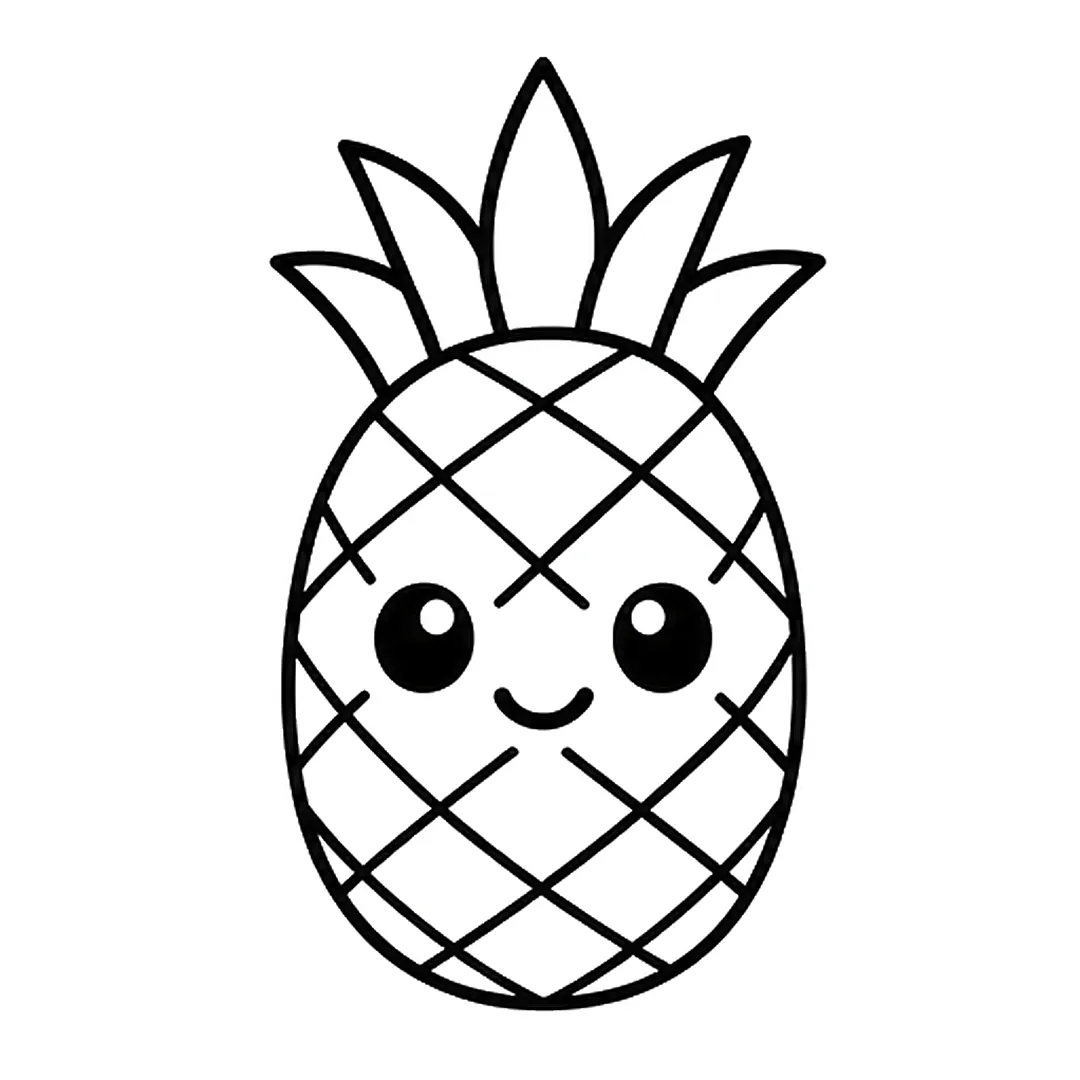
Step 5: Draw crisscross diagonal lines over the fruit. Stop them a little before the eyes and smile.
-
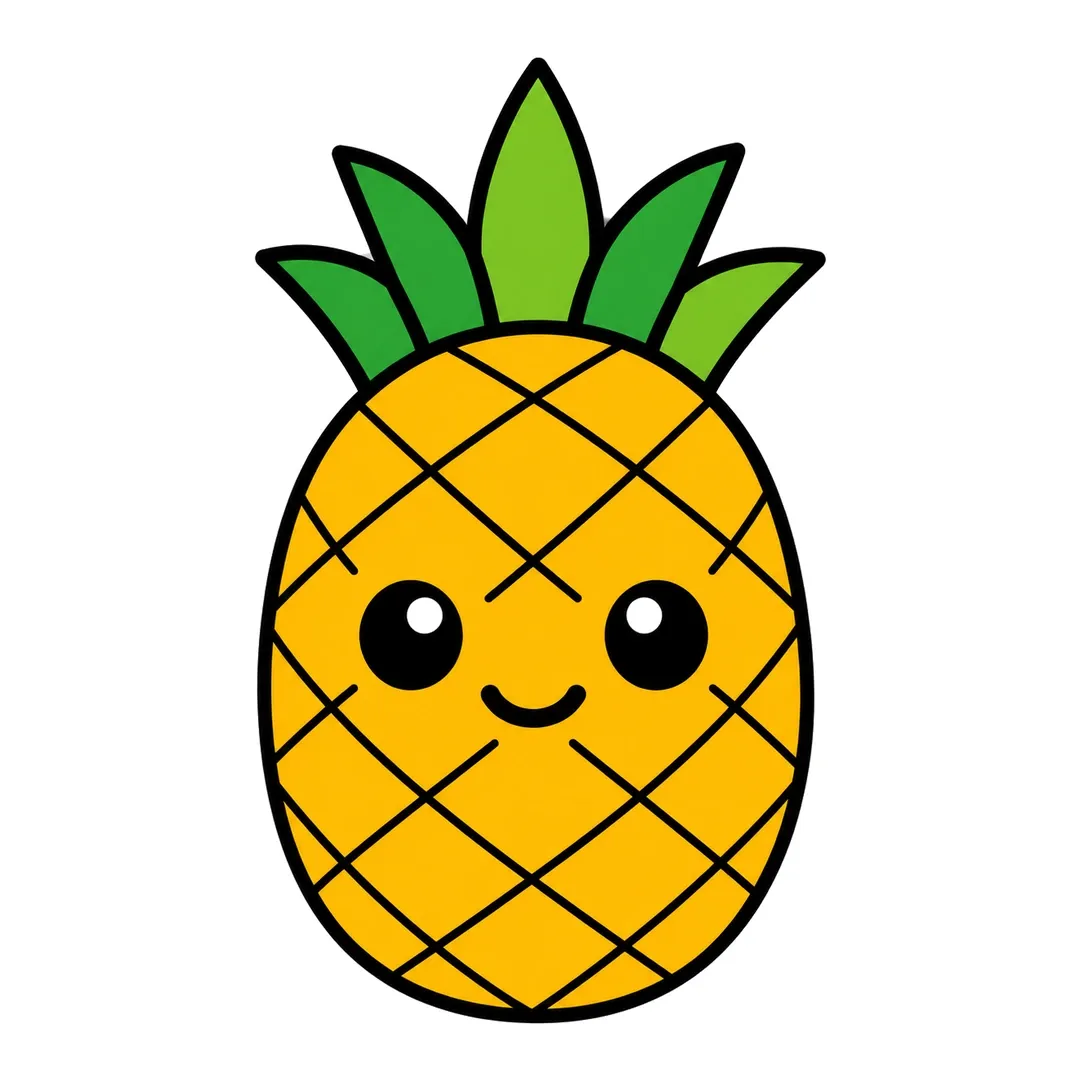
Step 6: Color the fruit yellow, middle and far right leaves light green, others dark green. Keep dots white.
Banana
A banana is one curved shape, and a smile along its curve makes how to draw a banana look cheerful.
- Draw a long, gently bent shape like a crescent.
- Put a little brown stem on one tip.
- Draw eyes and a smile in the middle, then color it yellow.
-

Step 1: Draw a long curved banana shape, narrow at the top right and round at the bottom left.
-
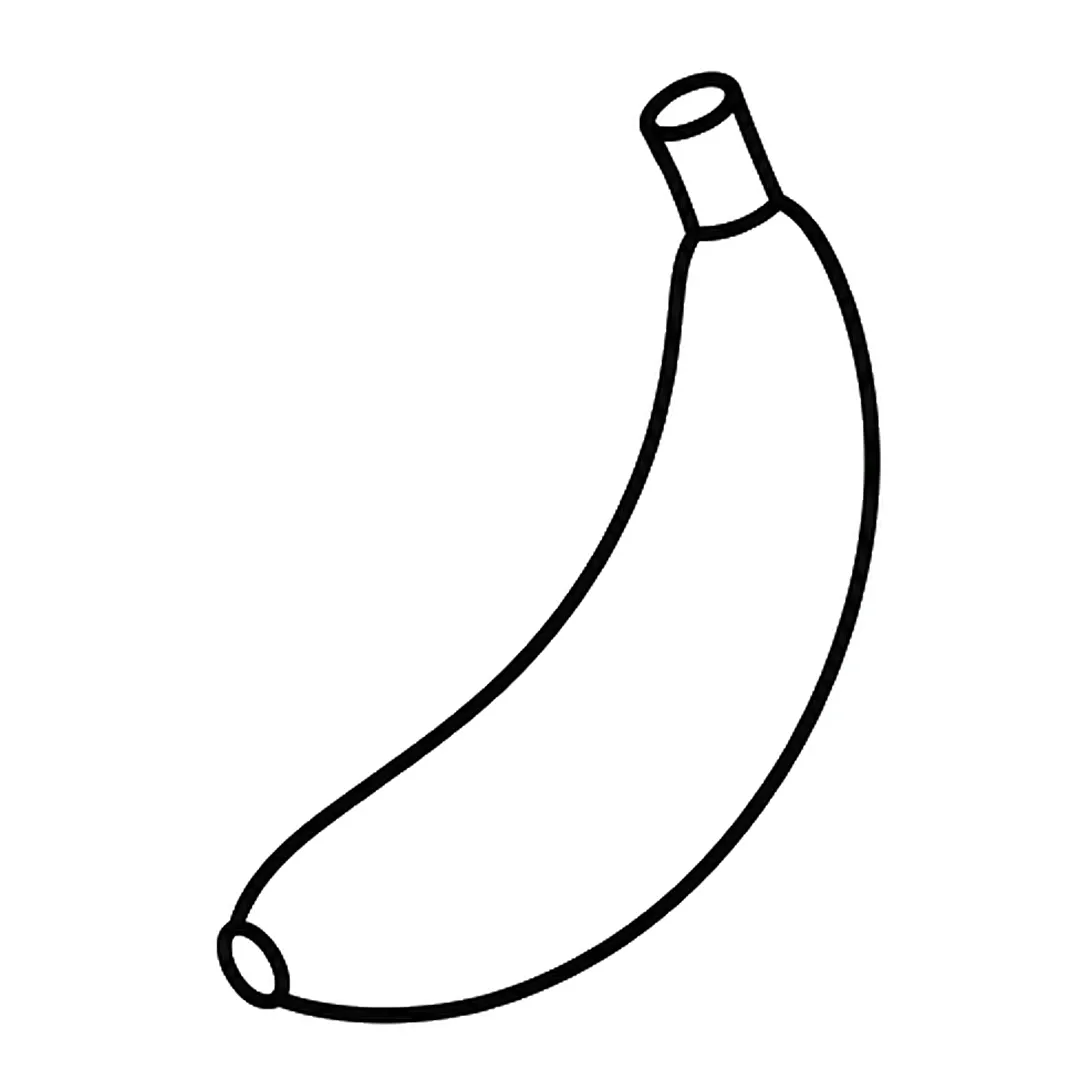
Step 2: Add a short tube stem on the top end and a small oval tip on the bottom. Erase the old round ends.
-
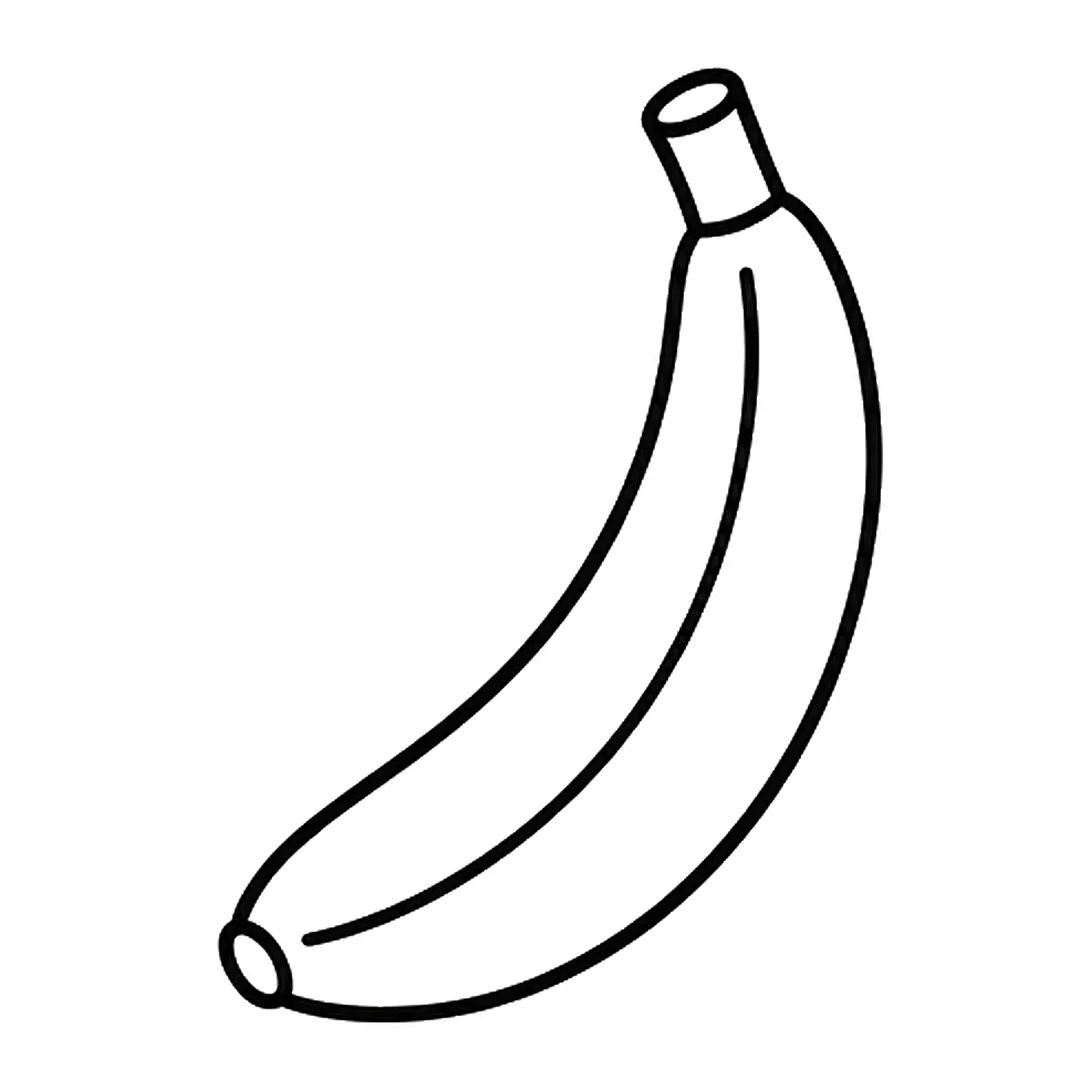
Step 3: Draw one long curved peel line running down the middle of the banana to the tip.
-
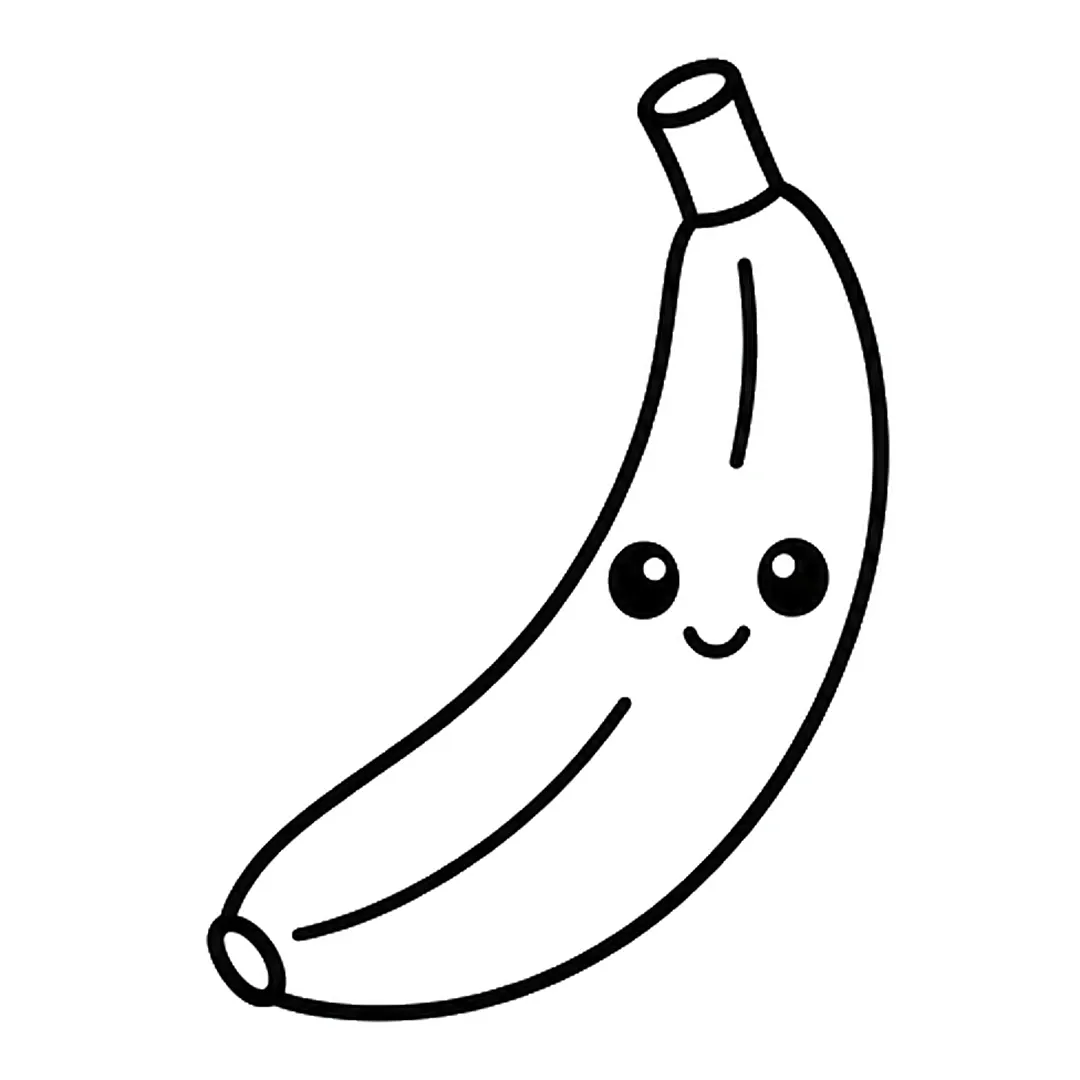
Step 4: Add two black eyes and a smile in the middle. Erase the part of the peel line behind the face.
-
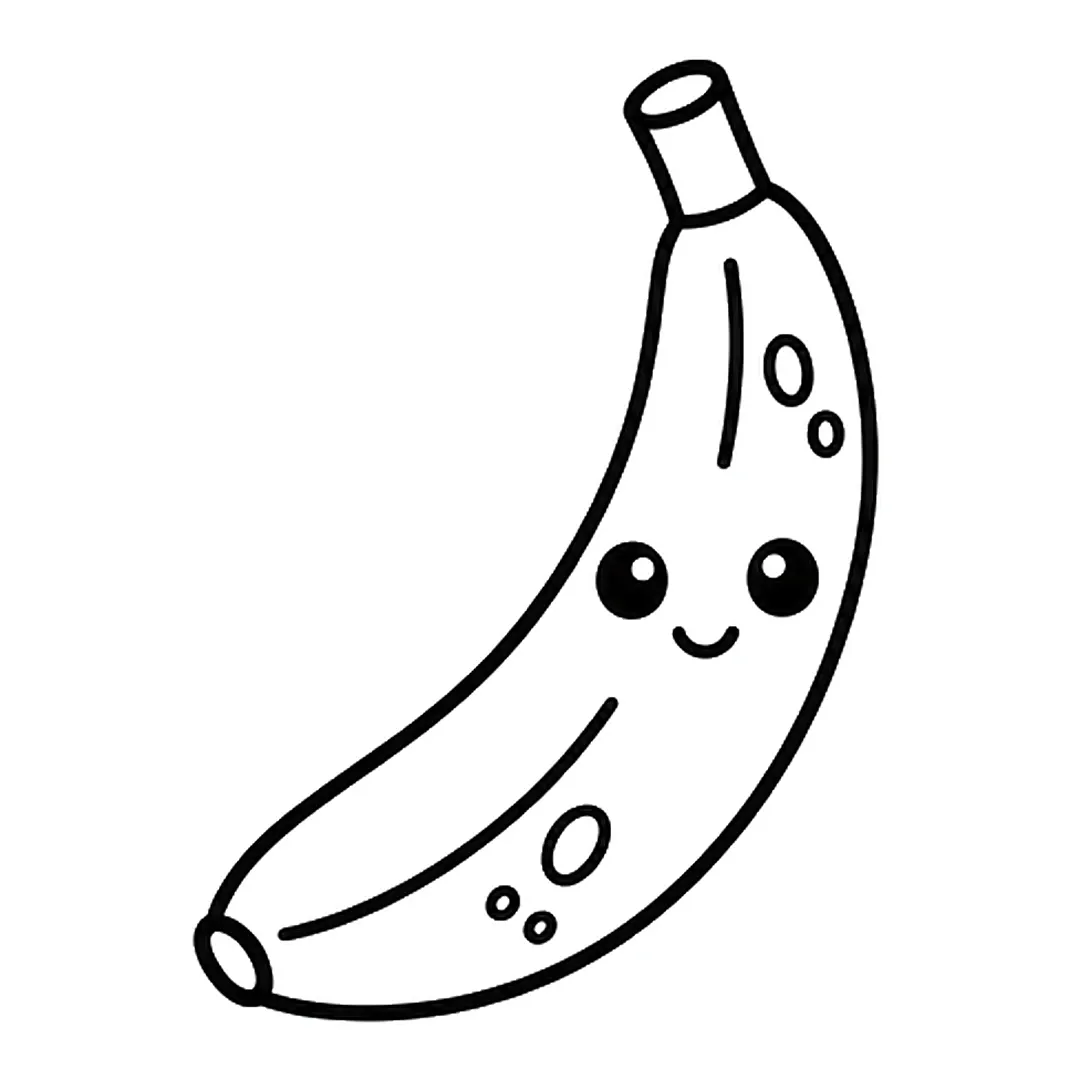
Step 5: Draw five small spots: an oval and a dot near the top, an oval and two dots near the bottom.
-
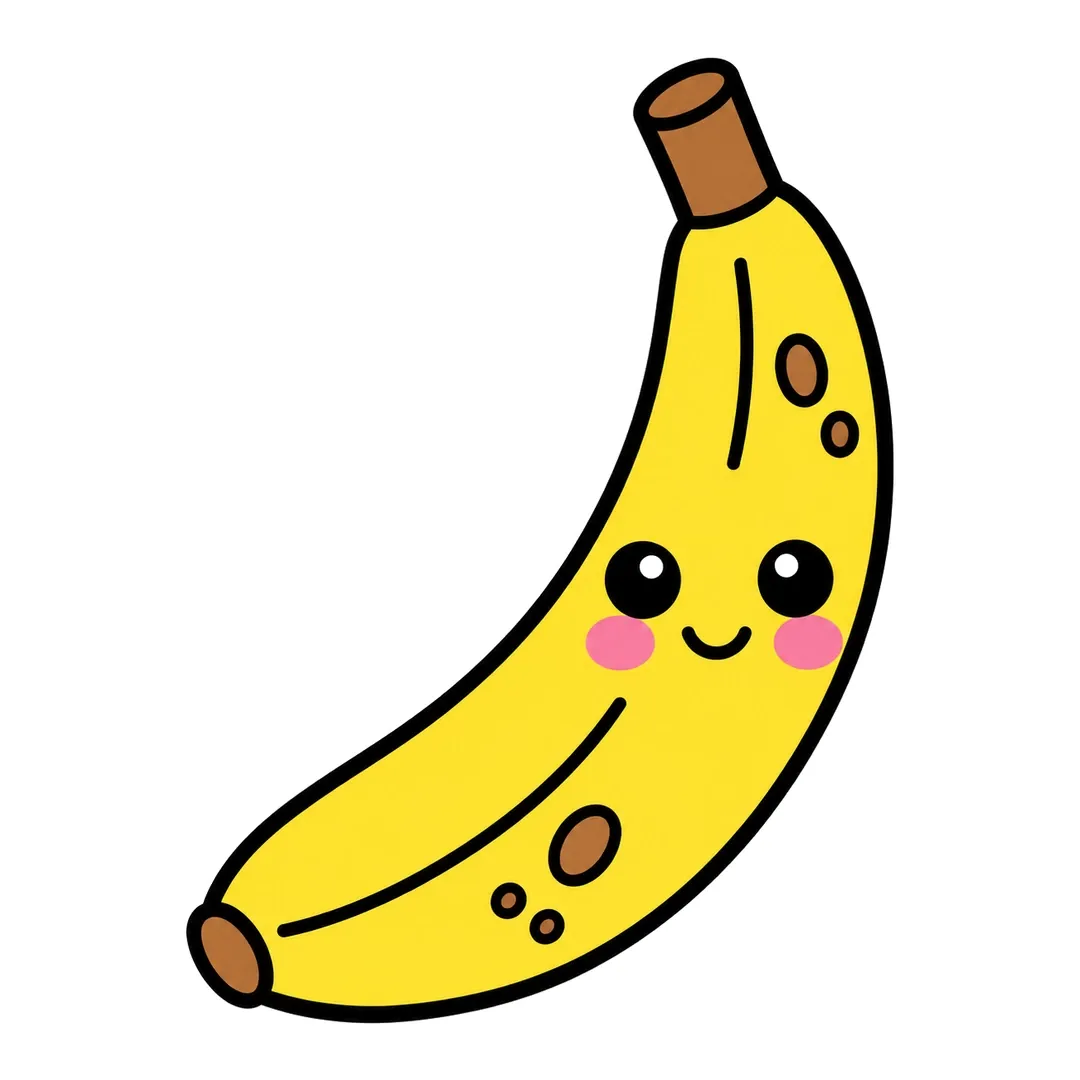
Step 6: Color the banana yellow and the stem, tip and spots brown. Add pink cheeks. Leave the eye dots white.
Birthday Cake
Stacked rectangles make how to draw a birthday cake a good party drawing for kids who can copy squares.
- Draw two stacked rectangles with round corners.
- Add a wavy frosting line on each layer.
- Draw candles with small flames on top.
- Add a smiling face on the bottom layer.
-
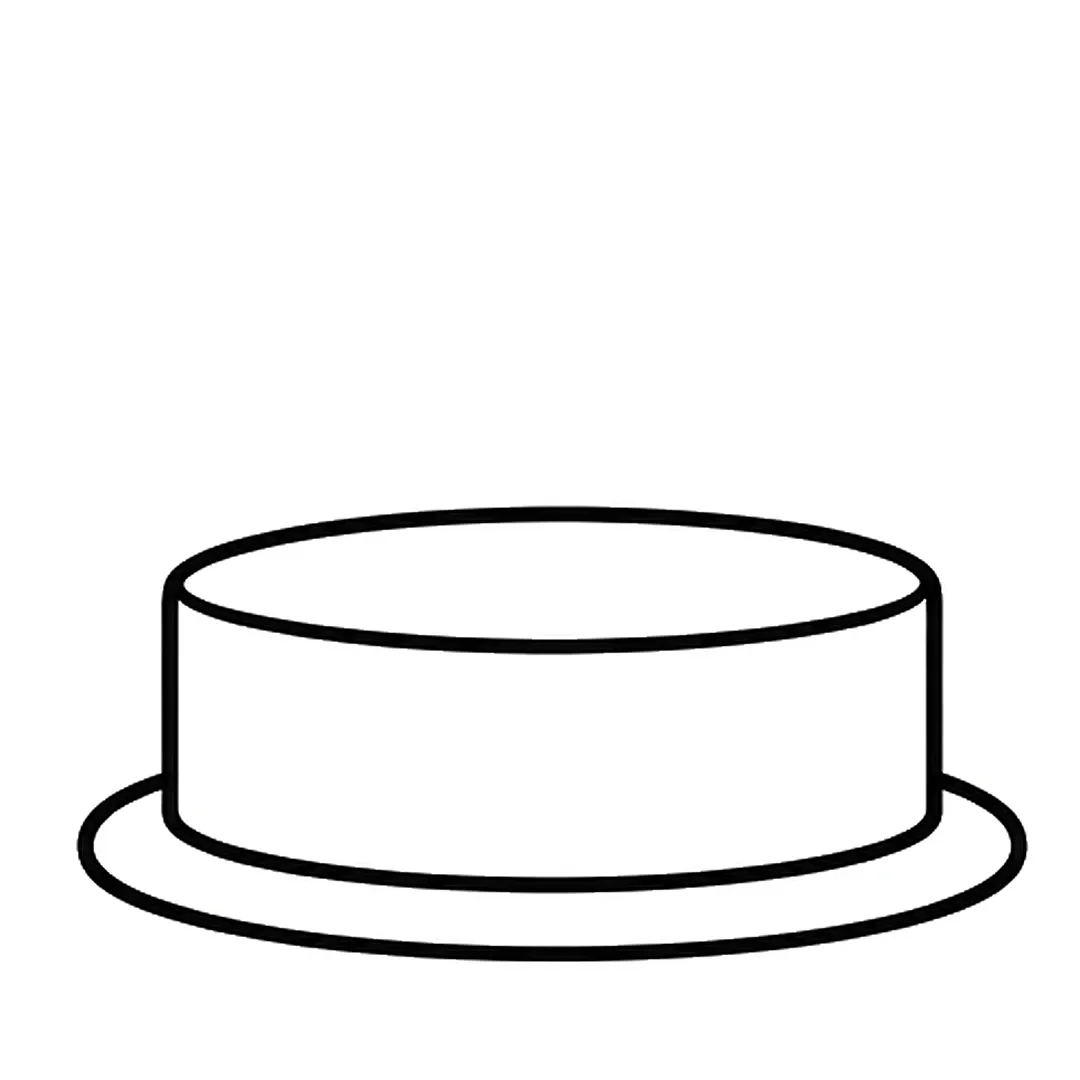
Step 1: Draw a wide round cake layer with an oval top, sitting on a flat oval plate.
-
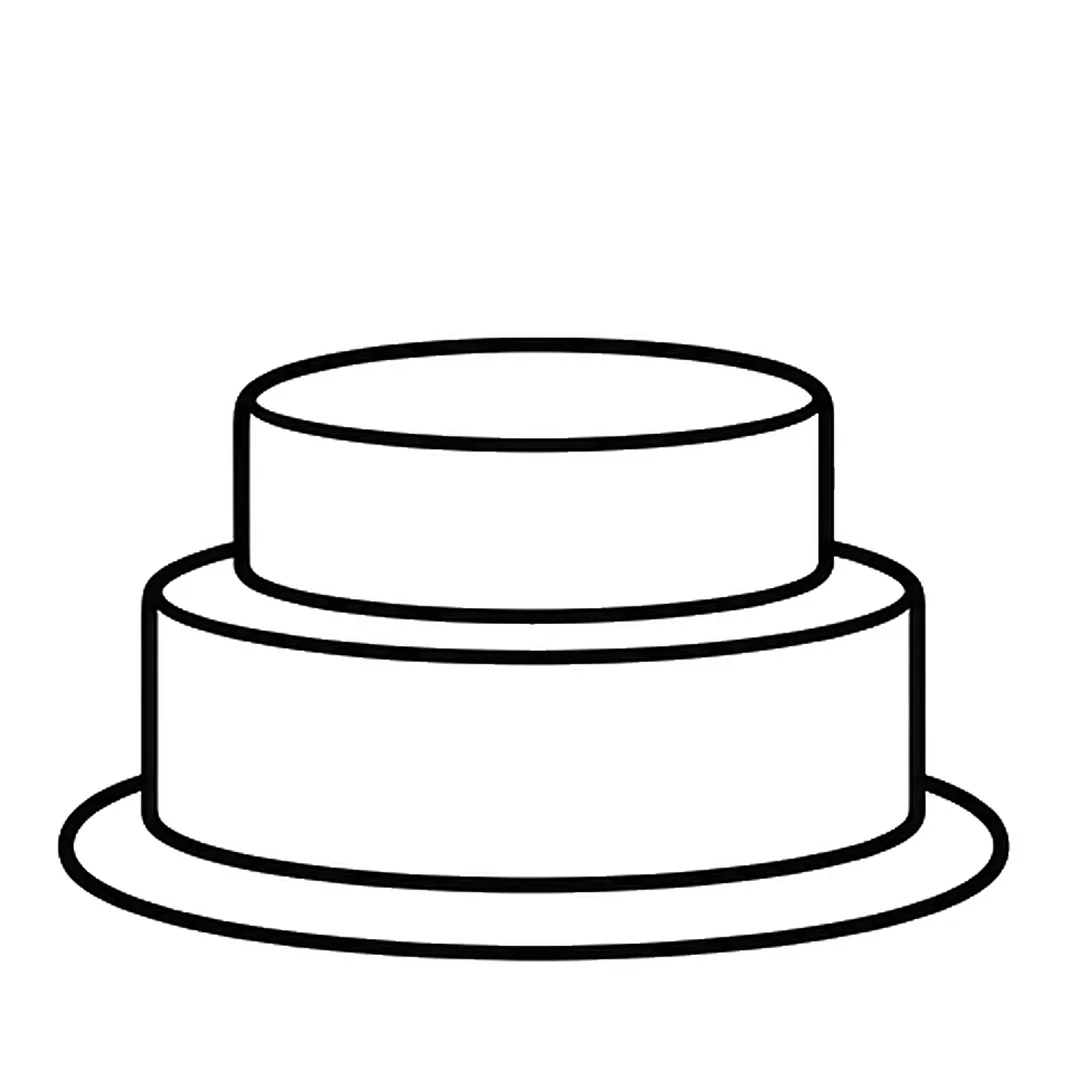
Step 2: Add a smaller round layer with an oval top on the middle of the bottom layer.
-
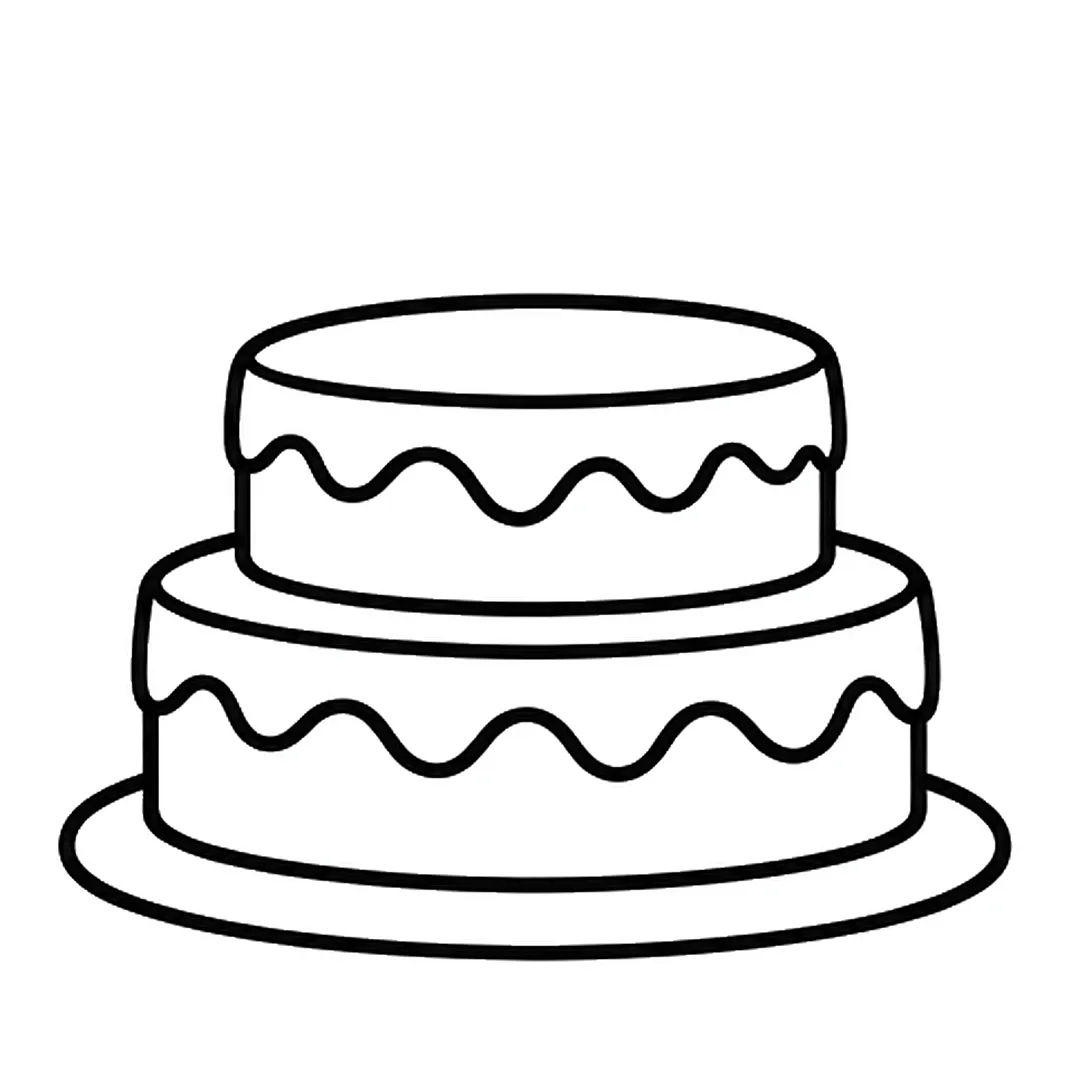
Step 3: Draw a wavy drip line under each oval top. Let the frosting bulge out a little at both sides.
-
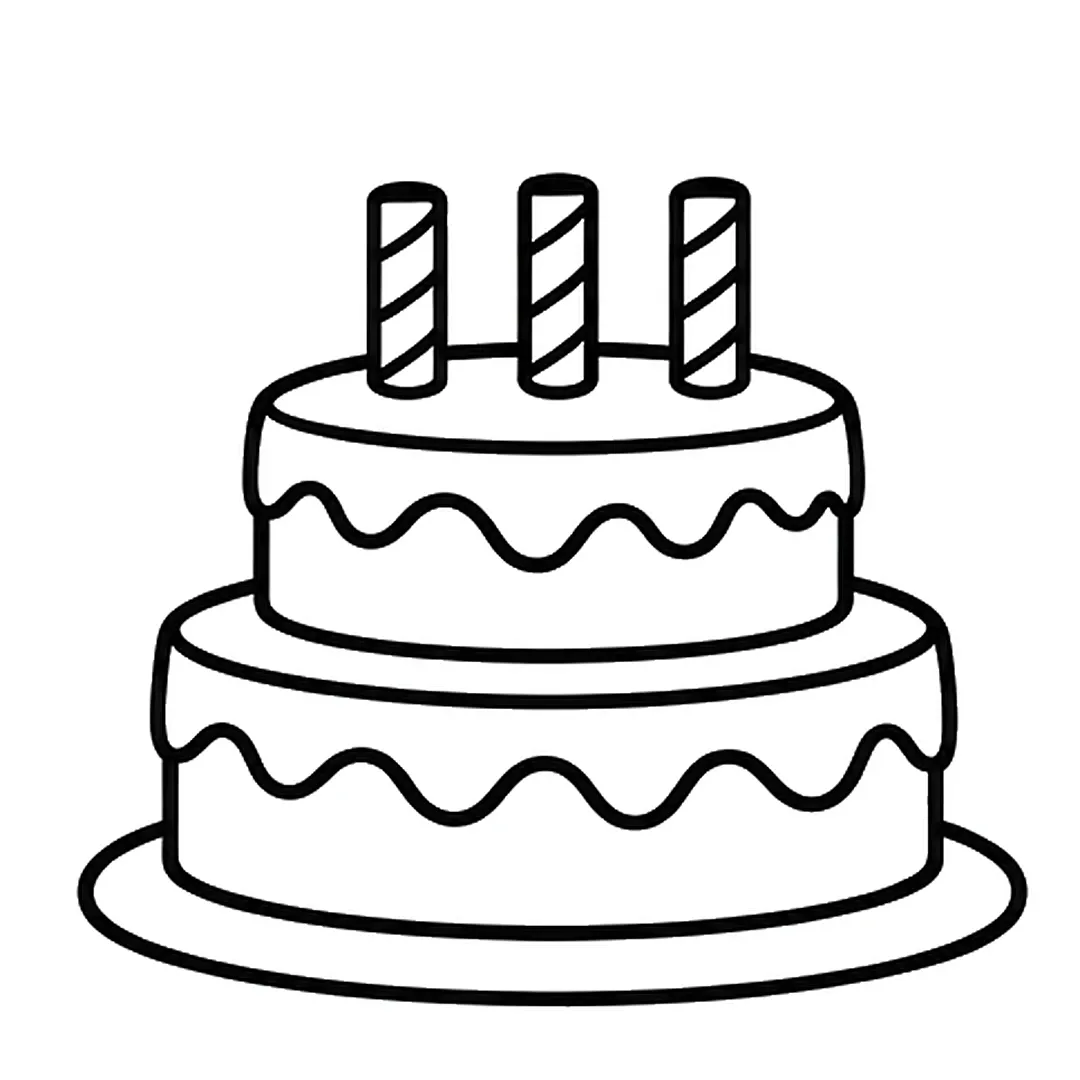
Step 4: Add three candles on the top oval, each with three slanted stripes. Erase the oval line in them.
-

Step 5: Draw a teardrop flame with a small inner flame on top of each candle.
-

Step 6: Color the cake brown, frosting pink, candles light blue, flames yellow and orange, plate light gray.
Ice Cream Cone
An ice cream cone is a triangle and a circle, two shapes most kids know.
- Draw an upside-down triangle for the cone.
- Add crisscross lines on the cone.
- Draw a round scoop on top with a drippy bottom edge.
- Add a face and sprinkles on the scoop.
Avocado
An avocado half is a pear shape with a round pit, which gives kids a ready-made tummy for a face.
- Draw a pear shape.
- Draw a smaller pear shape inside it.
- Add a circle pit near the bottom.
- Draw a face above the pit and color the edge dark green.
Our Food drawing pack has more food drawings with step, tracing and coloring pages.
What Are Whimsical and Fantasy Cute Drawings?
Whimsical cute drawings are made-up or faraway creatures drawn with baby features, such as a baby unicorn, a tiny dragon or a smiling robot. Kids get to invent the details, and the cute formula keeps fantasy subjects friendly rather than scary. All 5 below have tutorials.
Unicorn
A short muzzle and big eyes make the horse head in how to draw a unicorn look like a baby.
- Draw a rounded head with a short muzzle.
- Add a spiral horn and one ear.
- Draw a big closed or open eye.
- Add a wavy mane in several colors.
-
Step 1: Draw a wide oval for the body.
-
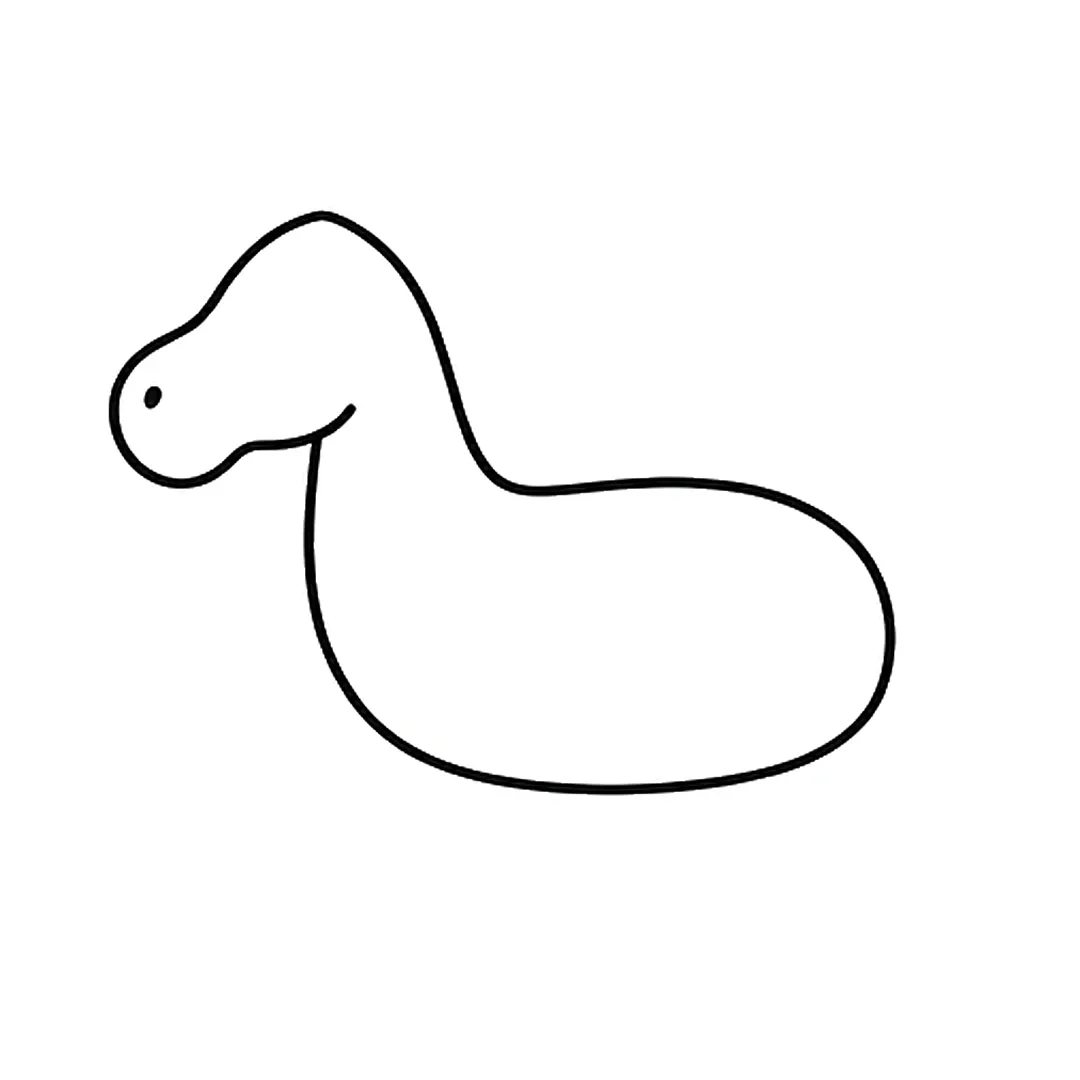
Step 2: Add a neck on the left side of the body and a head with a round nose and a nostril dot.
-
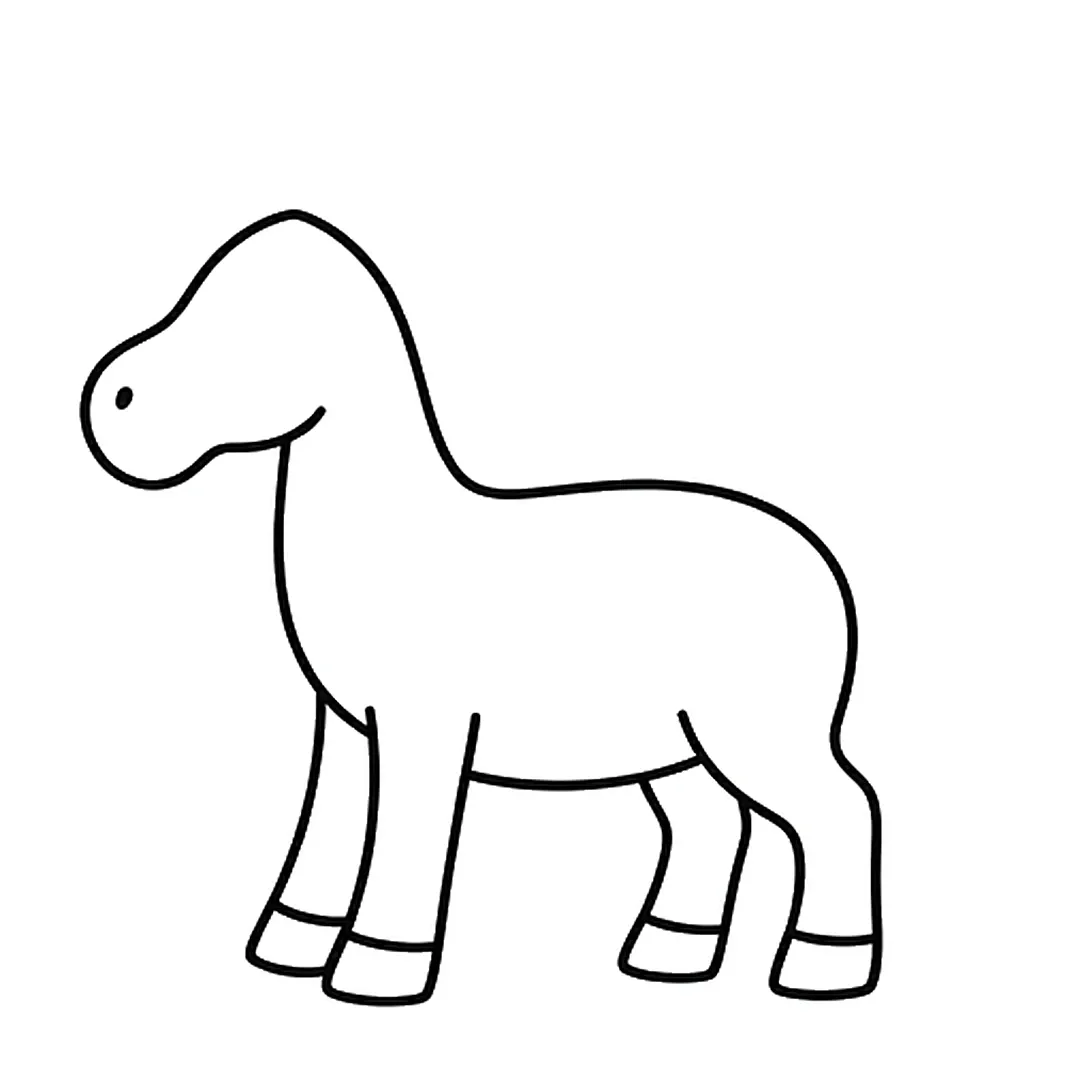
Step 3: Draw four legs under the body, each with a line for the hoof. Bend the back legs a little.
-
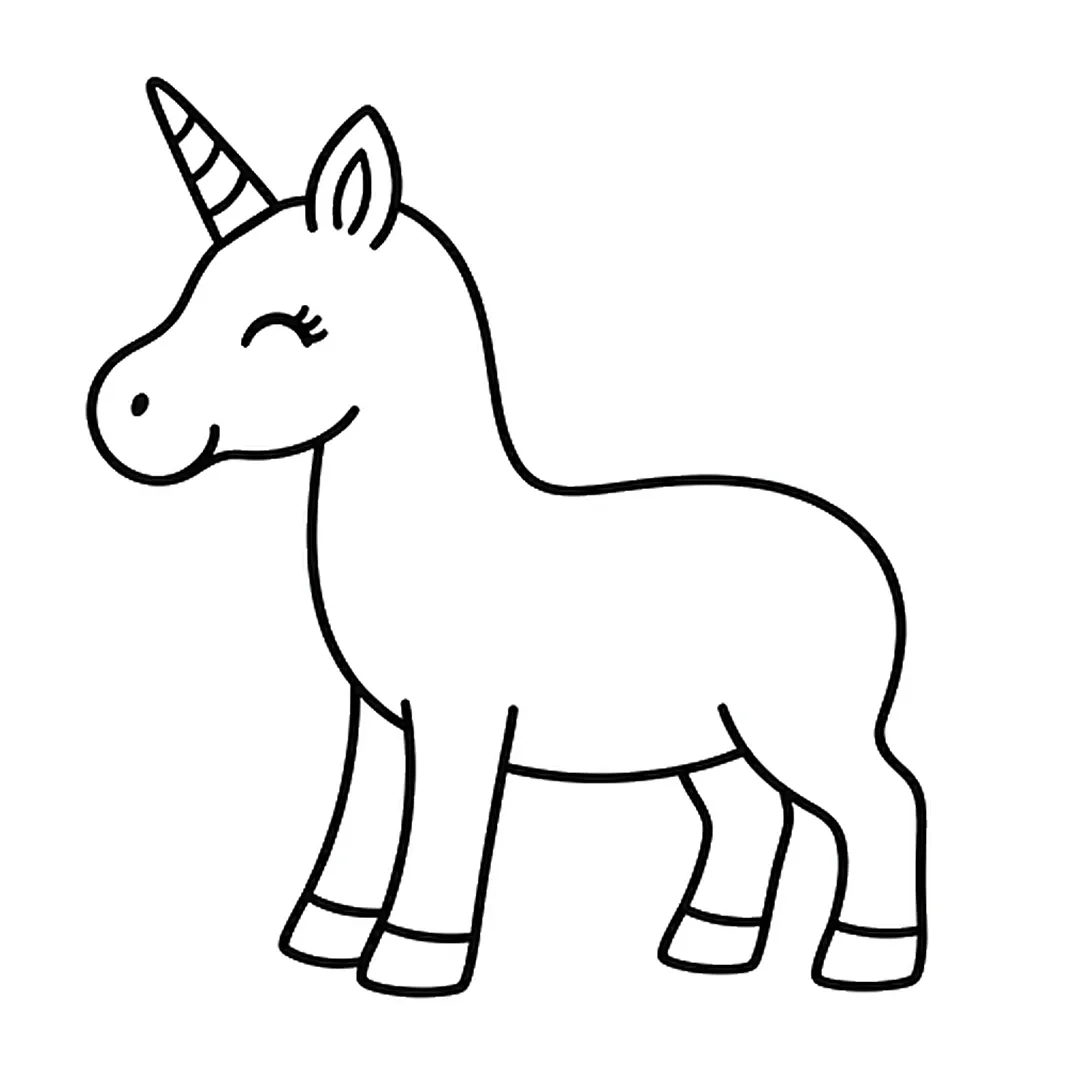
Step 4: Add a striped horn and a pointed ear on a rounder head, a closed happy eye with lashes and a smile.
-
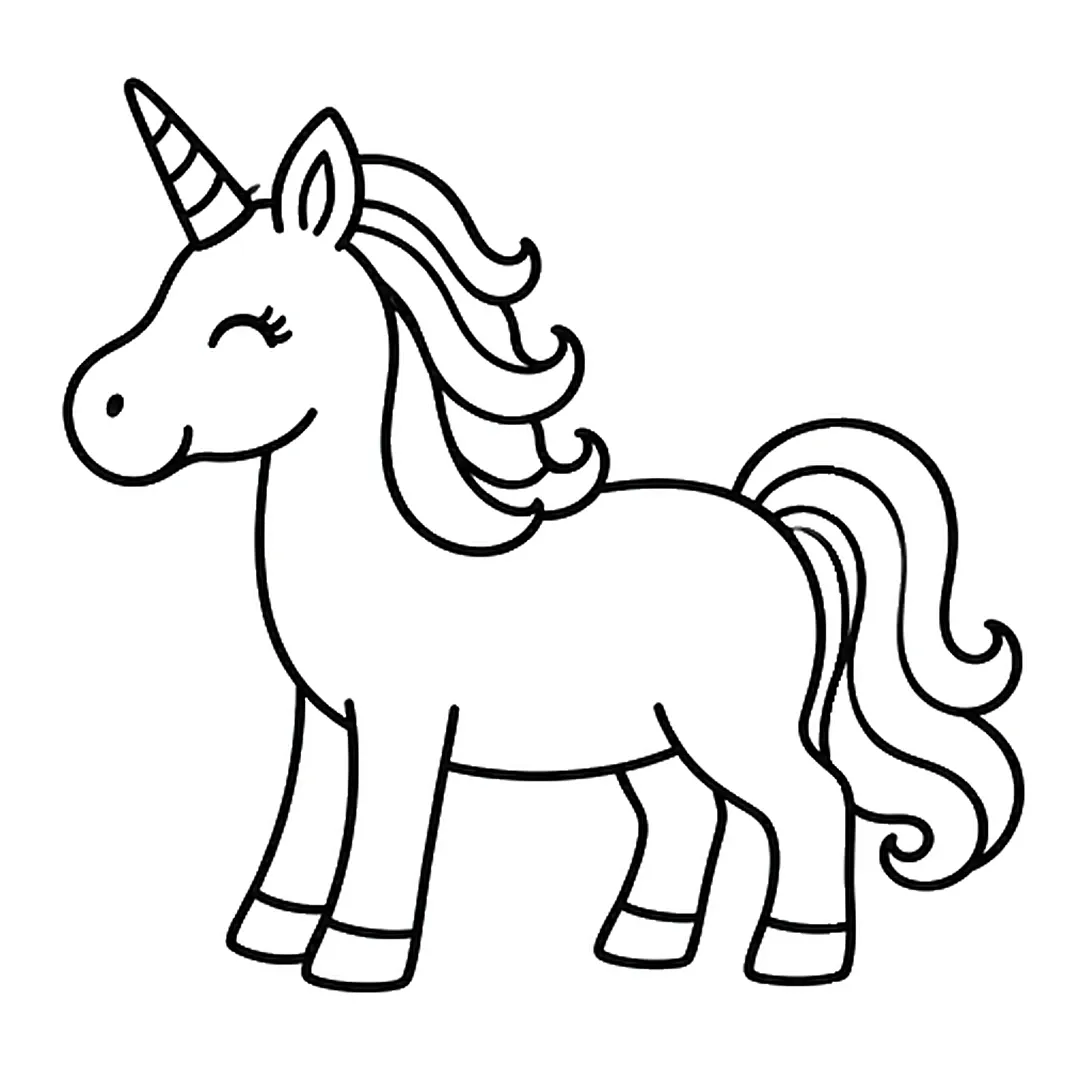
Step 5: Draw a wavy mane down the neck and a long curly tail at the back.
-
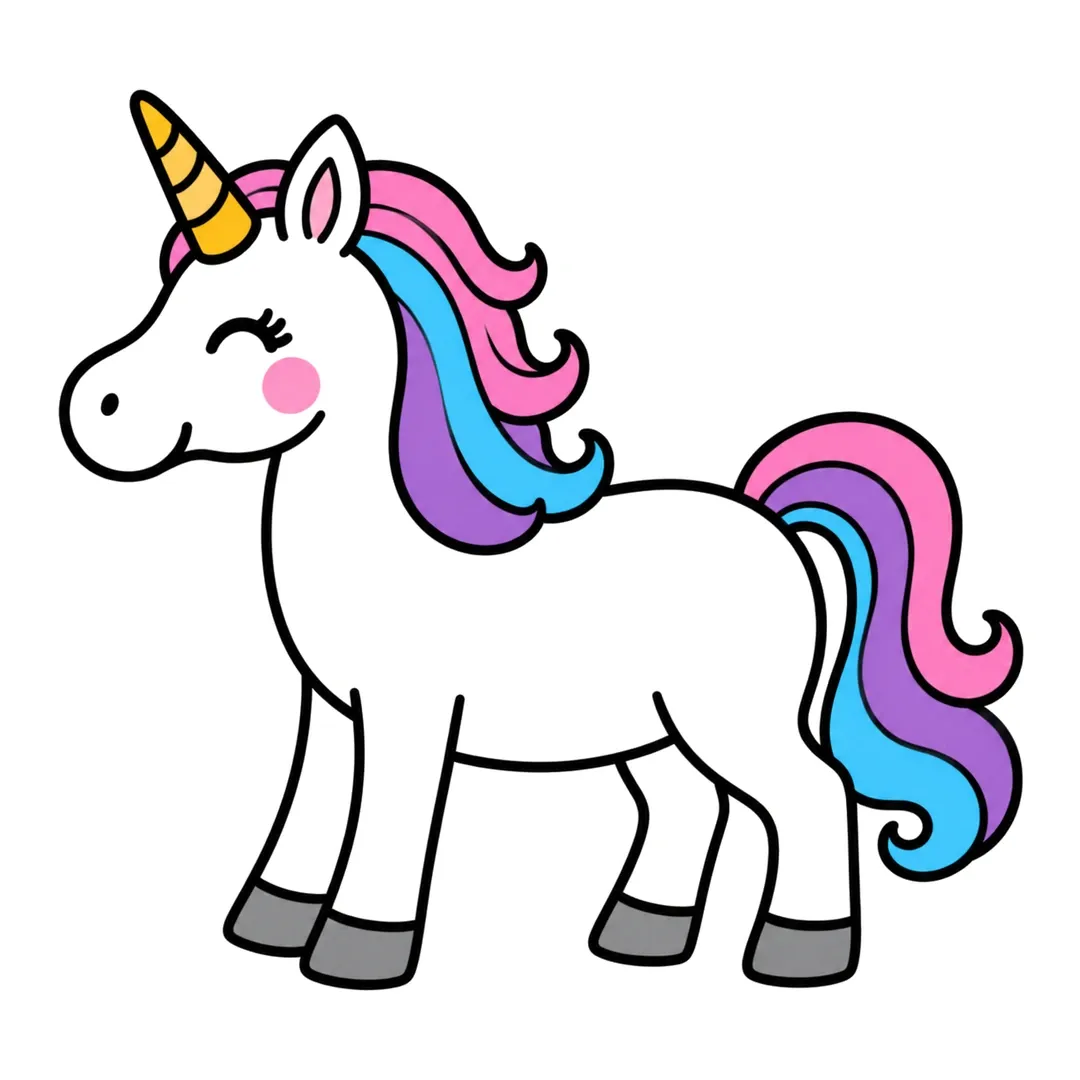
Step 6: Color the horn gold, hooves gray, mane and tail pink, blue and purple, and cheek and inner ear pink.
Dragon
Tiny wings and a round tummy make the baby in how to draw a dragon cute instead of fierce.
- Draw a big round head and a plump body.
- Add two small horns and big eyes.
- Draw two little wings on the back.
- Add short legs, a curvy tail and spikes along the back.
-
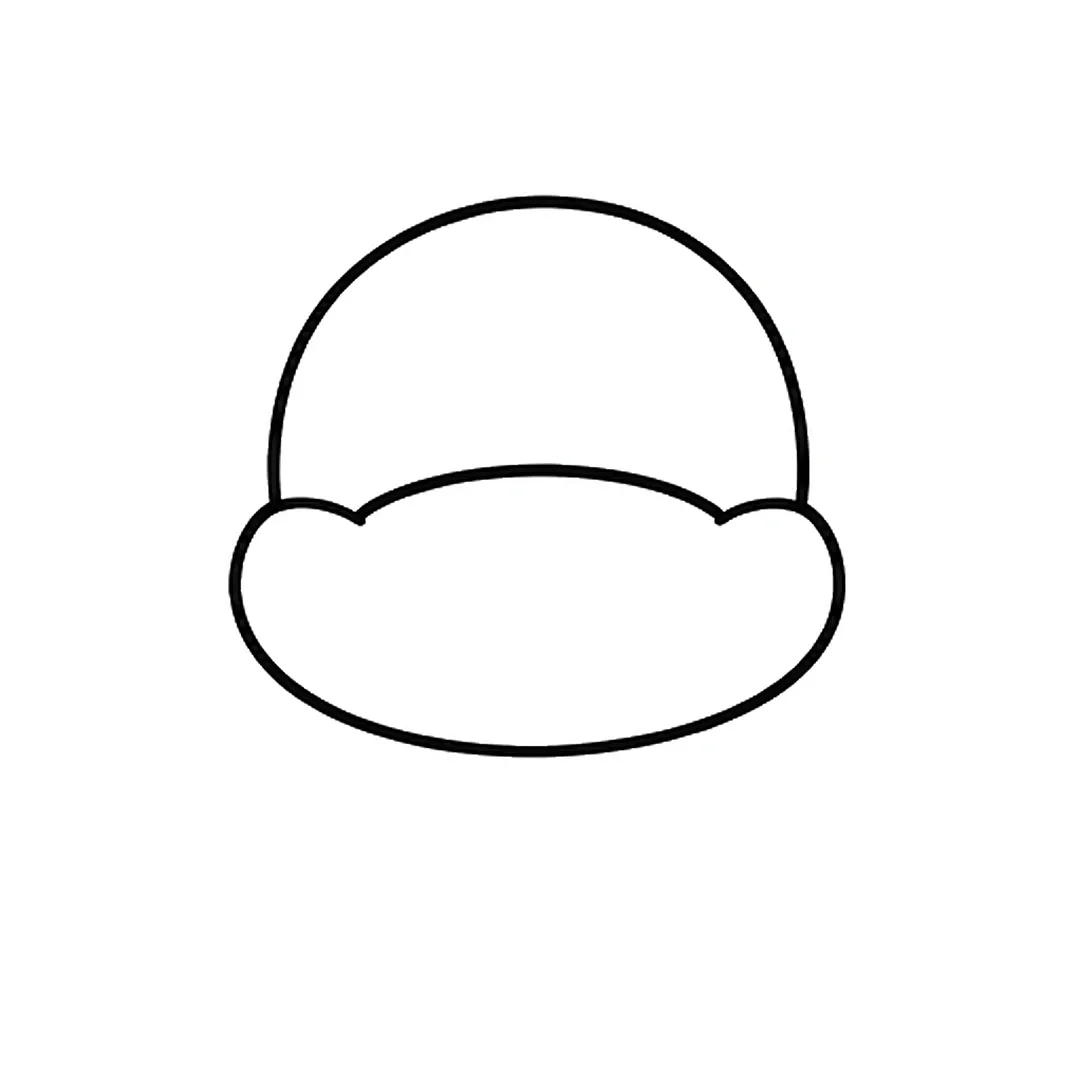
Step 1: Draw a round dome for the head with a wide, bumpy snout across the bottom.
-
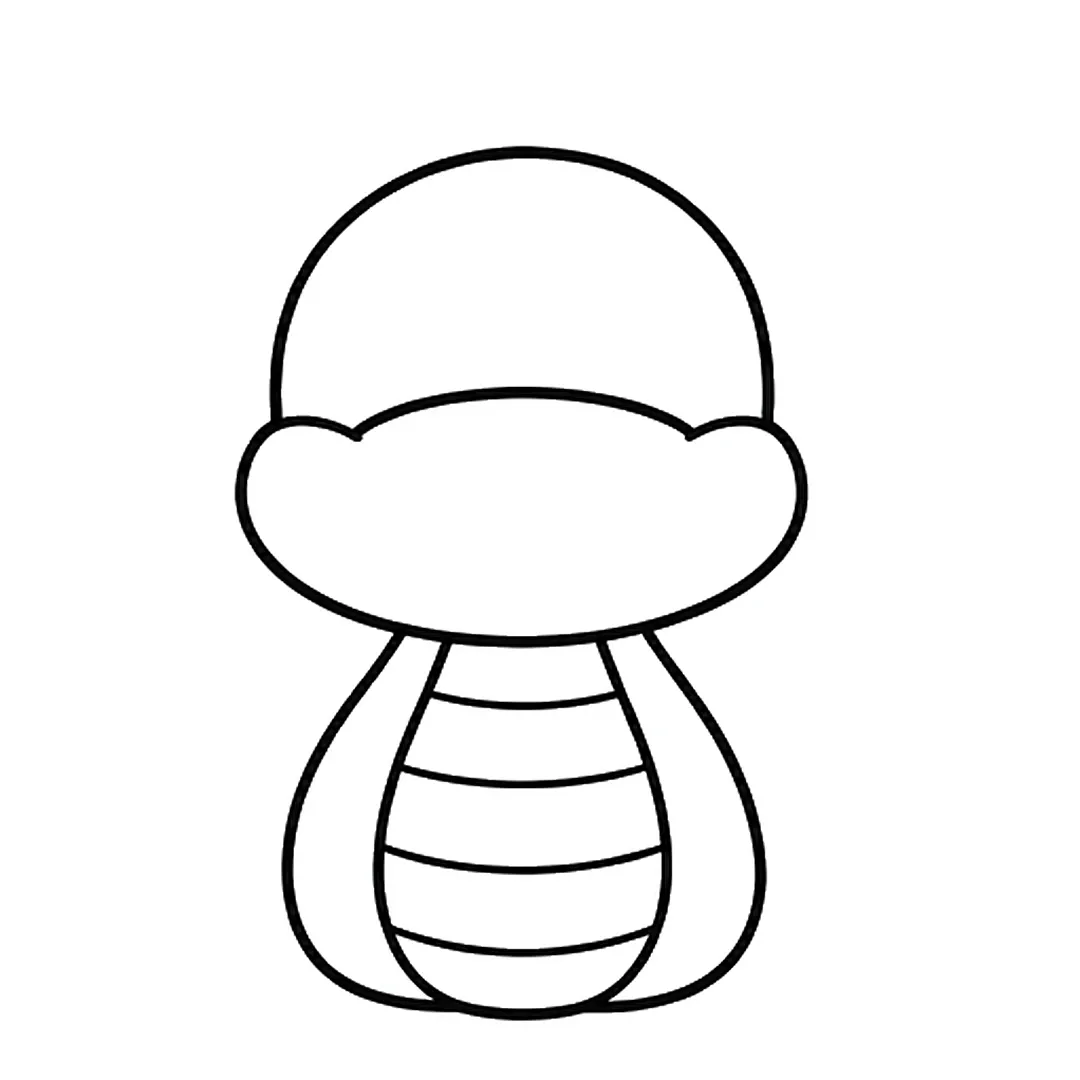
Step 2: Add a rounded body under the head, with a belly patch of curved stripes.
-
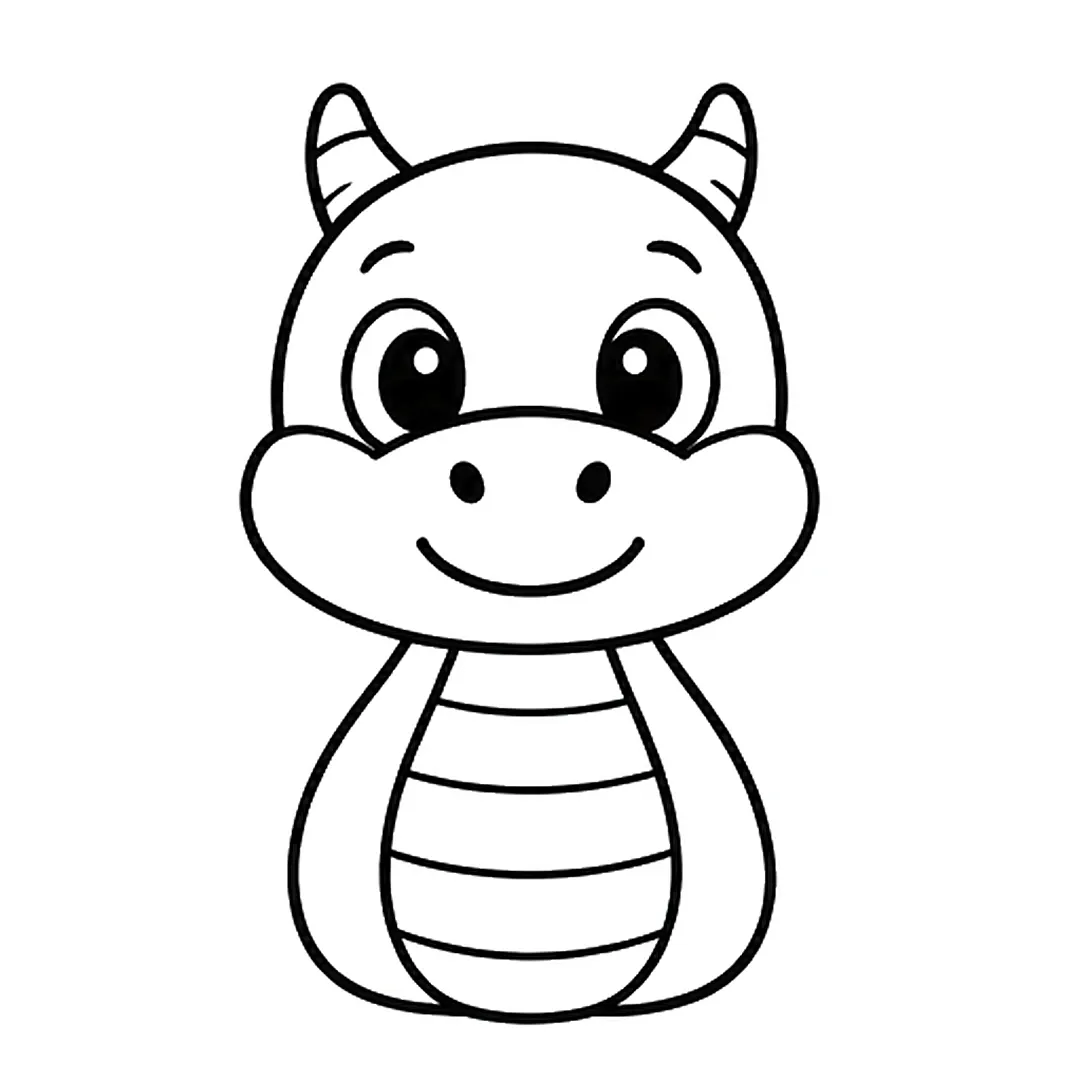
Step 3: Draw two big eyes with eyebrows, two nostrils, a smile and two small horns.
-
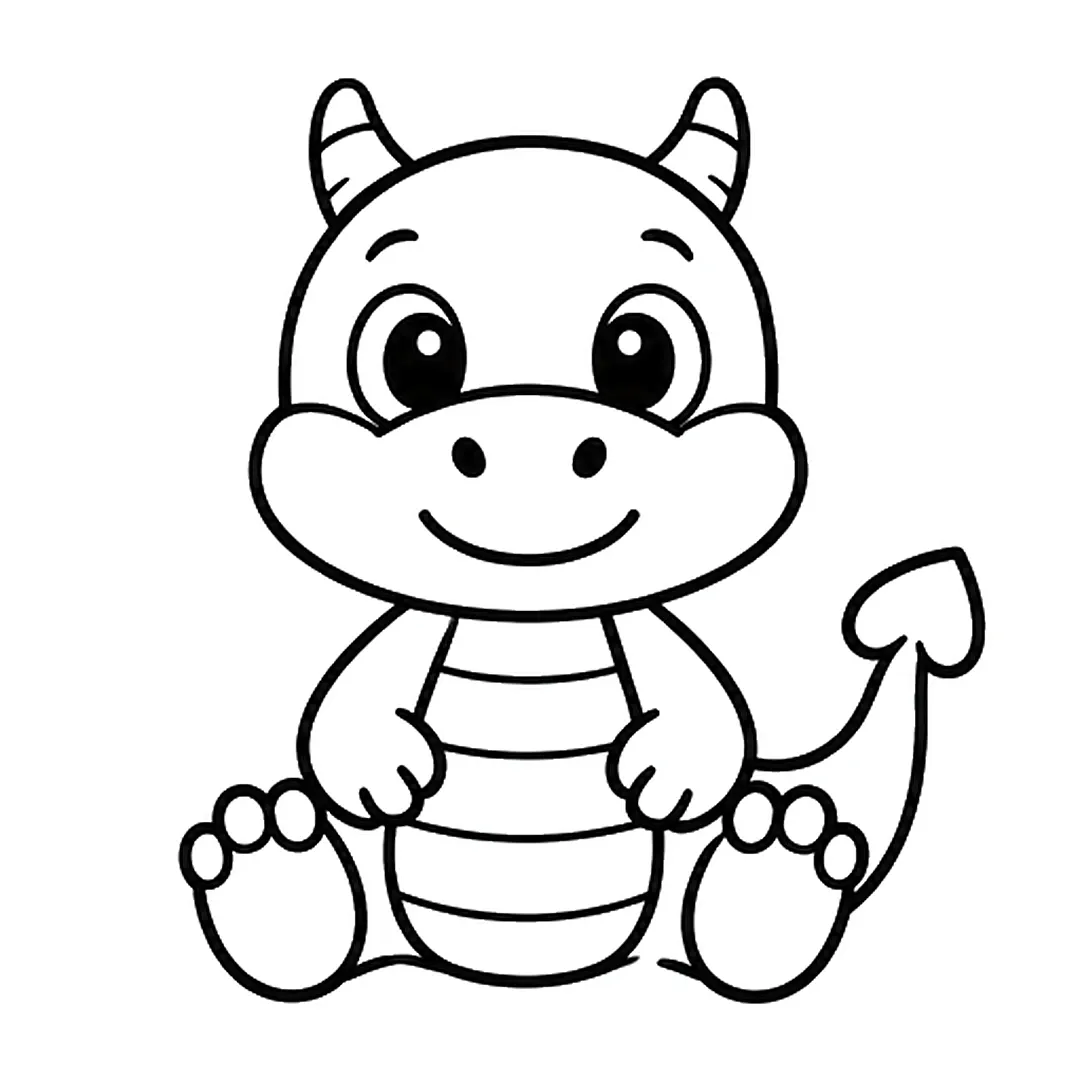
Step 4: Add two short arms, two round feet with three toes each and a tail with an arrow-shaped tip.
-
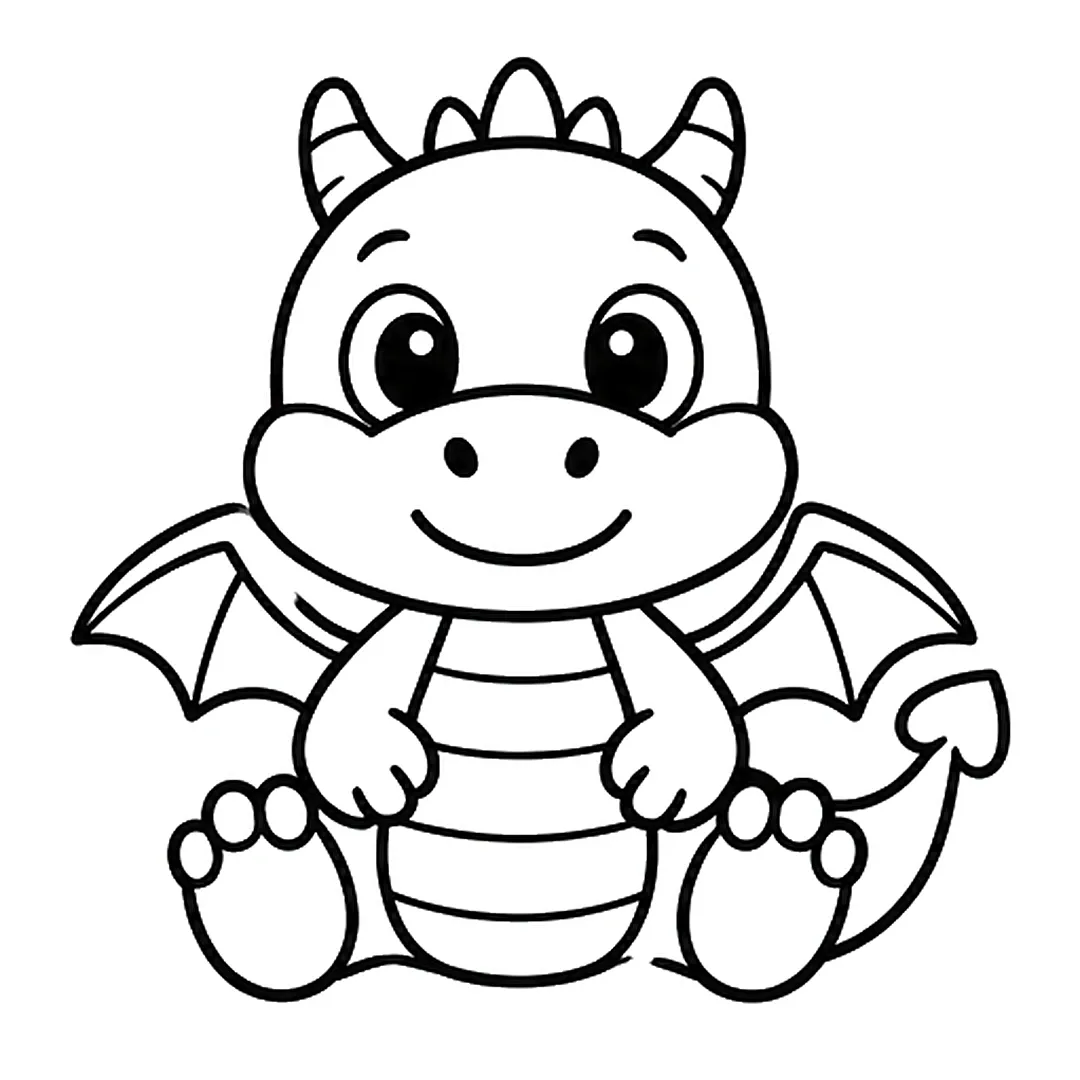
Step 5: Draw two bat-like wings behind the shoulders and three small spikes between the horns.
-
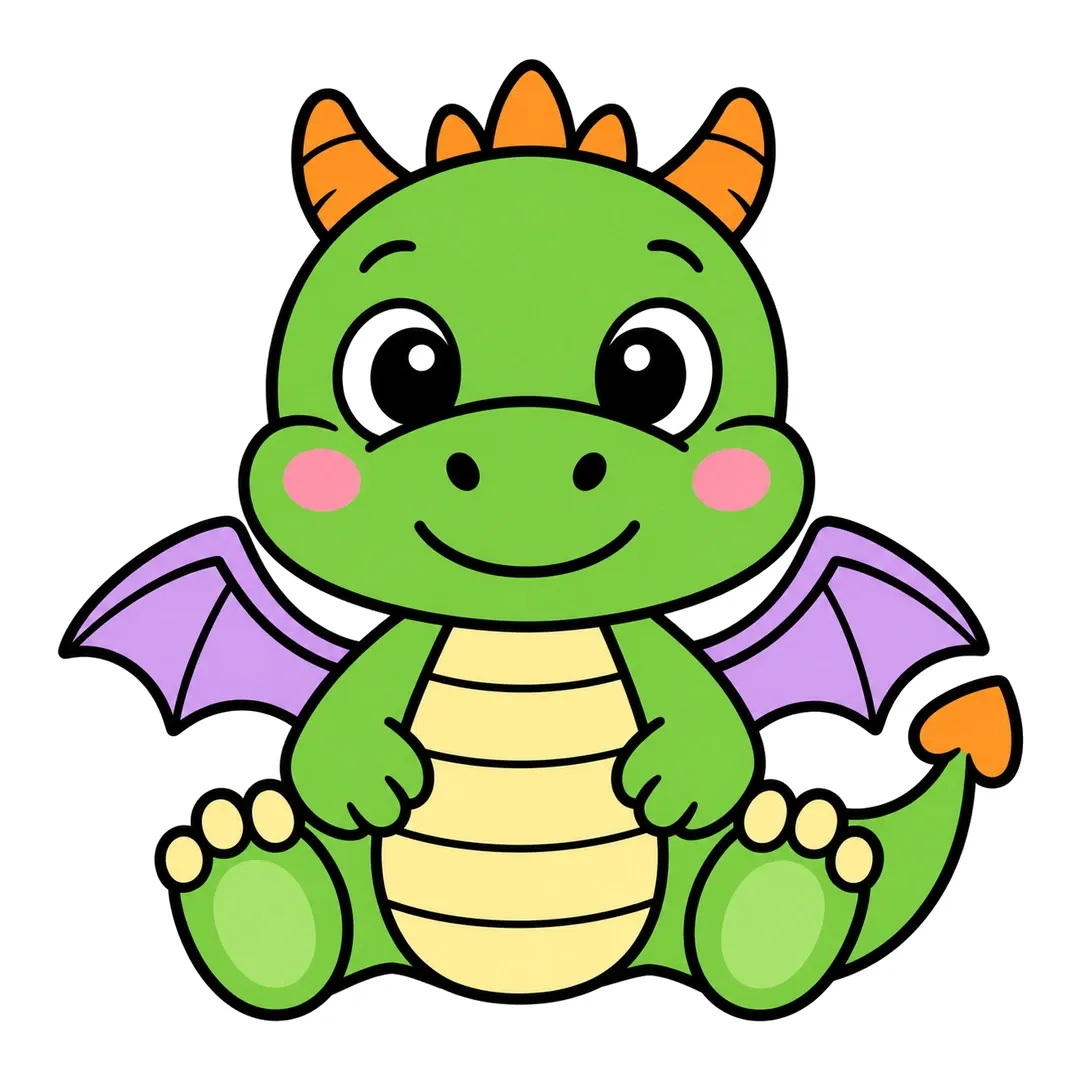
Step 6: Color the dragon green, belly and toes yellow, wings purple, cheeks pink and horns, spikes and tail tip orange.
Dinosaur
A long-neck dinosaur with a small smiling head makes how to draw a dinosaur an easy cute pick.
- Draw a big oval body.
- Add a long curved neck and a small round head.
- Draw four thick legs and a tail.
- Add spots on the back and a smile.
-
Step 1: Draw a wide oval for the body.
-
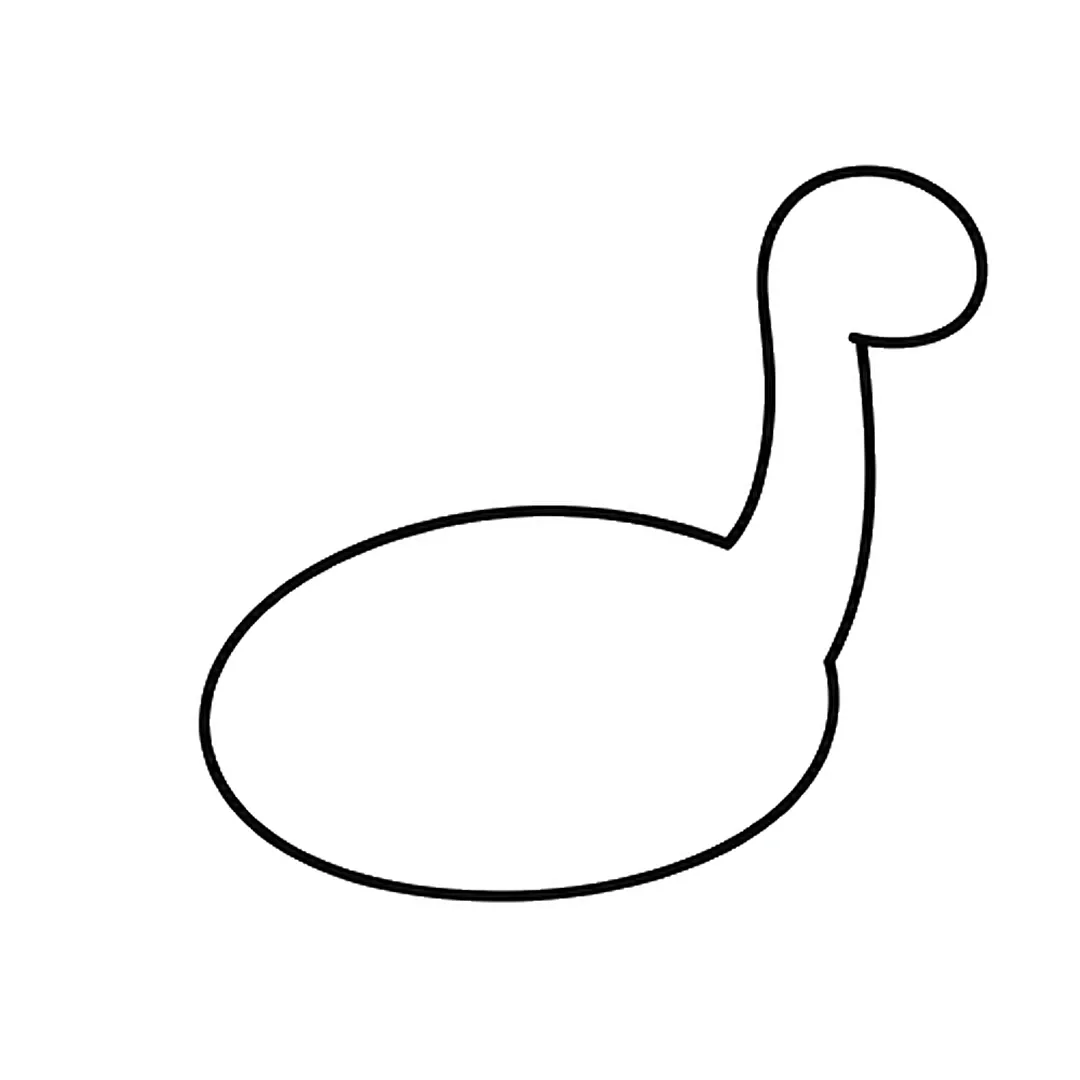
Step 2: Add a long neck on the right and a round head with a snout. Erase the body line inside the neck.
-
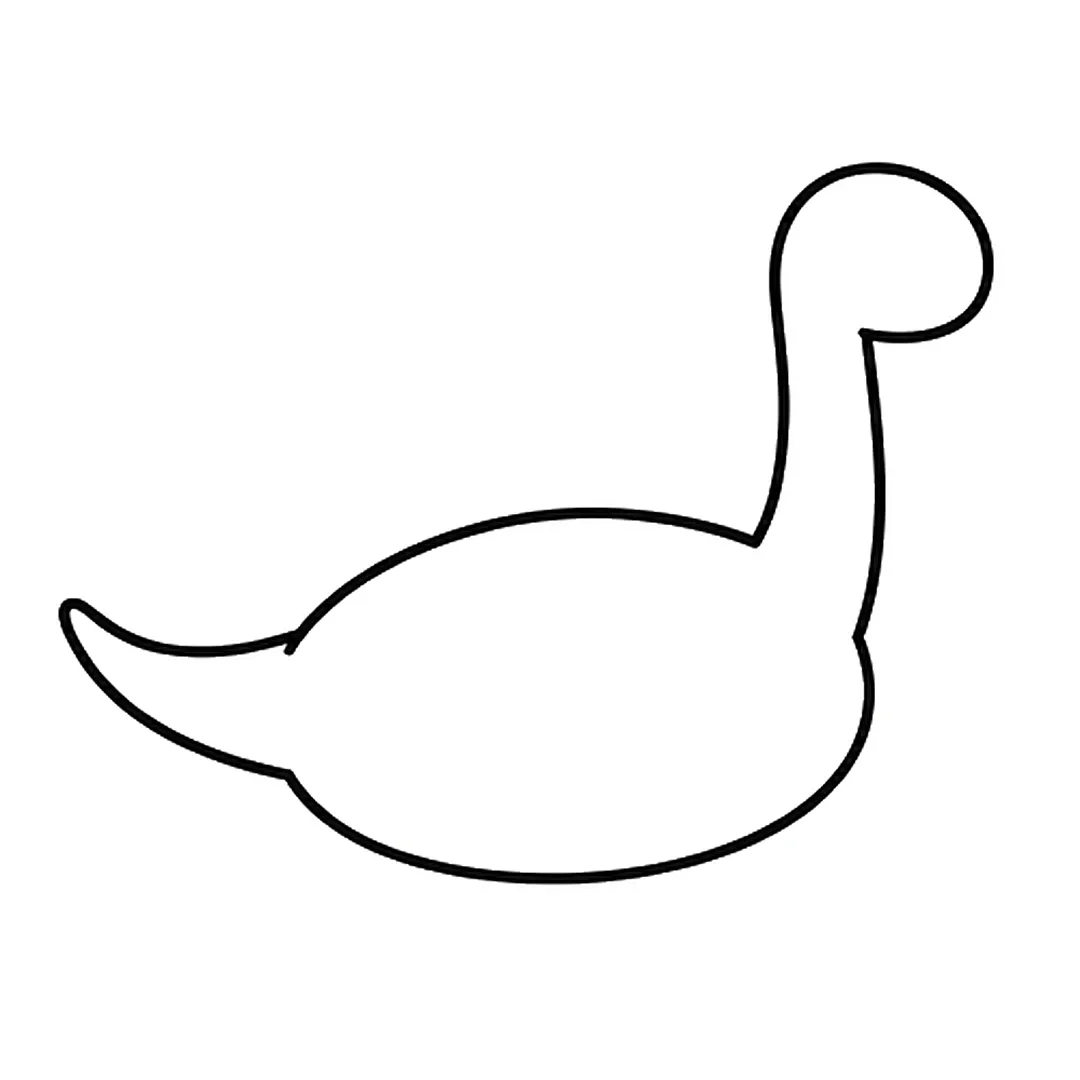
Step 3: Draw a long pointed tail on the left. Erase the body line where the tail joins.
-
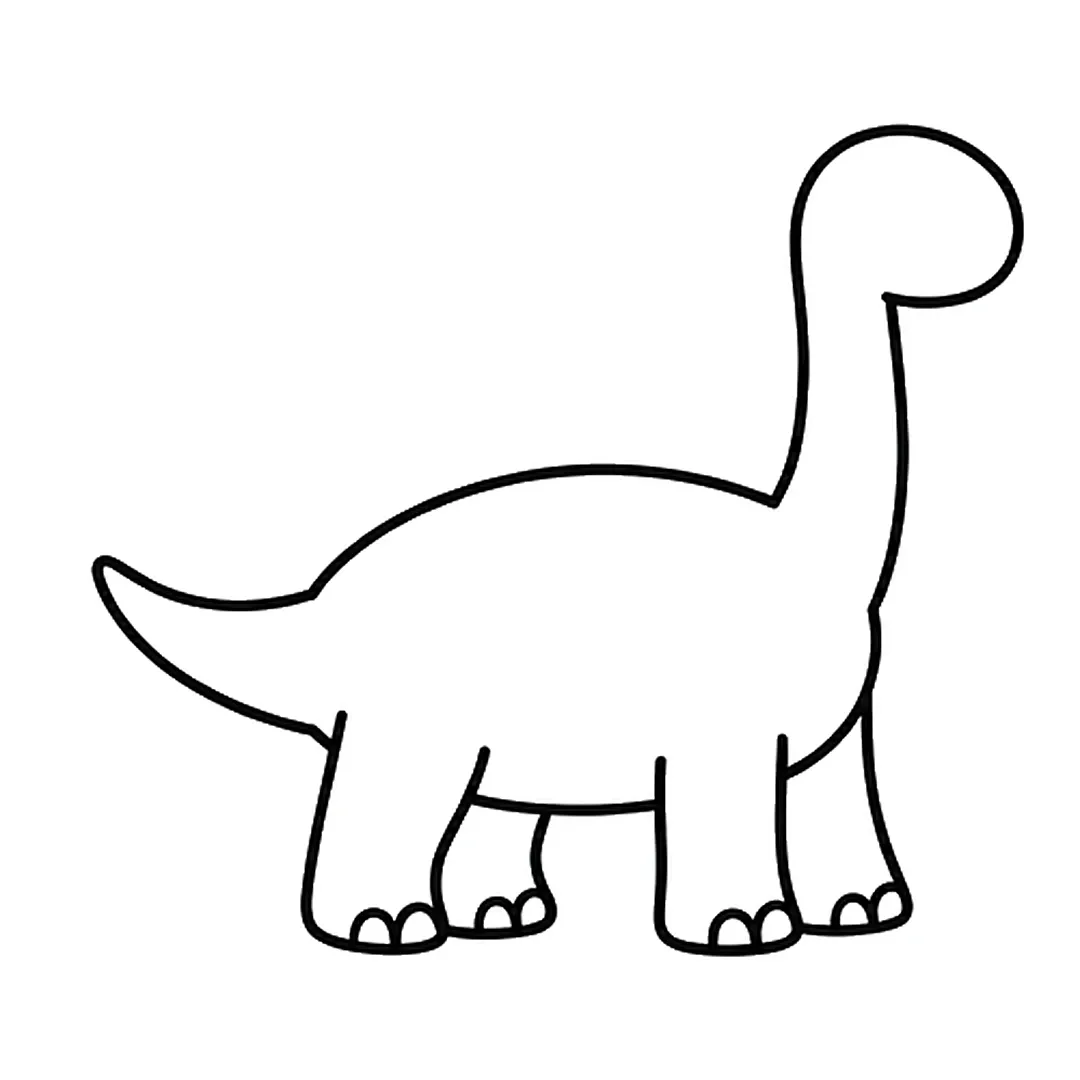
Step 4: Add four thick legs with two toenails each. Erase the old body bottom and draw a higher belly.
-
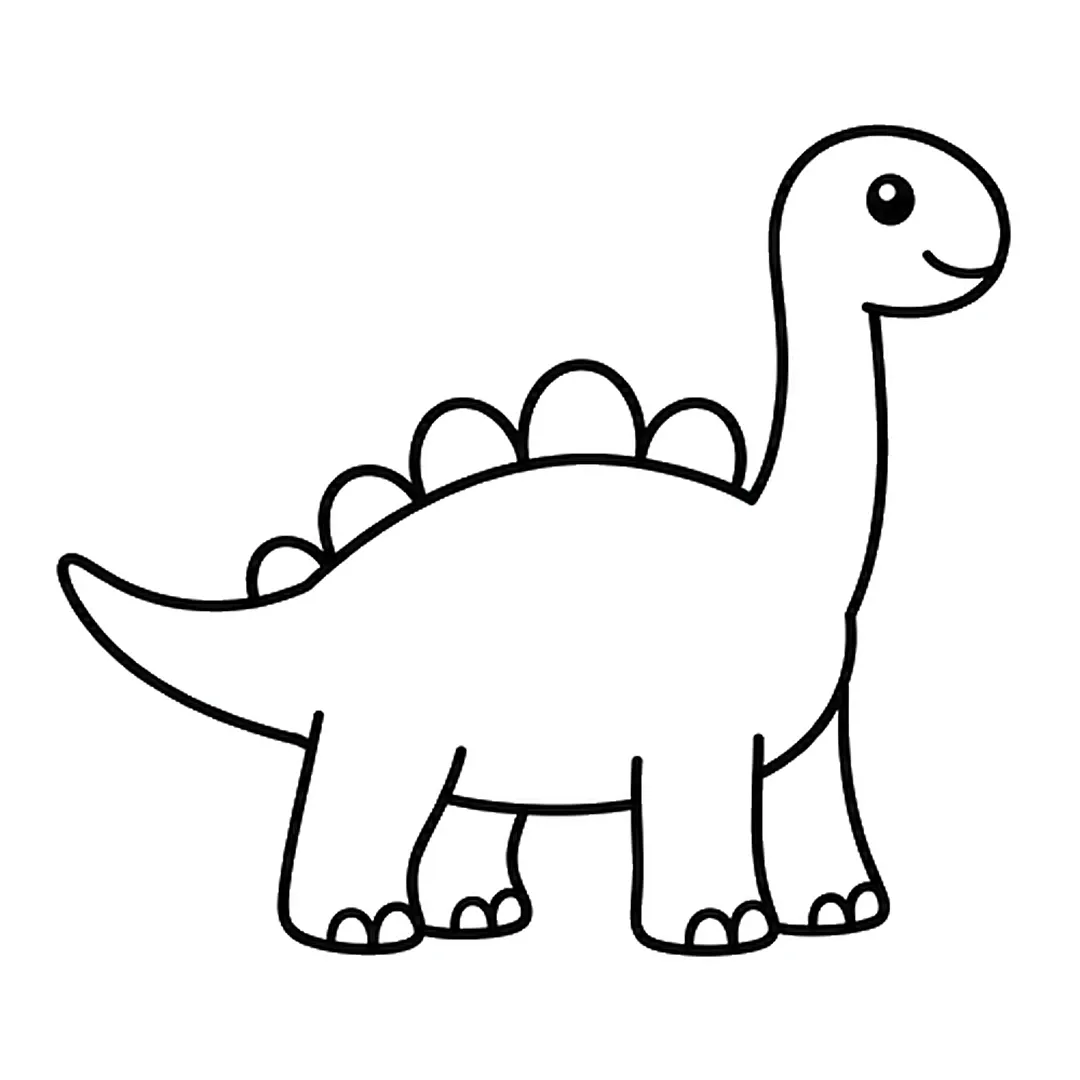
Step 5: Draw five round plates along the back, an eye with a shine dot and a smile.
-
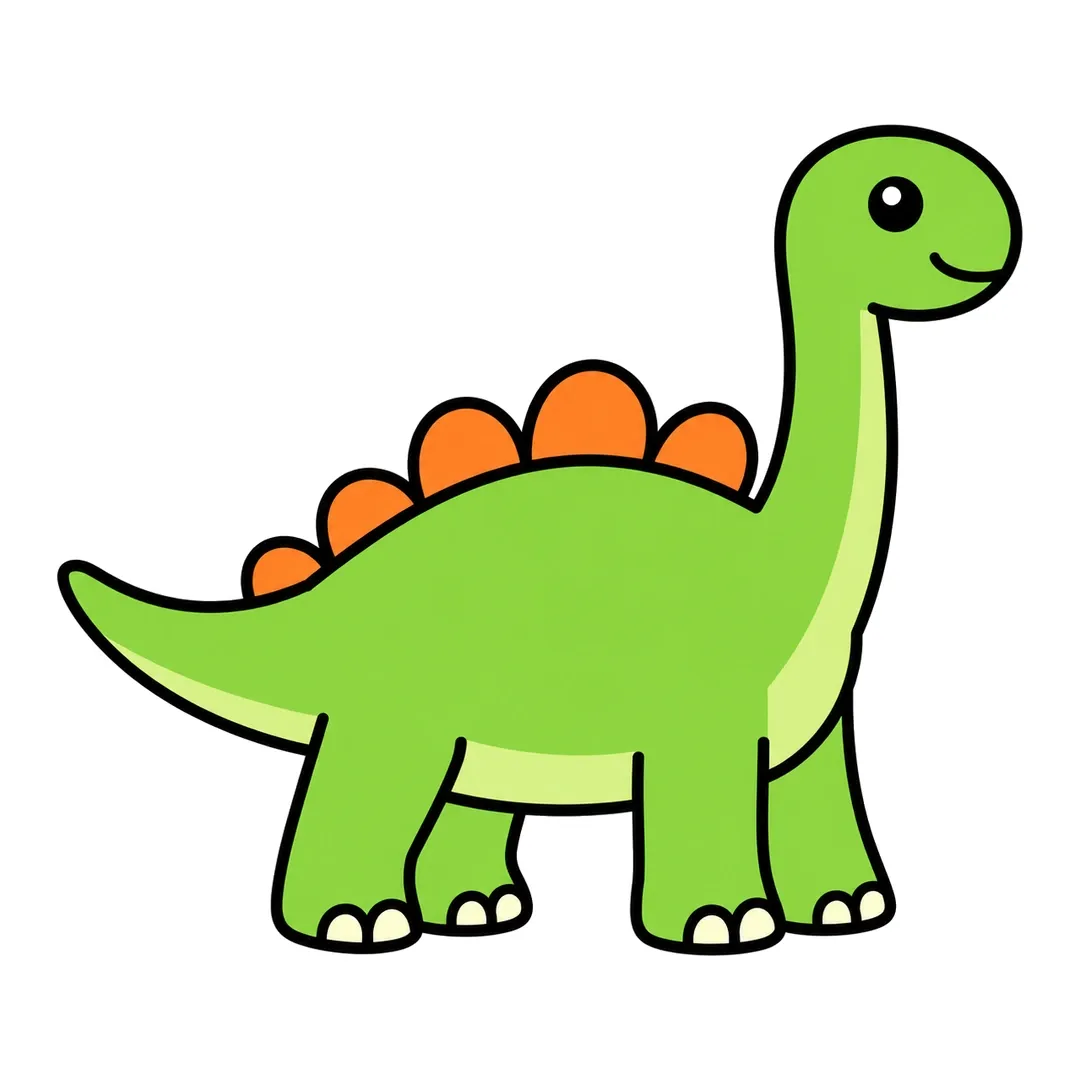
Step 6: Color the body green, the underside light green, the plates orange and the toenails cream.
Alien
An alien can be any shape, so how to draw an alien lets kids practice the cute formula with no wrong answers.
- Draw a round or bean-shaped head.
- Add two antennae with balls on the ends.
- Draw one, two or three big eyes.
- Add a small body and color it green or purple.
-
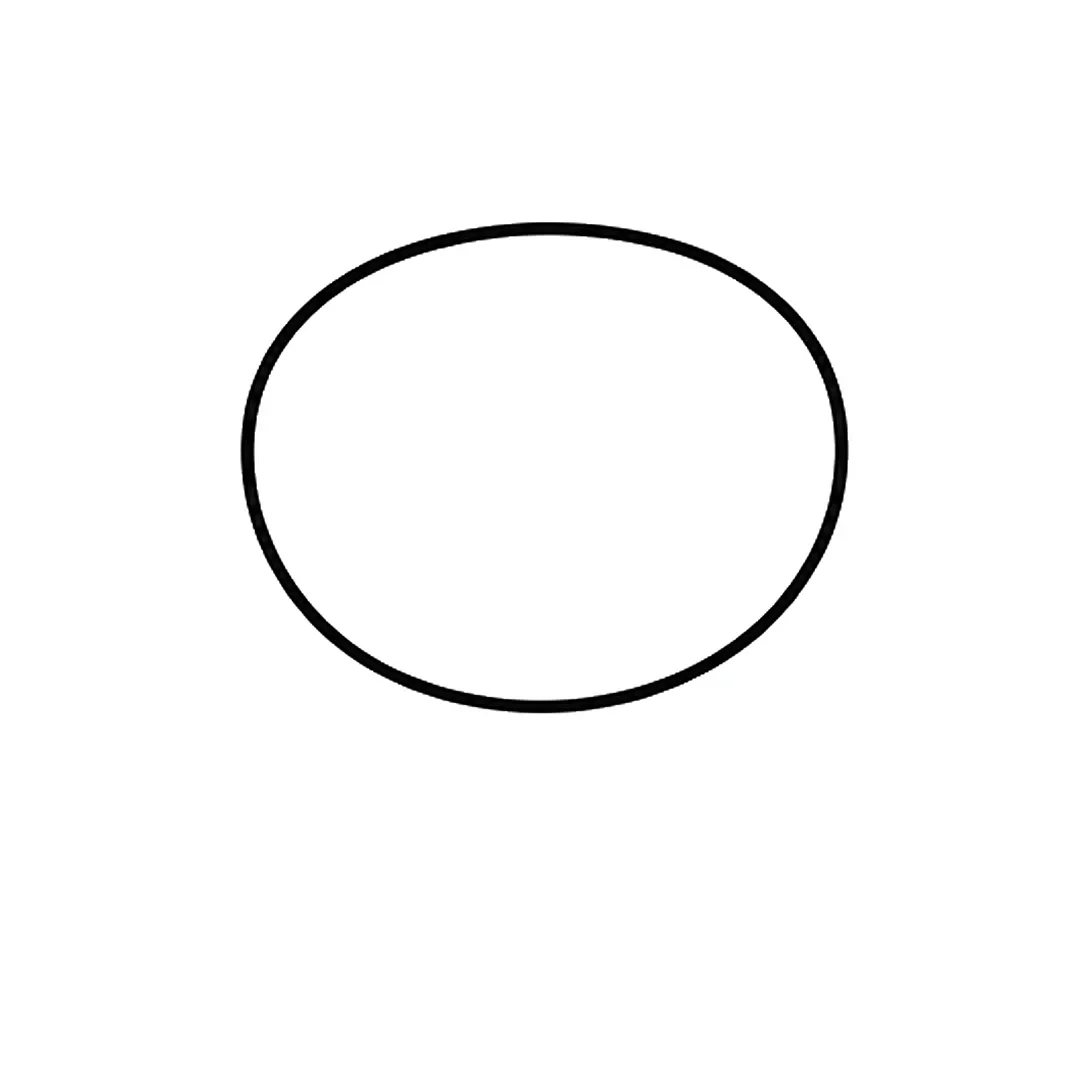
Step 1: Draw one big oval for the head. Make it wider than it is tall.
-
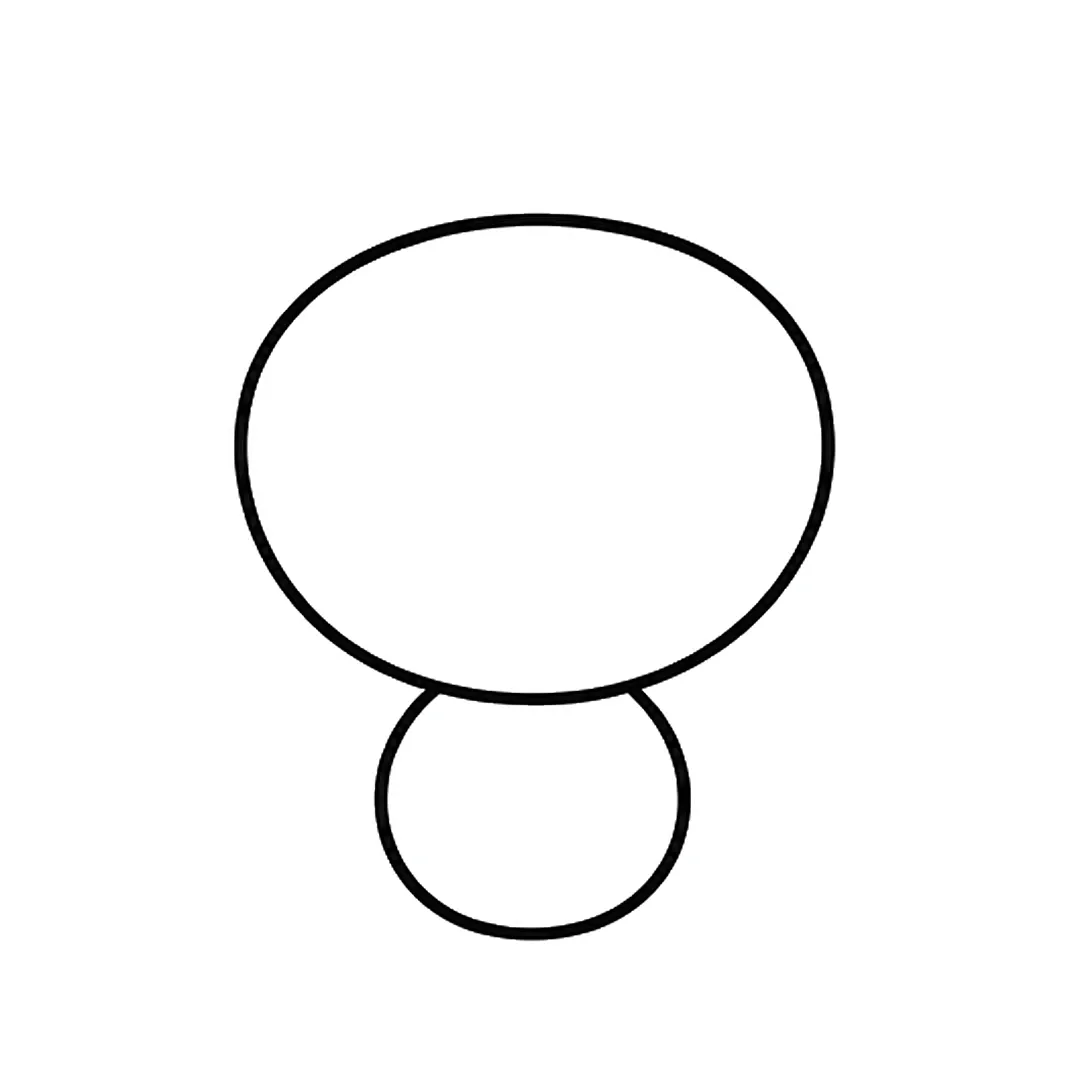
Step 2: Add a small round body under the head. Start and end it at the bottom line of the head.
-
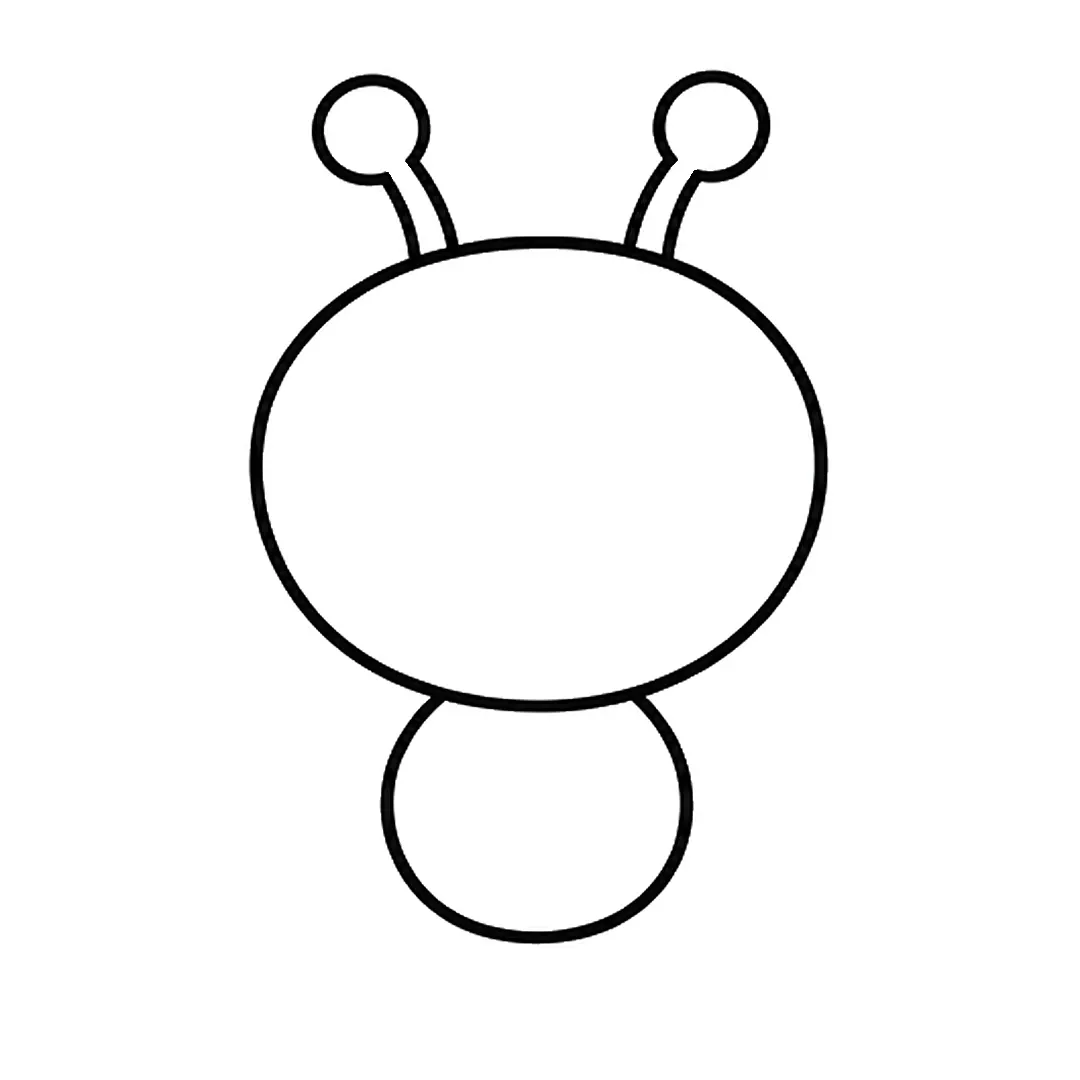
Step 3: Draw two thin antennae that lean outward from the top of the head, with a round ball on each tip.
-
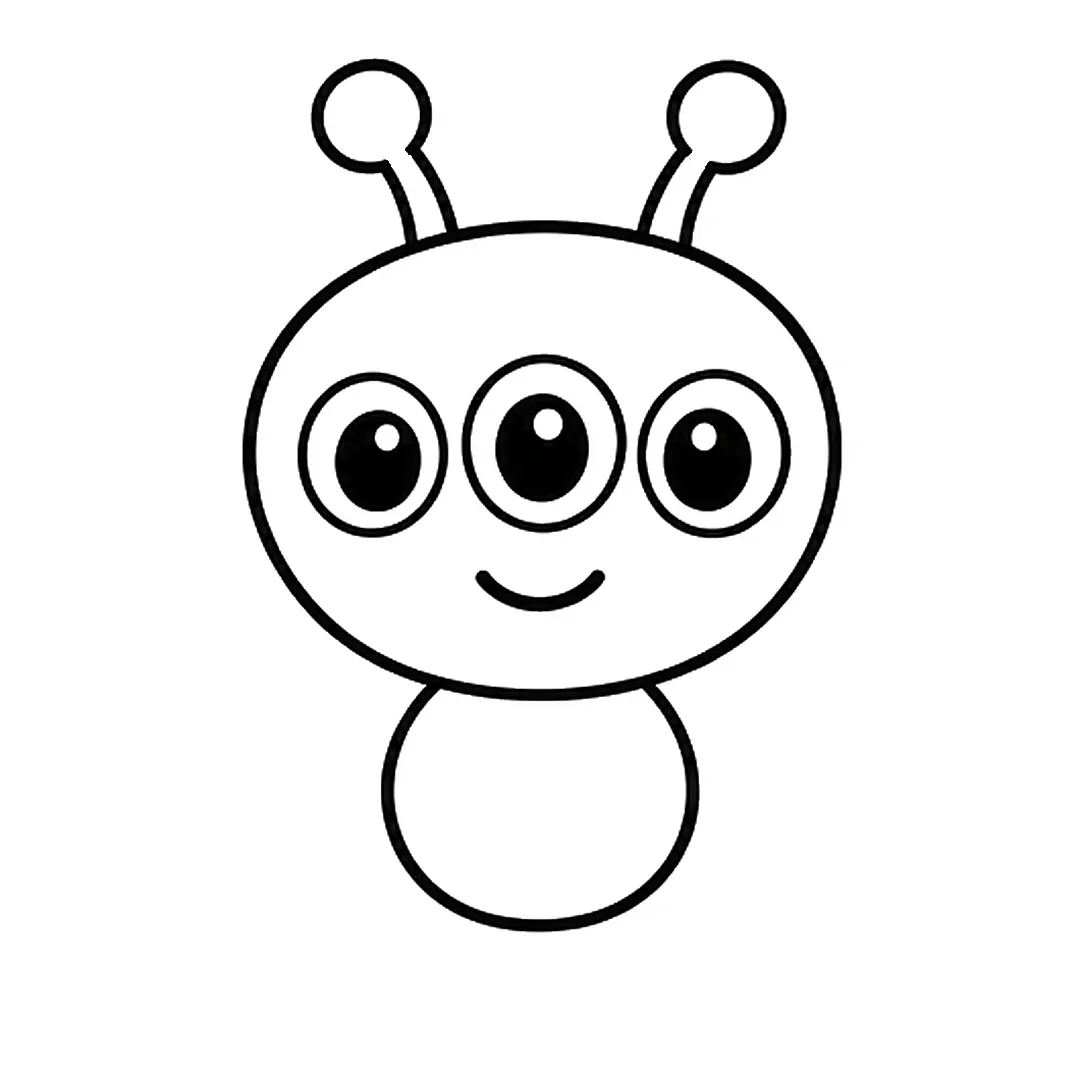
Step 4: Add three eyes in a row, each a circle in a circle with a black pupil and shine dot, and a smile.
-
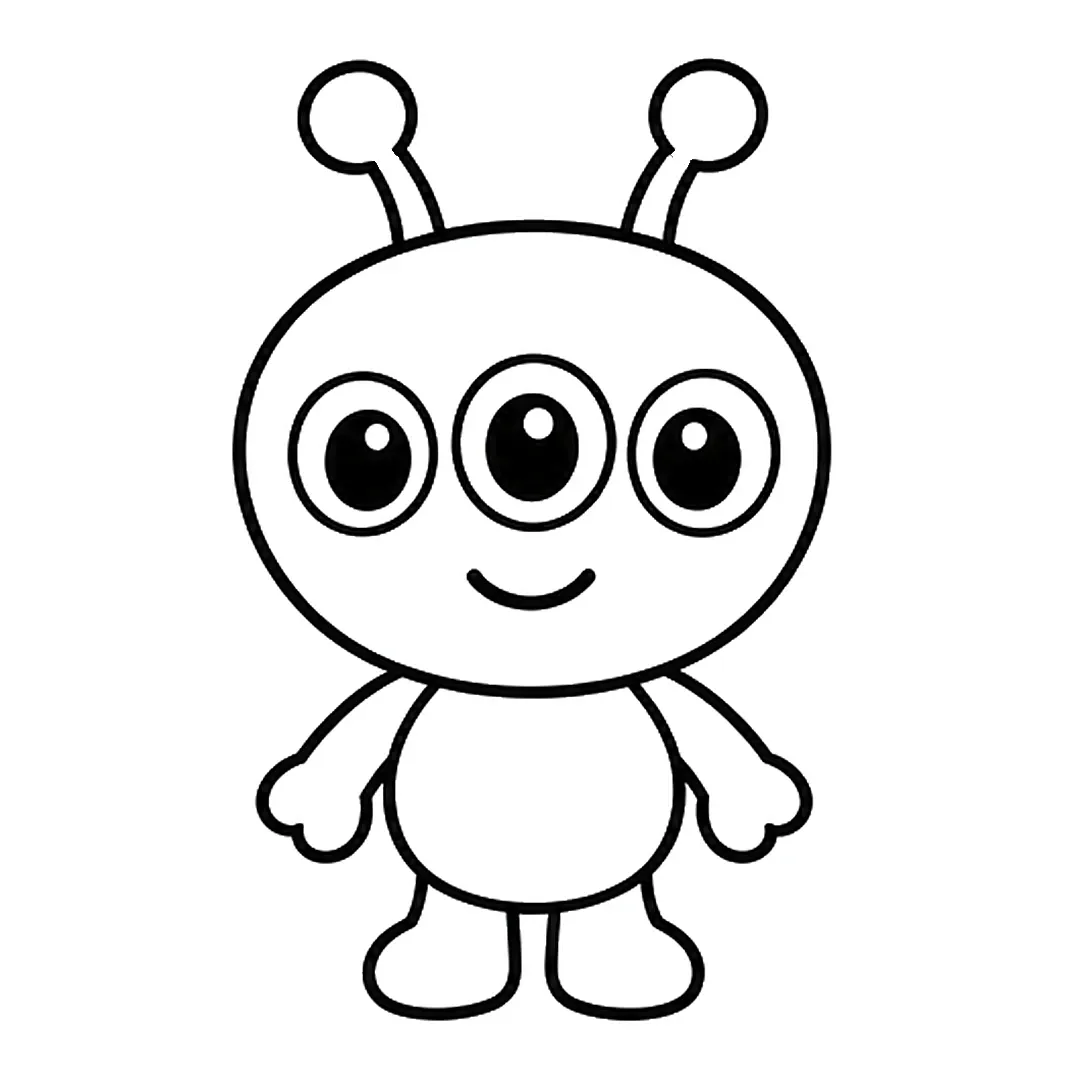
Step 5: Draw two arms from under the head with three round fingers each, and two short legs with round feet.
-
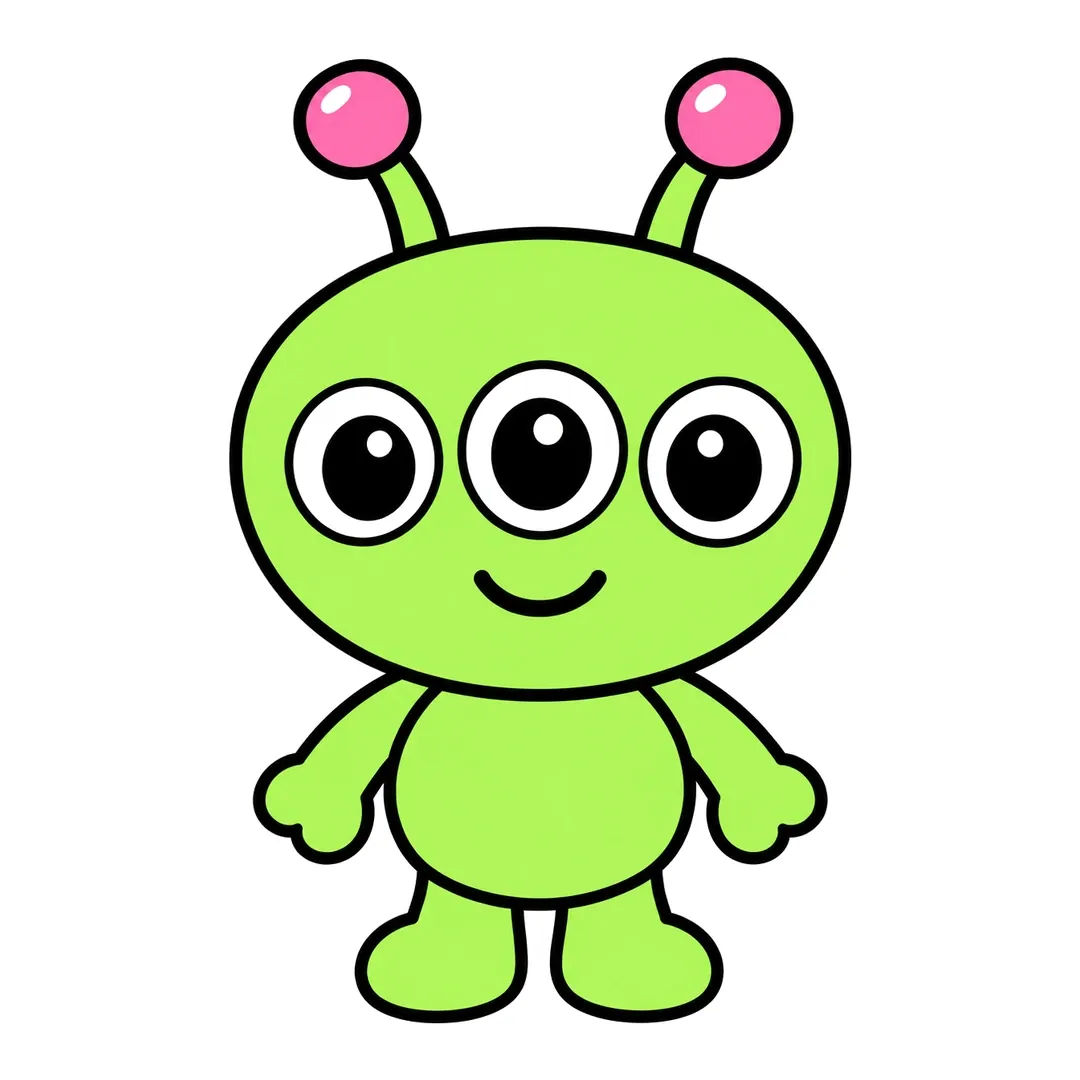
Step 6: Color the alien light green and the antenna balls pink with a white shine. Keep eyes and dots white.
Robot
How to draw a robot shows trick number 2: round the corners of a box and it turns cute.
- Draw a square head with round corners.
- Add an antenna on top.
- Draw two circle eyes and a small smile.
- Draw a rectangle body with buttons and short arms.
-

Step 1: Draw a rounded square head with a short antenna and a round ball on top.
-

Step 2: Add two big round eyes with black pupils and a long mouth split into five cells by four lines.
-

Step 3: Draw a short neck and a rounded square body under the head, with a square screen on the chest.
-

Step 4: Add two bendy arms with three segment lines each, curving out from the shoulders to round claws.
-

Step 5: Draw two short legs with one line across each one and wide rounded feet.
-

Step 6: Color it light gray, ball red, eye rings and screen blue, mouth and feet gray, soles dark gray.
The Dinosaurs and Fantasy drawing pack collects more creatures like these.
What Are Small Cute Doodles and Sticker Ideas?
Small cute doodles are tiny drawings of simple things, such as clouds, stars, moons, flowers and hearts, that fit in a corner of a page or a card. A thick white border turns each one into sticker art. Hearts also lead into our cute heart drawings for kids. Eight of the 10 doodles below have tutorials.
To make a sticker sheet, fold paper into 6 or 8 boxes. Your child draws one doodle per box, outlines it in black marker and leaves a thick white edge around it. Older kids can cut the stickers out and glue them onto cards.
Cloud
A cloud is a row of bumps, and a sleepy face makes how to draw a cloud a very quick cute drawing.
- Draw three or four bumps in a row.
- Close the shape with a flat bottom line.
- Add closed eyes and a small smile.
- Draw raindrops or a sun peeking out.
-

Step 1: Draw a puffy cloud with five round bumps over the top and sides and a long flat bottom.
-

Step 2: Add two oval eyes and a small smile in the middle. Fill the eyes black but leave a white shine dot.
-
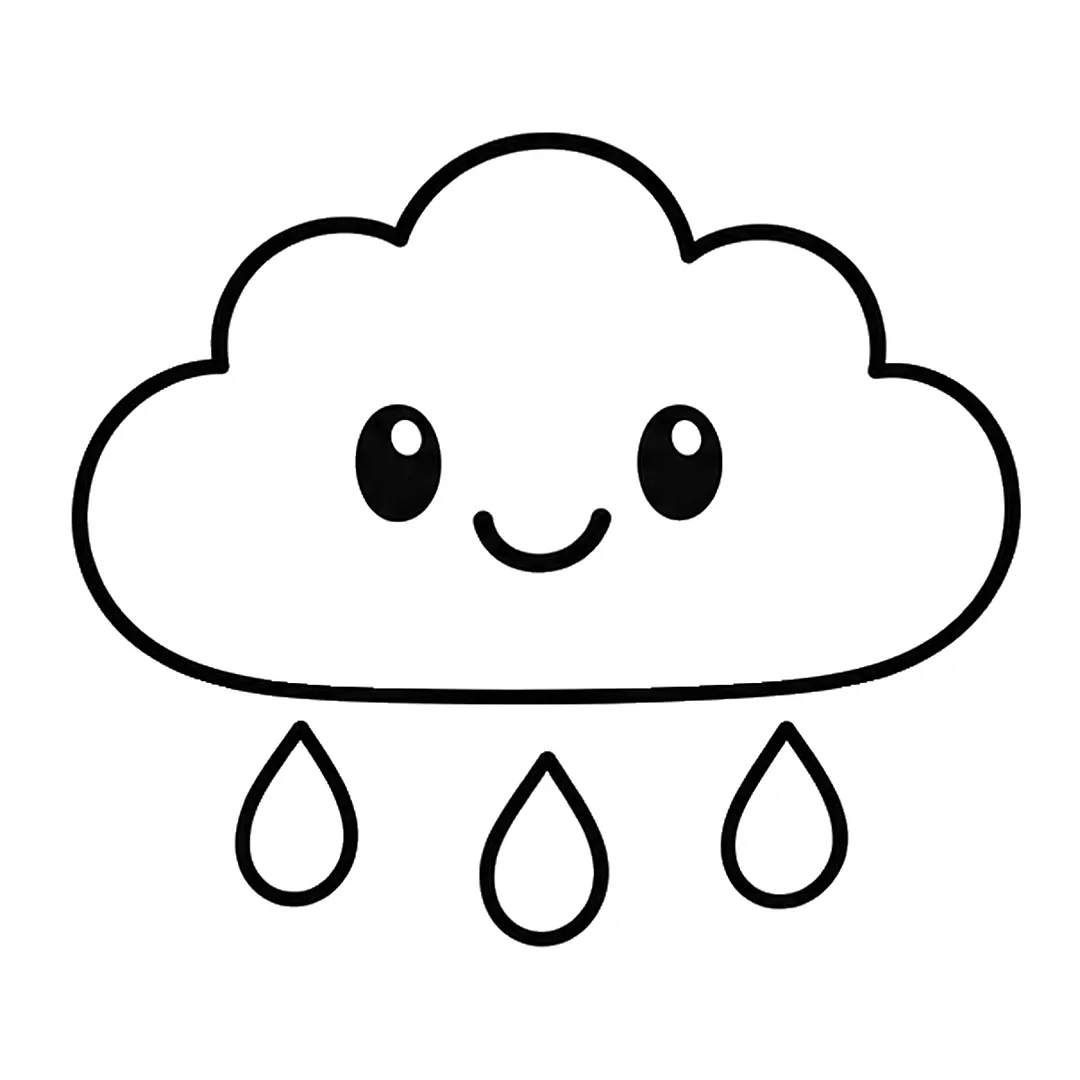
Step 3: Draw three teardrop raindrops under the cloud. Put the middle drop a little lower than the others.
-
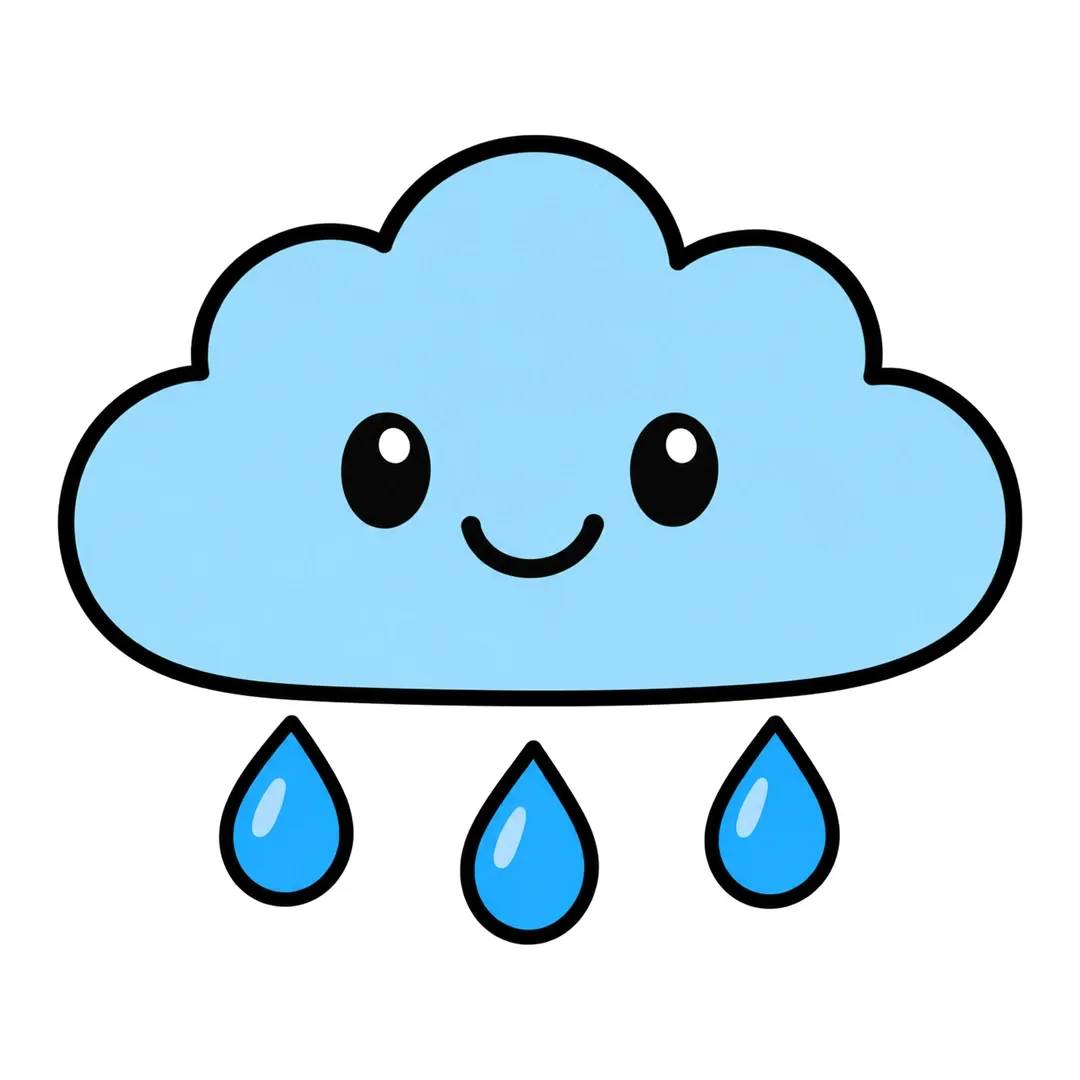
Step 4: Color the cloud light blue and the drops blue with a light blue shine mark. Keep the eye dots white.
Star
Rounded points make the star in how to draw a star look soft and cute.
- Draw a five-point star with rounded tips.
- Add two eyes in the center.
- Draw a tiny smile and pink cheeks.
- Add small sparkle lines around it.
-

Step 1: Draw a big five-pointed star with soft, rounded points.
-
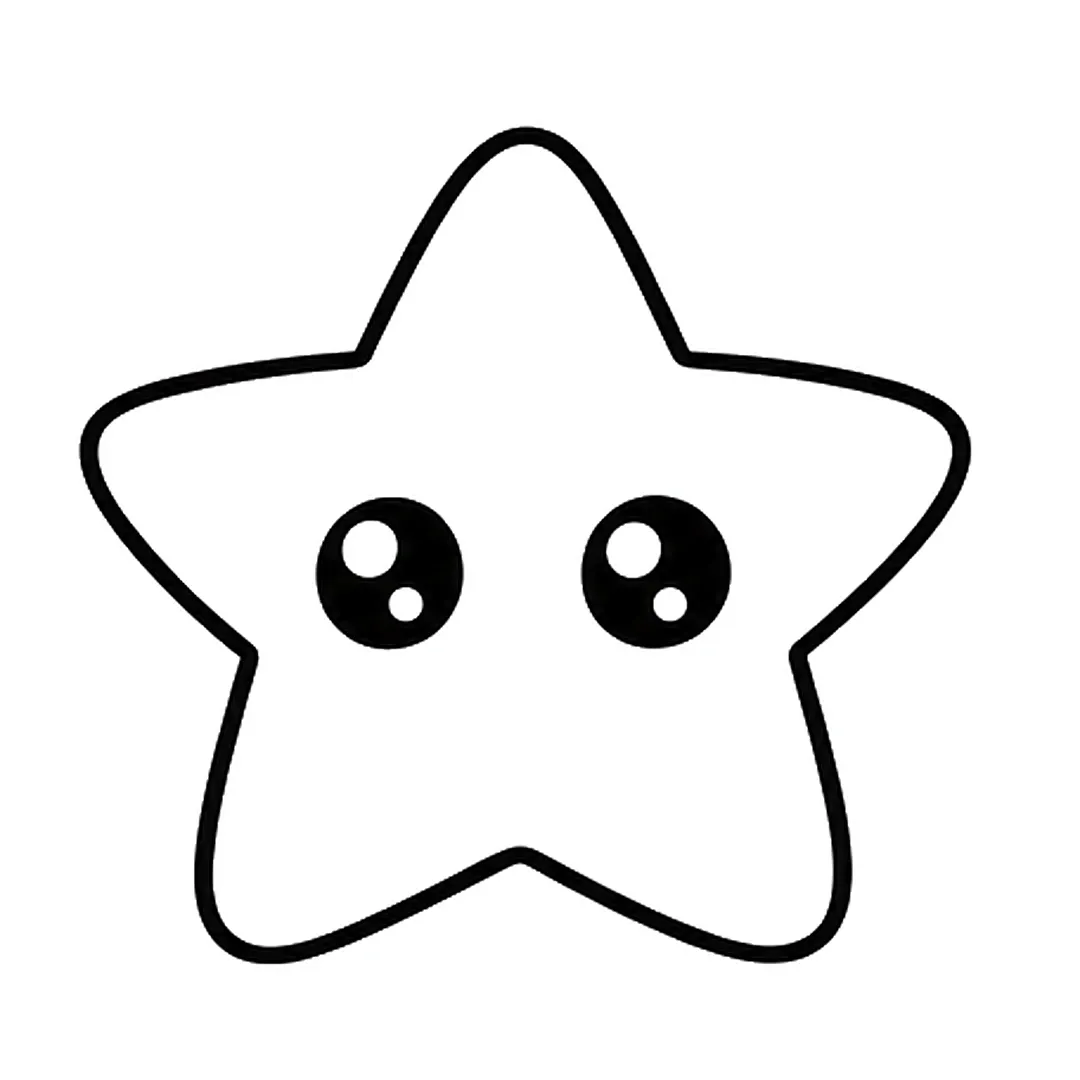
Step 2: Add two big round eyes in the middle. Fill them black and leave two white shine dots in each.
-
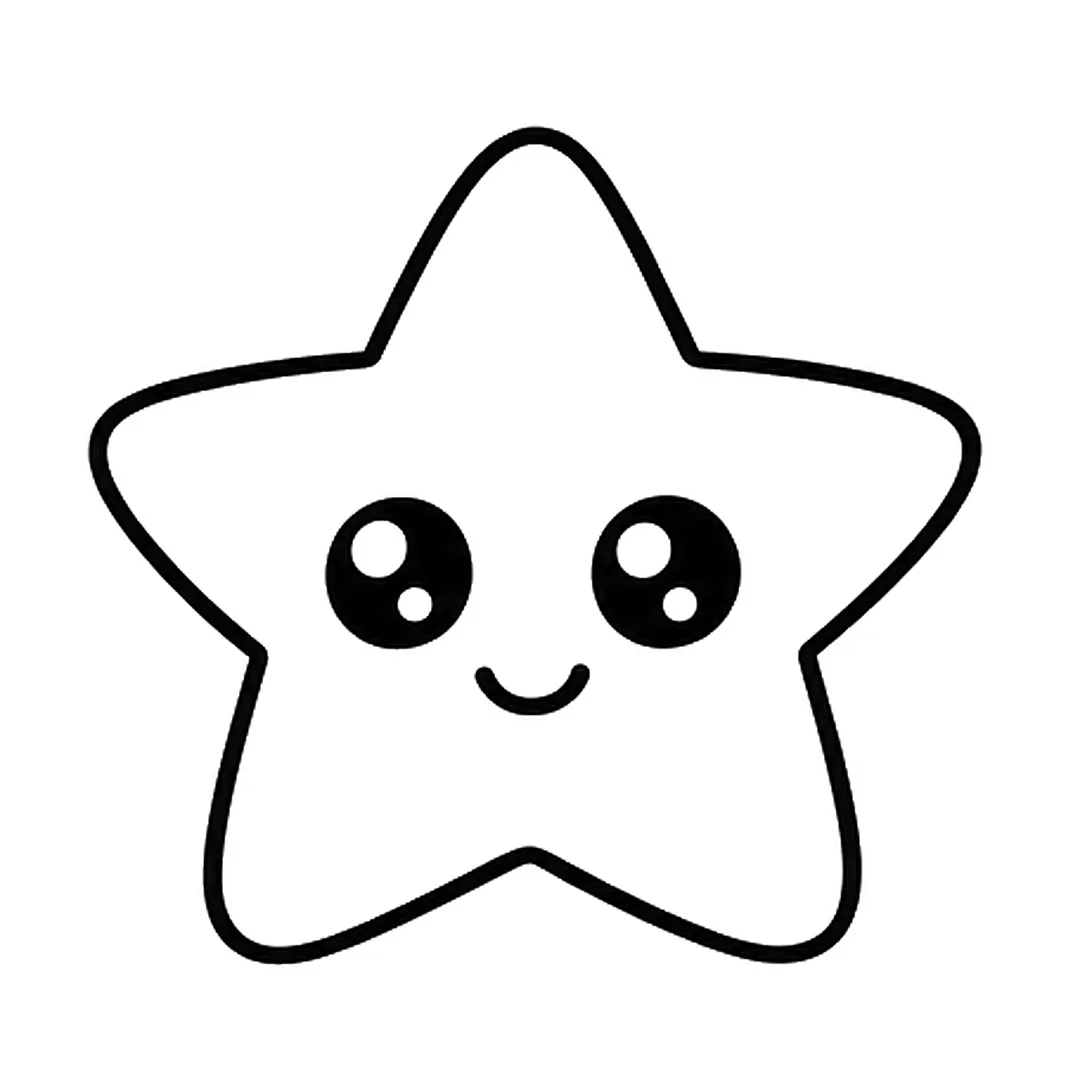
Step 3: Draw a small curved smile between the eyes, a little lower.
-

Step 4: Add two small round cheeks, one under each eye.
-

Step 5: Draw three small four-pointed sparkles: one at the top left and two on the right side.
-

Step 6: Color the star yellow, the cheeks pink and the sparkles light blue. Leave the eye shine dots white.
Moon
A sleepy crescent moon in a nightcap is a classic bedtime doodle; follow how to draw a moon.
- Draw a crescent shape like a letter C.
- Add a closed eye and a small smile on the inside curve.
- Draw a floppy nightcap on the top point.
- Add a few stars around the moon.
-
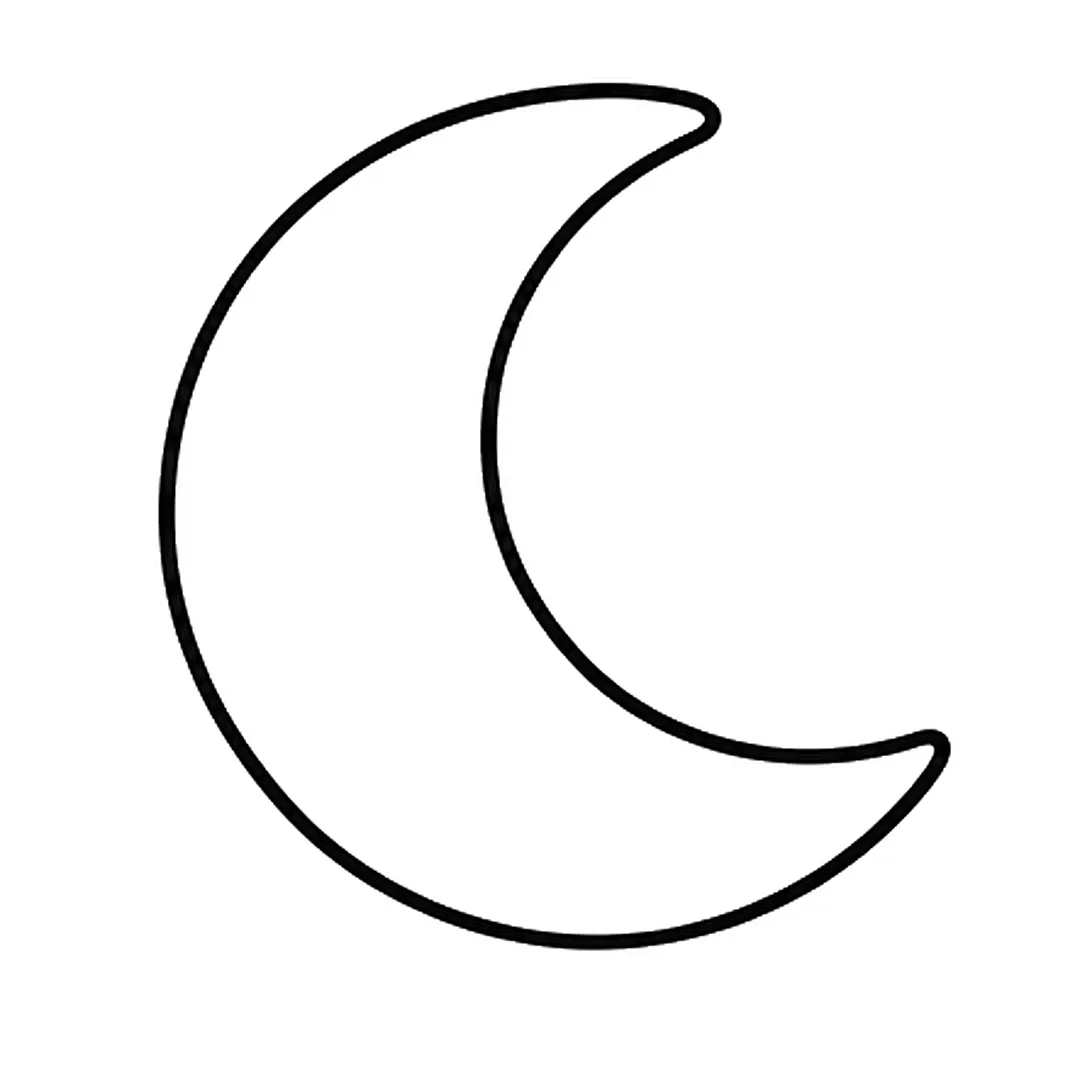
Step 1: Draw a big crescent moon that opens to the right, with a pointed tip at the top and bottom.
-
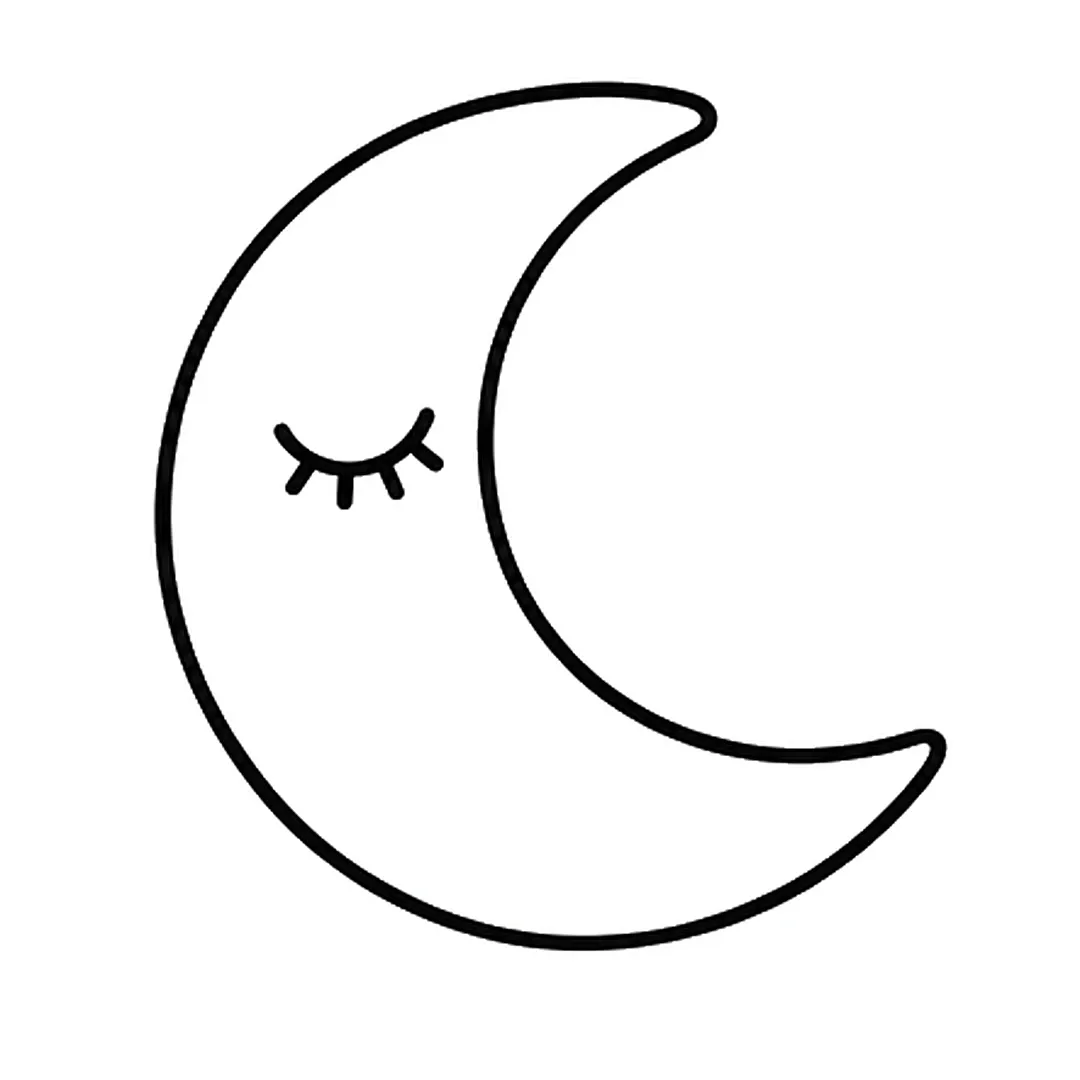
Step 2: Add a closed sleepy eye: one curved line with four short lashes underneath.
-

Step 3: Draw a small round cheek under the eye and a tiny smile next to it.
-
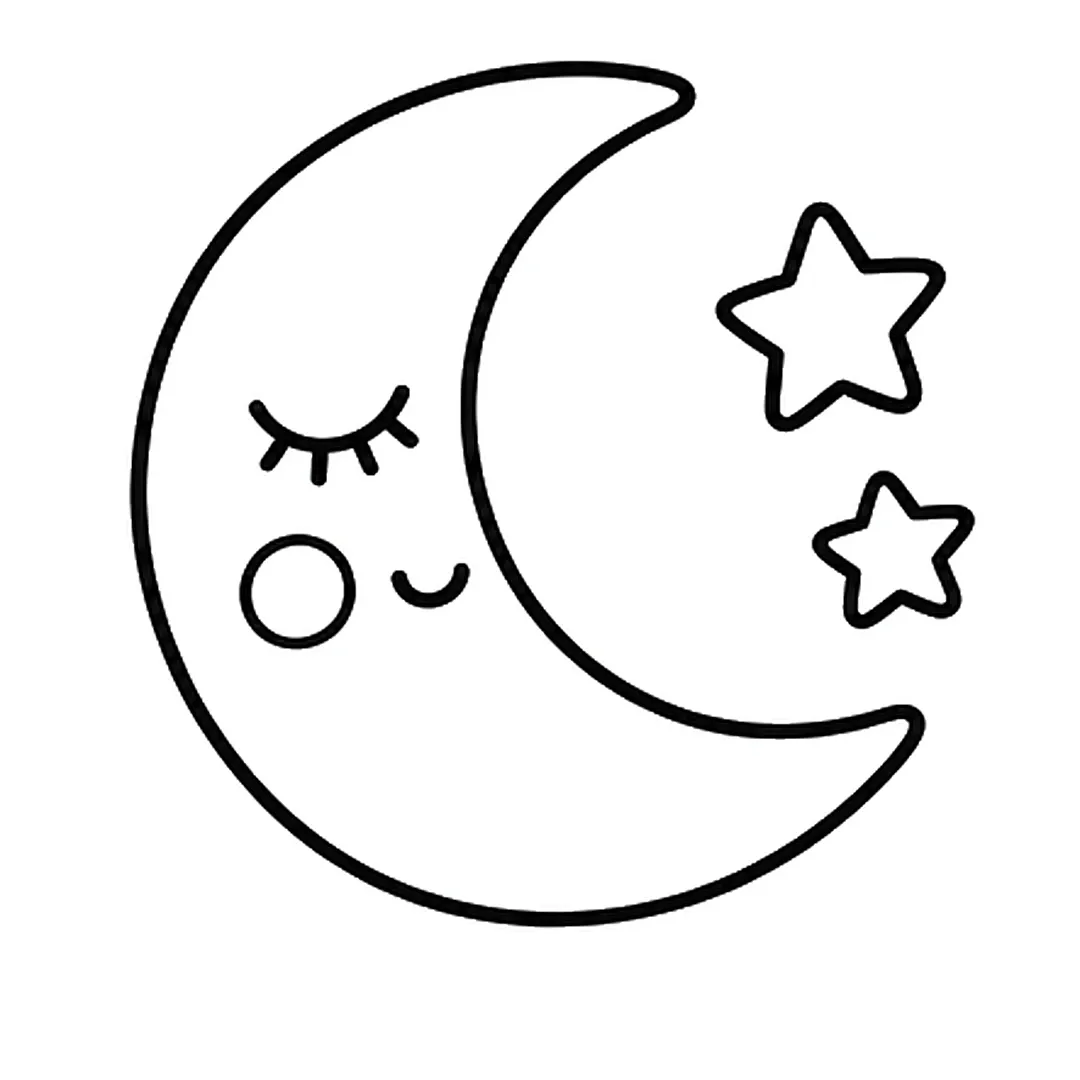
Step 4: Add two five pointed stars on the right, a big one at the top and a smaller one below it.
-
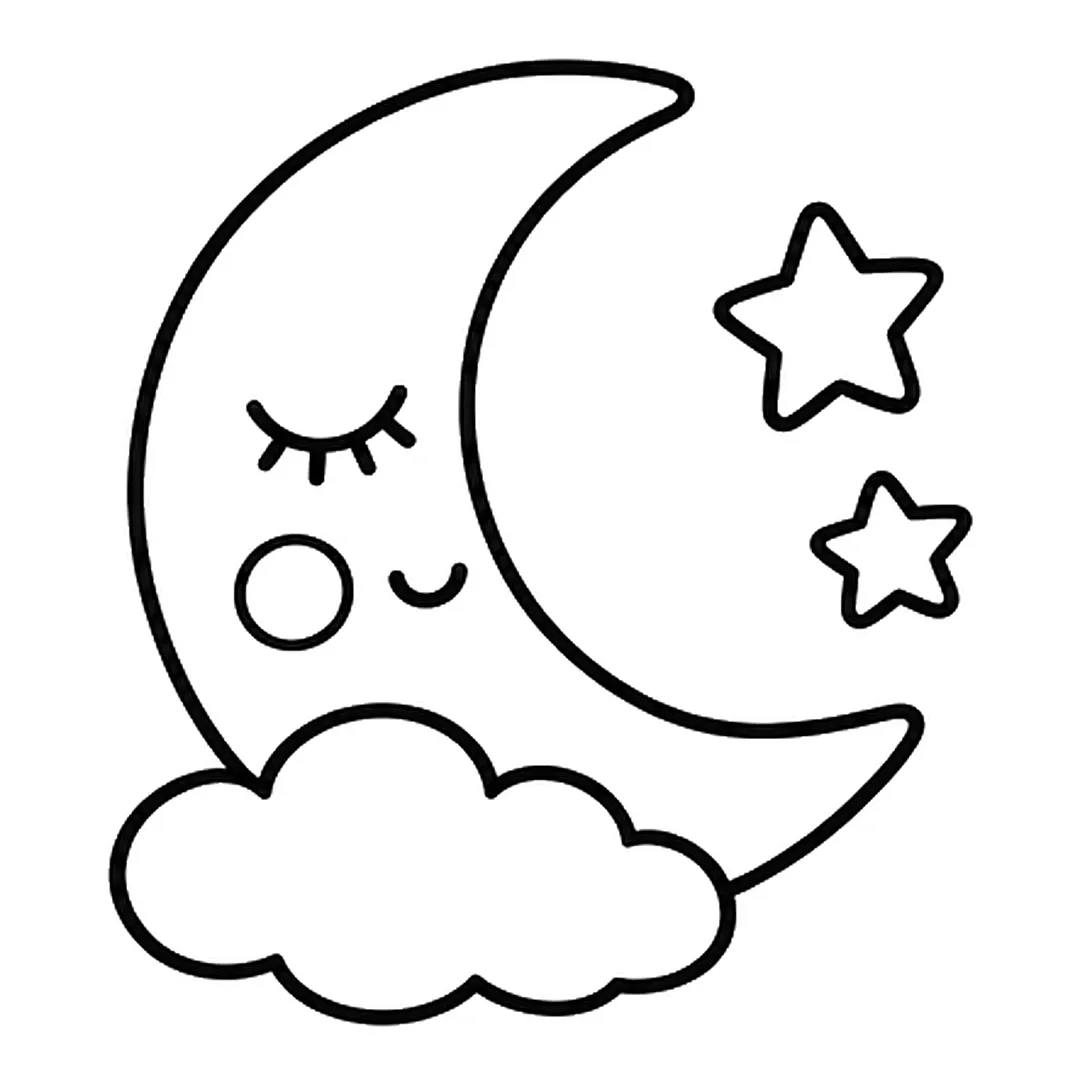
Step 5: Draw a fluffy cloud over the bottom of the moon. Erase the moon line inside the cloud.
-

Step 6: Color the moon and stars yellow, the cheek pink and the cloud light blue.
Flower
A face in the center turns the circle-and-petals shape in how to draw a flower kawaii.
- Start with a little round middle for the flower.
- Add five round petals around it.
- Draw a stem and two leaves.
- Put a smiling face in the center.
-

Step 1: Draw a small circle for the center of the flower.
-
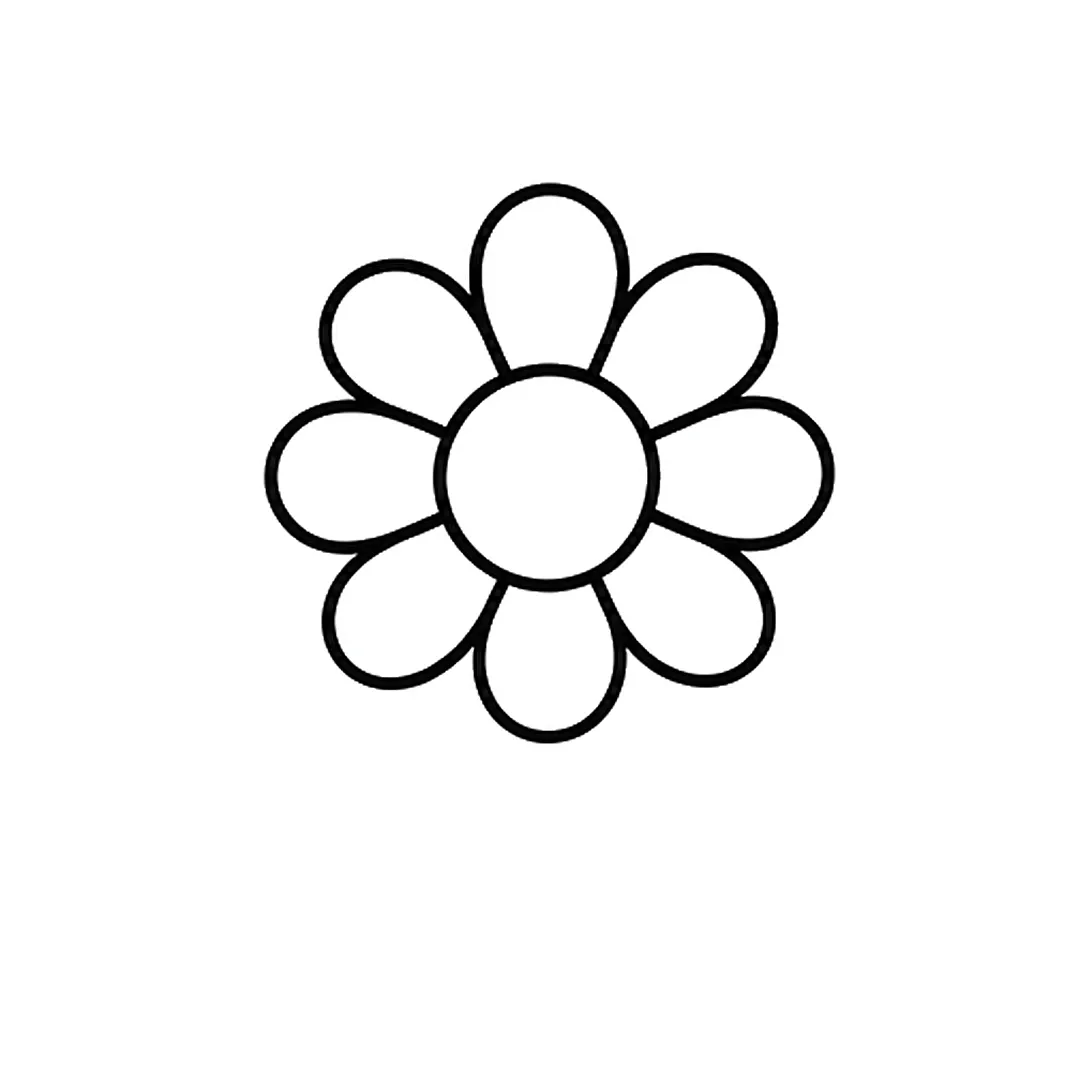
Step 2: Add eight round petals all around the center.
-
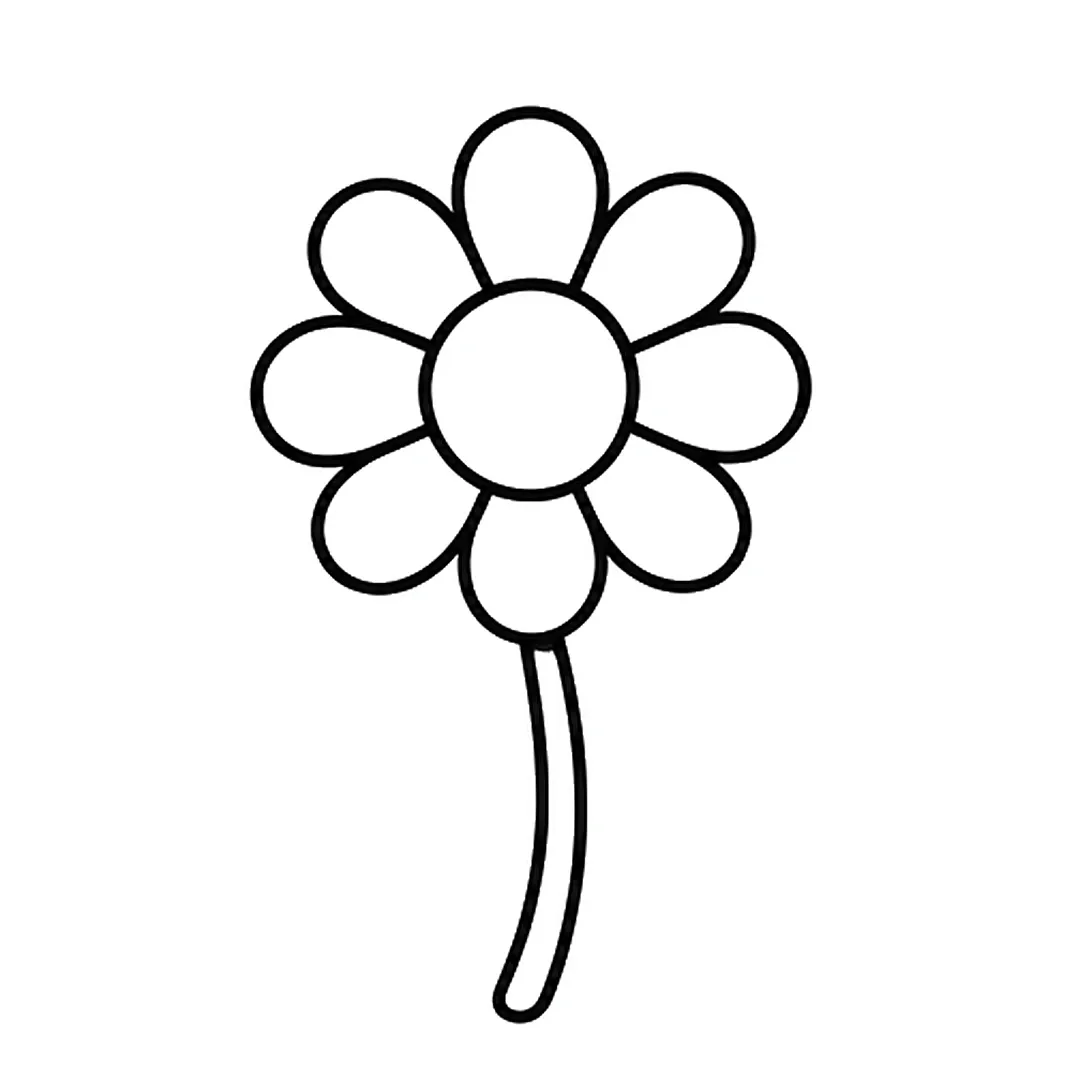
Step 3: Draw a long stem going down from the bottom petal.
-
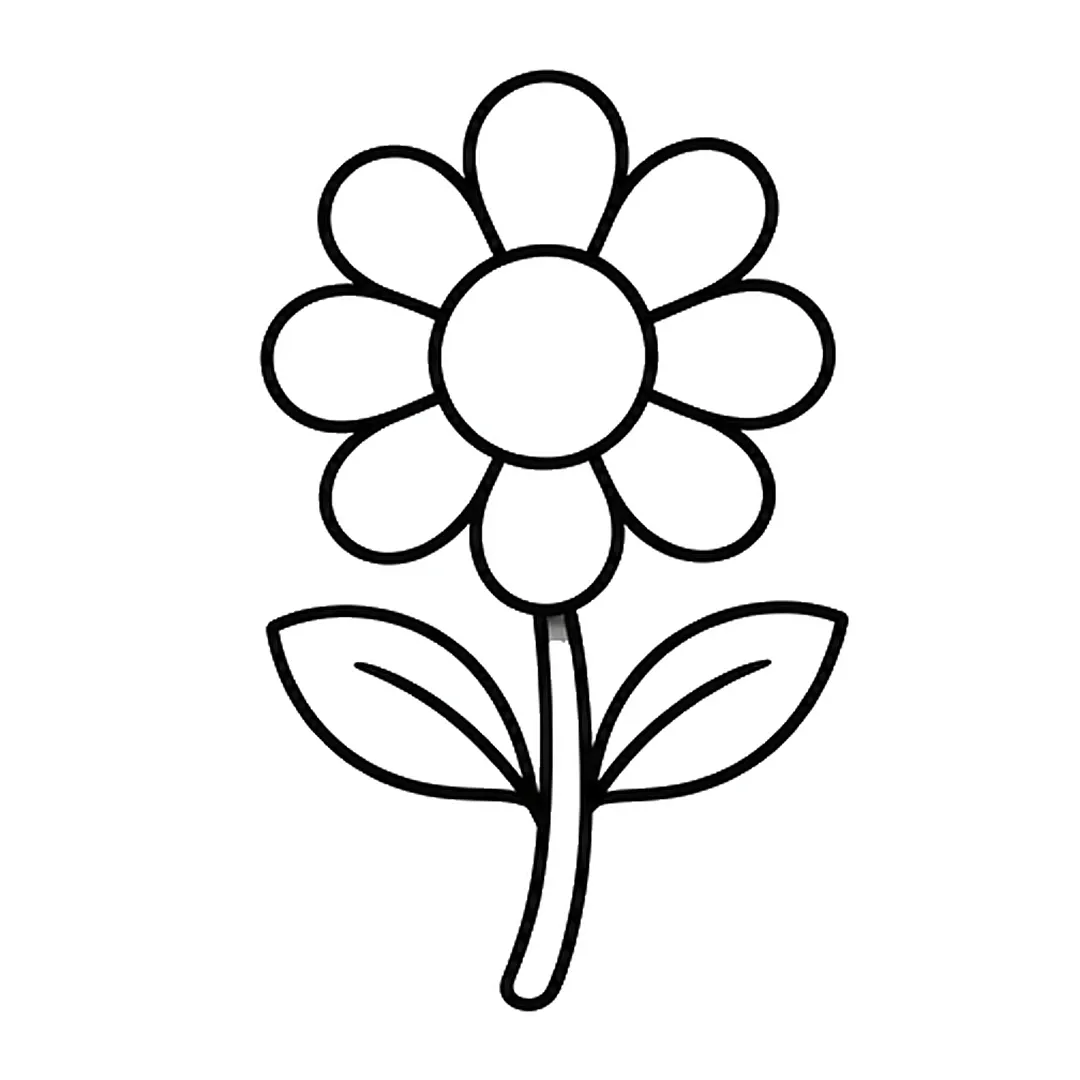
Step 4: Add two pointed leaves on the stem, one on each side, each with a vein line.
-
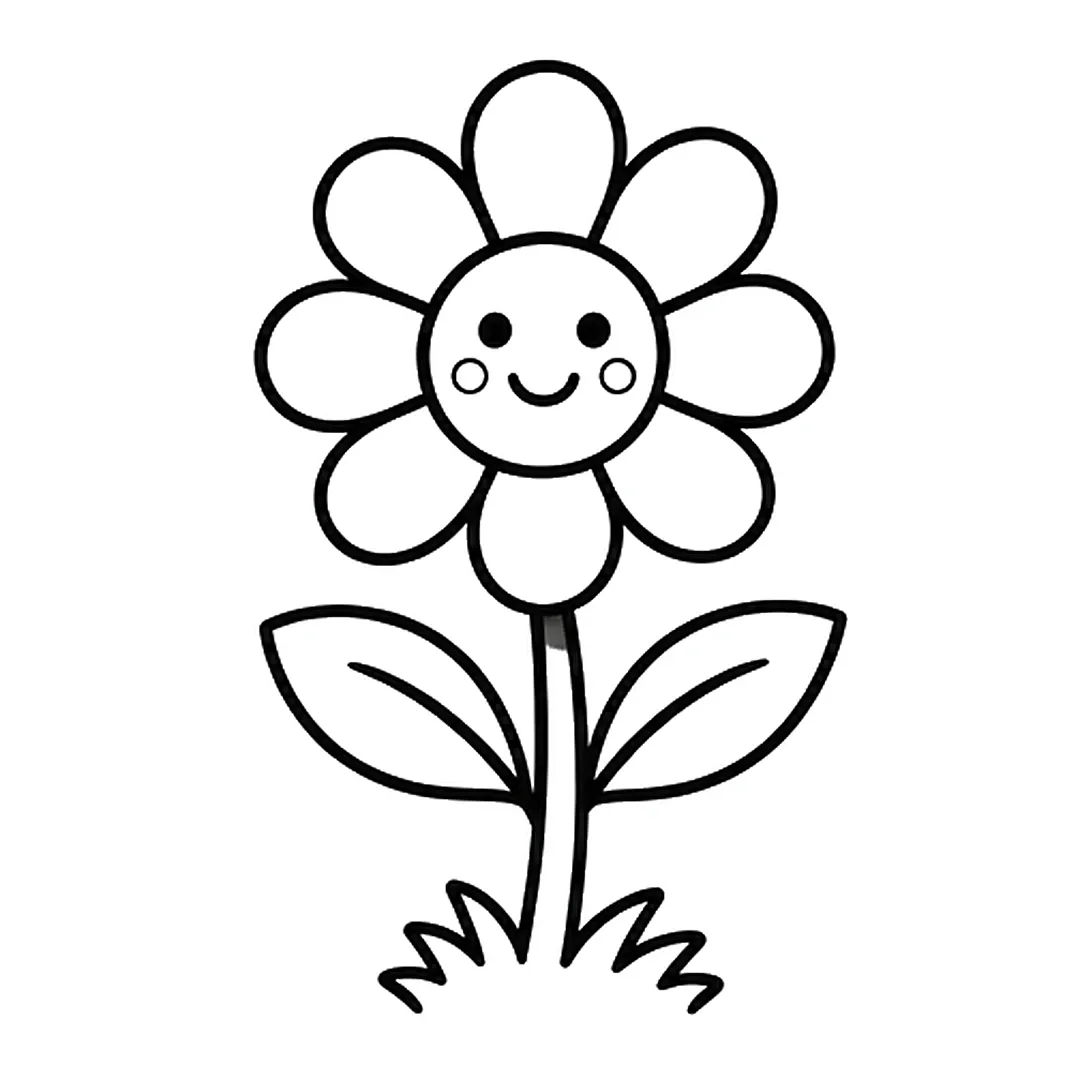
Step 5: Draw a happy face on the center with two round cheeks, and grass at the bottom.
-
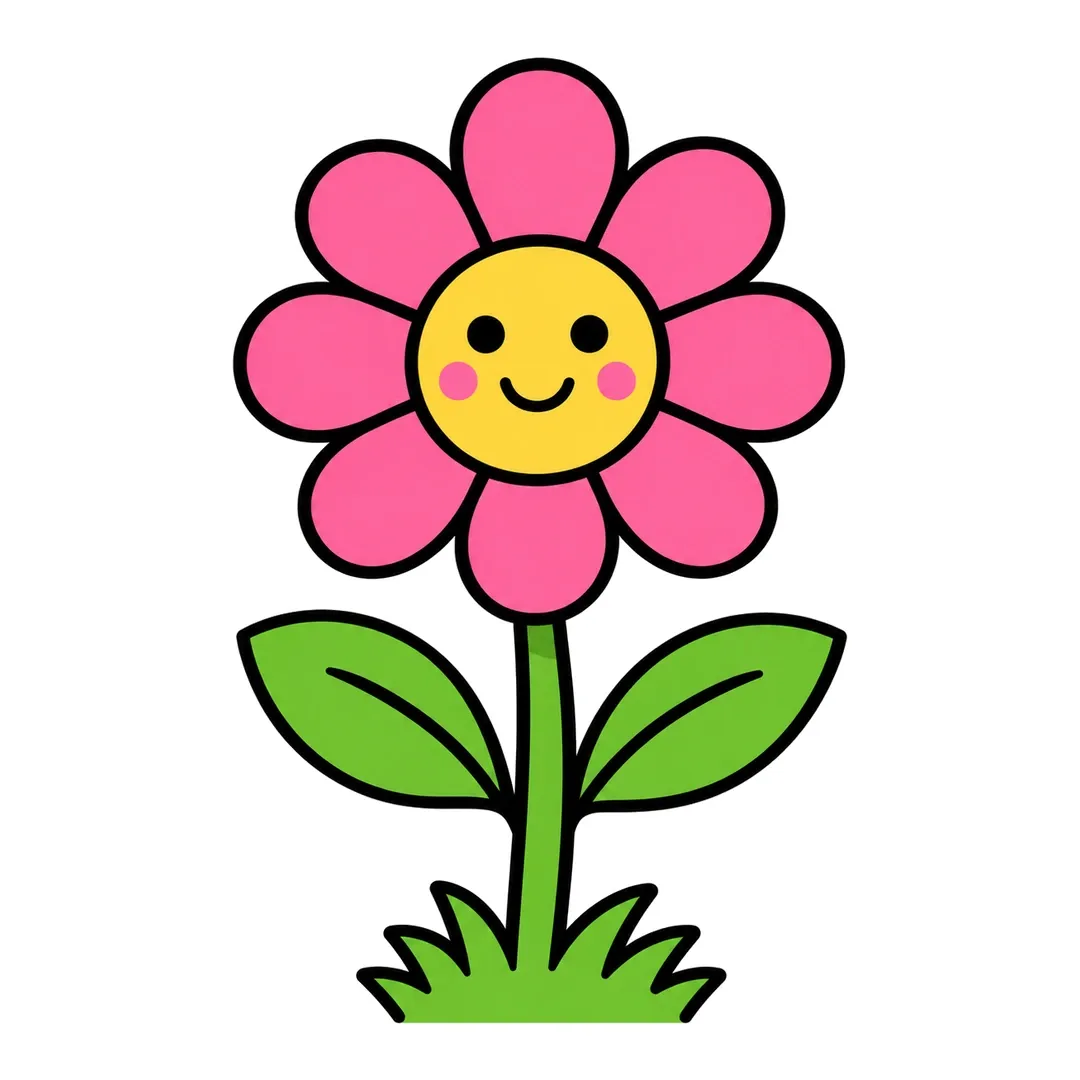
Step 6: Color the petals pink, the center yellow, the cheeks pink and the stem, leaves and grass green.
Butterfly
How to draw a butterfly lets kids practice matching both sides.
- Draw a small oval body.
- Add two big top wings and two smaller bottom wings.
- Draw two curly antennae.
- Decorate the wings with matching circles and hearts.
-
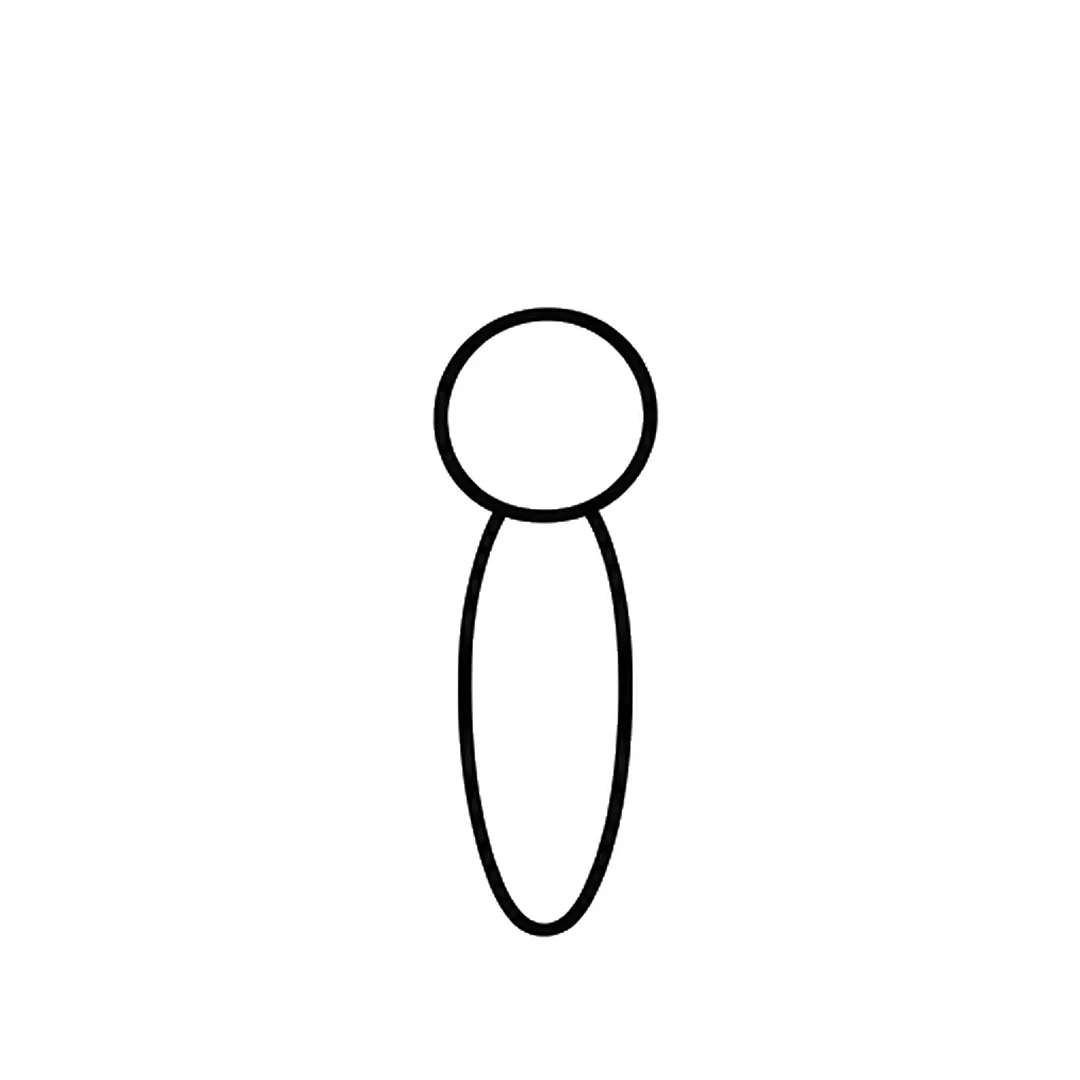
Step 1: Draw a round head on top of a long, thin oval body.
-
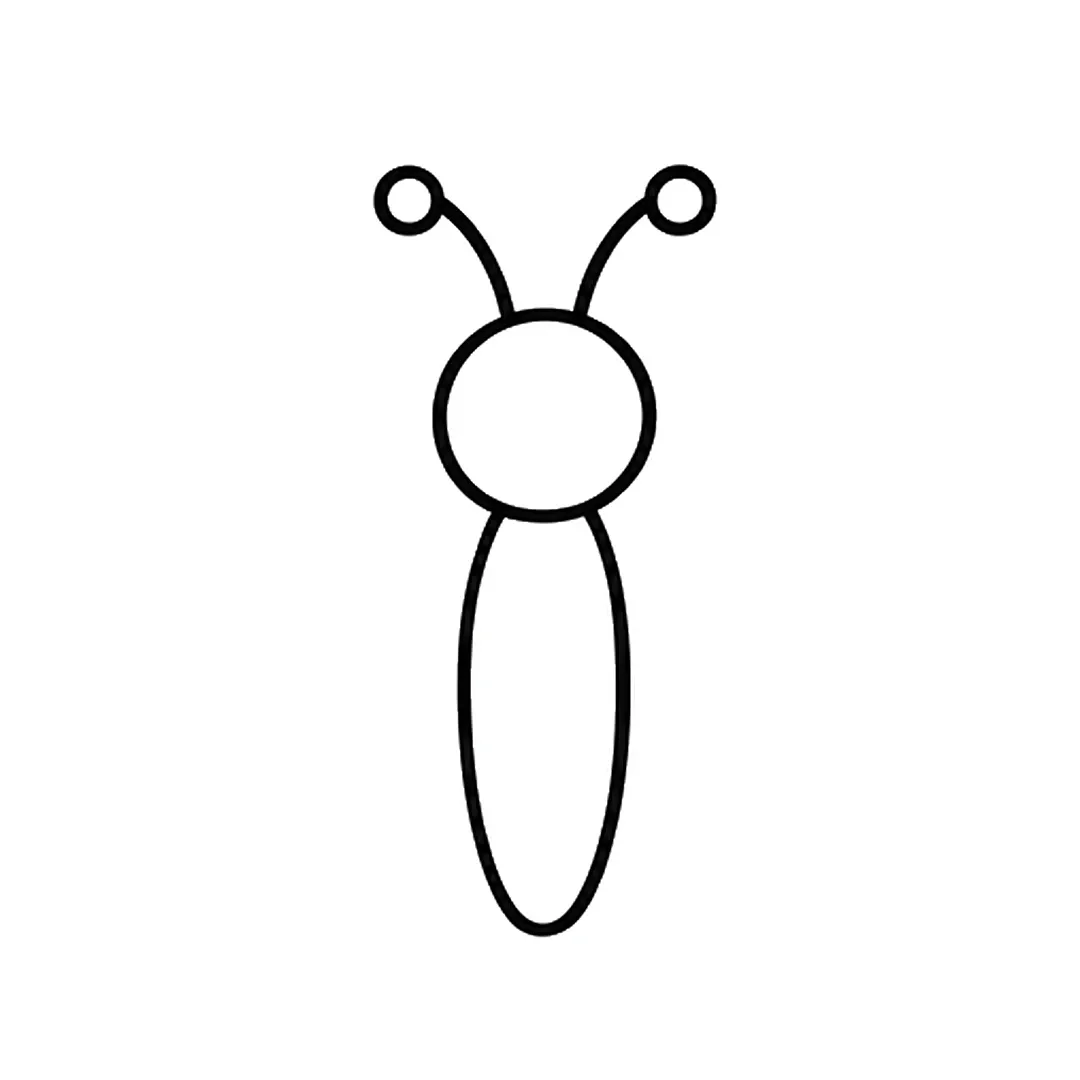
Step 2: Add two curved antennae on top of the head, each with a small circle at the end.
-
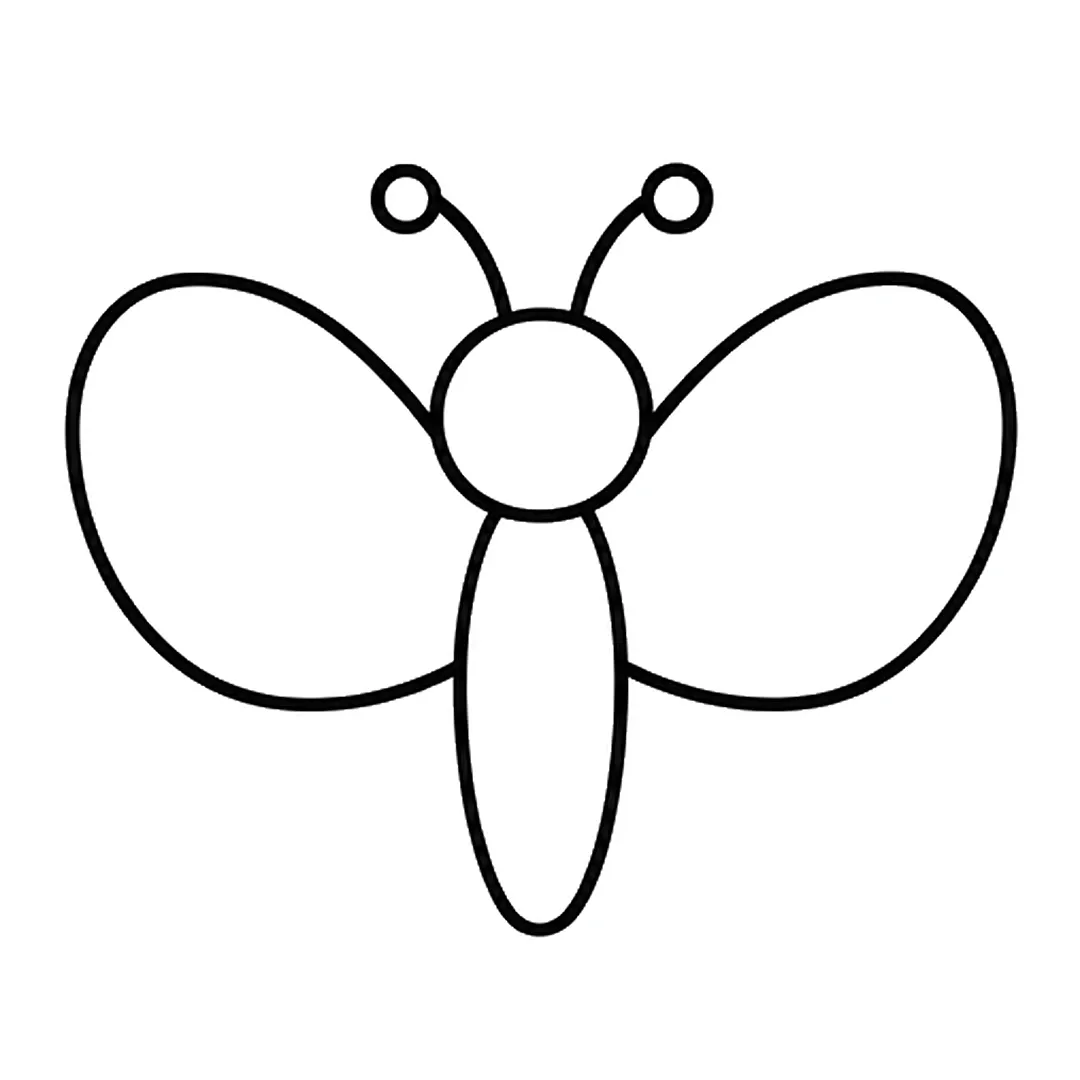
Step 3: Draw two big rounded upper wings, one on each side.
-
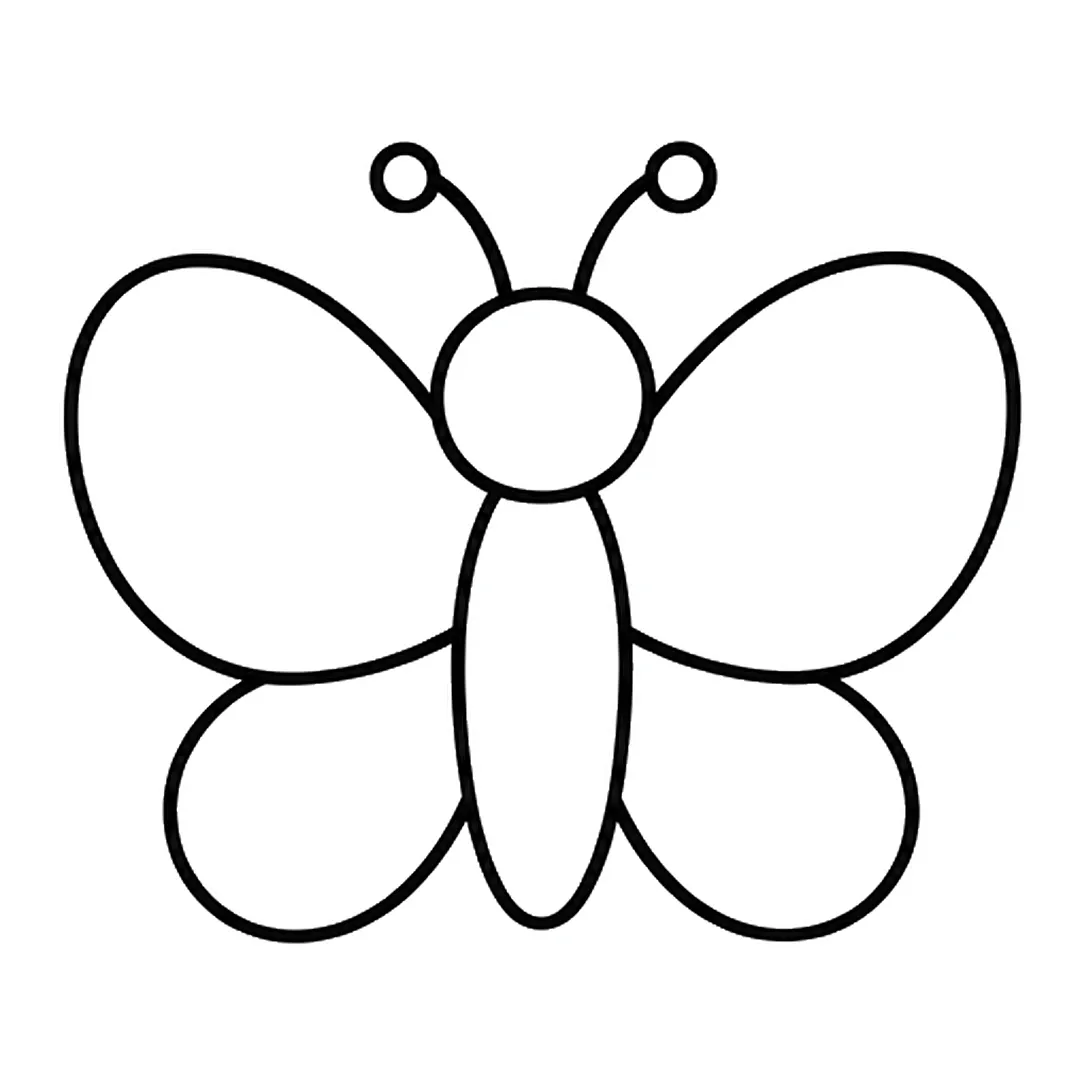
Step 4: Add two smaller rounded wings under the big ones.
-
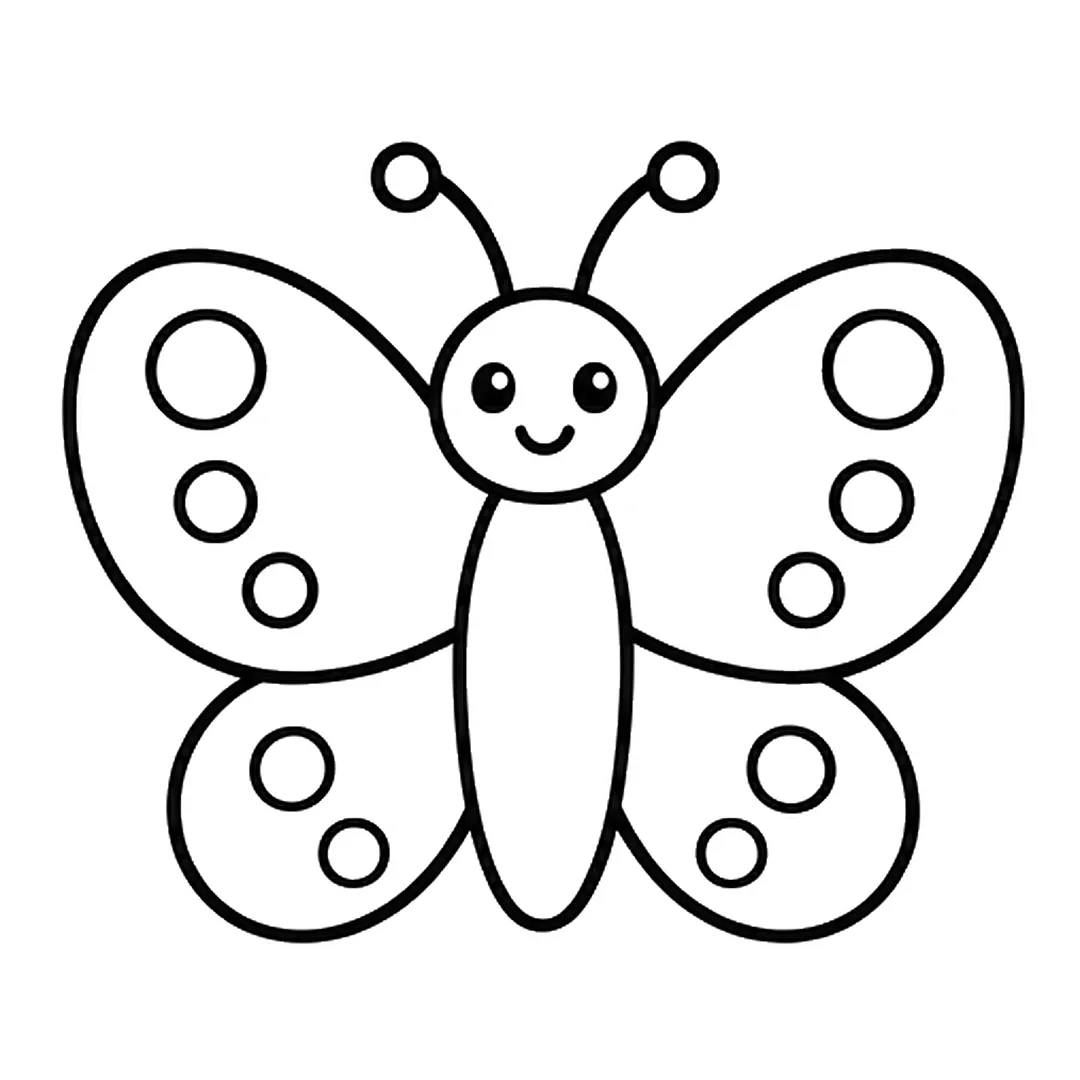
Step 5: Draw three spots on each top wing, two on each bottom wing and a happy face.
-
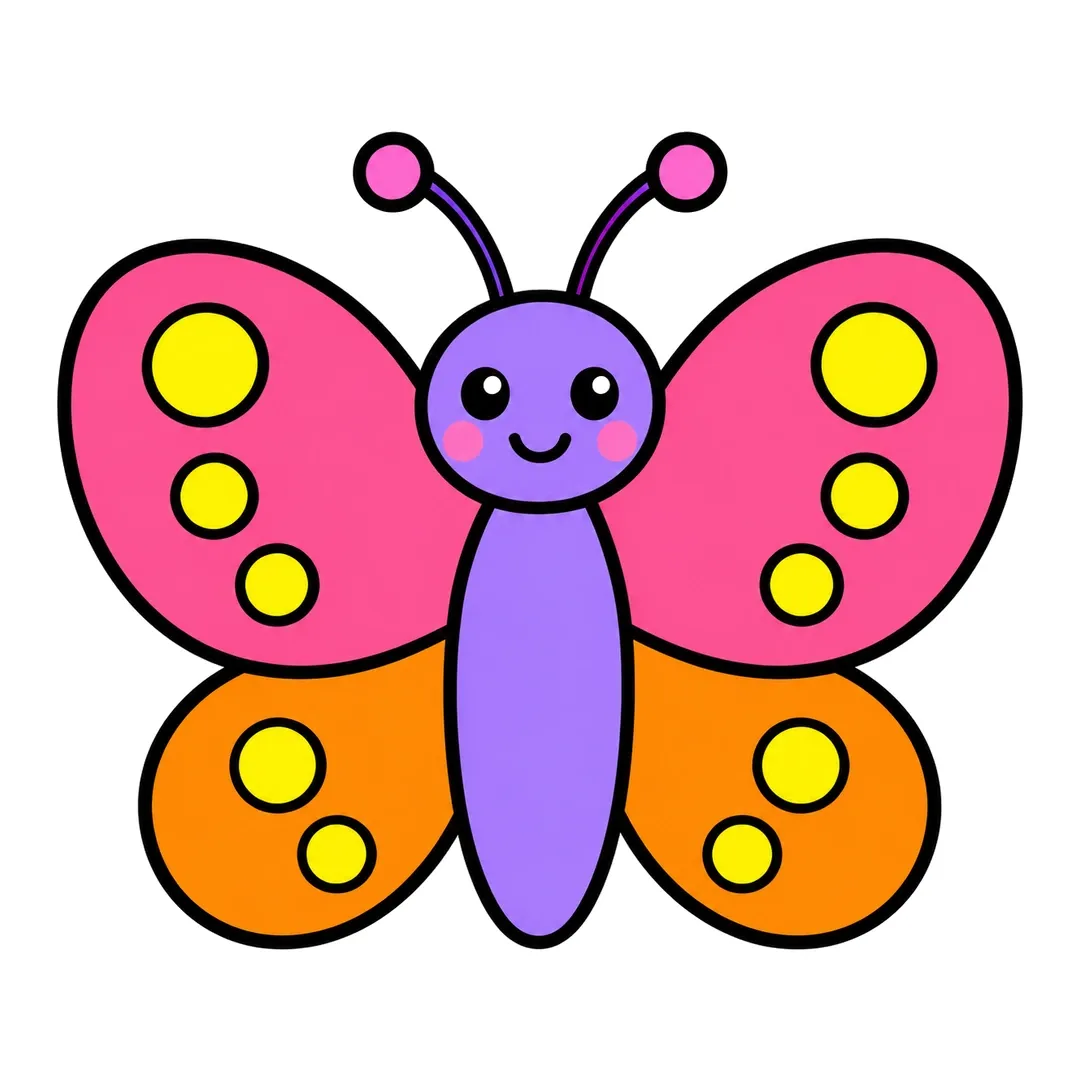
Step 6: Color the top wings pink, bottom wings orange, spots yellow and body purple. Add pink cheeks.
Crayon
A crayon with a face, from how to draw a crayon, is a fun school-themed doodle.
- Draw a long rectangle.
- Finish one end with a pointed cone for the crayon tip.
- Draw two bands near each end for the label.
- Add a face on the label and color it.
-
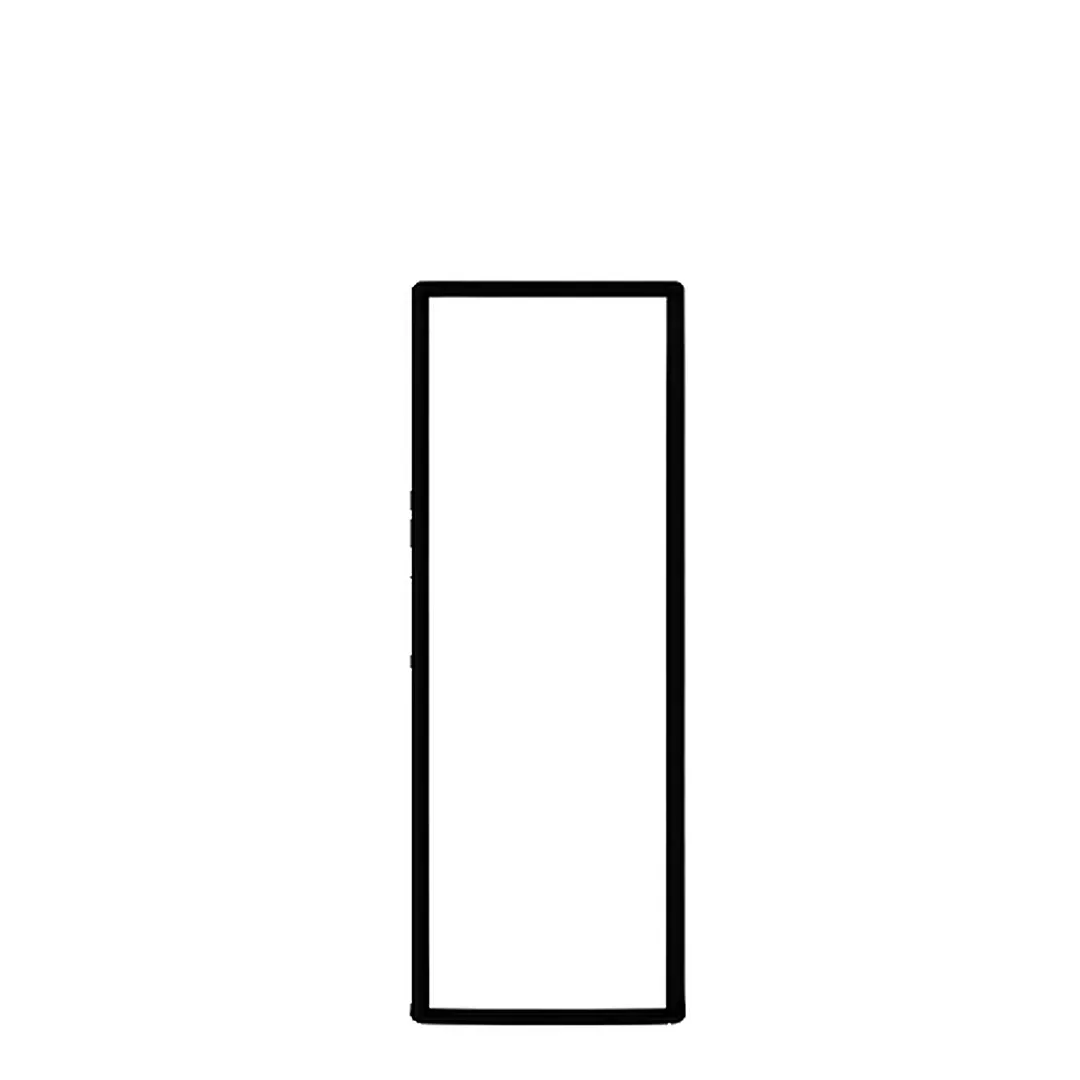
Step 1: Draw a tall thin rectangle standing upright.
-
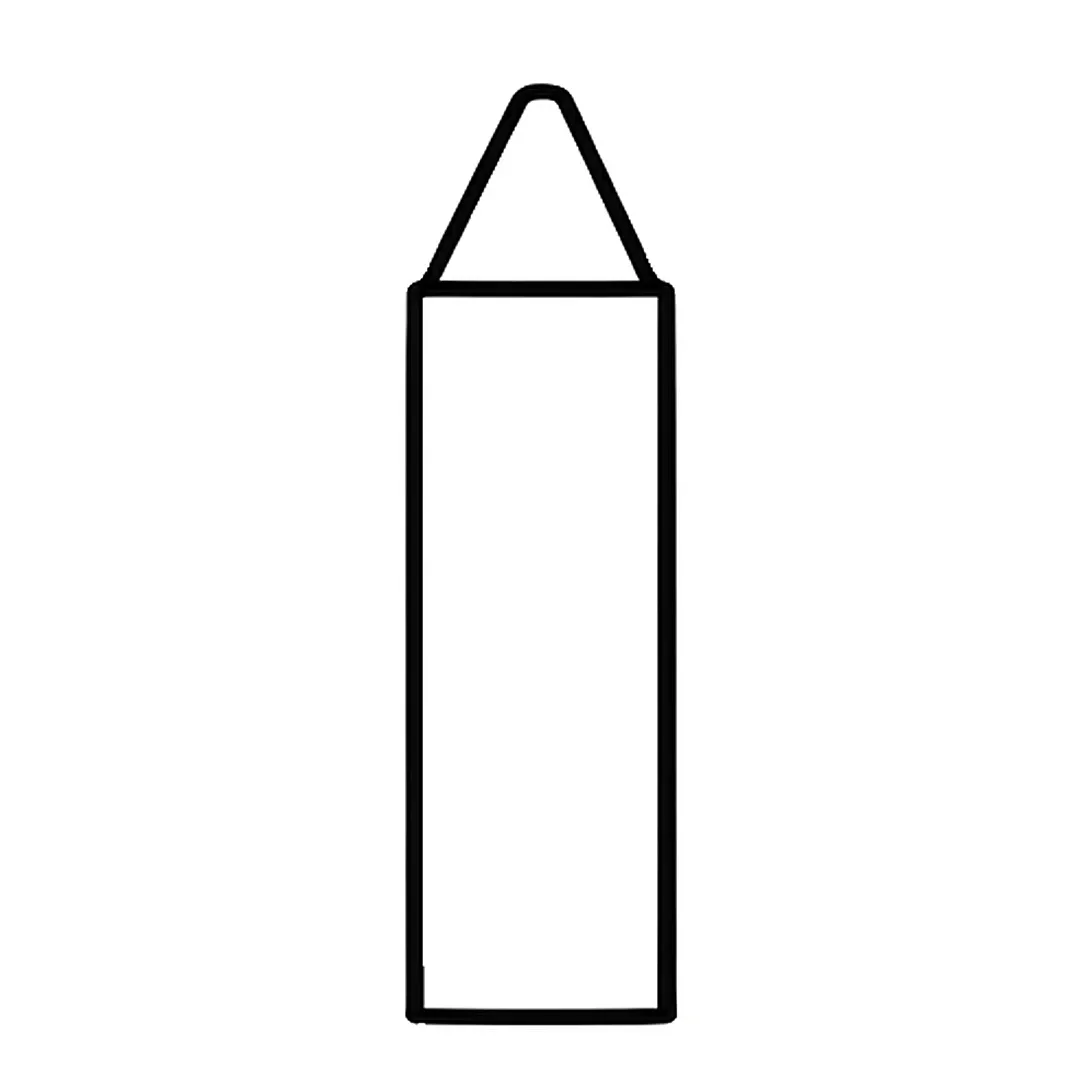
Step 2: Add a pointed cone tip with a rounded top on the top edge of the rectangle.
-
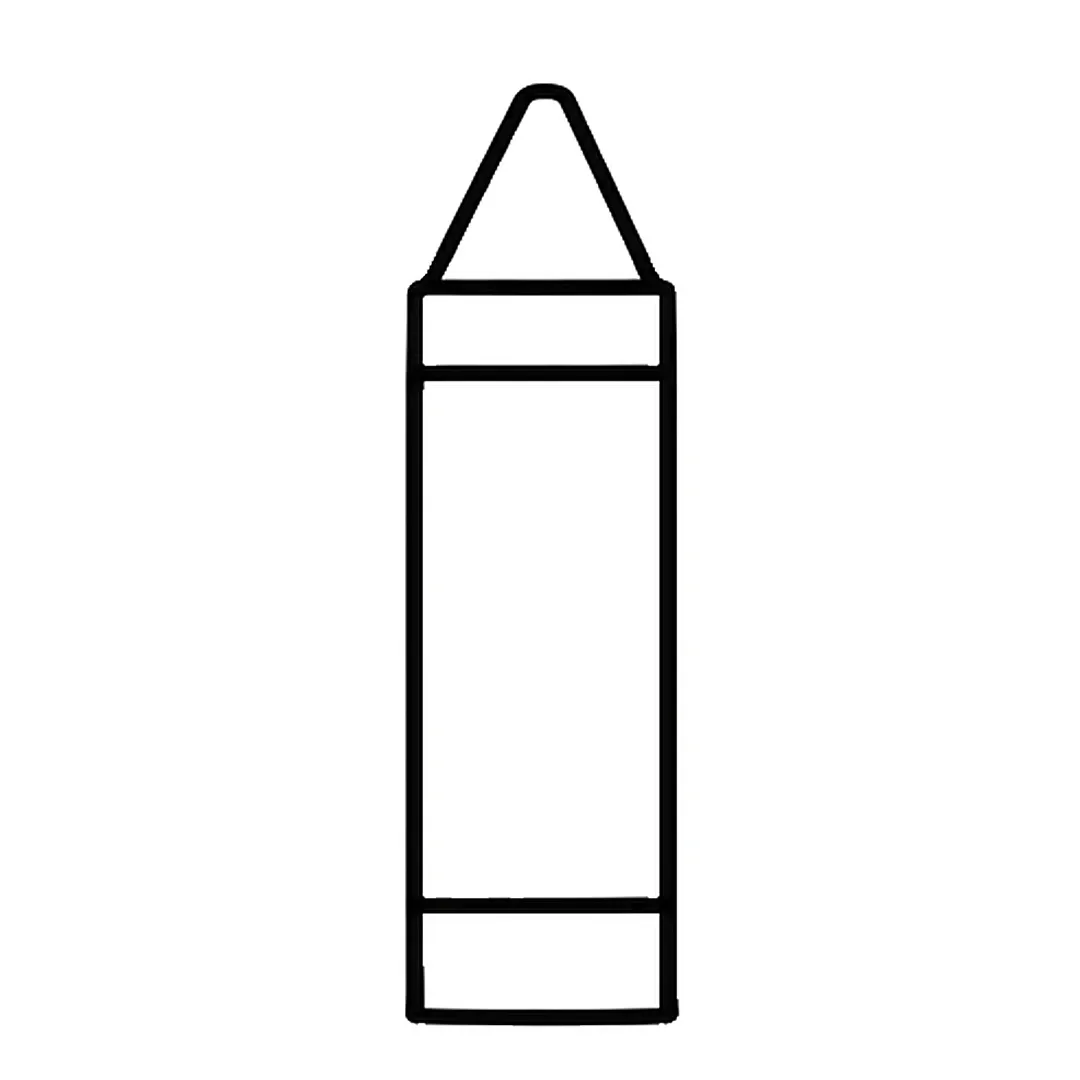
Step 3: Draw two straight lines across the body, one near the top and one near the bottom.
-
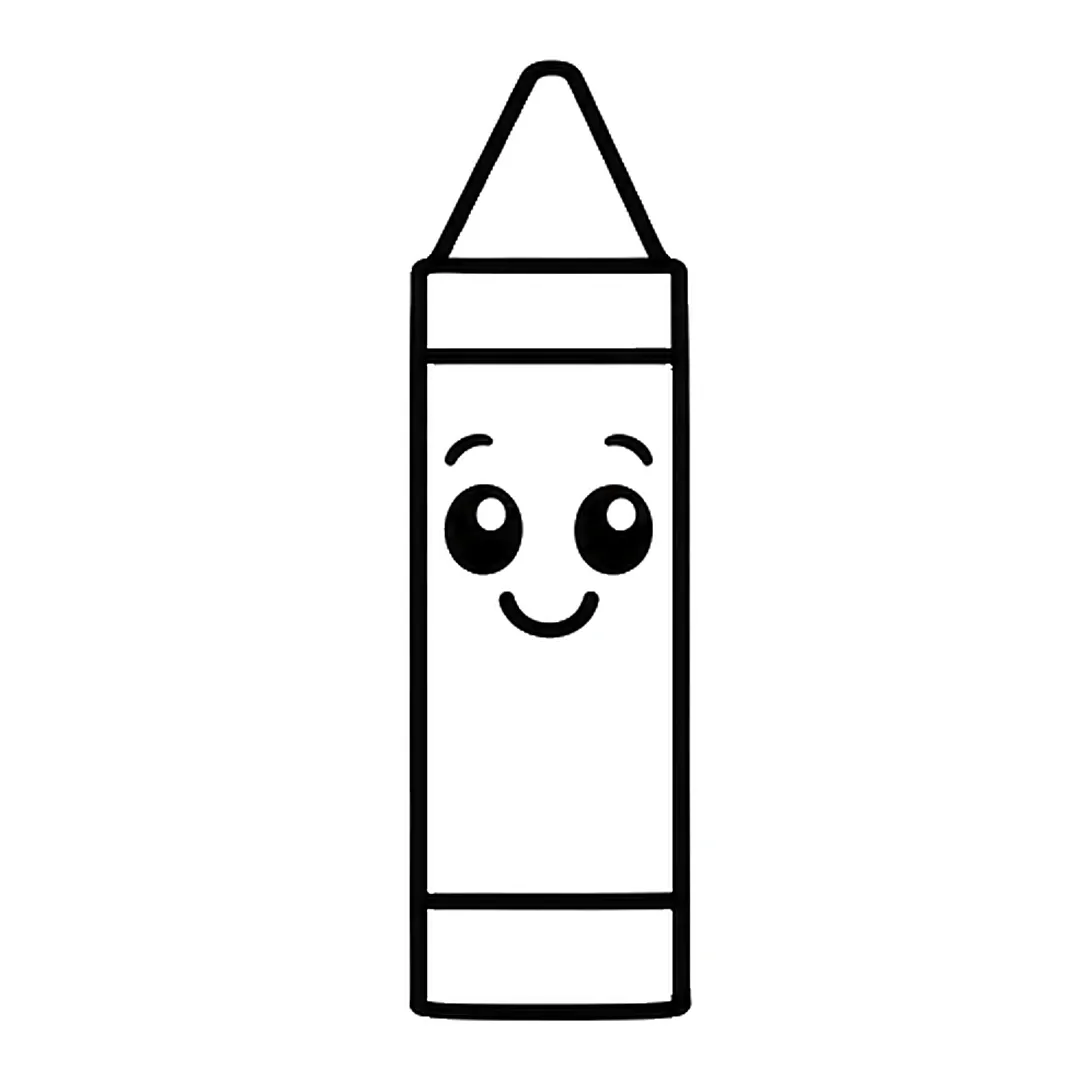
Step 4: Add a face on the wrapper: two eyebrows, two black eyes with white shine dots and a smile.
-
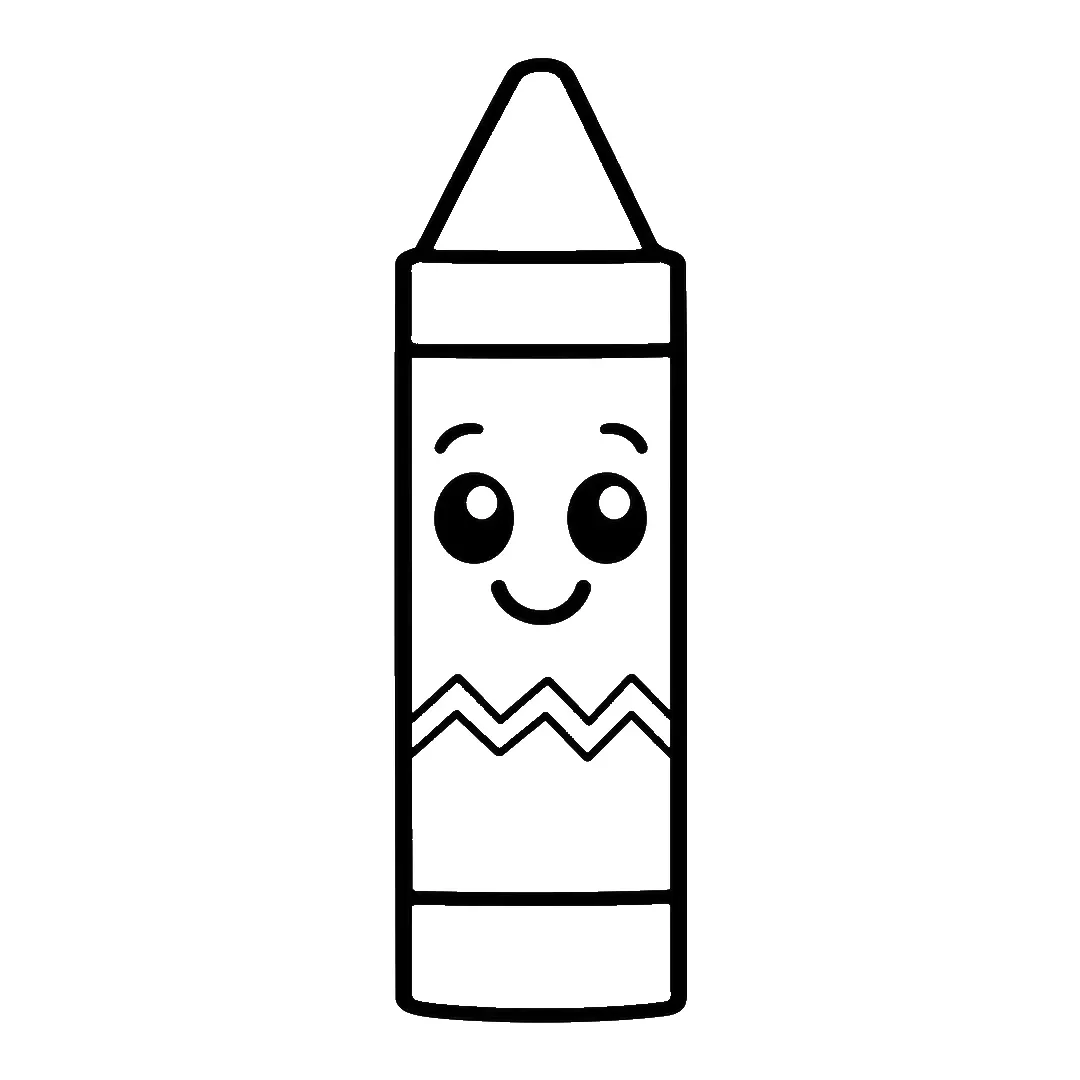
Step 5: Draw a zigzag stripe under the face with two thin zigzag lines going all the way across.
-
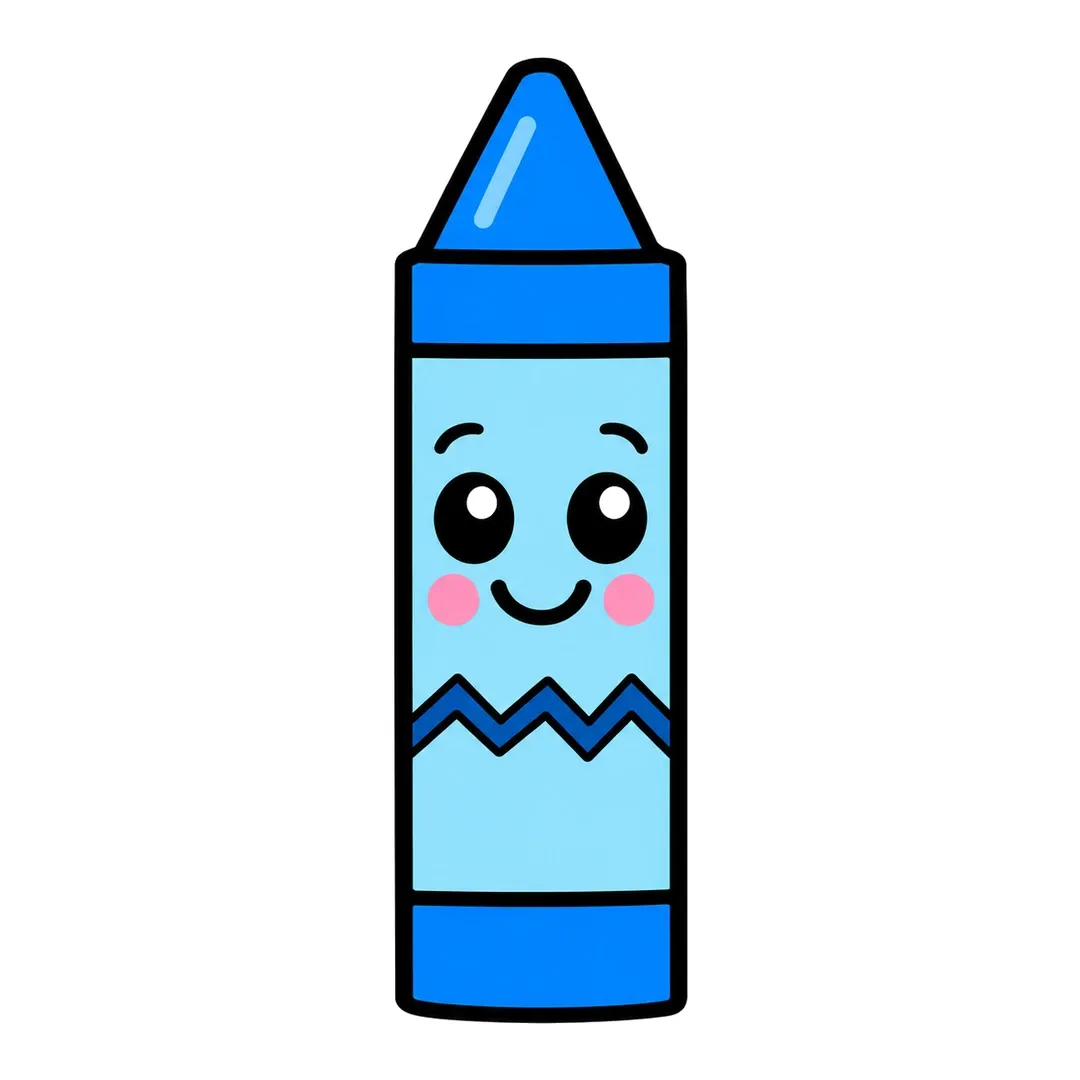
Step 6: Color the tip and bands blue, wrapper and a tip stripe light blue, zigzag dark blue. Add pink cheeks.
Book
A face on the cover makes the rectangle in how to draw a book a cute classroom doodle.
- Draw a rectangle for the cover.
- Add a thin strip on one side for the spine.
- Draw page lines along the edge.
- Add eyes, a smile and blush on the cover.
-
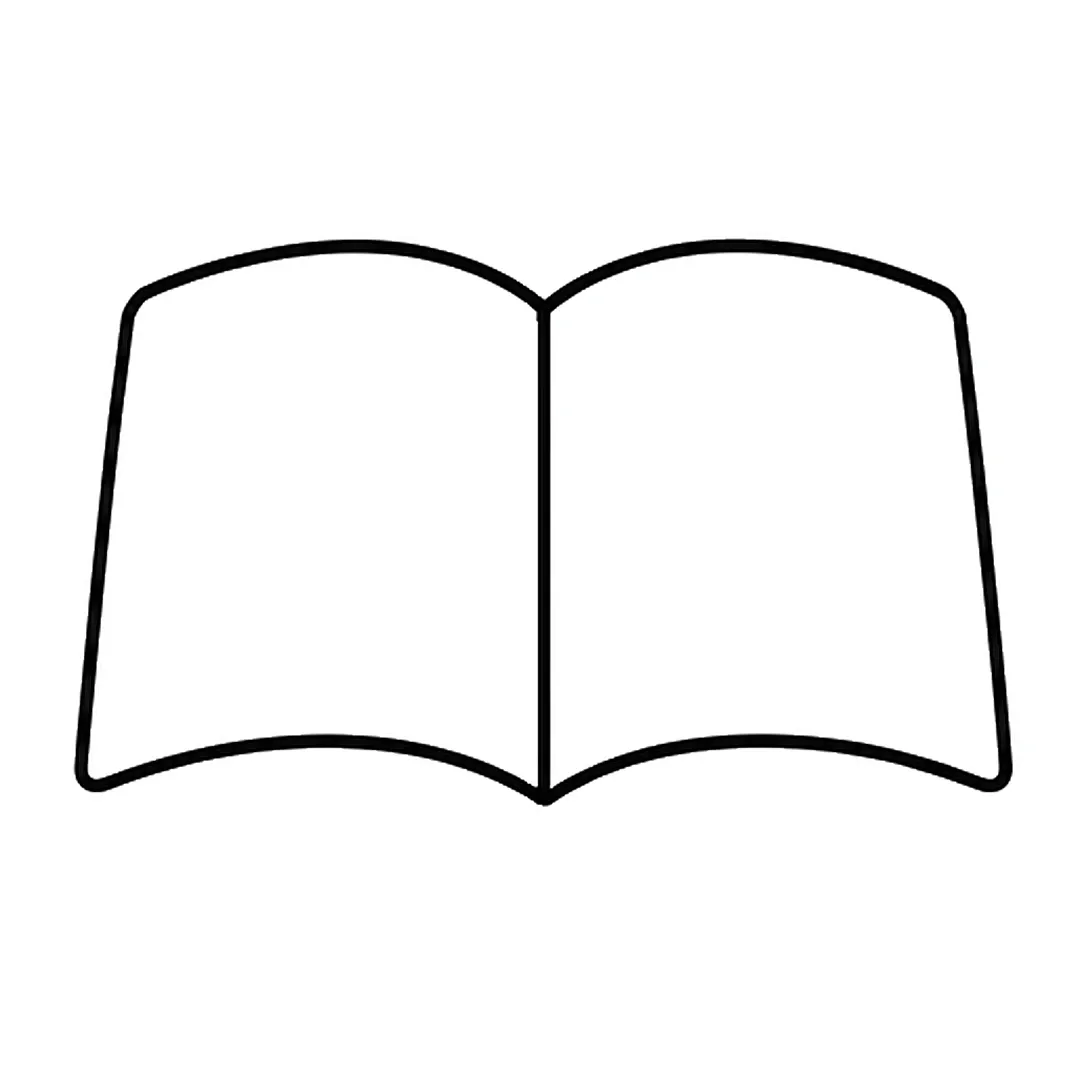
Step 1: Draw two open pages with curved tops and bottoms that meet at a straight line in the middle.
-

Step 2: Add a thin cover edge around the sides and bottom, with a small round bump under the middle.
-

Step 3: Draw four short text lines across the left page, one under the other.
-

Step 4: Add four matching text lines on the right page.
-

Step 5: Draw a ribbon bookmark with a notched end under the middle. Erase the small bump there first.
-

Step 6: Color the cover red, the pages cream, the text lines dark gray and the bookmark yellow.
Snowman
Stacked circles make how to draw a snowman a fit for kids who can already draw a circle.
- Draw a small circle on top of a bigger circle.
- Give the top circle coal eyes, an orange nose and a grin.
- Draw a scarf where the circles meet.
- Add stick arms and buttons.
-
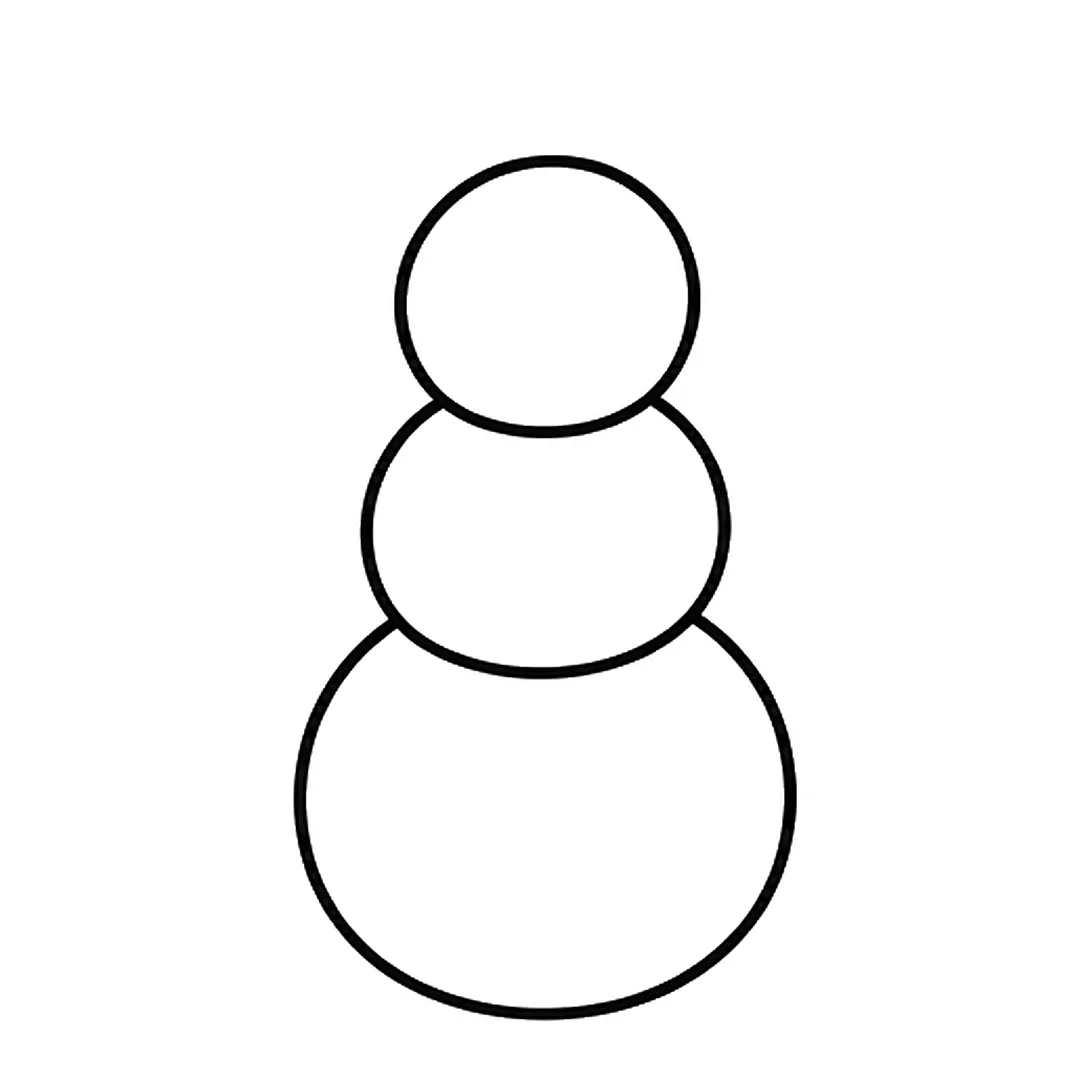
Step 1: Draw three stacked circles: big at the bottom, medium in the middle, small on top.
-
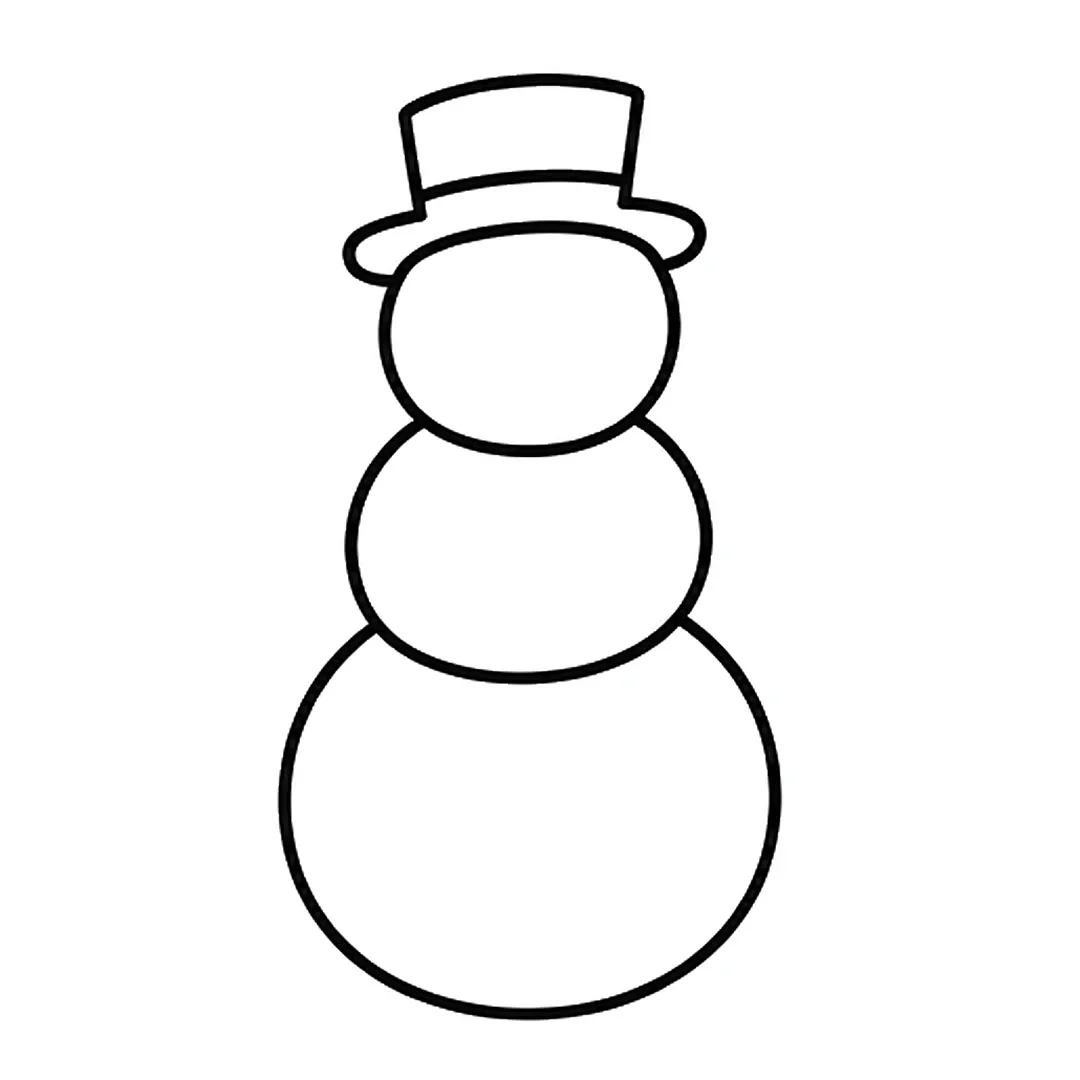
Step 2: Add a top hat with a wide brim on the head.
-
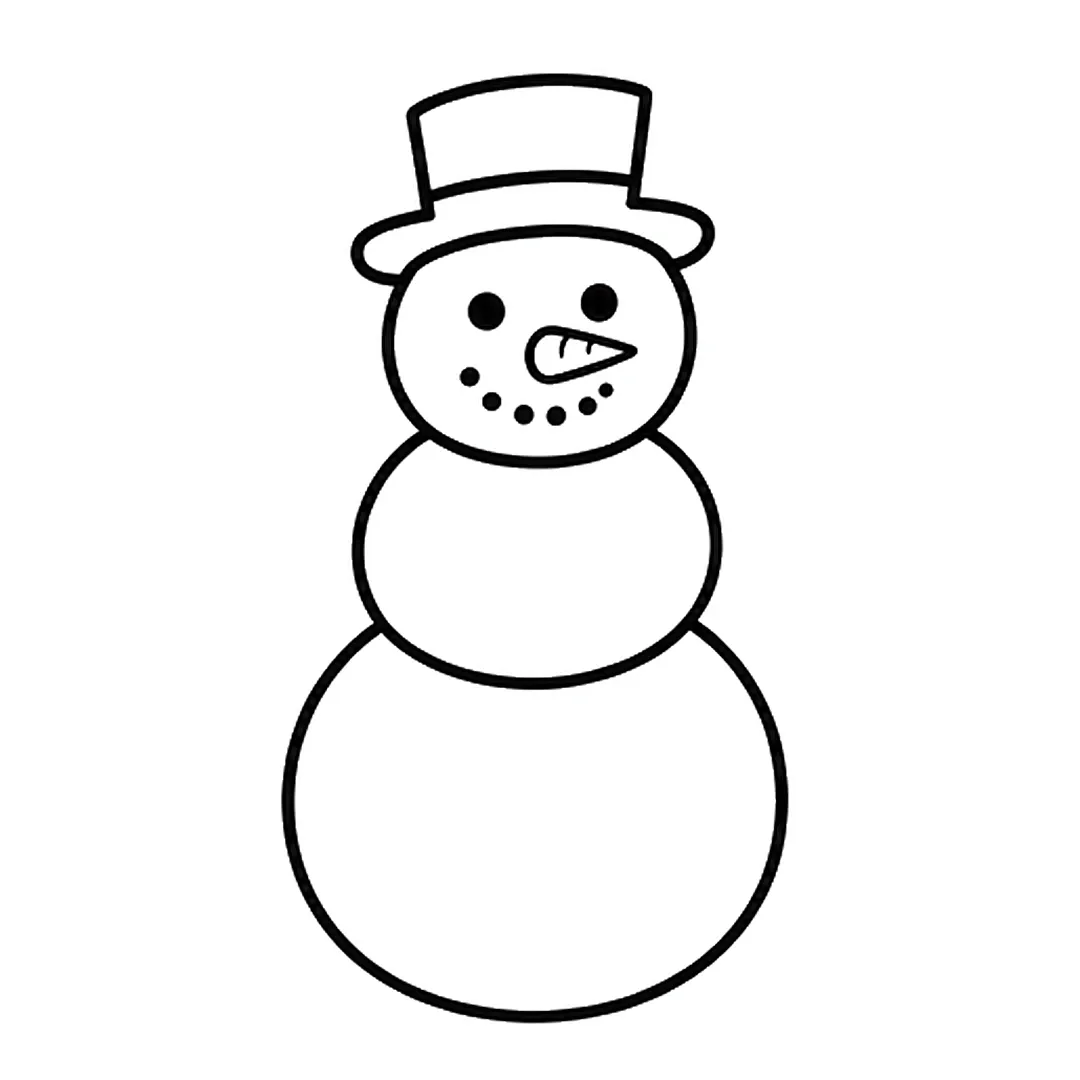
Step 3: Draw two dot eyes, a carrot nose and a smile made of small dots.
-
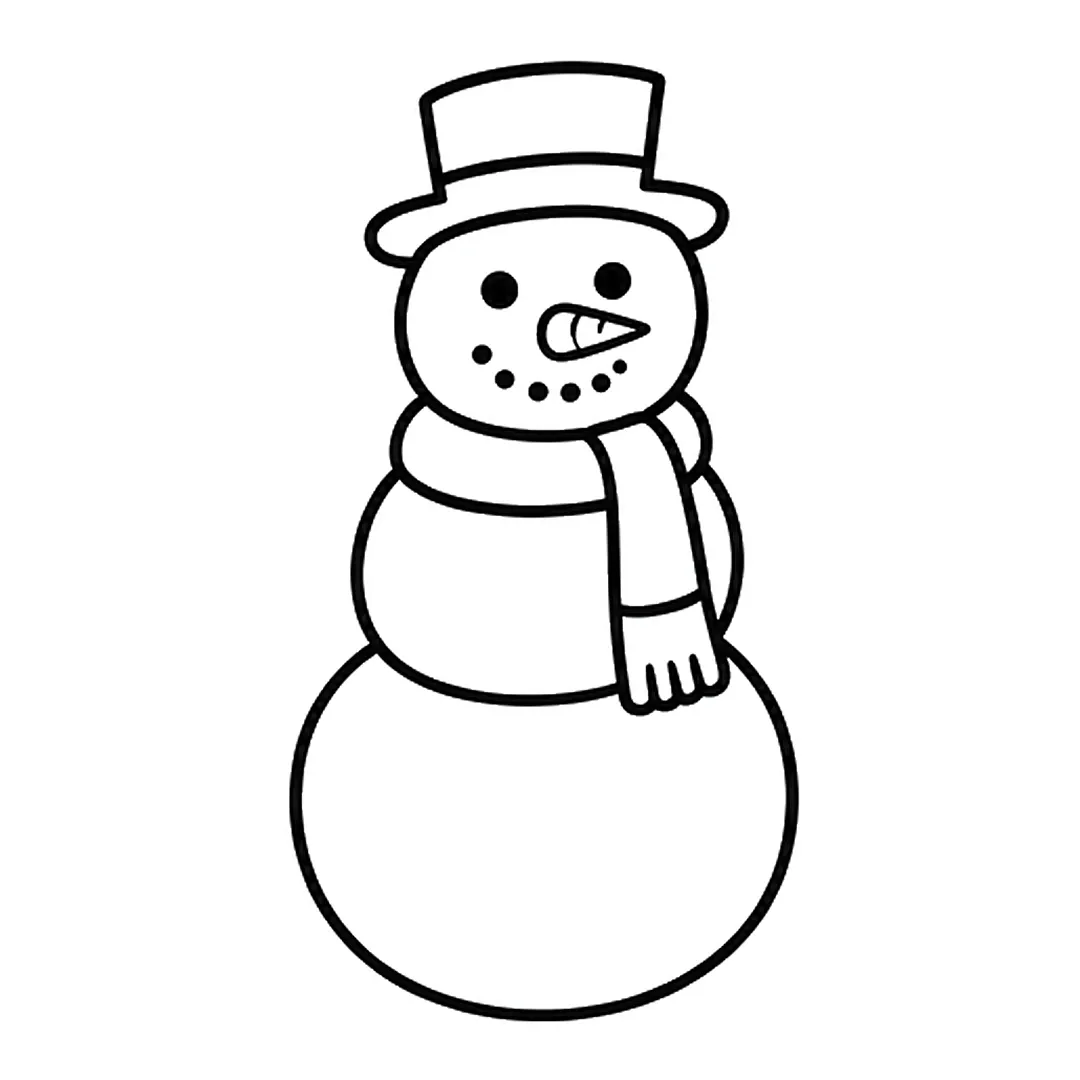
Step 4: Add a scarf around the neck with one end hanging down.
-
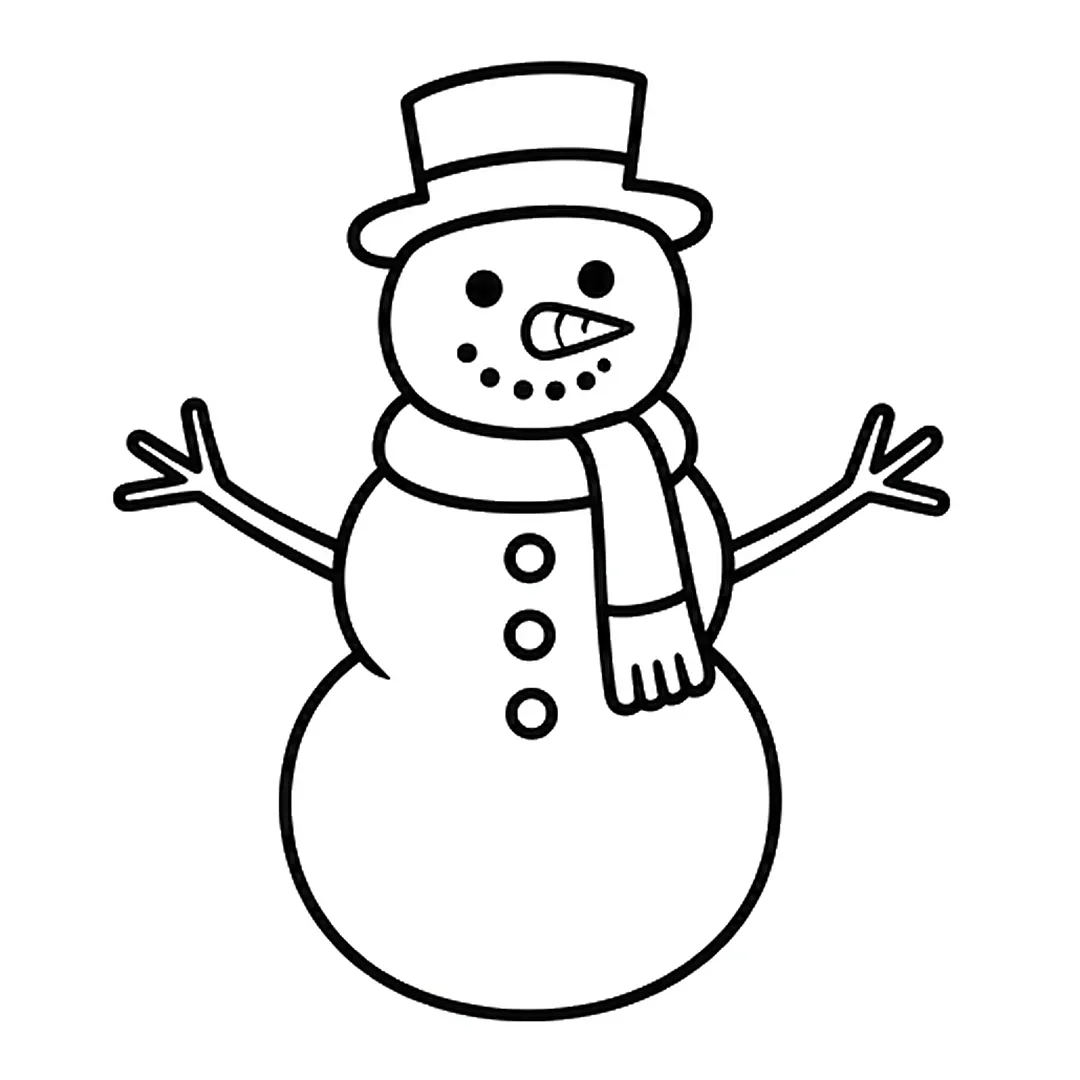
Step 5: Draw two stick arms with twig fingers and three buttons down the front.
-

Step 6: Color the hat black with a red band, the nose orange, the scarf red and green and the arms brown.
Heart
A heart with a face is a quick doodle for cards and notes.
- Draw two bumps at the top.
- Bring both sides down to a point.
- Give it two eyes and a little smile, then color it pink.
Rainbow
A rainbow is a set of arches, and two clouds at the ends give it a cute finish.
- Draw one big arch.
- Draw three or four smaller arches inside it.
- Add a small cloud at each end.
- Fill every arch with its own crayon.
How Do Kids Draw Cute Emoji Faces?
Kids draw cute emoji faces by putting simple eyes and mouths inside a circle. Two eyes and one mouth line set the mood. Emoji started small: the Museum of Modern Art (MoMA) notes that NTT DOCOMO released the original 176 emoji in 1999 for mobile phones and pagers.
Shigetaka Kurita designed those first emoji on a 12 × 12 pixel grid, according to MoMA. The word emoji joins the Japanese e, meaning “picture,” and moji, meaning “character.” MoMA Magazine adds that the set of 176 had only five faces: happy, sad, angry, disappointed and dizzy. Kids can draw each one in a yellow circle:
- Happy: two dot eyes and a wide U-shaped smile.
- Sad: two dot eyes and an upside-down U for the mouth.
- Angry: eyebrows slanting down toward the nose and a flat mouth.
- Disappointed: droopy half-closed eyes and a small flat line.
- Dizzy: two spirals for eyes and a wavy mouth.
Pink cheeks turn any emoji kawaii. Older kids can try a pixel emoji on a 12 × 12 graph-paper grid.
Which Cute Drawings Suit Each Age?
Cute drawings suit each age by matching the shapes a child can already draw. Most 3-year-olds draw a circle when an adult shows them how, so circle-based ideas come first. Squares, triangles and animals with several body parts fit the 4 and 5 age range. Treat each age as a typical range, not a test.
The CDC counts a skill as a milestone when at least 75% of children can do it by that age. The table pairs the CDC milestone pages (2026) and the American Academy of Pediatrics (AAP) HealthyChildren.org lists with cute ideas from this page.
| Age | What most children can do | Cute ideas to try |
|---|---|---|
| About 3 | Draw a circle when shown how (CDC) | cookie, cloud, kawaii face, heart, snowman |
| 3 to 4 | Draw circles and squares; copy square shapes; draw a person with a head and one other body part (AAP) | teddy bear, panda, book, robot, crayon |
| About 4 | Draw a person with three or more body parts (CDC) | cat, duck, penguin, frog, bunny |
| 4 to 5 | Copy a triangle and other geometric patterns; draw a person with at least three body parts (AAP) | fox, strawberry, cupcake, ice cream cone, star |
| About 5 | Write some letters in their name; pay attention for 5 to 10 minutes during activities like arts and crafts (CDC) | emoji faces, birthday cake, a sticker sheet with their name |
| 6 to 10 | No milestone row used here | dragon, unicorn, seahorse, sea turtle, chibi characters |
Start one row lower and move up when a drawing feels easy. Kids 6 to 10 can mix ideas, such as a cat in a cupcake wrapper, or try chibi figures. Our things to draw page lists more subjects.
How Do You Draw Cute Things Step by Step With Kids?
You draw cute things step by step with kids by picking one easy subject, building it from round shapes and adding a cute face last. Keep the session short for young children: the CDC lists paying attention for 5 to 10 minutes during arts and crafts as a milestone by 5 years. There are 5 steps:
- Gather supplies. Use the “You need” list on each tutorial: pencil, eraser, black marker and crayons.
- Pick one subject from the age table above.
- Build the big shapes. Sketch the head and body as circles and ovals in light pencil.
- Add the cute face with the six tricks above.
- Outline and color. Trace over the pencil in black marker, erase the extra lines, then color.
For supplies, the ACMI advises checking for the AP (Approved Product) Seal on creative products for kids in sixth grade or younger. According to ACMI, a board-certified toxicologist evaluates AP products.
Teachers can run any cute tutorial with the whole class using its “Show steps on the board” mode. Our directed drawing page explains how to lead a group one step at a time, and our step sheets page explains the free PDF each tutorial sends by email.
Where Can You Get Free Cute Drawing Step Sheets?
Each of the 41 tutorials linked above offers a free step sheet PDF; enter your email in the form on its page. You can also get our free 44-page book, 20 Easy Drawings for Kids, by email. For themed sets of cute things to draw, the shop has printable packs in Letter and A4 sizes.