The 40 foods below are grouped as fruit, vegetables, grains, protein, dairy, treats and meals, and 11 link to full tutorials. Animals, vehicles and other non-food subjects sit in our main list of drawing ideas for kids. Every finished tutorial is listed in all our drawing tutorials.
Which Foods Are the Easiest for Kids to Draw?
The easiest foods for kids to draw are a wrapped candy and a strawberry, which take 4 steps each in our tutorials. A candy starts as one circle, and a strawberry starts as a rounded heart. Cookies, pumpkins and pineapples come next at 6 steps, and each one begins with a circle or an oval.
The table sorts the 40 ideas by group.
| Group | Ideas here | Tutorials | Base shapes |
|---|---|---|---|
| Fruit | 9 | 3 | circle, heart, oval, half circle |
| Vegetables | 6 | 1 | oval, triangle, bumpy cloud |
| Grains, protein and dairy | 10 | 0 | square, circle, rectangle |
| Treats | 9 | 7 | circle, square, triangle |
| Meals, snacks and drinks | 6 | 0 | triangle, half circle, cup |
What Fruit Drawings Can Kids Start With?
Kids can start with 9 fruit drawings: a strawberry, a banana, a pineapple, an apple, cherries, grapes, an orange, a lemon and a watermelon slice. Most fruits start as one circle or oval, and three of them have full tutorials.
1. Strawberry
How to draw a strawberry begins with a rounded heart and takes 4 steps. Illinois Extension counts about 200 seeds in an average strawberry, so 16 drawn seeds are plenty.
- Draw a rounded heart, dipped at the top and soft at the point.
- Add five pointed leaves and a curved stem, then erase the berry line under them.
- Dot 16 teardrop seeds in five rows, points up.
- Color it red, green and yellow.
-
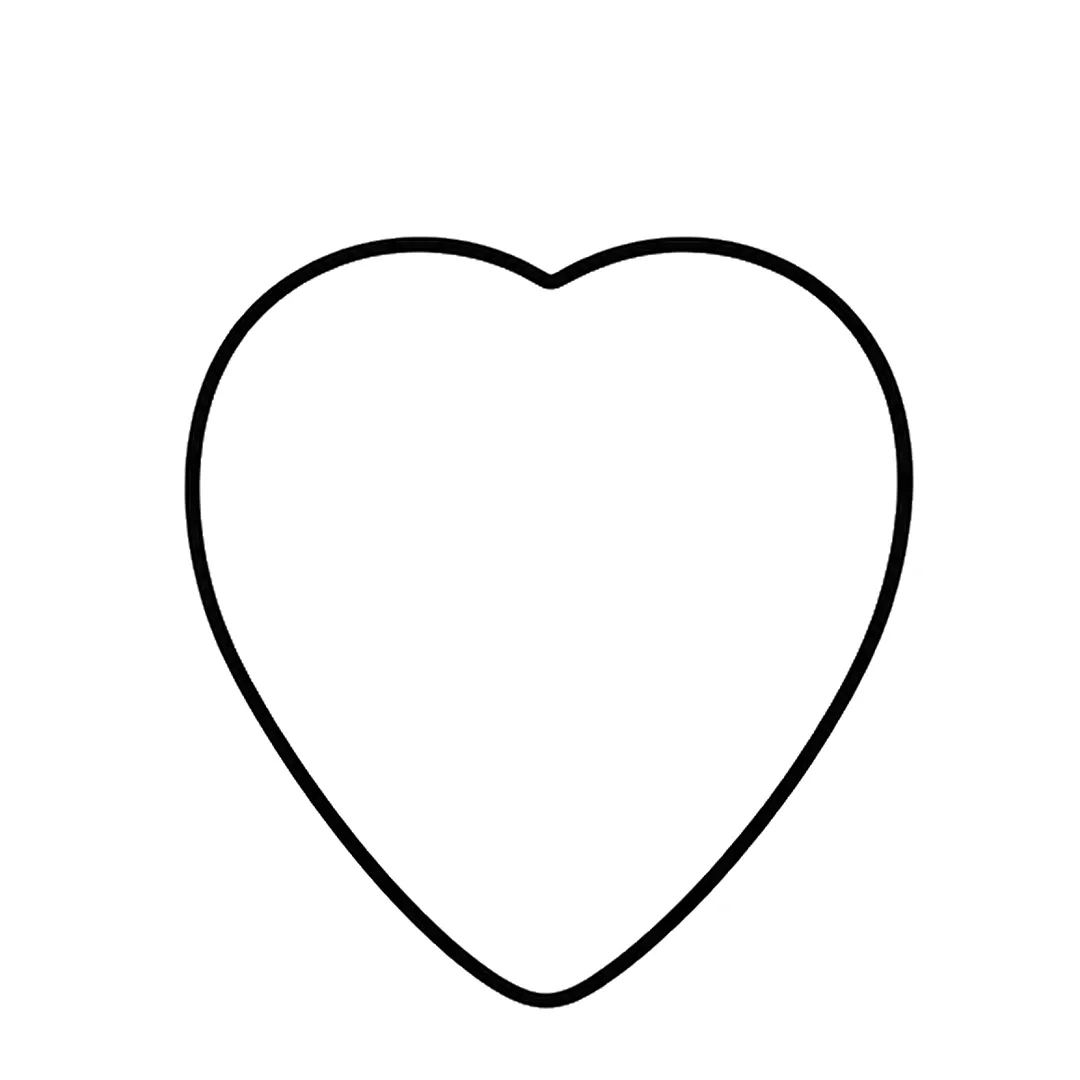
Step 1: Draw one big rounded heart shape with a small dip at the top and a soft point at the bottom.
-
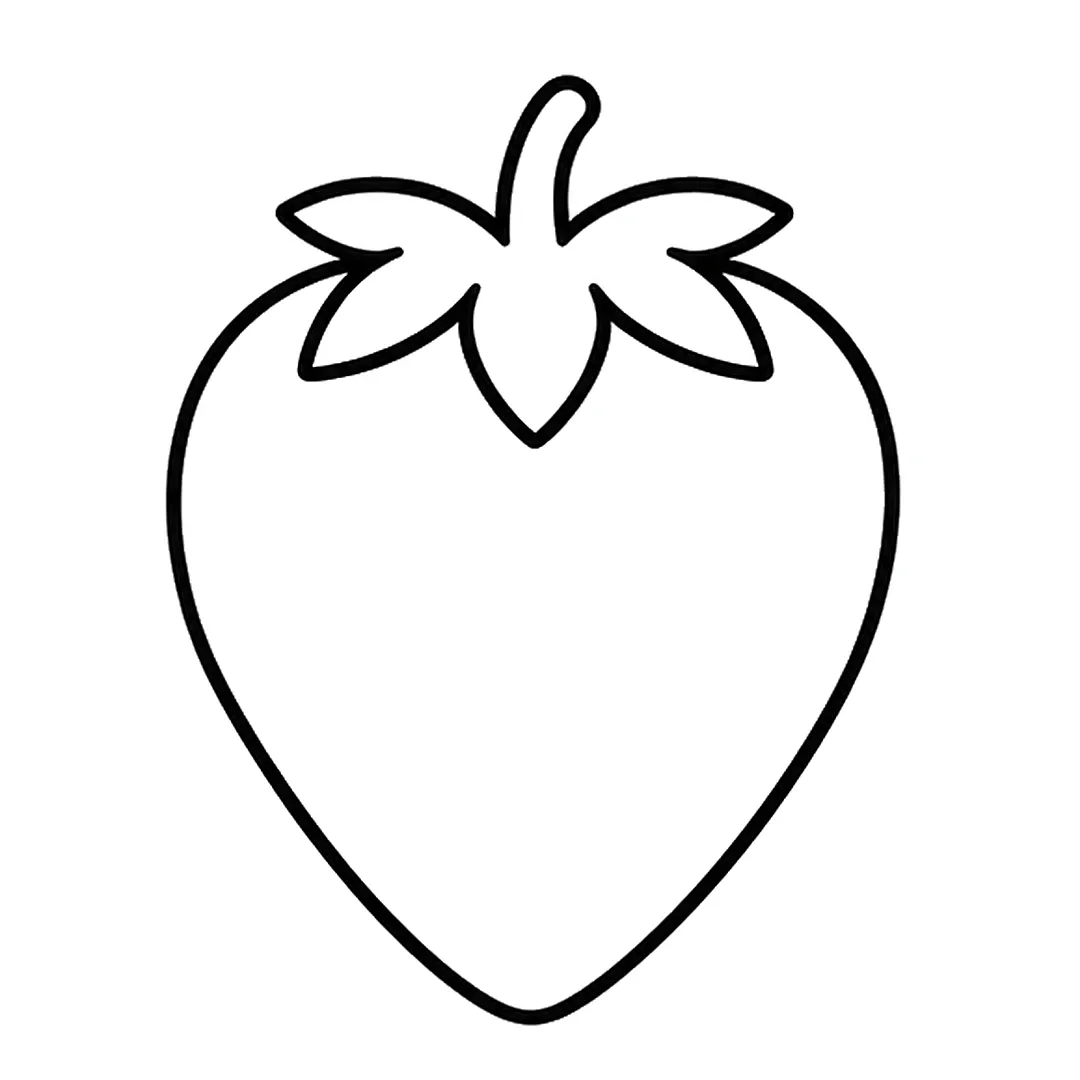
Step 2: Add five pointed leaves and a curved stem on top. Erase the berry line under the leaves.
-
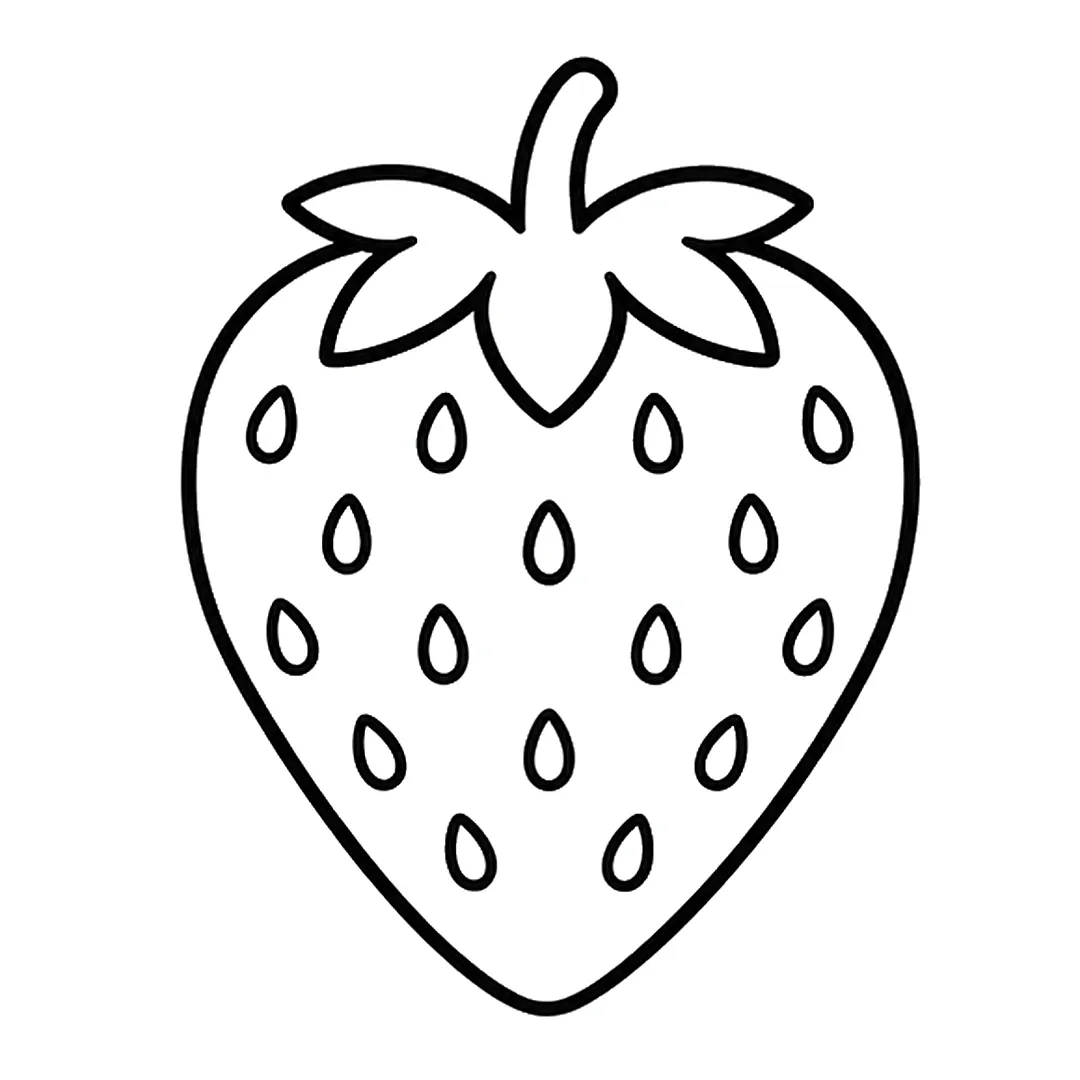
Step 3: Draw 16 small teardrop seeds in five rows of 4, 3, 4, 3 and 2, pointed ends up.
-
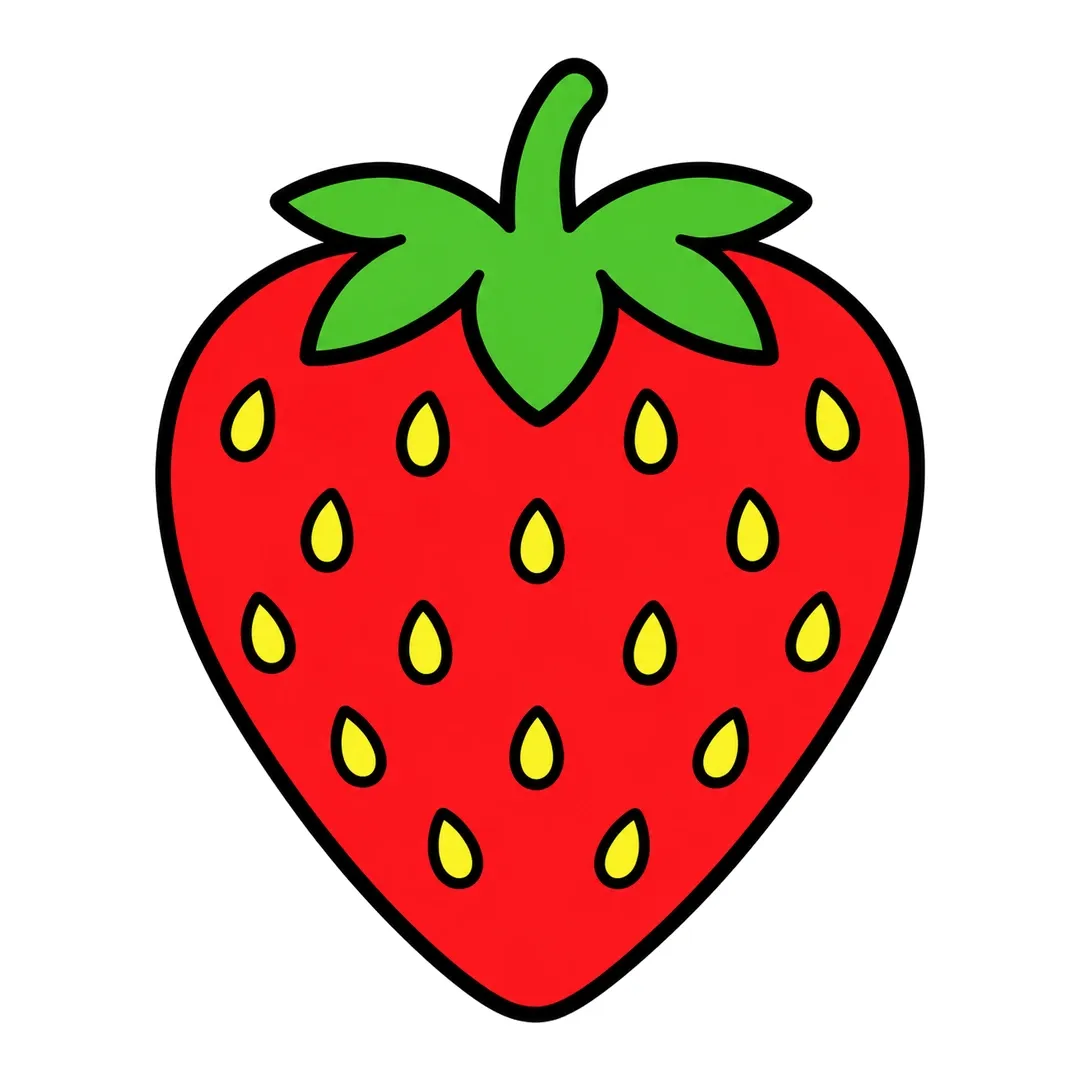
Step 4: Color the berry red, the leaves and stem green and the seeds yellow.
2. Banana
A banana practices one long curve, and kids can skip the face in step 4 of how to draw a banana. Botanically, a banana is a berry and a raspberry is not, says McGill University’s Office for Science and Society.
- Draw a long curve, narrow at the top right and round at the bottom left.
- Add a tube stem on top and an oval tip below.
- Run one peel line down to the tip.
- Add five spots, then color it yellow with brown stem, tip and spots.
-
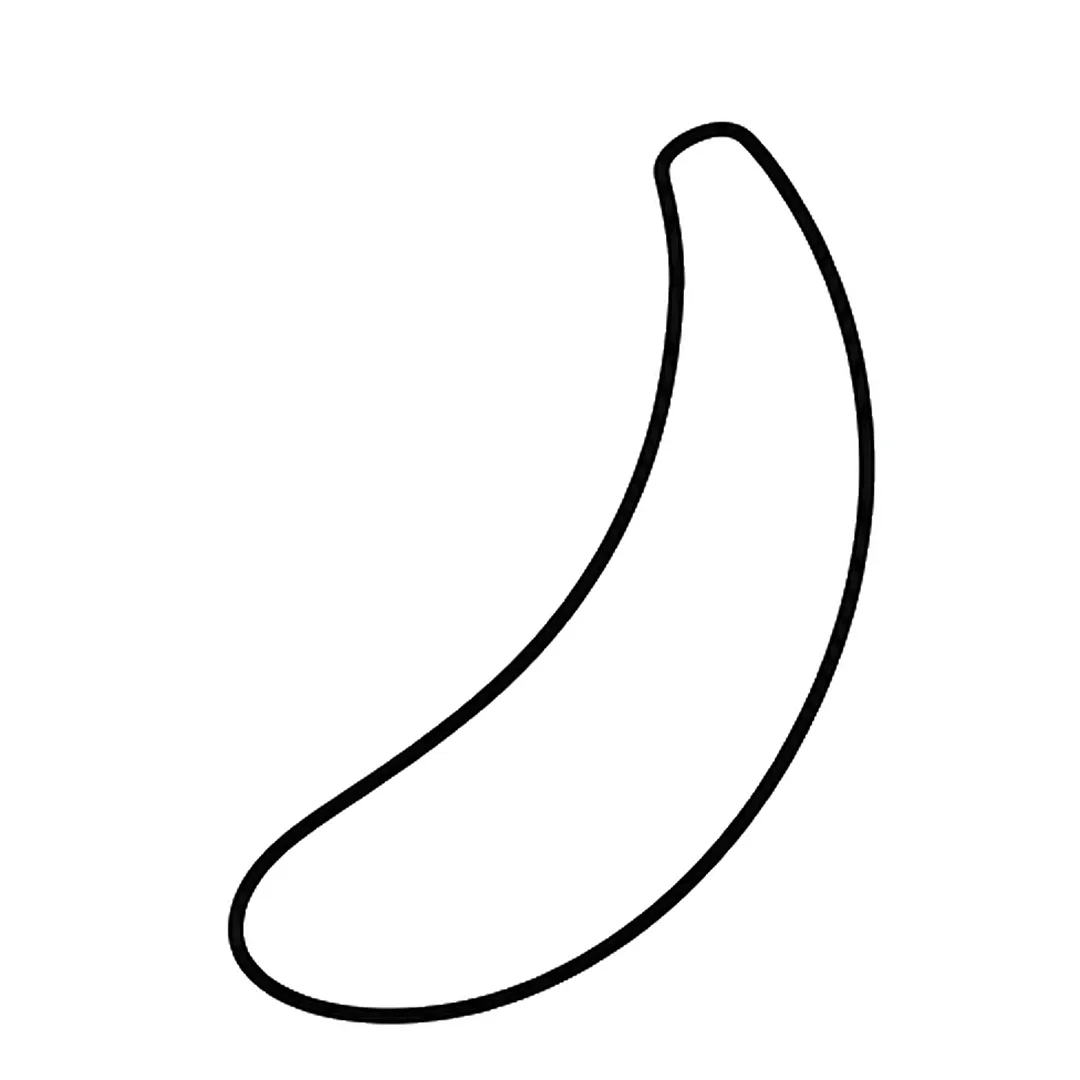
Step 1: Draw a long curved banana shape, narrow at the top right and round at the bottom left.
-
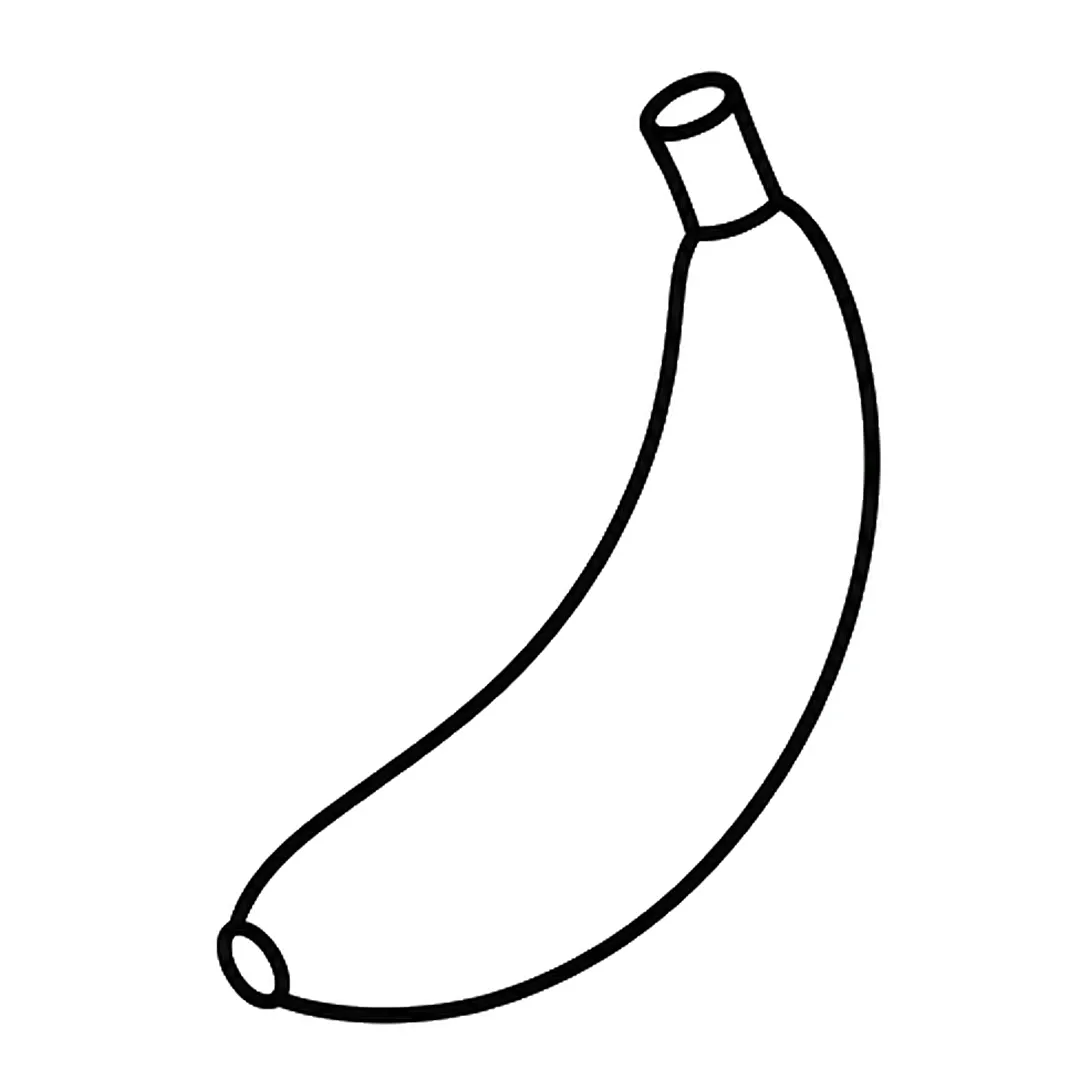
Step 2: Add a short tube stem on the top end and a small oval tip on the bottom. Erase the old round ends.
-
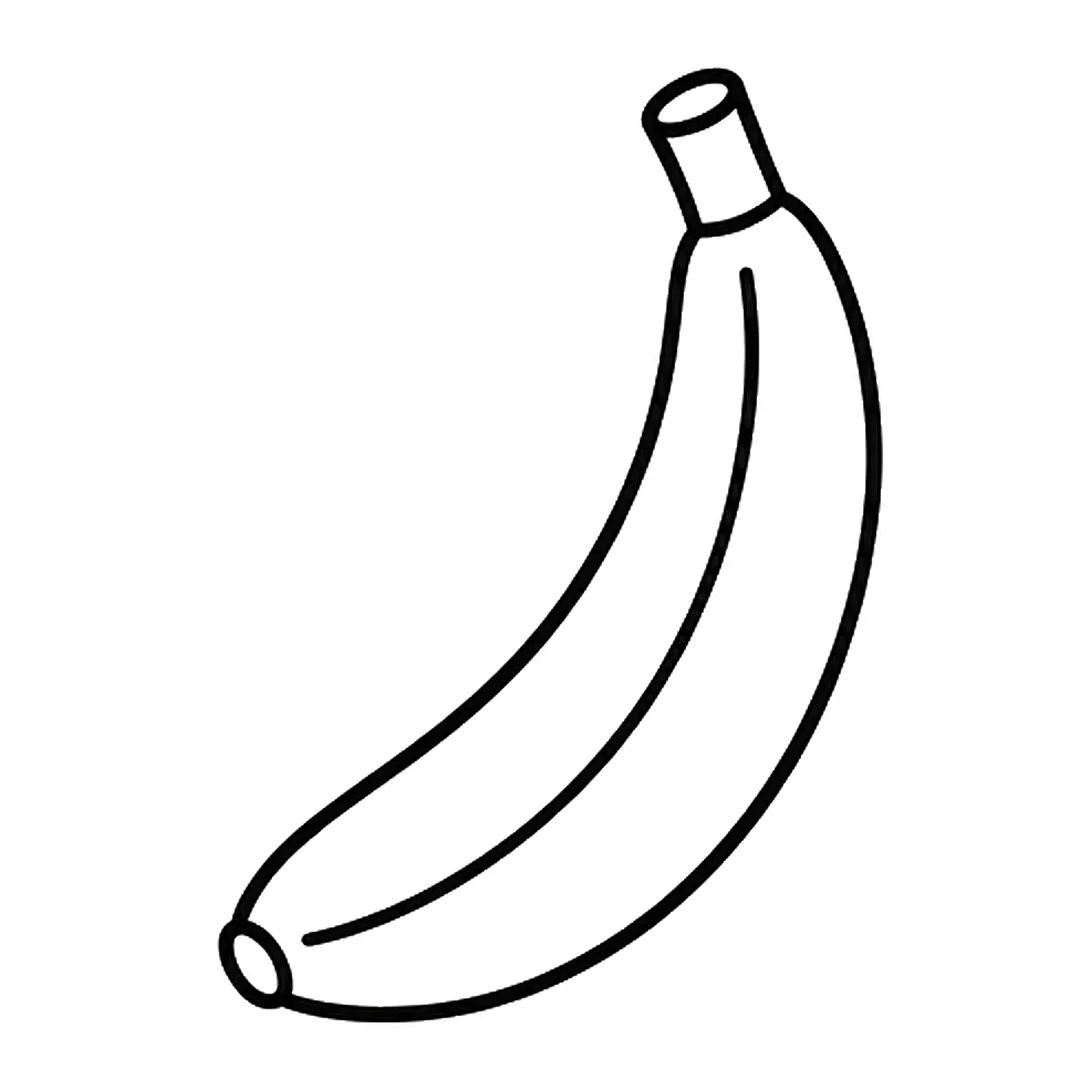
Step 3: Draw one long curved peel line running down the middle of the banana to the tip.
-
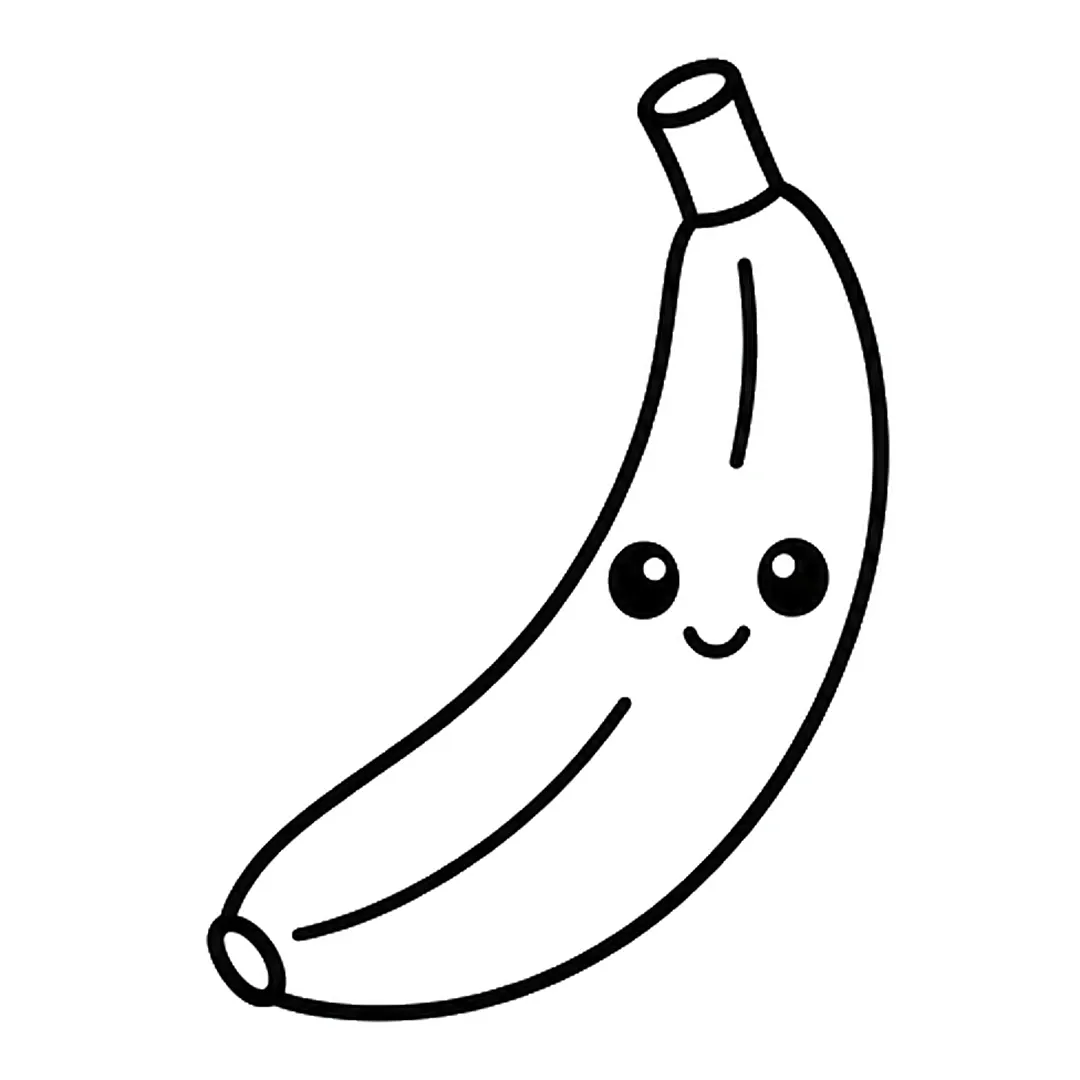
Step 4: Add two black eyes and a smile in the middle. Erase the part of the peel line behind the face.
-
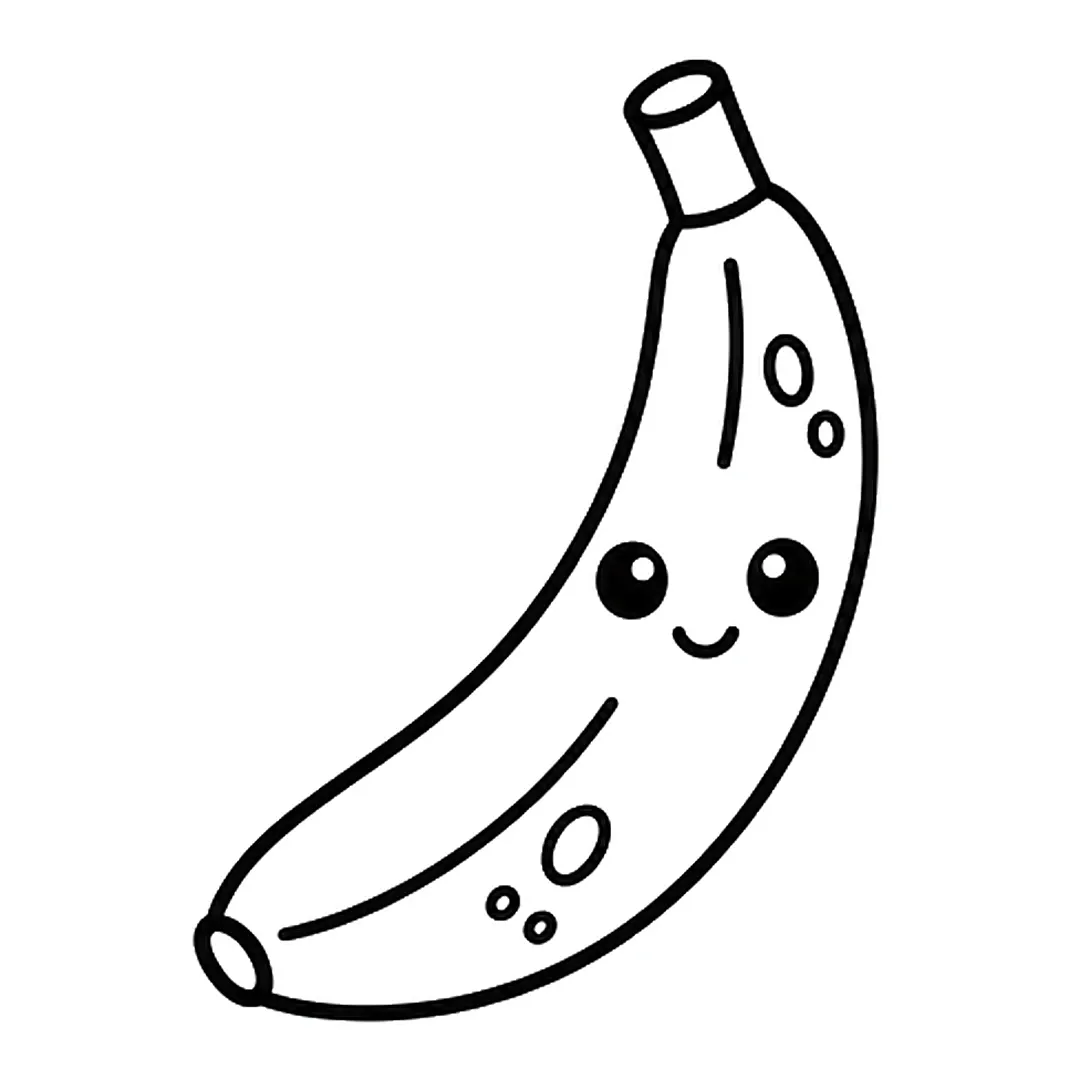
Step 5: Draw five small spots: an oval and a dot near the top, an oval and two dots near the bottom.
-
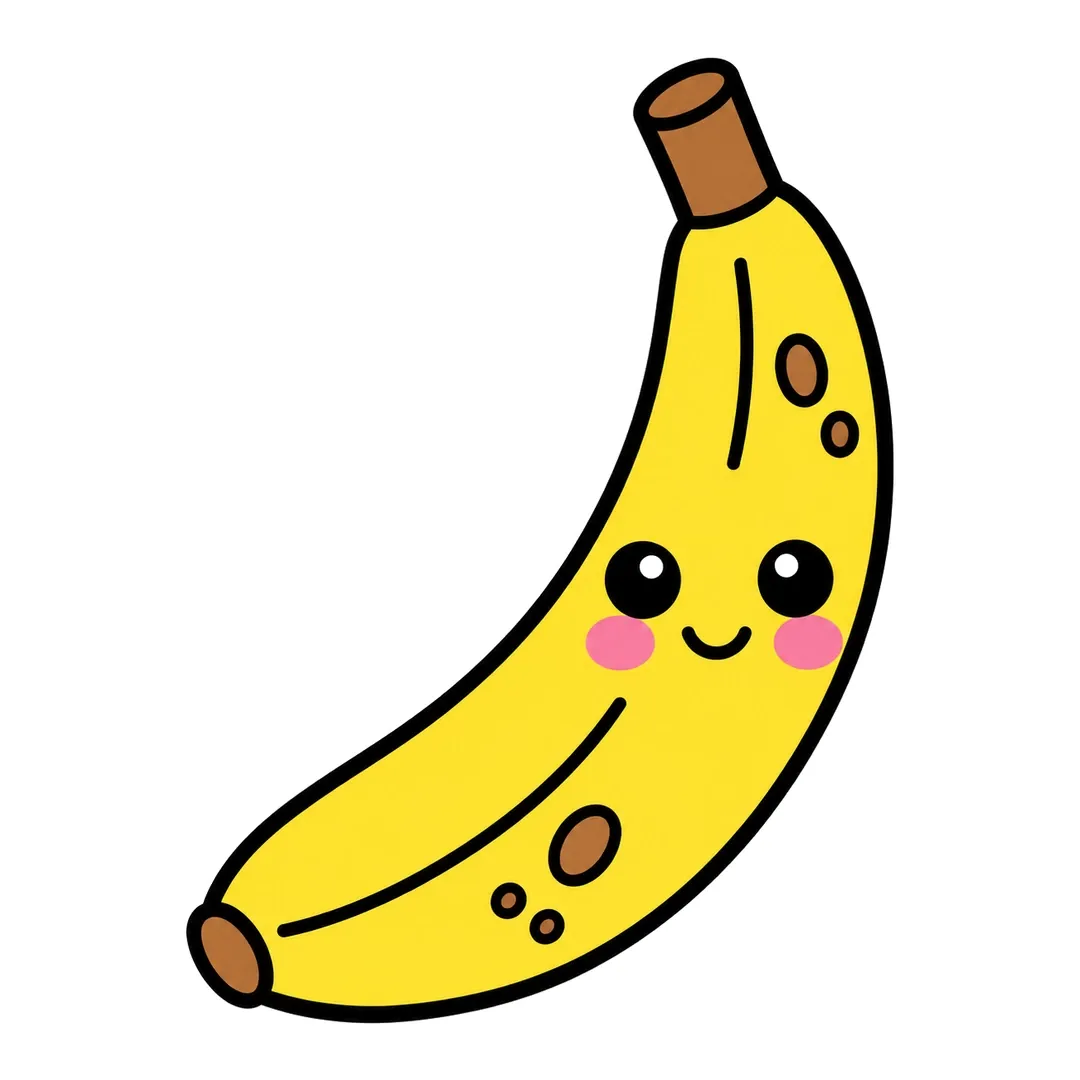
Step 6: Color the banana yellow and the stem, tip and spots brown. Add pink cheeks. Leave the eye dots white.
3. Pineapple
McGill’s OSS calls a pineapple a multiple fruit, made of a cluster of fruiting bodies, and how to draw a pineapple shows its bumpy skin as crisscross lines. Skip the face in step 4.
- Draw one big upright oval.
- Add three pointed leaves on top, then one shorter leaf low on each side.
- Cover the oval with crisscross diagonal lines.
- Color the fruit yellow and the leaves in two greens.
-
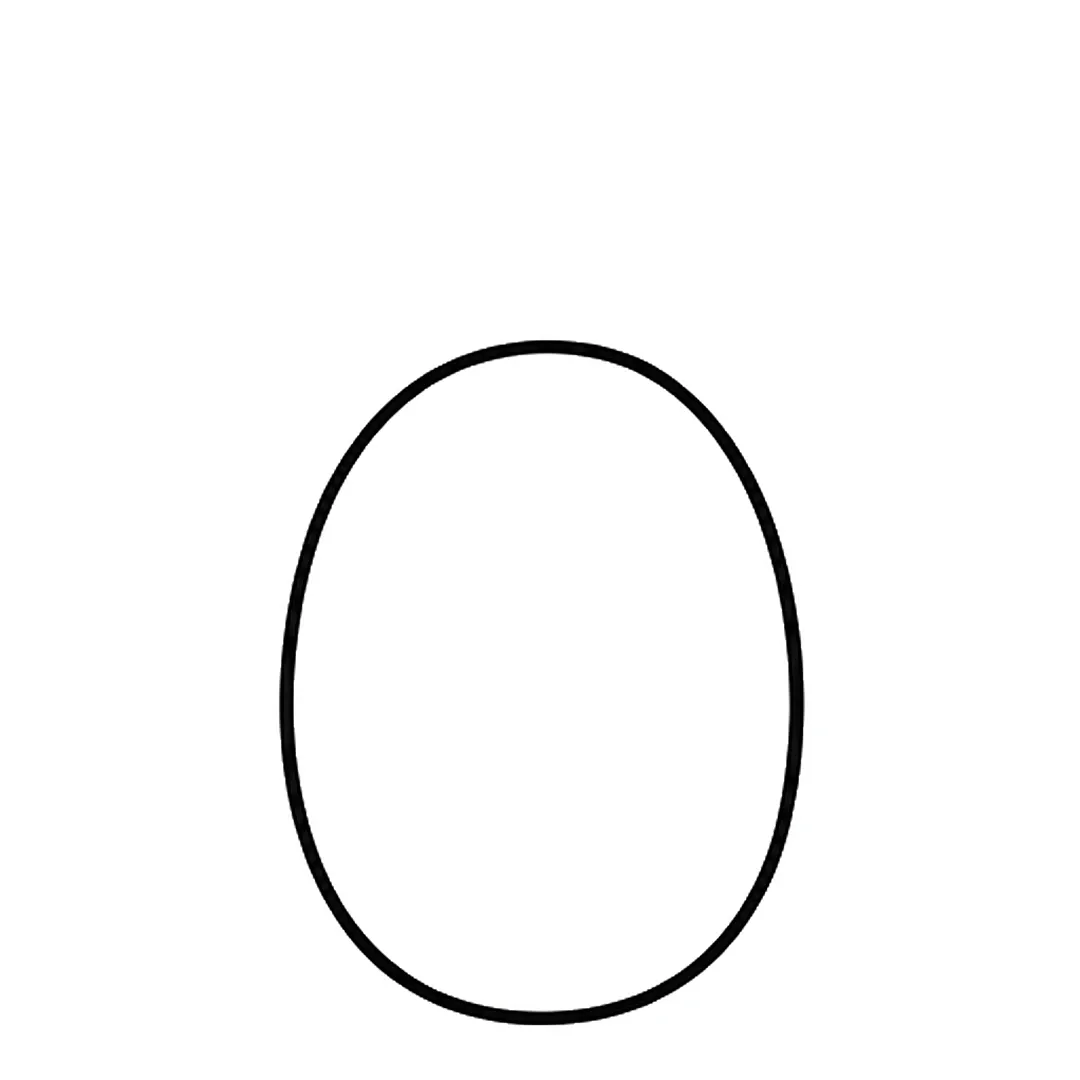
Step 1: Draw one big upright oval for the pineapple fruit.
-
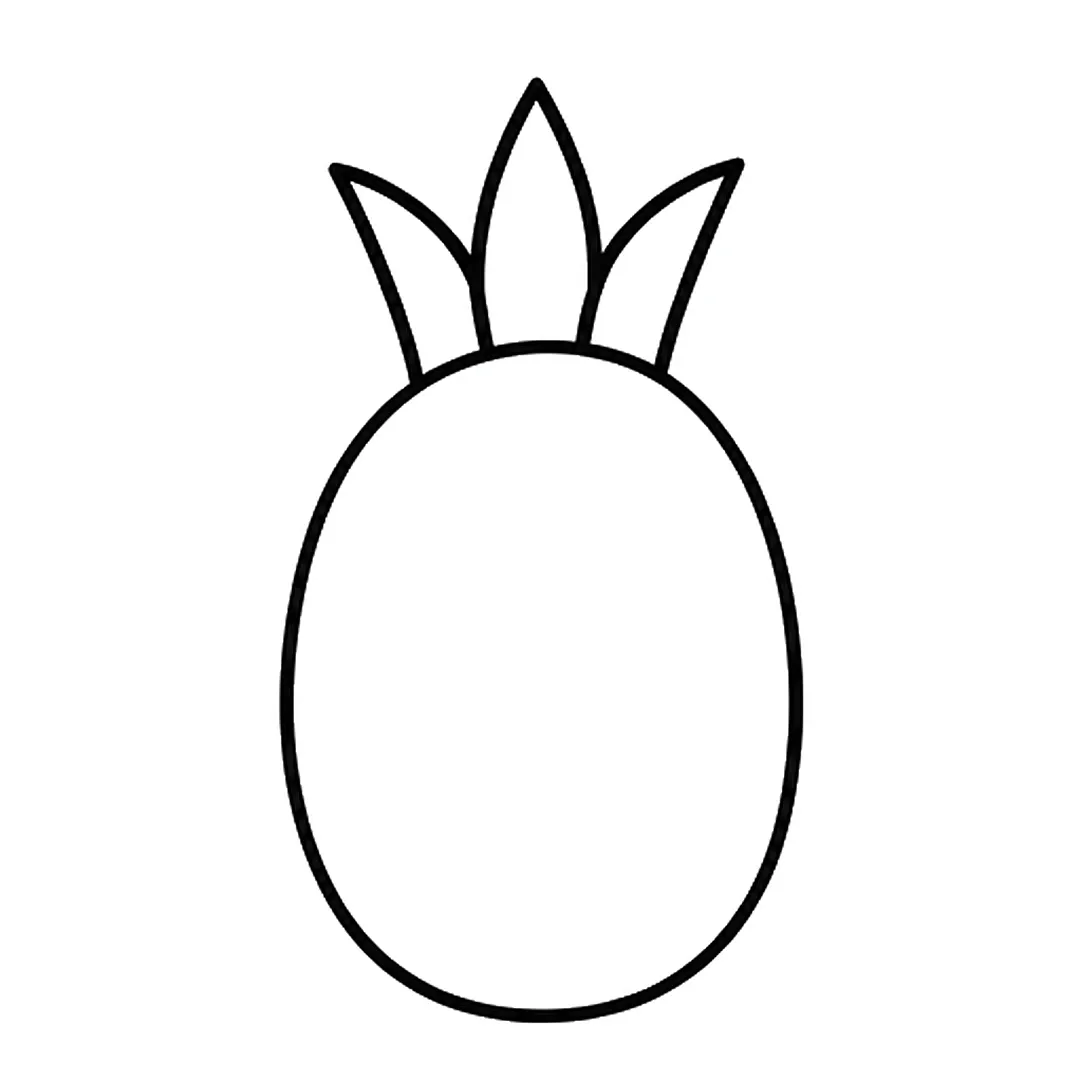
Step 2: Add three pointed leaves on top: a tall one in the middle and one leaning out on each side.
-
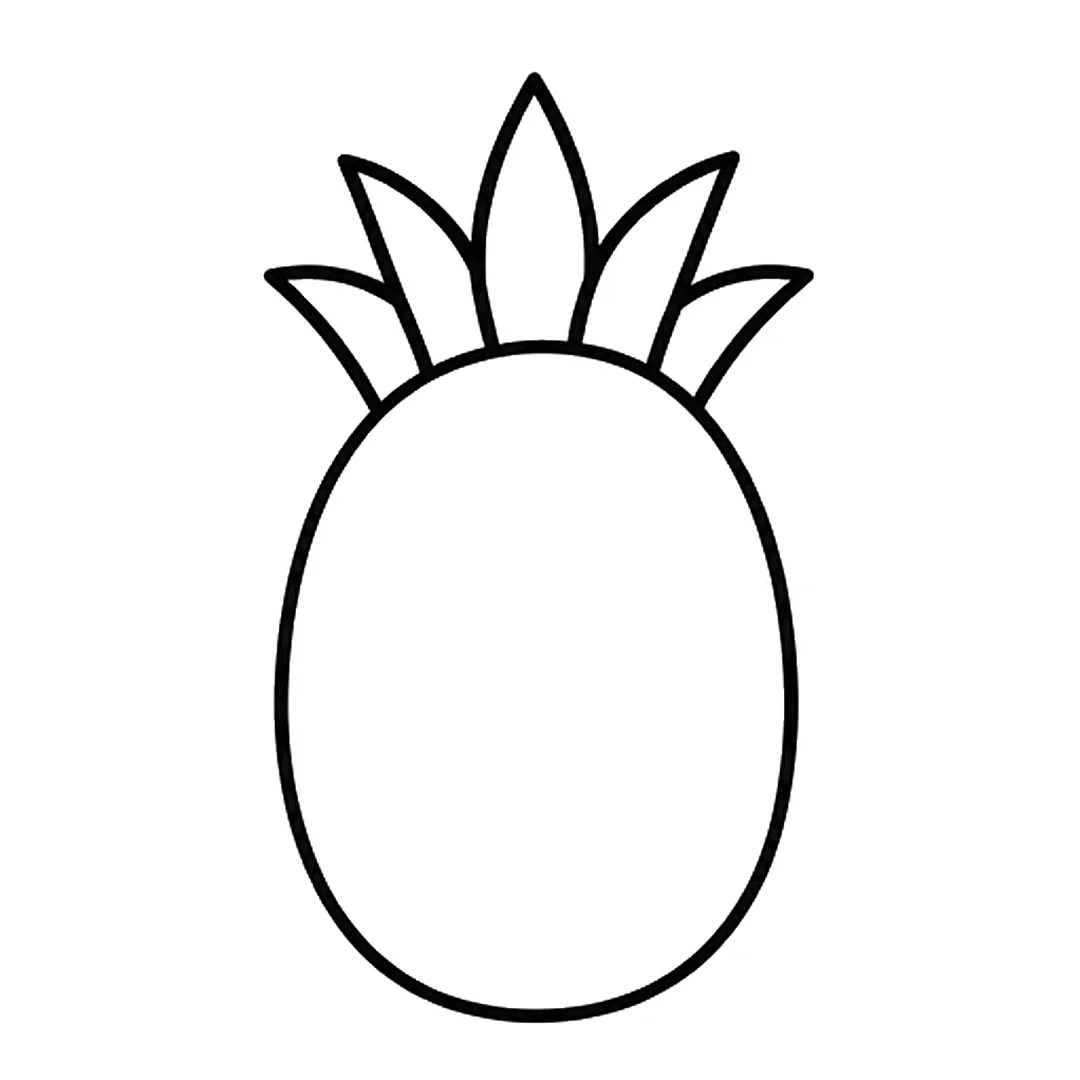
Step 3: Draw two shorter leaves, one low on each side, curving outward behind the first leaves.
-
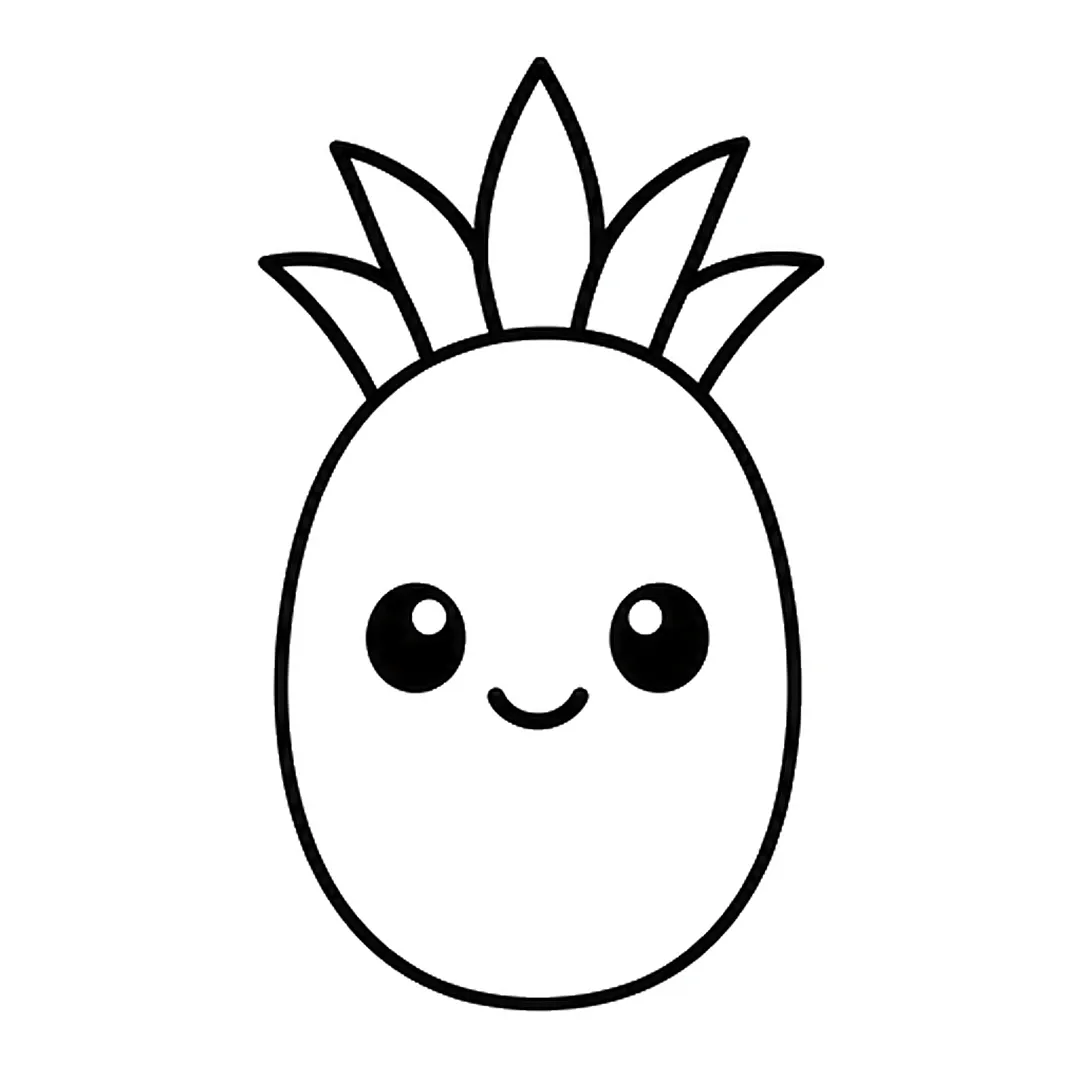
Step 4: Add two round eyes and a small smile. Fill the eyes black but leave one white dot in each.
-
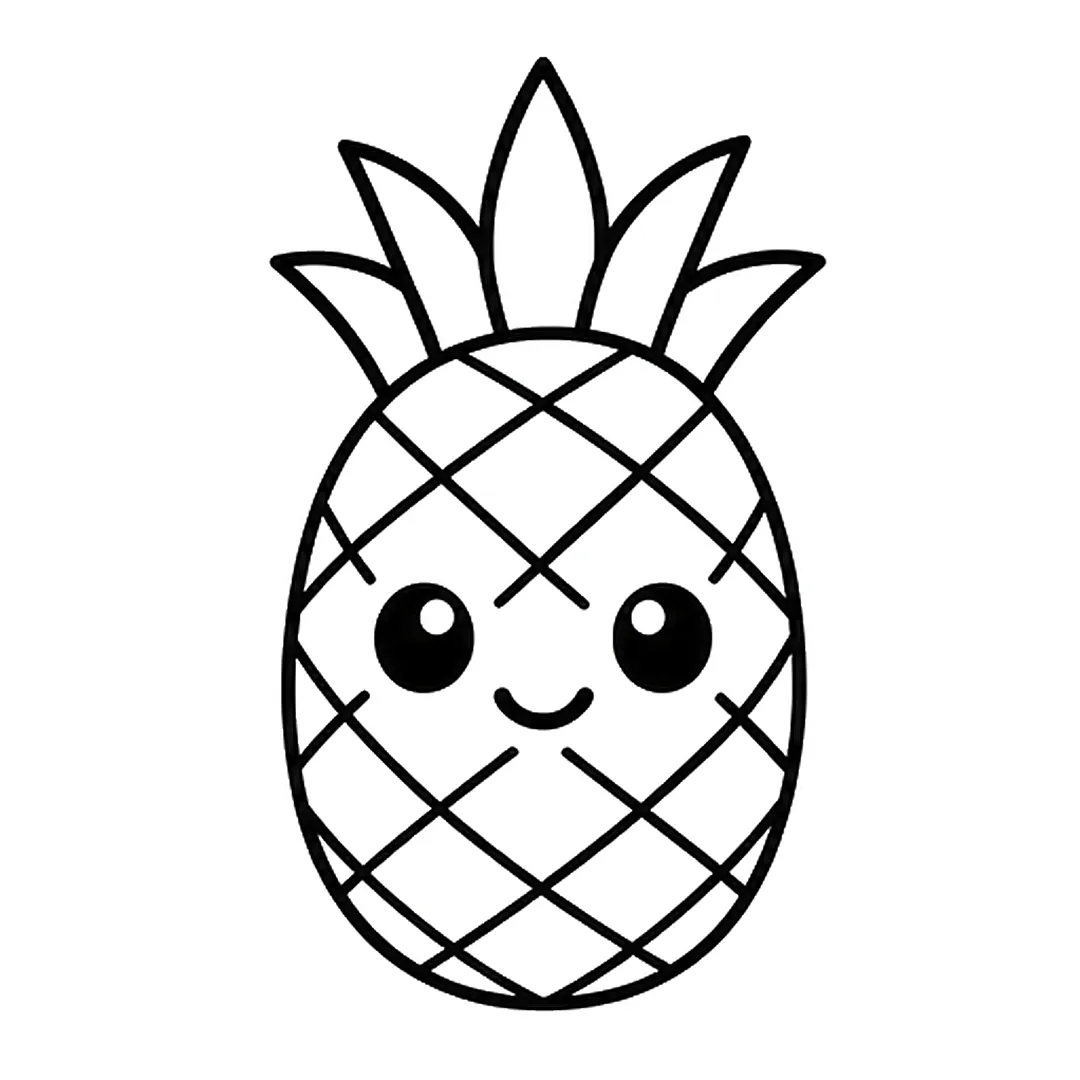
Step 5: Draw crisscross diagonal lines over the fruit. Stop them a little before the eyes and smile.
-
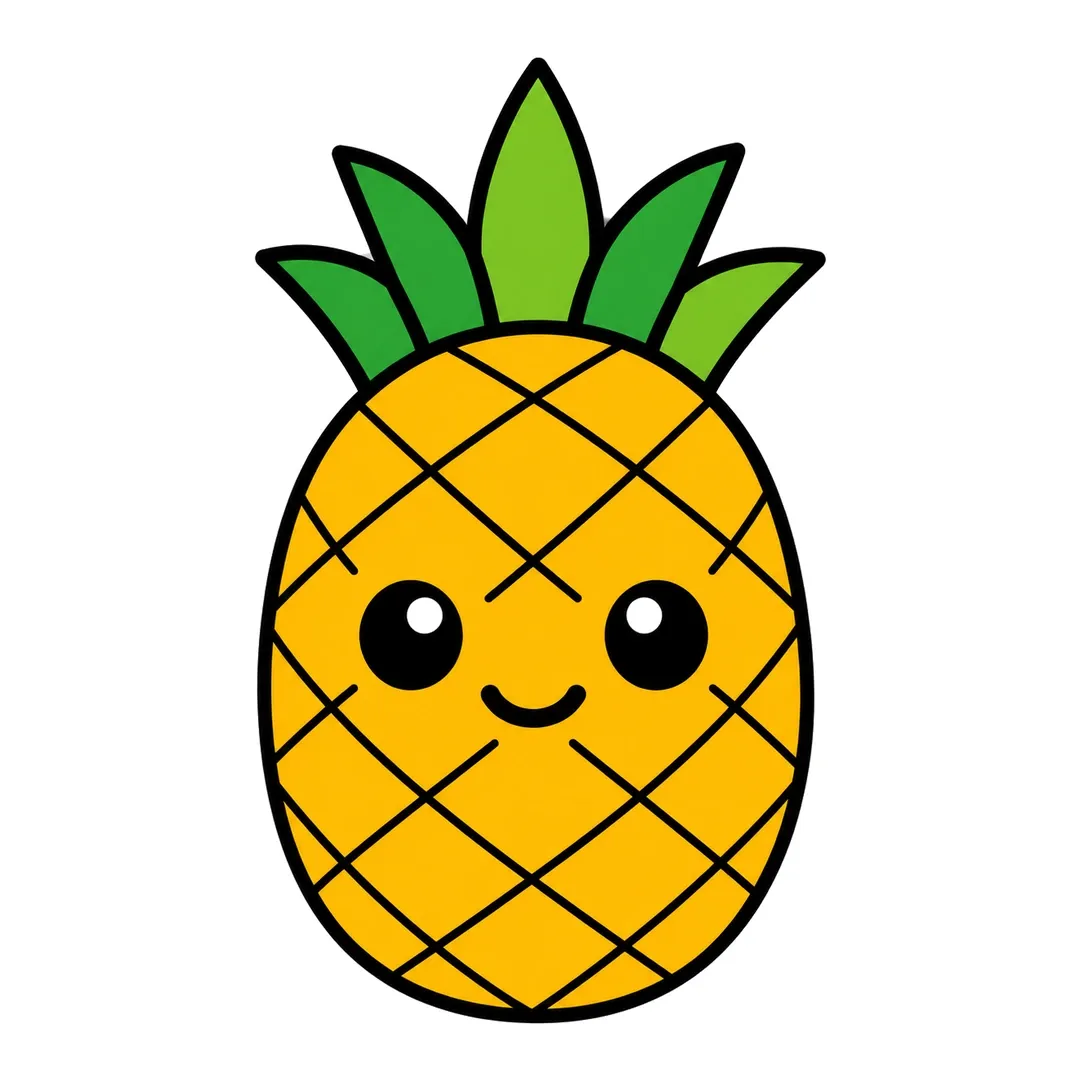
Step 6: Color the fruit yellow, middle and far right leaves light green, others dark green. Keep dots white.
4. Apple
An apple is a circle with a dent. Illinois Extension says 2,500 types of apples are available in the US, so any color works.
- Draw a circle that dips in at the top.
- Add a stem and one leaf.
- Color it, leaving a white shine spot.
5. Cherries
Cherries repeat one small circle.
- Draw two circles side by side.
- Join them with two stems that meet at the top.
- Add a leaf and color the cherries dark red.
6. Grapes
A bunch of grapes doubles as counting practice.
- Stack rows of four, three, two and one circle.
- Add a stem and a curly vine.
- Color the bunch purple or green.
7. Orange
An orange is a circle with a dotted, bumpy peel.
- Draw a circle with a tiny star at the top.
- Add a leaf beside the star.
- Dot the peel and fill it in orange.
8. Lemon
A lemon is an oval with a point at each end.
- Draw a wide oval.
- Pull out a small bump at both ends.
- Add a leaf and color it yellow.
9. Watermelon Slice
A watermelon slice is a half circle with a thick rind. Nebraska Extension notes that a watermelon is 70% flesh and 30% rind, so draw the rind wide.
- Draw a half circle, flat side up.
- Draw an inner curve for the rind.
- Add teardrop seeds and color it red and green.
Which Vegetables Are Simple to Draw?
Simple vegetables for kids to draw are a pumpkin, a carrot, a broccoli floret, a tomato, an ear of corn and a pea pod. Each one starts from an oval, a triangle, a circle or a bumpy cloud shape. The pumpkin has a full tutorial, and the other five need only 3 mini steps.
10. Pumpkin
A pumpkin is three ovals side by side, and kids can skip the face in step 5 of how to draw a pumpkin. Illinois Extension notes that pumpkins are botanically a fruit, but MyPlate counts pumpkin as a red and orange vegetable.
- Begin with one tall oval.
- Hide a wide, round side section behind the oval, left and right.
- Add a short curved stem, a leaf on the left and a curly vine on the right.
- Fill it in orange, with a brown stem and a green leaf and vine.
-

Step 1: Draw a tall oval in the middle of the page.
-
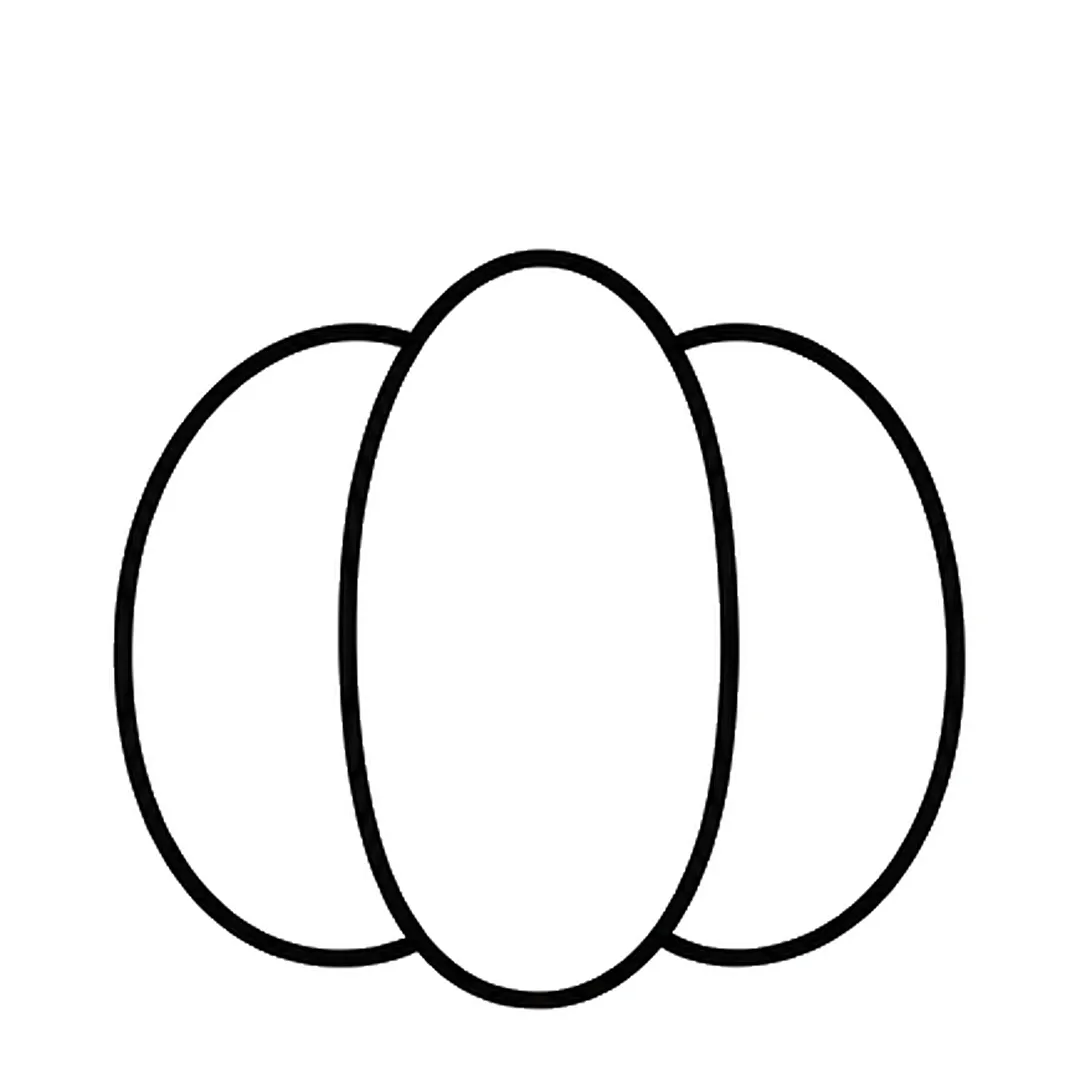
Step 2: Add a wide rounded section on each side, tucked behind the oval.
-
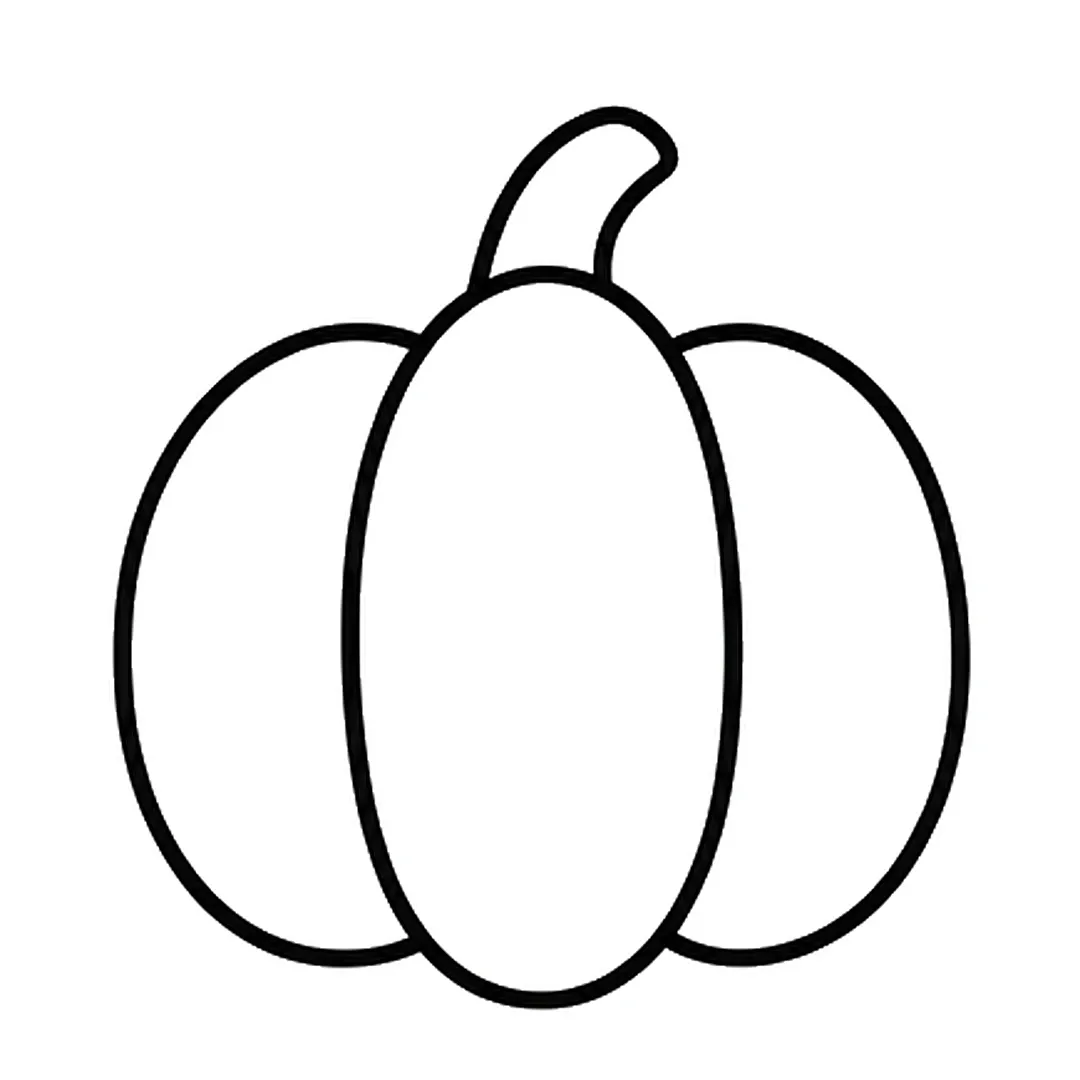
Step 3: Draw a short, curved stem on top.
-
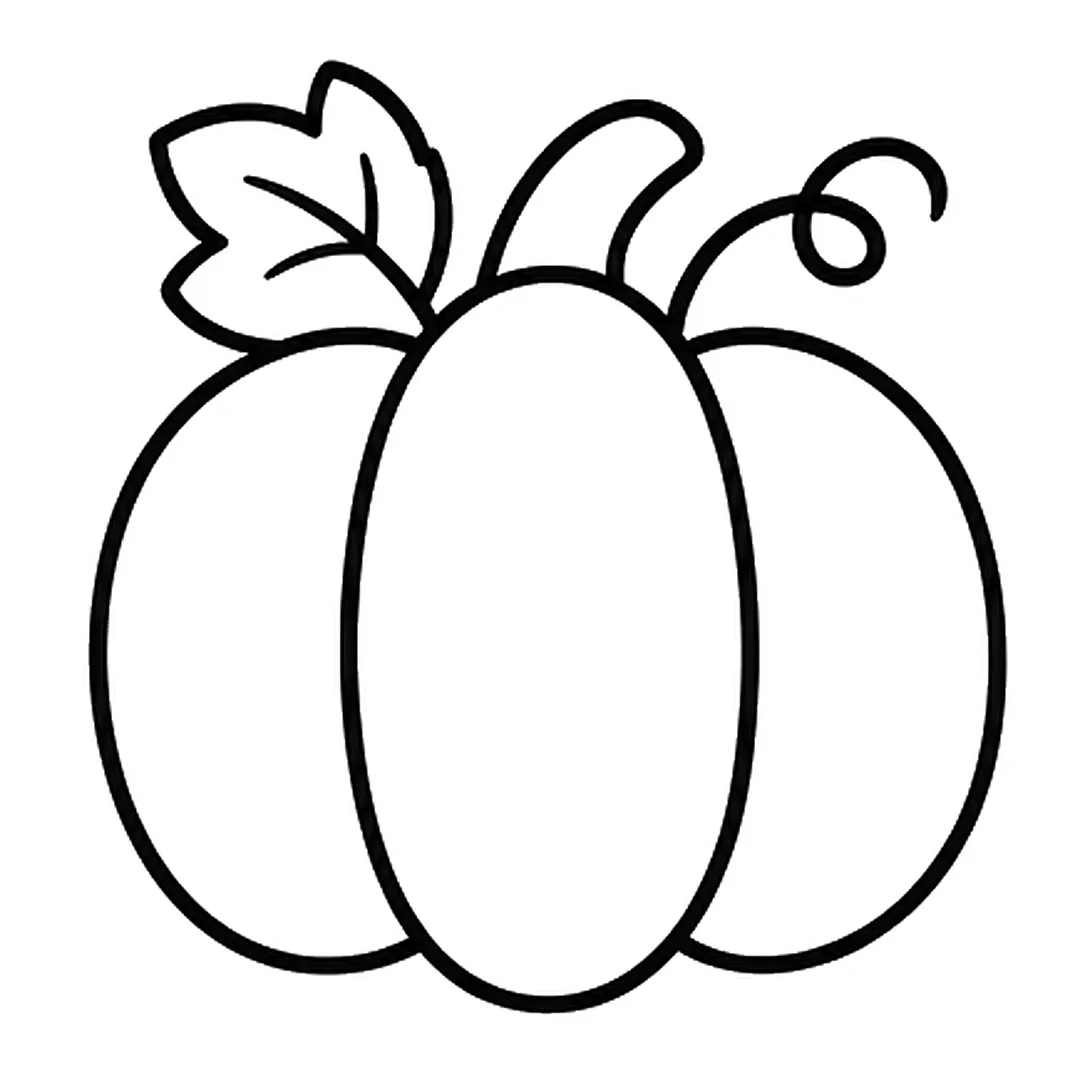
Step 4: Add a leaf on the left of the stem and a curly vine on the right.
-
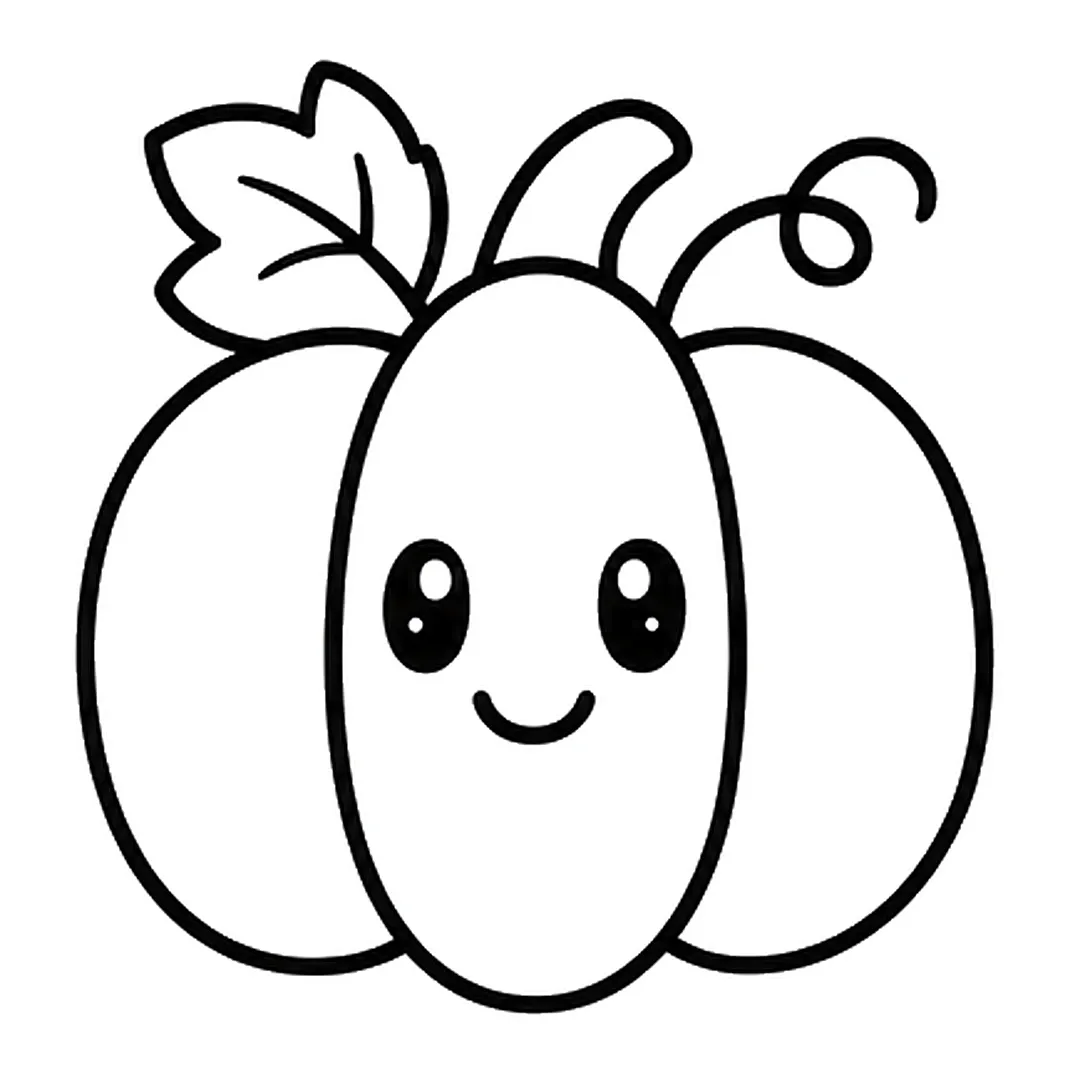
Step 5: Draw two big round eyes and a small smile on the middle section.
-
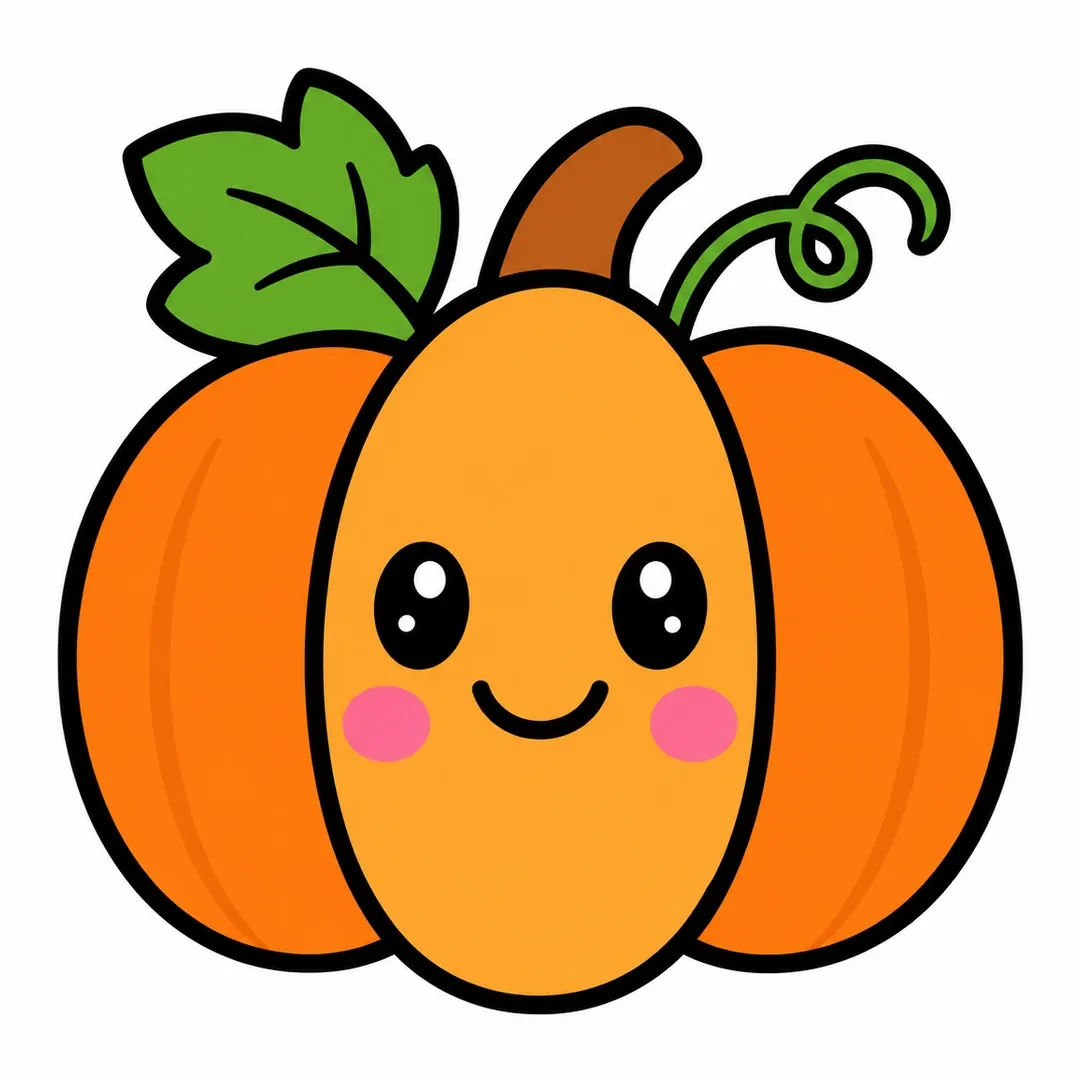
Step 6: Color the pumpkin orange, the stem brown, the leaf and vine green, and add pink cheeks.
11. Carrot
A carrot is one long triangle.
- Draw a long, thin triangle pointing down.
- Add three leafy stalks at the top.
- Draw short lines across it and color it orange.
12. Broccoli
A broccoli floret looks like a small tree.
- Draw a bumpy cloud.
- Add a short, thick stalk.
- Color the top dark green and the stalk light green.
13. Tomato
A tomato is a circle topped by a star of leaves. Botanically, a tomato is a fruit because it contains seeds. In Nix v. Hedden (1893), the U.S. Supreme Court still ruled it a vegetable for import duty, going by everyday language.
- Draw a slightly flat circle.
- Add a five-leaf star on top.
- Fill it in red, leaving the star green.
14. Ear of Corn
Corn turns a long oval into a grid.
- Draw a long, narrow oval cob.
- Crisscross it into rows of small squares.
- Add two husk leaves below, then color it yellow and green.
15. Pea Pod
A pea pod holds a row of circles, handy for counting to five.
- Draw a long, curved pod.
- Line up five peas inside.
- Add a curly stem and color everything green.
How Do Kids Draw Grains, Protein and Dairy Foods?
Kids draw grains, protein and dairy foods from squares, circles and rectangles. The 10 ideas here are a slice of bread, a pretzel, pancakes, a bowl of rice, a fried egg, a chicken drumstick, a peanut, a milk carton, a cheese wedge and a yogurt cup. None has a tutorial yet, so each gets 3 mini steps.
16. Slice of Bread
A slice of bread is a square with a rounded top.
- Draw a square.
- Round the top into two soft bumps.
- Add an inner crust line, then color it tan and brown.
17. Pretzel
A pretzel is one looping line.
- Draw a wide U.
- Cross the ends over each other to make two loops.
- Color it brown and add white salt dots.
18. Stack of Pancakes
Pancakes stack one flat oval on another.
- Draw three flat ovals in a pile.
- Put a square of butter on top.
- Let syrup drip down the side and color the stack golden.
19. Bowl of Rice
A bowl of rice reuses the half circle from the watermelon slice.
- Draw a half circle, flat side up.
- Add a bumpy mound of rice above the rim.
- Draw two chopsticks and color the bowl.
20. Fried Egg
A fried egg is a wobbly shape, so the outline never has to be neat.
- Draw a wavy puddle shape.
- Add a round yolk near the middle.
- Color the yolk yellow.
21. Chicken Drumstick
A drumstick is a fat teardrop with a bone at the narrow end.
- Draw a fat teardrop lying on its side.
- Add a short bone with two round knobs.
- Color the meat golden brown.
22. Peanut
A peanut is two overlapping circles with a pinched middle.
- Draw two circles that overlap, one above the other.
- Erase the lines inside the overlap.
- Add light crisscross lines and color it tan.
23. Milk Carton
A milk carton uses a rectangle and a triangle, the same shapes as a house.
- Draw a tall rectangle.
- Add a triangle top with a flat strip.
- Draw a label and color the carton.
24. Cheese Wedge
A cheese wedge lets kids decide how many holes to add.
- Draw a wide triangle.
- Add a thick side underneath.
- Draw round holes and color it yellow.
25. Yogurt Cup
A yogurt cup is a short cup with fruit on the label.
- Draw a short cup, wider at the top.
- Add a flat oval lid.
- Draw berries on the label and color it.
Which Sweets and Treats Can Kids Draw Step by Step?
Kids can draw 9 treats step by step: a wrapped candy, a cookie, a cupcake, a birthday cake, a candy cane, a gingerbread man, a gingerbread house, an ice cream cone and a donut. Seven of the nine have full tutorials, and the wrapped candy is the shortest at 4 steps.
26. Wrapped Candy
How to draw a candy turns one big circle into a red and white swirl.
- Draw one big circle.
- Add a wavy-edged wrapper end on both sides, narrow at the candy.
- Sketch a light spiral from the center and three fold lines per end.
- Color red with a white swirl stripe, erase the spiral and make the ends pink.
-
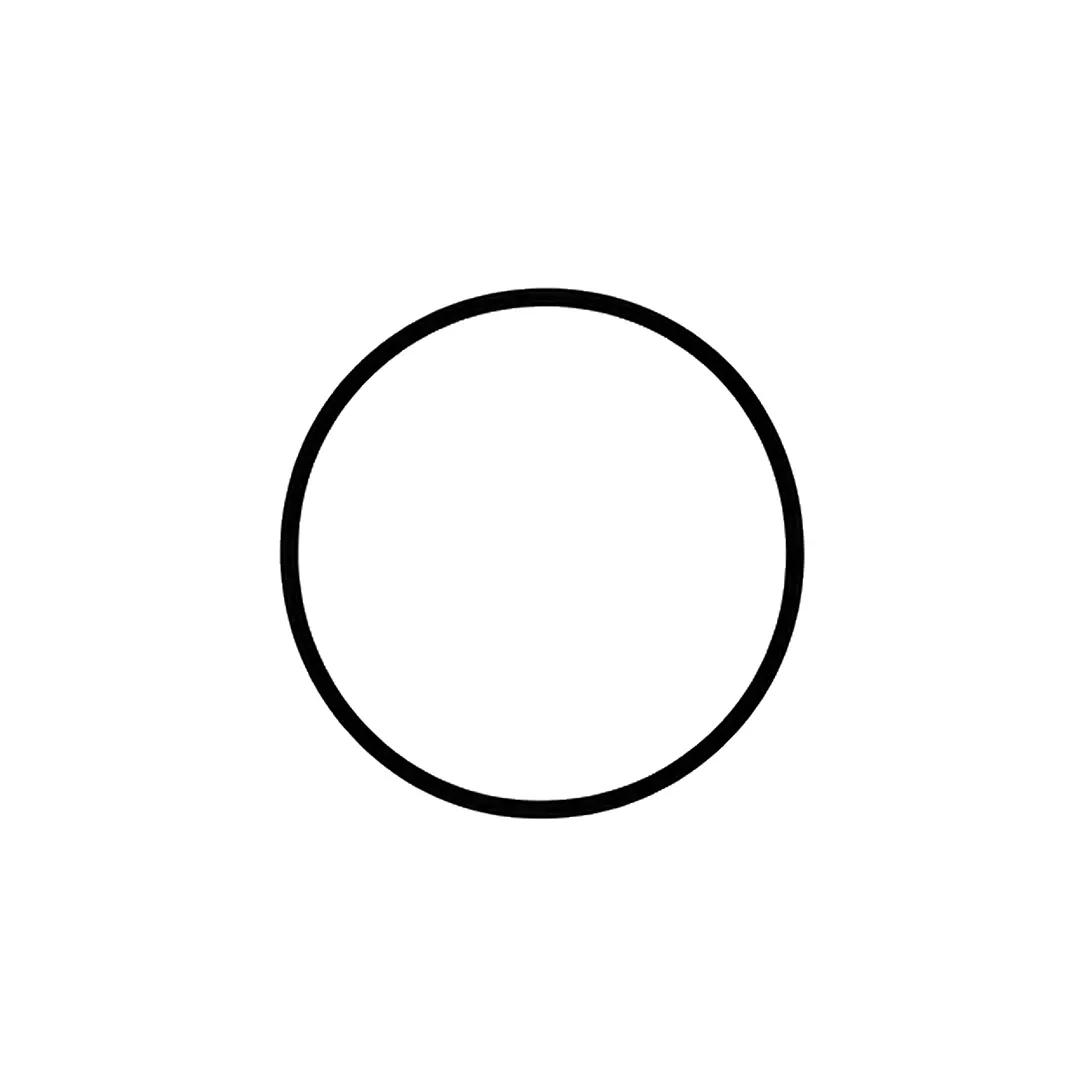
Step 1: Draw one big round circle in the middle of the paper for the candy.
-
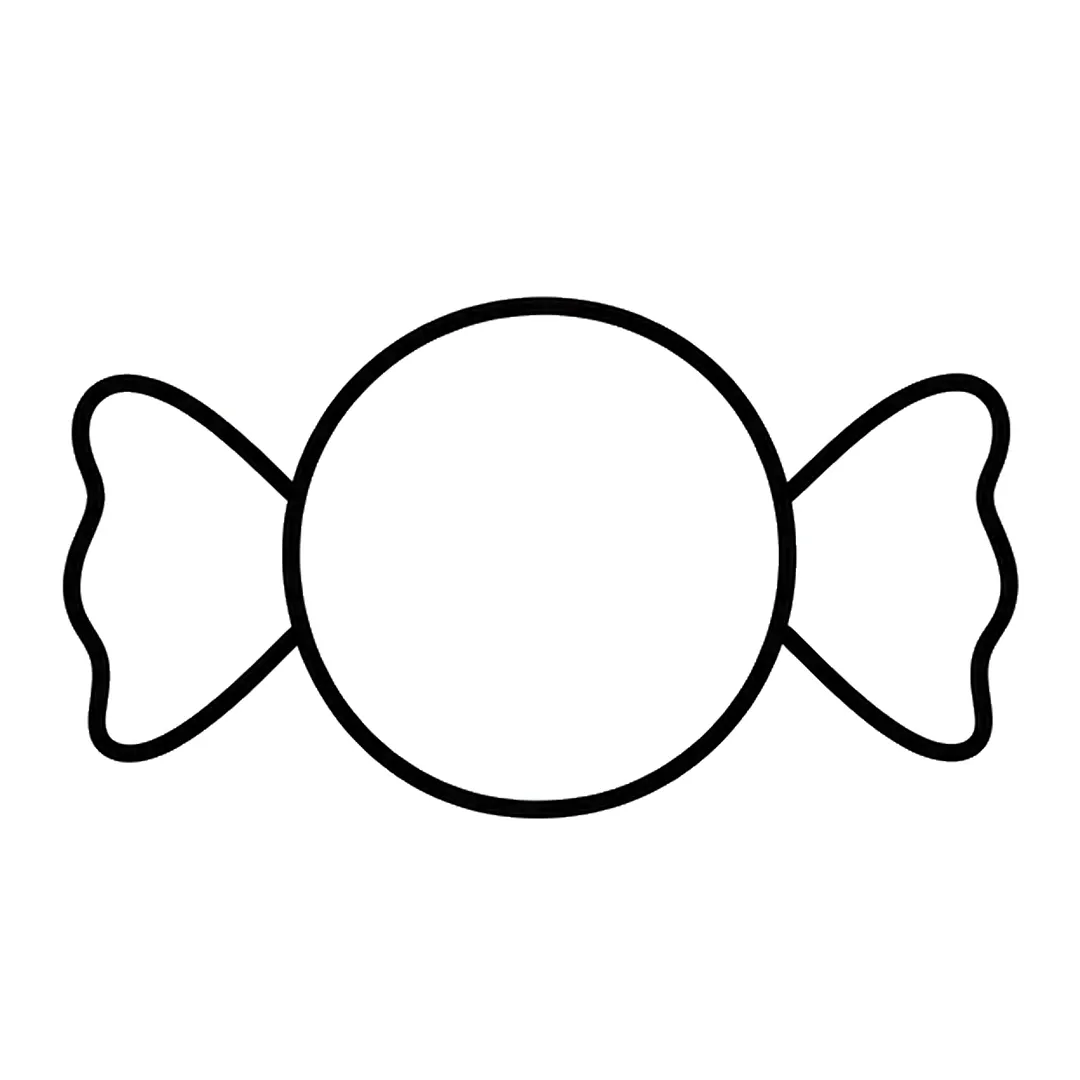
Step 2: Add a wrapper end on each side. Make it thin at the circle and wide at the end, with a wavy edge.
-
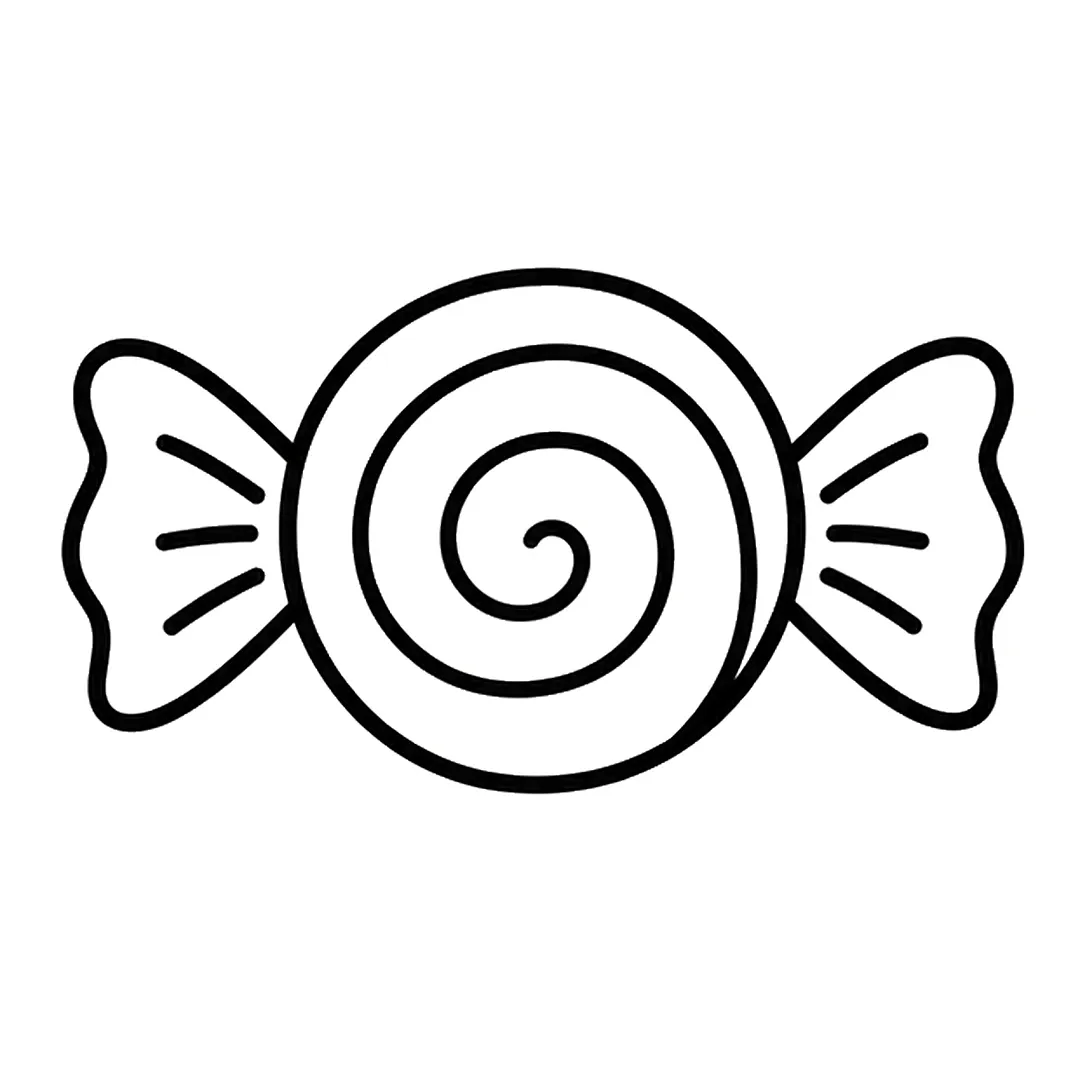
Step 3: Draw a light pencil spiral from the center to the bottom right edge, then three fold lines per end.
-
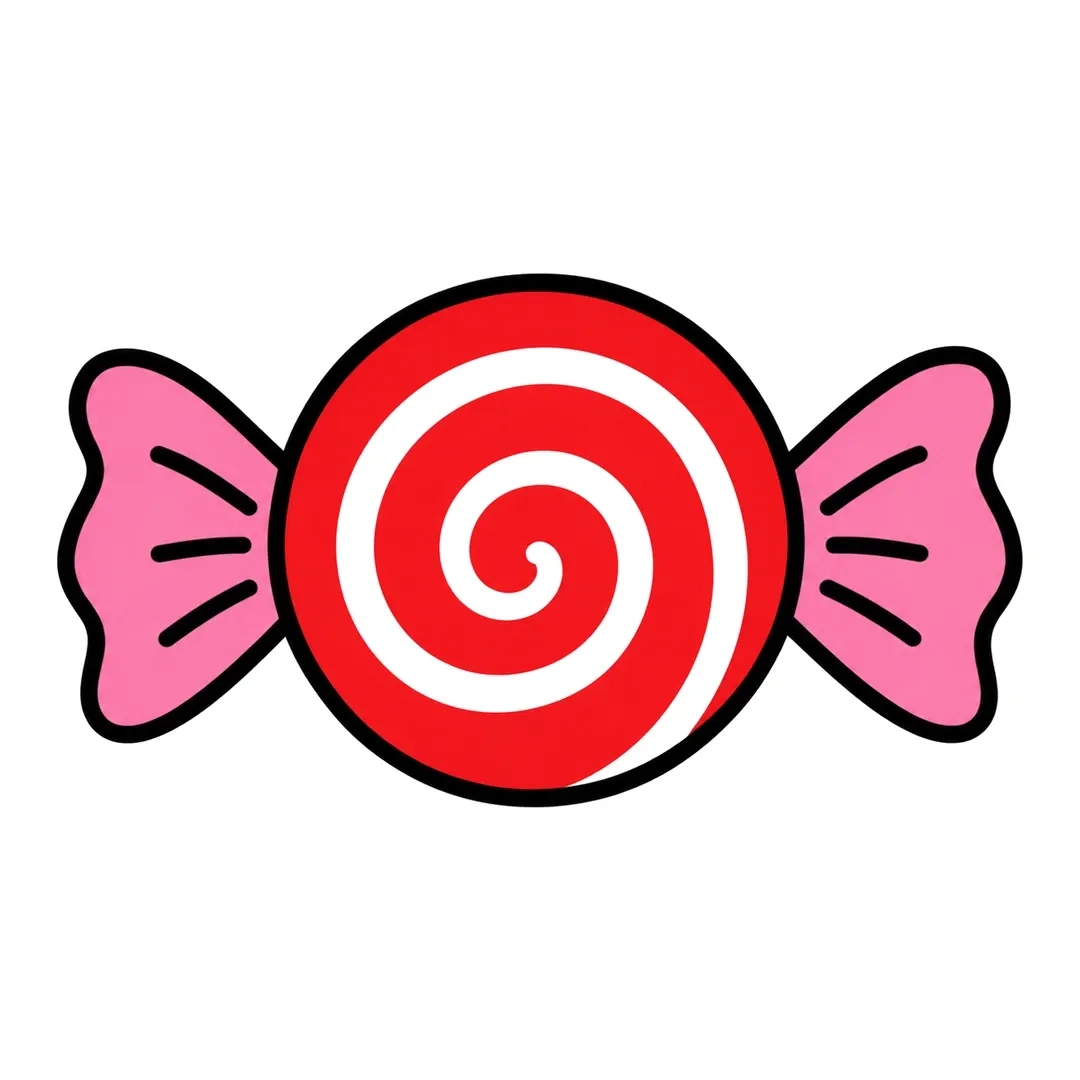
Step 4: Color the candy red with a wide white stripe on the pencil spiral. Erase it and color the ends pink.
27. Chocolate Chip Cookie
A cookie is one bumpy circle, and kids can skip the face in steps 2 and 3 of how to draw a cookie.
- Draw one big circle and make its edge a little bumpy.
- Add five rounded chocolate chips.
- Draw four crumbs near the bottom.
- Color the cookie light brown and the chips dark brown.
-
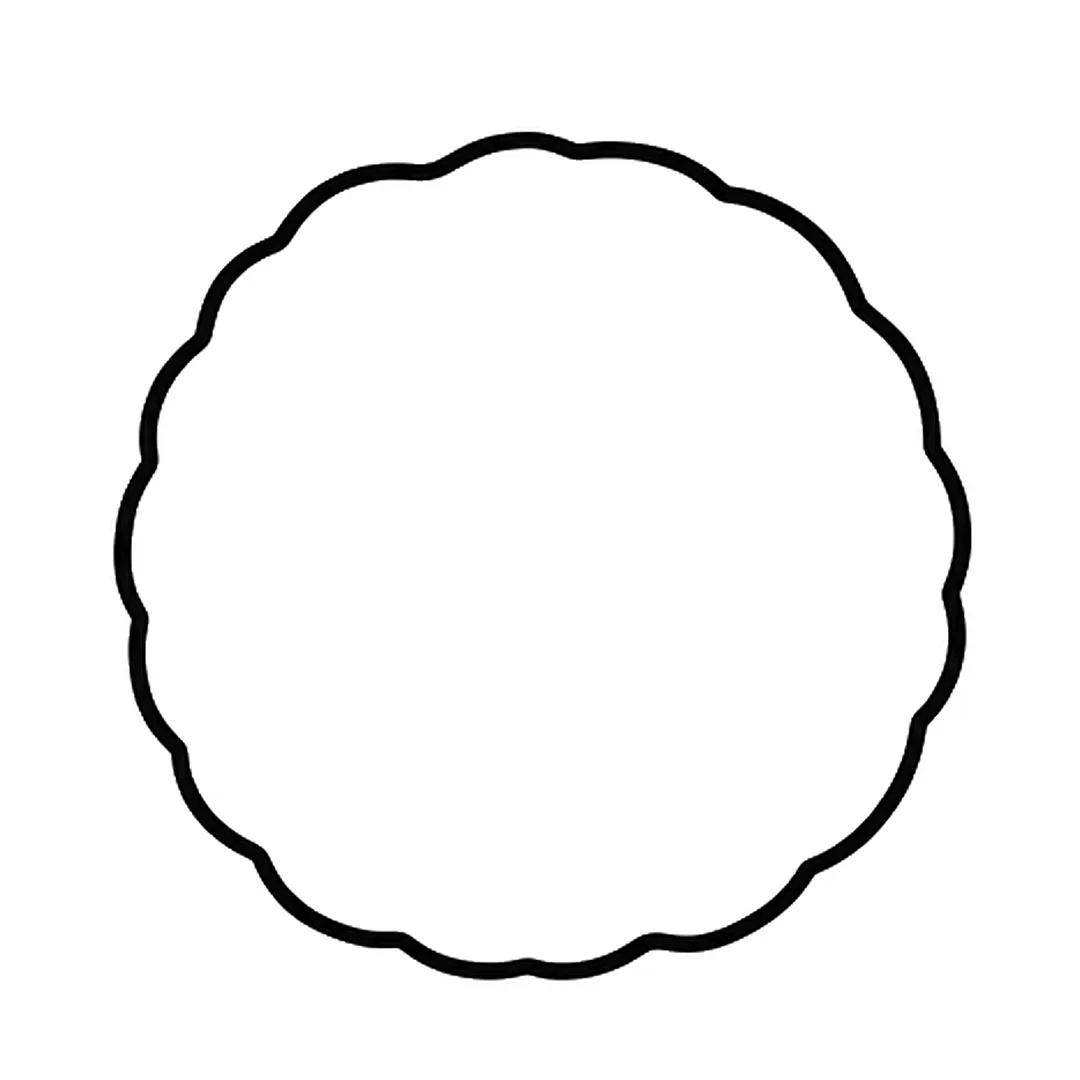
Step 1: Draw one big round cookie with a slightly bumpy edge.
-
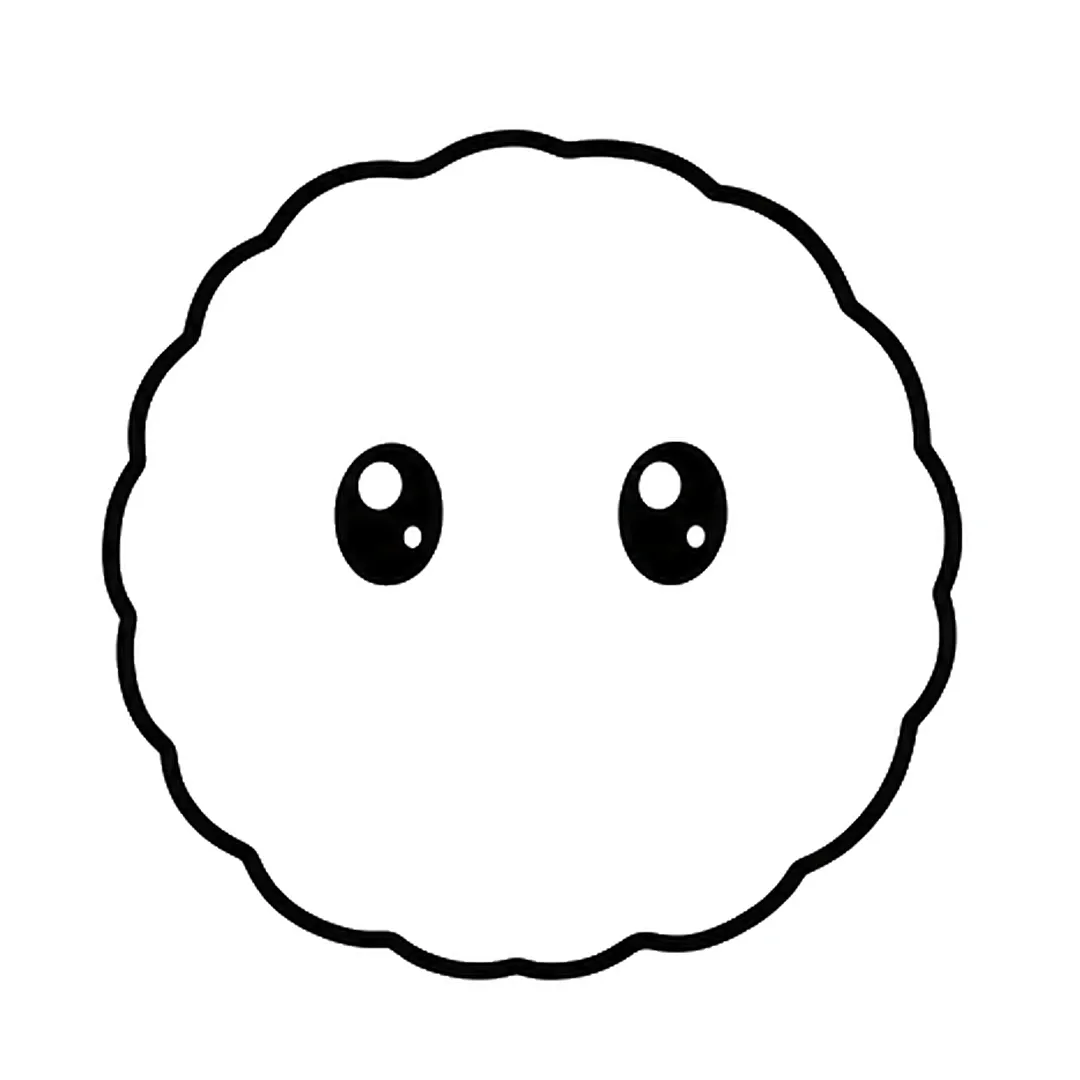
Step 2: Add two oval eyes in the middle. Fill them black, but leave two small white shine dots in each.
-
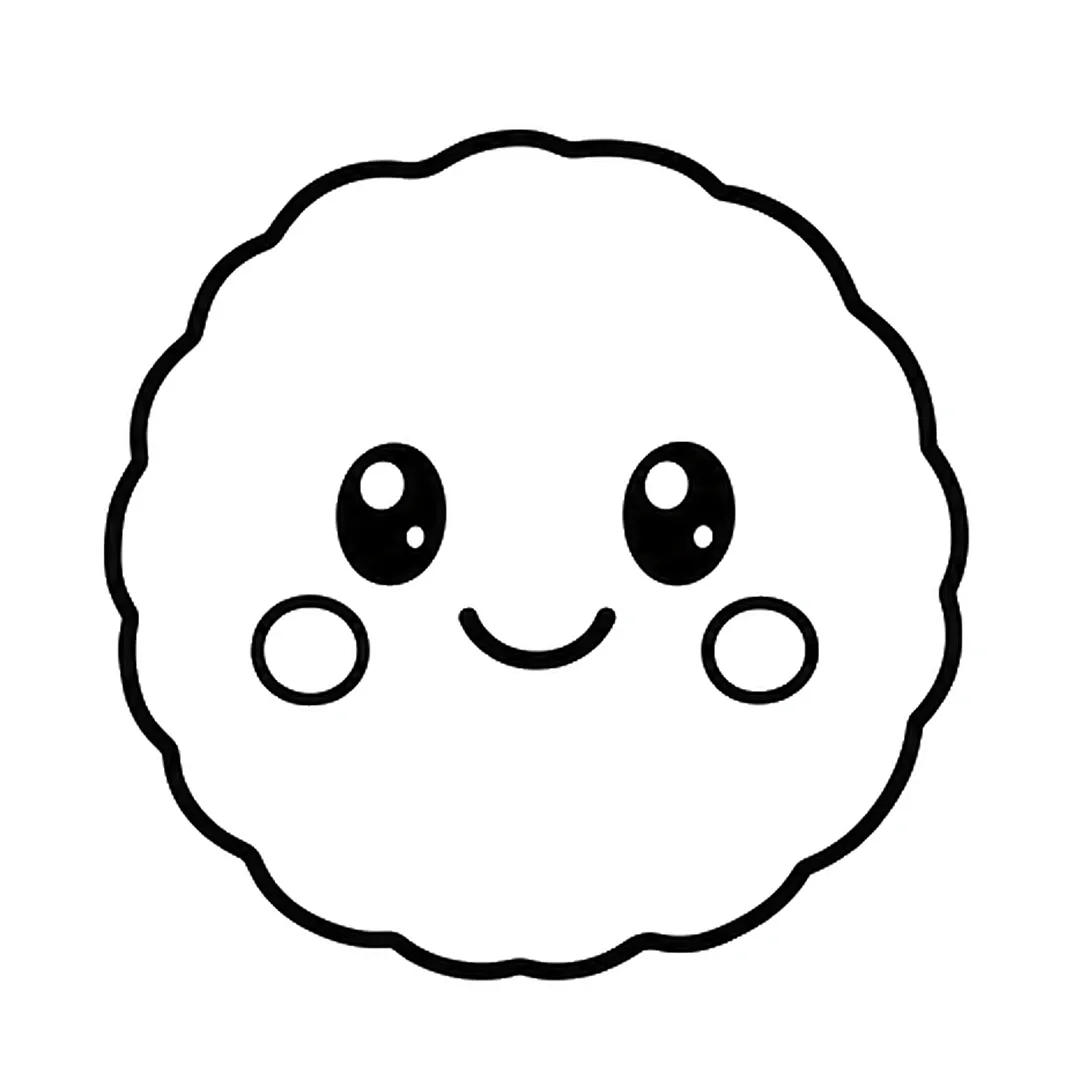
Step 3: Draw a small smile between the eyes and a round cheek under each eye.
-
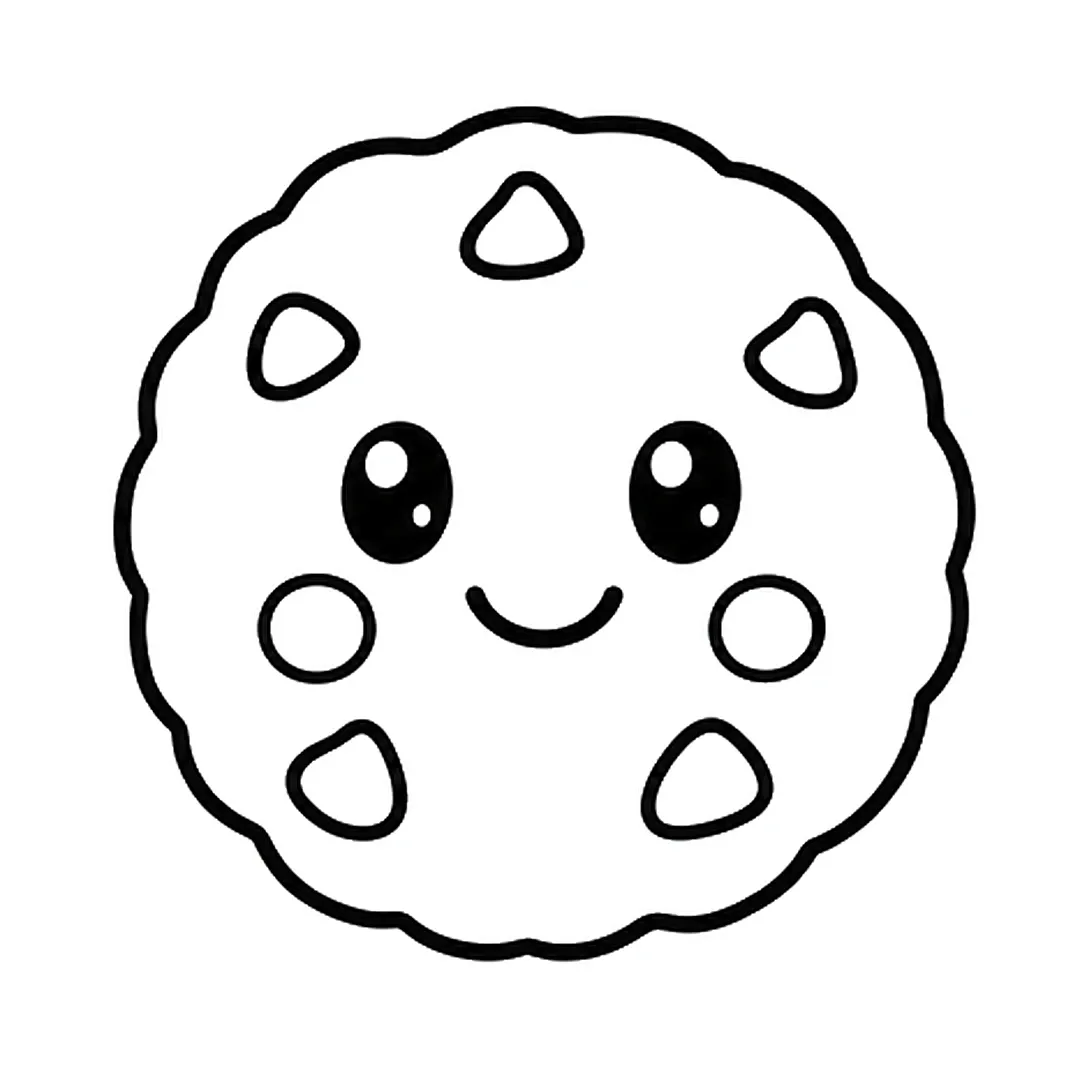
Step 4: Add five rounded chocolate chips: one at the top, two at the sides and two at the bottom.
-
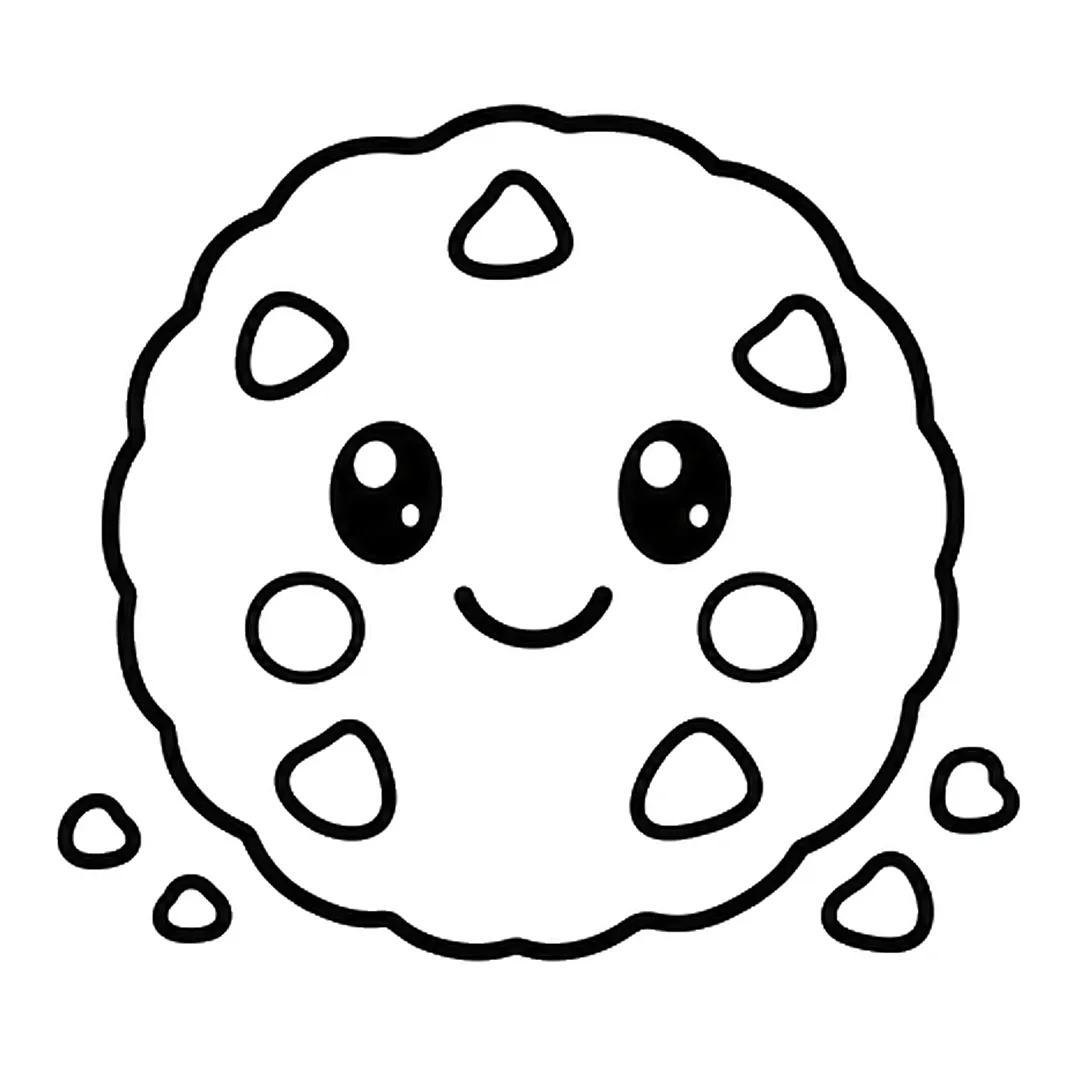
Step 5: Draw four small crumbs next to the bottom of the cookie, two on each side.
-
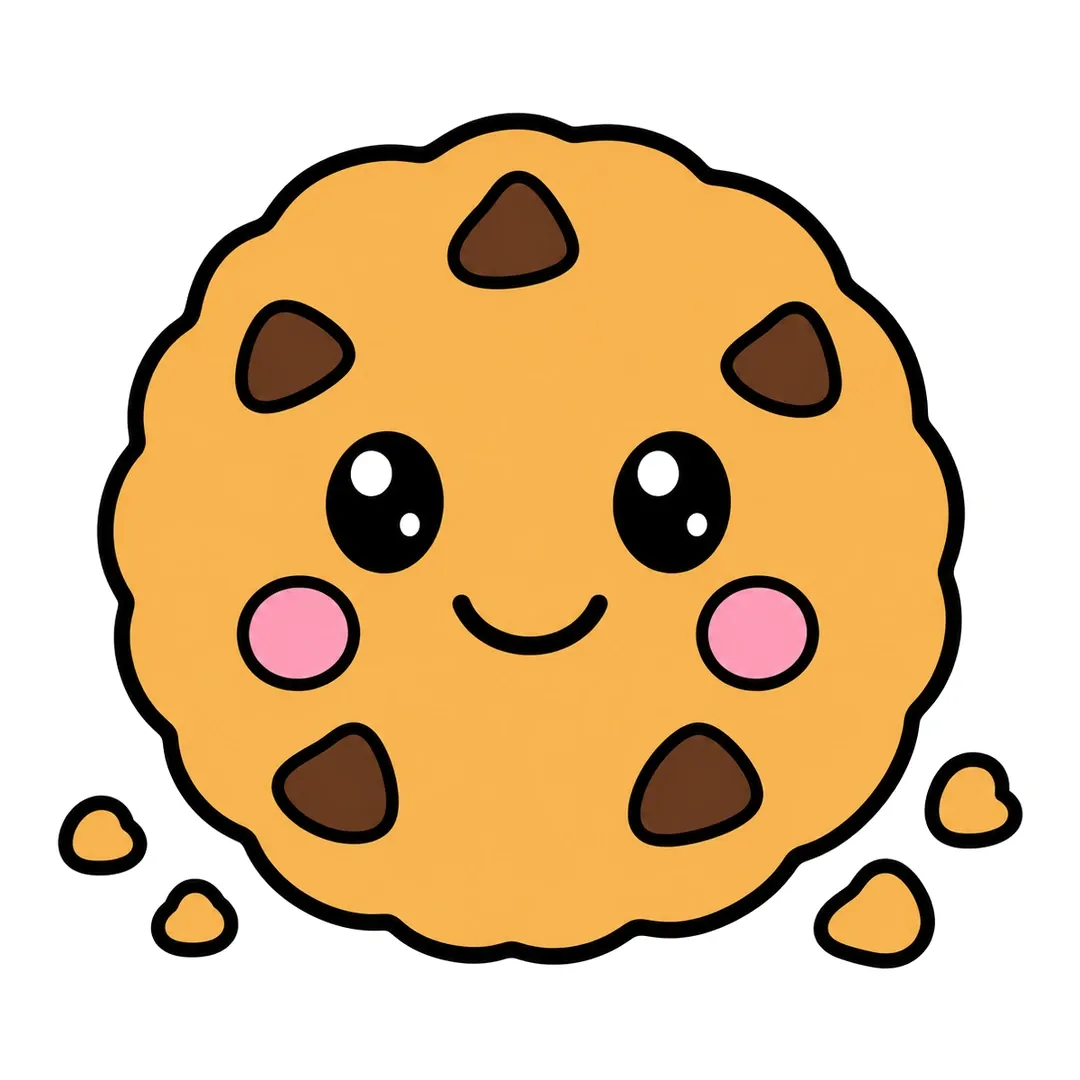
Step 6: Color the cookie and crumbs light brown, chips dark brown, cheeks pink. Keep the shine dots white.
28. Cupcake
A cupcake stacks frosting on a wrapper, and the face in step 4 of how to draw a cupcake is optional.
- Draw a wrapper that widens toward its oval rim, with straight side lines.
- Pipe a three-layer frosting swirl with a curled tip.
- Top it with a cherry on a curved stem.
- Add eight sprinkles and color it pink, red and light blue.
-
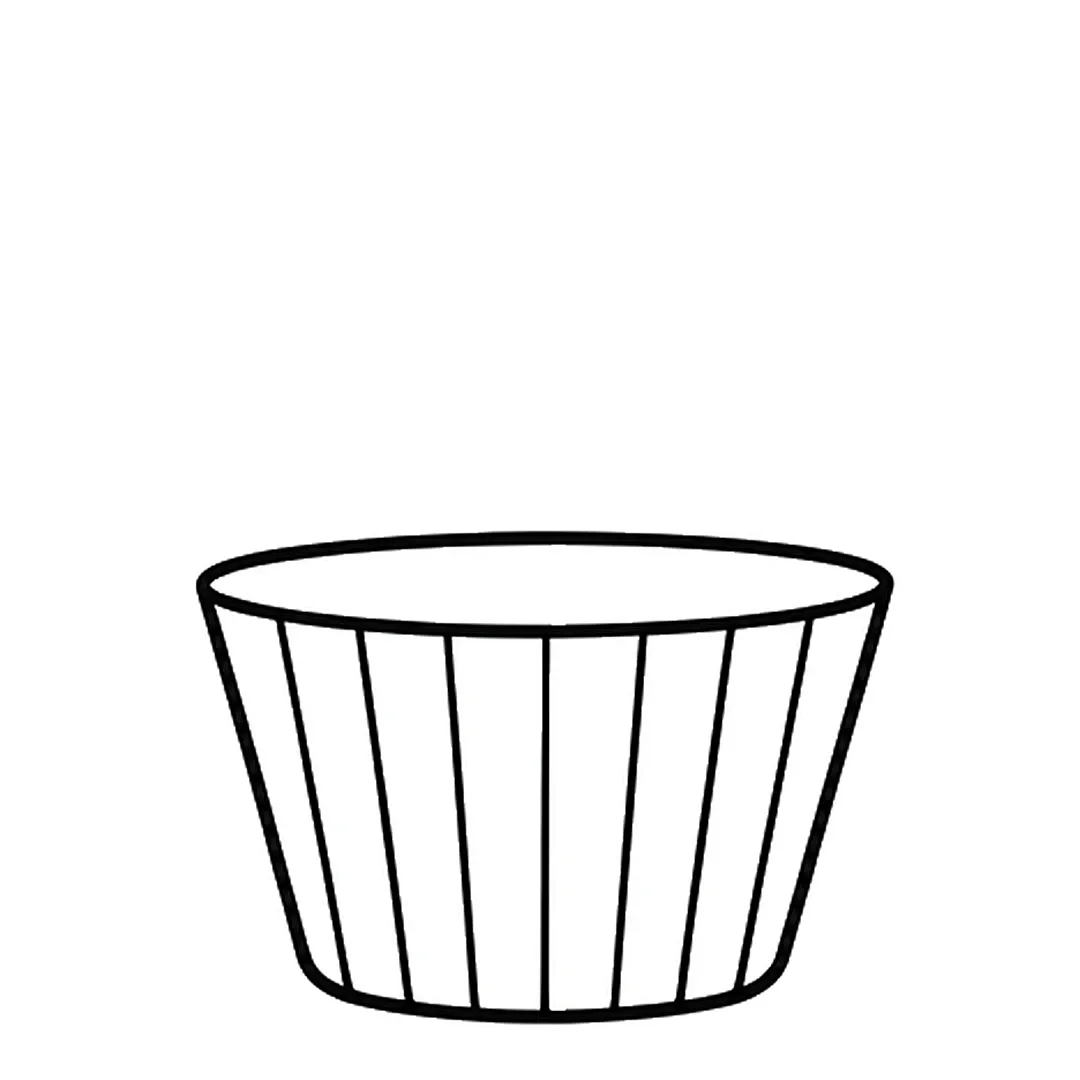
Step 1: Draw a wrapper that is wider at the top, with an oval rim and straight lines down its side.
-
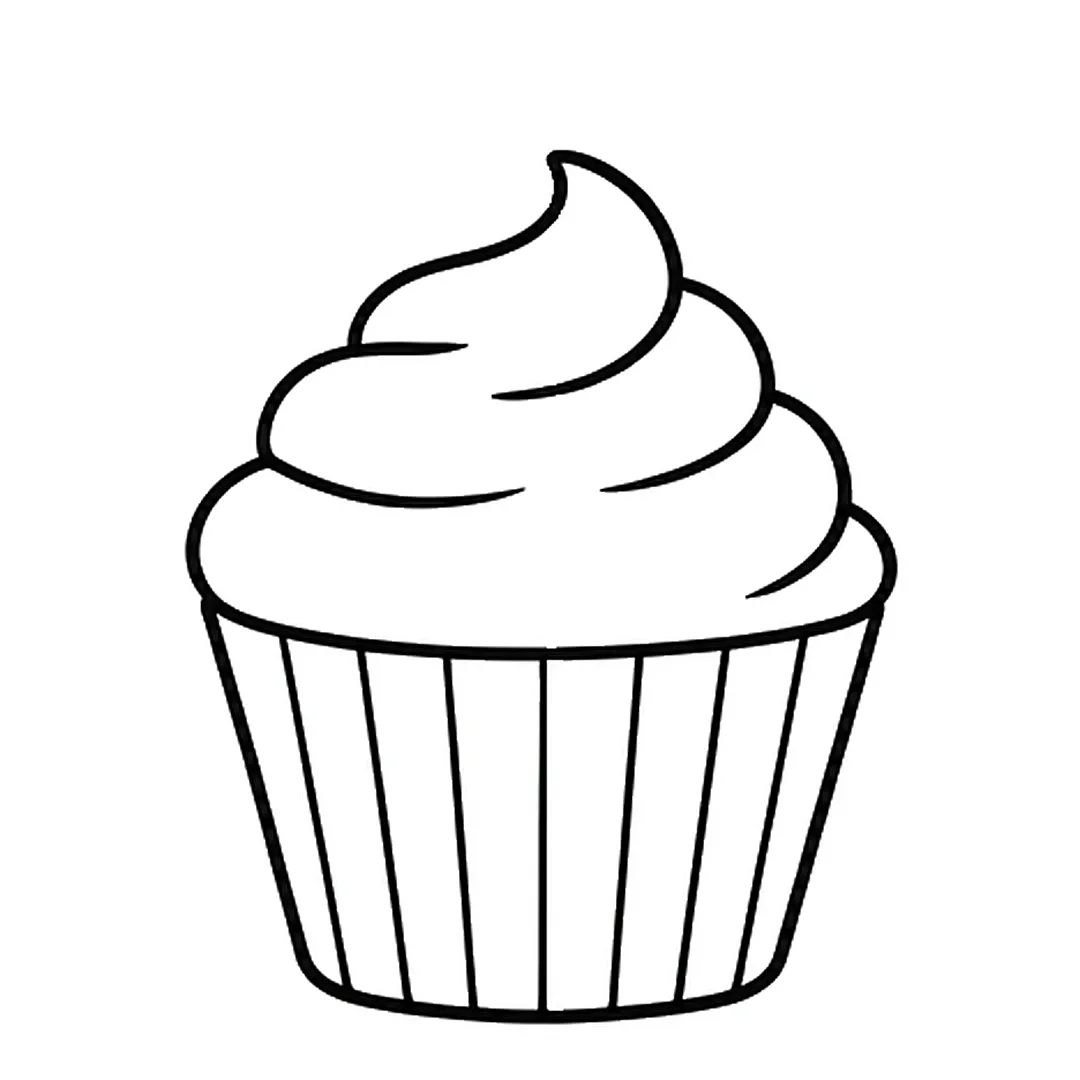
Step 2: Add a swirly frosting top with three layers and a curled tip. Erase the oval rim under it.
-
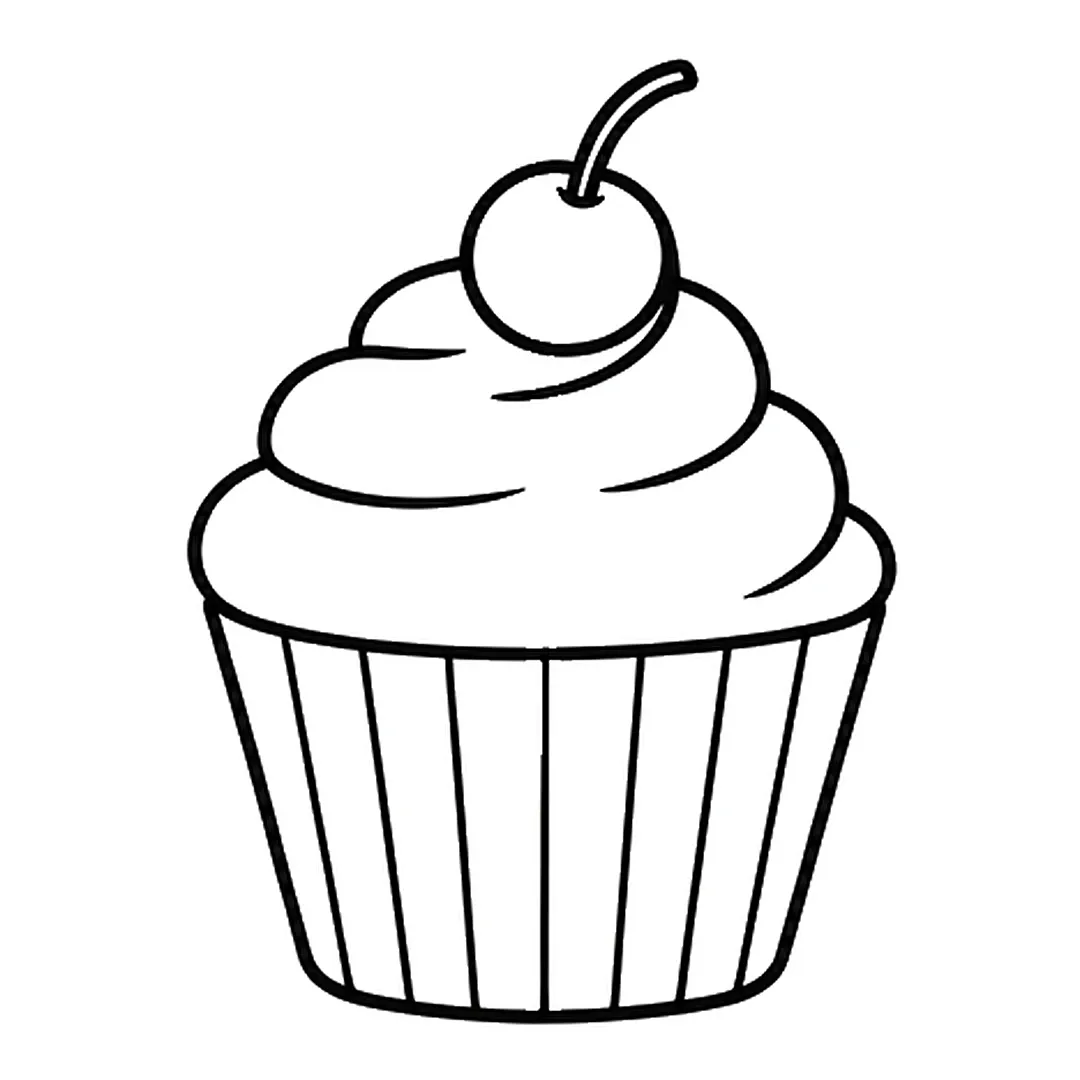
Step 3: Draw a round cherry with a curved stem on top. Erase the frosting tip behind the cherry.
-
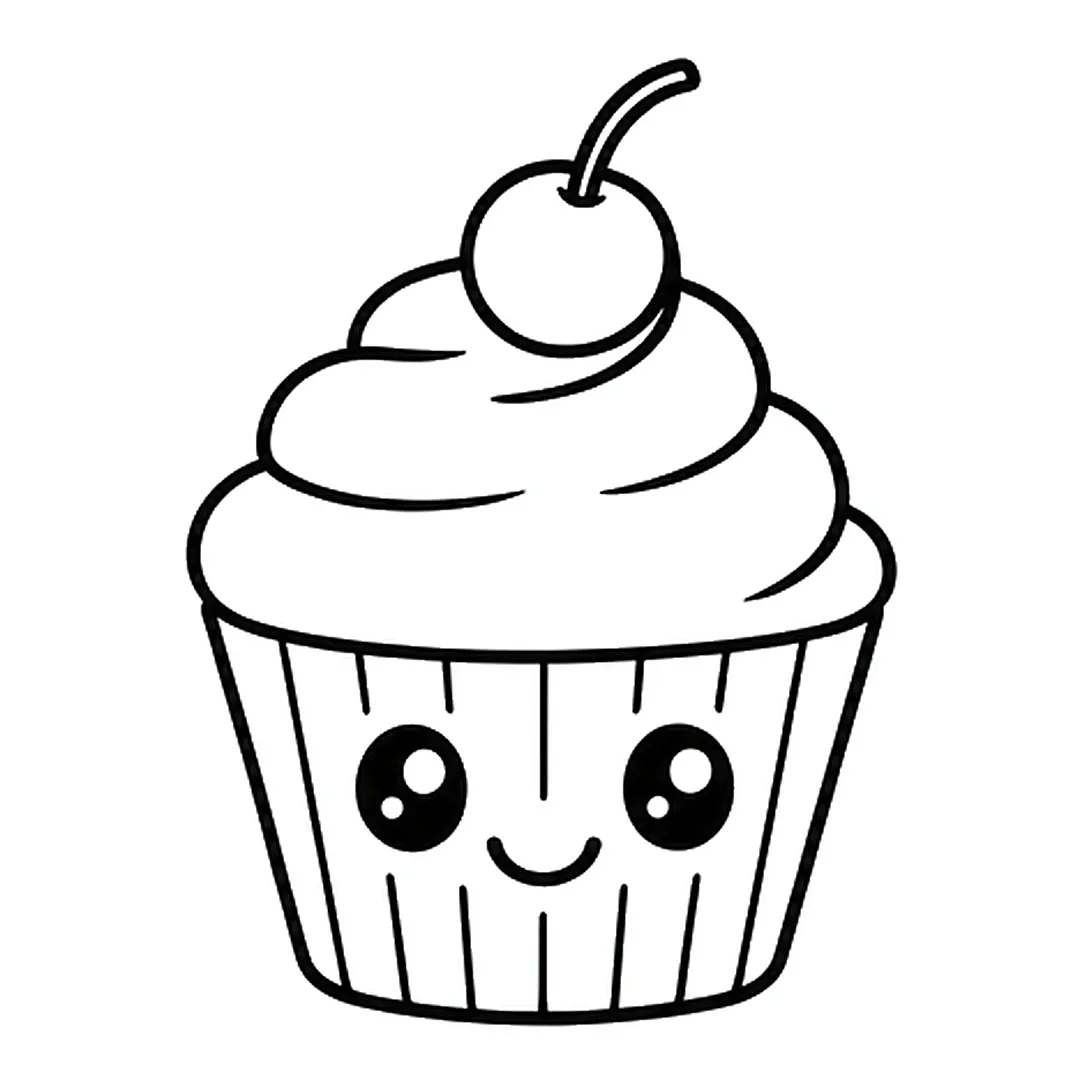
Step 4: Add two big black eyes with shine dots and a smile. Erase the wrapper lines behind the face.
-
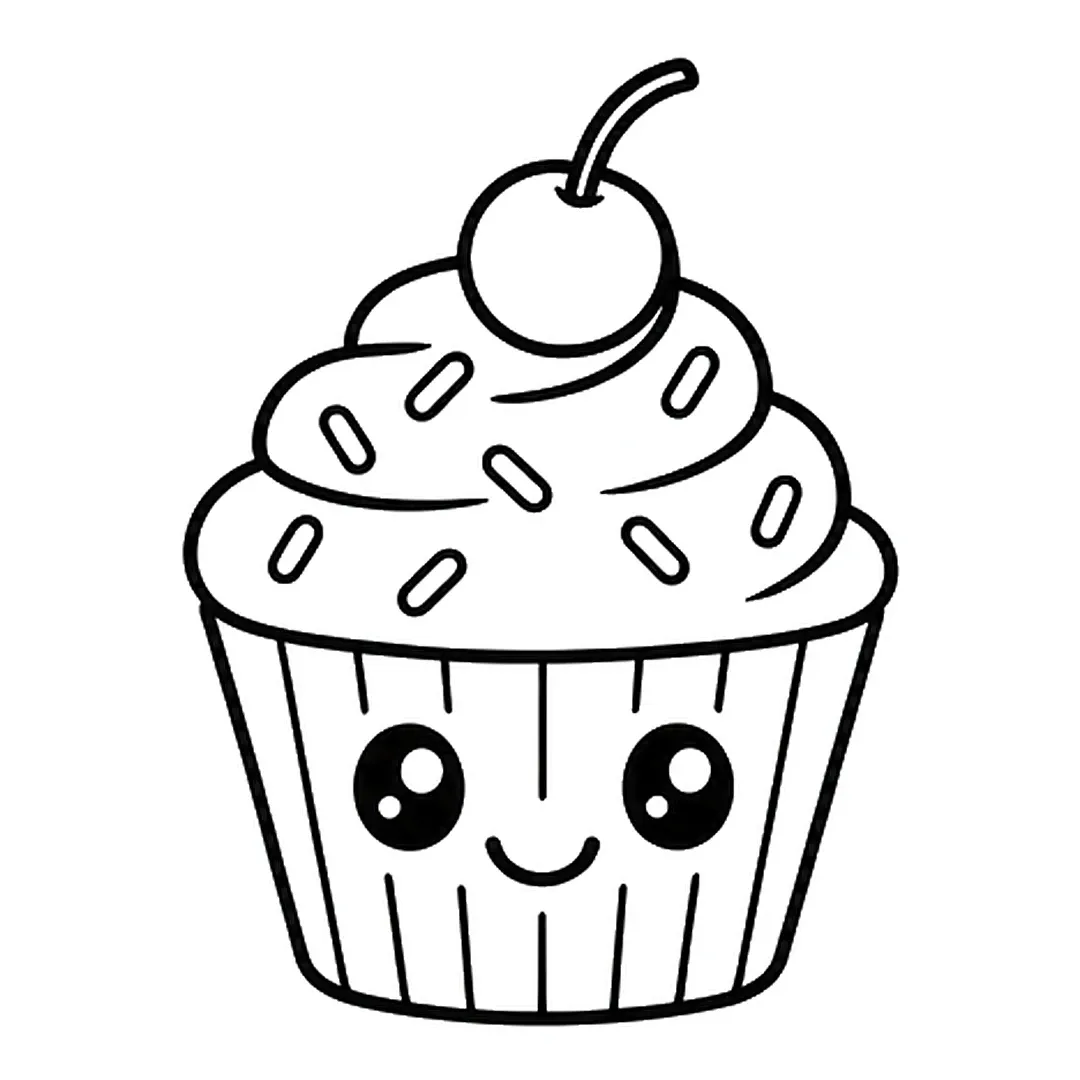
Step 5: Draw eight small rounded sprinkles over the frosting. Color them red, yellow and light blue later.
-
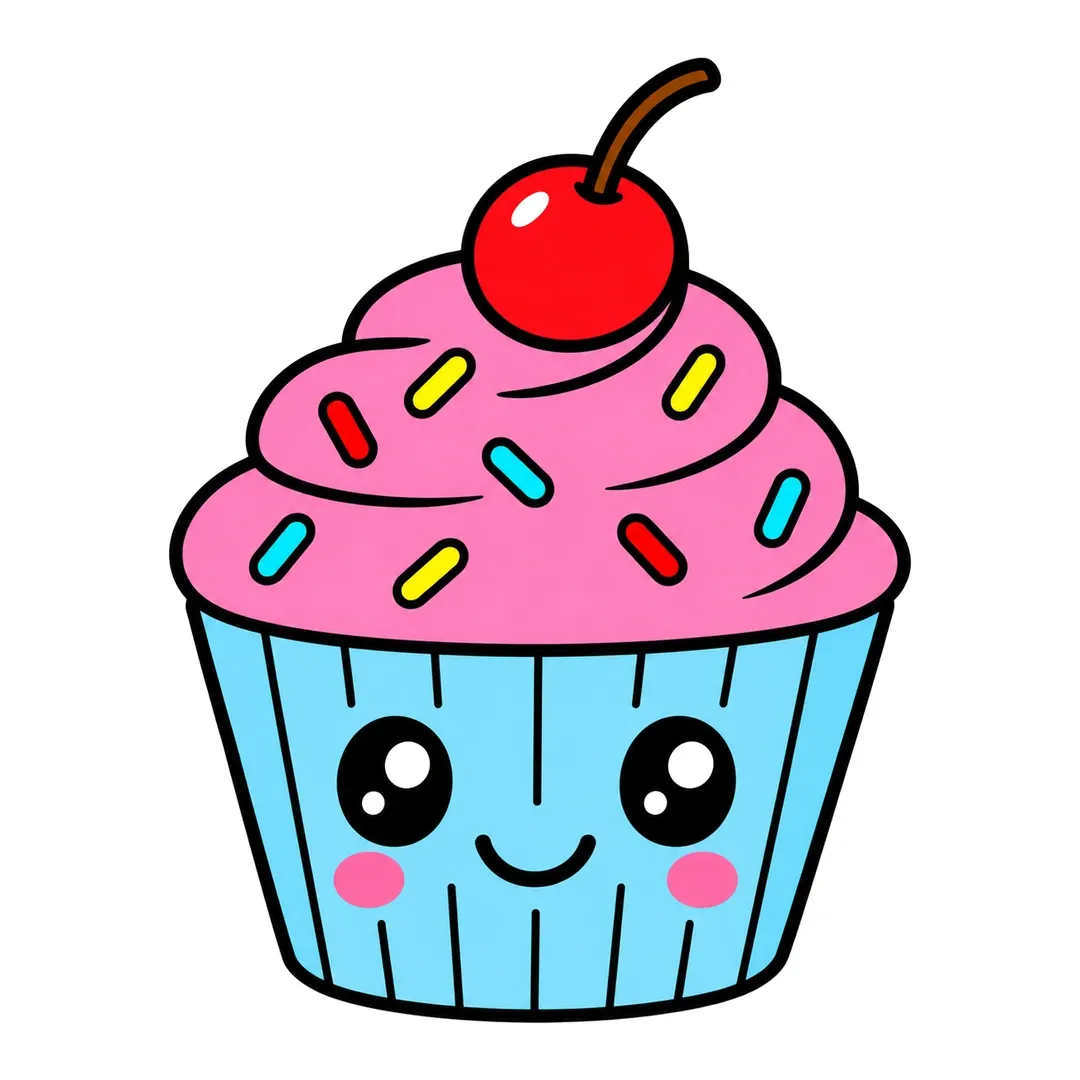
Step 6: Color the frosting pink, cherry red, stem brown, wrapper light blue, sprinkles too. Add pink cheeks.
29. Birthday Cake
A birthday cake is two layers on a plate, and how to draw a birthday cake has no face, so it suits a birthday card.
- Draw a wide layer with an oval top on a flat oval plate.
- Add a smaller layer on top.
- Draw a wavy frosting drip under each oval top.
- Add three striped candles with teardrop flames.
- Color the cake brown, frosting pink, candles light blue and flames yellow and orange.
-
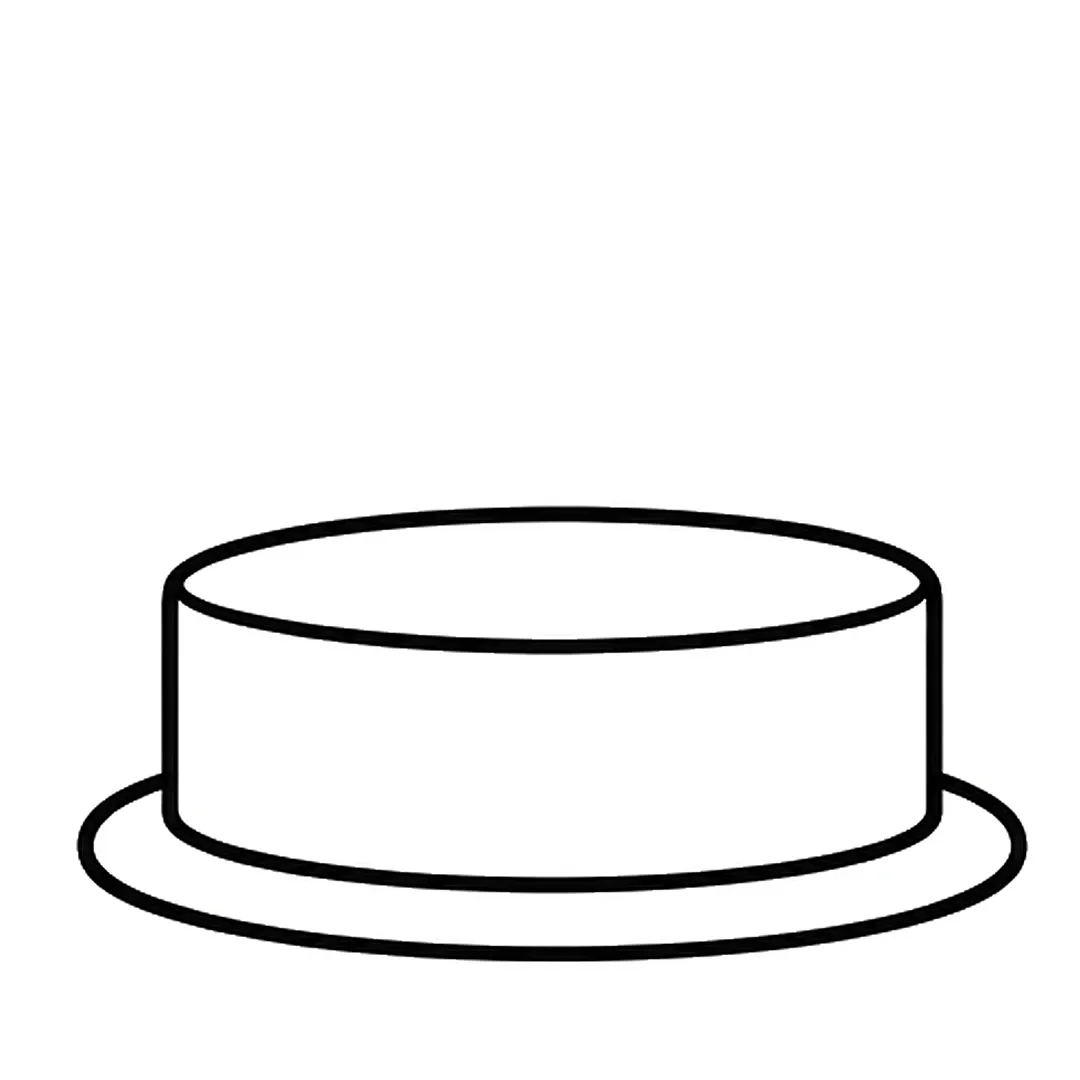
Step 1: Draw a wide round cake layer with an oval top, sitting on a flat oval plate.
-
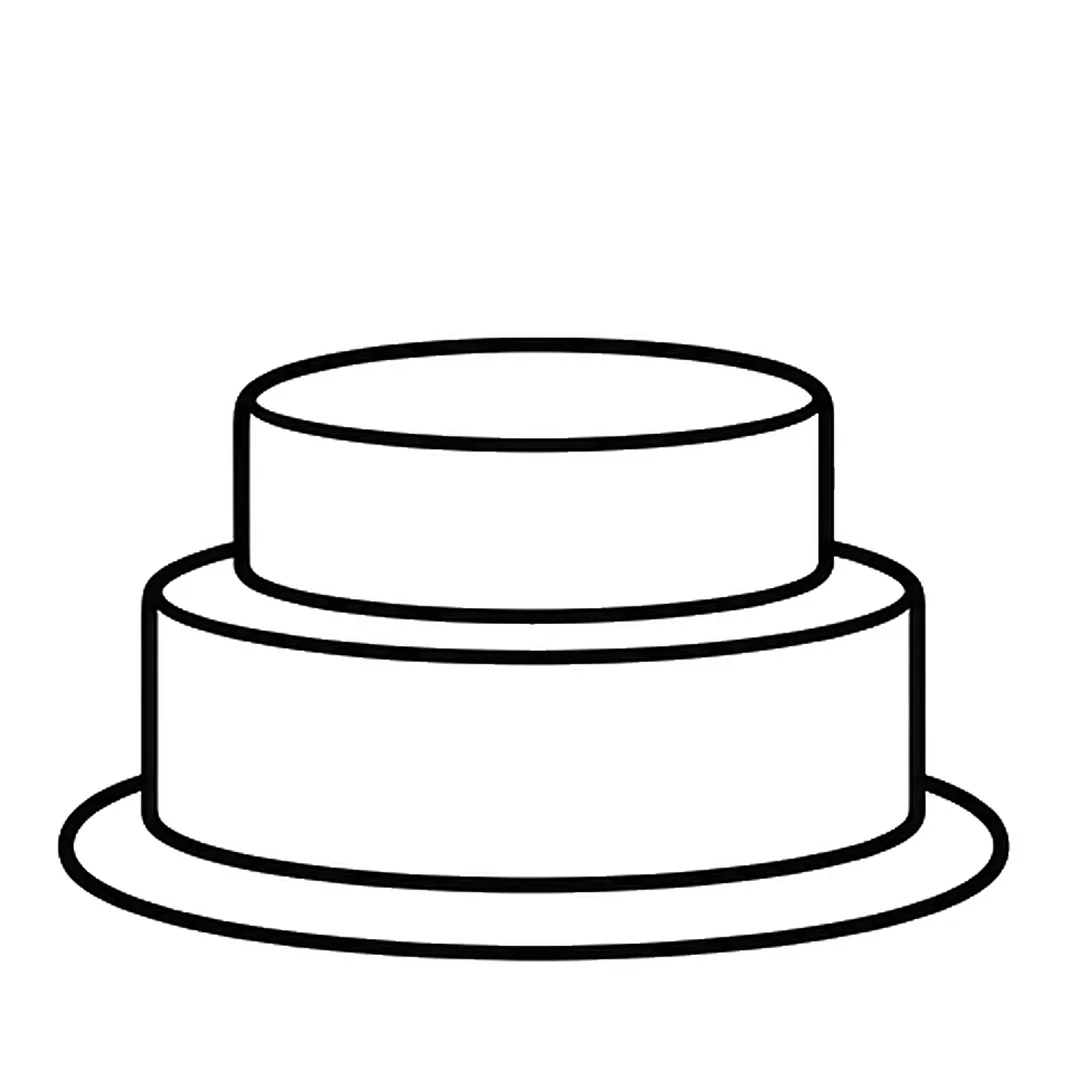
Step 2: Add a smaller round layer with an oval top on the middle of the bottom layer.
-
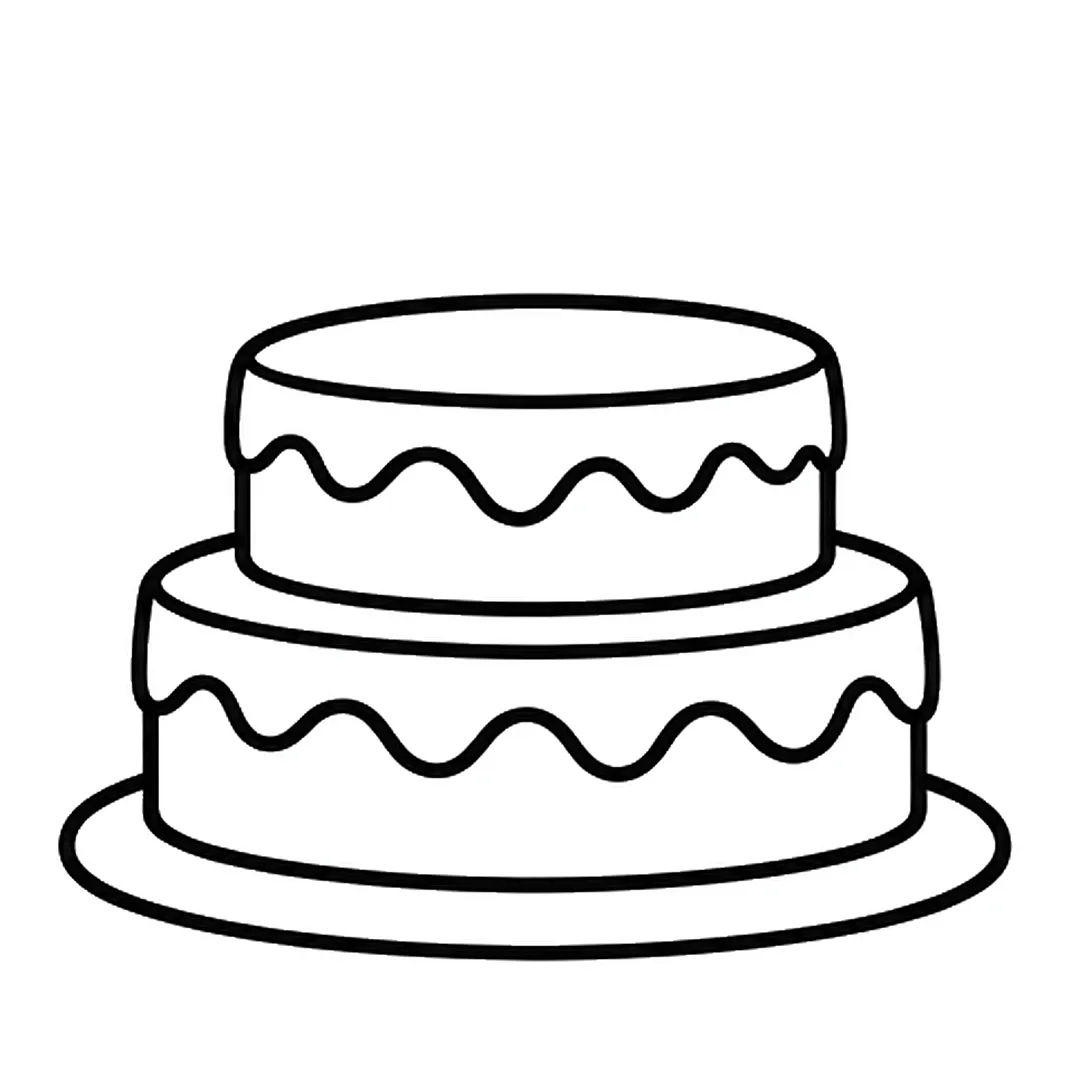
Step 3: Draw a wavy drip line under each oval top. Let the frosting bulge out a little at both sides.
-
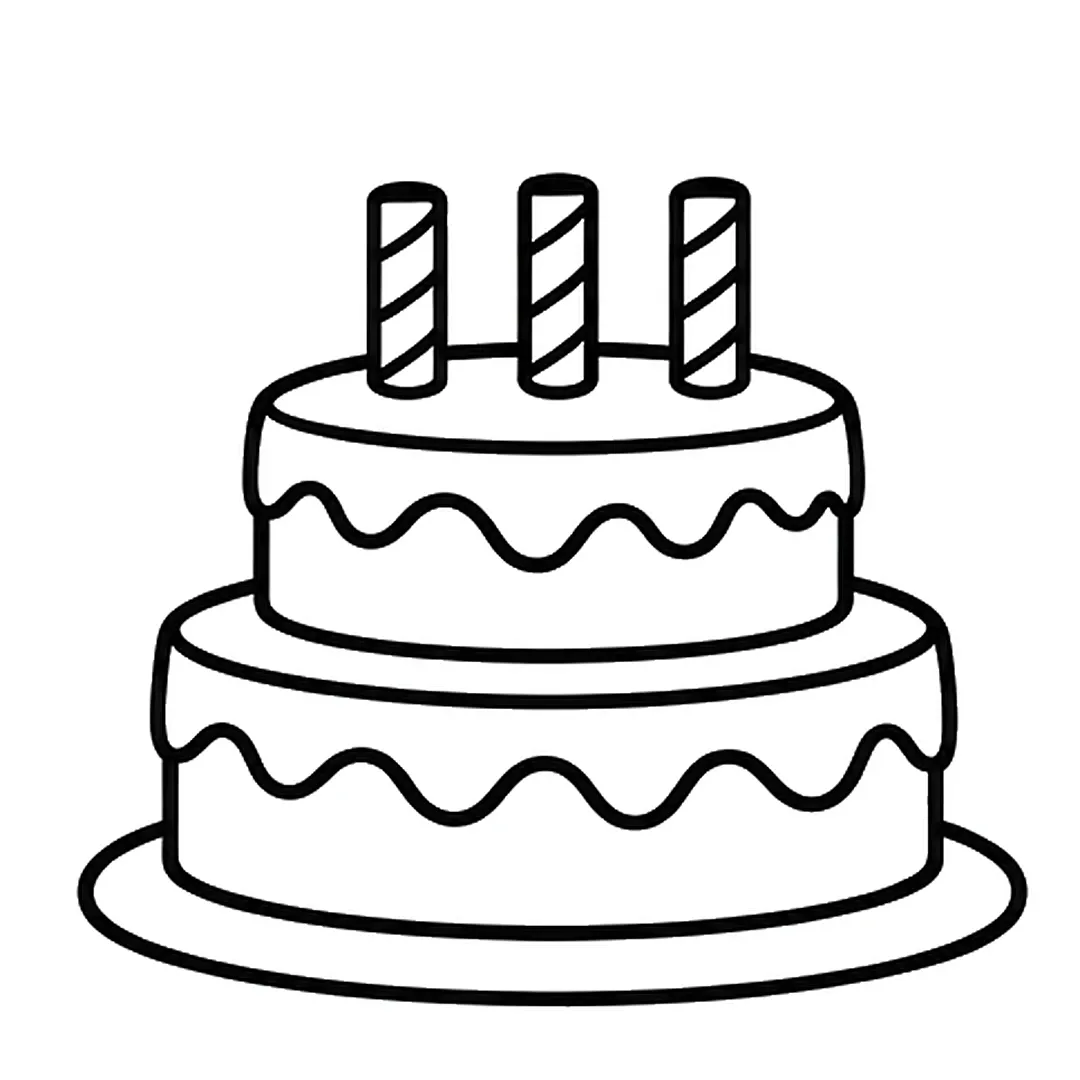
Step 4: Add three candles on the top oval, each with three slanted stripes. Erase the oval line in them.
-
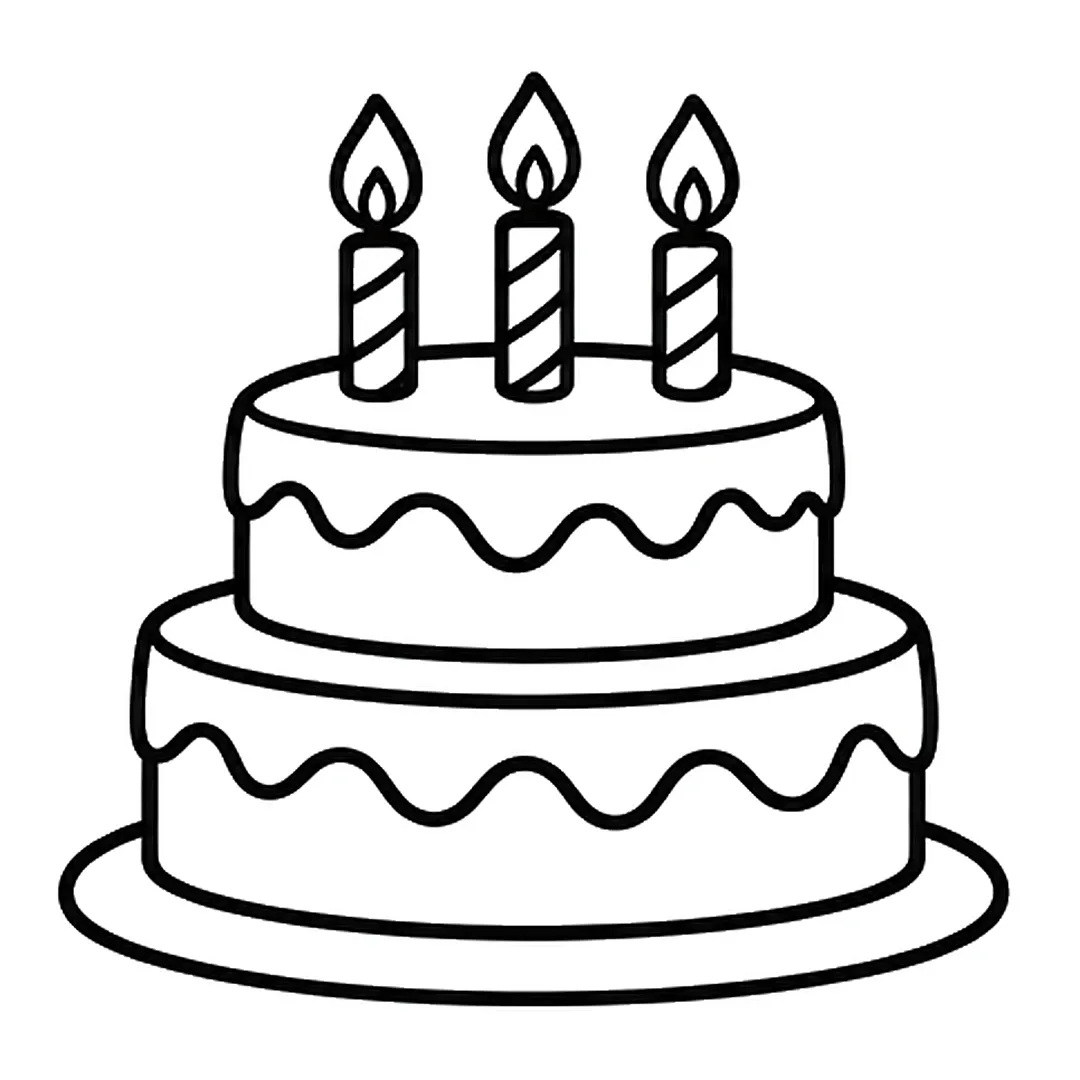
Step 5: Draw a teardrop flame with a small inner flame on top of each candle.
-
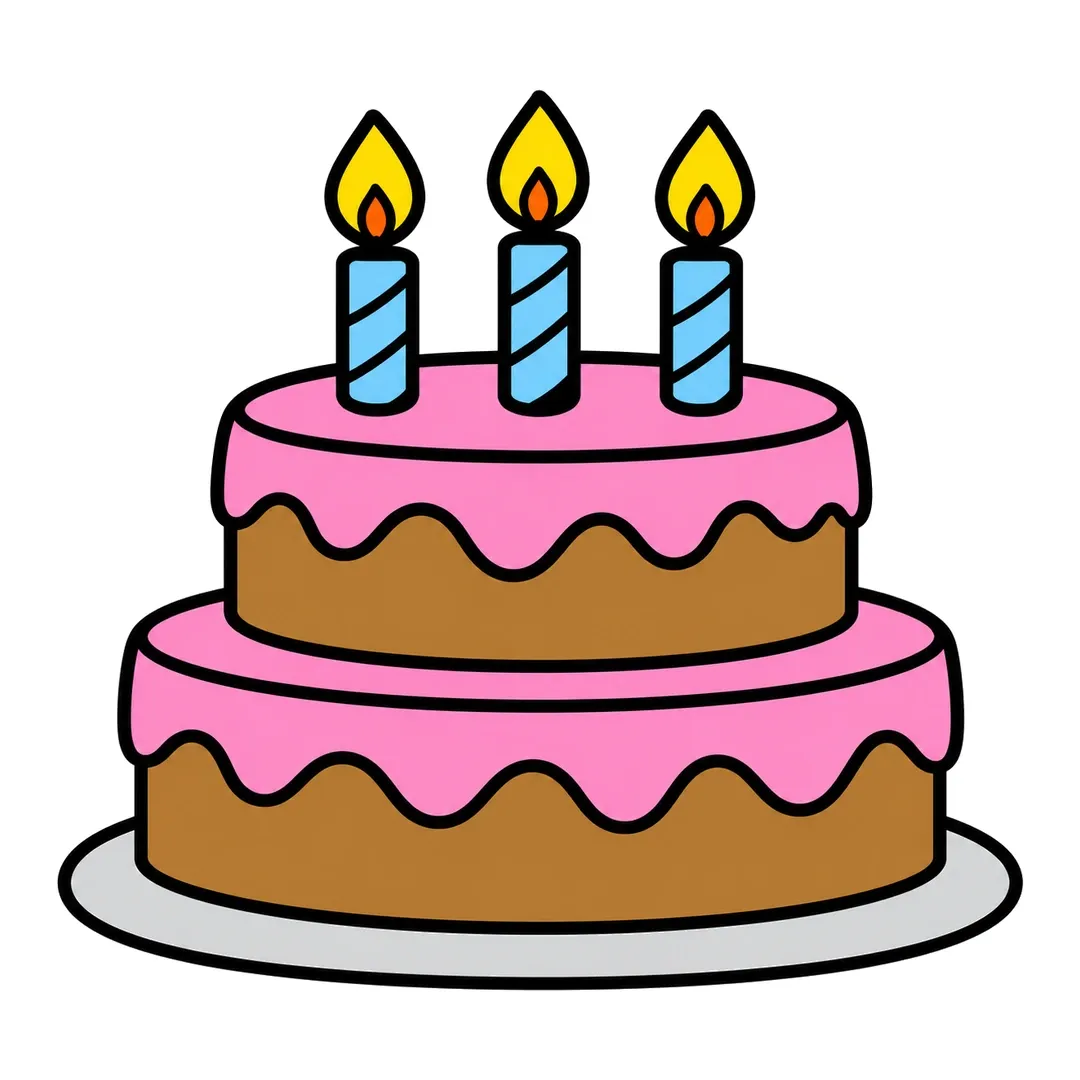
Step 6: Color the cake brown, frosting pink, candles light blue, flames yellow and orange, plate light gray.
30. Candy Cane
A candy cane is a stick with a hook, and how to draw a candy cane dresses it with a bow and holly.
- Draw a long stick with rounded ends.
- Bend a hook at the top.
- Add slanted stripes all the way around.
- Tie on a two-loop bow with two holly leaves and three berries.
- Color alternate stripes red, the bow and leaves green.
-
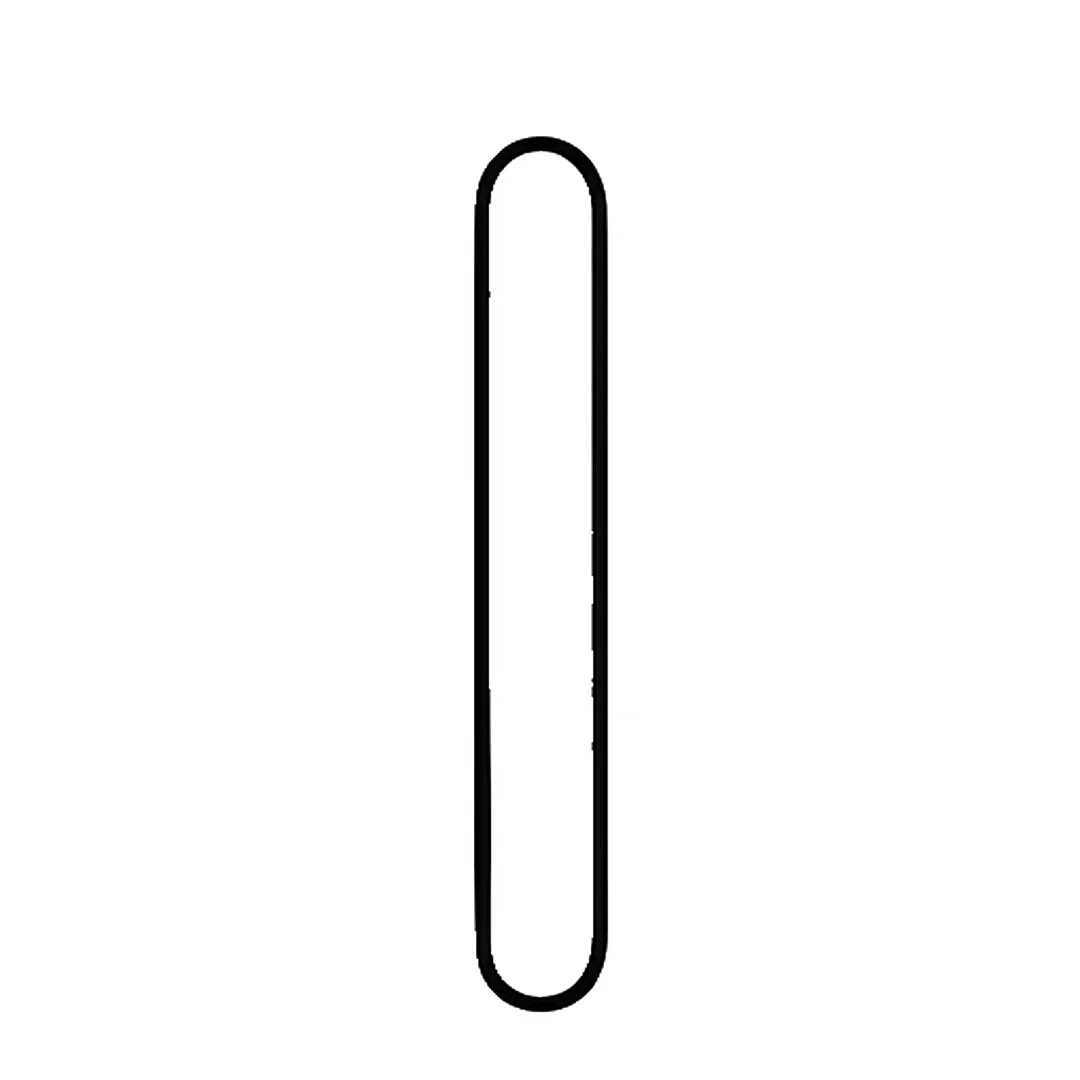
Step 1: Draw a long, straight stick with rounded ends.
-
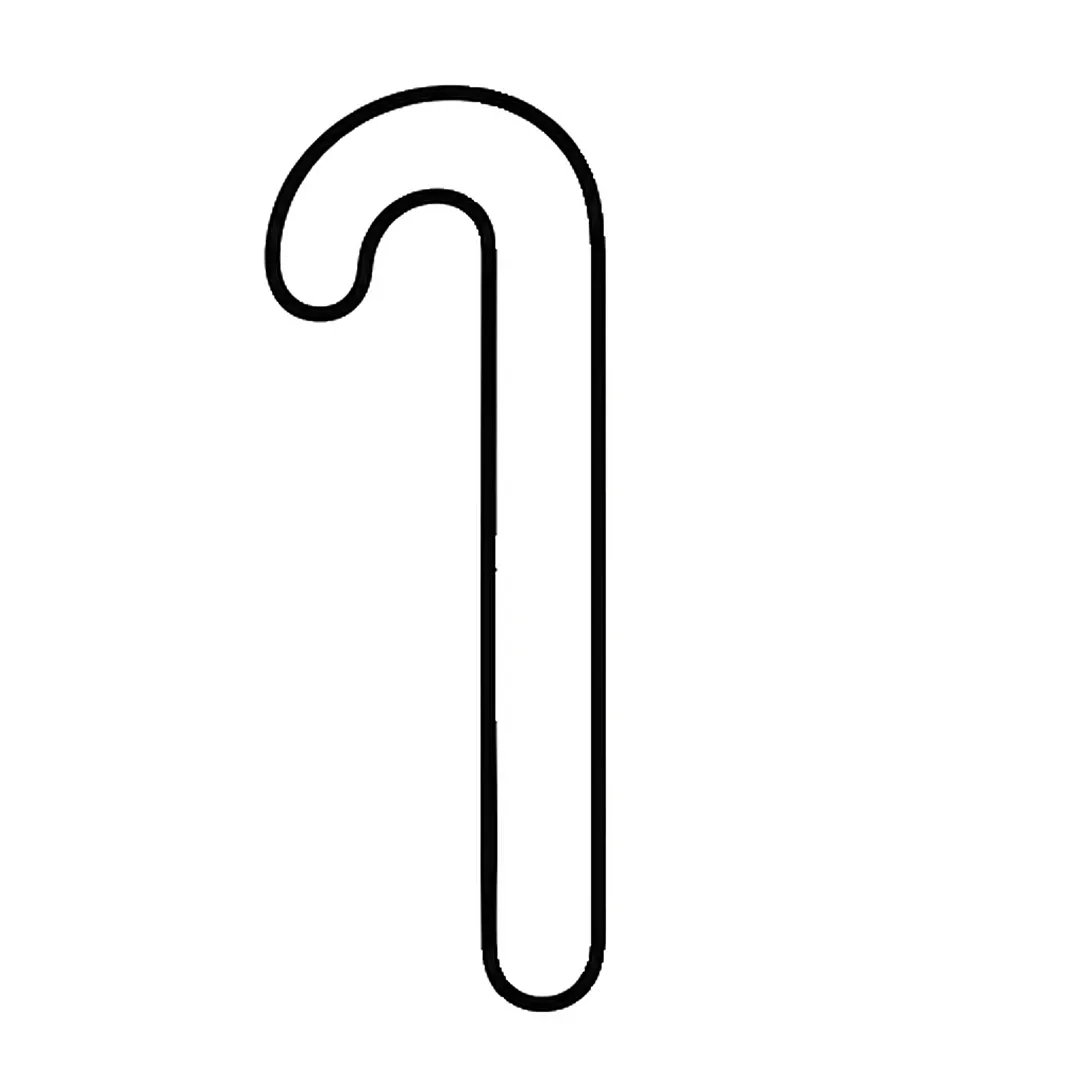
Step 2: Add a curved hook at the top that bends to one side.
-
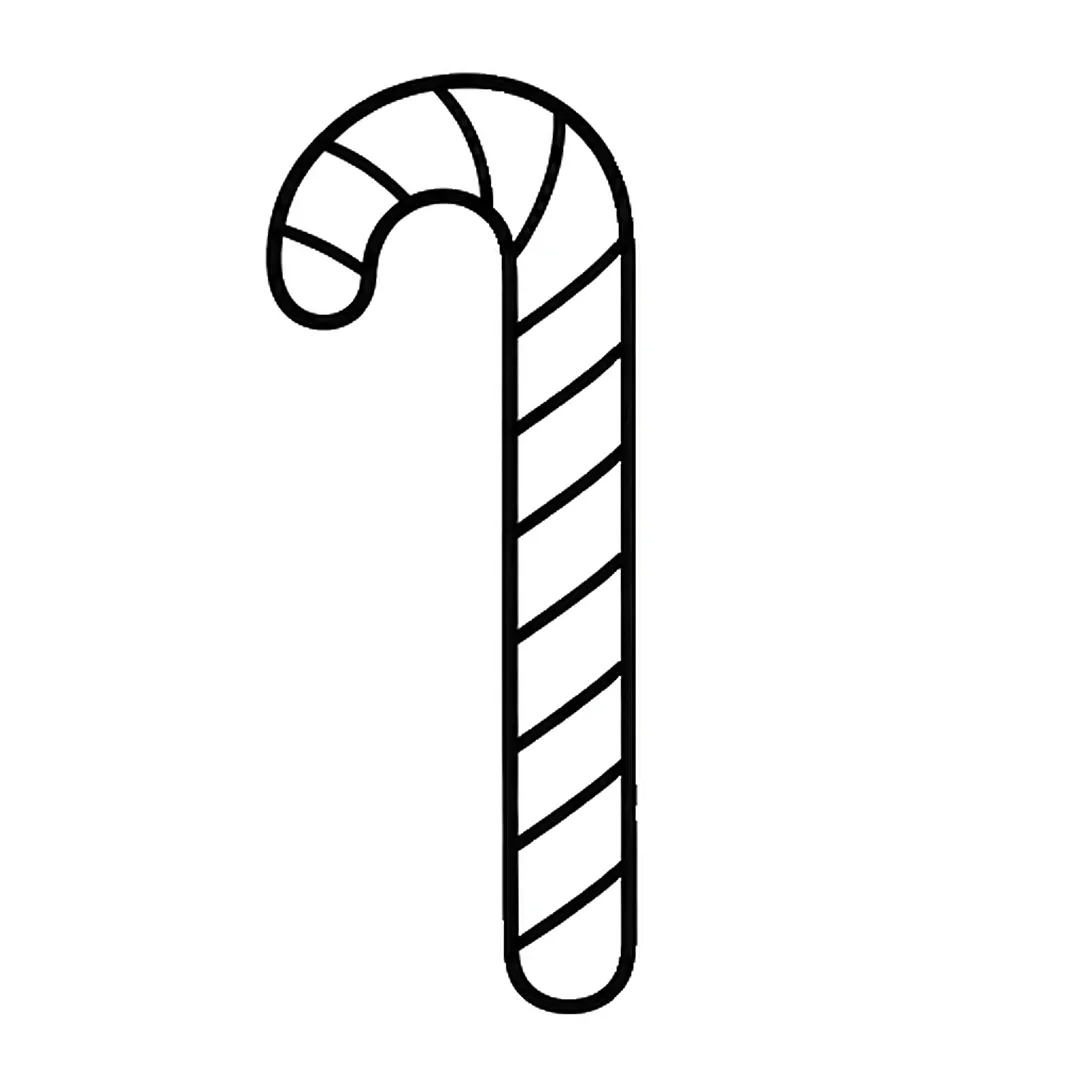
Step 3: Draw slanted stripes all the way down the cane and around the hook.
-
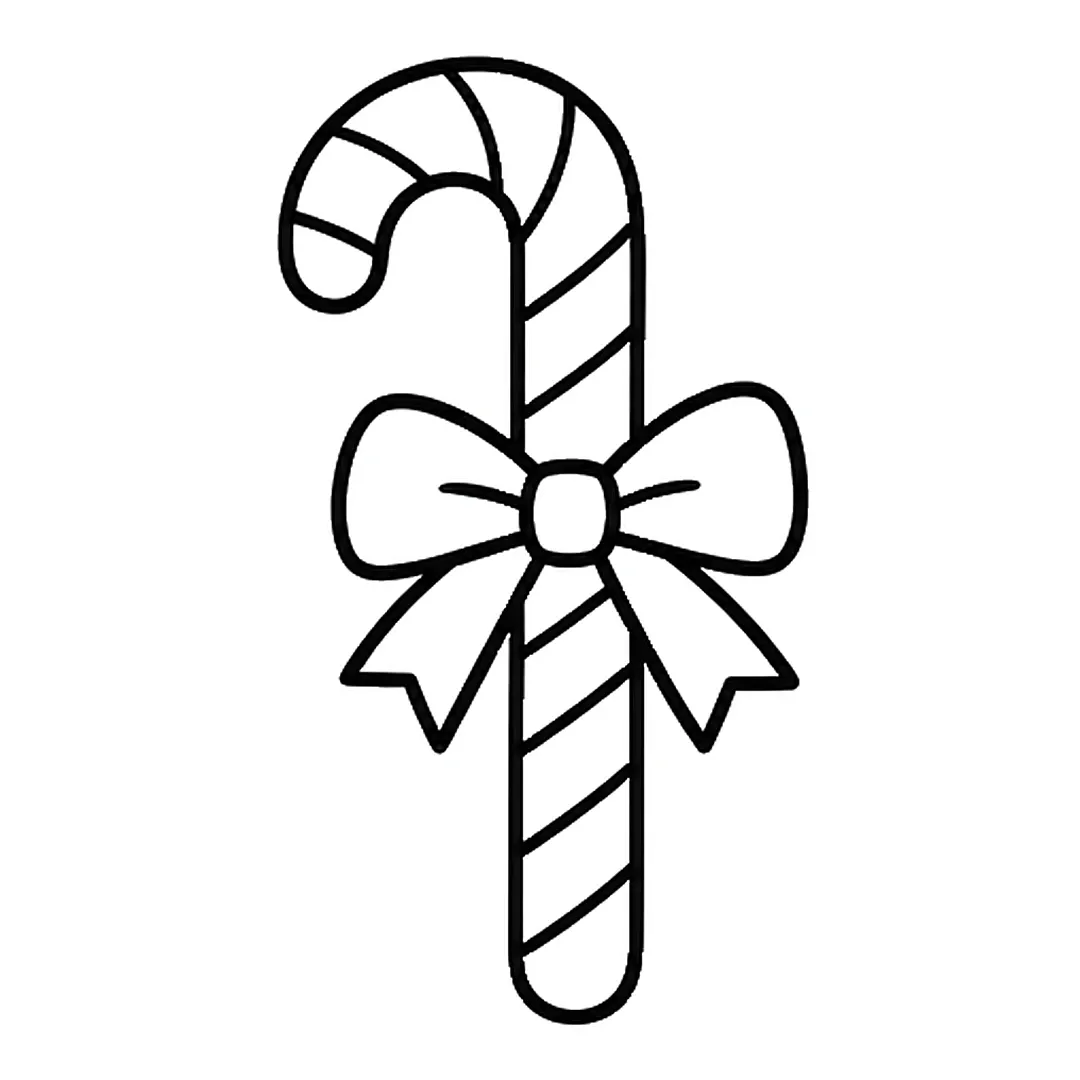
Step 4: Add a big bow with two loops and two ribbon tails around the middle.
-
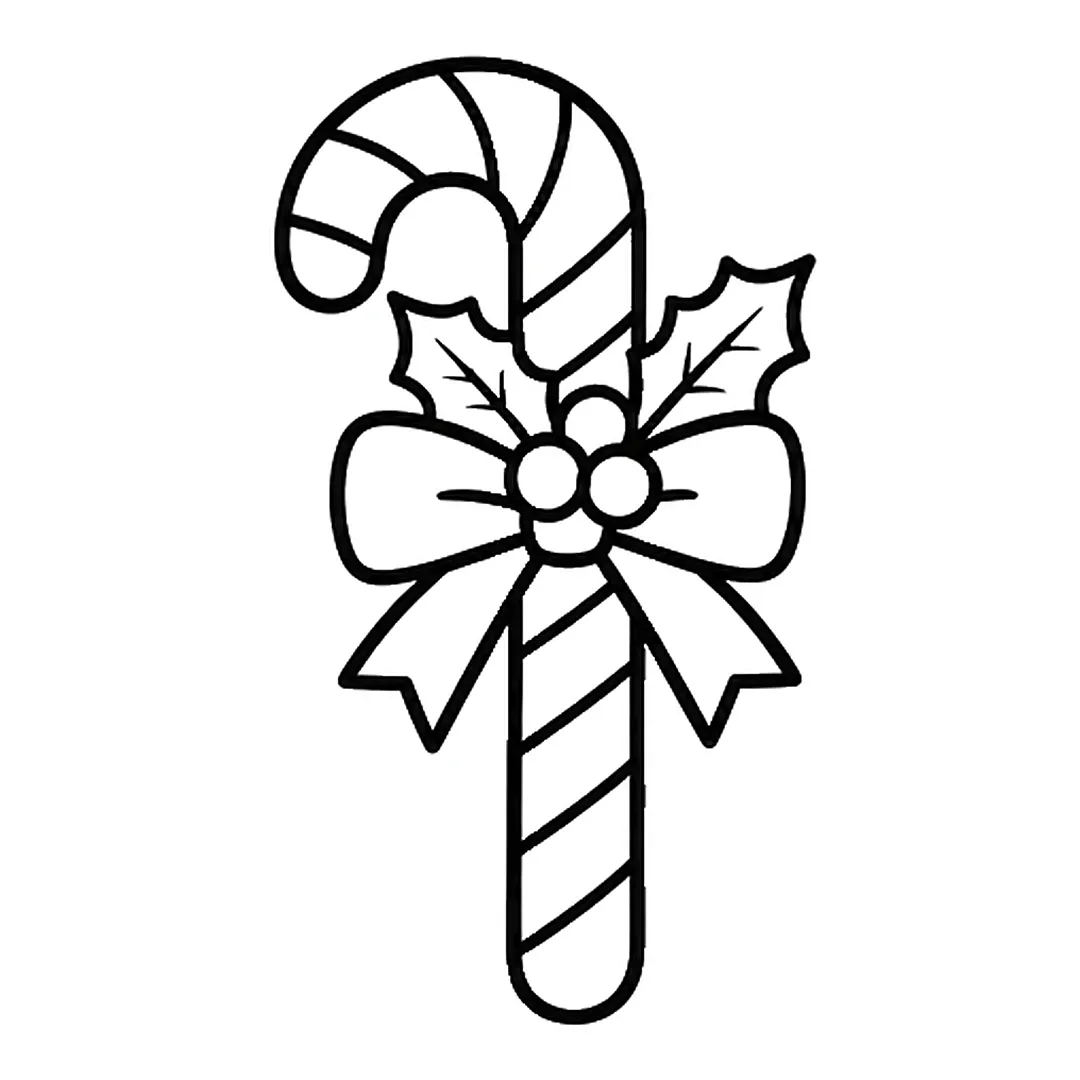
Step 5: Draw two pointed holly leaves and three round berries on the bow.
-
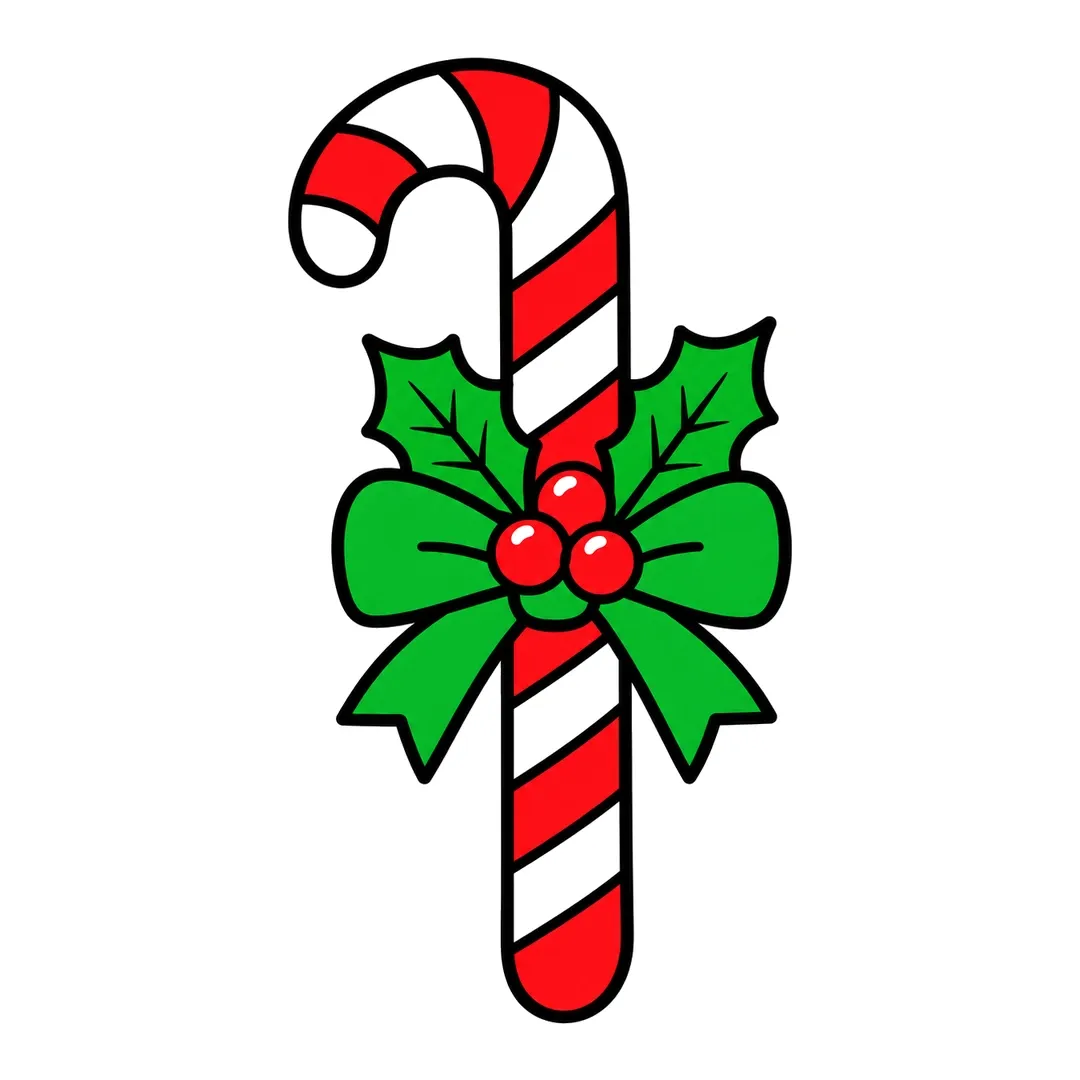
Step 6: Color every other stripe red, the bow and leaves green, and the berries red.
31. Gingerbread Man
A gingerbread man is a cookie shaped like a person, and kids can skip the face in step 3 of how to draw a gingerbread man.
- Start with a round head.
- Add a body with short rounded arms and legs in one outline.
- Draw three buttons down the middle.
- Add wavy icing across the hands and feet.
- Color the cookie golden brown and the buttons red and green.
-

Step 1: Draw a round circle for the head.
-
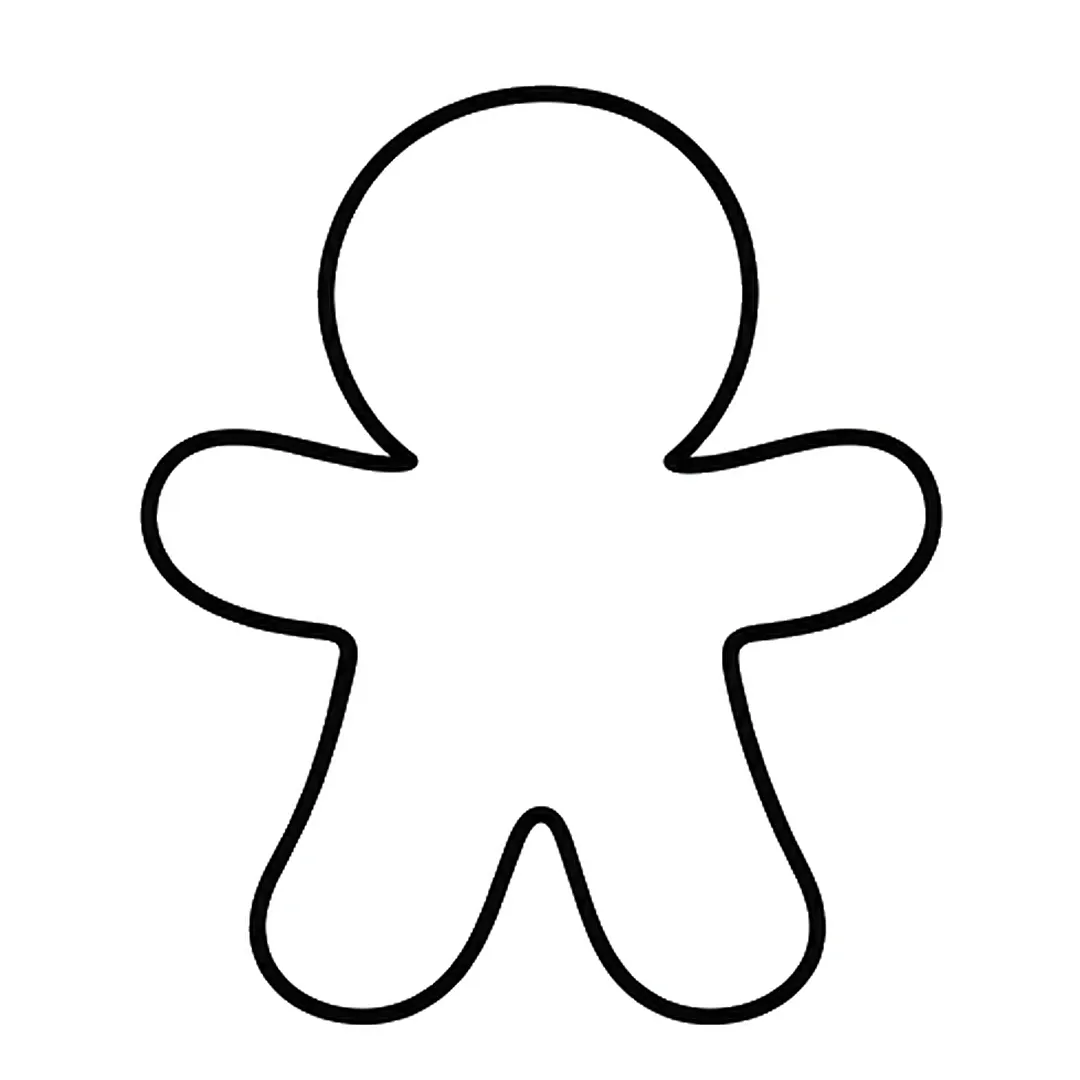
Step 2: Add a body with short, rounded arms and legs in one smooth outline.
-
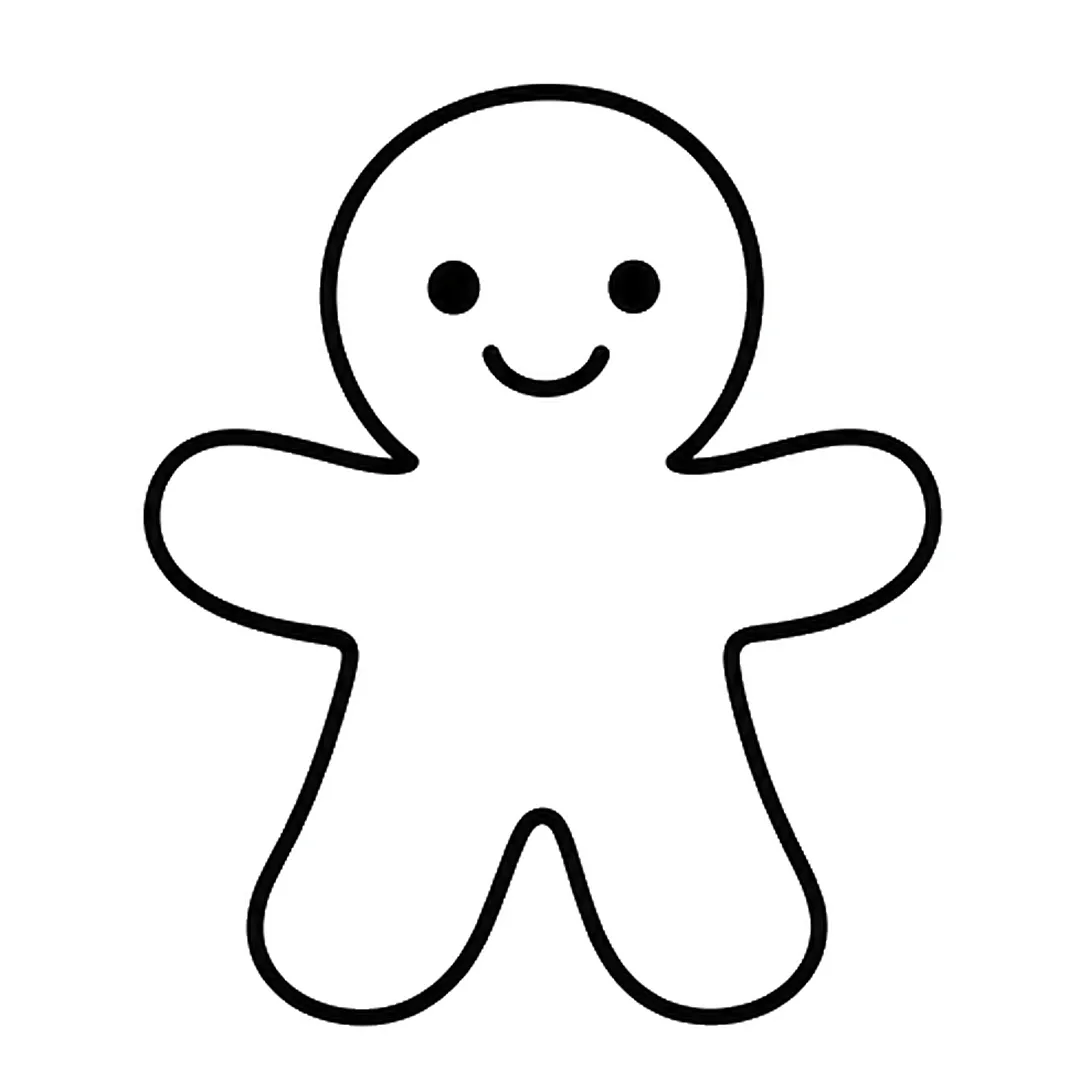
Step 3: Draw two dot eyes and a small smile on the head.
-
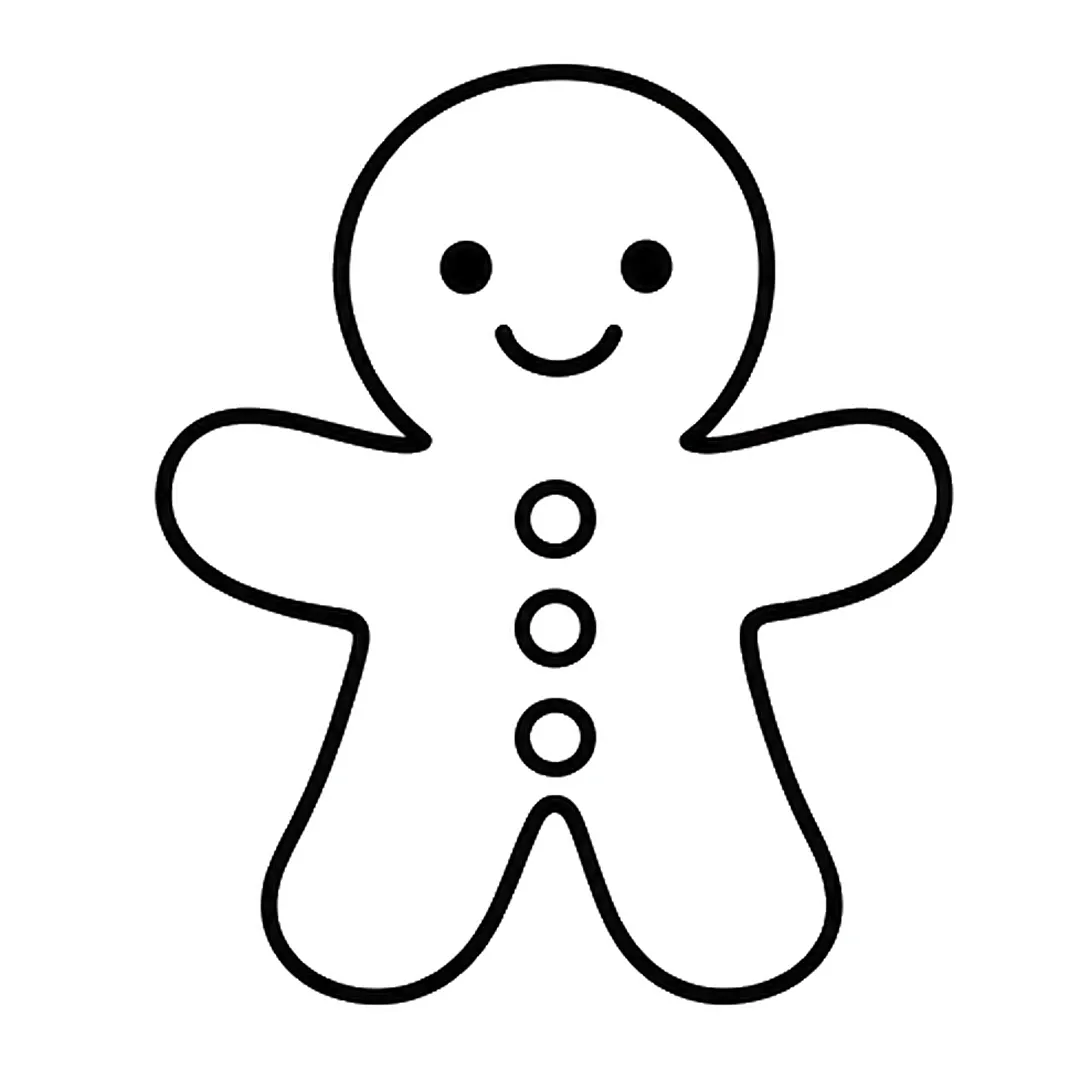
Step 4: Add three round buttons down the middle of the body.
-
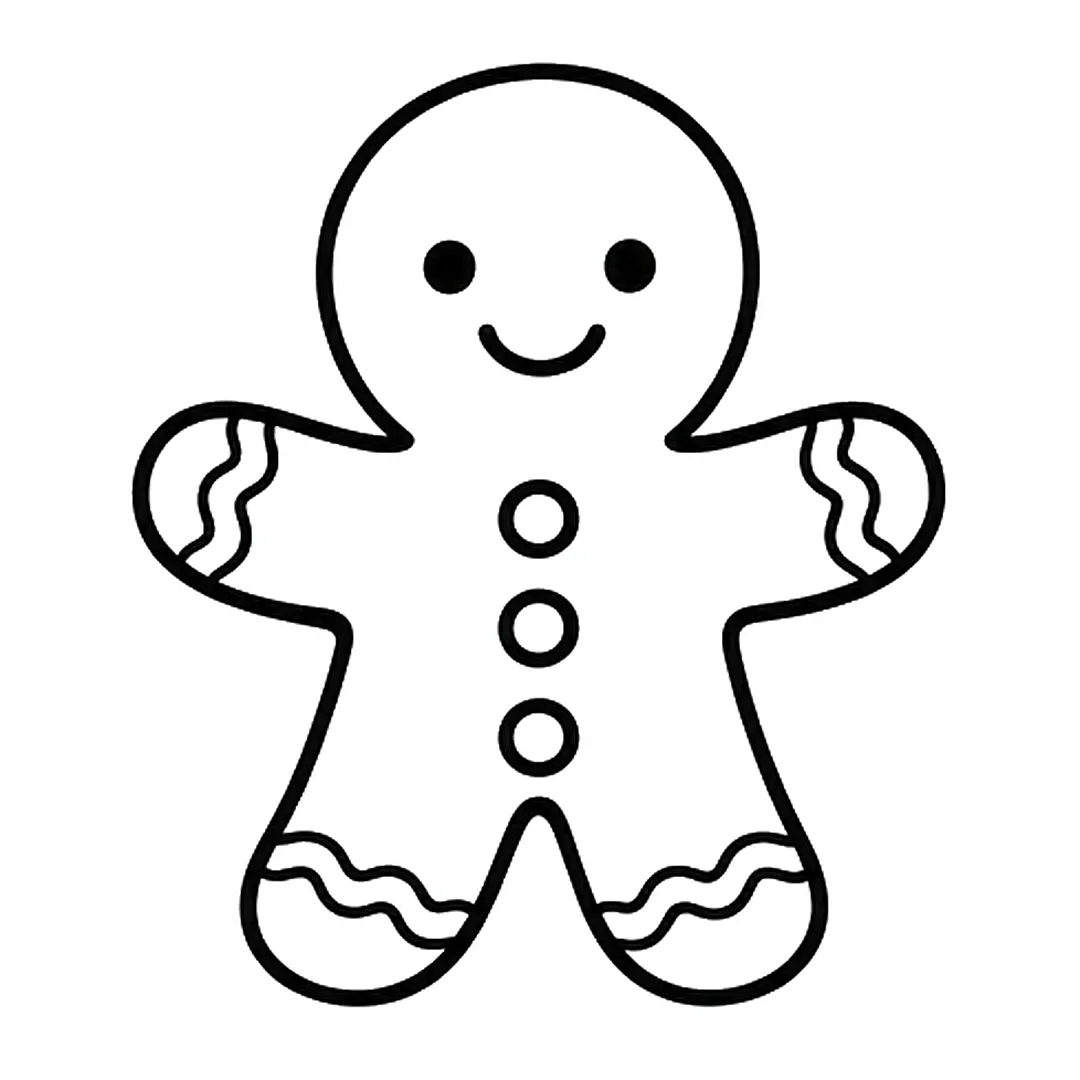
Step 5: Draw wavy icing lines across the ends of the arms and legs.
-
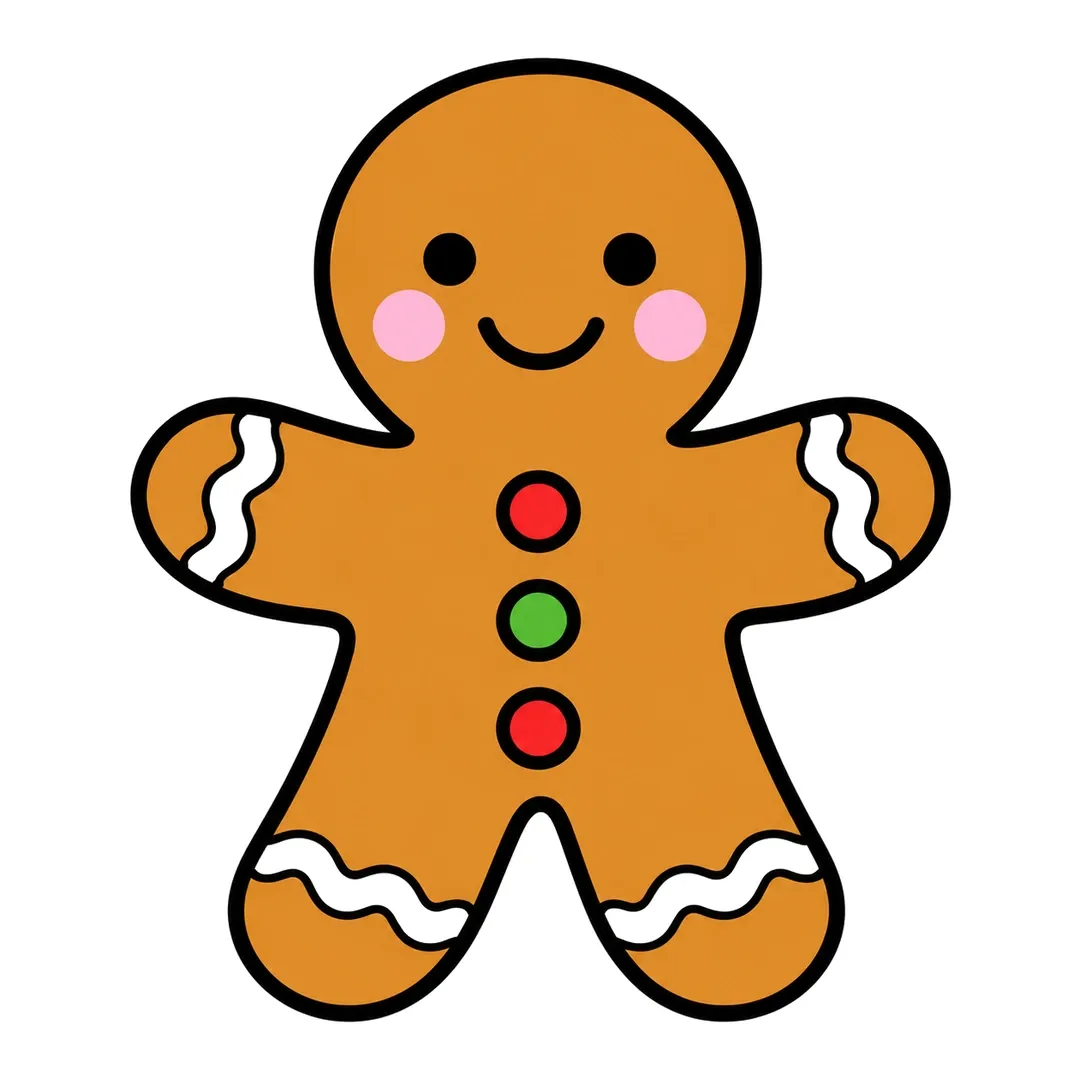
Step 6: Color the cookie golden brown, the buttons red and green, and add pink cheeks.
32. Gingerbread House
How to draw a gingerbread house covers a square and a triangle in candy.
- Sketch the house as a square under a triangle.
- Add wavy icing under both roof edges.
- Draw an arched door, a round window over it and two square side windows.
- Add a chimney, candy dots and two candy canes by the door.
- Color brown walls, yellow windows and red and green dots.
-
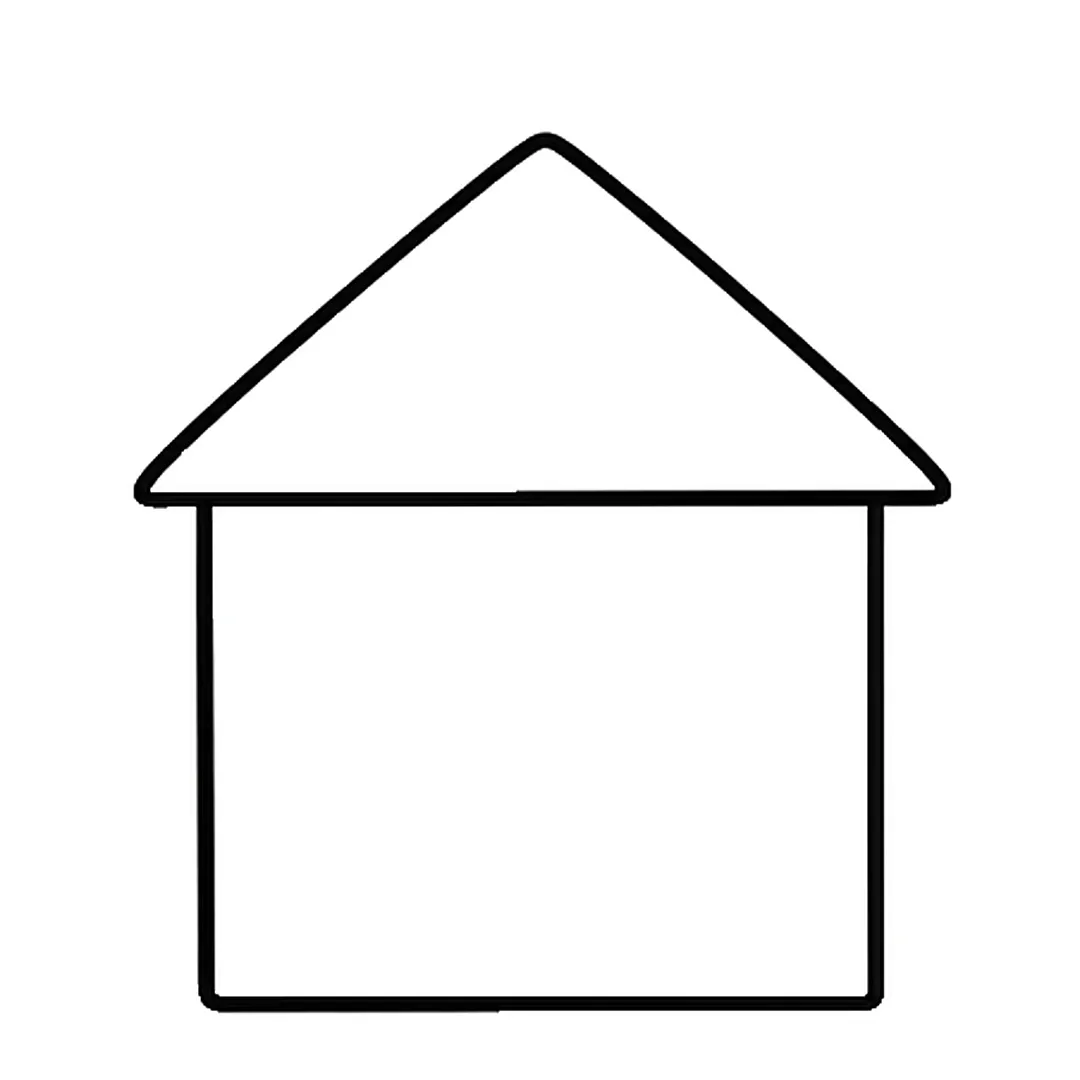
Step 1: Draw a square house with a triangle roof on top.
-
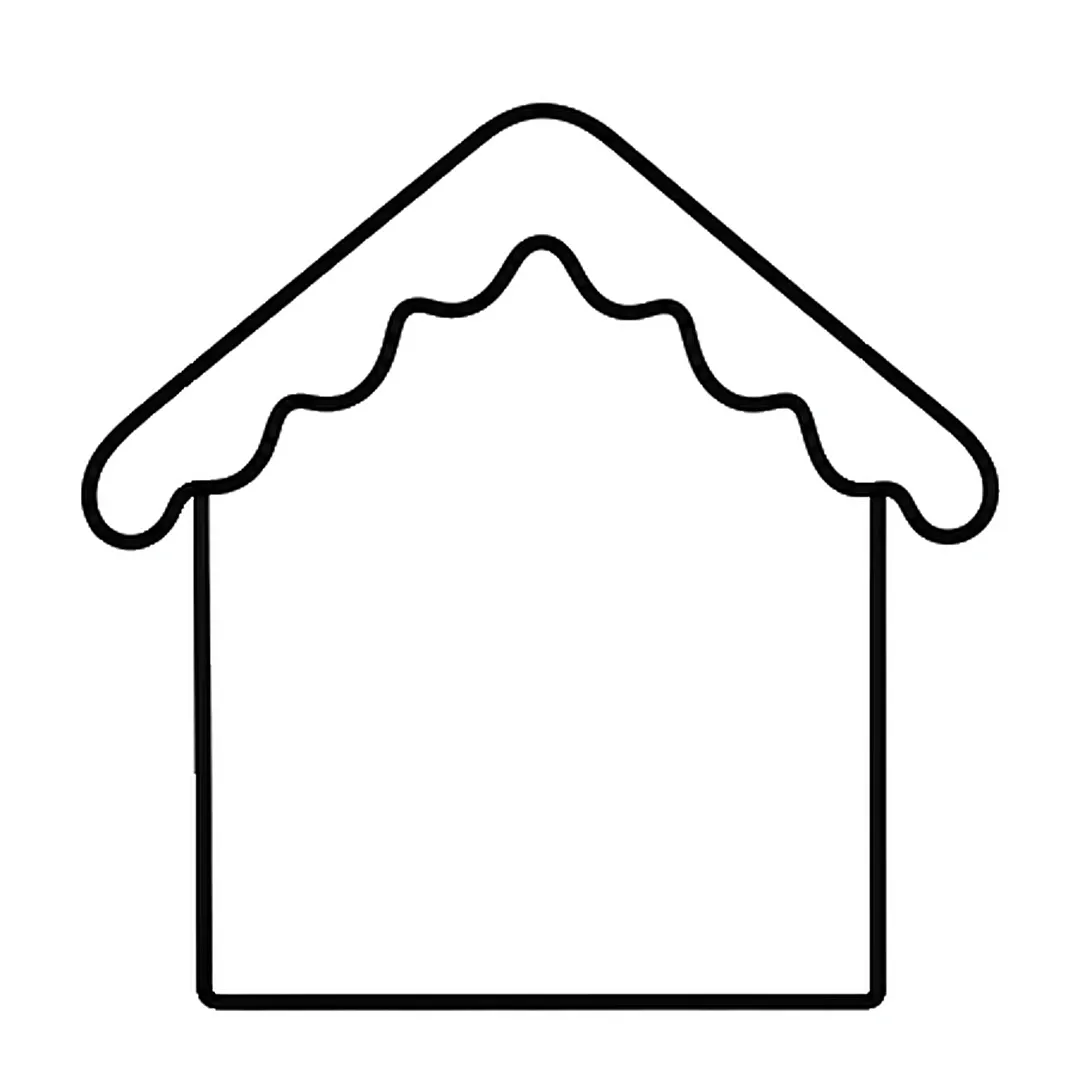
Step 2: Add a wavy line of icing under both roof edges, then erase the straight line under the roof.
-
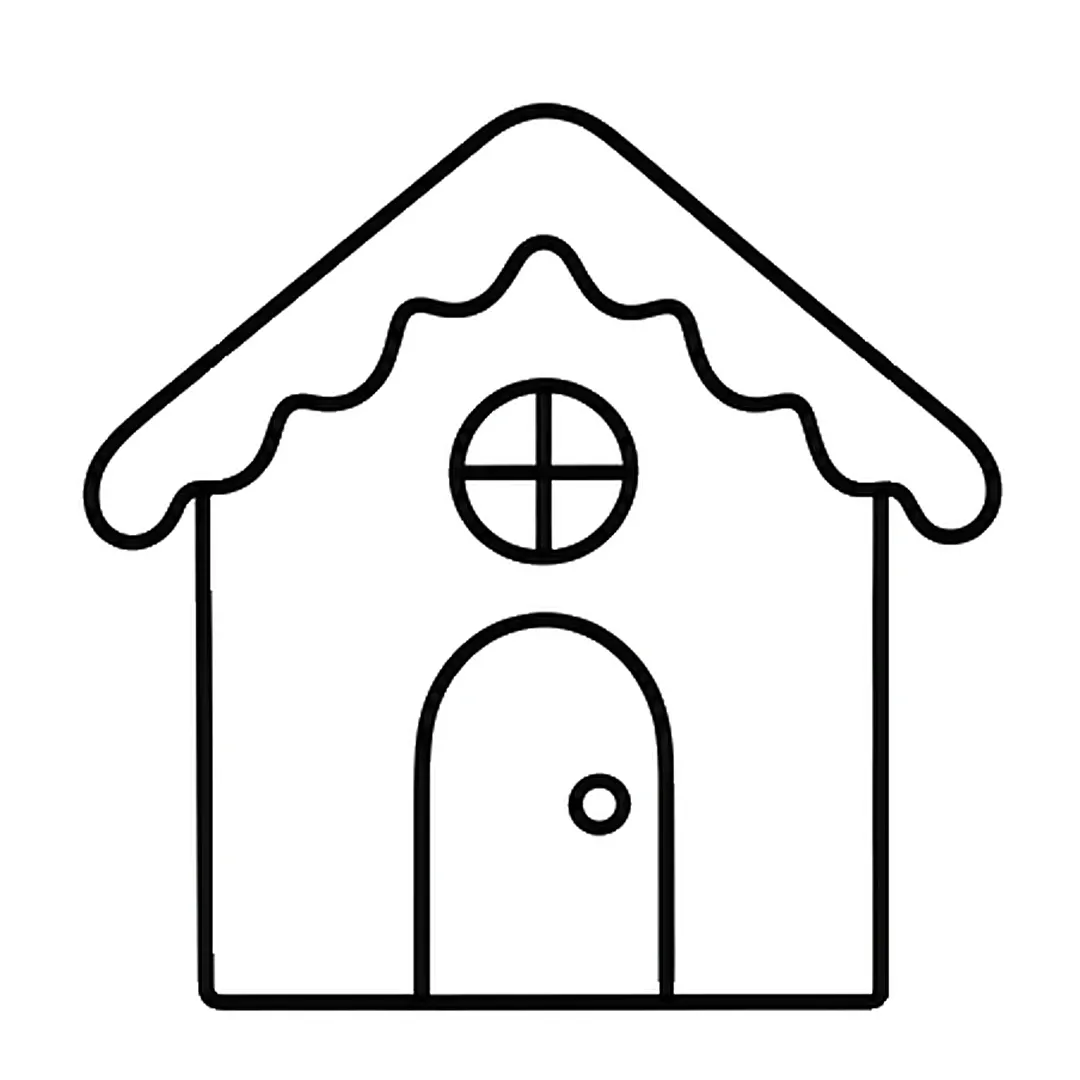
Step 3: Draw an arched door in the middle and a round window above it.
-
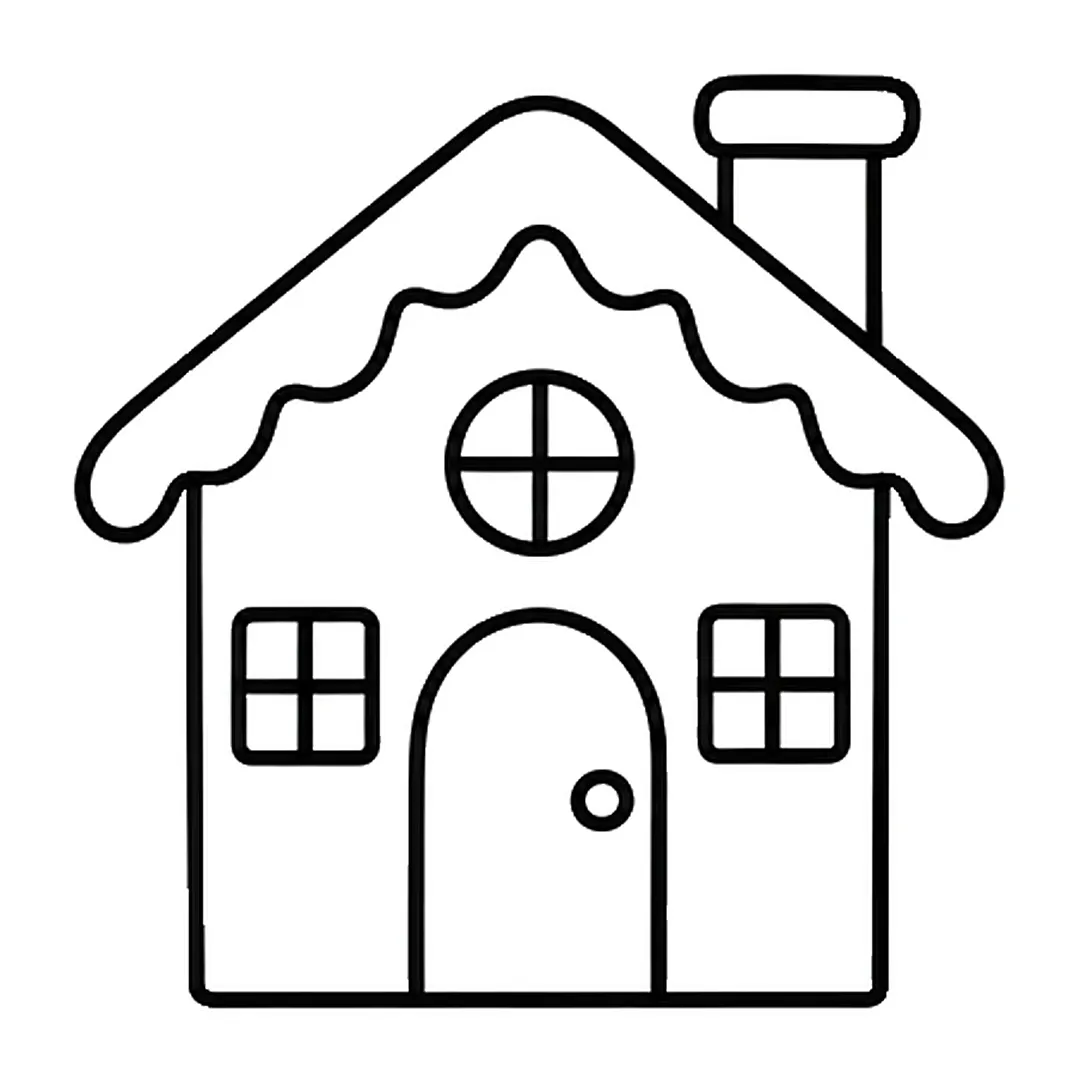
Step 4: Add a square window on each side of the door and a chimney on the roof.
-
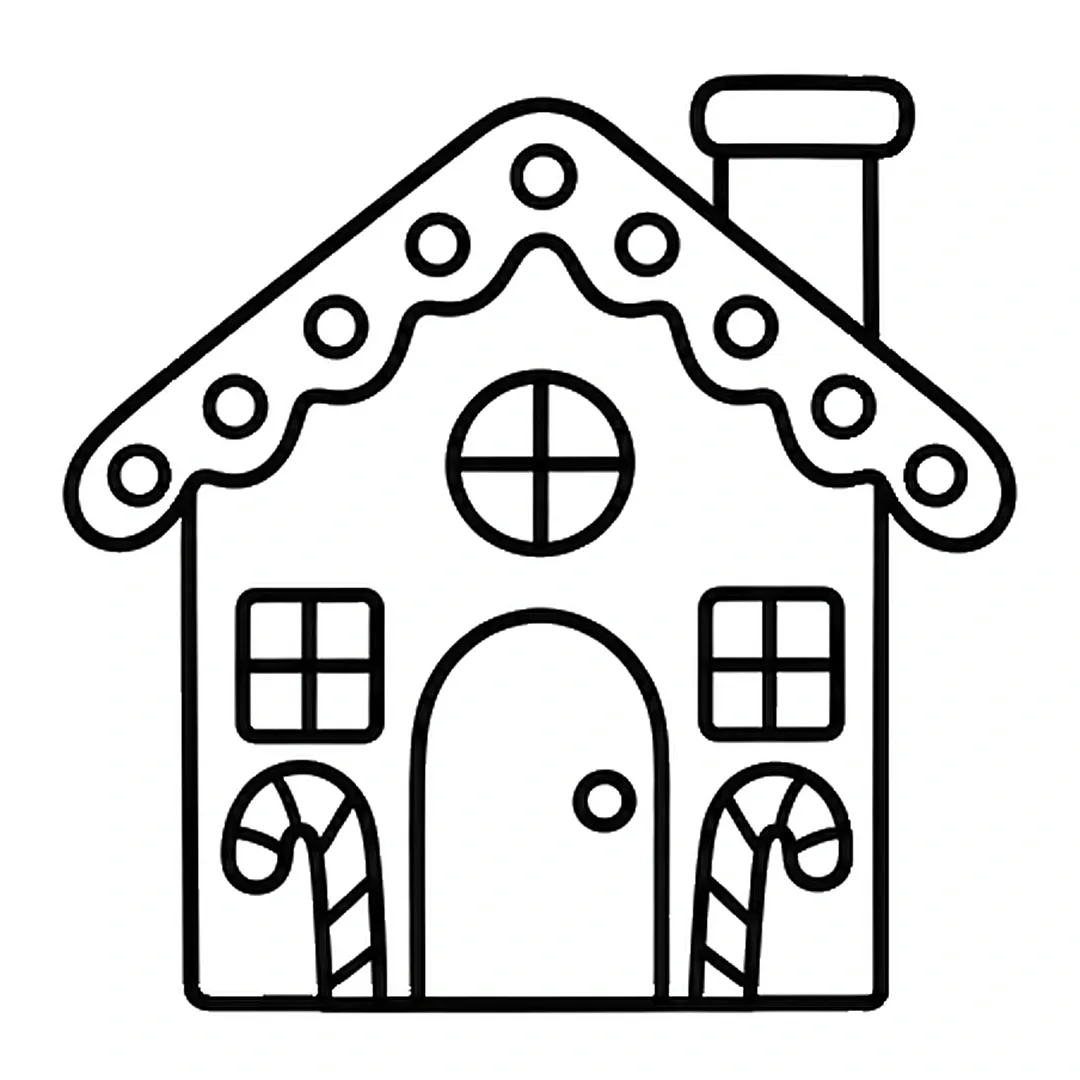
Step 5: Draw candy dots along the icing and a candy cane on each side of the door.
-
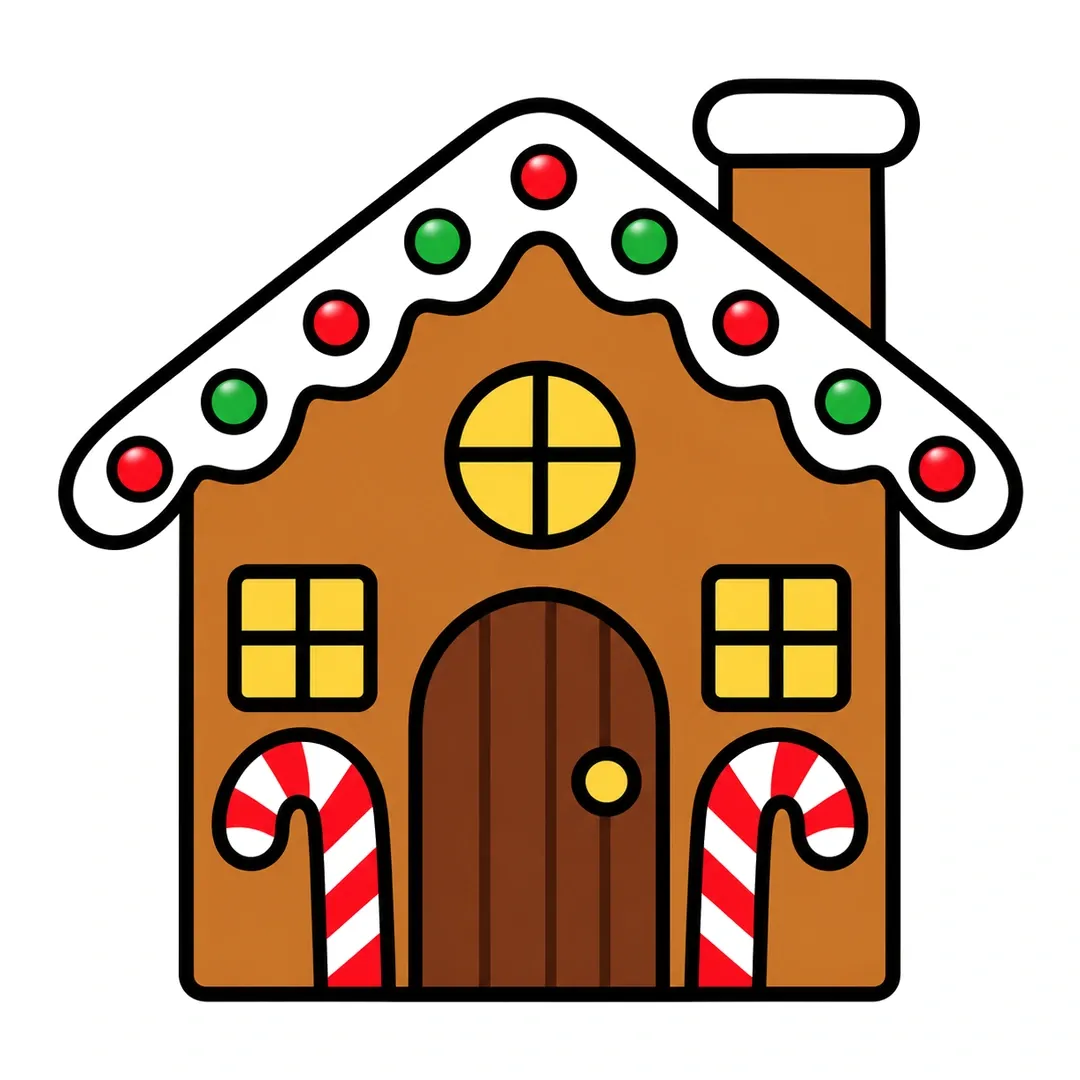
Step 6: Color the walls brown, the windows yellow, and the candy dots red and green.
These three treats also suit our Christmas drawing ideas.
33. Ice Cream Cone
An ice cream cone is a triangle under one or more circles.
- Draw a cone pointing down.
- Add a waffle grid of crossed lines.
- Stack one to three scoops and color each a new flavor.
34. Donut
A donut is a circle inside a circle, plus frosting and sprinkles.
- Draw a big circle with a small hole.
- Add a wavy frosting edge.
- Sprinkle short lines and color it.
What Meals, Snacks and Drinks Are Easy to Draw?
Easy meals, snacks and drinks to draw are a pizza slice, a burger, a taco, a sandwich, a bowl of popcorn and a mug of hot chocolate. Each one combines two or three shapes, such as a triangle with dots or a stack of ovals. None has a tutorial yet.
35. Pizza Slice
A pizza slice is one triangle with a rounded crust.
- Draw a tall triangle pointing down.
- Add a thick curved crust.
- Dot on pepperoni and color the cheese yellow.
36. Burger
A burger is a stack of layers drawn top to bottom.
- Draw a half circle for the top bun.
- Add wavy lettuce, a thick patty and a flat bottom bun.
- Dot sesame seeds and color each layer.
37. Taco
A taco is a half circle standing on its curve.
- Draw a half circle, curved side down.
- Add bumpy lettuce and tomato squares along the top.
- Color the shell yellow and the fillings.
38. Sandwich
A sandwich cut in half is a triangle.
- Draw a triangle with rounded corners.
- Add wavy filling layers along the long side.
- Draw the crust line and color it.
39. Bowl of Popcorn
Popcorn is a pile of little clouds, so loose, wobbly lines look right.
- Draw a tub that widens at the top.
- Fill the top with small bumpy clouds.
- Add red stripes to the tub.
40. Mug of Hot Chocolate
A mug of hot chocolate is an easy cup drawing with steam on top. For more everyday things, see our easy objects to draw.
- Draw a cup with an oval rim.
- Add a C-shaped handle.
- Draw three wavy steam lines and a few marshmallows.
How Can Kids Draw a Food Groups Plate?
Kids can draw a food groups plate by drawing a circle and filling each part with a food from a different group. USDA’s AgLab, from the Agricultural Research Service, has a draw-your-plate activity based on MyPlate. MyPlate sorts food into five groups: vegetables, fruits, grains, protein foods and dairy.
The AgLab “Build Your Own Healthy Plate” activity needs crayons or colored pencils and paper. It has 7 steps, and the first 6 are drawing steps:
- Draw a circle for the plate, or trace a real plate with an adult’s help.
- Draw a protein food, such as grilled chicken or black beans, in the bottom right section.
- Draw a vegetable, such as roasted carrots or broccoli, in the bottom left section.
- Draw a fruit, such as blueberries or apple slices, in the top left section.
- Draw a grain, such as sliced bread, brown rice or noodles, in the top right section.
- Make a small circle next to the plate for a dairy food or dairy alternative, such as yogurt or milk.
In step 7, an adult displays the plate on the fridge. A carrot, grapes, rice, an egg and the yogurt cup from this list all fit.
MyPlate as a Teaching Tool
A USDA handout for families says child care programs use MyPlate to help children learn about healthy eating. The current 2025 to 2030 Dietary Guidelines for Americans, at realfood.gov, show a new food pyramid instead of a plate. Treat the plate as a drawing and sorting game, not as a guide to how much a child eats.
Classroom Food Group Sort
Give each child one food to draw, then sort the drawings into five group piles plus a treats pile. The pumpkin and tomato spark good talk, since botany and the kitchen sort them differently.
Do Food Drawings Need Faces?
No, food drawings do not need faces. A plain strawberry, pumpkin or cookie is already a finished drawing. Six tutorials on this page add eyes and a smile in one or two steps: the banana, cookie, cupcake, gingerbread man, pineapple and pumpkin. Kids can skip those steps and keep every other line.
Children who love food characters can find more in our cute drawing ideas.
What Age Fits Each Food Drawing?
Each food drawing fits an age by its number of shapes: one-shape foods for ages 3 to 4, two- or three-shape foods for ages 5 to 6, and layered foods for ages 7 to 10. These groupings are our suggestion, not a development rule. Children grow at different speeds, so let your child try any food.
| Suggested age | Foods to try | Why they fit |
|---|---|---|
| 3 to 4 | apple, orange, grapes, wrapped candy, strawberry, cookie | one main shape plus dots or a leaf |
| 5 to 6 | banana, pumpkin, pineapple, watermelon slice, pizza slice, ice cream cone | two or three shapes and some erasing |
| 7 to 10 | birthday cake, cupcake, gingerbread house, burger, candy cane, food groups plate | layers, small details and planning a page |
Each food tutorial lists a pencil, an eraser, a black marker and crayons, and its “Show steps on the board” mode suits a class.
How Do You Get Printable Food Drawings?
You can print a free one-page step sheet for each of the 11 food tutorials on this page. Each sheet is black and white on US Letter paper and arrives by email from the form on the tutorial page. Browse all free step sheets, or get our free 44-page book, 20 Easy Drawings for Kids.
The Food Drawing Pack in our shop adds 21 drawings, such as pizza, sushi, a taco, a mango and a carrot, for one family or one classroom. Each drawing has step, tracing, coloring and draw-and-write pages. The pumpkin, candy cane, gingerbread and birthday cake are not in this pack.
Start with a strawberry or a wrapped candy, then work through the 40 food drawing ideas one group at a time.