
How to Draw a Cupcake (Easy Step-by-Step for Kids)
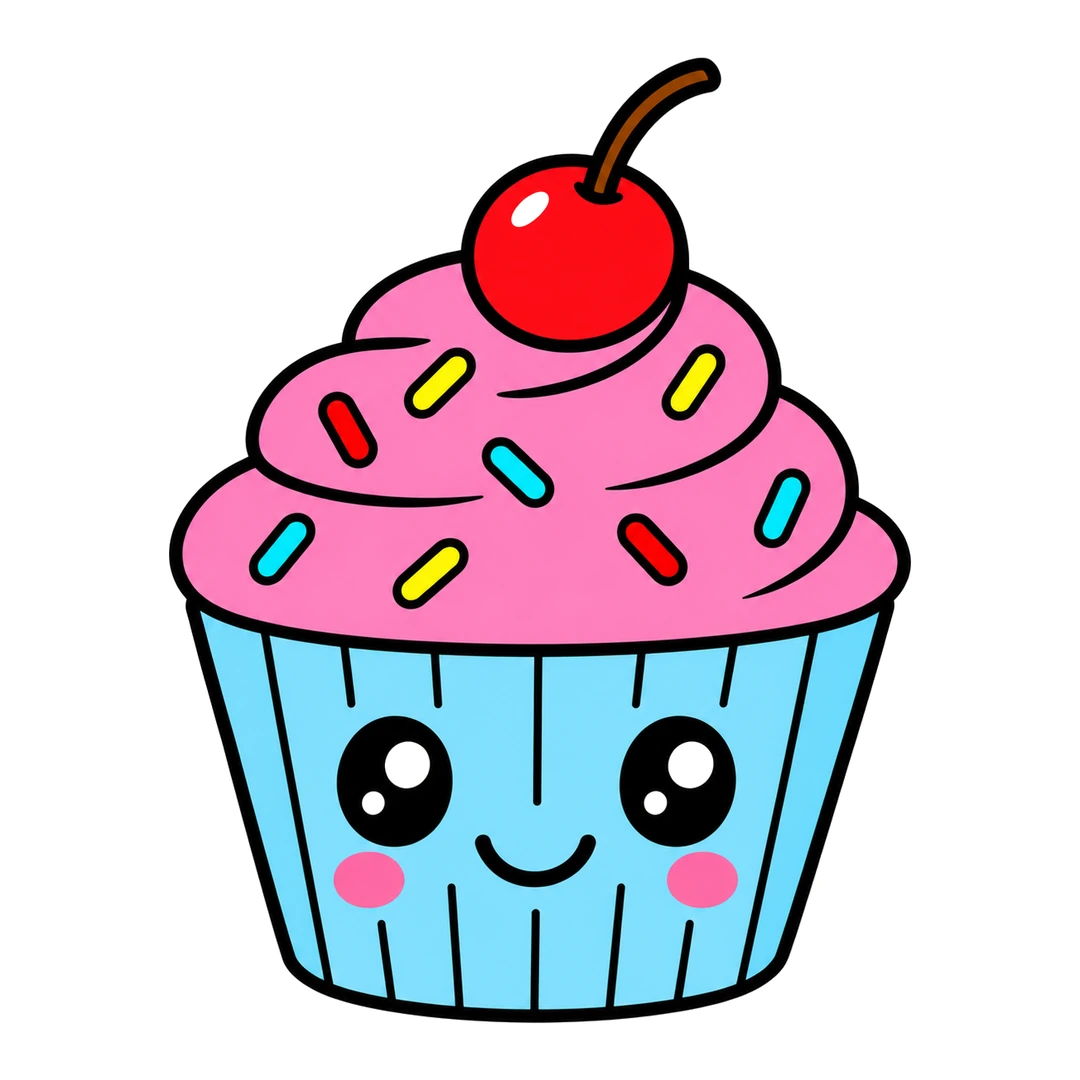
To draw a cupcake, start with a wrapper that is wider at the top. Add a swirly frosting top and a cherry with a stem. Finish with a happy face on the wrapper and eight sprinkles.
- Steps
- 6 easy steps
- You need
- Pencil
- Eraser
- Black marker
- Pink, red, brown, yellow and light blue crayons

Teaching this to a class?
Show one step at a time on the board and wait for the class before the next. The directed drawing for kids page explains how to run it.
How to draw a cupcake step by step
-
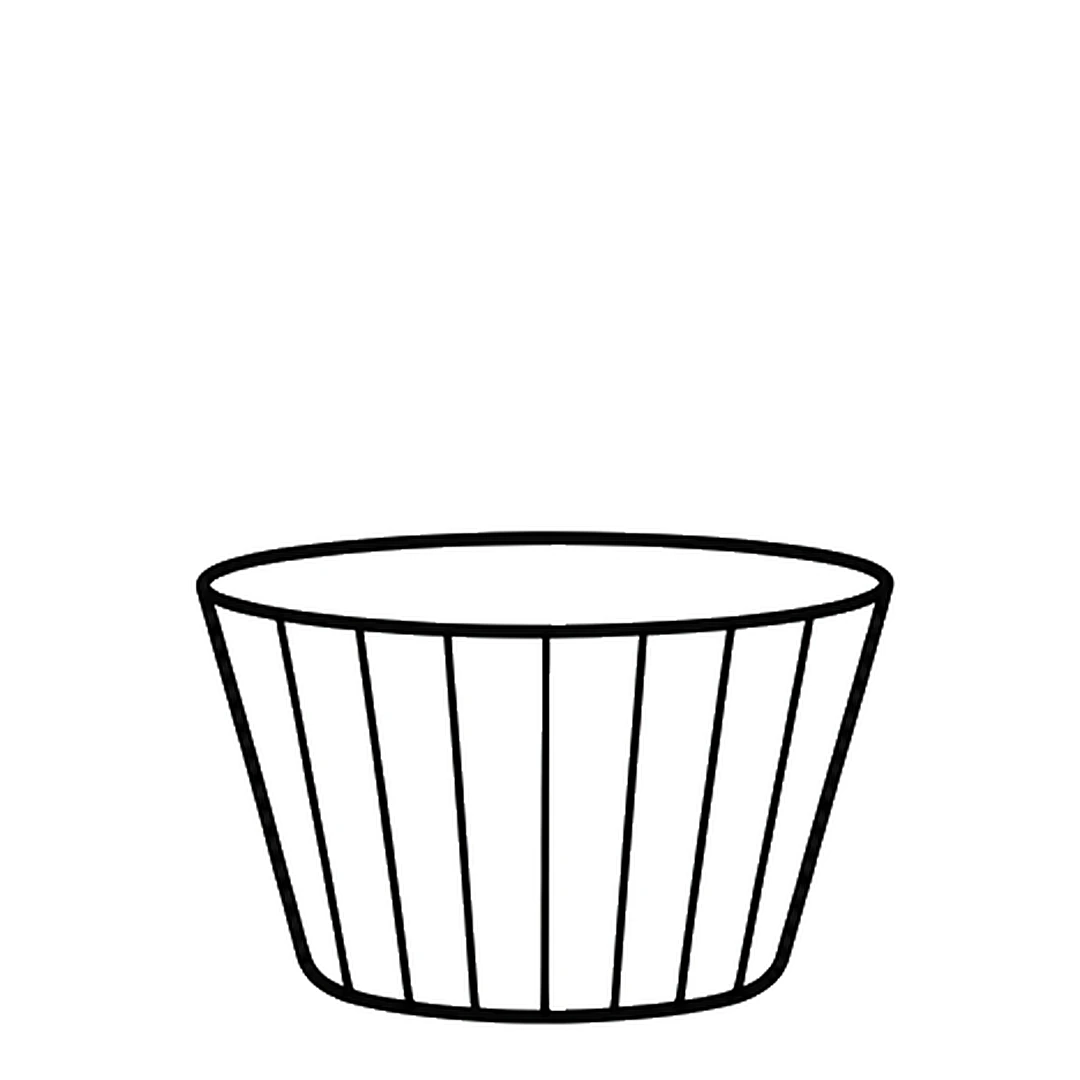
Step 1 of 6: Draw a wrapper that is wider at the top, with an oval rim and straight lines down its side.
-
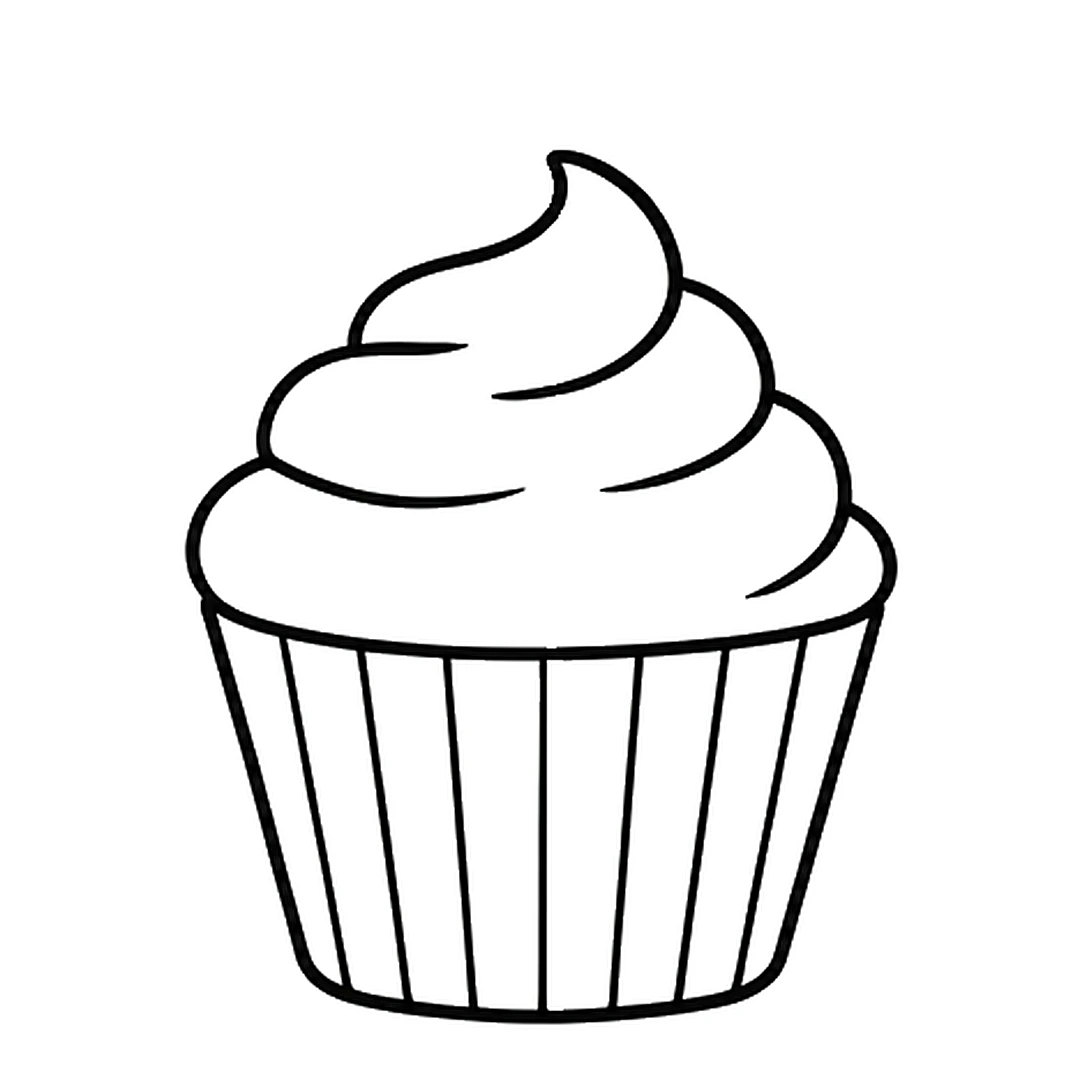
Step 2 of 6: Add a swirly frosting top with three layers and a curled tip. Erase the oval rim under it.
-
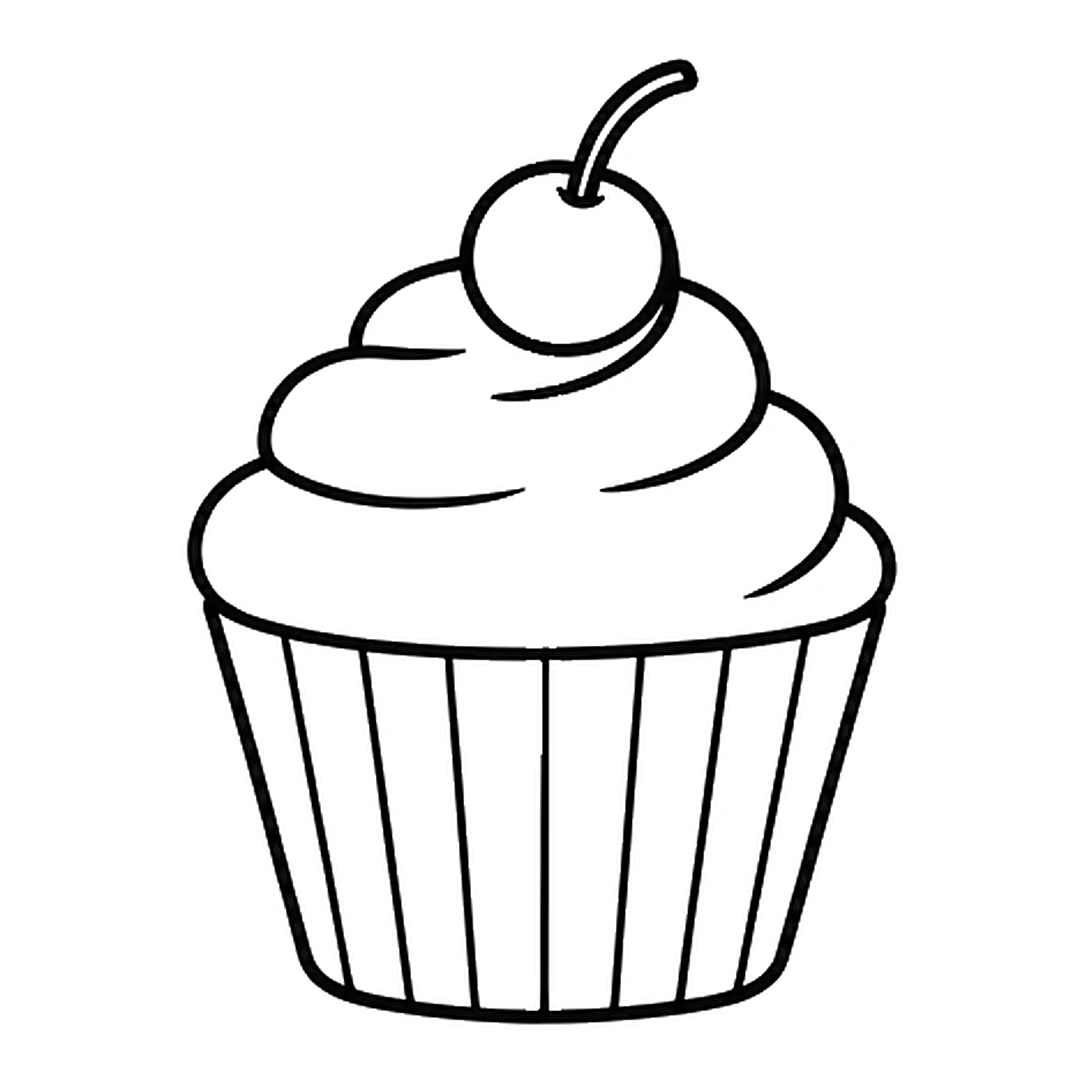
Step 3 of 6: Draw a round cherry with a curved stem on top. Erase the frosting tip behind the cherry.
-
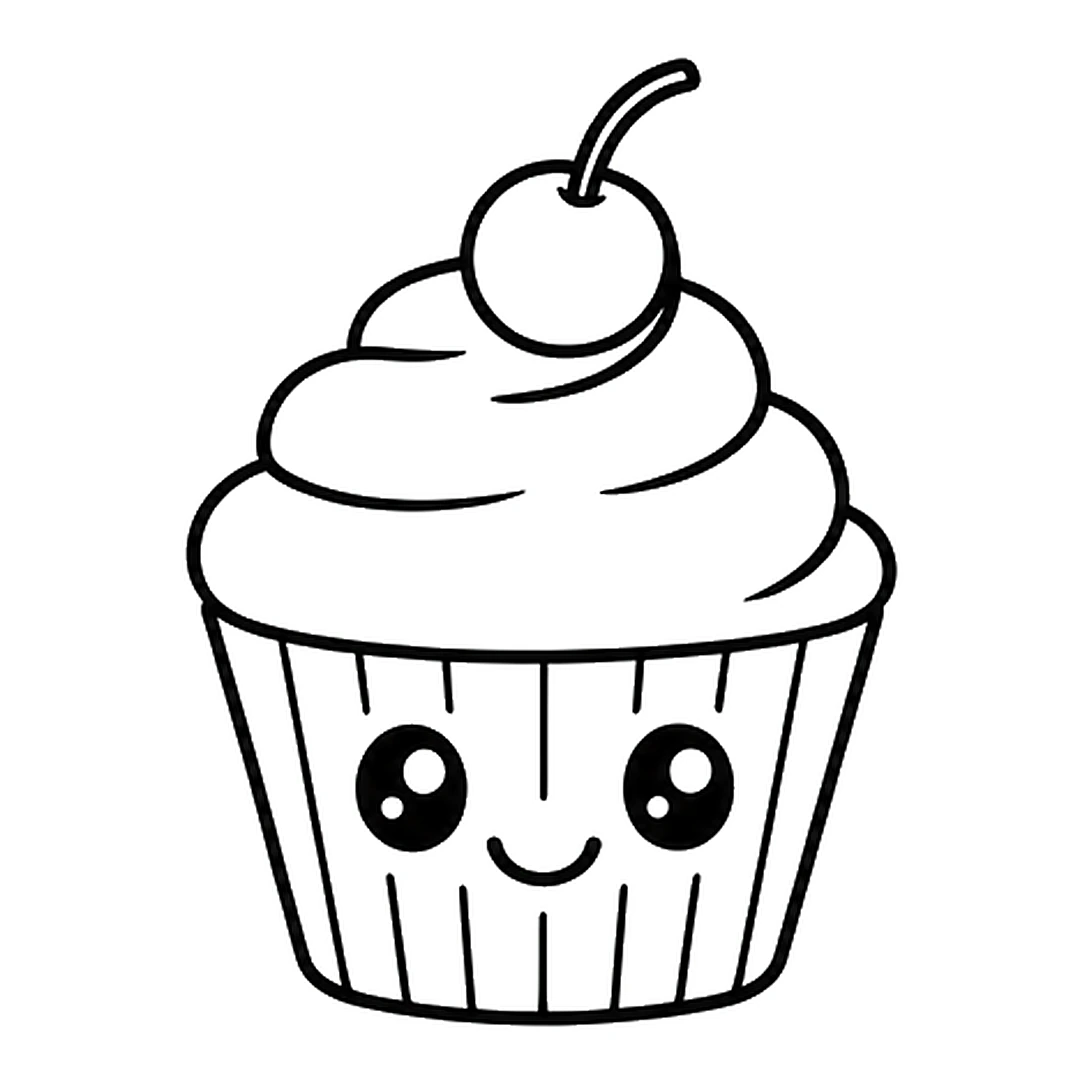
Step 4 of 6: Add two big black eyes with shine dots and a smile. Erase the wrapper lines behind the face.
-
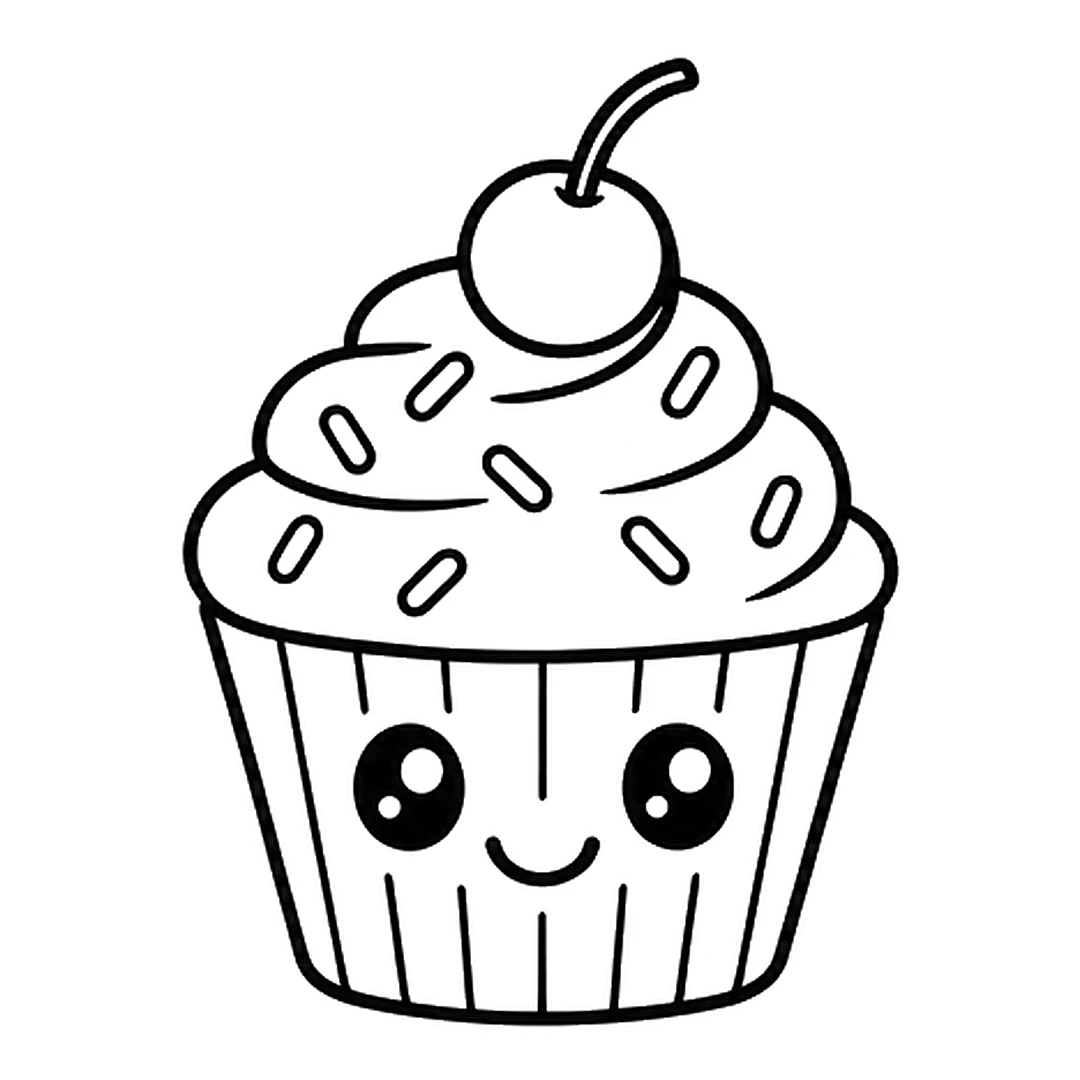
Step 5 of 6: Draw eight small rounded sprinkles over the frosting. Color them red, yellow and light blue later.
-
Step 6 of 6: Color the frosting pink, cherry red, stem brown, wrapper light blue, sprinkles too. Add pink cheeks.
Tips for little artists
Tip: Press lightly with the pencil first. Trace the lines you like with the marker, then erase the rest.
Tip: Make each frosting layer a little smaller than the one under it.
Tip: Spread the sprinkles out and tilt them different ways so they look fun.
Make it yours
Birthday cupcake
Draw one candle with a flame on top instead of the cherry.
Chocolate cupcake
Color the frosting brown and add white sprinkles.
Cupcake friends
Draw two smaller cupcakes next to the first one, each with a different face.
Common mistakes and easy fixes
The wrapper looks like a box
Make the top of the wrapper wider than the bottom.
The frosting looks flat
Draw three wavy layers stacked on top of each other.
The face lands on the frosting
Draw the eyes and smile on the wrapper, below the frosting.
Fun facts about the cupcake
In 1932, a newspaper writer suggested cupcakes with peanut butter frosting as part of the perfect campfire dinner. (Source: Library of Congress)
An 1833 cookbook gave a cup cake recipe with one cup of butter, two cups of sugar, three cups of flour and four eggs. (Source: University at Buffalo)
Food historians claim the name cupcake comes from the cupfuls of ingredients and the small cups the cakes were baked in. (Source: University at Buffalo)
Questions grown-ups ask
How to draw a cupcake easy?
Draw a wrapper that is wider at the top and a swirly frosting top. Add a cherry, a happy face and some sprinkles.
How to draw a cupcake step by step?
Draw the wrapper, the frosting, the cherry, the face and the sprinkles. Color the frosting pink and the wrapper light blue last.
How to draw a cupcake for kids?
Use a simple cup shape for the wrapper and three wavy layers for the frosting. A smiling face makes it a cute character.
If your frosting came out extra tall, that's fine. Your cupcake looks ready for a party. More easy drawings for kids are on the home page.