Each of the 16 ideas below comes with mini steps to read aloud and one real nature fact. Indoor and holiday subjects live in our wider drawing ideas for kids list. Our tutorial library holds every step-by-step drawing.
What Counts as an Easy Nature Drawing for a Child?
Easy nature drawing ideas for kids are outdoor subjects built from two or three basic shapes. The 16 ideas here cover the sky (sun, star, moon, Earth), the land (feather, leaf, rock, tree, mountain, volcano, campfire), water (river, rainbow) and weather (cloud, snowflake). Ten have full tutorials with 4 or 6 numbered step pictures.
| # | Idea | Group | Steps |
|---|---|---|---|
| 1 | Sun | Sky | 3 mini steps |
| 2 | Star | Sky | 6-step tutorial |
| 3 | Moon | Sky | 6-step tutorial |
| 4 | Earth | Sky | 6-step tutorial |
| 5 | Feather | Land | 4-step tutorial |
| 6 | Leaf | Land | 4 mini steps |
| 7 | Rock | Land | 3 mini steps |
| 8 | Tree | Land | 6-step tutorial |
| 9 | Mountain | Land | 6-step tutorial |
| 10 | Volcano | Land | 6-step tutorial |
| 11 | Campfire | Land | 6-step tutorial |
| 12 | River | Water | 4 mini steps |
| 13 | Rainbow | Water | 4 mini steps |
| 14 | Cloud | Weather | 4-step tutorial |
| 15 | Snowflake | Weather | 6-step tutorial |
| 16 | Simple landscape | Scene | 5 mini steps |
Every tutorial page lists what you need: a pencil, an eraser, a black marker and a few crayons.
Which Sky Pictures Can a Young Child Draw First?
The easiest sky drawings for kids are a sun, a star, a moon and a planet Earth, because each starts from one circle, crescent or star shape. The sky behind them is blue because gases and particles in the air scatter blue light more than other colors, NOAA’s NESDIS explains. Blue light travels as shorter, smaller waves.
1. Sun With Rays
A sun suits the youngest artists, since it is one circle plus straight lines. NASA’s Space Place calls our Sun an average-sized star, 864,000 miles (1,392,000 km) across and 10,000 degrees Fahrenheit at the surface.
- Draw a big circle in a top corner of the page.
- Add short straight rays all the way around it.
- Color the circle yellow and the rays orange.
2. Star With a Happy Face
Our star tutorial turns one shape into a character, so young kids get a finished picture fast. The star has a cartoon face, not a realistic look.
- Draw a big five-pointed star with soft, rounded points.
- Add two big round eyes, a small smile and two round cheeks.
- Draw three small four-pointed sparkles around the star.
- Color the star yellow, the cheeks pink and the sparkles light blue.
-

Step 1: Draw a big five-pointed star with soft, rounded points.
-

Step 2: Add two big round eyes in the middle. Fill them black and leave two white shine dots in each.
-

Step 3: Draw a small curved smile between the eyes, a little lower.
-

Step 4: Add two small round cheeks, one under each eye.
-

Step 5: Draw three small four-pointed sparkles: one at the top left and two on the right side.
-
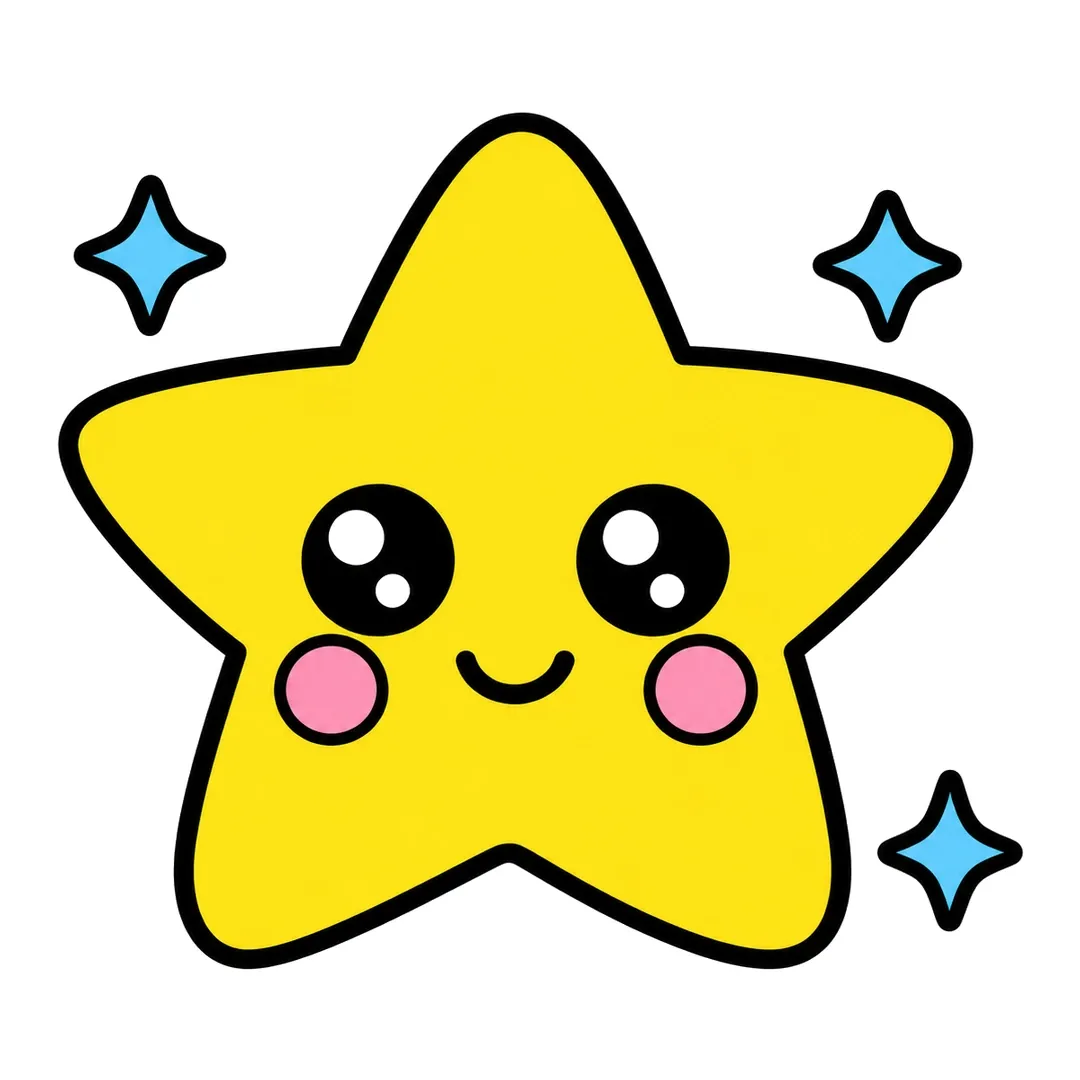
Step 6: Color the star yellow, the cheeks pink and the sparkles light blue. Leave the eye shine dots white.
3. Sleepy Crescent Moon
A crescent is two curves that meet in points, a good next step after circles, and the moon tutorial adds a sleepy face and stars.
- Draw a big crescent moon that opens to the right.
- Add a closed eye with four short lashes, a round cheek and a tiny smile.
- Draw two stars on the right and a fluffy cloud over the bottom of the moon.
- Color the moon and stars yellow, the cheek pink and the cloud light blue.
-
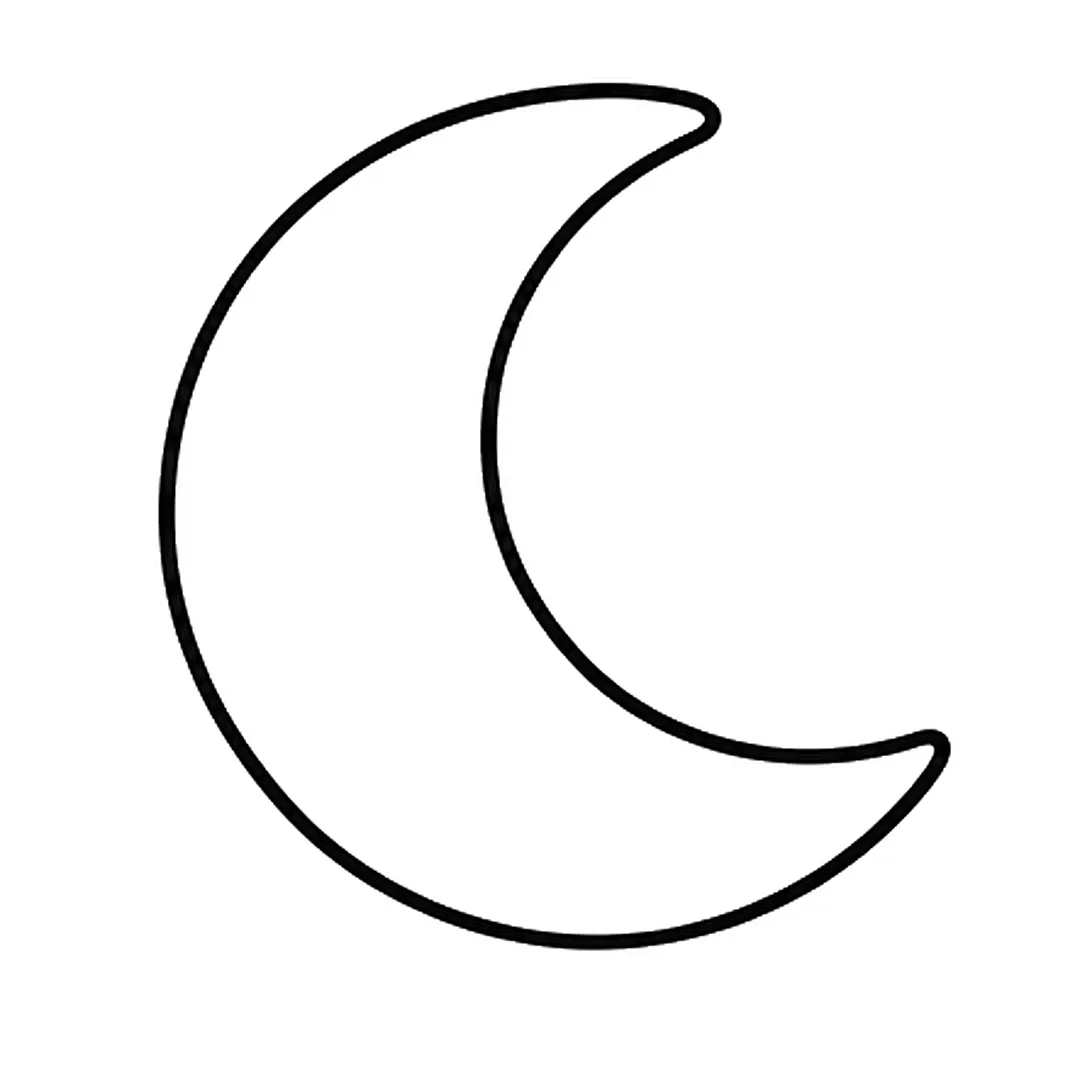
Step 1: Draw a big crescent moon that opens to the right, with a pointed tip at the top and bottom.
-
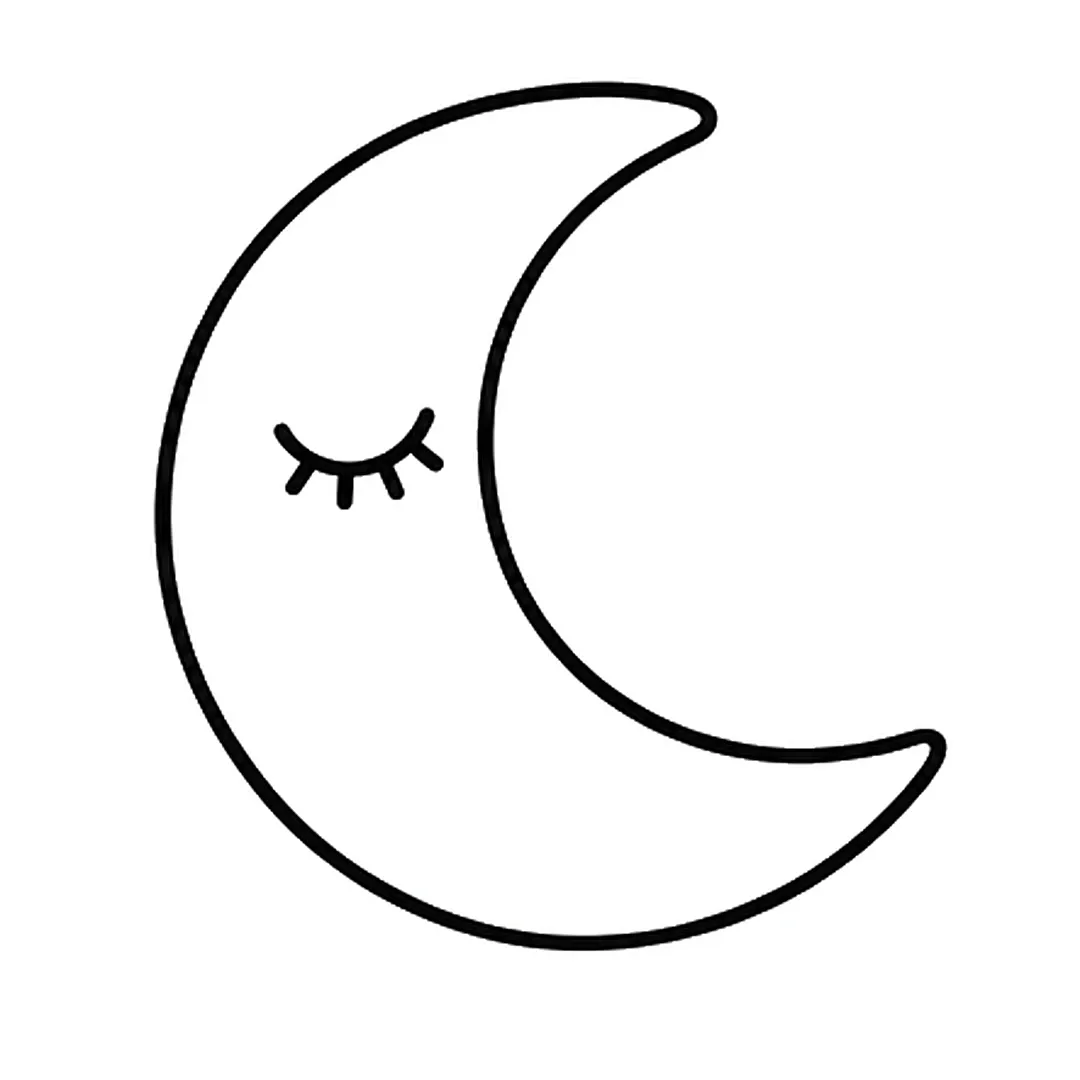
Step 2: Add a closed sleepy eye: one curved line with four short lashes underneath.
-
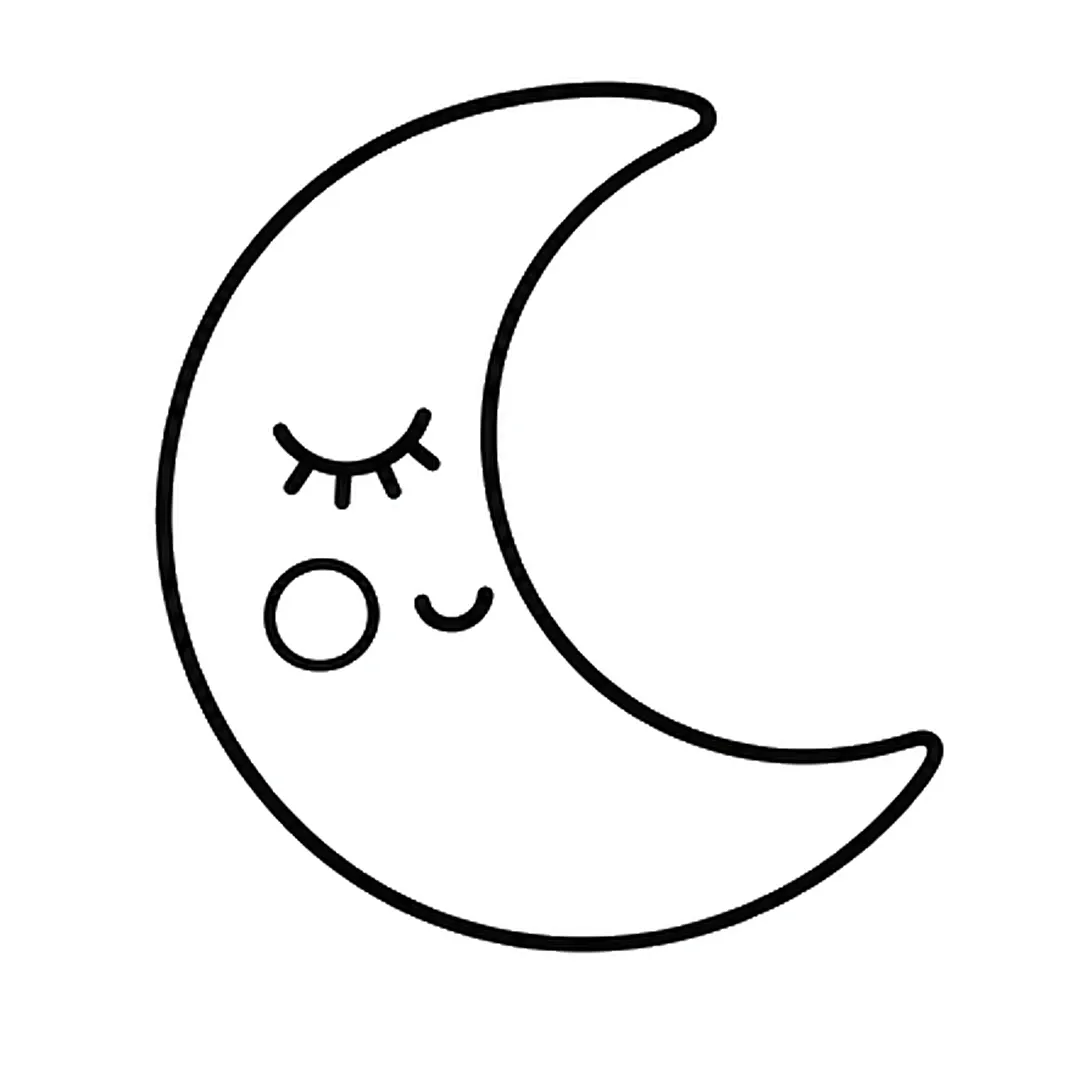
Step 3: Draw a small round cheek under the eye and a tiny smile next to it.
-
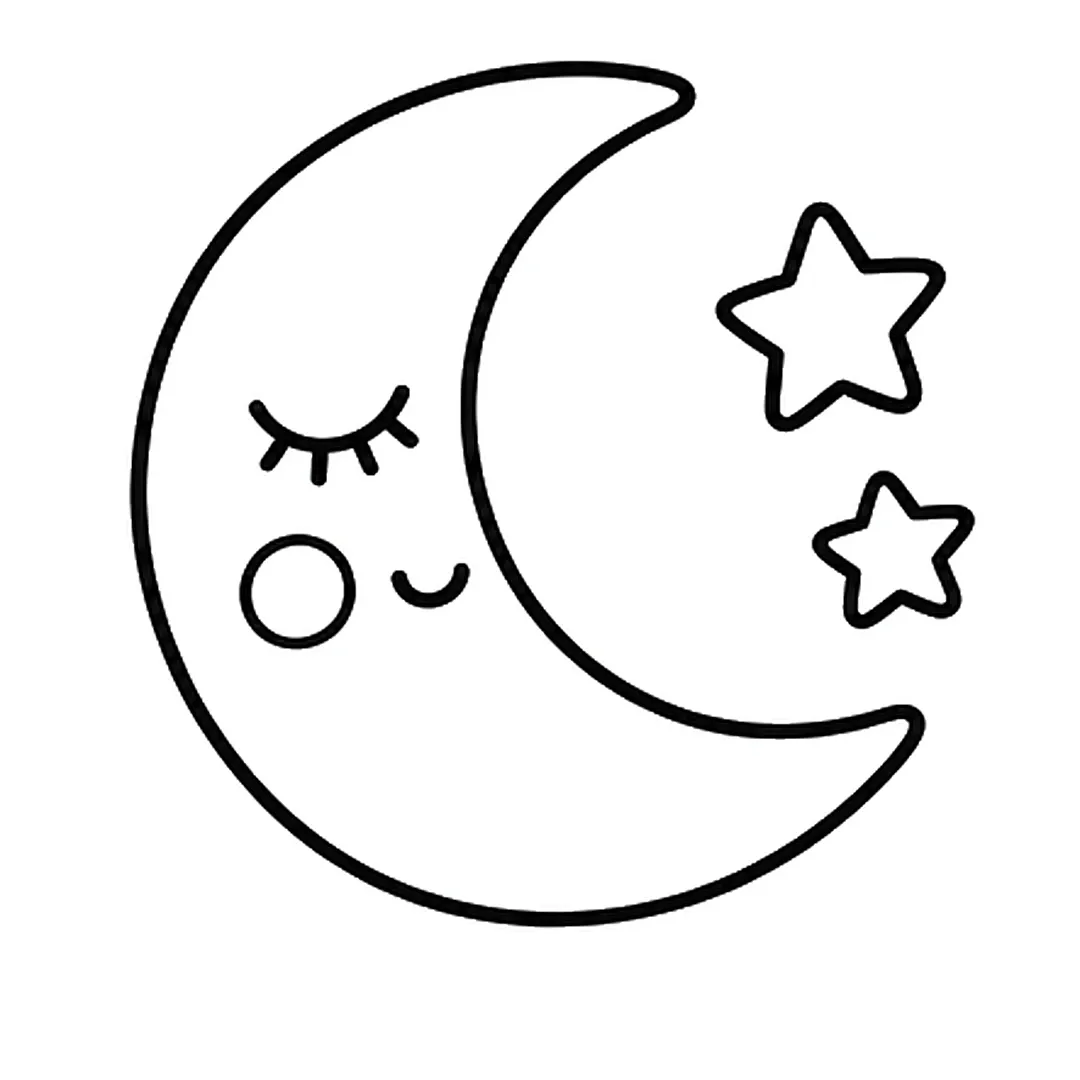
Step 4: Add two five pointed stars on the right, a big one at the top and a smaller one below it.
-
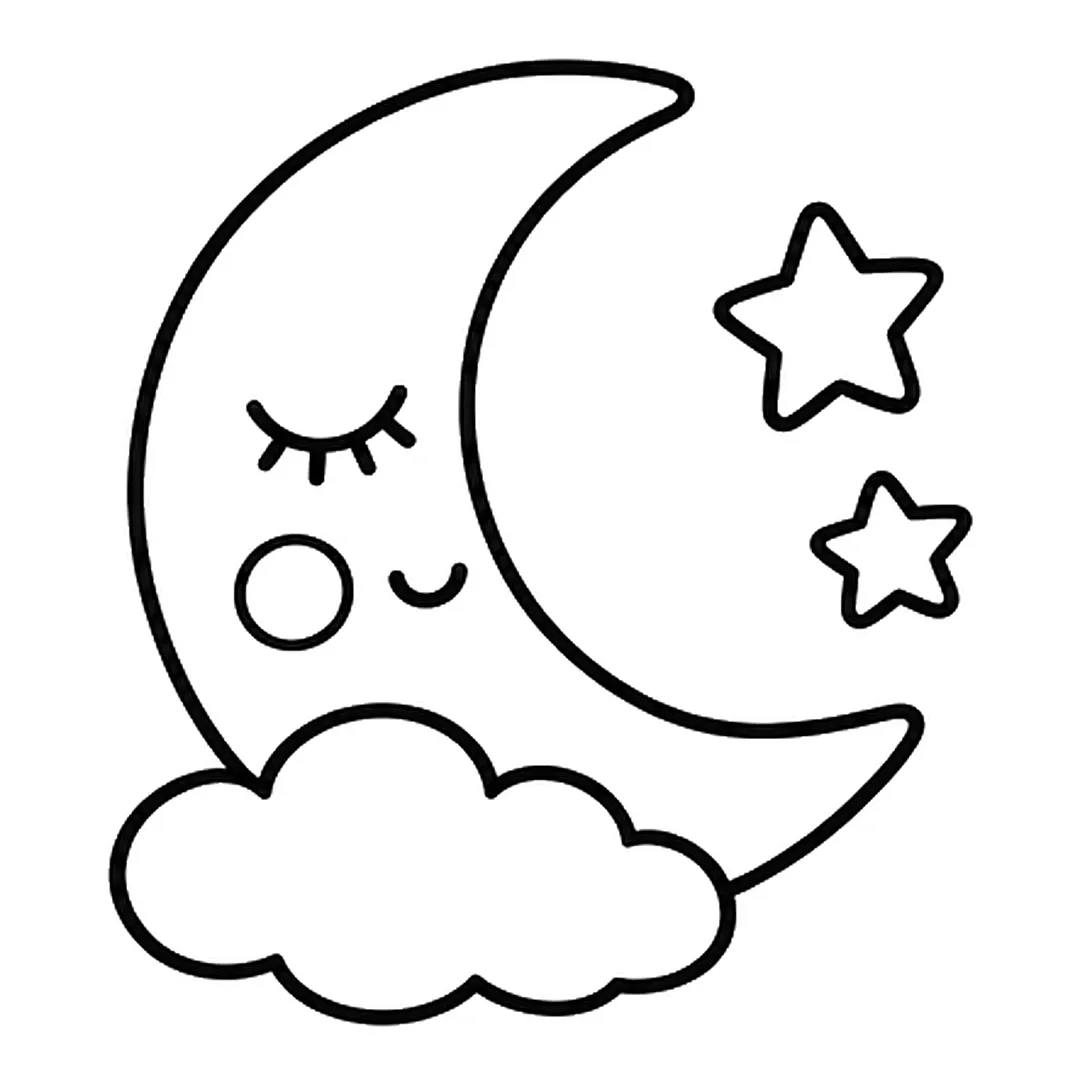
Step 5: Draw a fluffy cloud over the bottom of the moon. Erase the moon line inside the cloud.
-
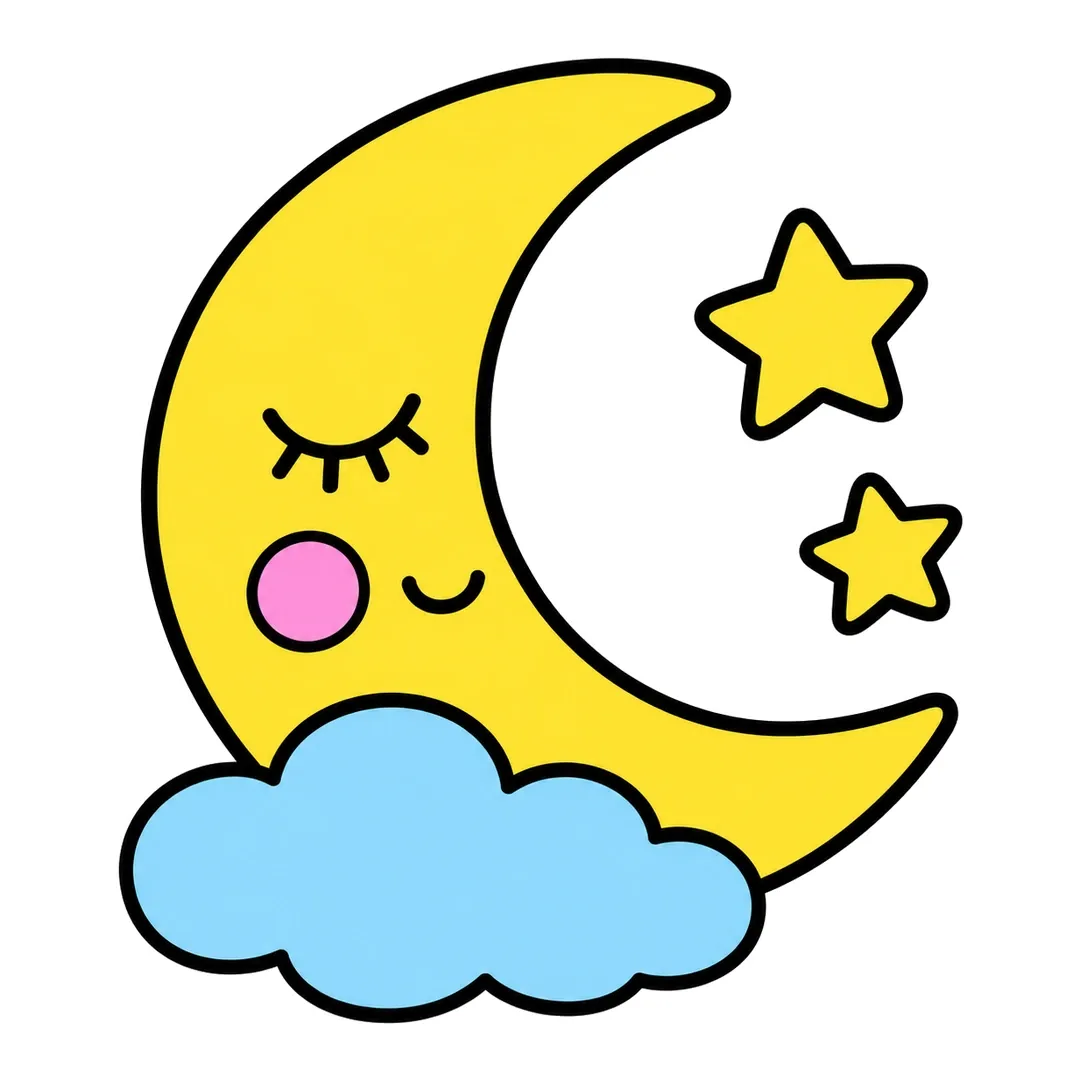
Step 6: Color the moon and stars yellow, the cheek pink and the cloud light blue.
4. Smiling Earth
A planet drawing shows kids that oceans and land fit inside one circle, which our Earth tutorial does with friendly cartoon eyes. The USGS notes that Earth is made of rock, from the tallest mountains to the floor of the deepest ocean.
- Draw one large circle for the planet.
- Add two wavy land shapes inside the circle, one left and one right.
- Draw two fluffy clouds, then a face, two hearts and three stars.
- Fill the oceans with blue and the land with green, then make the hearts red and stars yellow.
-

Step 1: Draw a big circle for Earth.
-
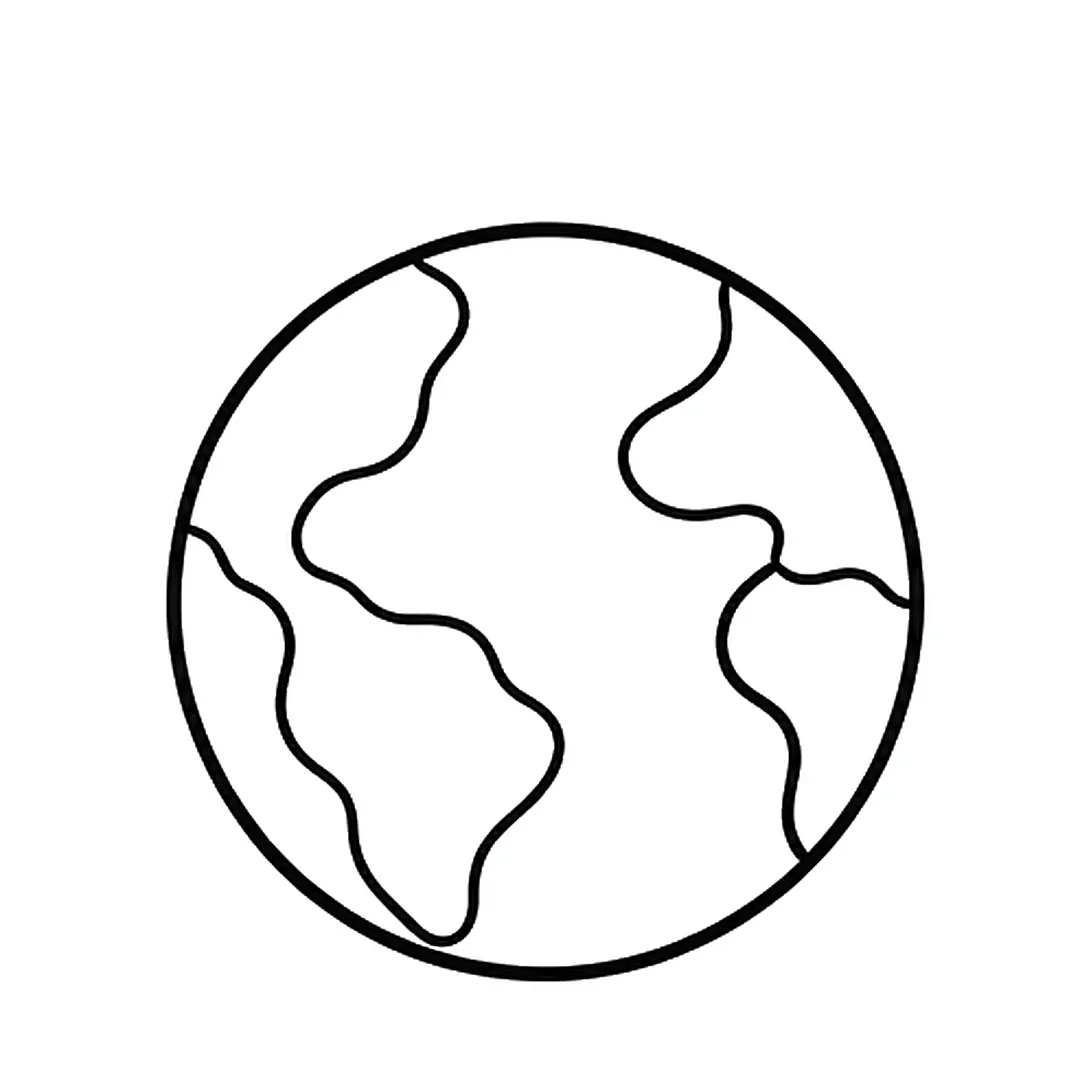
Step 2: Add wavy land shapes inside the circle, on the left and on the right.
-
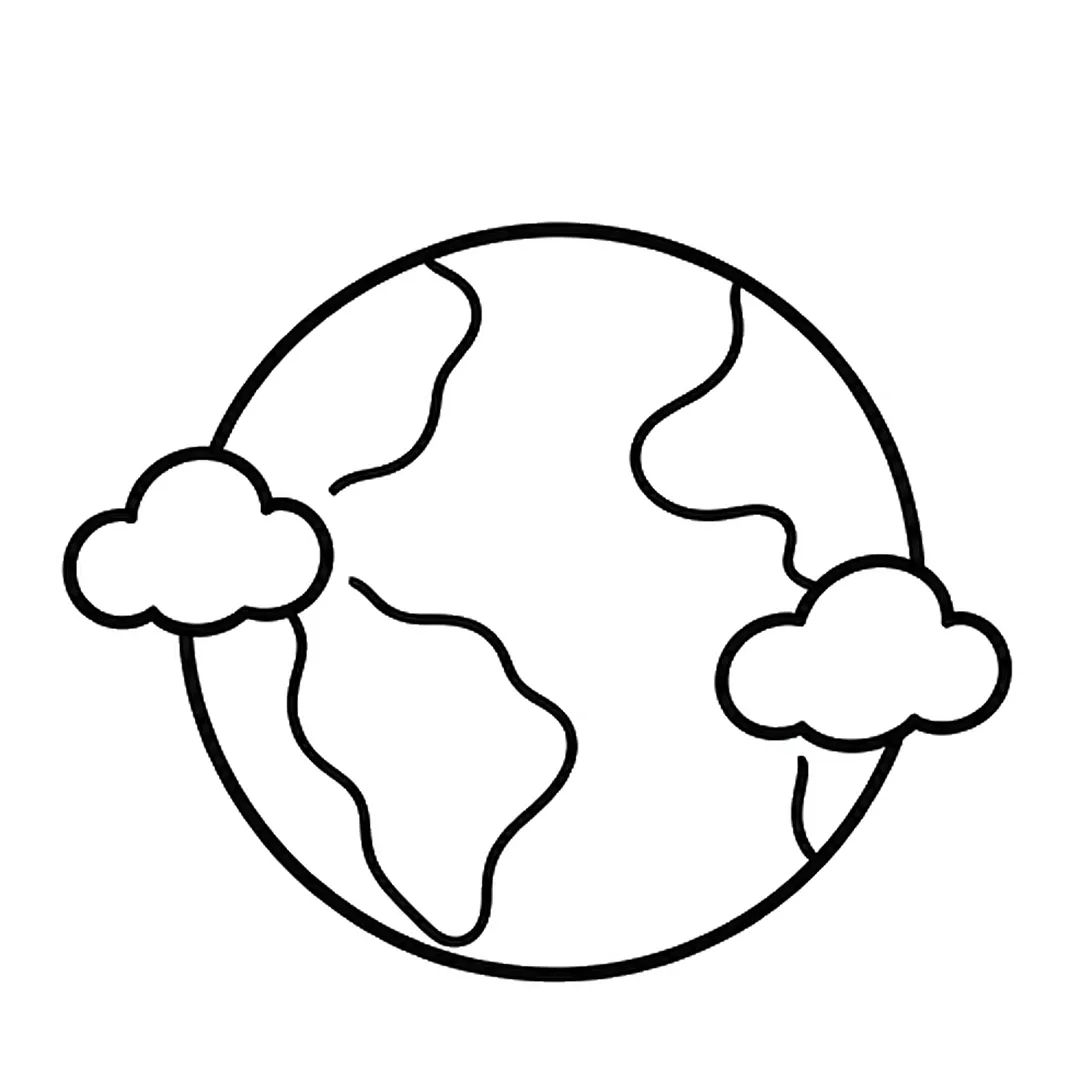
Step 3: Draw two fluffy clouds over the sides of the circle, then erase the lines behind them.
-
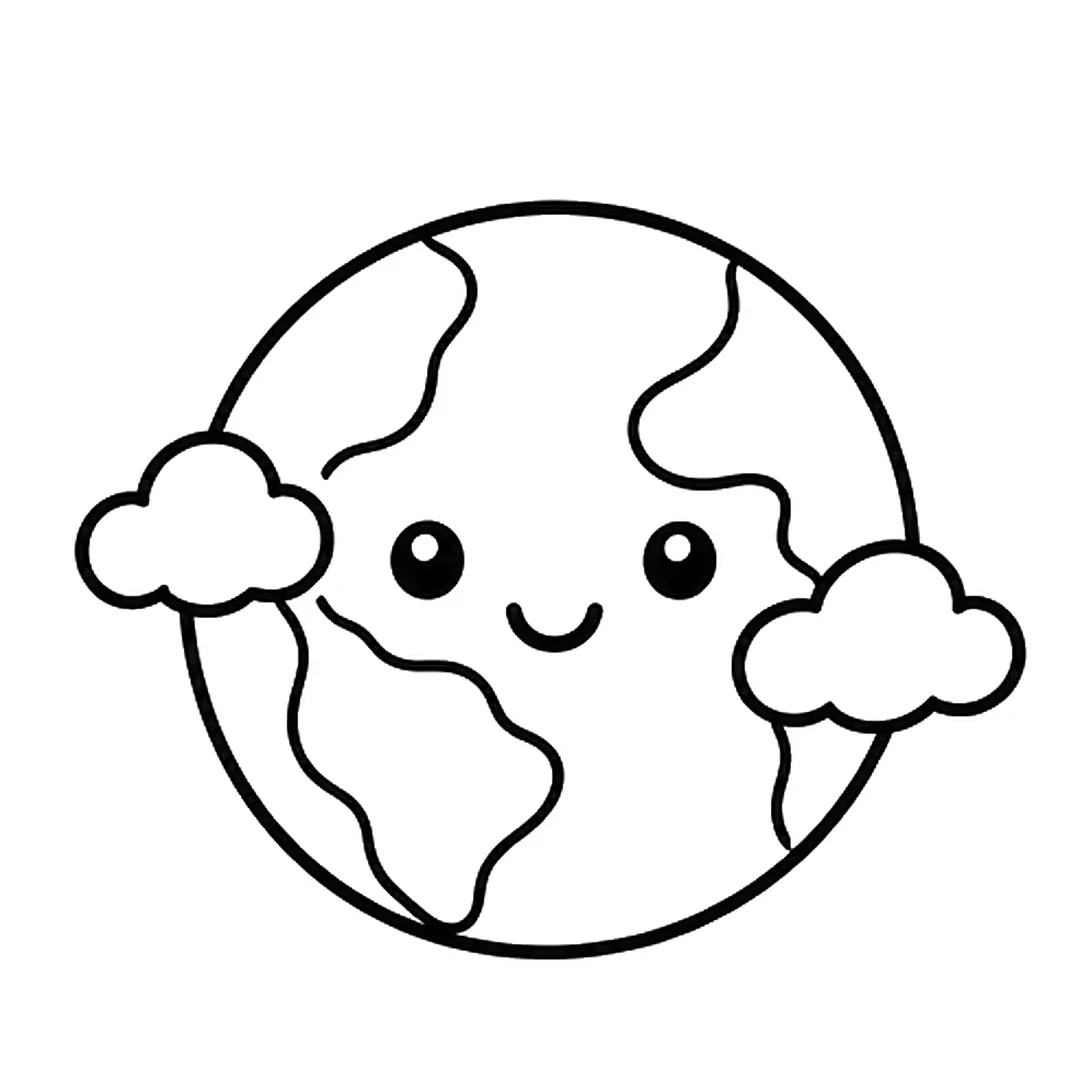
Step 4: Add two round eyes and a small smile in the middle.
-
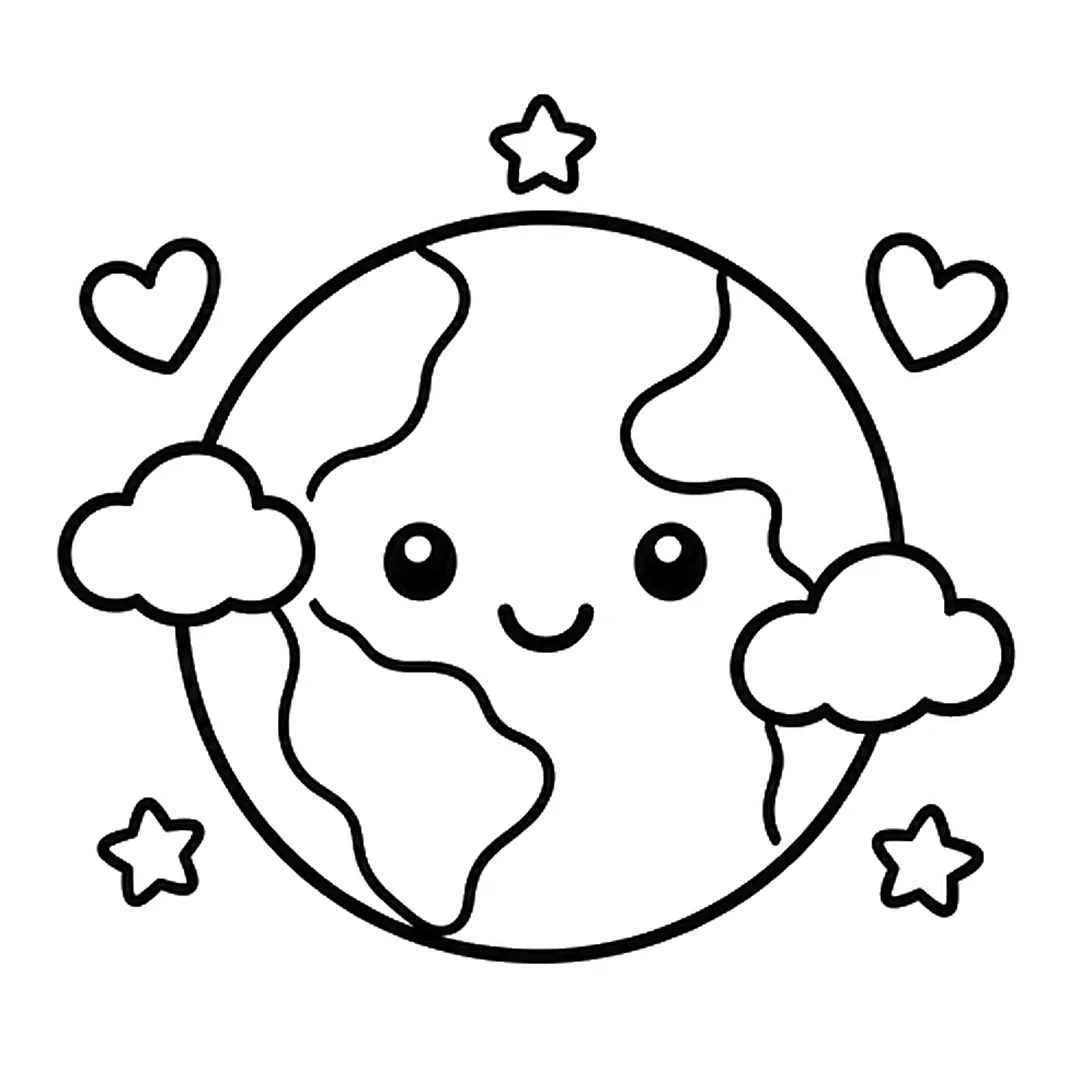
Step 5: Draw two small hearts at the top and three small stars around Earth.
-
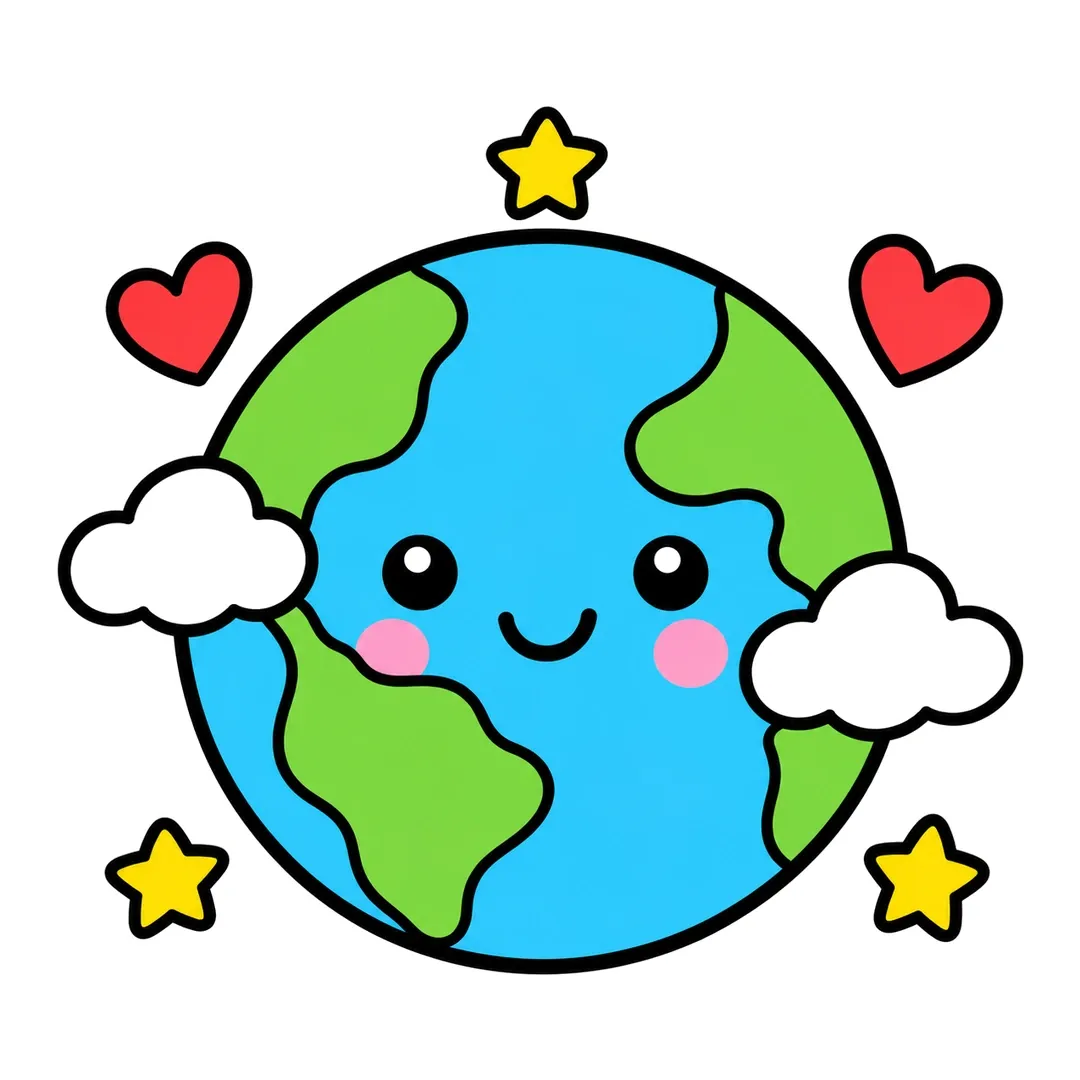
Step 6: Color the oceans blue, the land green, the hearts red, the stars yellow and add pink cheeks.
Which Land Drawings Can Kids Make From Simple Shapes?
Kids can make 7 land drawings from simple shapes: a feather, a leaf, a rock, a tree, a mountain, a volcano and a campfire. The feather tutorial takes 4 steps, and the tree, mountain, volcano and campfire tutorials take 6 steps each. A leaf or a rock needs 3 or 4 mini steps.
5. Feather
A feather is a favorite nature-walk find, and the feather tutorial builds it from one curved line.
- Sweep a long curved quill line up to the top right, ending in a thin loop at the bottom.
- Wrap a long, pointed shape like a leaf around the upper half of the quill.
- Cut three small notches into each side and erase the edge there.
- Crayon both halves of the vane teal blue and the lower quill light brown.
-

Step 1: Draw one long curved line from the bottom left to the top right, with a thin loop at the bottom.
-
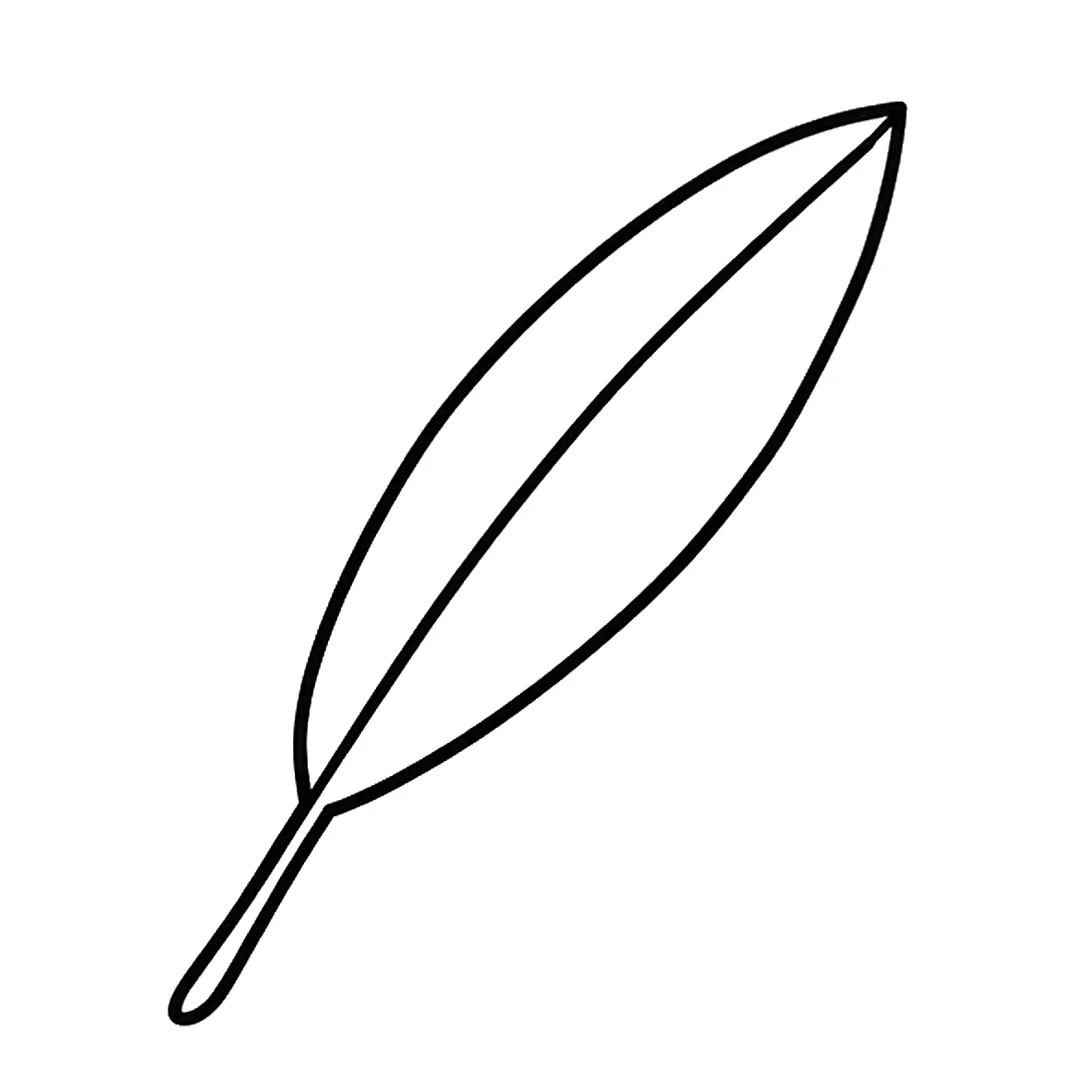
Step 2: Add a long pointed leaf shape around the top part of the line, with its tip at the line's top end.
-
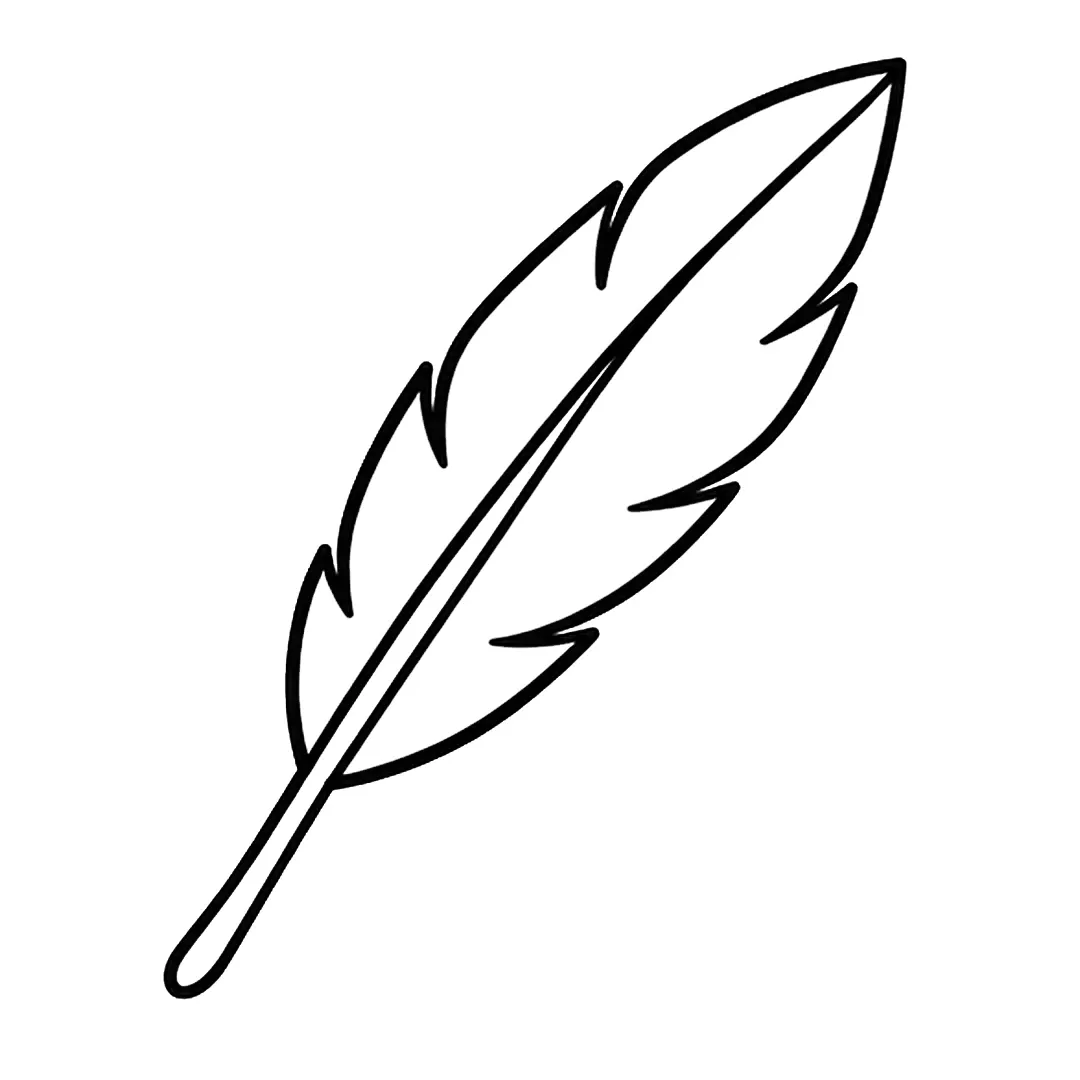
Step 3: Draw three pointed notches per side, erasing the edge there. Run the right quill line halfway up.
-
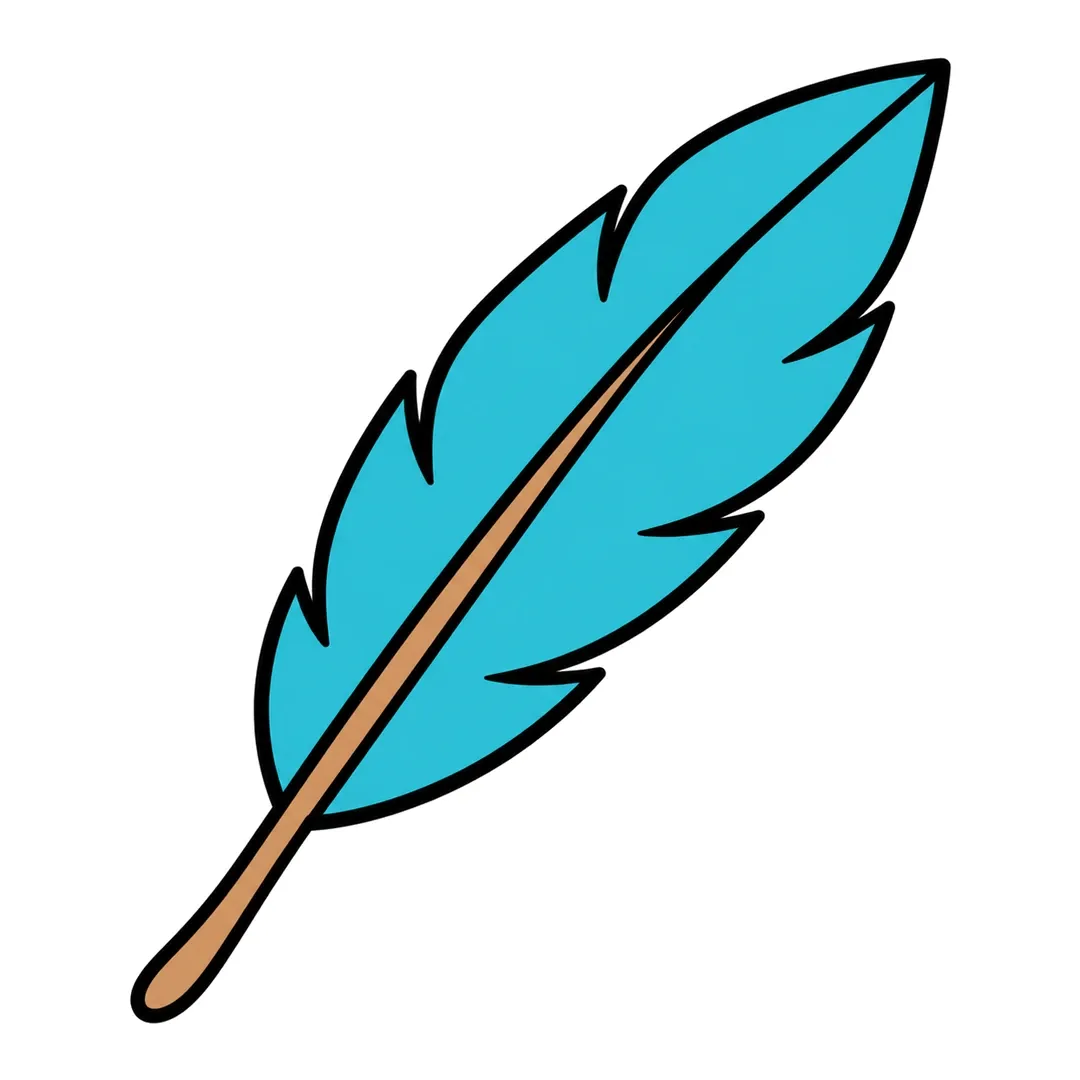
Step 4: Color the vane on both sides teal blue. Color the quill light brown, from the loop up to the middle.
6. Fall Leaf
A leaf is an oval with a point, and a real leaf picked up outside makes a good model. Fall colors depend on the tree, according to the USDA Forest Service: sugar maple turns orange-red, red maple brilliant scarlet, aspen golden yellow, and oaks red, brown or russet.
- Draw an oval with a pointed tip at the top.
- Add a short stem at the bottom.
- Draw a center line from stem to tip, then small side veins.
- Pick one tree’s color and fill the leaf with it.
7. Striped Rock
A rock is a lumpy oval, so it is quick, and the stripes add a science lesson. The National Park Service names three main kinds of rock: igneous, sedimentary and metamorphic. Sedimentary rocks form when sand, mud and pebbles are laid down in layers.
- Draw a wide, lumpy oval sitting on a ground line.
- Add three or four wavy stripes across it for the layers.
- Color each stripe a different shade of gray, tan or brown.
8. Apple Tree
A tree teaches kids how parts fit together, and our tree tutorial starts with a simple trunk. The National Park Service lists 6 parts of a tree: roots, trunk, branches, leaves, canopy (crown) and fruit. The roots stay underground, so kids draw the other five.
- Start with a tall trunk that forks into two short branches above a wavy ground line.
- Add a big fluffy crown on top, like a bumpy cloud.
- Draw bark lines and a knot hole, four apples and spiky grass.
- Use green for the crown and grass, brown for the trunk and red for each apple.
-
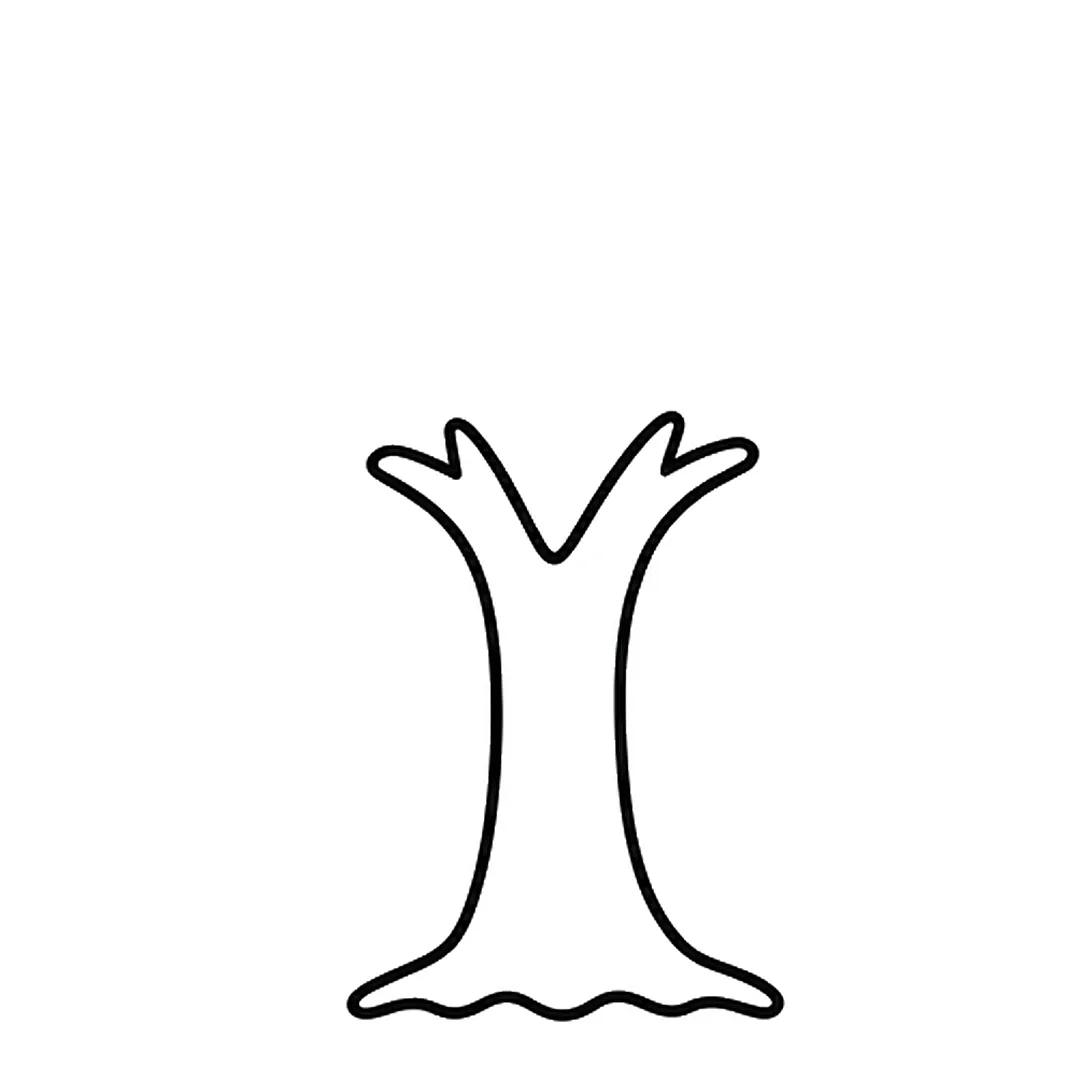
Step 1: Draw a tall trunk that splits into two short branches, with a wavy line at the bottom.
-
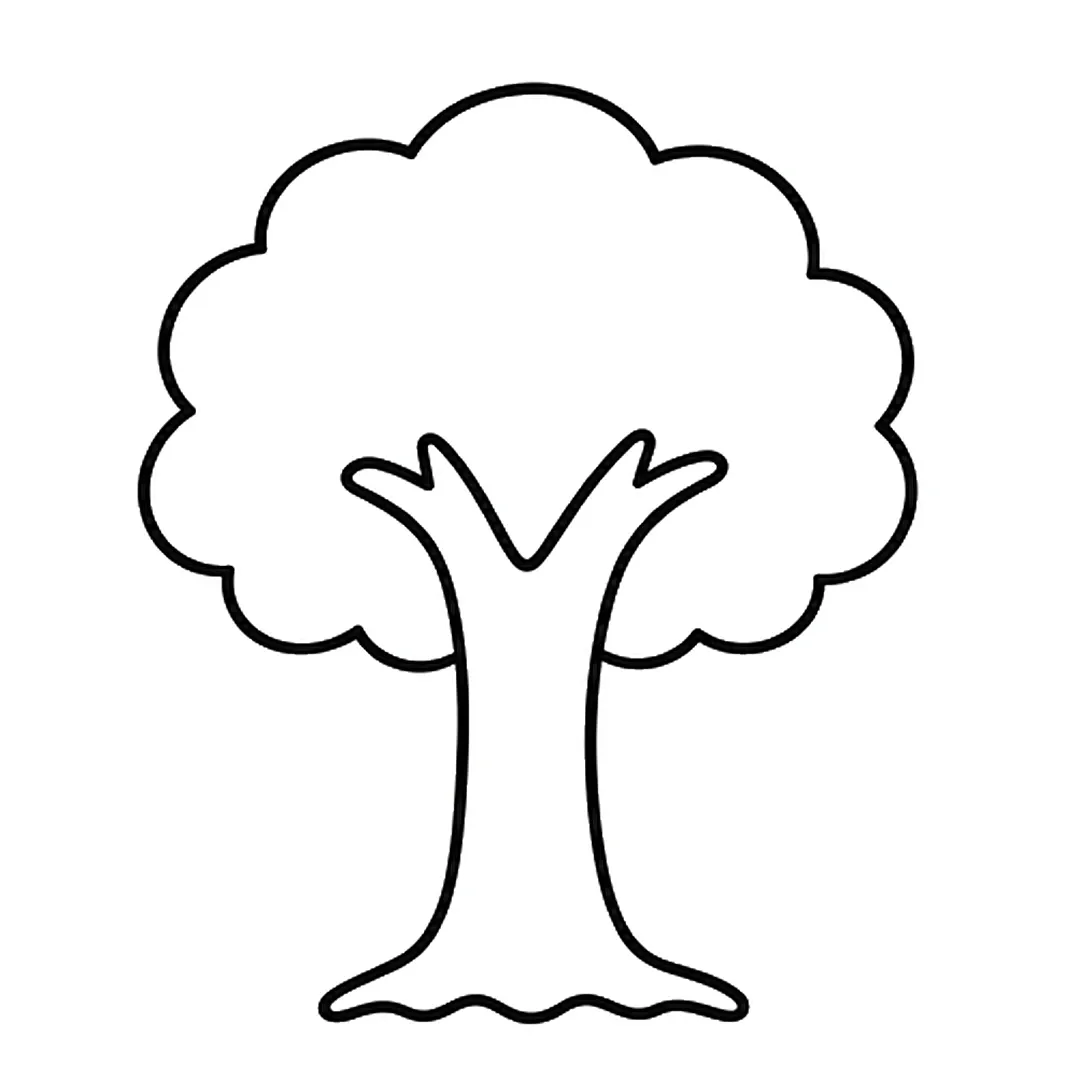
Step 2: Add a big fluffy crown on top, like a bumpy cloud.
-
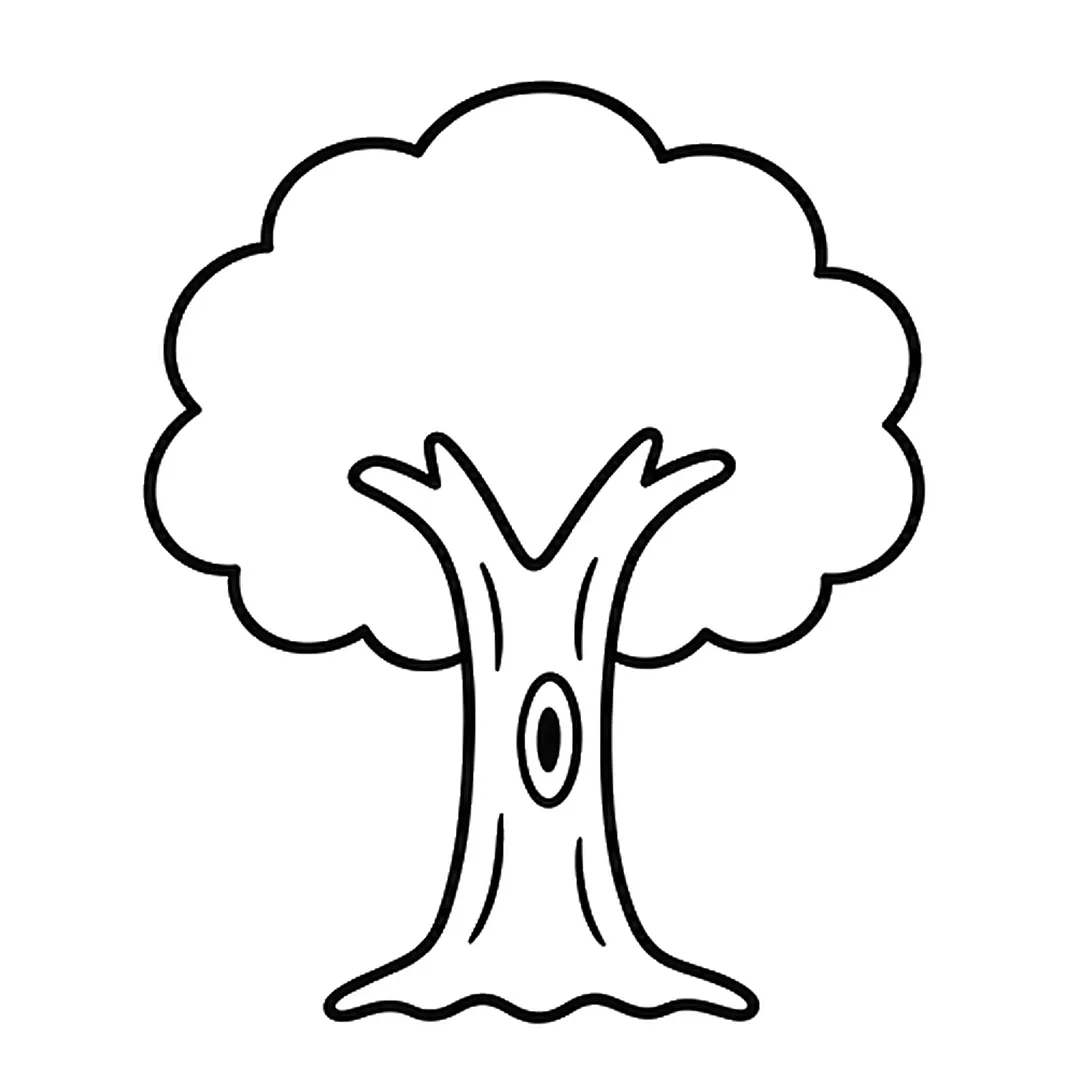
Step 3: Draw four curved bark lines and an oval knot hole on the trunk.
-
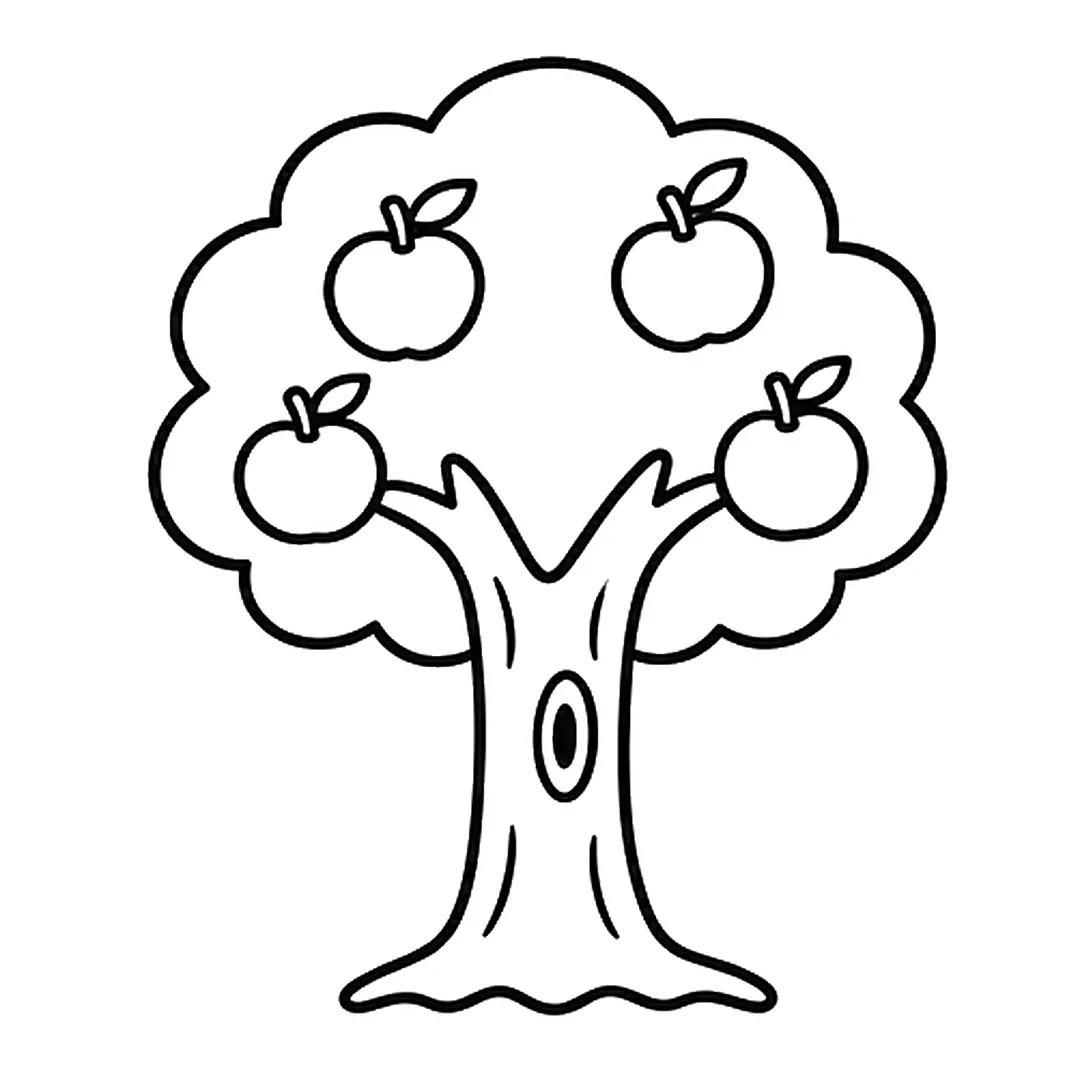
Step 4: Add four round apples in the crown, each with a stem and a small leaf.
-
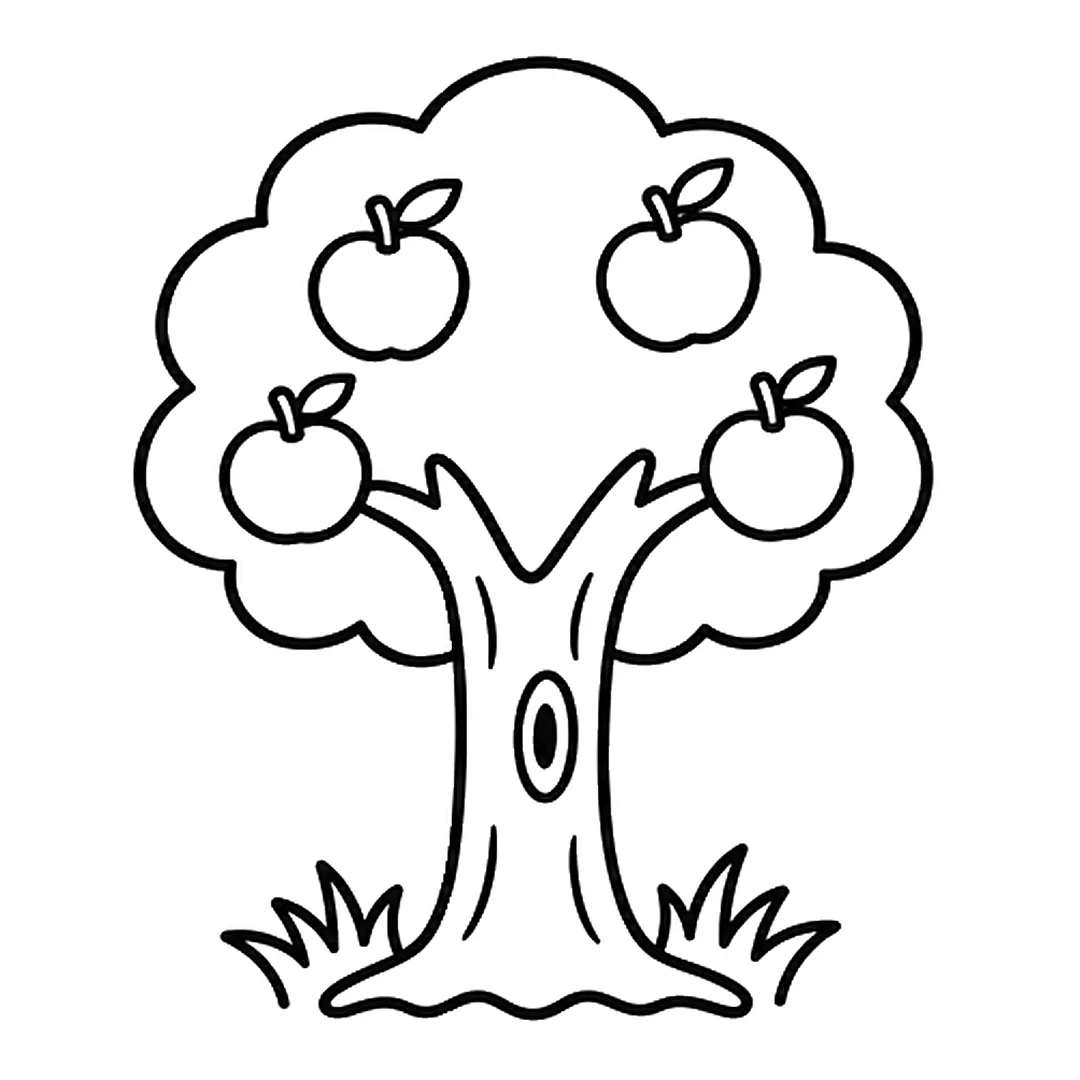
Step 5: Draw a tuft of spiky grass on each side of the trunk.
-
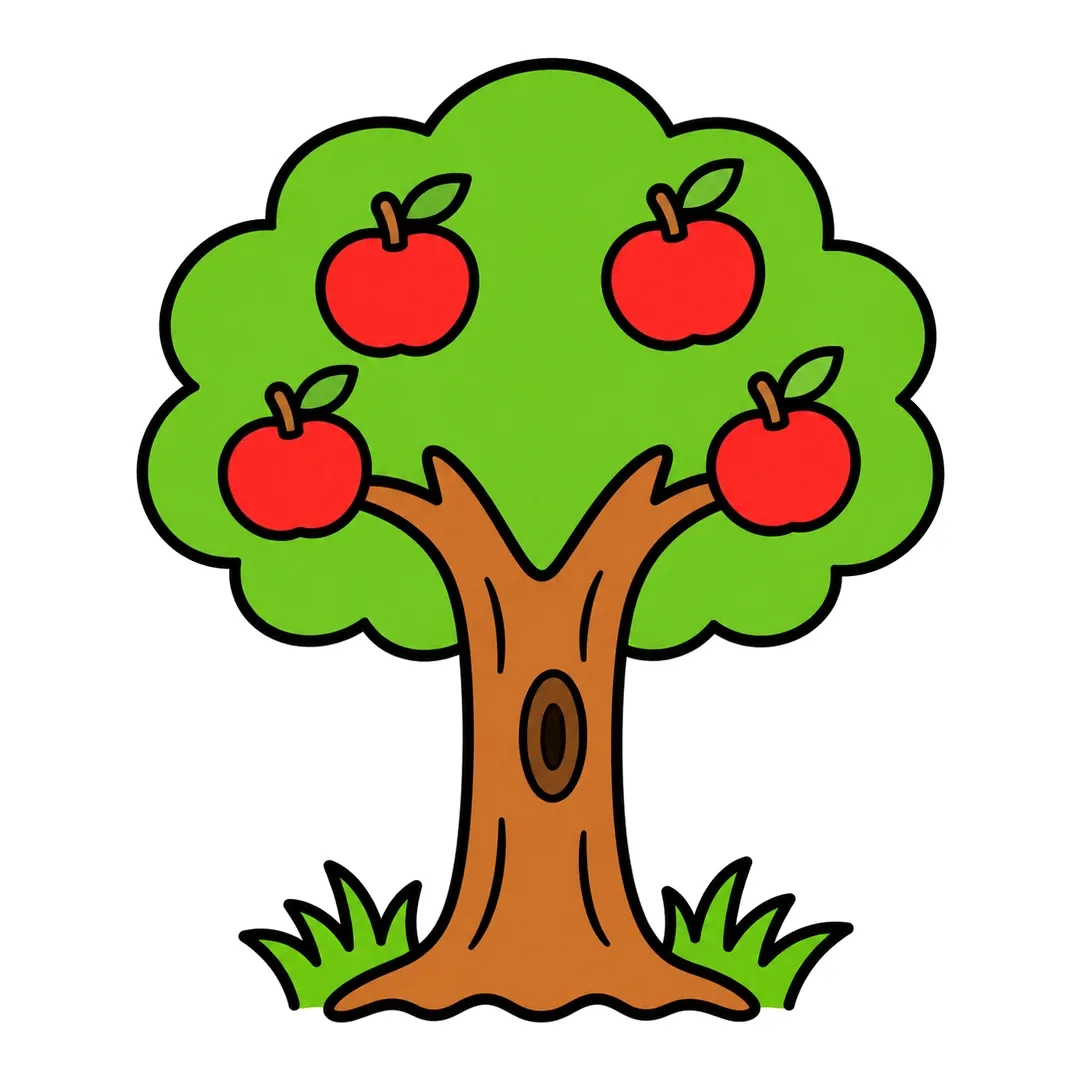
Step 6: Color the crown and grass green, the trunk brown and the apples red.
9. Snowy Mountain
Two overlapping triangles in our mountain tutorial show near and far, a simple way to add depth.
- Draw a tall triangle with a softly rounded peak and a small bump on its right slope.
- Add a smaller mountain behind it on the left, stopping where the lines touch.
- Draw a wavy snow line across the top of each mountain.
- Add a sun behind the big mountain and two pine trees, small left, big right.
-
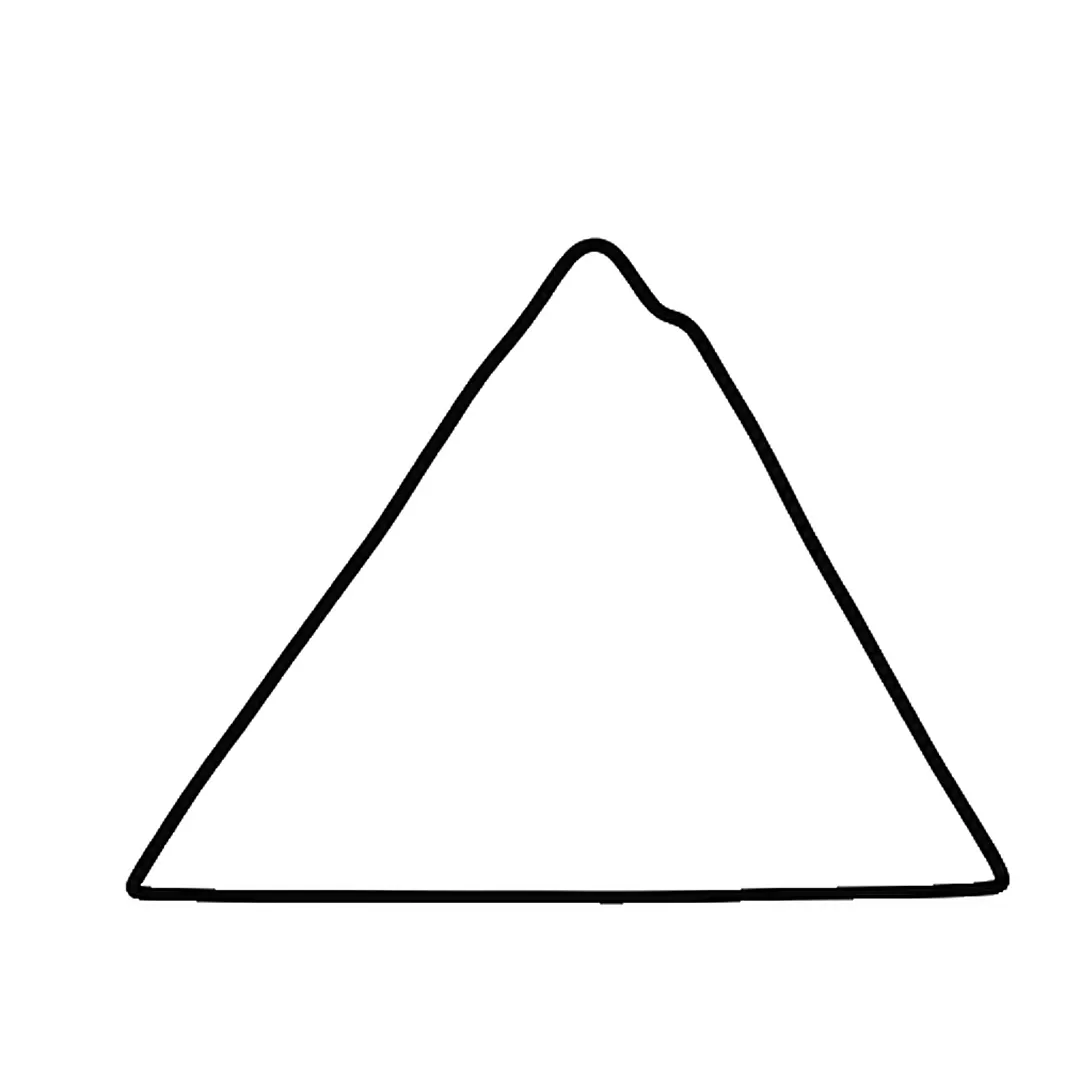
Step 1: Draw one big triangle mountain with a rounded peak and a small bump on the right slope.
-
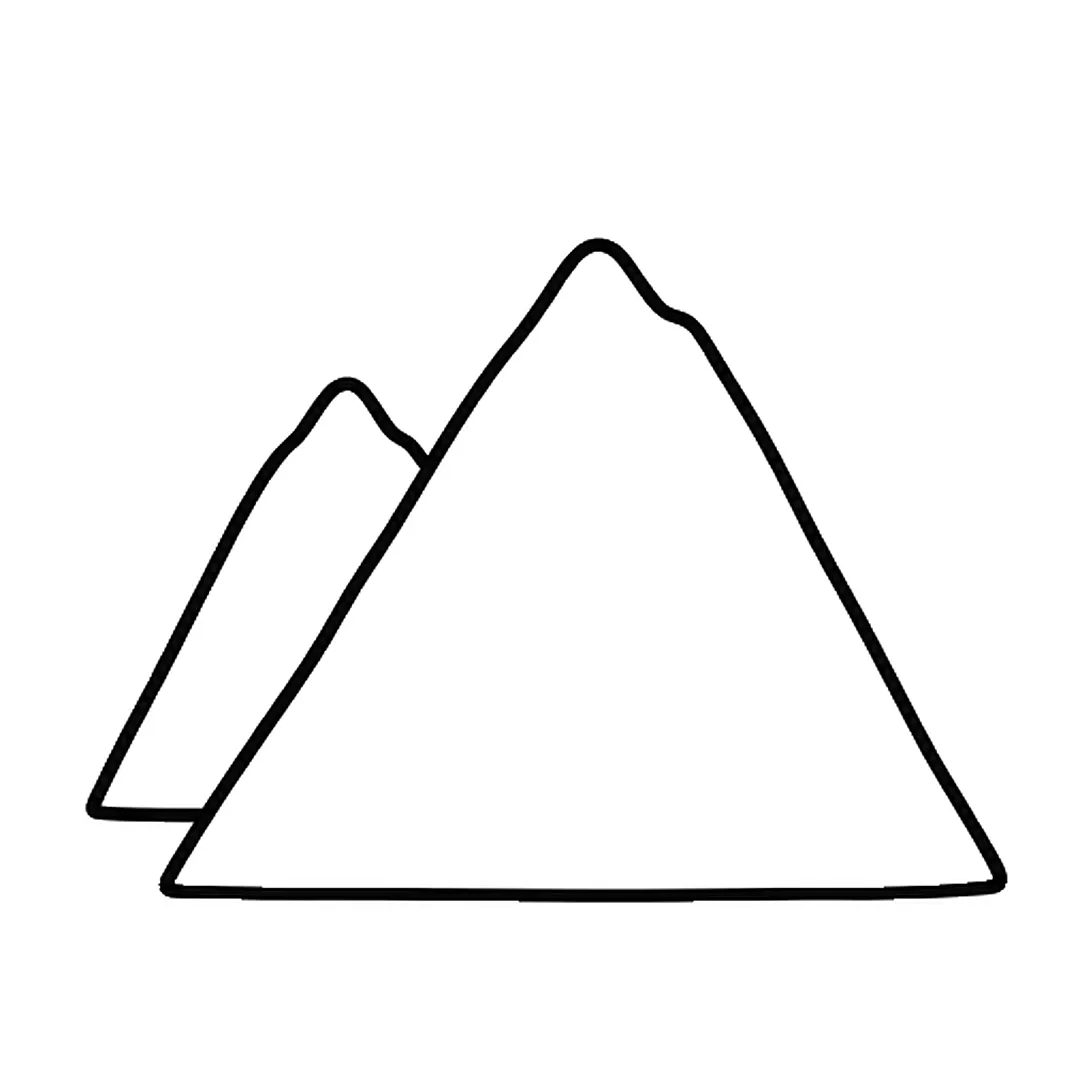
Step 2: Add a smaller mountain behind it on the left. Stop its lines where they touch the big mountain.
-
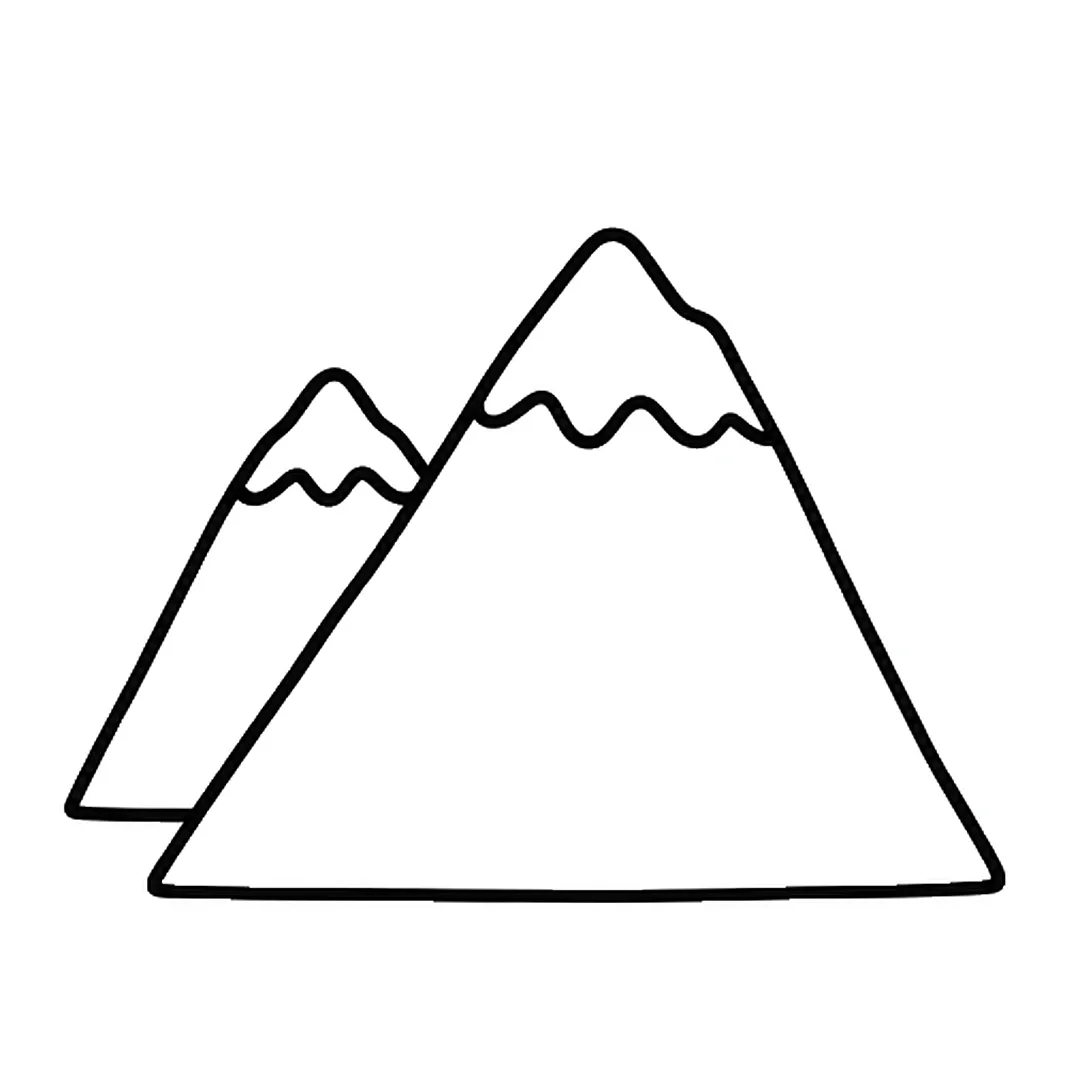
Step 3: Draw a wavy snow line across the top of each mountain, from one side to the other.
-
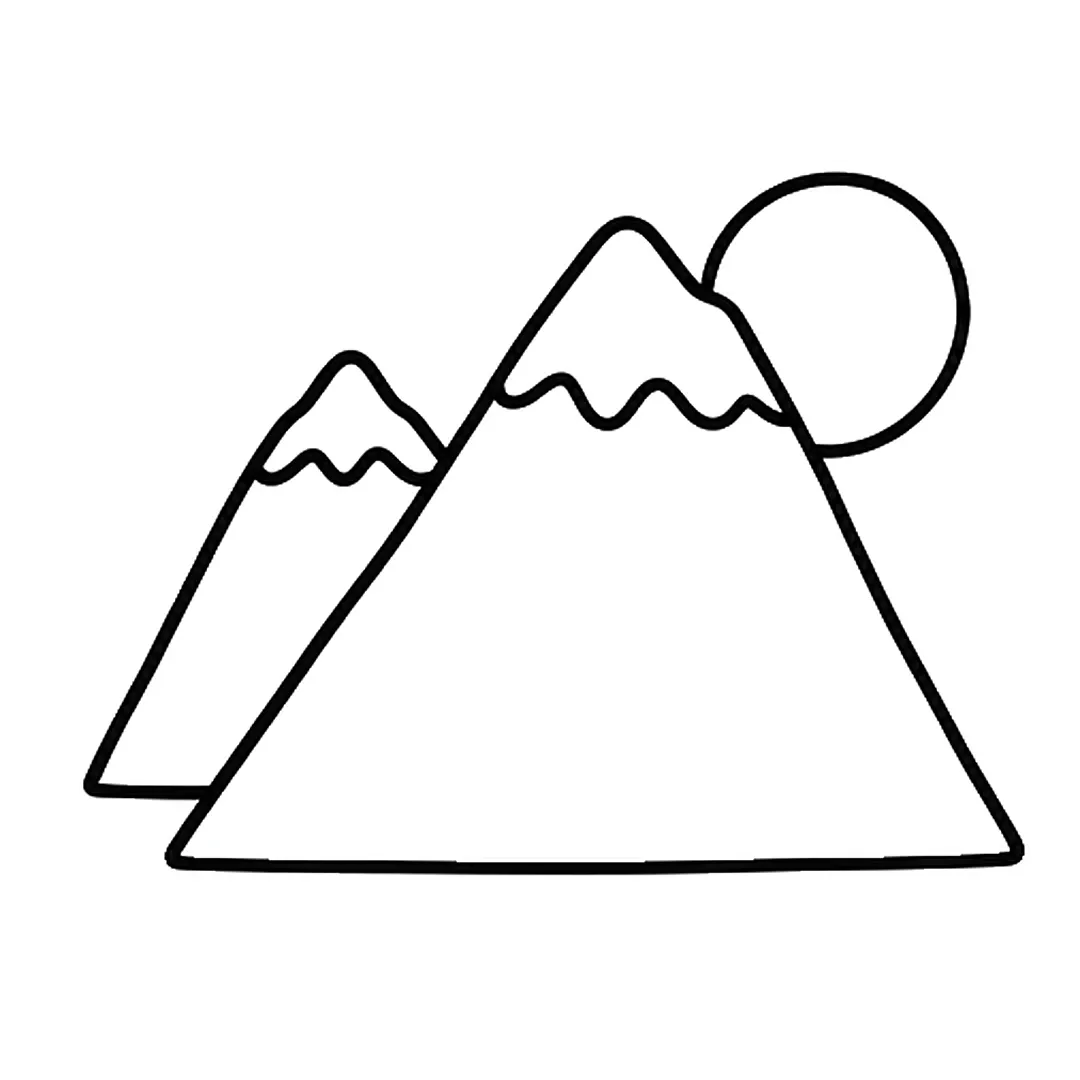
Step 4: Add a round sun behind the big mountain on the right. Stop the circle at the mountain's edge.
-
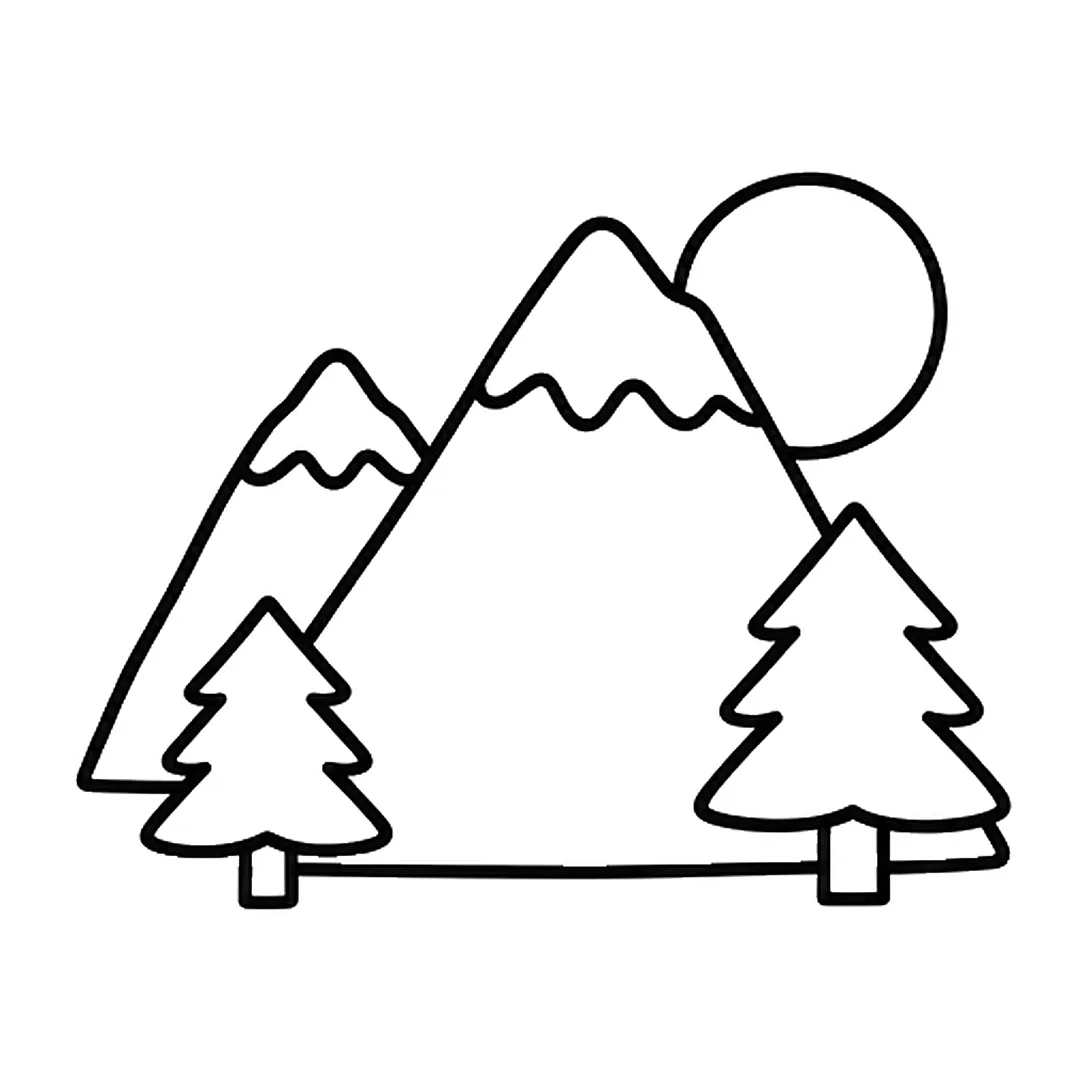
Step 5: Draw two pine trees with trunks, small left, big right. Erase the mountain lines inside the trees.
-
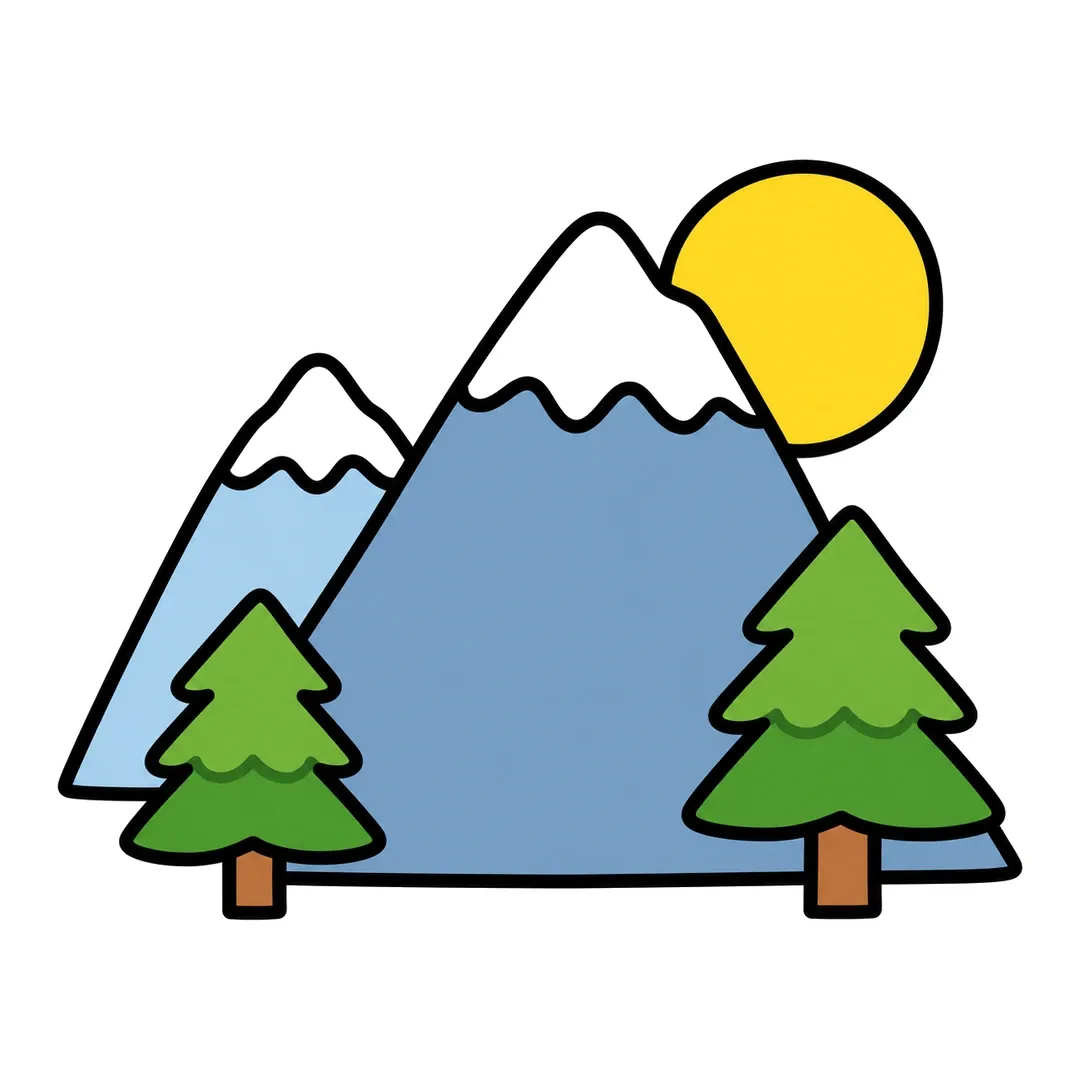
Step 6: Color blue and sky blue mountains, yellow sun, light and dark green trees, brown trunks, white snow.
10. Volcano
A volcano is a mountain with a flat top, so our volcano tutorial builds on the mountain drawing. The USGS explains that melted rock called magma can flow upward or even erupt from a volcano. Igneous rocks form from melted rock that has cooled and solidified.
- Draw a wide mountain with curved sides and a small oval on its flat top.
- Add a smaller oval inside the top oval for the crater rim.
- Draw wavy lava with drips, a puffy smoke cloud, a ground line and three rocks.
- Color the lava red and orange, the mountain brown and the rocks gray.
-
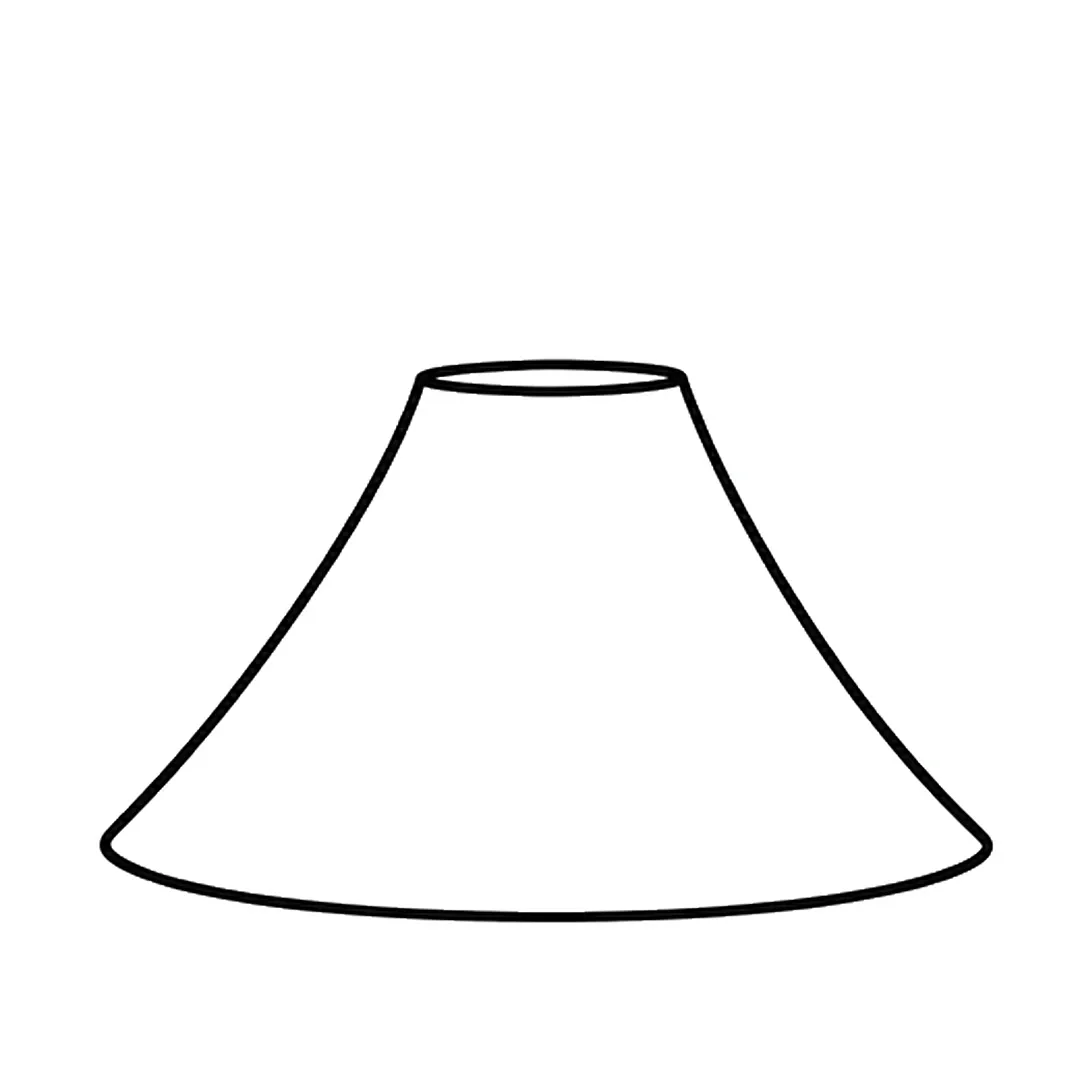
Step 1: Draw a wide mountain with curved sides and a rounded bottom, with a small oval on its flat top.
-
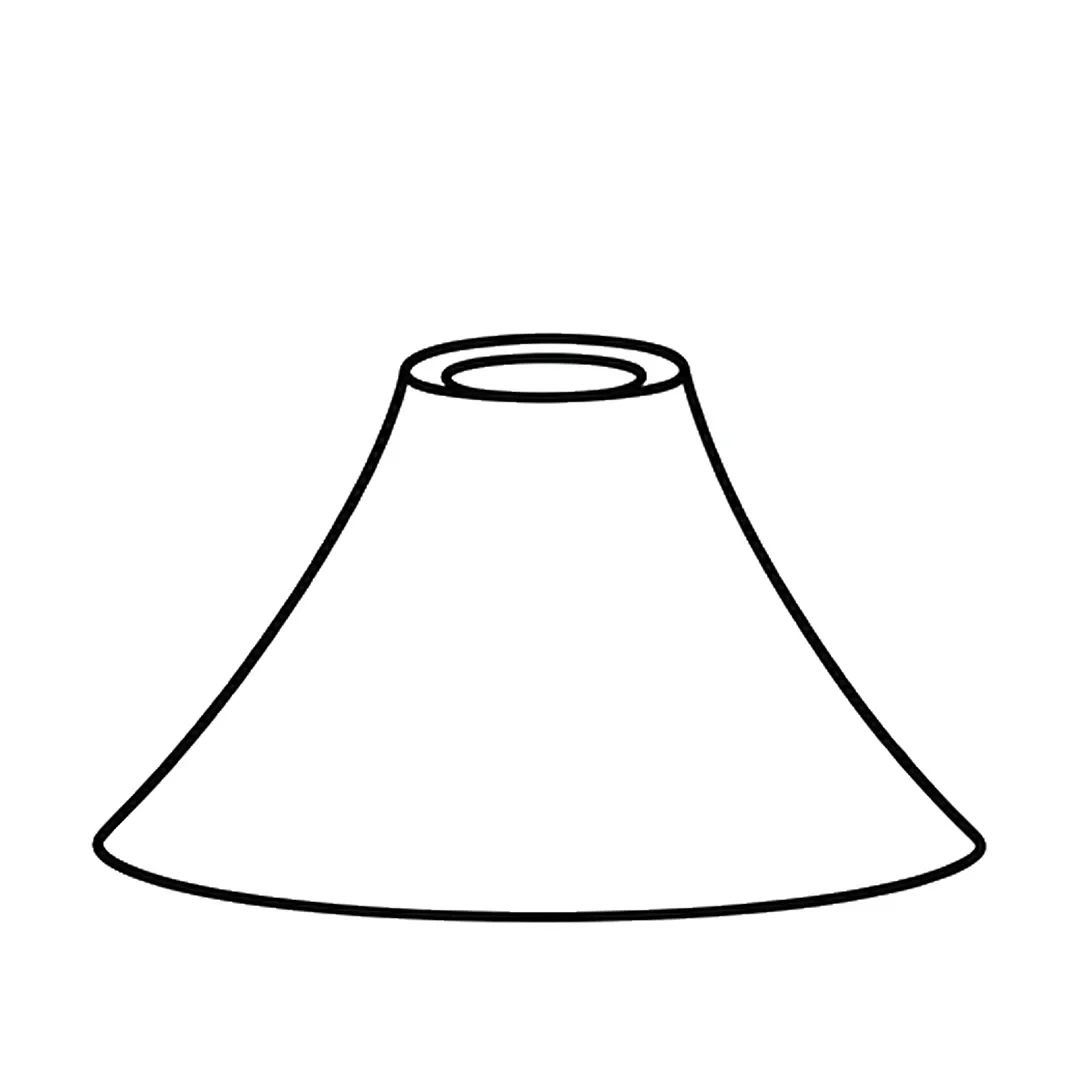
Step 2: Add a smaller oval inside the top oval to make the crater rim.
-
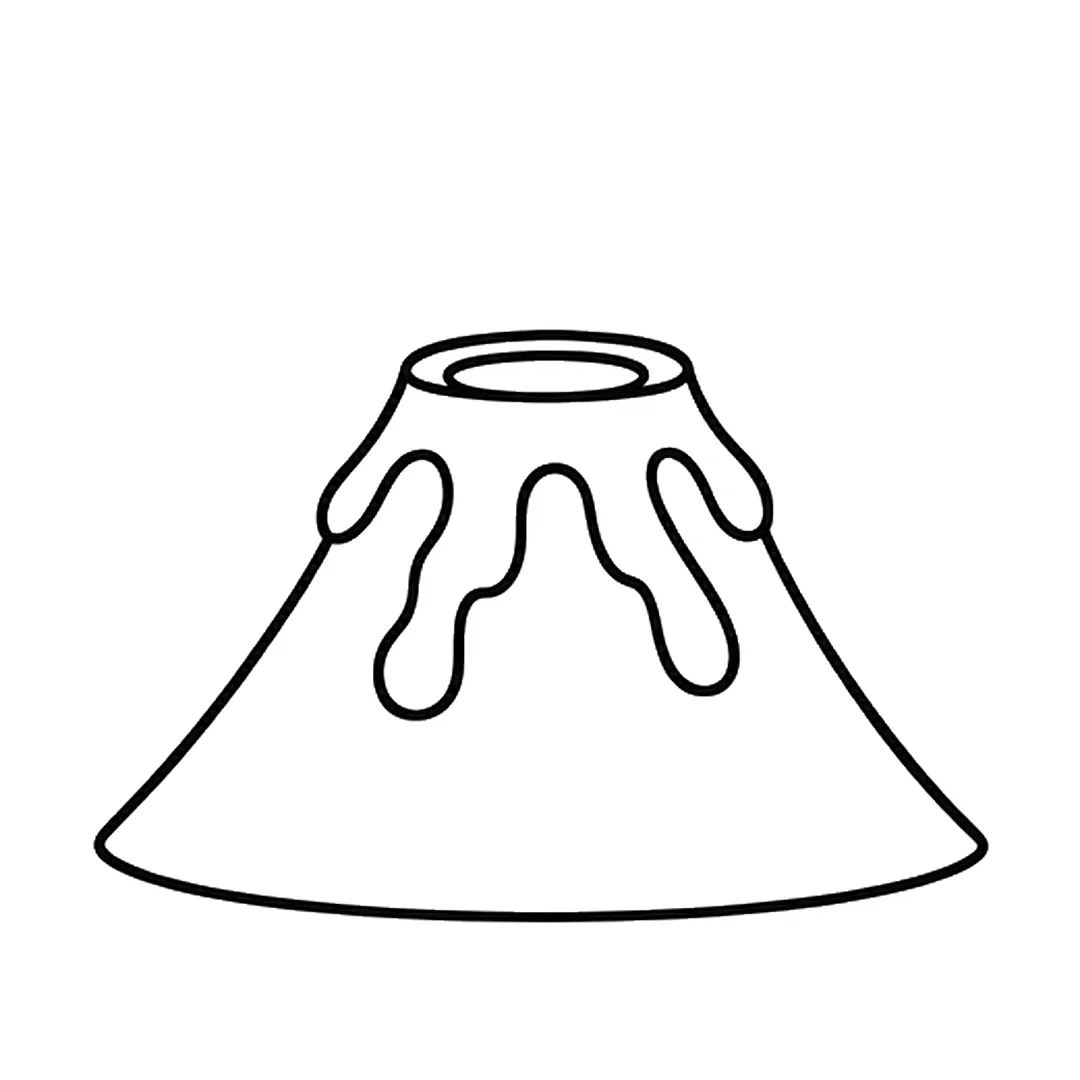
Step 3: Draw wavy lava with two long drips and a short drip over each side. Erase the side lines under it.
-
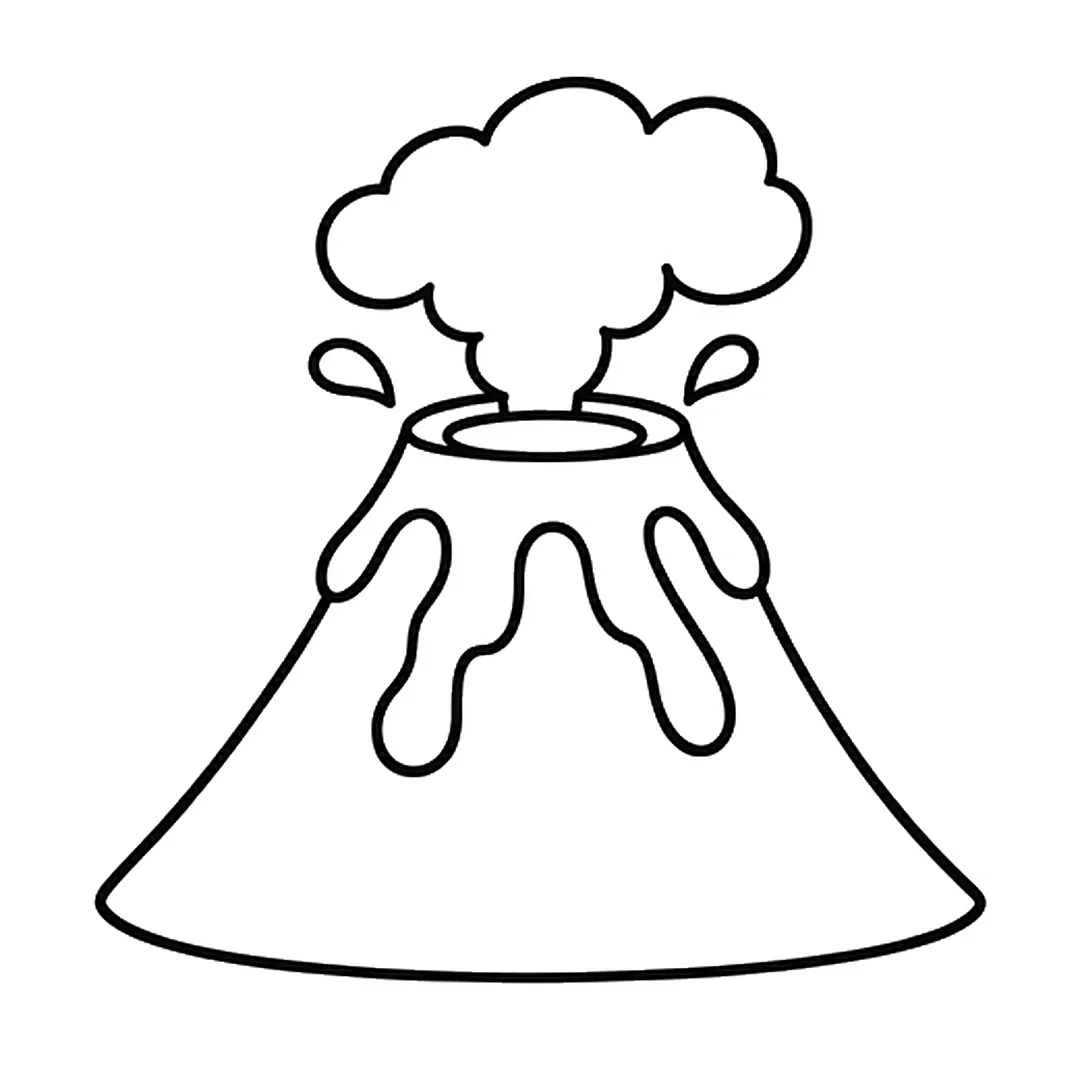
Step 4: Add a puffy smoke cloud from the crater, a splash on each side. Erase the rim line in the smoke.
-
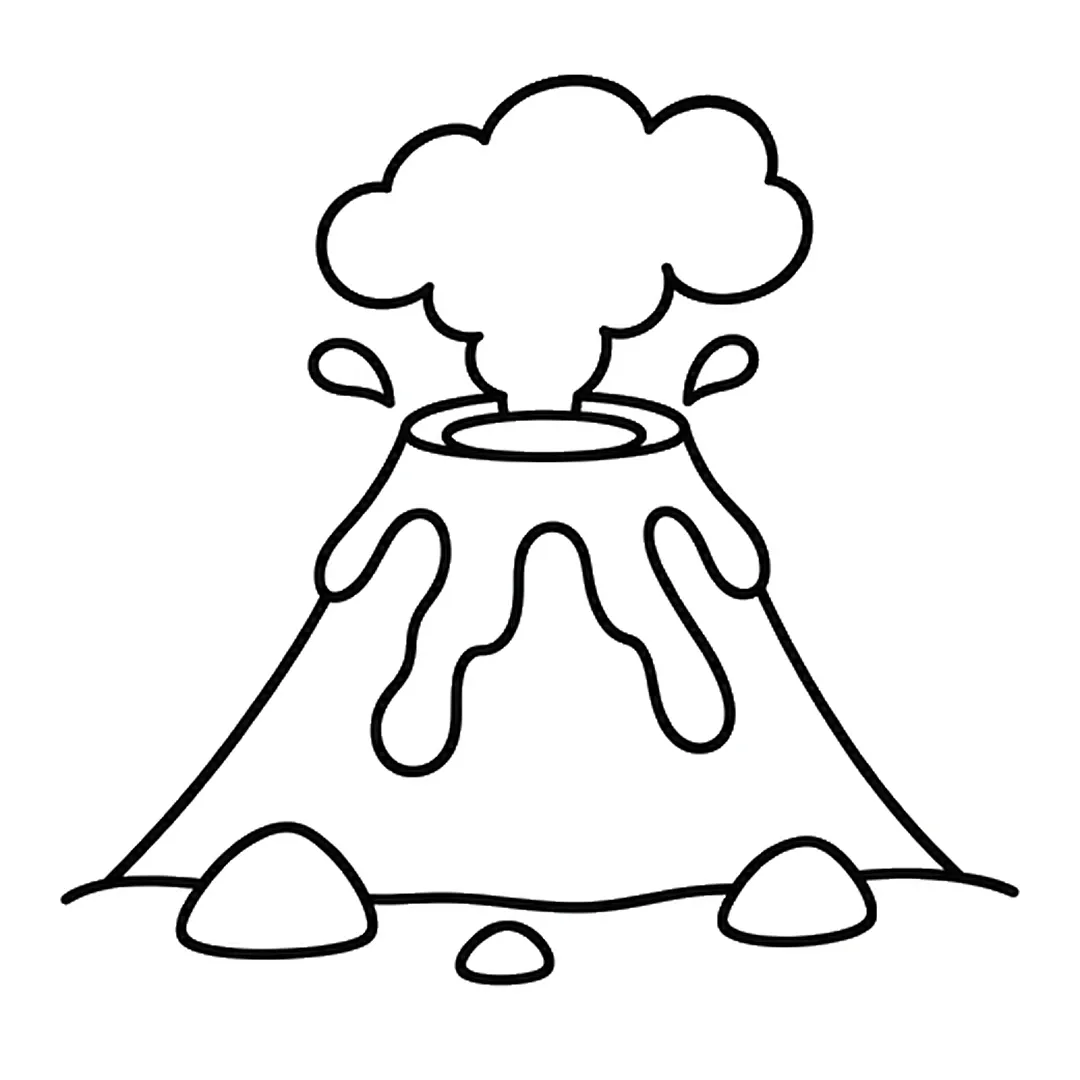
Step 5: Draw a wavy ground line, two big rocks and one small rock. Erase the old rounded bottom line.
-
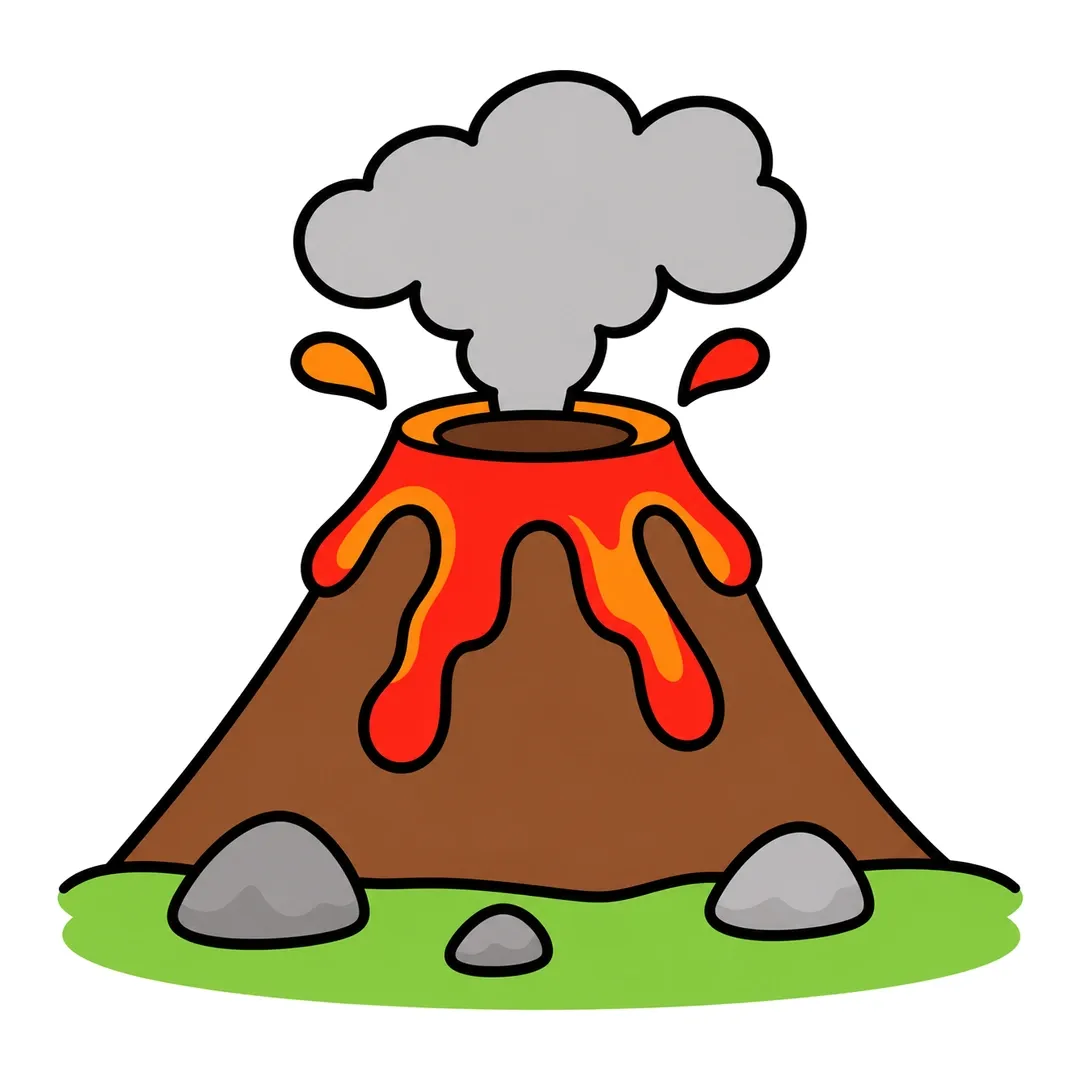
Step 6: Color it brown, crater dark brown, rim orange, lava red and orange, smoke, rocks gray, grass green.
11. Campfire
A campfire practices flames inside flames, a shape kids reuse for candles and torches. Our campfire tutorial builds it on two crossed logs.
- Draw two logs crossed in an X shape, each with a round end.
- Add a big flame with a tall middle tip and wavy side tips.
- Draw a smaller flame inside it, a center flame, wood rings and stones.
- Color the flames red, orange and yellow from the outside in.
-
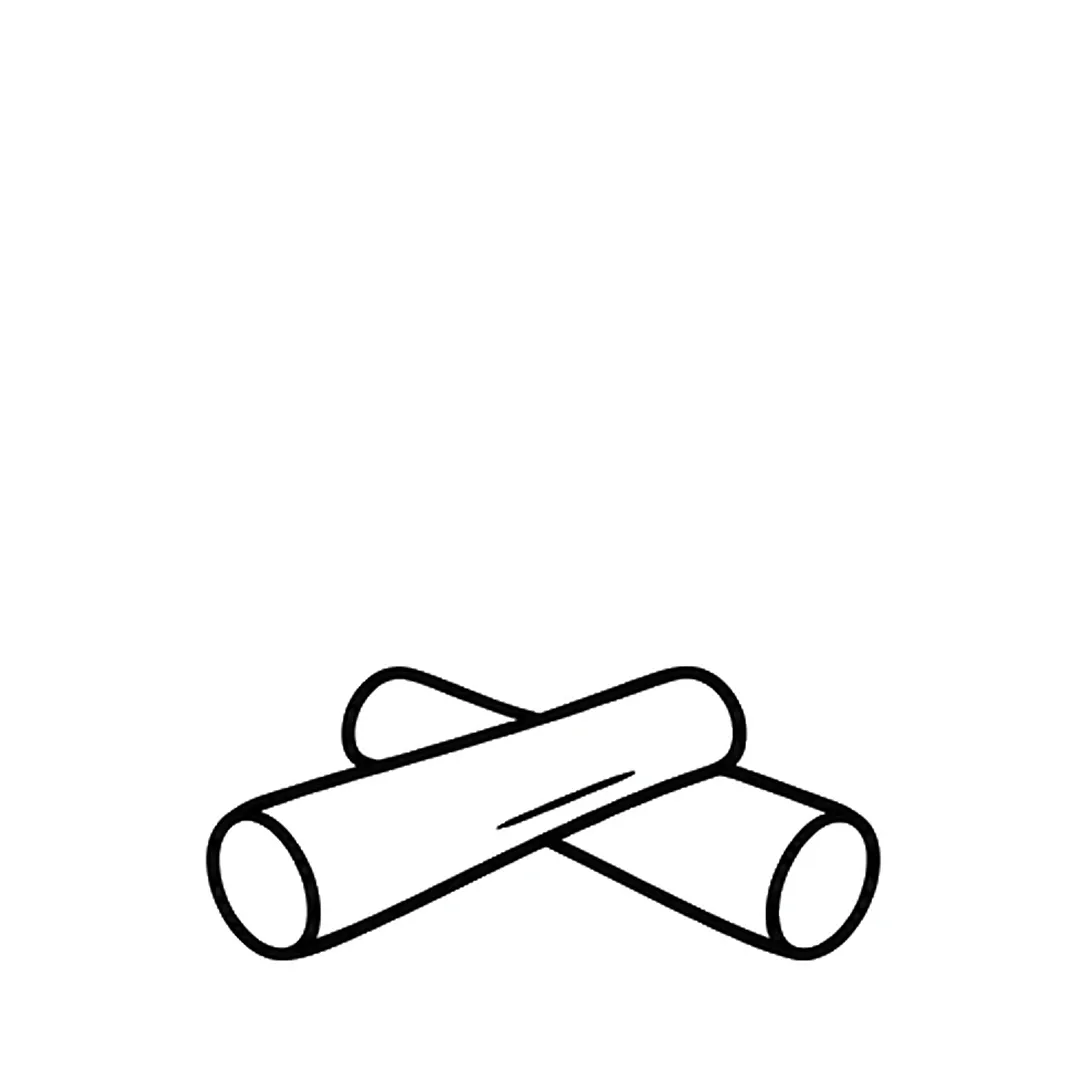
Step 1: Draw two logs crossed in an X shape, each with a round end.
-
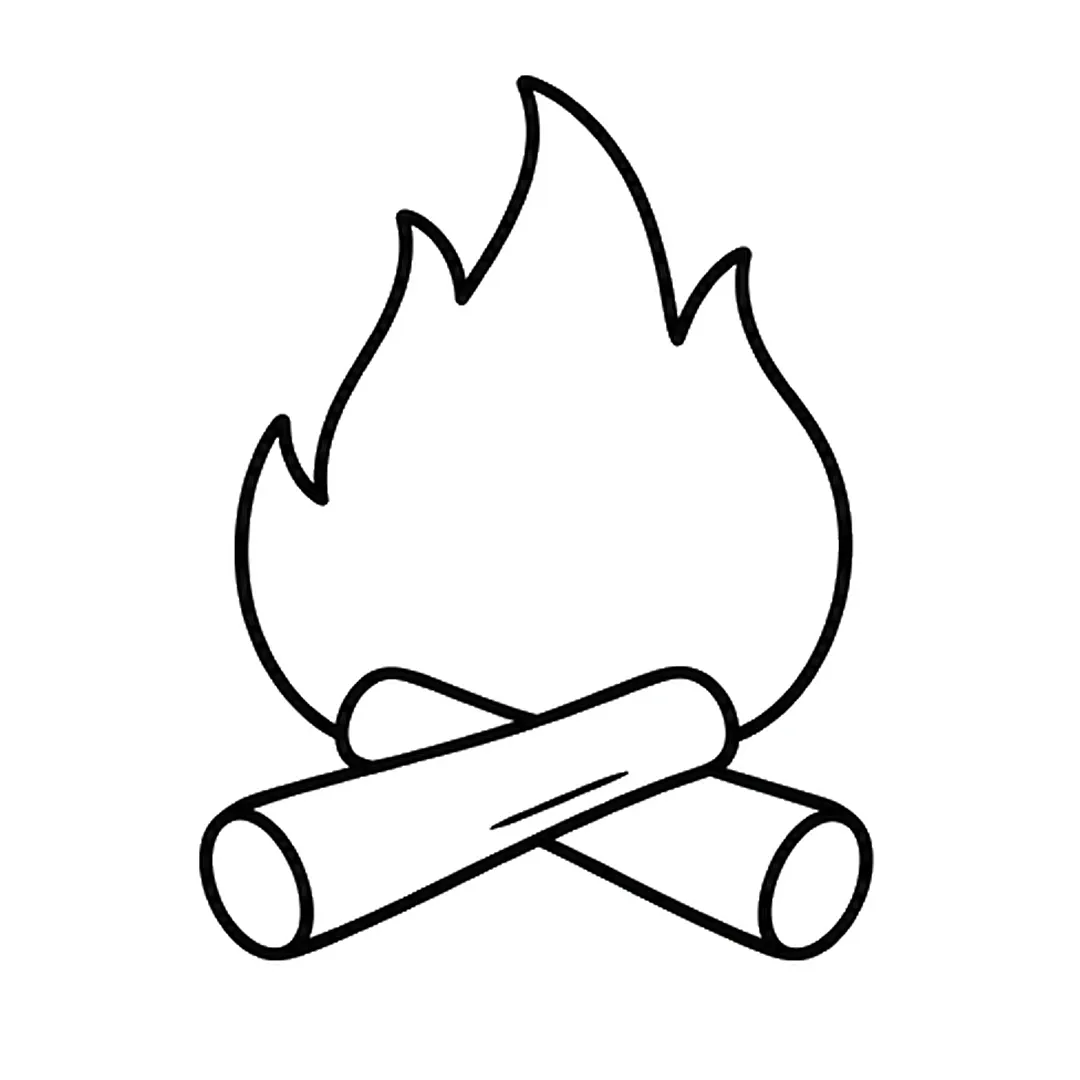
Step 2: Add a big flame with a tall middle tip and wavy side tips, rising from behind the logs.
-
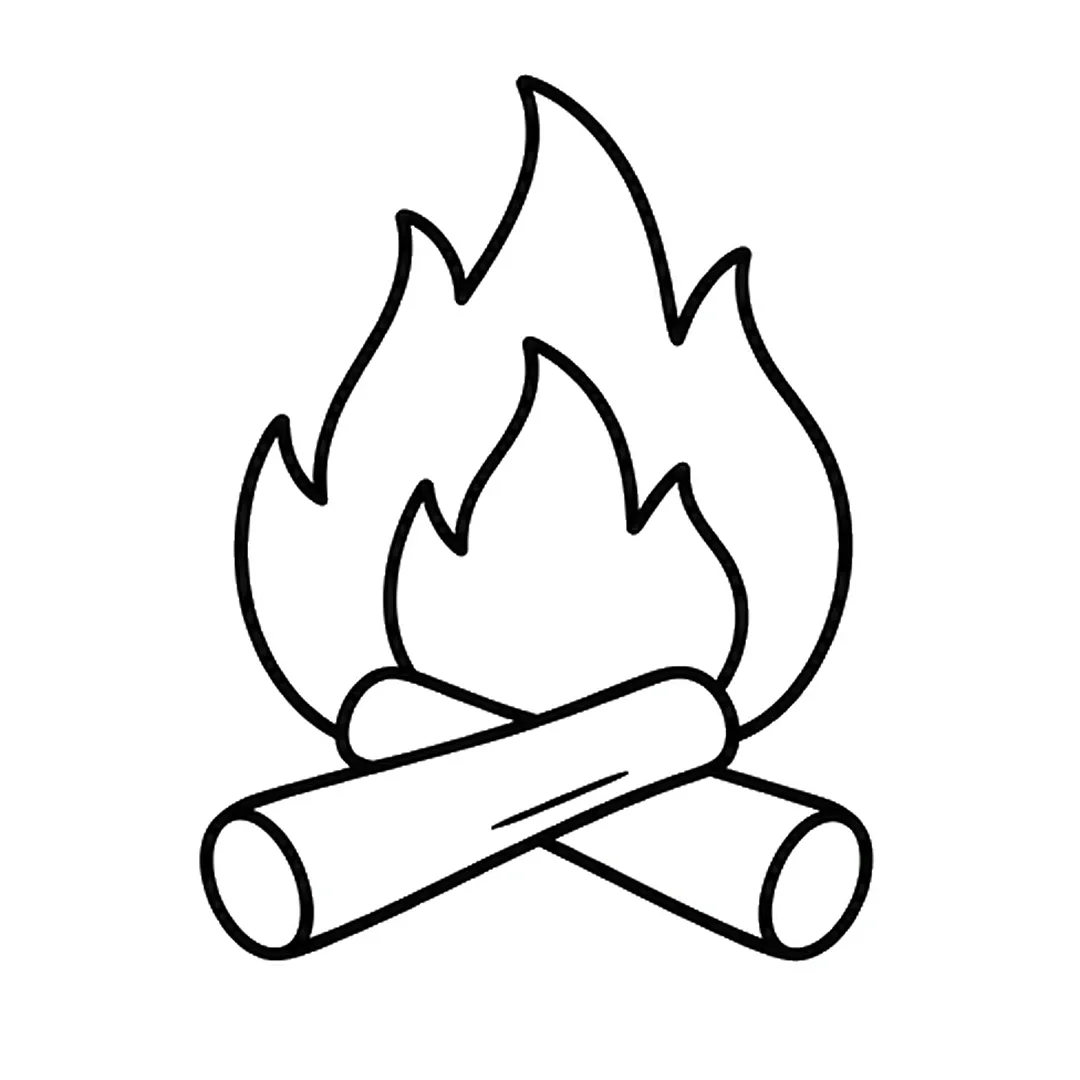
Step 3: Draw a smaller flame with wavy tips inside the big one.
-
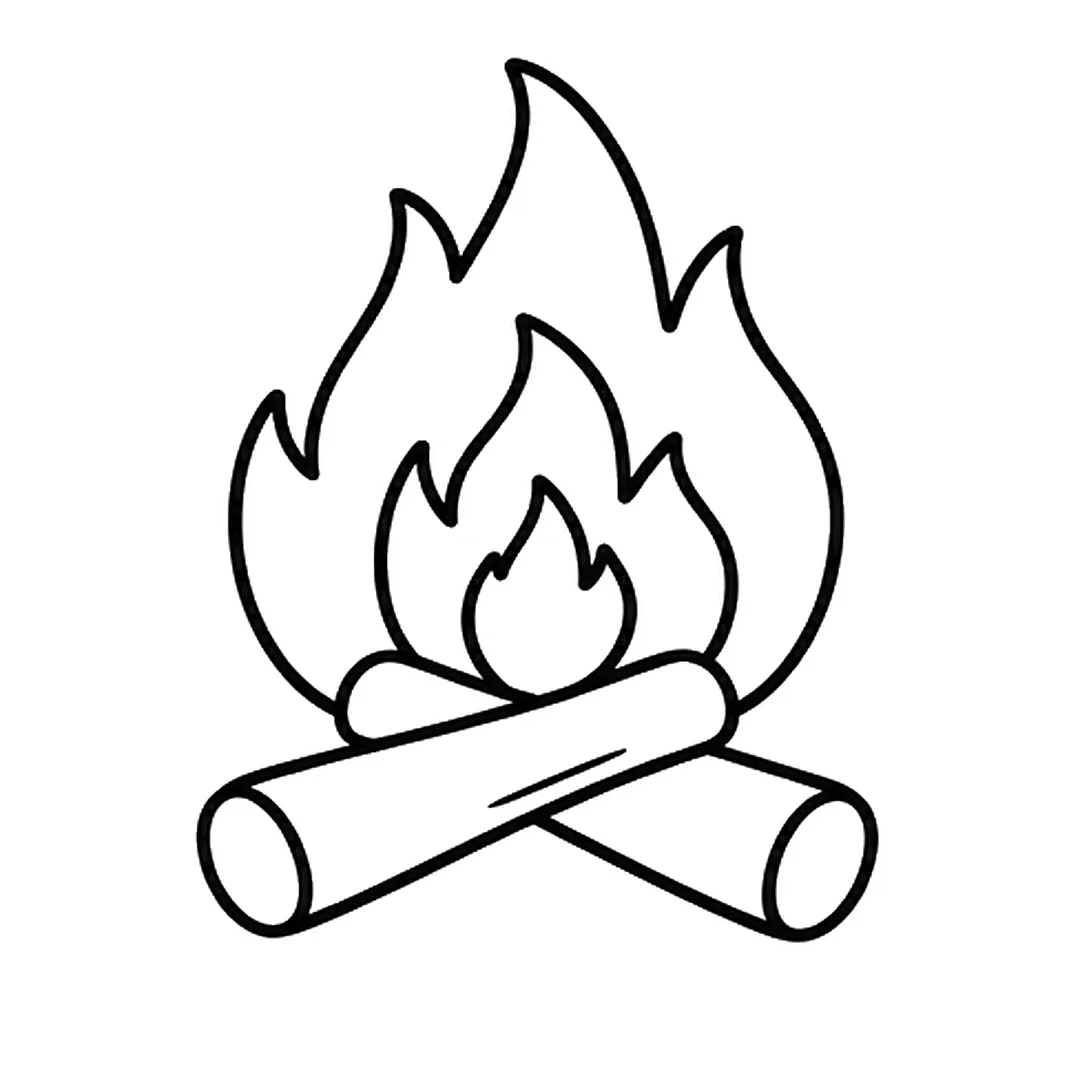
Step 4: Add a small center flame inside the smaller flame.
-
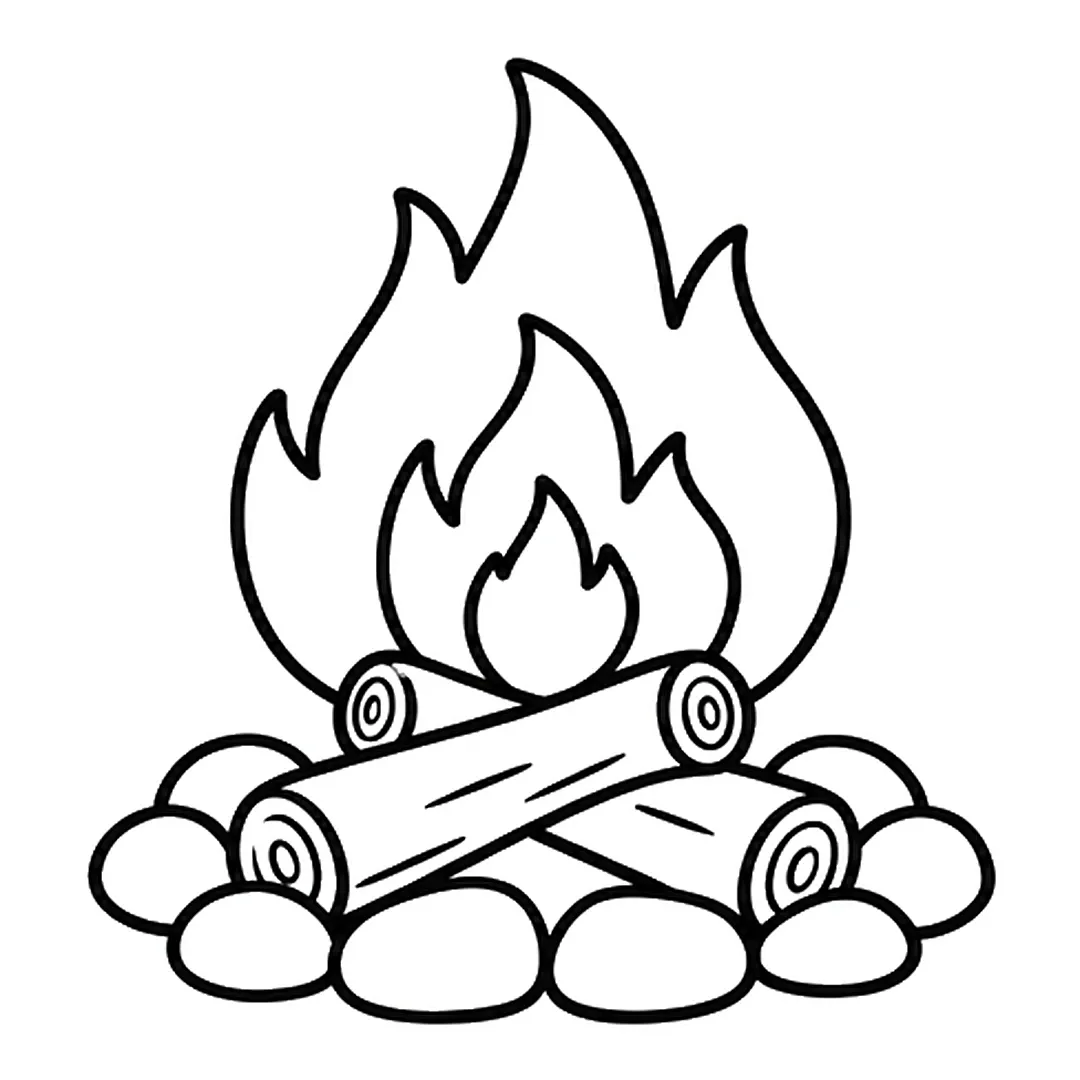
Step 5: Erase the old log ends. Redraw shorter logs with wood rings, add 8 stones, and erase lines they hide.
-
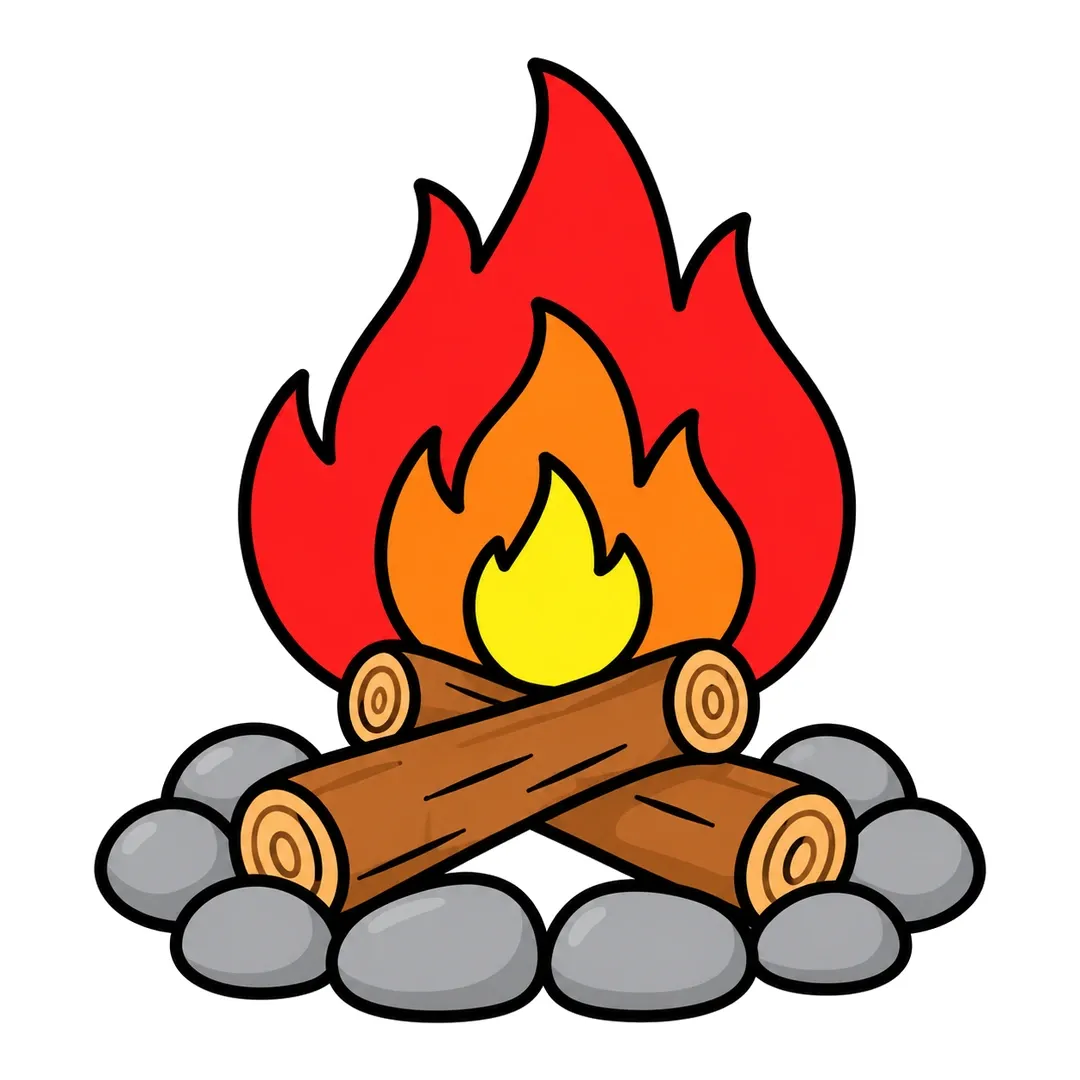
Step 6: Color the flames red, orange and yellow from outside in, logs brown, log ends tan and stones gray.
How Do Kids Draw Water in a Nature Picture?
Kids draw water in a nature picture with wavy lines for a river and curved bands for a rainbow. A rainbow belongs here because it forms when sunlight passes through raindrops. Neither has a tutorial yet, so use the mini steps below.
12. Winding River
A river is two wavy lines, but placing them well teaches near and far. A river forms as water moves from higher ground to lower ground because of gravity, according to the USGS. Small creeks flow downhill and merge into larger streams and rivers.
- Draw two thin wavy lines close together near the top of the page.
- Let the lines curve down the page and spread wider apart.
- Add small rocks and grass along both banks.
- Color the water blue with a few white wave marks.
A thin start and a wide end make the river look like it flows toward you.
13. Rainbow
A rainbow is a stack of curved bands, so it trains a steady hand, and it comes with a clear color rule. In the main rainbow, red sits on the top and violet on the bottom, NOAA’s NESDIS explains. The National Weather Service puts it the same way: red on the outside edge, blue along the inner part. Sunlight bends as it enters a water droplet, reflects off the inside and separates into colors.
- Draw one big arch across the page.
- Add five more arches inside it, each a little smaller.
- Color from the outside in: red, orange, yellow, green, blue, violet.
- Draw a fluffy cloud at each end.
National Geographic teaches “Roy G. Biv” (red, orange, yellow, green, blue, indigo, violet) but notes many scientists think indigo is too close to blue. A 6-crayon rainbow is fine. For a double rainbow, add a fainter outer bow with the order reversed, red on the bottom, as NOAA describes. The sunlight comes from behind the viewer, so keep the sun away from the arch.
How Do Kids Draw Weather Such as Clouds and Snow?
Kids draw weather with a puffy cloud and a six-armed snowflake, the two weather tutorials on this page. The cloud takes 4 steps, and we suggest it for 3-year-olds. The snowflake takes 6 steps of straight lines and small V shapes.
14. Rain Cloud
A cloud is the simplest drawing on this page, and the cloud tutorial adds a cartoon face and raindrops. NOAA divides the ten basic cloud types by height into high, mid-level and low clouds. A cumulus cloud has bulging tops, often like cauliflower, and a relatively dark, horizontal base.
- Draw a puffy cloud with five round bumps over the top and sides and a long flat bottom.
- Give the cloud two oval eyes with white shine dots and a little smile.
- Draw three teardrop raindrops under the cloud, the middle one a little lower.
- Shade the cloud light blue and fill each raindrop with darker blue.
-
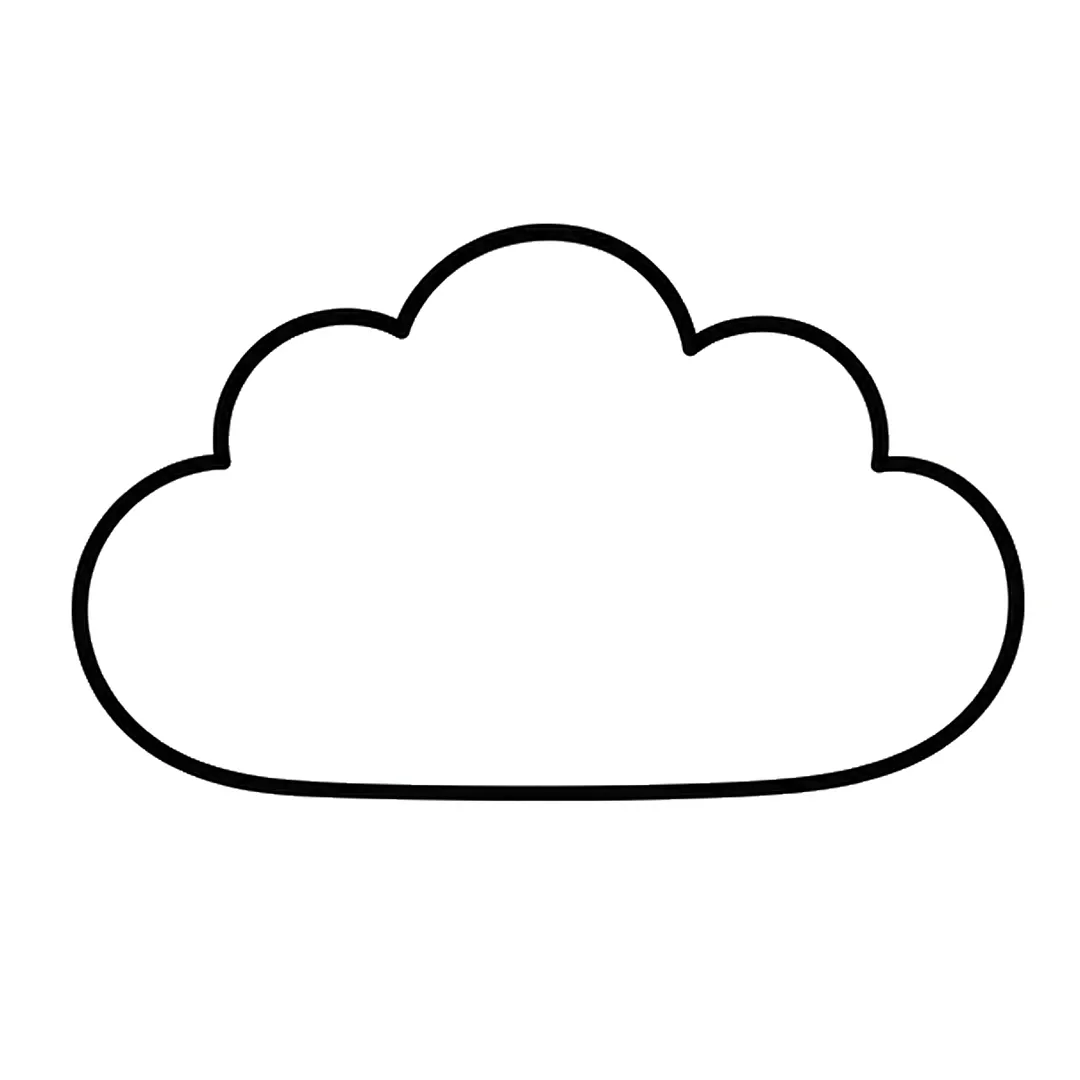
Step 1: Draw a puffy cloud with five round bumps over the top and sides and a long flat bottom.
-

Step 2: Add two oval eyes and a small smile in the middle. Fill the eyes black but leave a white shine dot.
-
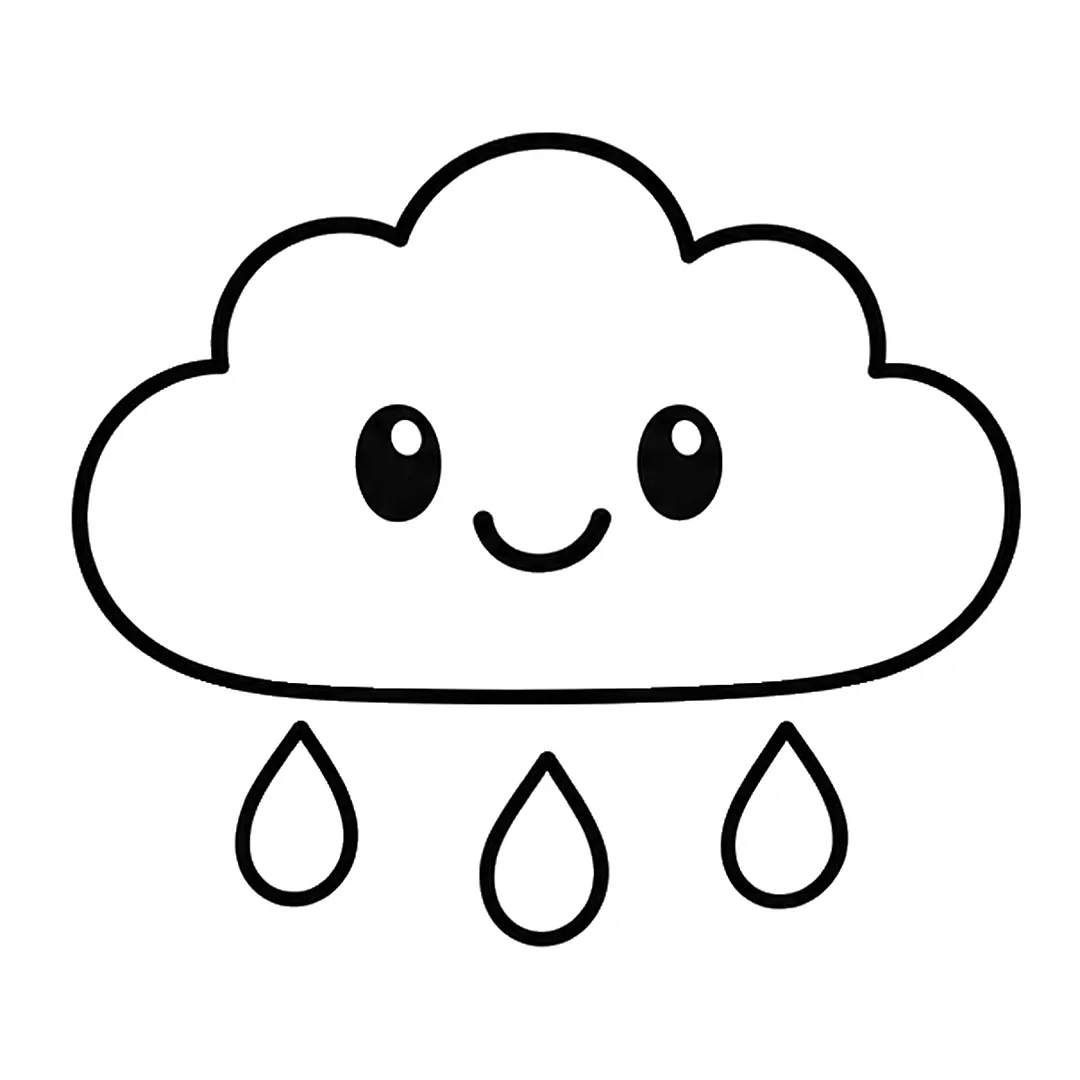
Step 3: Draw three teardrop raindrops under the cloud. Put the middle drop a little lower than the others.
-
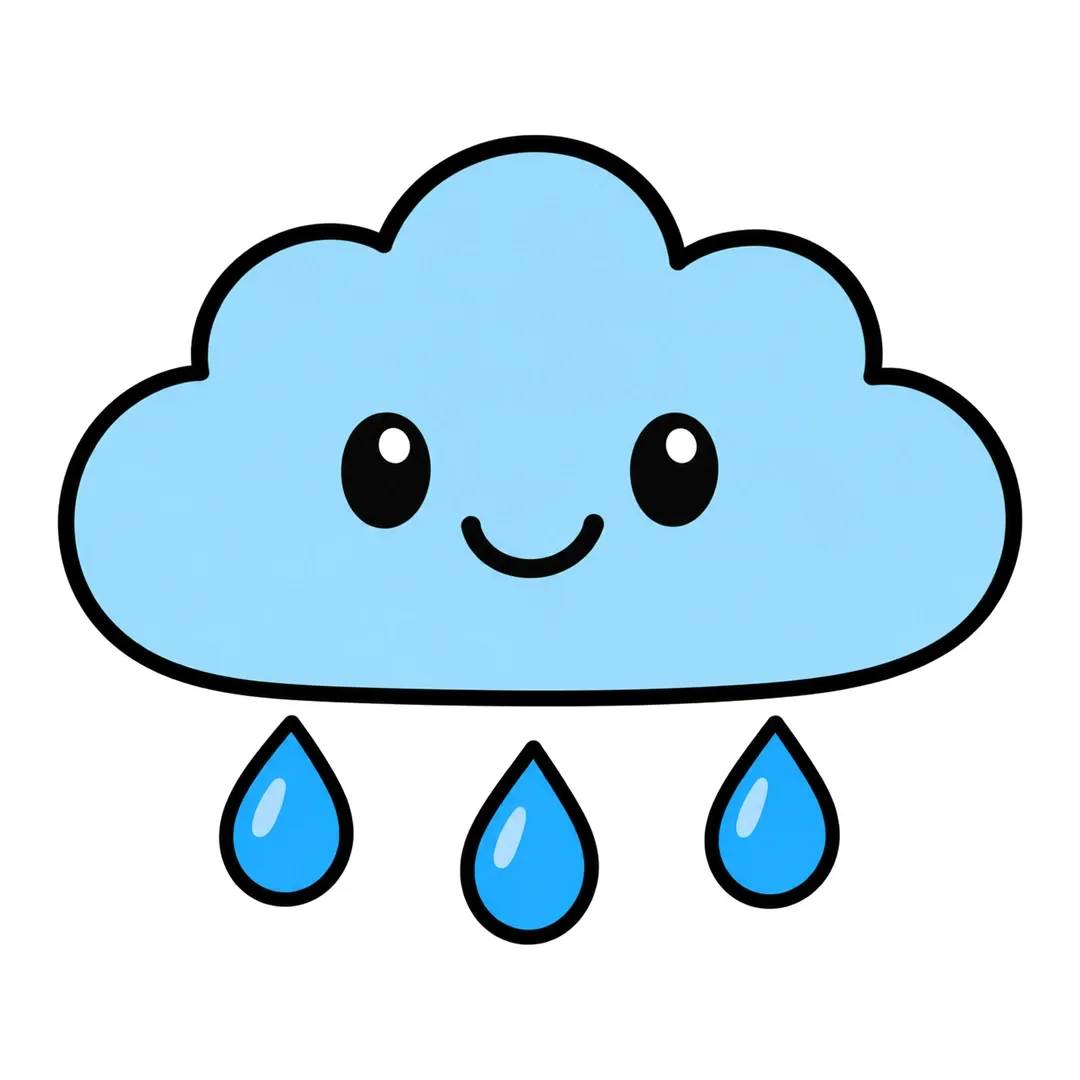
Step 4: Color the cloud light blue and the drops blue with a light blue shine mark. Keep the eye dots white.
For a wispy sky, add cirrus, high clouds that NOAA describes as typically thin and white.
15. Snowflake
A snowflake is all straight lines, so it suits kids who find curves hard. The snowflake tutorial starts with three crossing lines.
- Draw three straight lines that cross in the middle, making six arms.
- Add a small V-shaped branch near the tip of each arm, then a second one halfway down.
- Draw a small hexagon around the center and a circle at the end of each arm.
- Color the arms light blue and the center and tips dark blue.
-
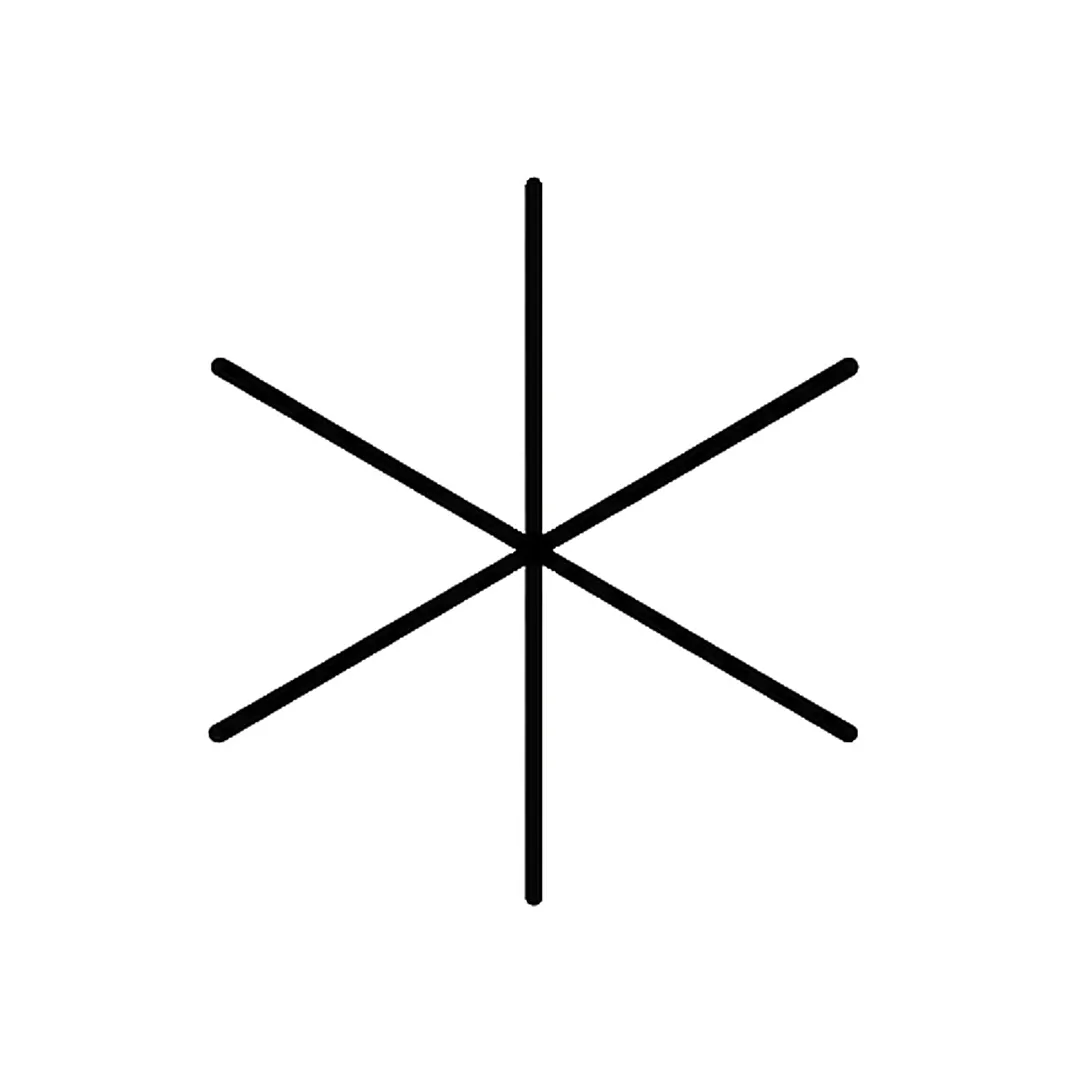
Step 1: Draw three straight lines that cross in the middle, making six arms.
-
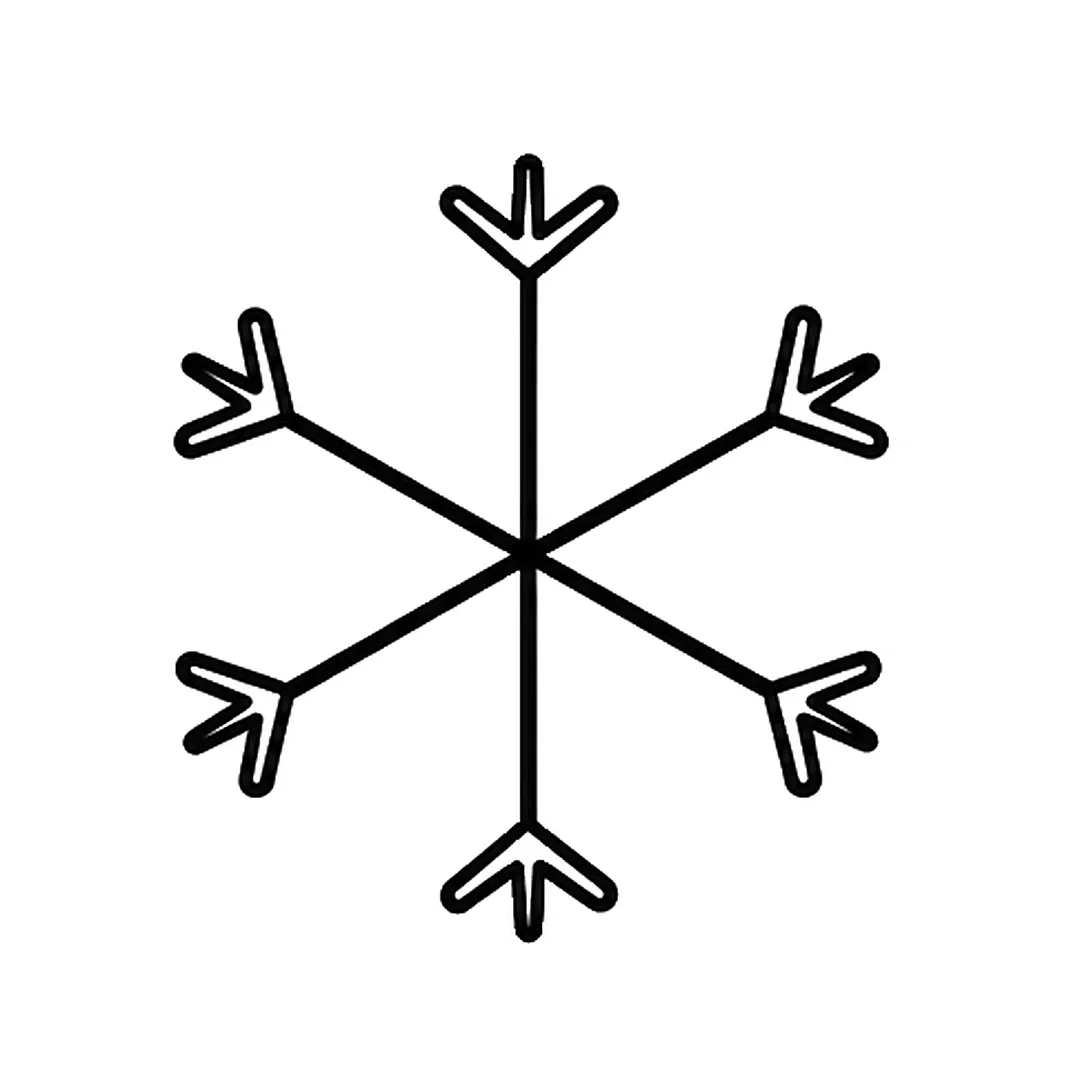
Step 2: Add a small V-shaped branch near the tip of each arm.
-
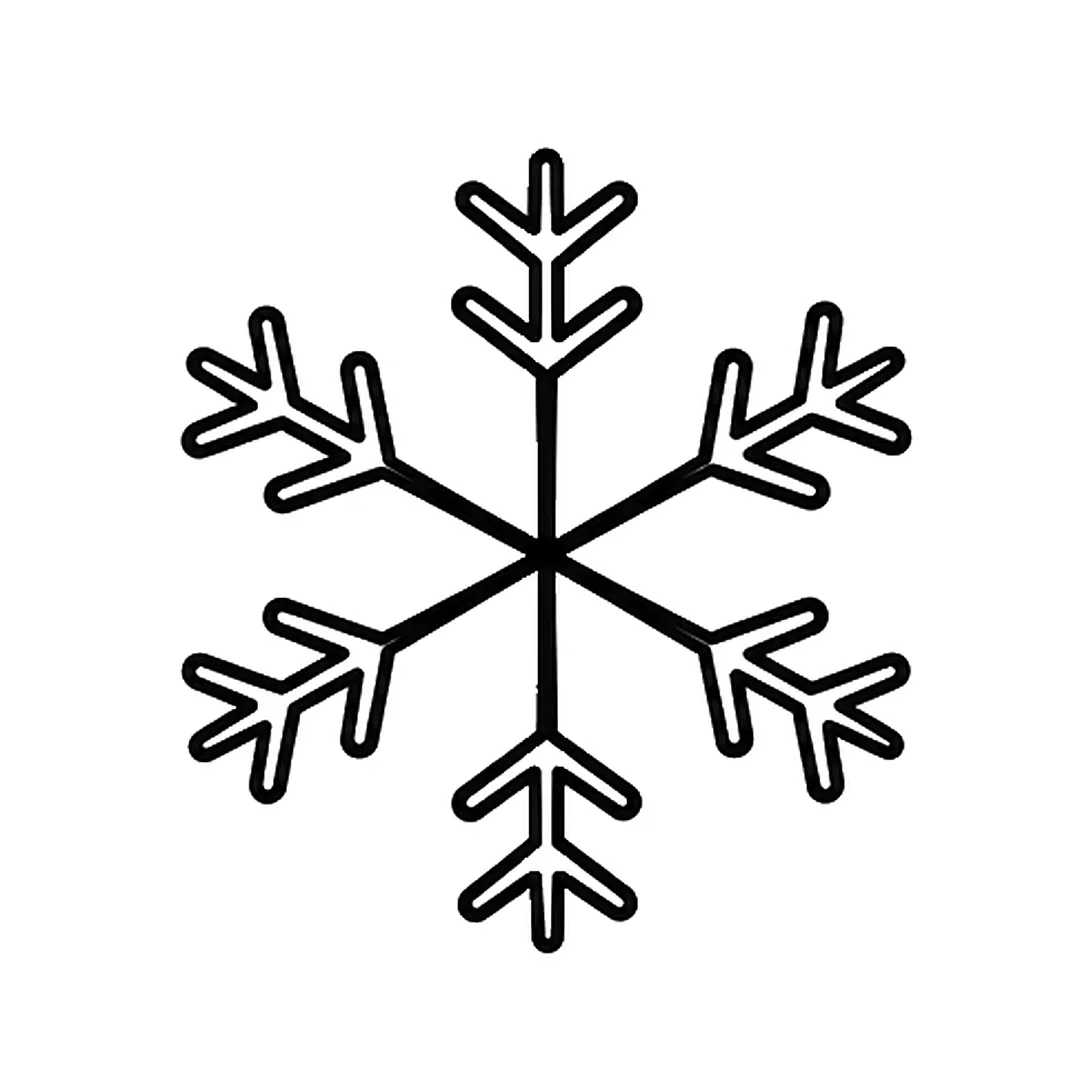
Step 3: Add a second V-shaped branch halfway down each arm.
-
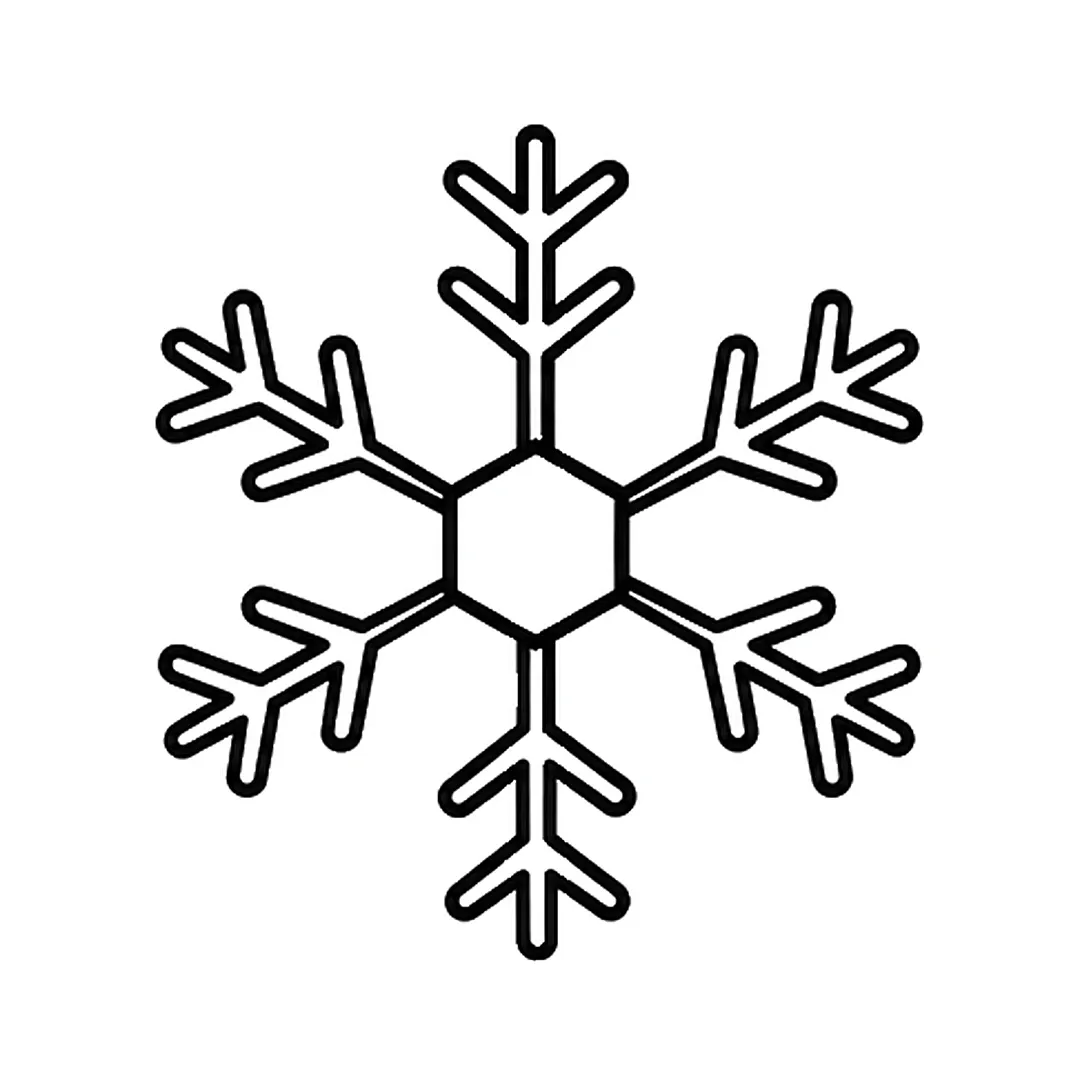
Step 4: Draw a small six-sided hexagon around the center.
-
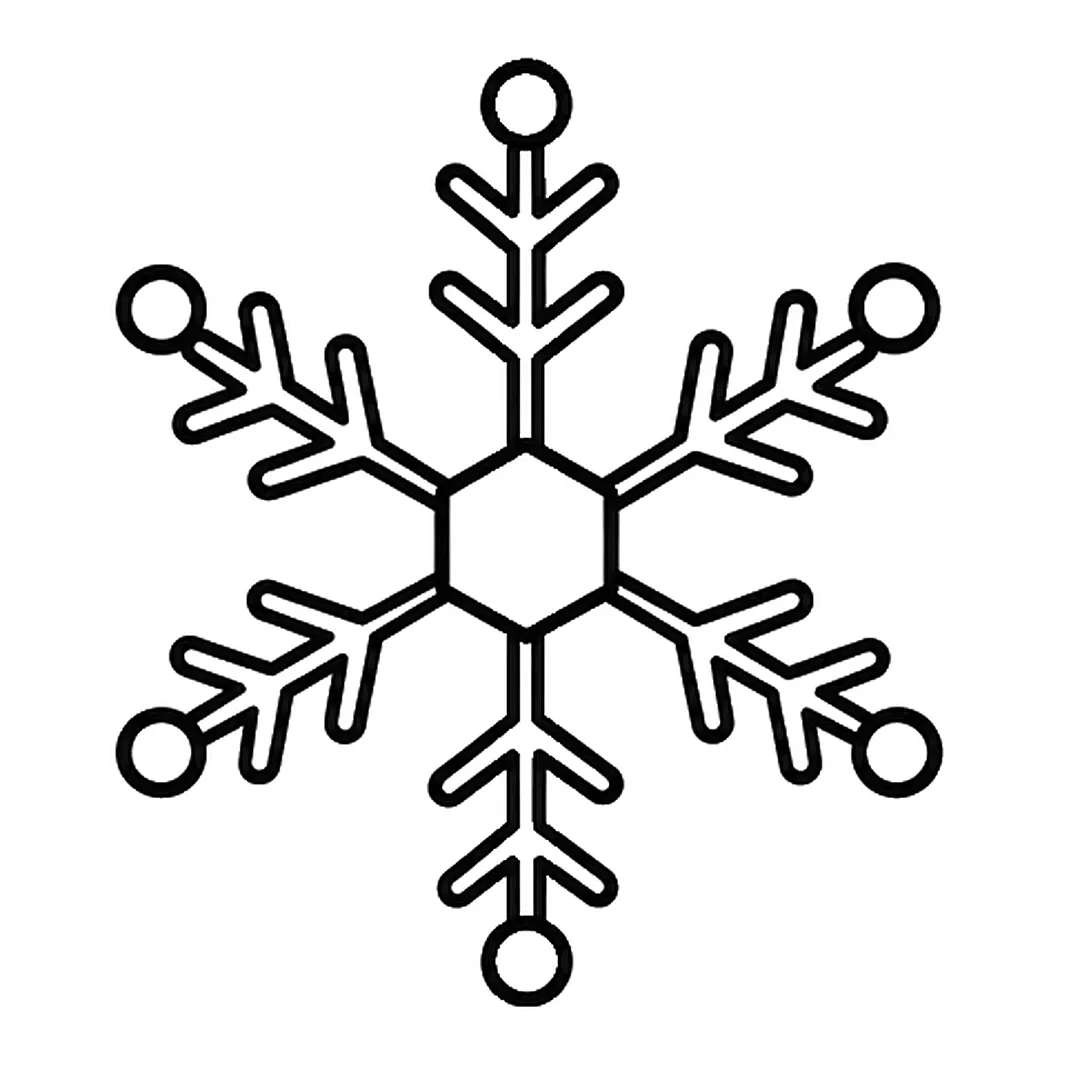
Step 5: Add a small round circle at the end of each arm.
-
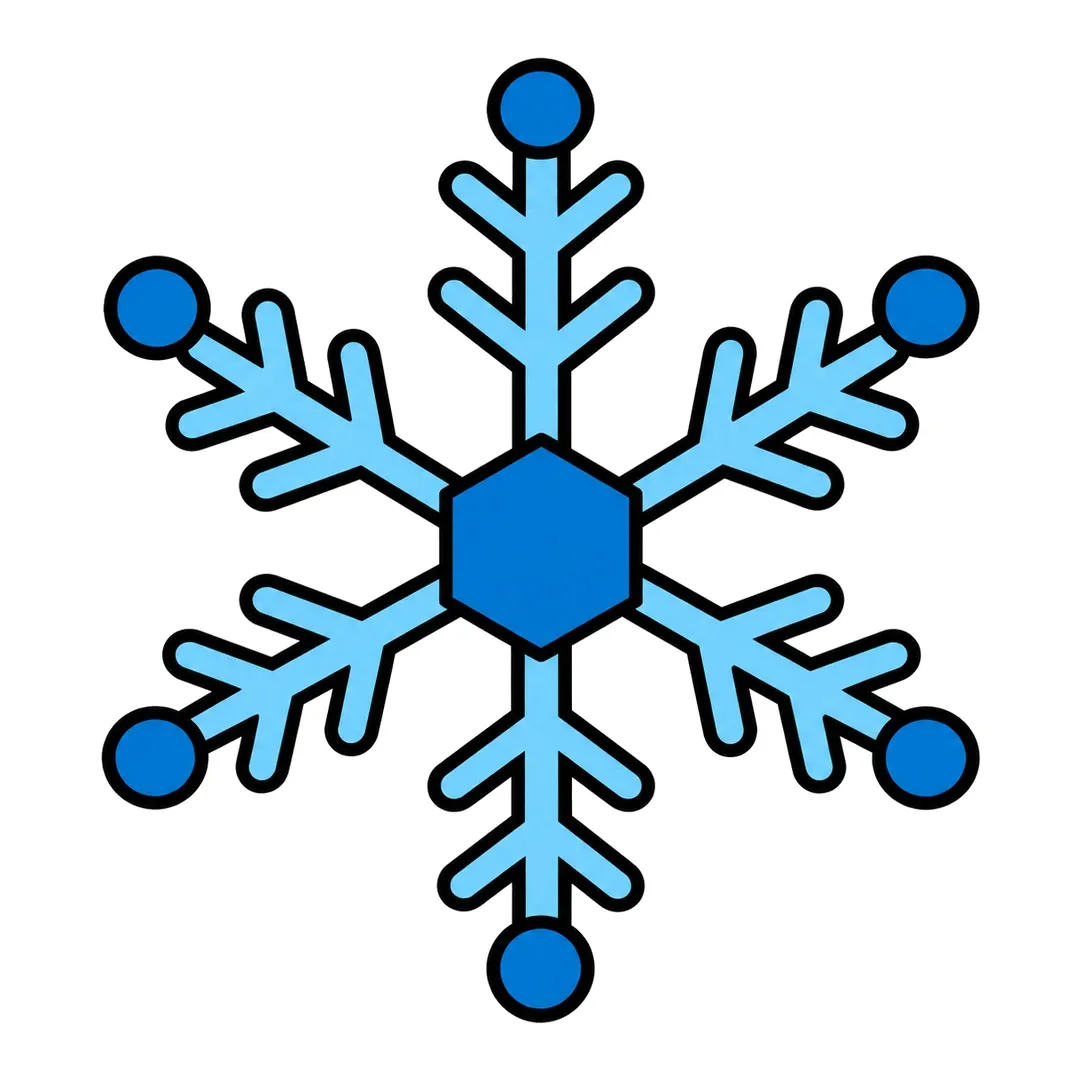
Step 6: Color the arms and branches light blue, and the center and tips dark blue.
For snowmen, mittens and snowy scenes, see our winter drawing ideas.
What Is Landscape Drawing for Kids?
Landscape drawing for kids is a picture of an outdoor place, with sky at the top and ground at the bottom. Tate calls landscape one of the principal types, or genres, of subject in Western art. Until the 17th century, landscape was confined to the background of portraits and of religious, mythological or historical paintings.
16. Simple Landscape With a Horizon Line
A simple landscape joins several ideas from this page in one scene. The key is the horizon line, where the sky meets the ground. Things far away sit higher and smaller, and things close to you sit lower and bigger.
- Draw a horizon line across the page, a little above the middle.
- Add two small mountains on the line, far away.
- Draw a river that starts thin near the mountains and widens at the bottom.
- Add one big tree low on the page, close to you.
- Color the sky first, then the ground, then the mountains, river and tree.
Older kids can trace a cup for a round frame and fit the scene inside it. For seasonal scenes, see our fall drawing ideas for kids.
Which Nature Subjects Fit a 3-Year-Old Versus a 9-Year-Old?
A 3-year-old fits one-shape subjects such as a sun, star or cloud, and a 9-year-old fits layered scenes and journal pages. The difference is how many shapes and steps a drawing needs. Treat these ages as our own suggestion, not a rule, and let your child try any idea that interests them.
| Age (our suggestion) | Good nature drawings | Why they fit |
|---|---|---|
| 3-4 | sun, star, cloud, rainbow | one main shape |
| 4-6 | moon, Earth, leaf, rock, tree | one subject plus a ground line or face |
| 5-7 | feather, mountain, river, snowflake | overlapping shapes, repeated details |
| 6-10 | volcano, campfire, simple landscape, nature journal page | several layers, erasing hidden lines |
How Can Kids Draw Nature From Real Life?
Kids can draw nature from real life by choosing one natural object, looking closely, and drawing what they notice. The National Park Service at Kenai Fjords calls nature journaling a method to take time and focus your awareness on a natural object. Its lessons were built with two 5th-grade classes.
Nature Journaling Prompts
John Muir Laws uses three prompts: “I notice, I wonder, It reminds me of.” Laws writes that the prompts lead you to observe more deeply and ask better questions.
In How to Teach Nature Journaling, a book of 31 field activities, Laws and Emilie Lygren write: “Do not worry about making a pretty picture.” One activity records observations with words, pictures and numbers.
Classroom Nature Walk
A short walk gives a class real models for this page. Through nature journaling, students learn the scientific process by doing instead of by memorization, the National Park Service says. A simple walk plan:
- Collect one leaf, one small rock or one feather per child.
- Draw the object life size in pencil.
- Write one “I notice” and one “I wonder” sentence beside it.
- Count something, such as leaf points or rock stripes, and write the number.
Back inside, use a tutorial’s “Show steps on the board” mode for a colored class version.
How Do You Print These Nature Drawings for Free?
You can get a free step sheet PDF on each tutorial page, sent by email. Browse our free step sheets or get the free 44-page book at /free-drawing-book/. The Flowers and Nature Drawing Pack adds step, tracing, coloring and draw-and-write pages. For flowers, see our easy flower drawing ideas.