
How to Draw a Winter Tree (Easy Step-by-Step for Kids)
To draw a winter tree, start with a trunk that splits into two big branches. Add five smaller branches and eight forked twigs. Finish with eight snow caps, a snowy ground and five snowflakes.
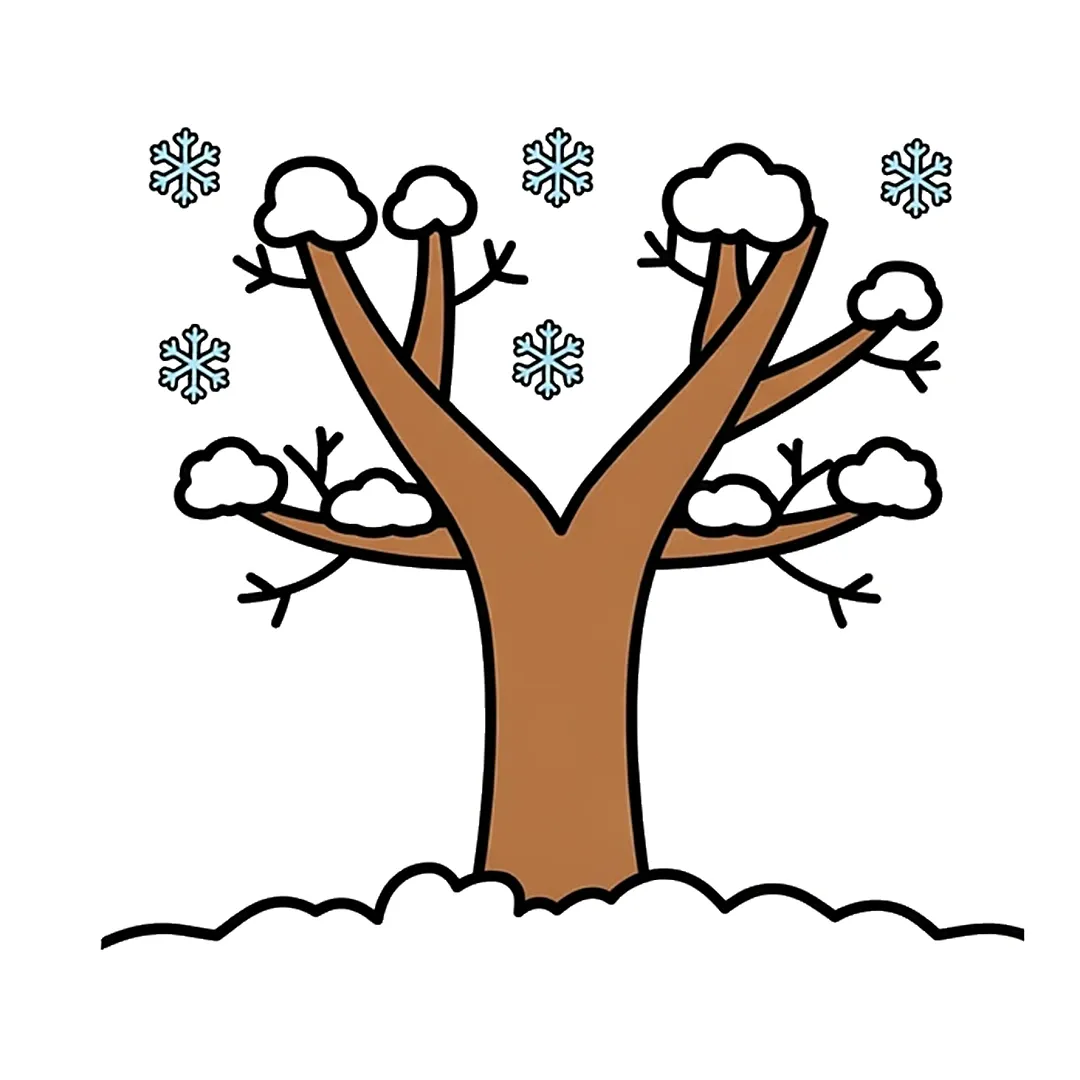
- Steps
- 6 easy steps
- You need
- Pencil
- Eraser
- Black marker
- Brown and light blue crayons
Teaching this to a class?
Show one step at a time on the board and wait for the class before the next. The directed drawing for kids page explains how to run it.
How to draw a winter tree step by step
-
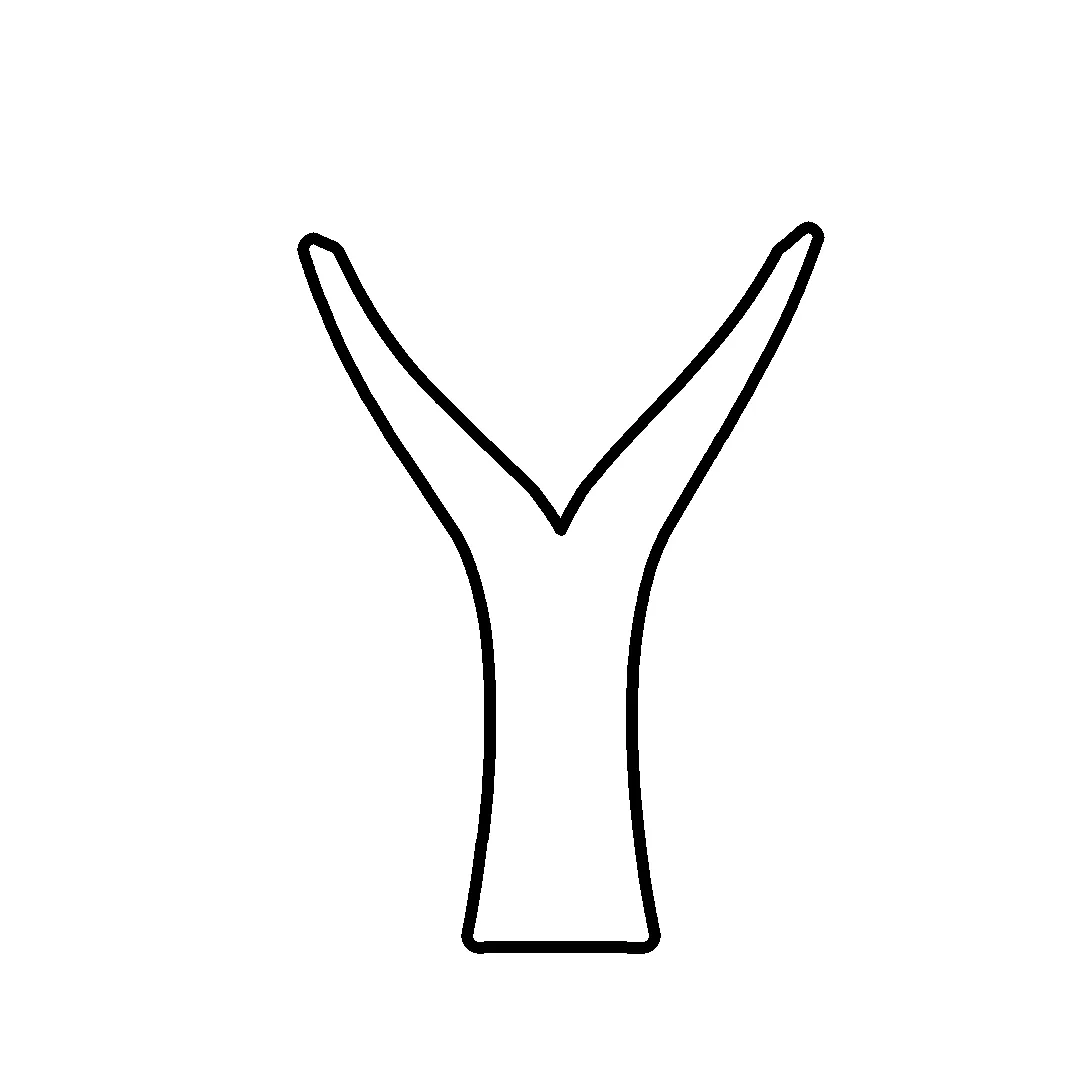
Step 1 of 6: Draw a thick trunk that splits into two big branches at the top, like the letter Y.
-
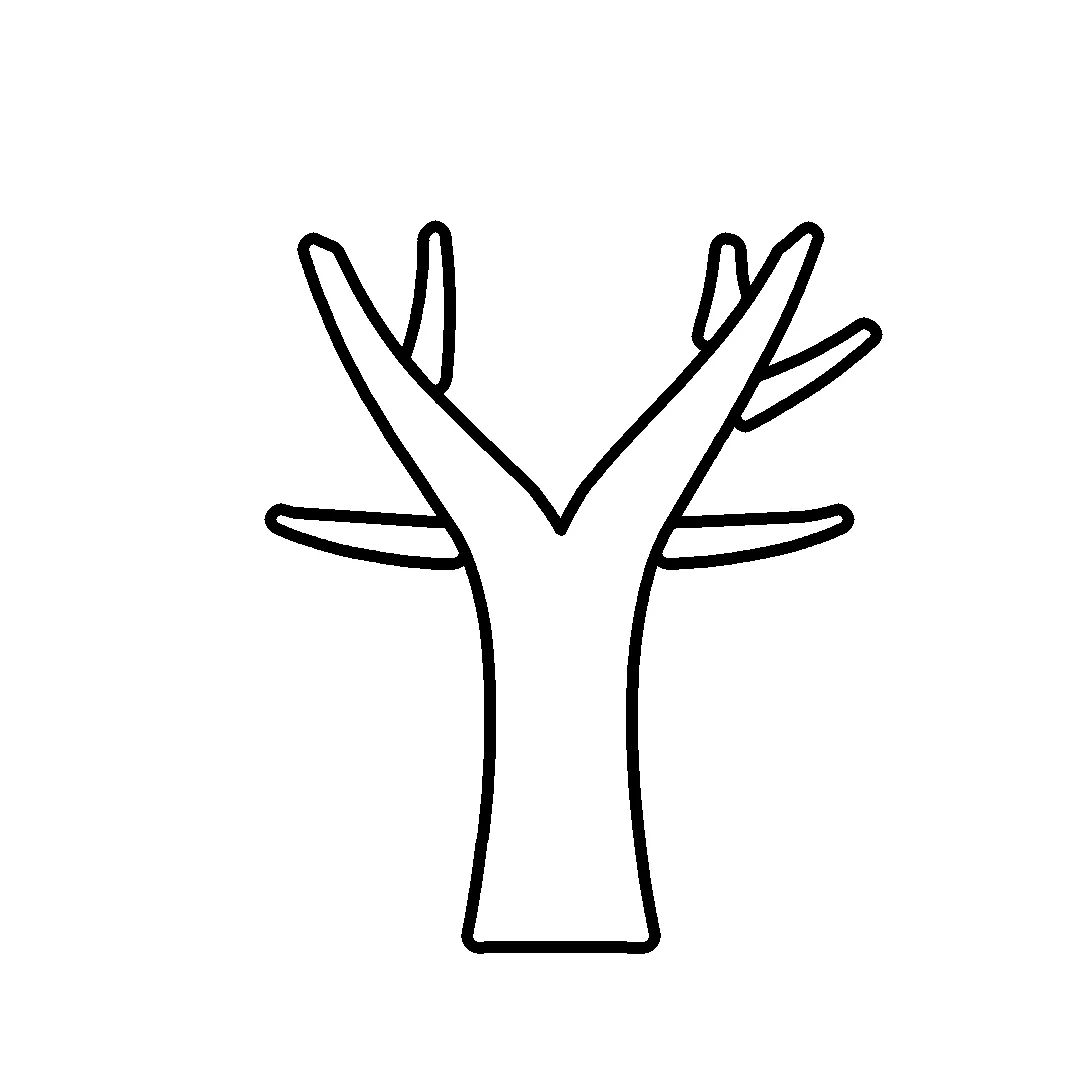
Step 2 of 6: Add five smaller branches: one up beside each big branch, one to the upper right and two low ones.
-
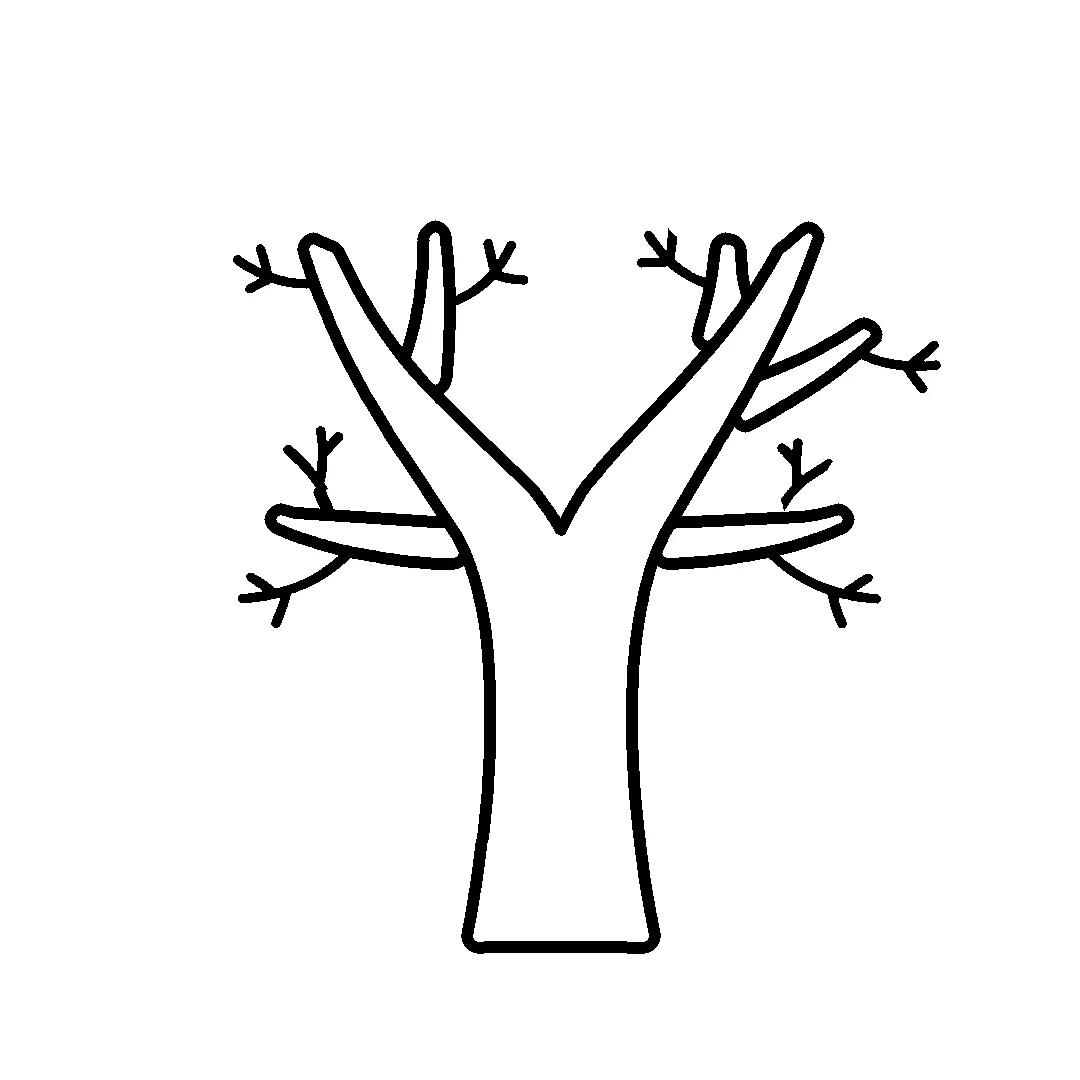
Step 3 of 6: Draw eight small forked twigs with single lines on the ends and sides of the branches.
-
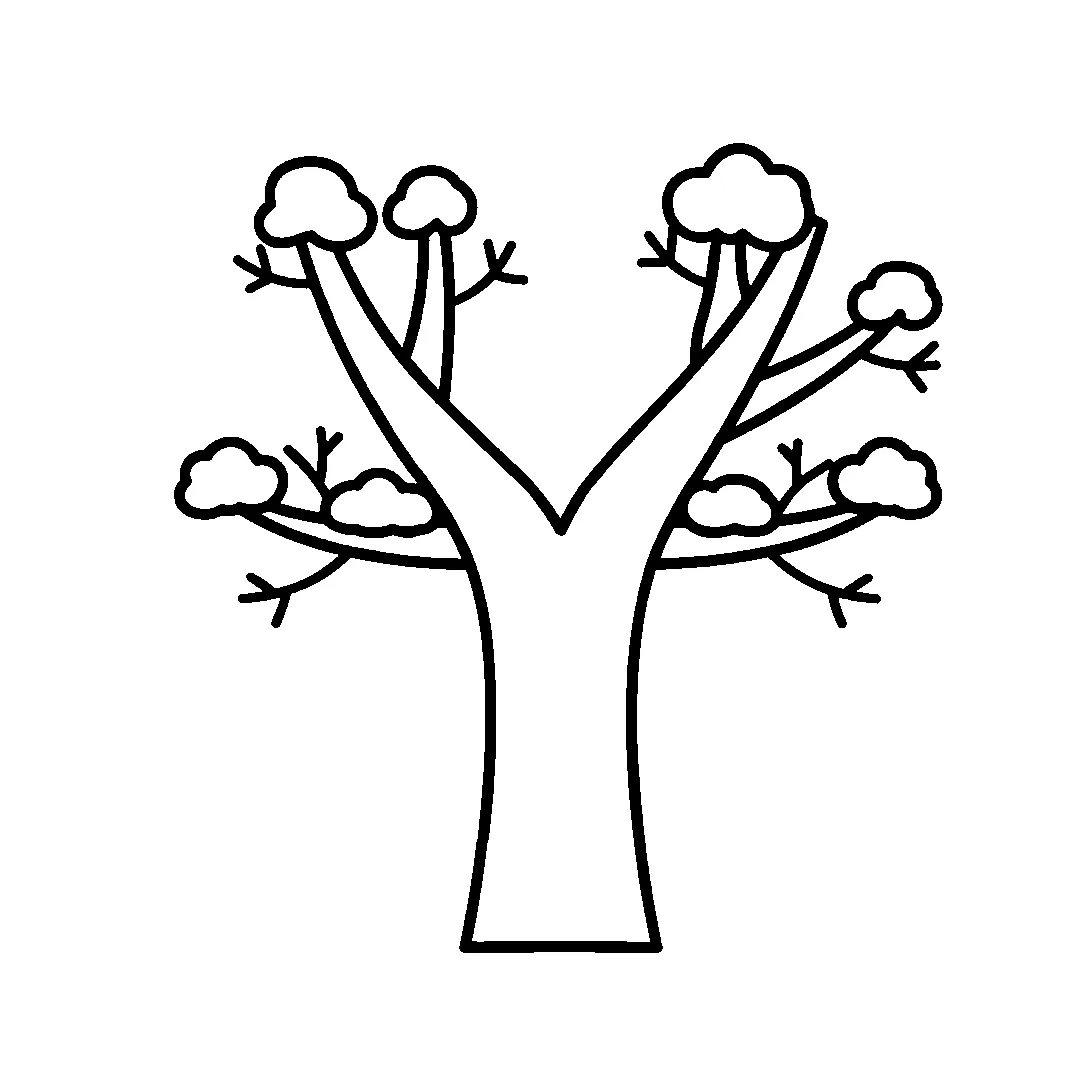
Step 4 of 6: Add eight puffy snow caps on the branch tips and low branches. Erase the lines inside each cap.
-
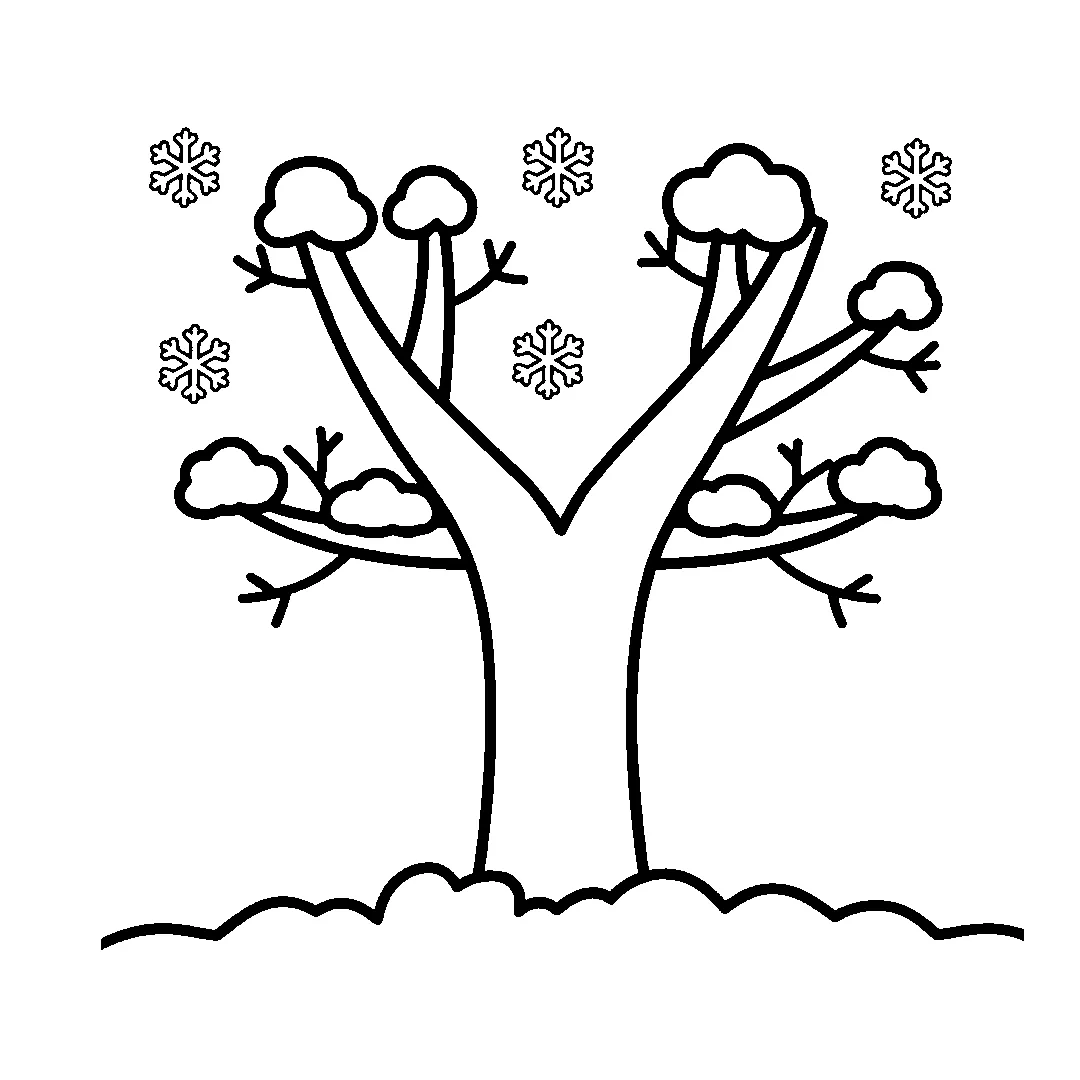
Step 5 of 6: Draw a bumpy snowy ground over the trunk and five snowflakes. Erase the trunk's bottom line.
-
Step 6 of 6: Color the trunk and branches brown and the snowflakes light blue. Keep the caps and ground white.


Tips for little artists
Tip: Press lightly with the pencil first. Trace the lines you like with the marker, then erase the rest.
Tip: Make the trunk wider at the bottom and let each branch get thinner toward its tip.
Tip: Space the five snowflakes around the top of the tree so the sky feels full of snow.
Make it yours
Bird on a branch
Draw a small red bird sitting on one of the long low branches.
Night tree
Color the sky dark blue behind the tree and add a round white moon.
Holiday lights
Wrap a string of small colored lights around the two big branches.
Common mistakes and easy fixes
The branches look like sticks glued on
Start each smaller branch wide where it joins and let it narrow to a rounded tip.
The snow caps hide the whole tree
Keep each cap small, so it only sits on the tip or top of a branch.
The snowflakes look like stars
Give each snowflake six arms with a little V at the end of every arm.
Fun facts about the winter tree
Deciduous broadleaved trees are the ones that drop their leaves in the autumn. (Source: USDA Forest Service)
The stems, twigs and buds of trees are equipped to survive extreme cold so they can reawaken in spring. (Source: USDA Forest Service)
As an ice crystal falls, water vapor freezes onto it and builds the six arms of a snowflake. (Source: NOAA)
Questions grown-ups ask
How to draw a winter tree easy?
Draw a Y shaped trunk, then add five smaller branches and eight forked twigs. Put puffy snow caps on the branches and a snowy ground at the bottom.
How to draw a winter tree without leaves?
Draw the bare trunk and branches first, then add thin forked twigs on the ends and sides of the branches. In this drawing the snow caps give the bare tree its winter look.
How to draw a tree with snow on it?
Follow the 6 steps above and add the snow in steps 4 and 5. Draw puffy caps on the branches, a bumpy snowy ground and five snowflakes, then leave the snow white.
If your branches came out a little crooked, that's fine. Your winter tree has its own snowy shape. More easy drawings for kids are on the home page.