
How to Draw a Sleigh (Easy Step-by-Step for Kids)
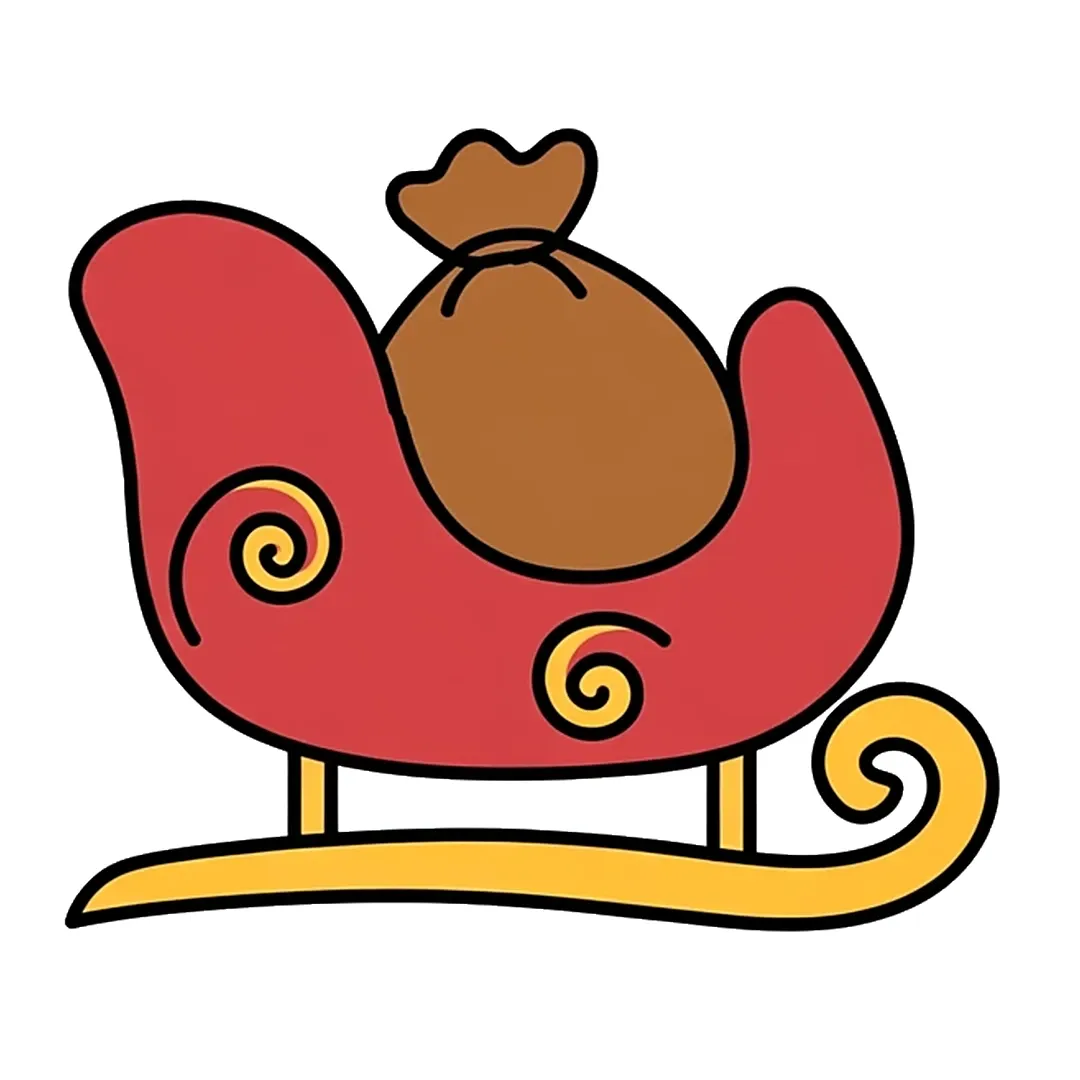
To draw a sleigh, start with a big curved body that has a tall back and an oval seat. Add a long runner that curls at the front and two short posts. Finish with two swirls and a round gift sack.
- Steps
- 6 easy steps
- You need
- Pencil
- Eraser
- Black marker
- Red, golden yellow and brown crayons
Teaching this to a class?
Show one step at a time on the board and wait for the class before the next. The directed drawing for kids page explains how to run it.
How to draw a sleigh step by step
-
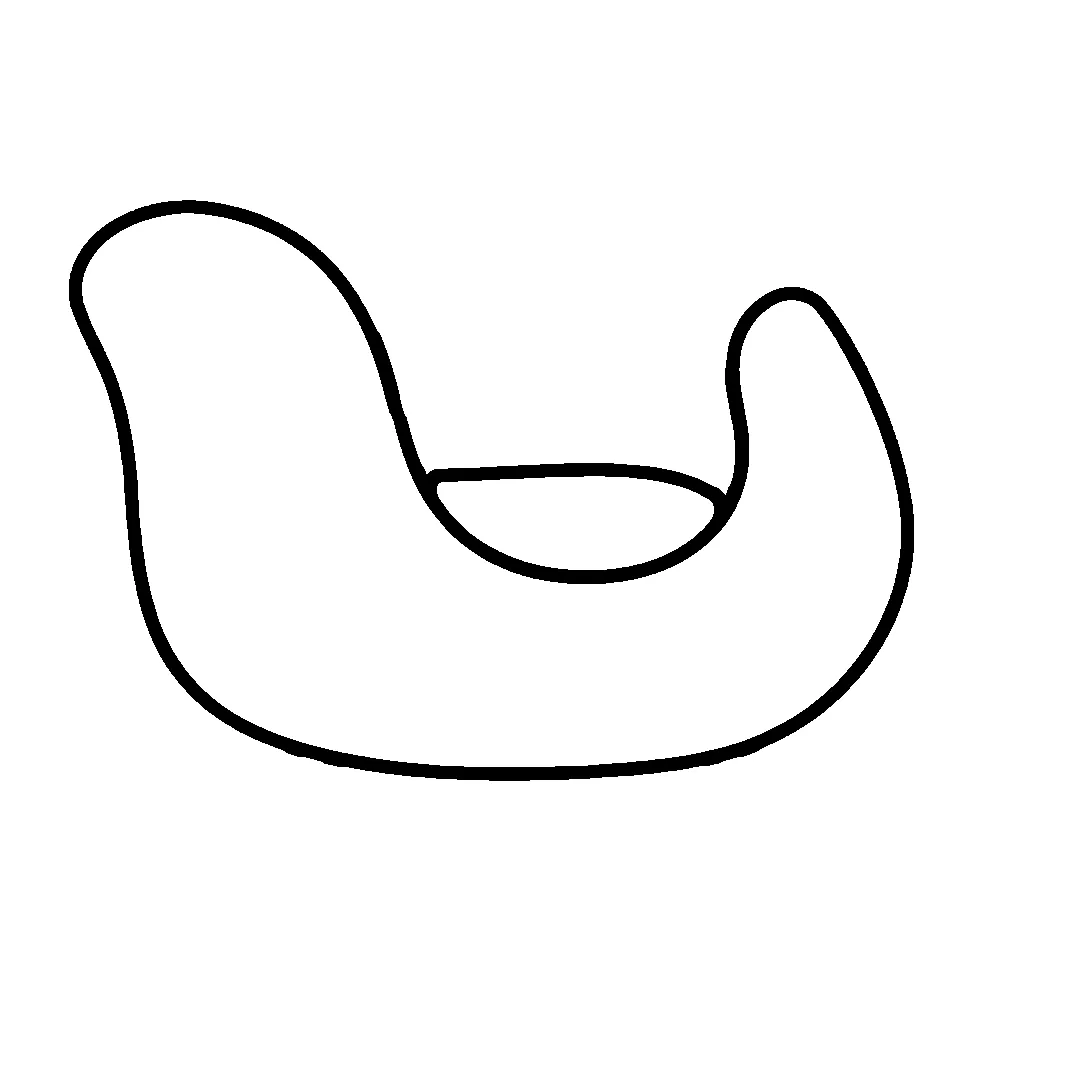
Step 1 of 6: Draw a curved body with a tall back on the left, a lower front on the right and an oval seat inside.
-
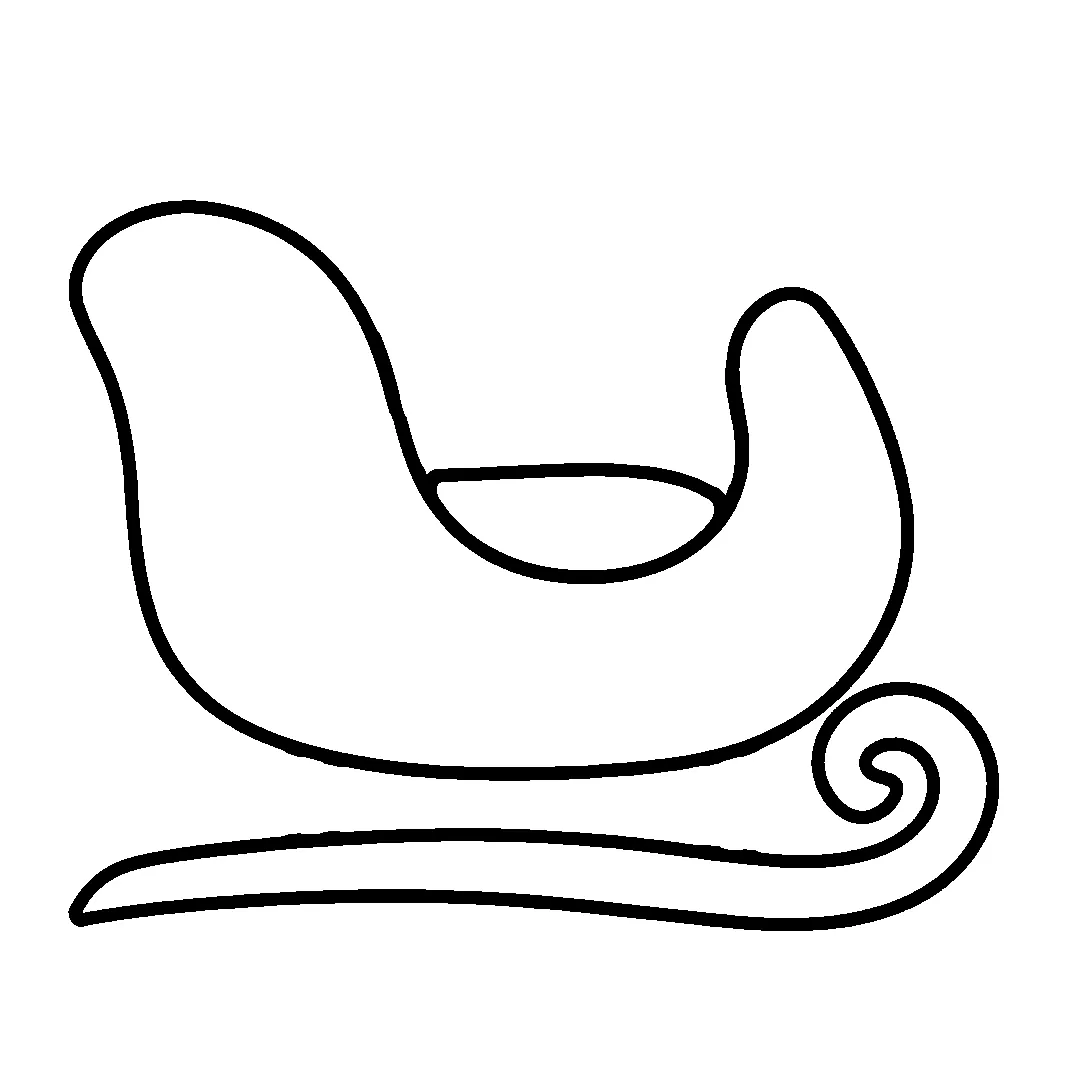
Step 2 of 6: Add a long runner under the body that curls up into a spiral at the front.
-
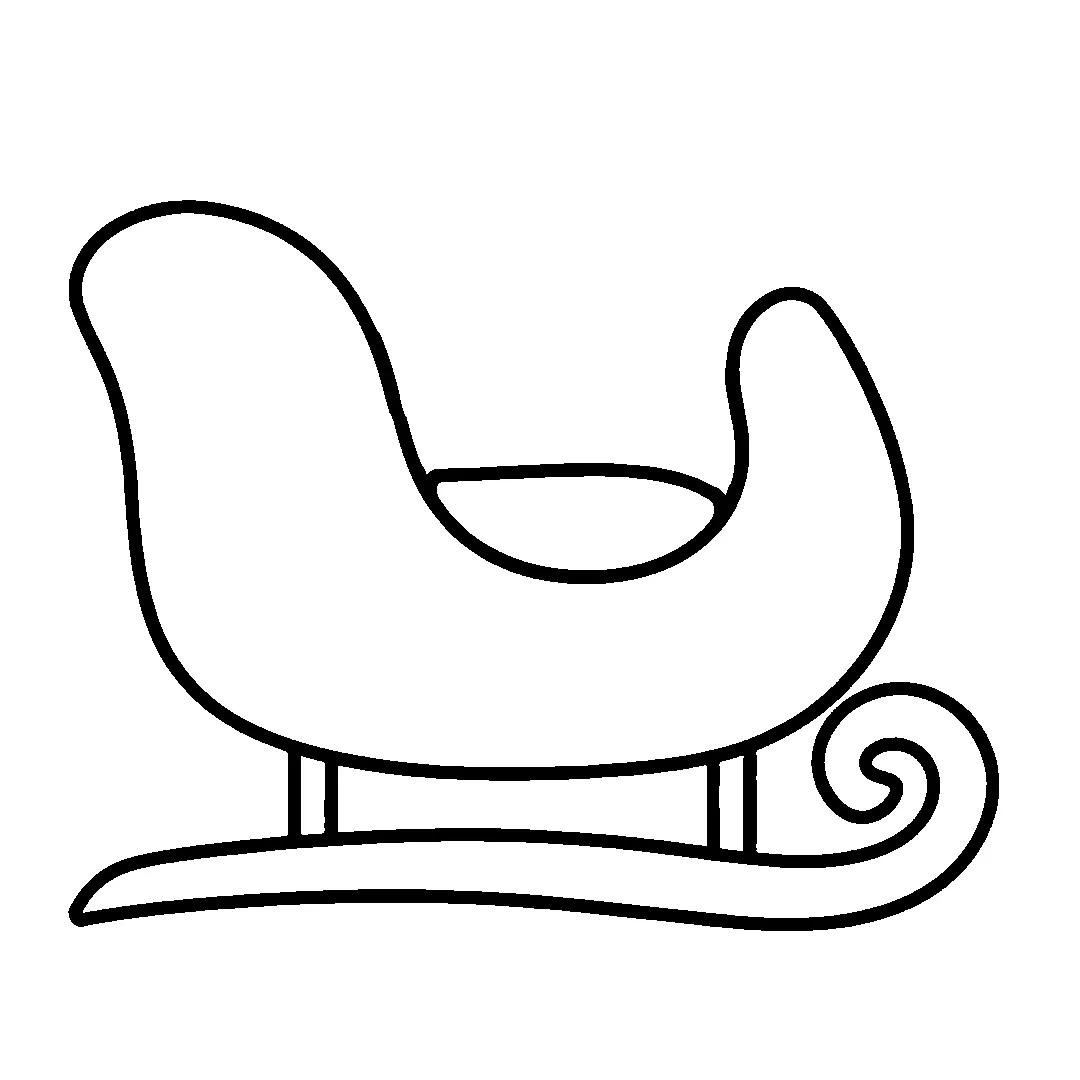
Step 3 of 6: Draw two short straight posts that join the bottom of the body to the runner.
-
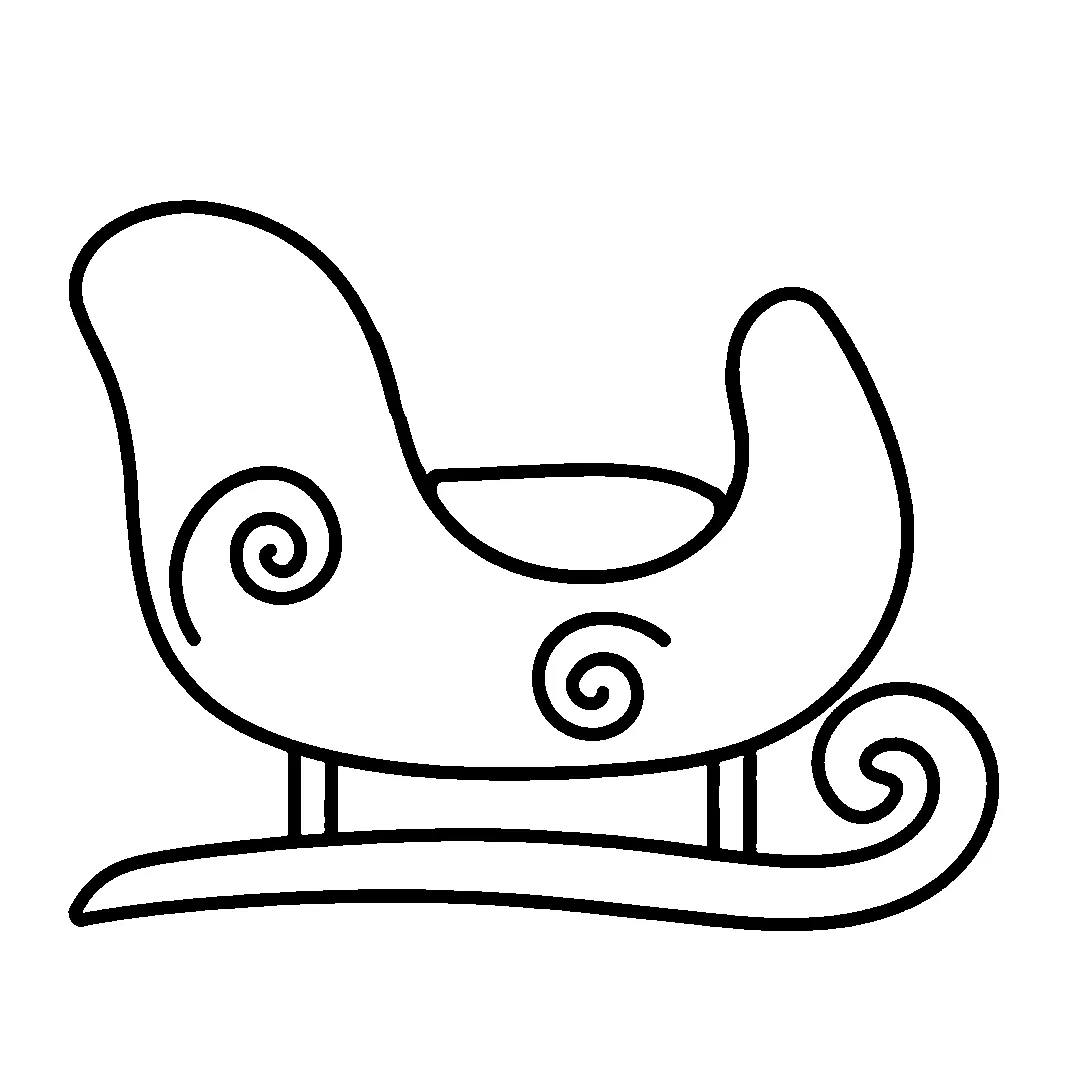
Step 4 of 6: Add two curly swirls on the side, one near the back and one lower in the middle.
-
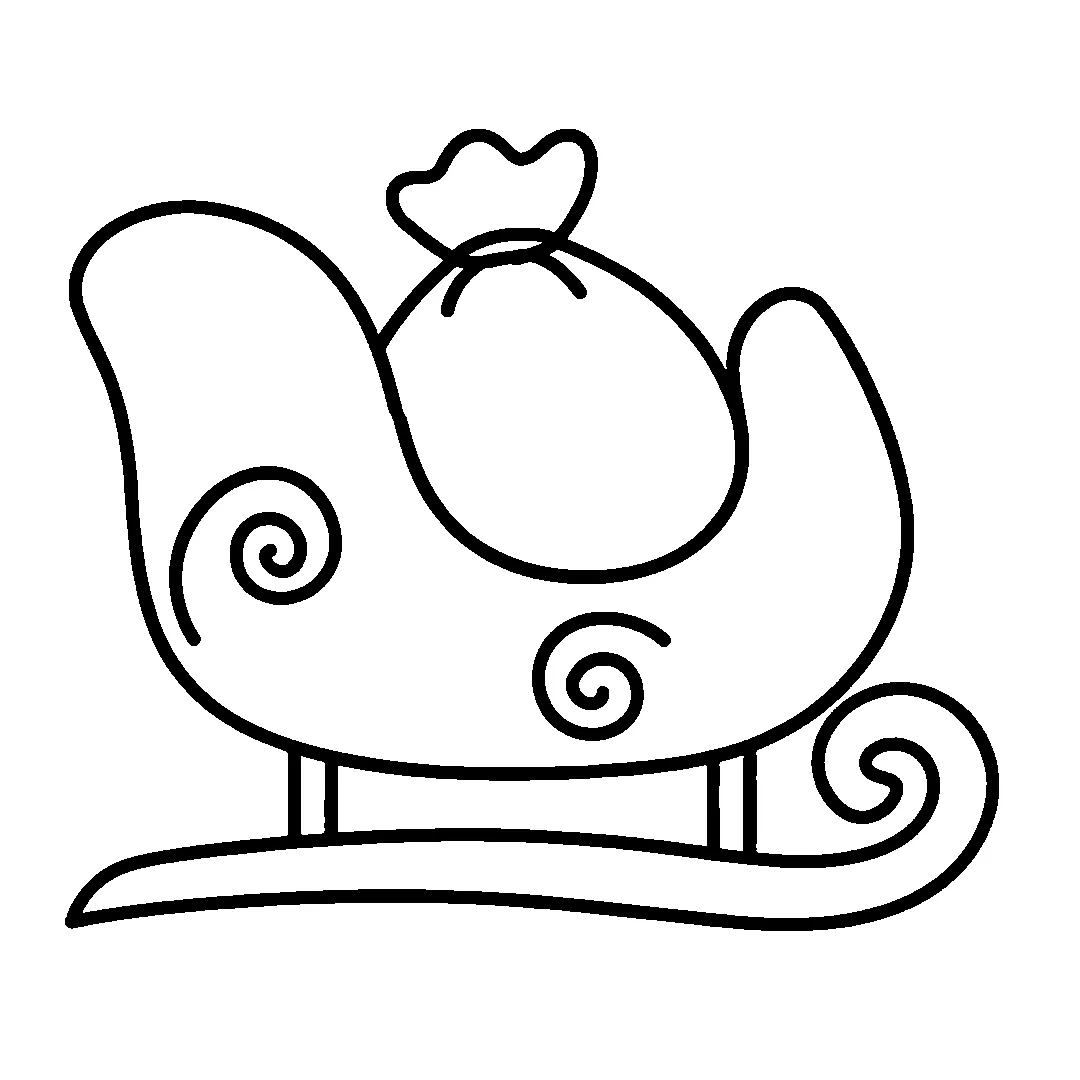
Step 5 of 6: Draw a round sack in the seat with a ruffled top and a tie. Erase the seat line behind it.
-
Step 6 of 6: Color the body red, the sack brown, and the runner, posts and the inside of each swirl golden yellow.


Tips for little artists
Tip: Press lightly with the pencil first. Trace the lines you like with the marker, then erase the rest.
Tip: Make the back of the sleigh taller than the front, so the seat sits low in the middle.
Tip: Draw the runner as long as the body, then let its curl stick out past the front.
Make it yours
Sleigh with a reindeer
Draw a reindeer in front of the sleigh and join them with a long strap.
Sleigh full of gifts
Draw a few square gift boxes with bows next to the sack in the seat.
Snowy sleigh ride
Draw a wavy snow line under the runner and some snowflakes in the sky.
Common mistakes and easy fixes
The back and the front are the same height
Make the back tall and rounded, and keep the front lower.
The runner touches the body
Leave a gap under the body, then join the two with two short posts.
The sack covers the back of the sleigh
Keep the sack inside the seat, between the back and the front.
Fun facts about the sleigh
The body of a sled, also called a sleigh, rests on runners, which are straight, narrow skids. (Source: Britannica)
An early 1900s sleigh catalog in the Smithsonian Libraries offered a Children's Pony Sleigh made to be pulled by a pony of medium size. (Source: Smithsonian Libraries)
The poem A Visit from St. Nicholas, first published in 1823, describes "a miniature sleigh, and eight tiny reindeer." (Source: Library of Congress)
Questions grown-ups ask
How to draw a sleigh easy?
Draw a curved body with a tall back, then a long runner that curls at the front. Join them with two posts and color the body red.
How to draw a sleigh for kids?
Use big, simple shapes: a curved body, one curly runner and two straight posts. Two swirls and a round sack make it look ready for Christmas.
How to draw a sleigh step by step?
Draw the body, the runner, the posts, the swirls and the sack in that order. The 6 steps above show each part, and the last step adds the colors.
If your swirls came out a little wobbly, that's fine. Your sleigh is ready for its Christmas ride. More easy drawings for kids are on the home page.