
How to Draw a Fairy Turkey Disguise (Easy Steps for Kids)
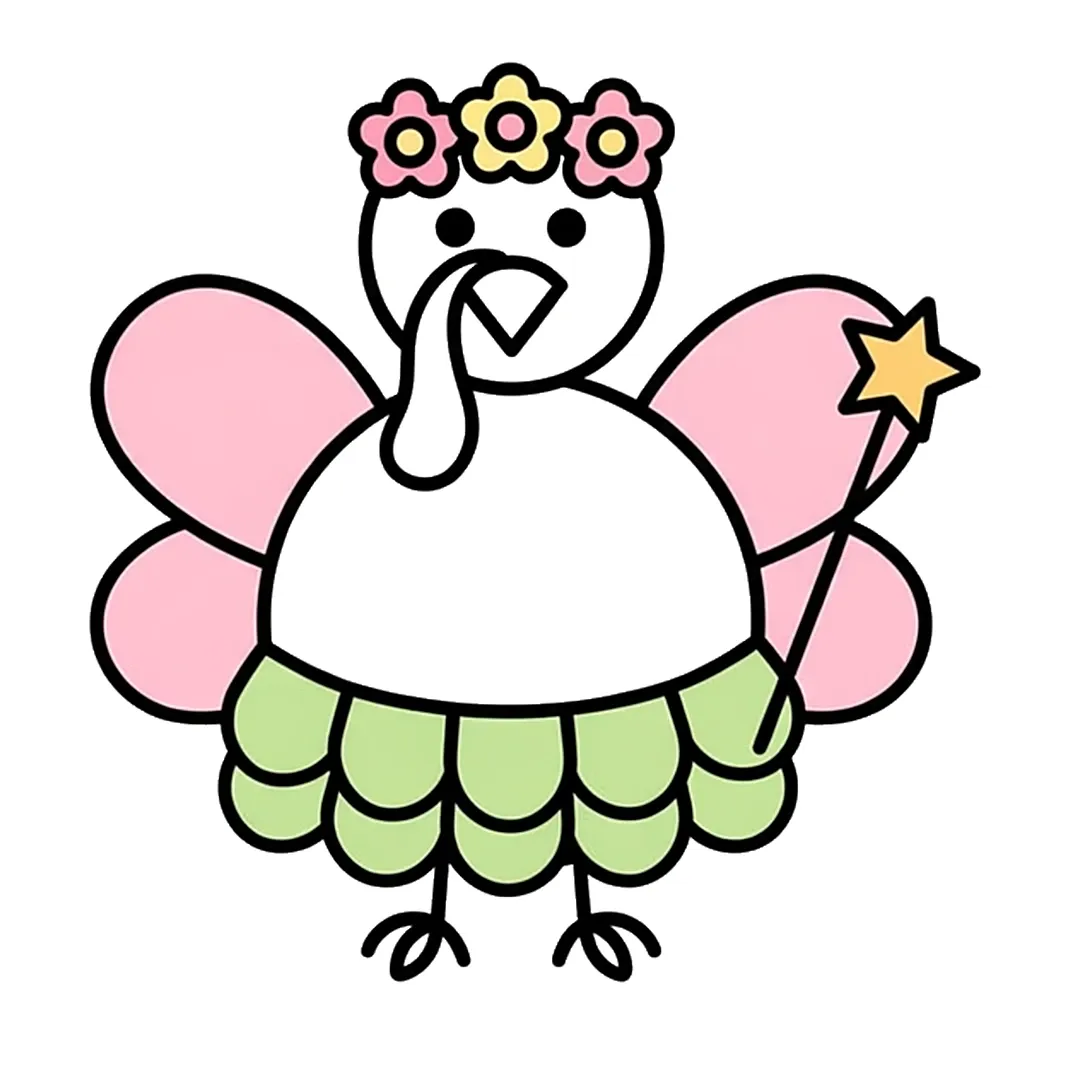
To draw a fairy turkey disguise, start with a turkey made from two circles, a beak, a snood, feathers and legs. Then add a flower crown, four rounded fairy wings, a star wand and a ruffled skirt. The free disguise a turkey template lets kids skip to the fairy parts.
- Steps
- 6 easy steps
- You need
- Pencil
- Eraser
- Black marker
- Pink, green, yellow and orange crayons
- Free disguise a turkey template (optional)
Teaching this to a class?
Show one step at a time on the board and wait for the class before the next. The directed drawing for kids page explains how to run it.
How to draw a fairy turkey step by step
-
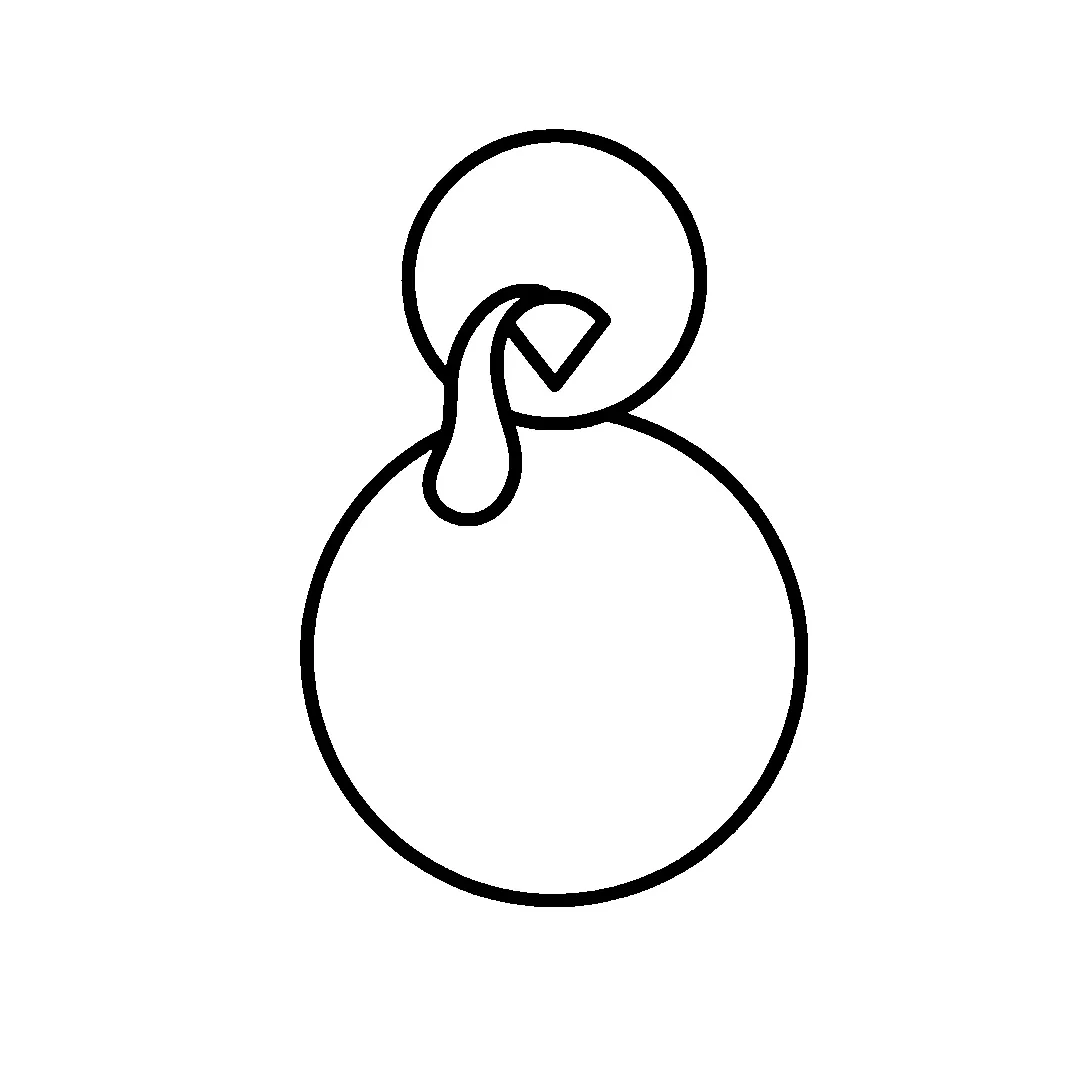
Step 1 of 6: Draw a small head circle on top of a big body circle. Add a triangle beak and a curly snood.
-
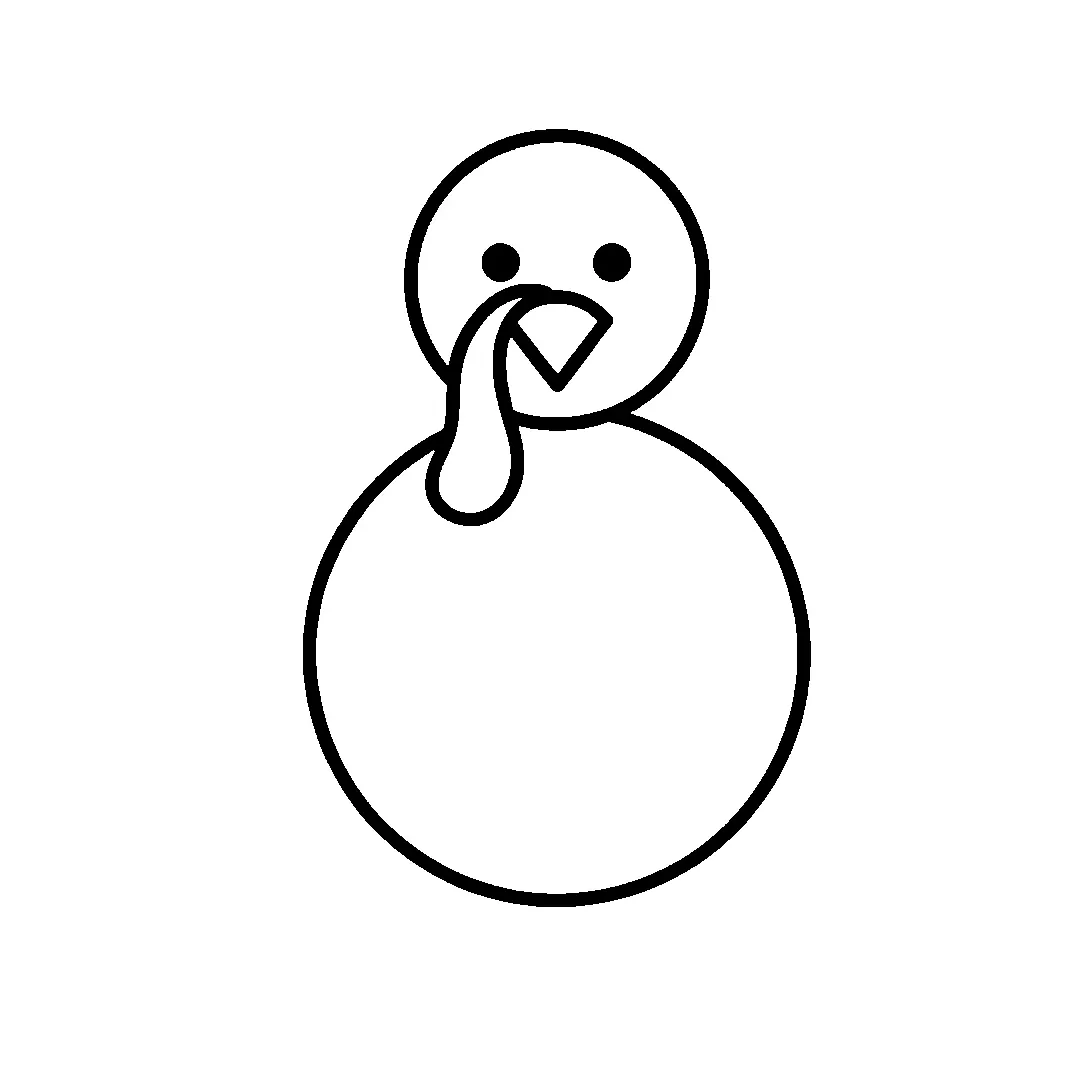
Step 2 of 6: Add two round dot eyes just above the beak.
-
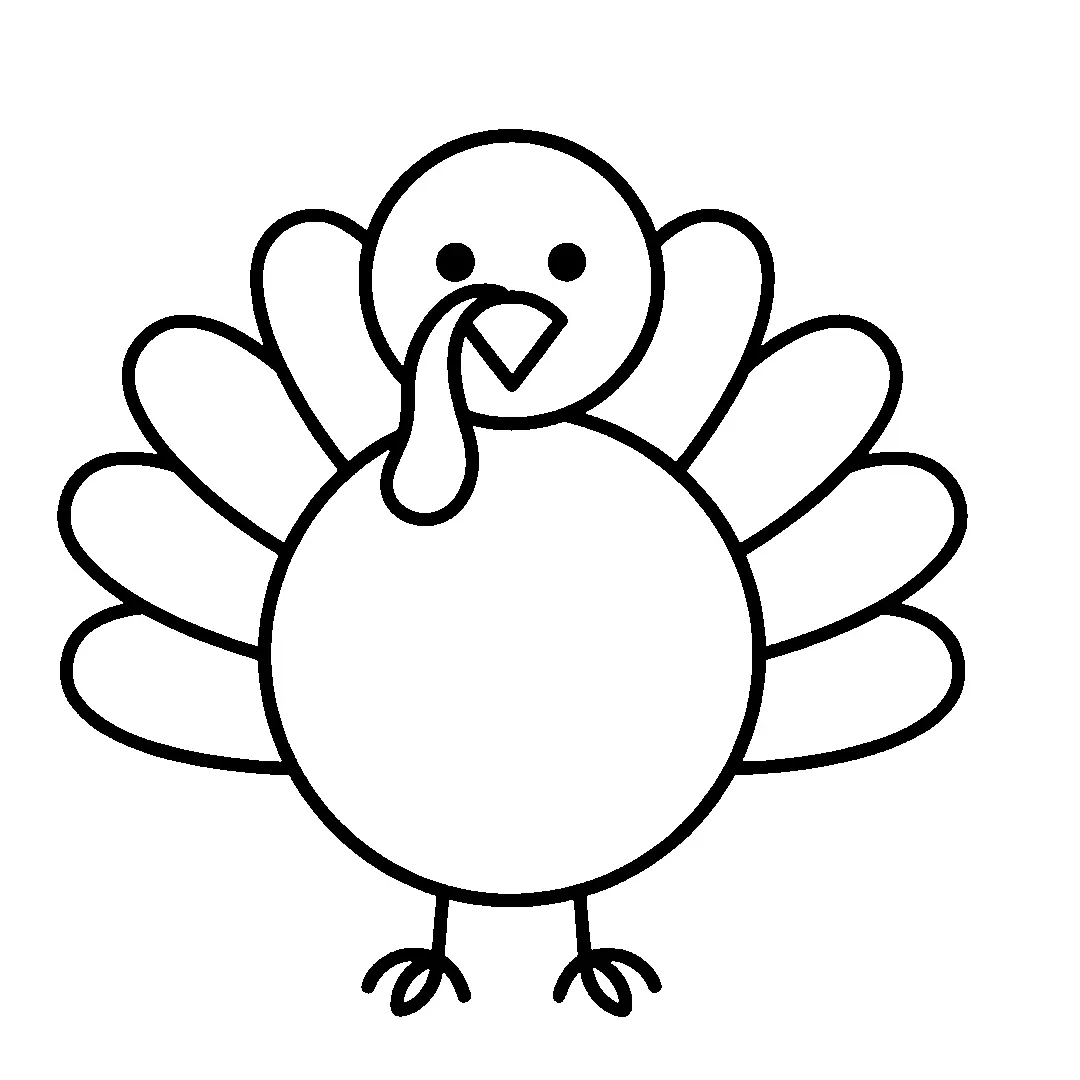
Step 3 of 6: Draw a fan of rounded tail feathers behind the body and two thin legs with toes.
-
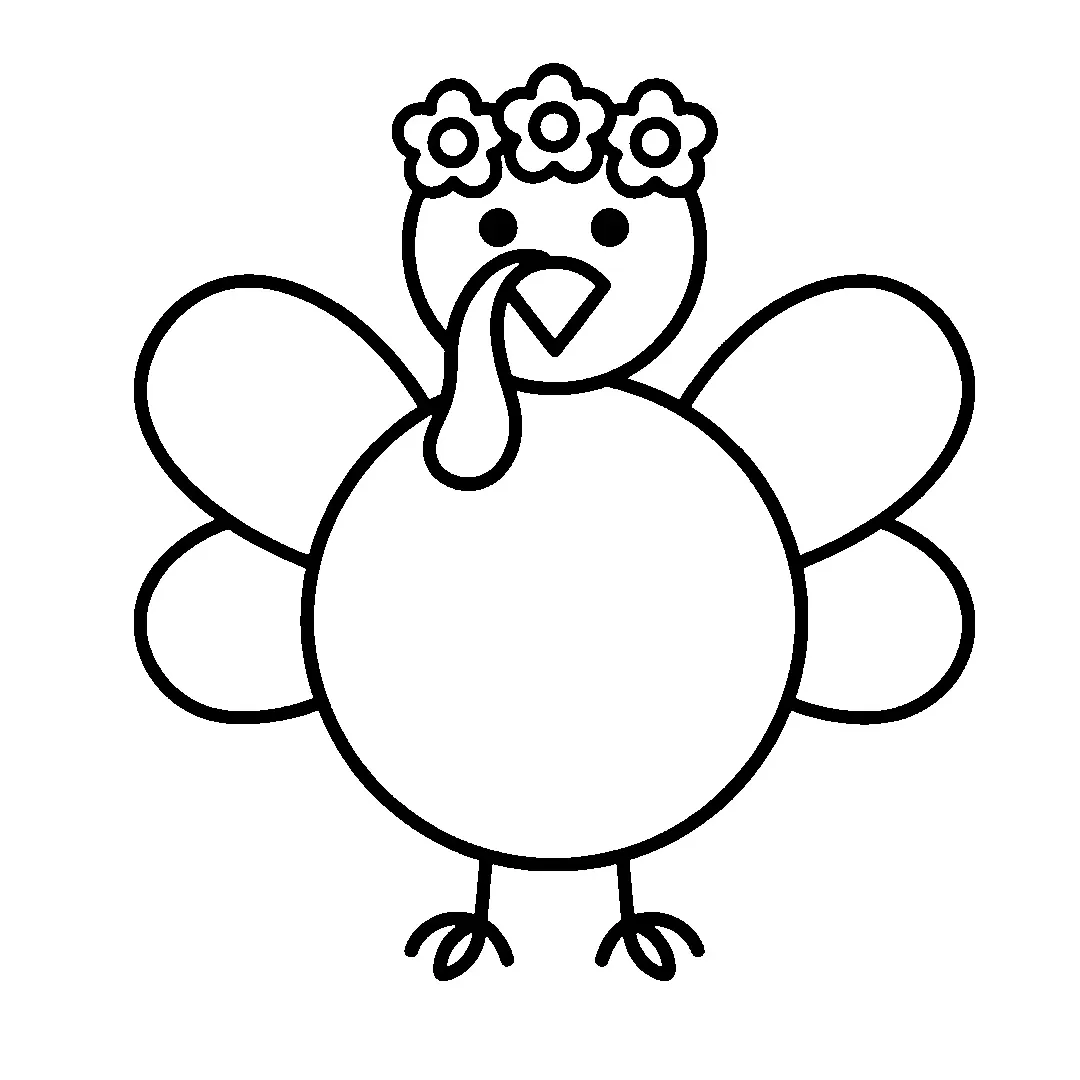
Step 4 of 6: Add a crown of three little flowers on the head and four rounded fairy wings behind the body.
-
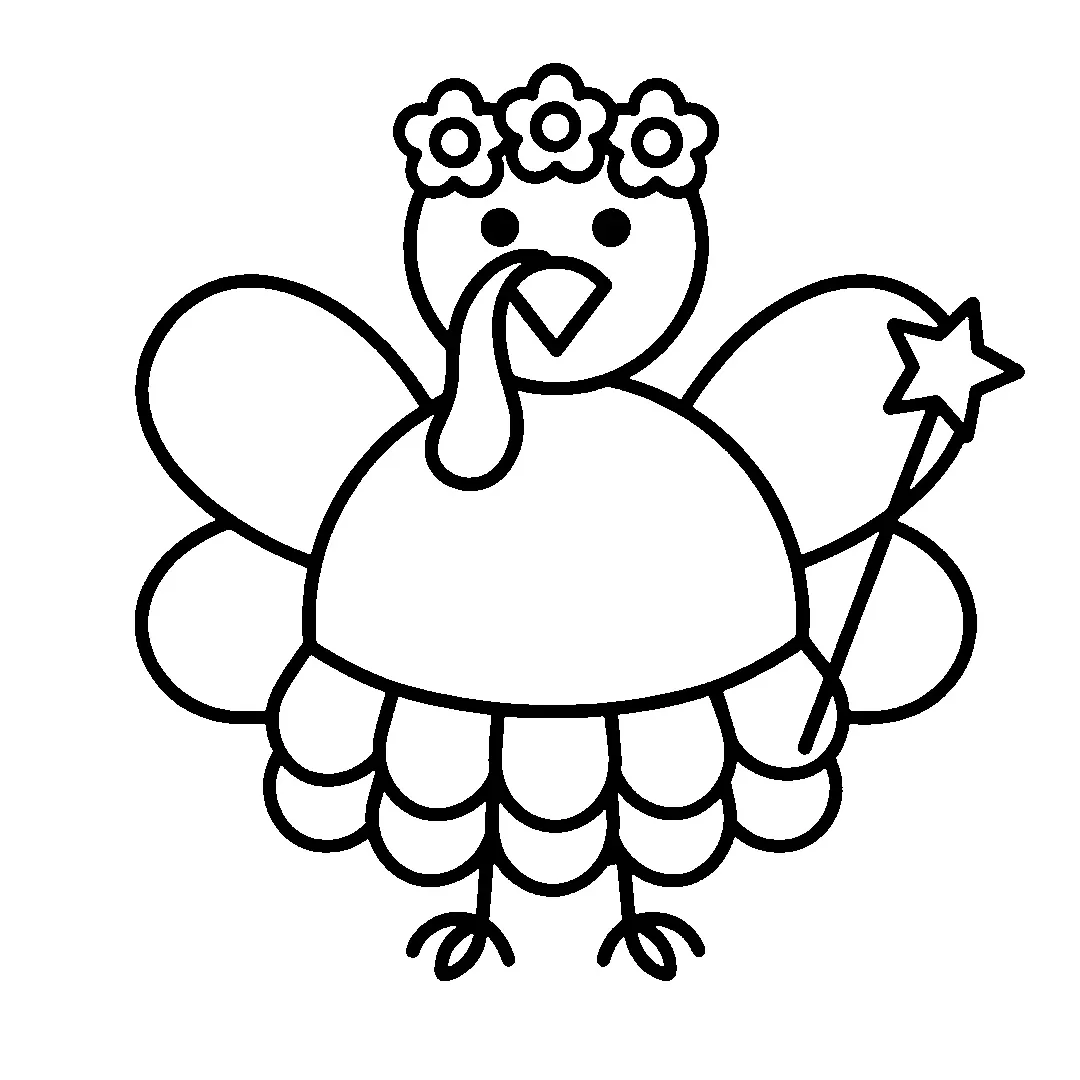
Step 5 of 6: Draw a ruffled skirt with bumpy layers on the body and a thin wand with a star on top.
-
Step 6 of 6: Color the wings and flowers pink, the skirt green, the star yellow and the beak orange.


Tips for little artists
Tip: Draw each flower in the crown as a tiny circle with five small bumps around it. Three flowers in a row look like a crown.
Tip: Make the top pair of wings bigger than the bottom pair. Fairy wings look lighter that way.
Tip: Short on time? Print the free disguise a turkey template and draw only the crown, wings, wand and skirt.
Make it yours
Markers-only fairy
Use a pink marker for the wings and crown, a green marker for the skirt and a yellow highlighter for the star.
Tissue paper craft fairy
Glue tissue paper wings behind the turkey, cut a skirt from ruffled cupcake liners and tape a craft stick wand to one side.
Sparkly night fairy
Color the wings purple and blue, then add tiny silver dots on them like stars.
Common mistakes and easy fixes
The wings cover the turkey's face
Start each wing at the side of the body, below the head. Then the face stays clear.
The skirt layers look flat
Draw two rows of little bumps, one under the other. The second row makes the skirt look fluffy.
The wand floats in the air
Let the bottom of the wand touch the edge of the body, as if a wing is holding it.
Fun facts about the fairy turkey
A new butterfly pumps blood into its damp wings. It has to wait for the wings to dry before it can fly. (Source: National Geographic Kids)
Grown butterflies do not get any bigger. They sip nectar from flowers such as clover and goldenrod. (Source: National Geographic Kids)
Each fall, many monarch butterflies fly nearly 2,500 miles south to central Mexico or Southern California. (Source: National Geographic Kids)
Questions grown-ups ask
How do you disguise a turkey as a fairy?
Draw a turkey, then add a flower crown on the head, four rounded wings behind the body, a ruffled skirt and a wand with a star. Color the wings a soft pink.
What craft supplies work for a fairy turkey disguise?
Tissue paper for the wings, cupcake liners for the skirt, a craft stick for the wand and paper flowers for the crown all work well.
Can kids use the fairy turkey for a school disguise a turkey project?
Yes. Kids can draw the fairy parts on the printed turkey template, then color them or glue on paper and tissue.
Flower crown on, wand in hand. This turkey is off to a fairy garden, far away from any dinner plate. More easy drawings for kids are on the home page.