
How Long Should a Kindergarten Directed Drawing Lesson Be?
For a 4-step subject, we suggest about 10 minutes of pencil steps, with tracing and coloring in a separate block. That timing is our suggestion, not a research standard, and 6-step animals take longer. It follows the CDC 5-year milestones: most 5-year-olds pay attention for 5 to 10 minutes during activities such as arts and crafts.
CDC milestones describe what 75% or more of children do, so your class will vary. Looking, pencil steps and marker tracing together fit the 20 to 30 minutes our directed drawing guide suggests for the drawing part. Our split for a 4-step lesson:
- Look at the finished picture and name its shapes: 2 minutes.
- Draw the 4 steps in pencil: about 10 minutes.
- Trace with a black marker after a break.
- Color and write later that day.
What Do You Say During a Kindergarten Directed Drawing?
During a kindergarten directed drawing, say one short sentence per step, name the shape, and add a position word such as above, below, beside or next to. Those position words come from kindergarten math standard K.G.1 in the Common Core math standards. Here is a ready script for our 4-step cloud.
Before you start: “Look at our rain cloud. What shapes do you see?”
- Step 1: “Draw a long flat line in the middle of your paper. Now make five round bumps over the top and sides.”
- Step 2: “Inside the cloud, draw two ovals for eyes and a small smile below them. Color the eyes black, but keep a white dot.”
- Step 3: “Below the cloud, draw three raindrops. The middle drop goes a little lower.”
- Step 4: “Trace your lines with black marker. Use light blue for the cloud and blue for the raindrops.”
Say each line once, draw it, then wait for “pencils down”.
-

Step 1: Draw a puffy cloud with five round bumps over the top and sides and a long flat bottom.
-

Step 2: Add two oval eyes and a small smile in the middle. Fill the eyes black but leave a white shine dot.
-
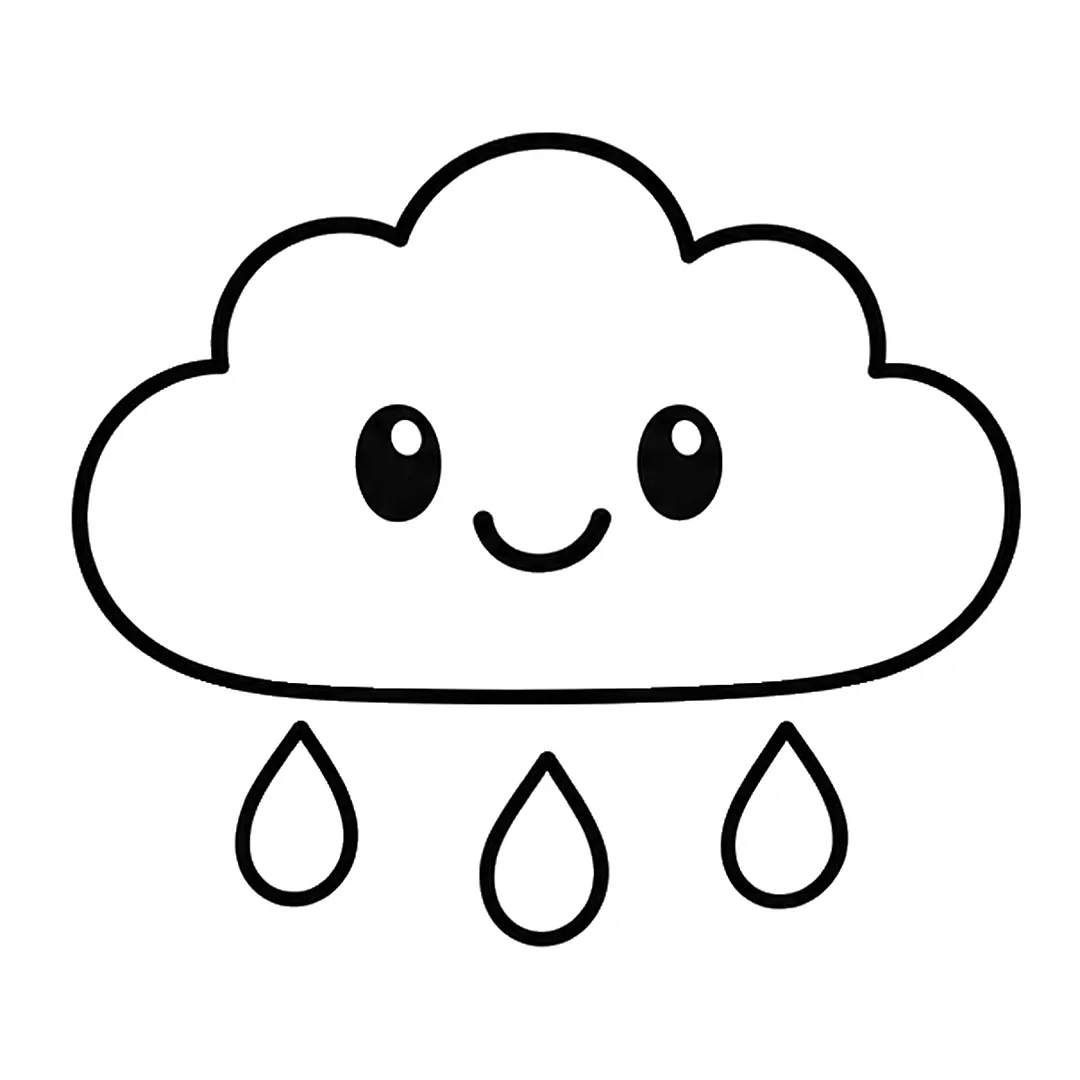
Step 3: Draw three teardrop raindrops under the cloud. Put the middle drop a little lower than the others.
-

Step 4: Color the cloud light blue and the drops blue with a light blue shine mark. Keep the eye dots white.
Running the Script in Board Mode
Open the tutorial’s “Show steps on the board” mode, read the script line for the step on screen, and click Next when most pencils are down. Our main guide explains the full board mode setup.
Which Easy Directed Drawings Suit Kindergarten?
The easiest directed drawings for kindergarten are the 6 tutorials on our site with only 4 steps: the cloud, candy, strawberry, scarf, feather and diamond. Each starts from one shape or line that 5-year-olds know. The cloud’s script is above; we list the other 5 in our order from easiest to hardest.
- Candy. The candy starts from one circle, so it suits the first week. Mini steps: 1. Draw a big circle. 2. Add a wavy wrapper end on each side. 3. Draw a light spiral and three fold lines per end. 4. Color it red with a white stripe and pink ends.
-

Step 1: Draw one big round circle in the middle of the paper for the candy.
-
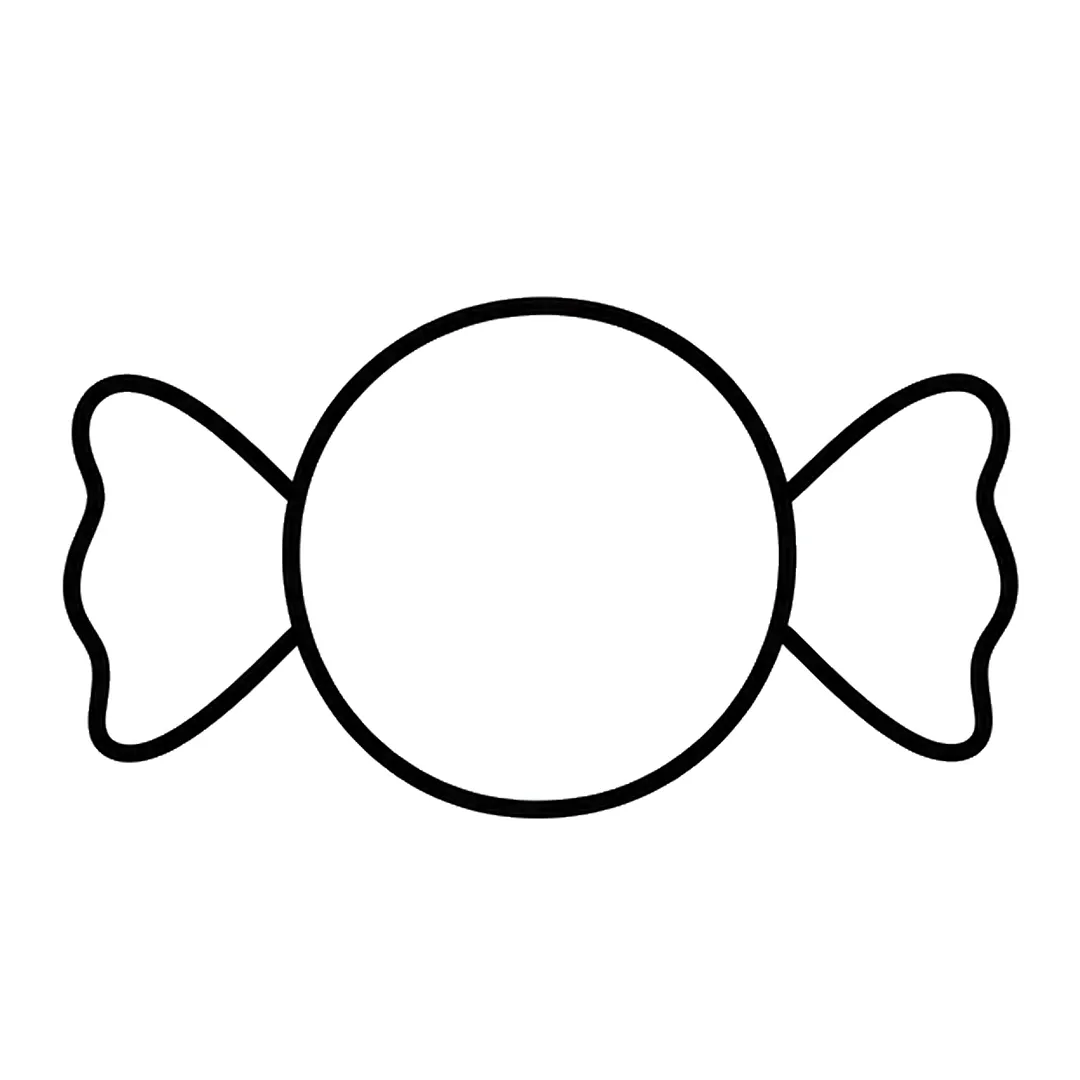
Step 2: Add a wrapper end on each side. Make it thin at the circle and wide at the end, with a wavy edge.
-
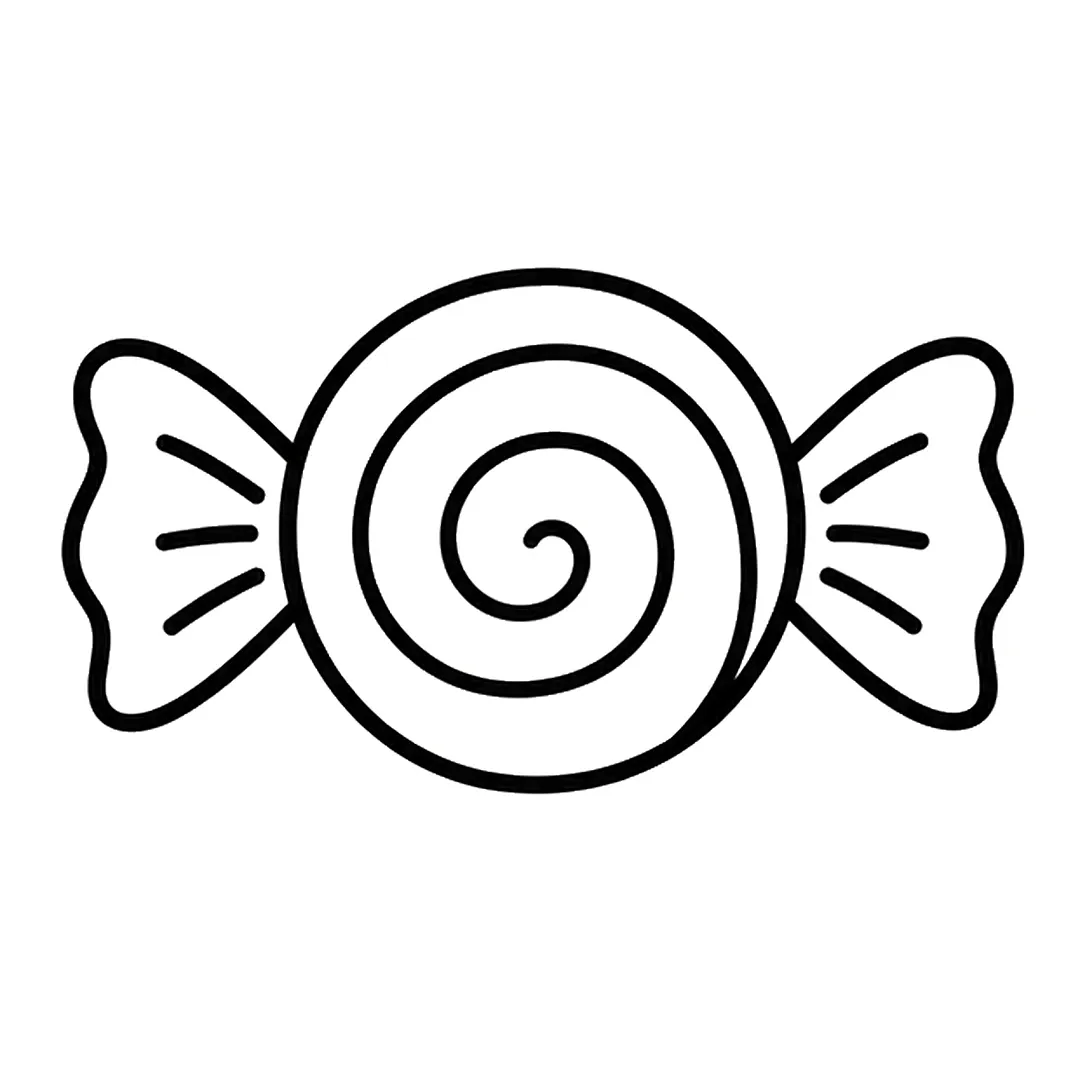
Step 3: Draw a light pencil spiral from the center to the bottom right edge, then three fold lines per end.
-
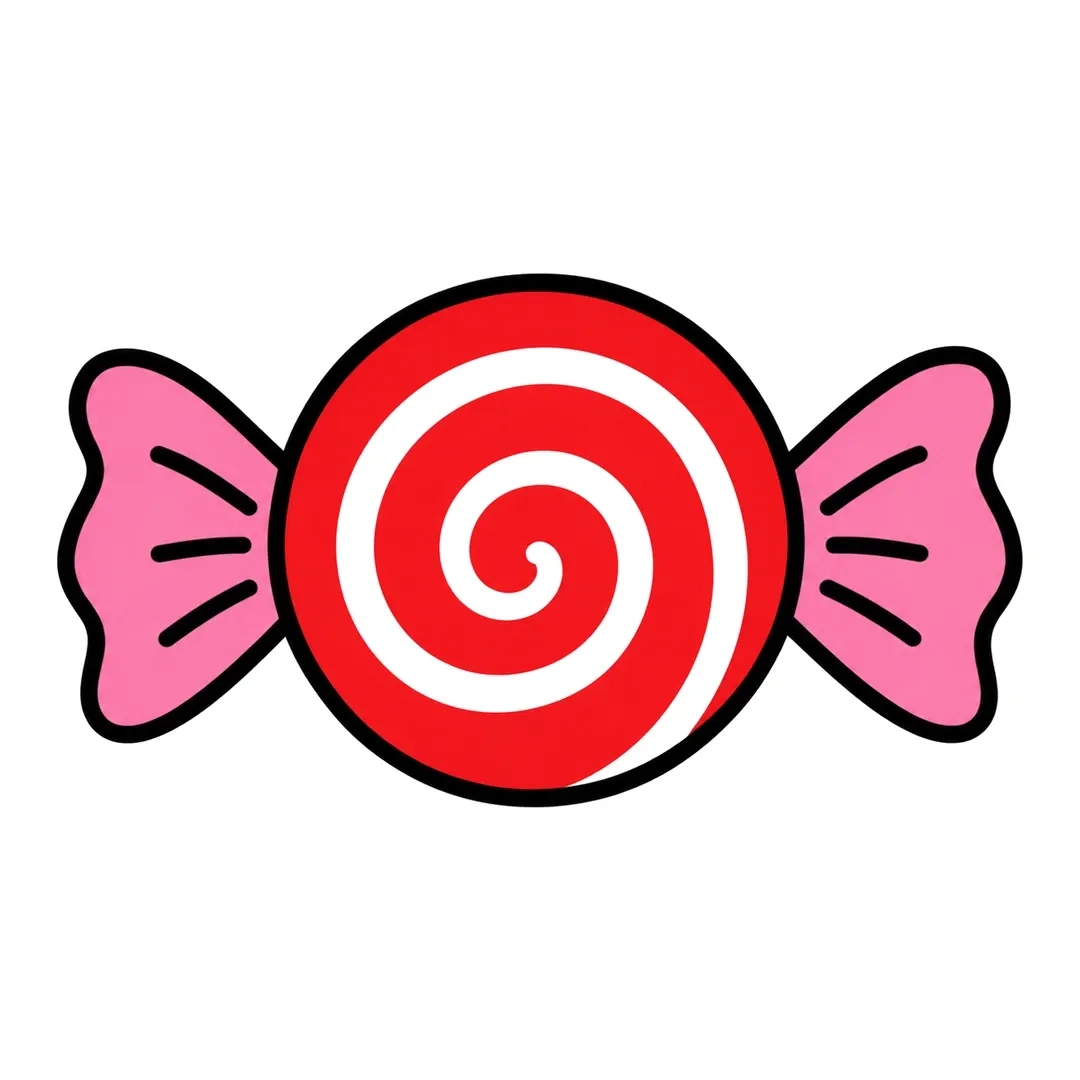
Step 4: Color the candy red with a wide white stripe on the pencil spiral. Erase it and color the ends pink.
- Strawberry. The strawberry begins with a heart, and its seeds become a counting job. Mini steps: 1. Draw a big rounded heart. 2. Add five pointed leaves and a stem. 3. Draw 16 teardrop seeds in five rows. 4. Use red for the berry, green for the leaves and yellow for the seeds.
-

Step 1: Draw one big rounded heart shape with a small dip at the top and a soft point at the bottom.
-

Step 2: Add five pointed leaves and a curved stem on top. Erase the berry line under the leaves.
-

Step 3: Draw 16 small teardrop seeds in five rows of 4, 3, 4, 3 and 2, pointed ends up.
-

Step 4: Color the berry red, the leaves and stem green and the seeds yellow.
- Scarf. The scarf is a thick U with two ends, good for the words longer and shorter. Mini steps: 1. Make a thick U-shaped loop. 2. Hang two ends below it, with the right one longer. 3. Draw stripes and five fringe lines per end. 4. Color it red with white stripes.
-

Step 1: Draw a wide curved loop like a thick U, with a round bump and a small hook at each top end.
-
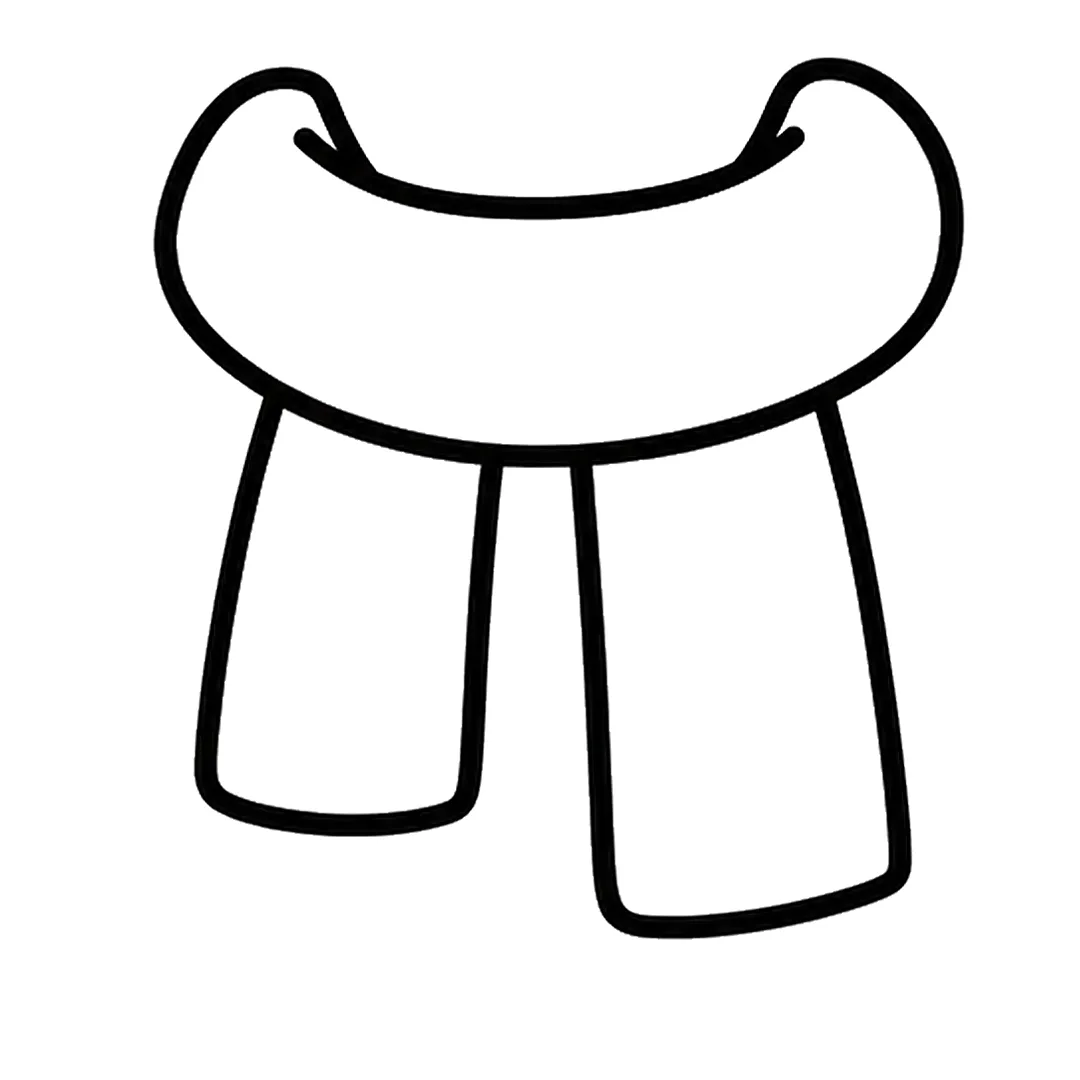
Step 2: Add two long ends that hang from under the loop. Make the right end longer than the left.
-
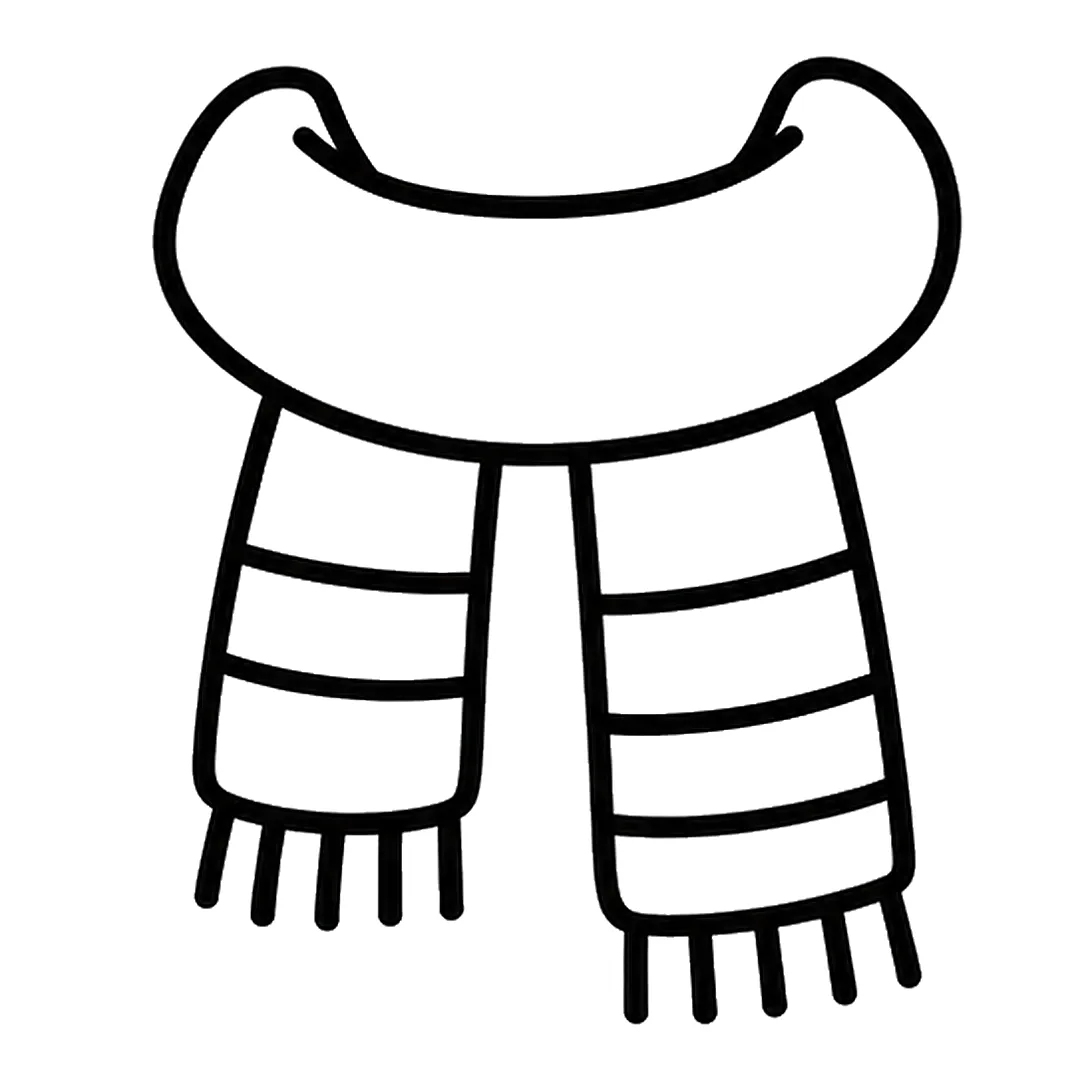
Step 3: Draw two stripe lines on the left end and three on the right. Add five fringe lines under each.
-
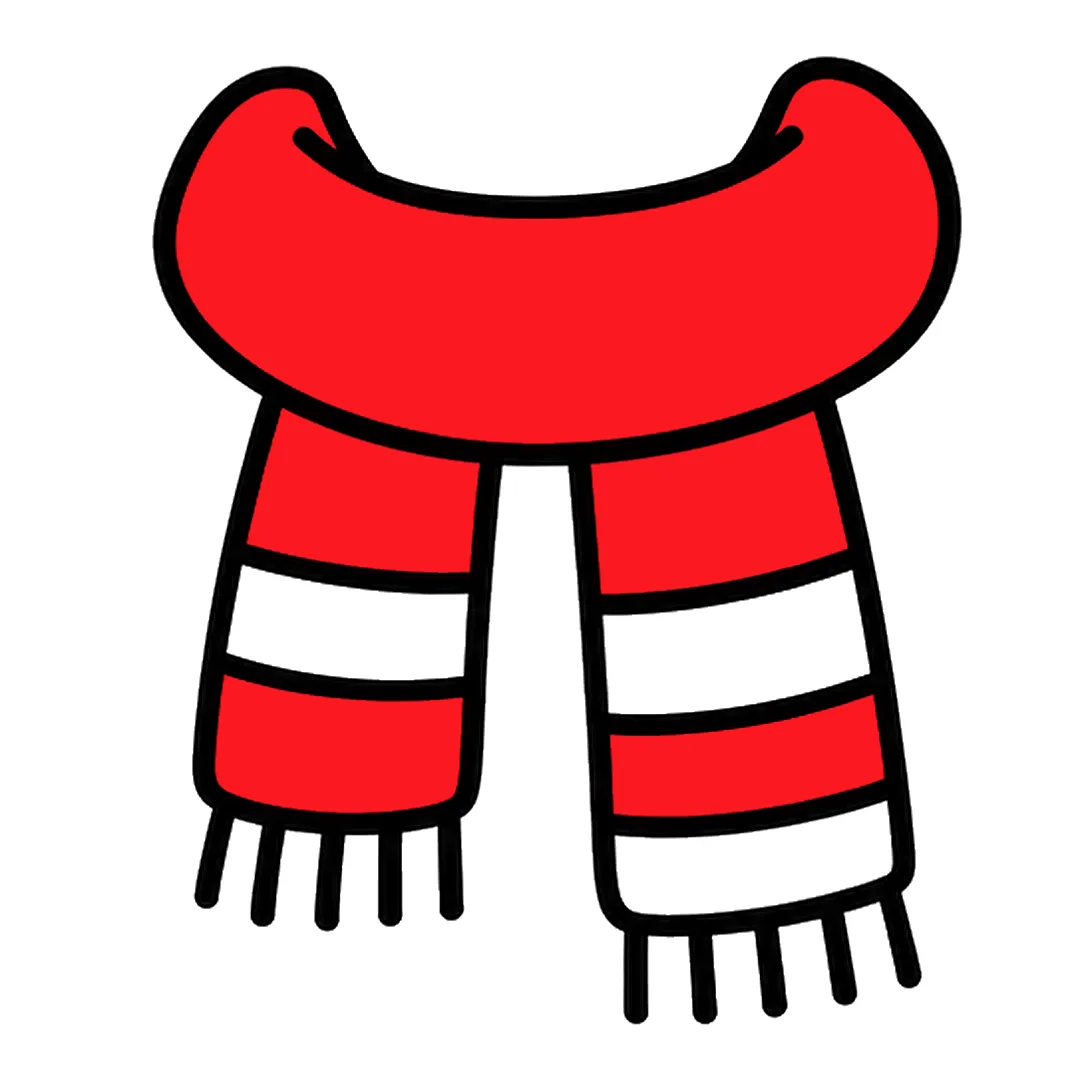
Step 4: Color the loop and ends red. Leave one white stripe on the left end and two on the right.
- Feather. The feather starts with one long curved line. Mini steps: 1. Draw a curved line with a thin loop at the bottom. 2. Add a long pointed leaf shape around the top. 3. Draw three pointed notches per side. 4. Color it teal blue and light brown.
-

Step 1: Draw one long curved line from the bottom left to the top right, with a thin loop at the bottom.
-
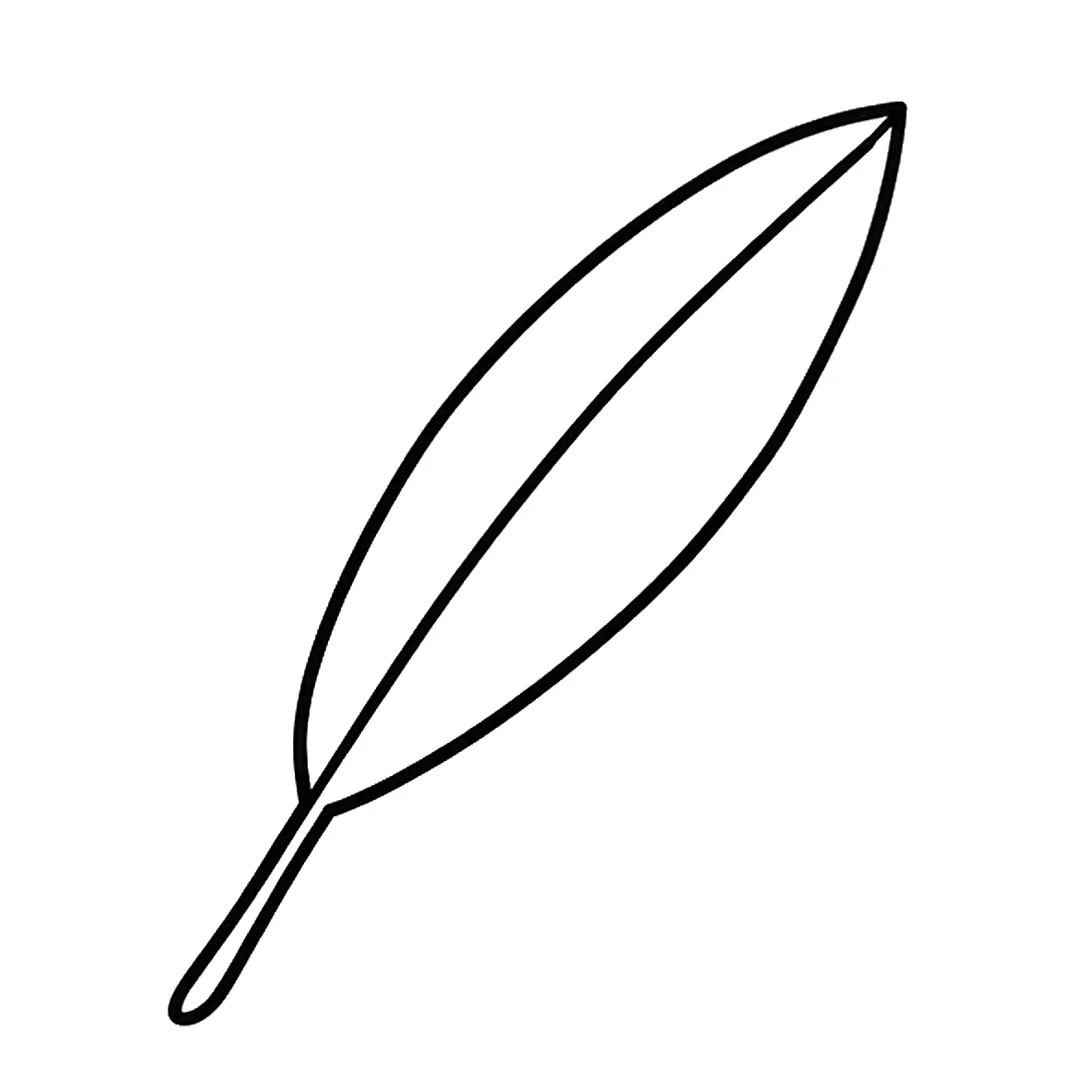
Step 2: Add a long pointed leaf shape around the top part of the line, with its tip at the line's top end.
-
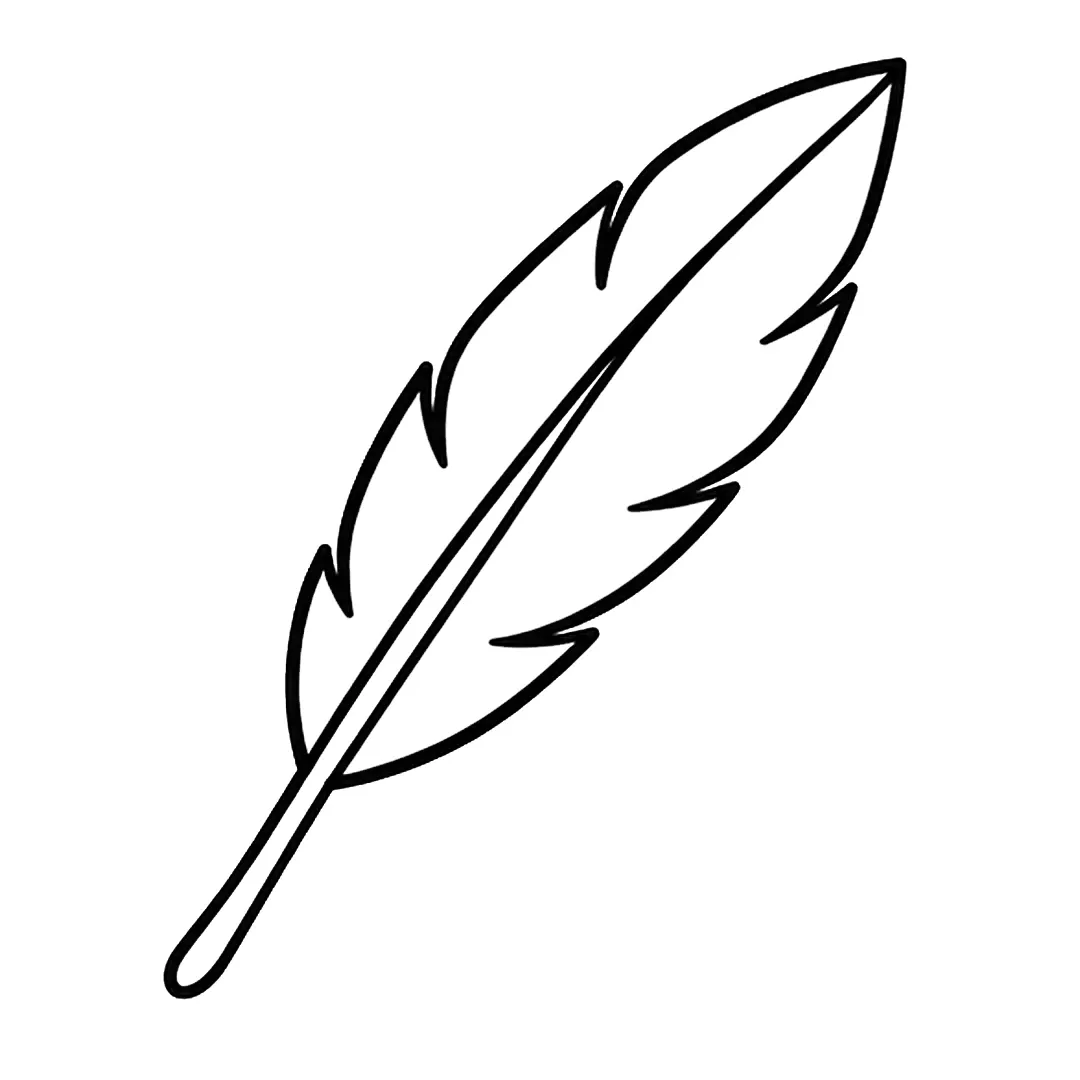
Step 3: Draw three pointed notches per side, erasing the edge there. Run the right quill line halfway up.
-

Step 4: Color the vane on both sides teal blue. Color the quill light brown, from the loop up to the middle.
- Diamond. The diamond uses only straight lines, so it fits later in the year. Mini steps: 1. Draw a flat top and sides meeting in a point. 2. Add one line across. 3. Draw a V and three lines to the tip. 4. Shade it in two blues.
-
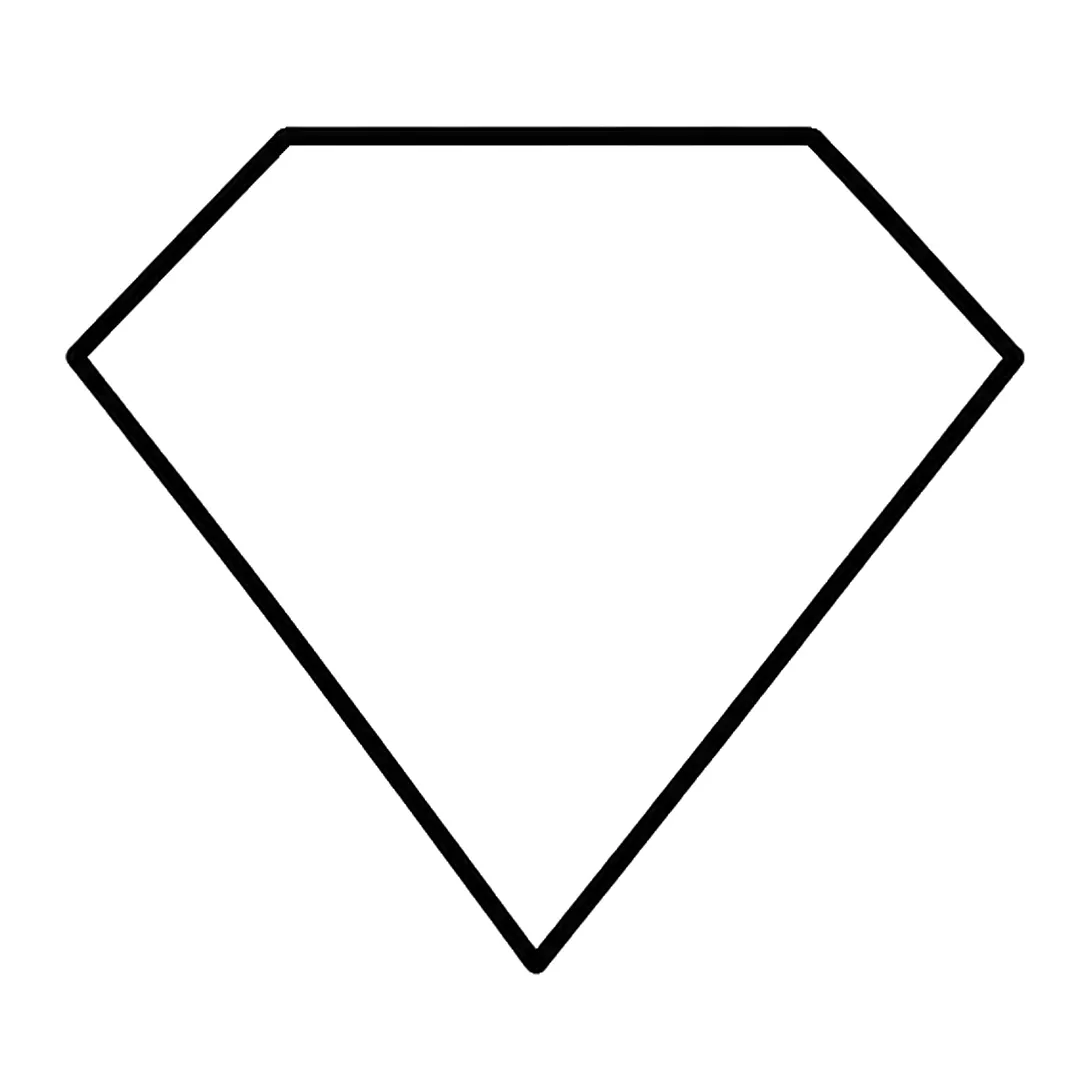
Step 1: Draw a flat top, two short slanted sides and two long sides that meet in a point at the bottom.
-
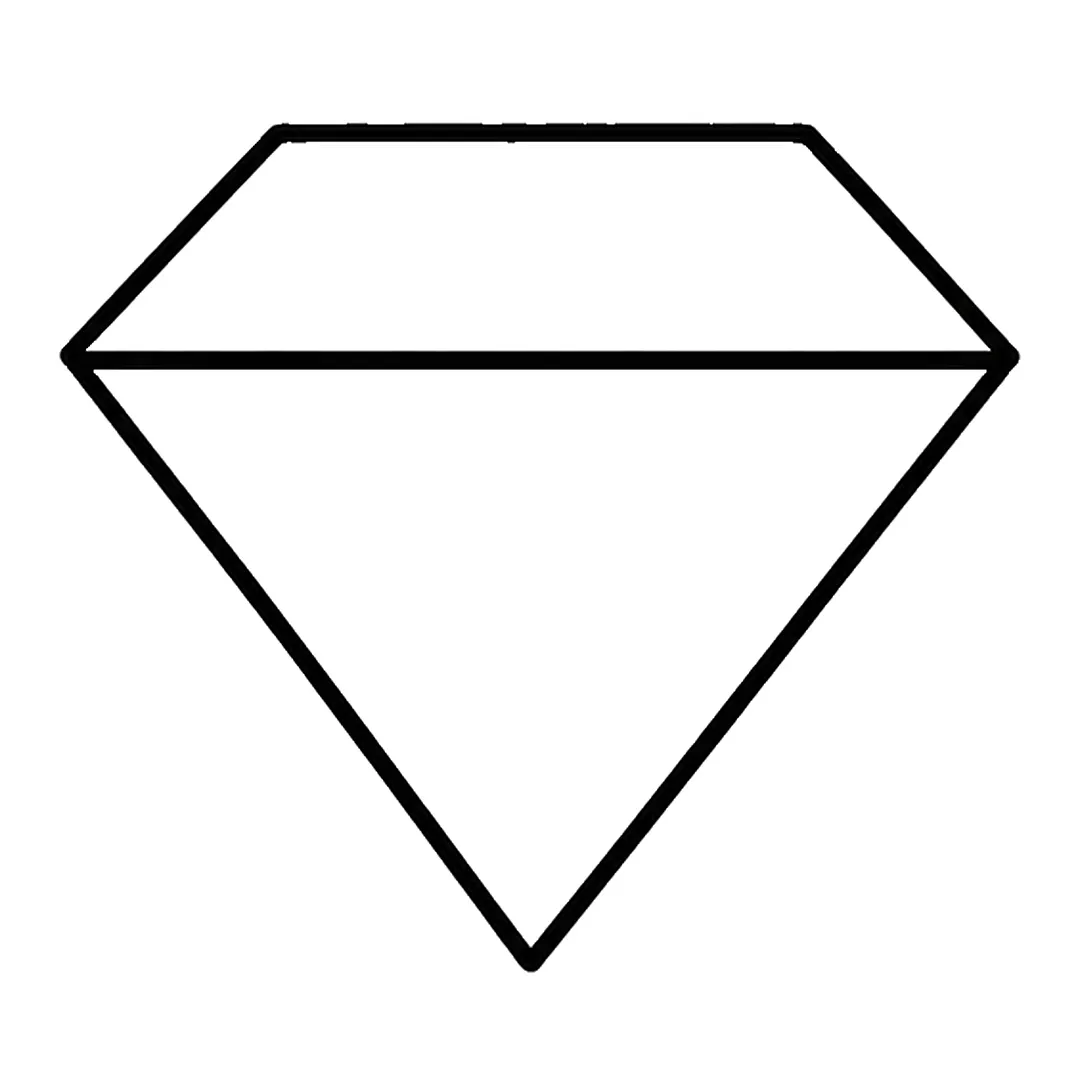
Step 2: Add one straight line across the diamond, from the left corner to the right corner.
-

Step 3: Draw a V from the top corners to the center of the across line. Add three lines from it to the tip.
-

Step 4: Color the top middle and two bottom middle facets light blue. Color the four side facets blue.
6-Step Animals for Later in the Year

After the 4-step lessons, move to 6-step animals that start from a circle or an oval. The bear and tiger start the same way, so teach the bear first. The order is our suggestion.
| Directed drawing | Step 1 starts with | Steps |
|---|---|---|
| Bear | A wide round head with two round ears | 6 |
| Tiger | A round head with two round ears | 6 |
| Snowy owl | A big round head, a little wider than tall | 6 |
| Flower | A small circle, then eight round petals | 6 |
| Unicorn | A wide oval for the body | 6 |
What Directed Drawings Fit Each Month of Kindergarten?
A kindergarten year of directed drawing can run from a self-portrait in September to a graduation drawing in June, with one or two seasonal tutorials each month in between. Every linked drawing in the middle column is a live 6-step tutorial, and the two portraits have mini steps below.
| Month | Directed drawing | Tie-in |
|---|---|---|
| September | Self-portrait, house | “My family” |
| October | Pumpkin, bat | Fall |
| November | Turkey | Thanksgiving drawings |
| December | Snowman, gingerbread man | Christmas drawing ideas |
| January | Snowflake, penguin | Winter drawings, MLK Day drawings |
| February | Groundhog | Valentine’s Day drawings |
| March | Lamb | Spring |
| April | Earth, frog | Earth Day |
| May | Butterfly | Life cycles |
| June | Graduation drawing, fish | Summer |
Beginning-of-Year Self-Portrait
A September self-portrait shows where each child starts. CDC lists drawing a person with three or more body parts among the milestones most children reach by age 4. Mini steps: 1. Draw a big oval face. 2. Add eyes, a nose and a smile. 3. Draw hair. 4. Add a body, arms and legs.
End-of-Year Graduation Drawing
In June, repeat the portrait with a graduation cap. Mini steps: 1. Draw the face and hair. 2. Add a flat square cap on the head. 3. Hang a tassel from the middle. 4. Add a body holding a rolled paper. Then show each child both portraits side by side.
How Do You Pair Directed Drawing With Writing in Kindergarten?
To pair directed drawing with writing, add one writing line under the finished picture and let each child write or dictate a sentence about it. The Common Core writing standards for kindergarten use “a combination of drawing, dictating, and writing” for opinion, informative and narrative pieces.
- Label: “This is a ___.” (informative, W.K.2)
- Opinion: “I like my ___ because ___.” (W.K.1)
- Story: “First the ___. Then ___.” (narrative, W.K.3)
By 5 years, most children write some letters in their name, so many kindergarteners dictate while you write. Keep writing in its own time block. The draw & write page in our shop packs has a box for the picture and lines for the sentence.
How Do You Adapt a Directed Drawing for Different Kindergarteners?
To adapt one directed drawing, keep the same subject for the whole class and change only the support around it. Kindergarteners differ in hand control and attention, so three levels of support let every child in the room finish the same picture.
- More support: use the tracing page from our packs, which shows the finished outline in light gray, or lightly draw step 1 for the child. A child who stops after step 2 still has a picture to color.
- Standard: follow the class steps in pencil, then trace and color.
- More challenge: add a background, a second object or a name, or try a 6-step subject.
Where Can You Get Free Kindergarten Directed Drawing Sheets?
Free kindergarten directed drawing sheets are the step sheet PDFs on each tutorial page, one black-and-white US Letter page sent by email. The free step sheets page lists them all, and 20 Easy Drawings for Kids is a free 44-page book. Print a class set of the cloud this week.